How to Fix a Leaking Faucet Using Basic Tools: Easy DIY Guide
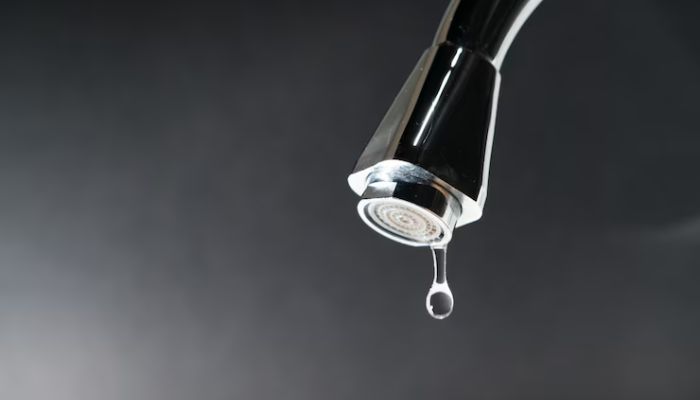
A leaking faucet can waste water and increase your bill. Fixing it is easier than you think. You do not need to call a plumber right away. With some basic tools and a little patience, you can stop the drip yourself.
Why Does a Faucet Leak?
Most leaks happen because of worn out parts inside the faucet. These parts include washers, O-rings, or cartridges. When these parts wear down, water can drip from the spout. Fixing a faucet means finding and replacing these parts.
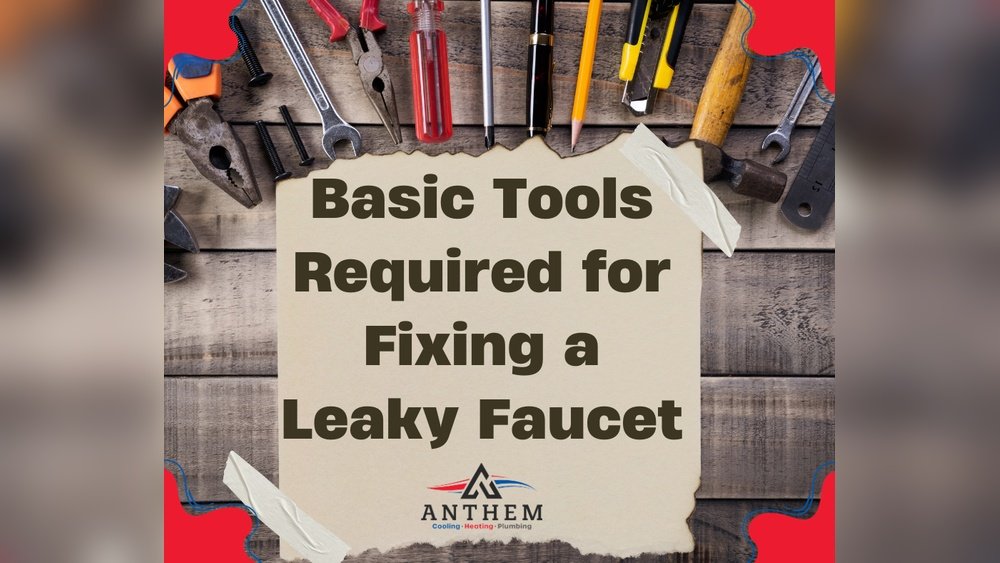
Tools You Will Need
You do not need many tools. Most are simple and common. Here is a list of the tools you may need:
- Screwdriver (flathead and Phillips)
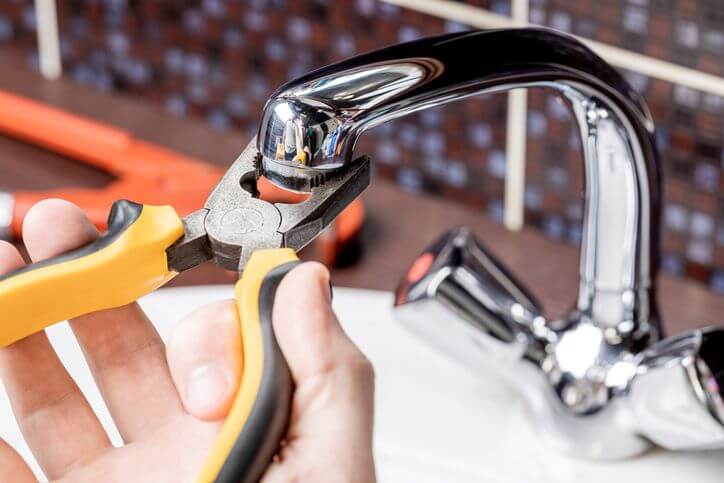
- Adjustable wrench or pliers
- Replacement washers or O-rings
- Allen wrench (if your faucet has one)
- Cloth or rag to clean parts
- Bucket or small container to catch water
Step 1: Turn Off the Water Supply
Before you start, stop the water flow. Look under the sink. Find the water supply valves. Turn them clockwise to close. This stops water from coming out while you fix the faucet.
If you cannot find the valves, or if the faucet leaks badly, turn off the main water supply to your house. This valve is usually near the water meter or where the water pipe enters your home.
Step 2: Drain the Faucet
Open the faucet to let out any water left in the pipes. Keep it open during the repair. This will prevent water from spilling when you take the faucet apart.
Step 3: Remove the Faucet Handle
Look for a small cap on top of the handle. Use a flathead screwdriver to gently pry it off. Under the cap, you will see a screw. Use the correct screwdriver to remove the screw.
Once the screw is out, pull the handle straight up or out. Some handles twist, so check if you need to turn it before pulling.
Step 4: Take Off the Packing Nut or Retaining Clip
Under the handle, you may see a nut or clip holding parts in place. Use your adjustable wrench or pliers to loosen the packing nut by turning it counterclockwise.
If there is a clip, use a small screwdriver or needle-nose pliers to remove it carefully.
Step 5: Find the Type of Faucet
There are different types of faucets. Knowing your faucet type helps you fix it correctly. Here are common types:
| Faucet Type | Description | Common Fix |
|---|---|---|
| Compression Faucet | Has separate handles for hot and cold water. | Replace washer and O-ring on valve stem. |
| Cartridge Faucet | Single handle or double handle with cartridge inside. | Remove and replace cartridge. |
| Ball Faucet | Has a ball inside controlling water flow. | Replace ball and seals or O-rings. |
| Disc Faucet | Uses ceramic discs to control water. | Replace ceramic discs and seals. |
Credit: hammerhomeimprovement.com
Step 6: Fix the Faucet Based on Its Type
Compression Faucet
- Use wrench to unscrew the valve stem.
- Look at the bottom of the stem for the washer.
- Remove the old washer and replace with a new one.
- Check the O-ring on the stem. Replace if worn.
- Put the valve stem back and tighten.
Cartridge Faucet
- Pull out the old cartridge gently.
- Buy the exact replacement cartridge for your faucet.
- Insert the new cartridge in the same position.
- Secure it with retaining clip or nut.
Ball Faucet
- Remove the ball assembly inside the faucet.
- Replace worn out seals and springs.
- Put the ball back and reassemble the faucet.
Disc Faucet
- Remove the ceramic disc cartridge.
- Replace the ceramic discs if damaged.
- Replace any worn seals or O-rings.
- Reinstall the cartridge and tighten.
Credit: rocketplumbingnow.com
Step 7: Clean Parts Before Reassembly
Use a cloth to clean any dirt or old grease. Clean threads on screws and nuts. This helps parts fit well and work smoothly.
Step 8: Put the Faucet Back Together
Reassemble the faucet by reversing your steps:
- Put the valve stem or cartridge back.
- Tighten the packing nut or clip.
- Attach the handle and screw it tight.
- Snap the decorative cap back on.
Step 9: Turn On the Water Supply
Turn the water valves under the sink counterclockwise. Slowly open the water to check for leaks. If no water drips, you fixed the faucet!
If the faucet still leaks, check if you tightened parts well. Sometimes you need to replace parts again or call a plumber for help.
Tips for Success
- Always use the right tools to avoid damage.
- Take pictures before you take the faucet apart.
- Buy replacement parts that fit your faucet brand and model.
- Be patient and work slowly to avoid breaking parts.
- If unsure, watch videos or ask for help.
Summary
Fixing a leaking faucet can save water and money. You only need simple tools and some patience. Turn off water, remove the handle, find the worn parts, replace them, and put everything back. Test the faucet after you finish. If it still leaks, check parts or ask for help. Most leaks come from old washers or cartridges. Fixing these parts stops the drip and keeps your faucet working well.
Frequently Asked Questions
What Tool Is Used In Repairing A Leaking Faucet?
An adjustable wrench or pliers is used to loosen faucet parts. Replace worn washers, O-rings, or cartridges to stop leaks.
How To Quickly Fix A Leaky Faucet?
Shut off the water supply under the sink. Remove the handle and access the valve. Replace worn washers, O-rings, or cartridges. Reassemble the faucet. Turn water back on slowly and check for leaks. Use basic tools like an Allen wrench or pliers.
How Do I Make My Faucet Stop Dripping?
To stop a faucet from dripping, first turn off the water supply under the sink. Remove the handle and replace worn washers, O-rings, or cartridges. Reassemble the faucet, then turn the water back on slowly. Test for leaks and tighten parts if needed.
Can I Fix A Leaky Faucet Without Special Tools?
Yes, you can fix a leaky faucet using basic household tools like pliers and screwdrivers. First, turn off the water supply. Then, remove the handle, replace worn washers or O-rings, reassemble, and test for leaks. This DIY method saves money and prevents water waste.