How to Repair Drywall: Easy Steps for Flawless Walls
Have you ever stared at a hole or crack in your wall and wondered how to fix it without calling a pro? Drywall damage can be frustrating, but repairing it yourself is easier than you think.
Whether it’s a small ding or a larger hole, you can restore your wall to look like new with just a few simple steps. In this guide, you’ll learn clear, easy methods to repair drywall quickly and effectively, saving you time and money.
Ready to transform your wall and boost your home’s appearance? Keep reading, and you’ll discover everything you need to make your drywall repairs flawless.
Tools And Materials
Before starting drywall repair, gather the right tools and materials. Proper preparation saves time and ensures a smooth finish. Using correct items makes the repair easier and more effective. This section covers the essential tools and materials for drywall repair.
Essential Tools
- Putty knife – for applying and smoothing joint compound
- Drywall saw – to cut damaged drywall cleanly
- Sanding block or sandpaper – to smooth patches
- Utility knife – to trim drywall or tape edges
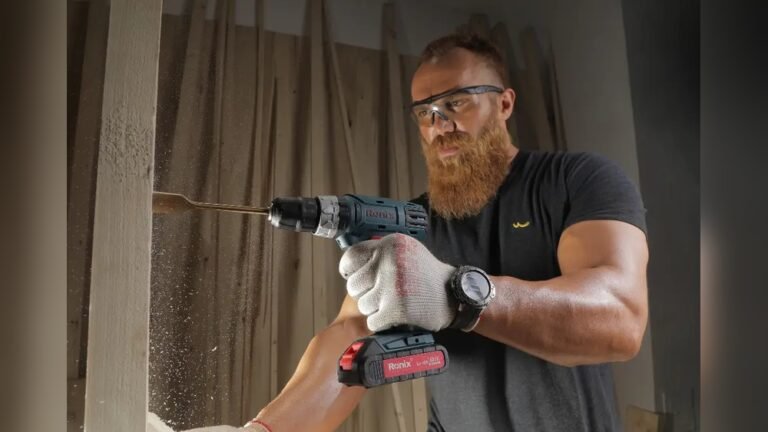
- Drill or screwdriver – to secure drywall screws
- Measuring tape – for accurate cuts and fitting
- Dust mask – to protect from dust while sanding
- Paintbrush or roller – for priming and painting
Required Materials
- Joint compound or spackle – to fill holes and smooth surfaces
- Drywall patch or mesh tape – to cover holes or cracks
- Drywall screws – to fix new drywall pieces securely
- Backing board (wood or drywall scrap) – for large hole support
- Primer – to prepare the patched area for painting
- Paint – to match the wall color after repair

Credit: www.homedepot.com
Preparing The Damaged Area
Preparing the damaged area is the first step in repairing drywall. It sets the stage for a smooth and lasting fix. Taking time to prepare properly helps the repair blend well with the rest of the wall. This process involves cleaning and shaping the damaged section carefully.
Proper preparation removes loose materials and creates clean edges. This allows new drywall or patch material to stick firmly. The result looks neat and professional. Follow these steps to prepare the damaged drywall area.
Cleaning Loose Debris
Start by removing any loose paint, dust, and drywall crumbs. Use a putty knife or scraper to clear away broken pieces. Vacuum the area to pick up fine dust and debris. A clean surface helps joint compound and patches adhere better. Skipping this step can cause bumps or cracks later.
Cutting Clean Edges
Cut around the damaged area to make smooth, straight edges. Use a drywall saw or utility knife for this task. Remove any jagged or weak drywall parts. Clean edges make it easier to fit a patch tightly. A neat cut also prevents cracks from spreading beyond the repair zone.
Fixing Small Holes
Small holes in drywall happen often. They can be caused by nails, hooks, or accidental bumps. Fixing these holes is simple and does not take much time. Proper repair keeps your walls smooth and ready for painting. Follow these easy steps to restore your wall’s look.
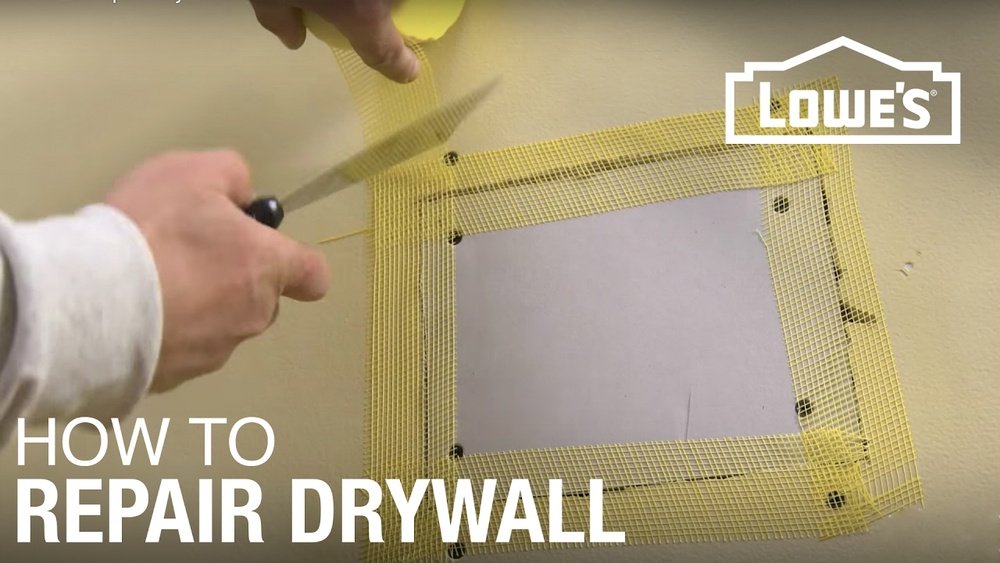
Using Mesh Patch Kits
Mesh patch kits work well for holes up to two inches wide. Start by cleaning the area around the hole. Remove any loose paint or dust. Peel the backing off the mesh patch. Stick the patch directly over the hole. Make sure the patch overlaps the hole by an inch or two. This keeps the patch secure and covers the damage completely.
Applying Joint Compound
Use a putty knife to spread joint compound over the mesh patch. Press the compound firmly to push it through the mesh. Spread the compound thinly and evenly. Feather the edges out to blend with the wall. Let the first coat dry completely. Apply a second coat if needed. Each layer should be smooth and cover the patch well.
Sanding And Smoothing
After the joint compound dries, sand the area lightly. Use fine-grit sandpaper for the best results. Sand until the surface feels smooth and even. Remove dust with a soft brush or cloth. This step makes the patch flush with the wall. Now the wall is ready for priming and painting.
Credit: www.youtube.com
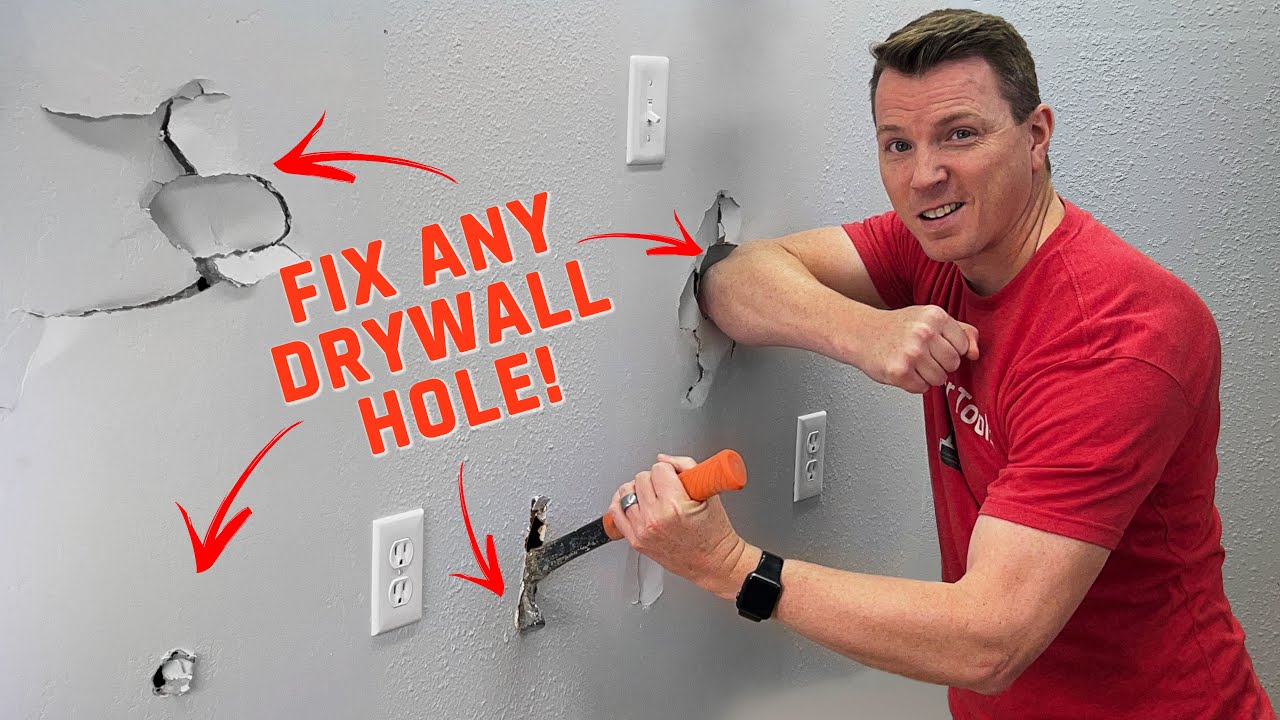
Repairing Large Holes
Repairing large holes in drywall requires a different approach than small patches. Large holes need extra support to hold the patch firmly. The process involves adding backing support, installing a drywall patch, and finishing with taping and mudding. Proper sanding and multiple coats of compound ensure a smooth, invisible repair. Follow these steps carefully for a strong and clean finish.
Adding Backing Support
Start by cutting the damaged area into a neat rectangle. Use a drywall saw for clean edges. Remove any loose debris and dust. Cut a piece of wood or scrap drywall slightly longer than the hole. Insert this piece inside the hole, behind the drywall. Secure it by screwing through the existing drywall into the backing. This backing will hold the patch firmly in place.
Installing Drywall Patch
Cut a drywall piece to fit the hole exactly. Place it over the backing support. Use drywall screws to fix the patch to the backing. Make sure the patch is flush with the wall surface. Avoid over-tightening screws to prevent damage. The patch now acts as a solid base for finishing work.
Taping And Mudding Seams
Apply drywall tape over the seams between the patch and the wall. Use mesh or paper tape for best results. Spread a thin layer of joint compound over the tape. Smooth the edges carefully to blend with the wall. This step seals the seams and prevents cracks. Let the compound dry fully before moving on.
Multiple Coats And Sanding
Apply two to three coats of joint compound over the patch. Each coat should be thinner and wider than the last. Allow each layer to dry completely. Lightly sand between coats with fine-grit sandpaper. Sand until the surface is smooth and flush with the wall. Final sanding prepares the area for priming and painting.
Finishing Touches
After repairing drywall, finishing touches make the repair blend seamlessly. These steps protect the surface and prepare it for painting. Proper finishing improves durability and appearance. It ensures your wall looks smooth and new.
Priming The Surface
Priming seals the repaired area and prevents paint from soaking unevenly. Use a quality primer designed for drywall repairs. Apply a thin, even coat over the patched spot. Let the primer dry completely before painting. This step enhances paint adhesion and color consistency.
Painting To Match Walls
Choose paint that matches your wall color exactly. Test the paint on a small area to check the match. Use a brush or roller to apply paint evenly over the primed patch. Feather the edges to blend with the surrounding wall. Apply a second coat if needed for full coverage.
Tips For Flawless Results
Achieving flawless drywall repair requires attention to detail and patience. Small steps make a big difference in the final look. Focus on techniques that create a smooth, seamless finish. These tips help avoid common mistakes and give professional results.
Use the right tools and materials. Take time with each stage for the best outcome. Follow these guidelines to ensure your repair blends perfectly with the surrounding wall.
Feathering Edges Smoothly
Feathering means blending the edges of the compound into the wall. Apply thin layers extending beyond the damaged area. Use a wide putty knife to spread the compound gently. Press lightly to avoid ridges or bumps. Smooth transitions prevent visible lines after painting. Feathering creates a natural, even surface.
Choosing The Right Sandpaper
Sandpaper helps create a smooth finish after the compound dries. Use fine-grit sandpaper, around 120 to 220 grit. Coarse sandpaper can damage the drywall or leave scratches. Sand lightly in circular motions for even results. Replace sandpaper frequently to avoid clogging. Proper sanding removes imperfections without harming the surface.
Allowing Proper Drying Time
Drying time is key for a strong, smooth repair. Let each coat dry fully before applying the next. Drying times vary by temperature and humidity. Avoid rushing the process to prevent cracking or peeling. Plan your work in stages for best results. Patience ensures the compound cures correctly and holds well.
:strip_icc()/how-to-patch-drywall-gray-wall-aadf75af0f5d4ec19704a770bd84efc2.jpg)
Credit: www.bhg.com
Frequently Asked Questions
What Is The Easiest Way To Repair Drywall?
Clean the damaged area, apply a self-adhesive mesh patch, spread joint compound, sand smooth, then prime and paint.
How Big Of A Hole Can I Repair In Drywall?
You can repair drywall holes up to 6 inches with patch kits. Larger holes need backing and new drywall pieces.
What Is A Common Mistake People Make When Applying Mud To Drywall?
A common mistake is applying too thick a mud layer, causing uneven drying and visible ridges. Always use thin, smooth coats.
Can Damaged Drywall Be Repaired?
Yes, damaged drywall can be repaired using patch kits for small holes or backing boards for larger damage. Clean, apply patch, mud, sand, prime, and paint.
Conclusion
Repairing drywall does not have to be difficult or expensive. Small holes need just a patch kit, compound, and paint. Larger holes require a backing board, new drywall piece, and joint compound. Take your time applying and sanding each coat for a smooth finish.
Clean the area well before starting any repair work. With patience and the right steps, your walls will look like new again. This simple process saves money and improves your home’s appearance. Try it yourself and enjoy the satisfaction of fixing your drywall.