
Disclosure

Auto body tools: names, pictures and what each one is used for

A complete auto body tools list with a picture of every one, all 81 grouped by the job: dent removal, panel beating, rust repair, filling, sanding, masking and paint. Bodywork is judged by how light falls across a panel, so the order matters more than the kit.

42 are marked essential: enough for a proper dent or rust repair through to a blended finish.

Panel beating & dent removal 12

Getting the metal back to shape. This is the stage that decides how little filler the repair needs.

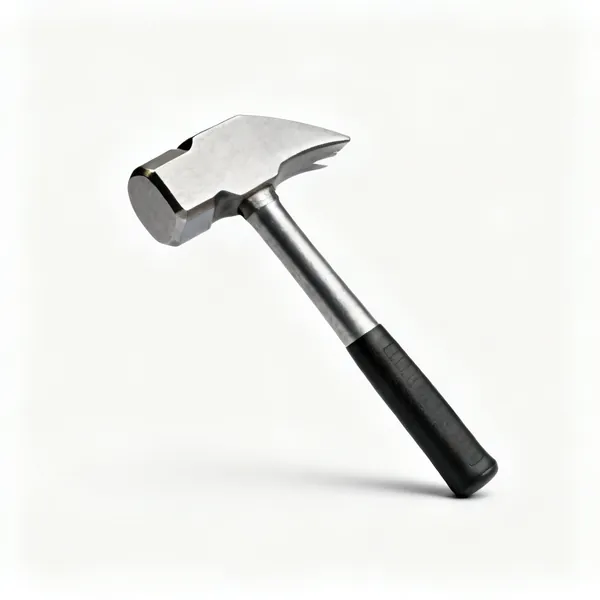
  • Body hammer: A body panel beating hammer with a smooth faceEssential

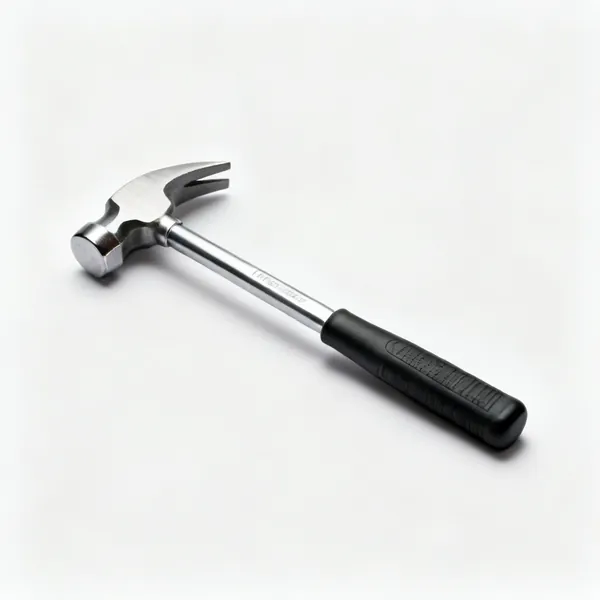
    Body hammer

    A light hammer with a polished face for working sheet metal. A nicked face prints that nick into the panel.

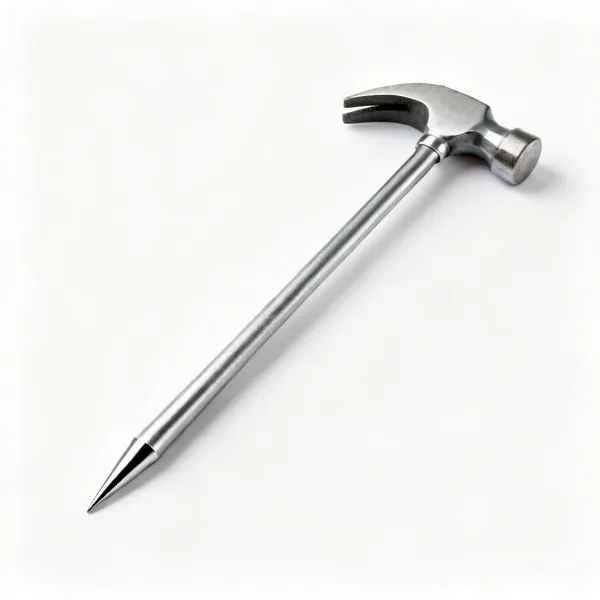
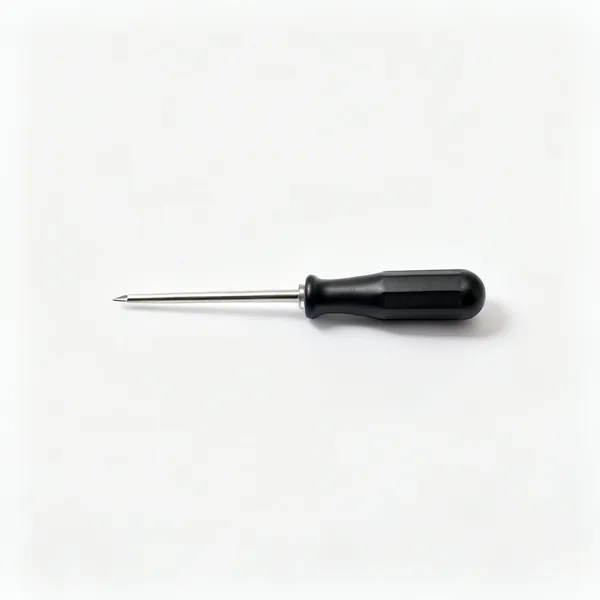
  • A body pick hammer with a pointed end

    Pick hammer

    A sharp point on one end for raising a small low spot precisely from behind, without disturbing the area around it.

  • A set of steel panel beating dolliesEssential

    Dollies

    Shaped steel blocks held behind the panel so the hammer works metal against them. Without one you stretch rather than shape.

  • A panel beating slapper file tool

    Slapper

    A long flat face that spreads the blow over a wide area, flattening a bulge without leaving hammer marks.

  • Body spoons: A set of body repair spoons

    Body spoons

    Curved levers used as a dolly in a place your hand cannot reach, or to prise a panel from behind trim.

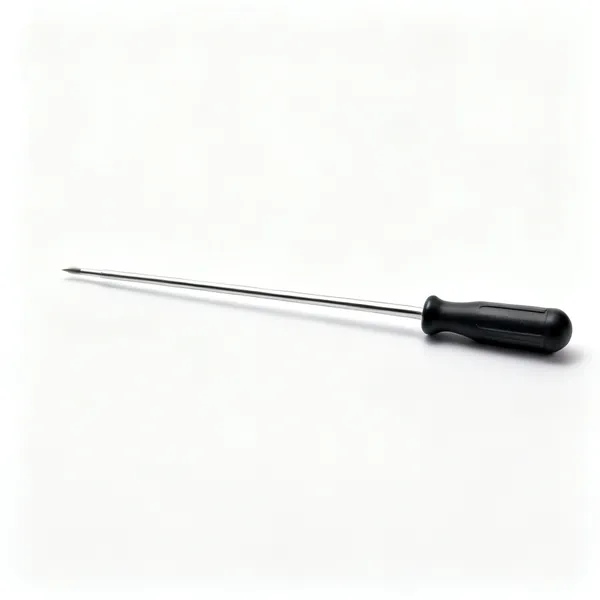
  • Slide hammer puller: A slide hammer dent puller tool

    Slide hammer puller

    Grips or welds to a dent and pulls it out with a sliding weight, where there is no access behind the panel.

  • A stud welder dent pulling gun

    Stud welder

    Welds pins to the panel so a dent can be pulled from the front. The standard method on a modern closed panel.

  • Glue pull kit: A dent glue pulling kit with tabs and bridge

    Glue pull kit

    Tabs glued to the paint and pulled with a bridge, so a shallow dent comes out with no paint damage at all.

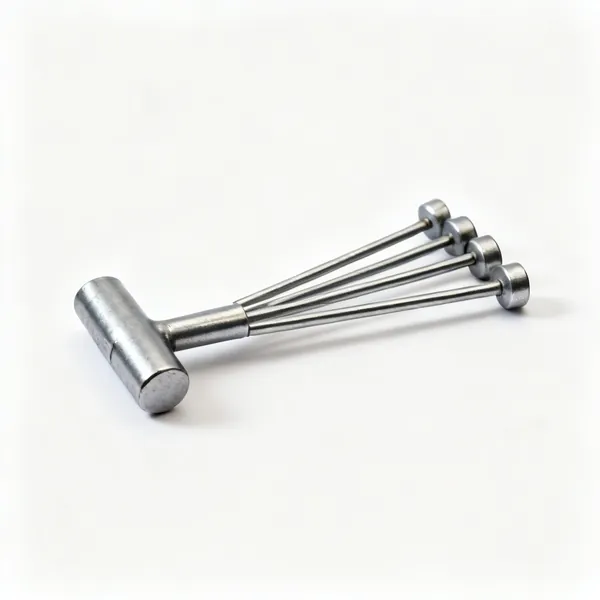
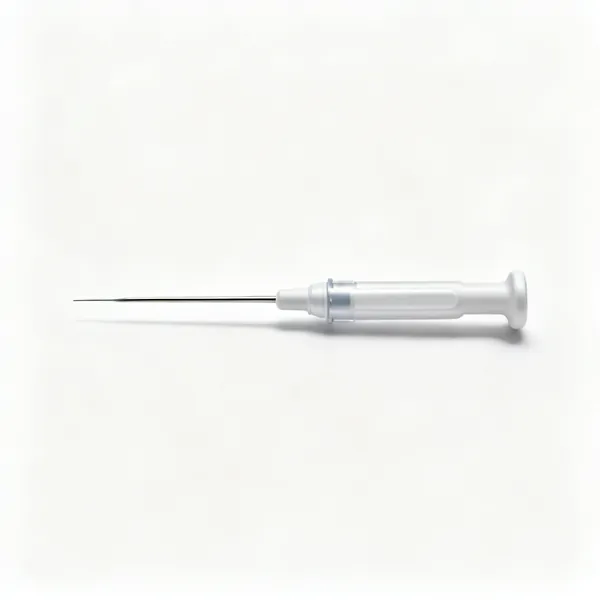
  • Paintless dent rods: A set of paintless dent repair rods

    Paintless dent rods

    Long levers worked behind a panel to push a dent out gradually. Skilled work, and it leaves the original paint intact.

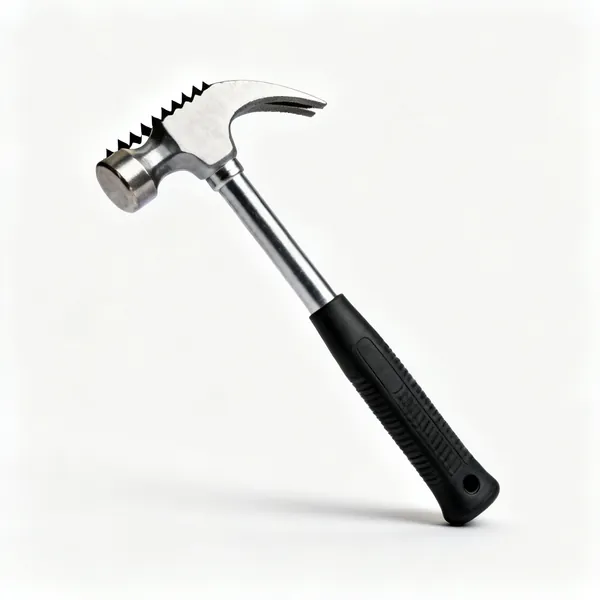
  • A shrinking hammer with a serrated face

    Shrinking hammer

    A serrated face that gathers stretched metal back in. Panels that have been over hammered need shrinking, not more beating.

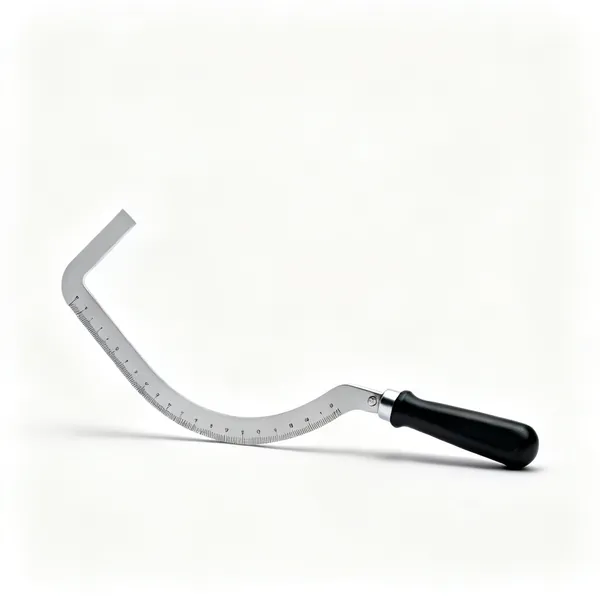
  • Contour gauge: A flexible contour profile gauge

    Contour gauge

    Copies the profile from the good side of the car so you can check the repair matches it rather than guessing.

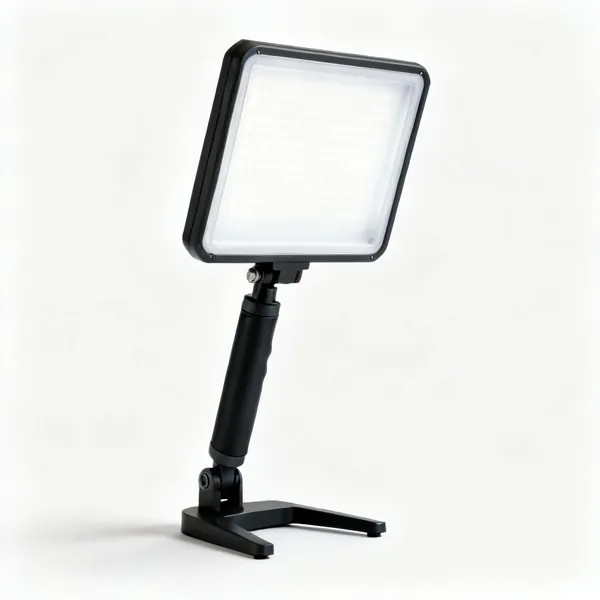
  • Raking work light: An LED panel inspection light on a standEssential

    Raking work light

    A light placed to shine along the panel, which reveals every ripple. Overhead light hides exactly what paint shows.

Cutting, welding & rust repair 14

Removing rust and replacing metal. Thin sheet is easy to blow through, so heat control matters more than power.

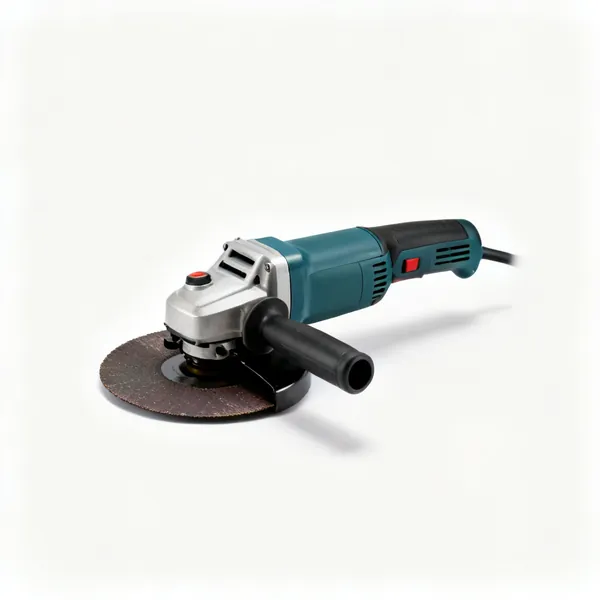
  • Angle grinderEssential

    Angle grinder

    Cuts out rust and grinds welds back. The most used power tool in body repair and the least forgiving.

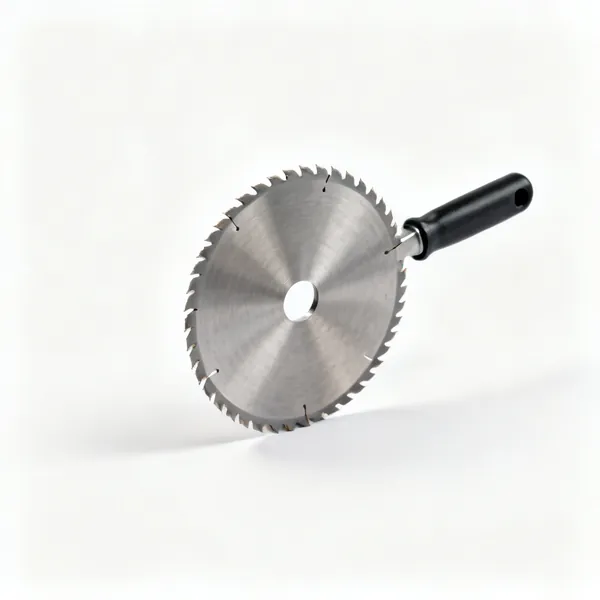
  • Thin cutting discs: Thin metal cutting discsEssential

    Thin cutting discs

    One millimetre discs for sheet steel, which cut fast with little heat. Thick discs distort the panel as they go.

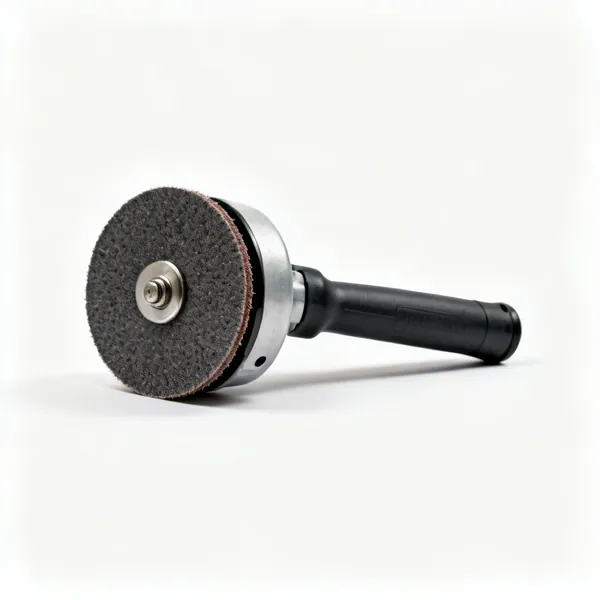
  • Paint stripping disc: A paint and rust stripping disc for a grinderEssential

    Paint stripping disc

    Takes paint and surface rust off without cutting into the steel the way a grinding disc does.

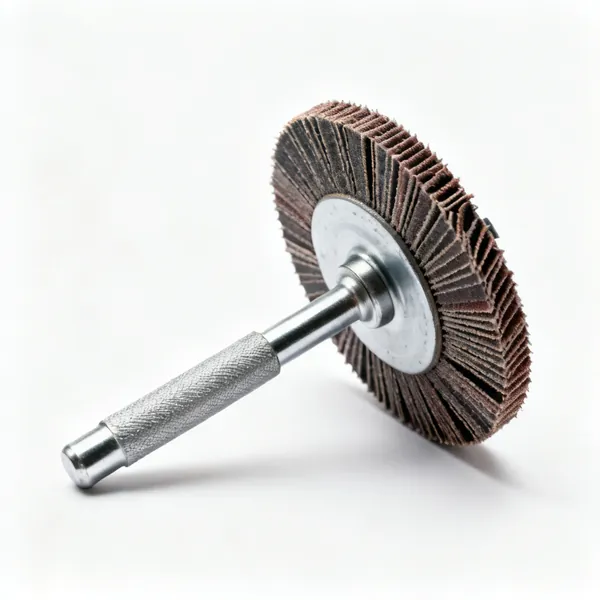
  • An abrasive flap discEssential

    Flap disc

    Blends a weld down smoothly without gouging. What you finish with rather than a hard grinding disc.

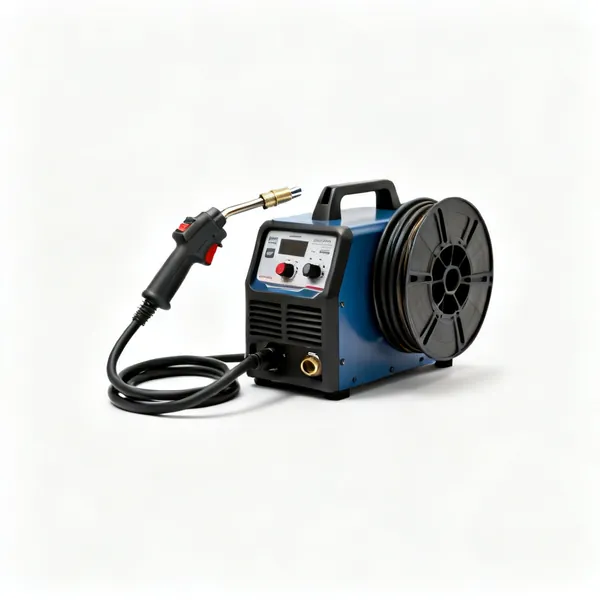
  • A MIG welder with a torch and reel

    MIG welder

    The standard for body panels, with fine wire and low current. Stitch rather than run, or the heat warps the panel.

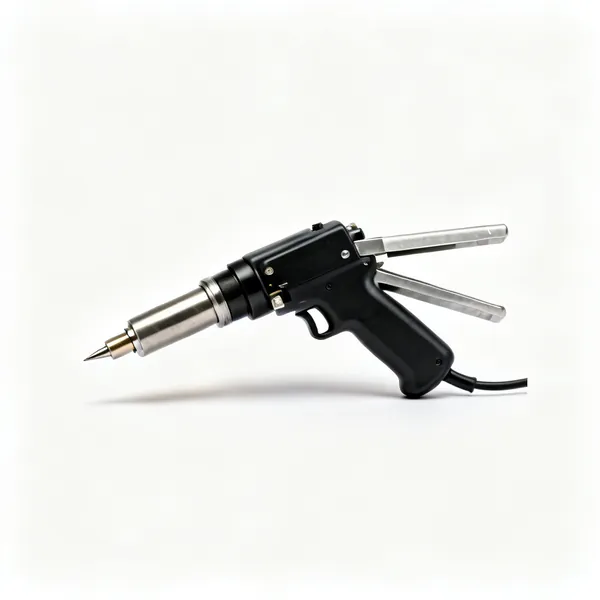
  • A handheld spot welder with arms

    Spot welder

    Fuses two sheets at a point with a current pulse, which is how the car was assembled in the first place.

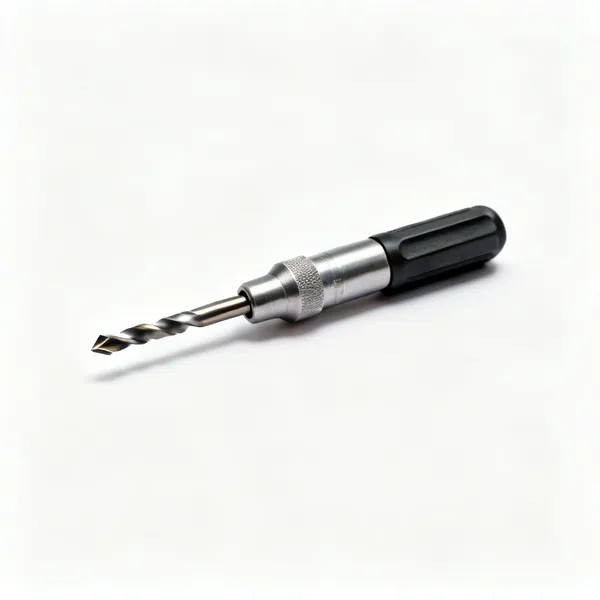
  • A spot weld cutter drill bit

    Spot weld cutter

    A hollow cutter that drills out a factory spot weld so a panel can be separated without destroying the flange under it.

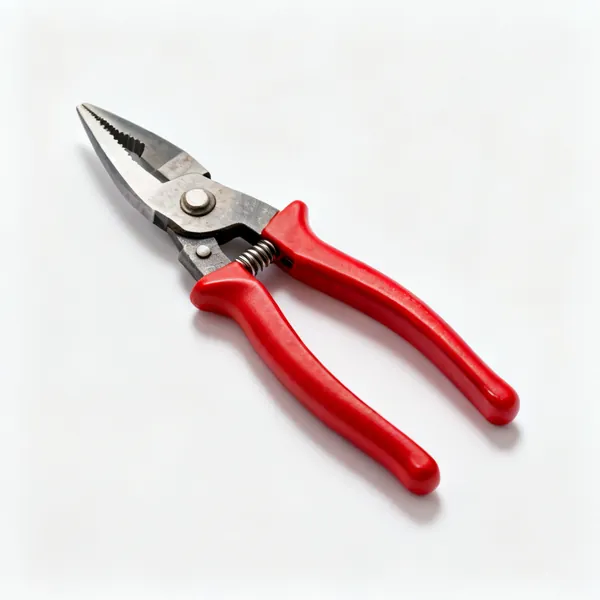
  • A pair of red handled tin snipsEssential

    Tin snips

    Cuts repair patches from sheet with no heat and no distortion. Left, right and straight patterns.

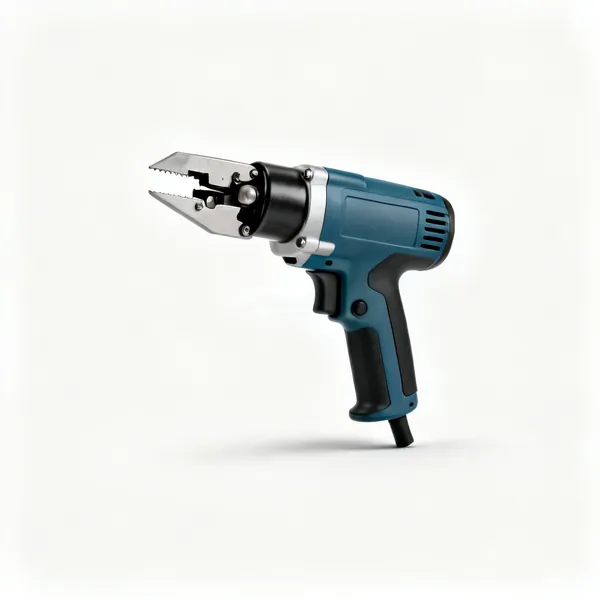
  • Sheet nibbler: An electric sheet metal nibbler

    Sheet nibbler

    Punches through sheet leaving a clean cool edge, so no heat distortion and no shower of sparks near glass.

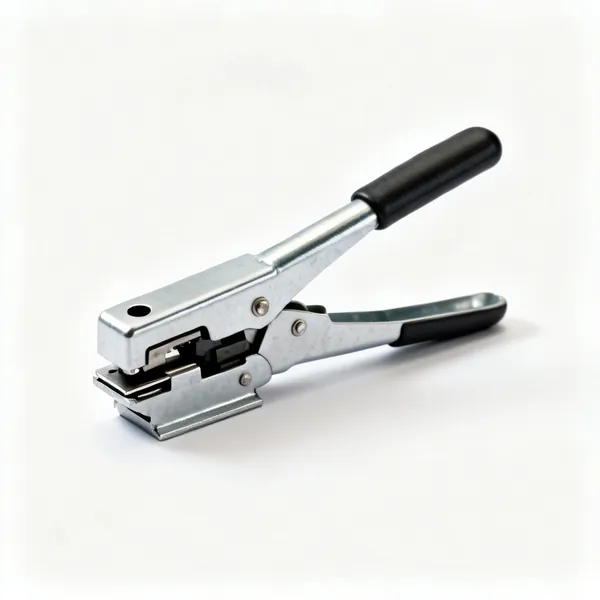
  • Flanger & hole punch: A sheet metal flanger and hole punch tool

    Flanger & hole punch

    Steps the edge of a patch so it sits flush, and punches holes for plug welds. Makes a patch look factory rather than added.

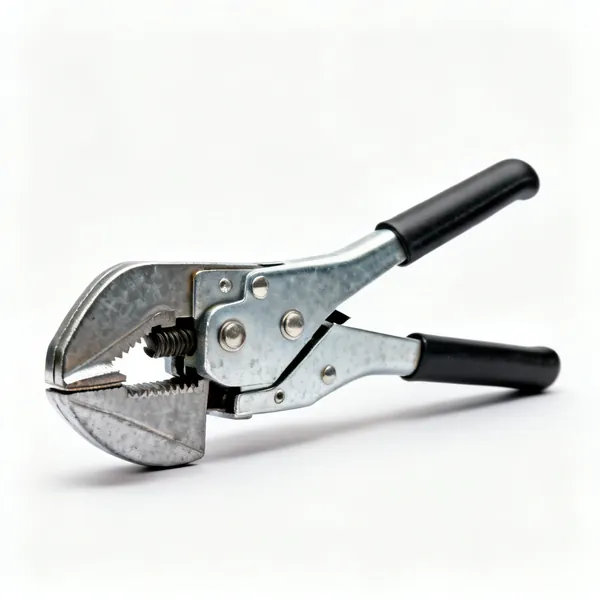
  • Panel clamps: Sheet metal panel welding clamps

    Panel clamps

    Holds a patch tight and aligned while it is tacked. Metal that does not meet cannot be welded, only filled.

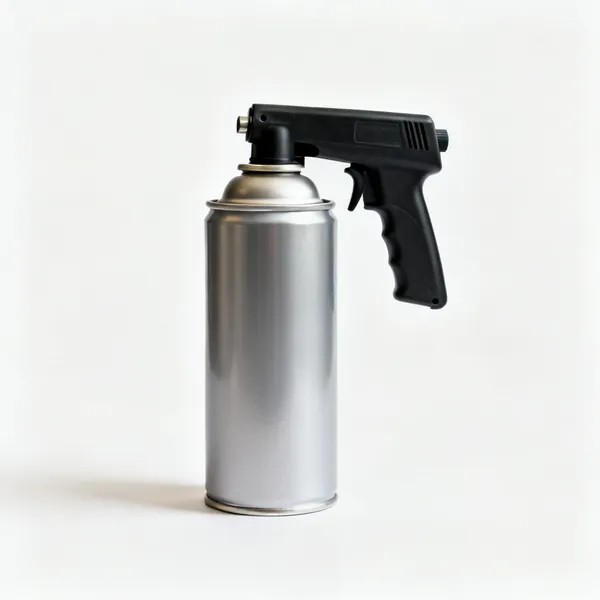
  • Weld through primer: An aerosol can of weld through zinc primer

    Weld through primer

    Zinc primer on the mating faces of a joint, so the inside of the repair does not start rusting where you cannot reach.

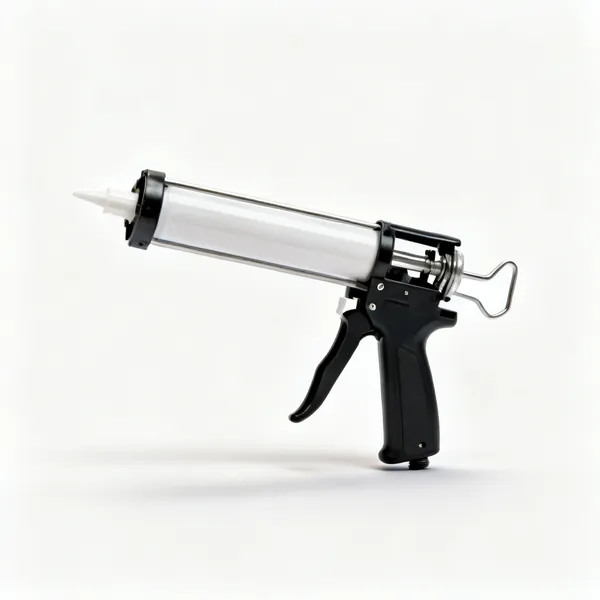
  • A cartridge of panel bonding adhesive with a gun

    Panel bonding adhesive

    Structural adhesive replacing welds on some panels. No heat, so no distortion, and it seals the joint as it bonds.

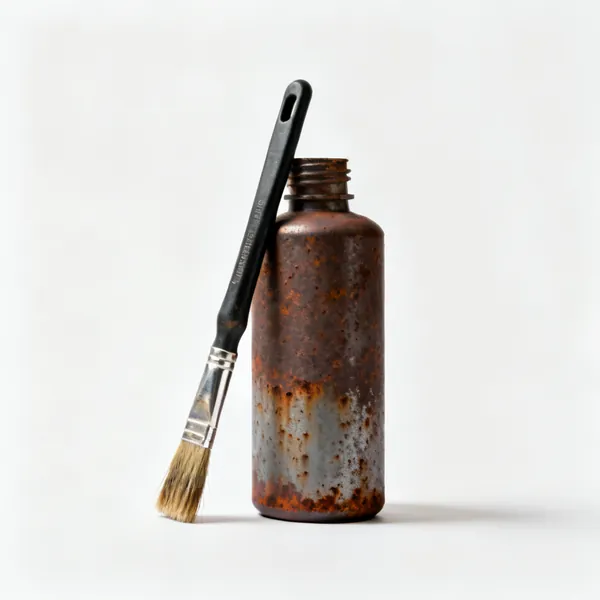
  • Rust treatment: A bottle of rust converter treatment with a brushEssential

    Rust treatment

    Chemically stabilises any trace of rust left in a pitted surface, before primer goes over it.

Filling & shaping 11

The last millimetre of shape. Filler is a finishing material, and using it as a shaping material is why repairs fail.

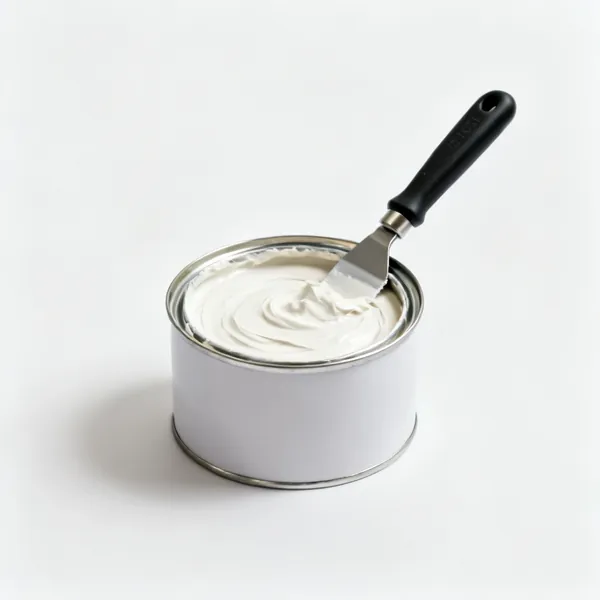
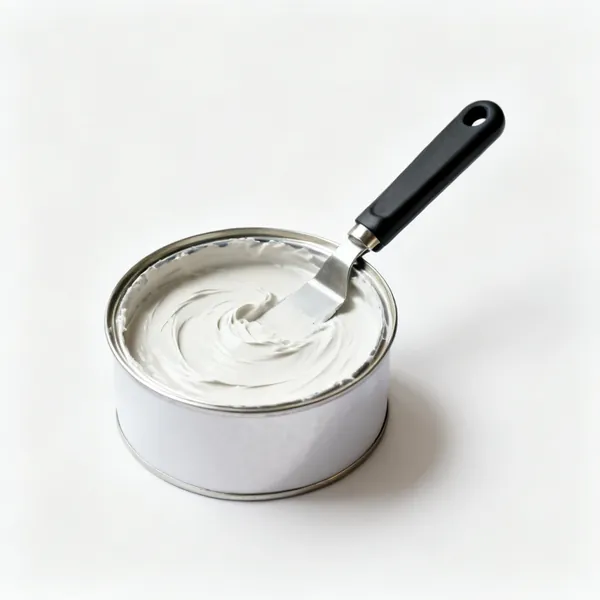
  • A tin of body filler with hardenerEssential

    Body filler

    Polyester filler mixed with hardener for the final millimetre over sound bare metal. Thin layers, each shaped before the next.

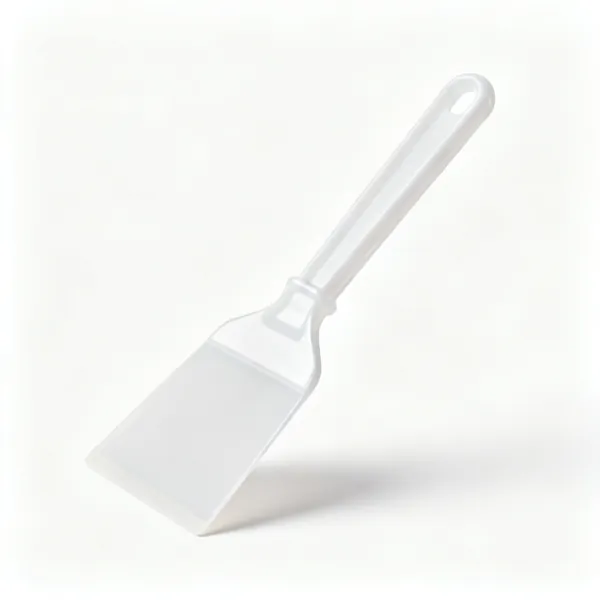
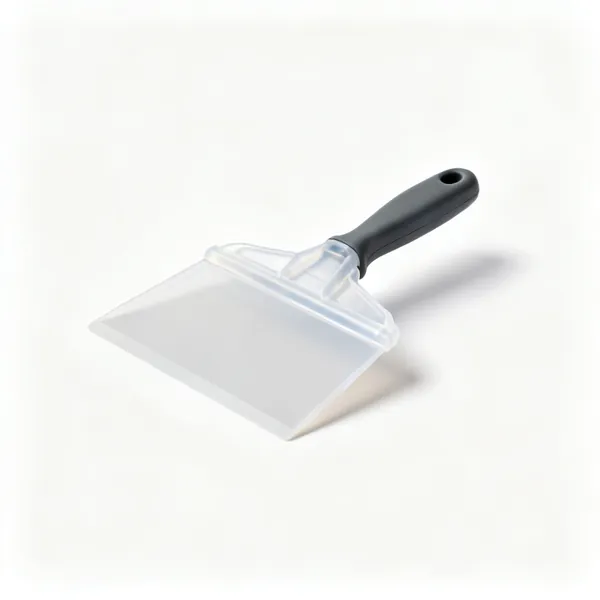
  • A set of plastic filler spreadersEssential

    Spreaders

    Flexible plastic blades for applying filler smoothly. A ragged edge leaves ridges, and they cost almost nothing.

  • A plastic filler mixing board with a spreaderEssential

    Mixing board

    A non absorbent surface for mixing filler and hardener evenly. Cardboard soaks the resin out and changes the mix.

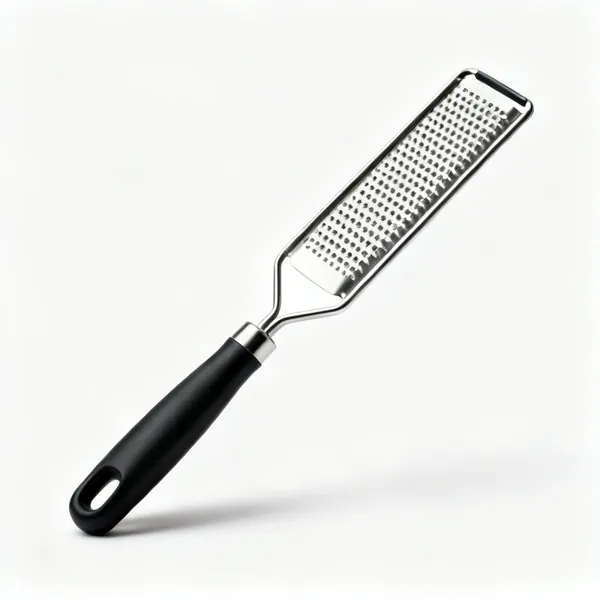
  • Body file: A body filler cheese grater file

    Body file

    A coarse open file used while filler is still cheese hard, taking the bulk off far faster than sandpaper.

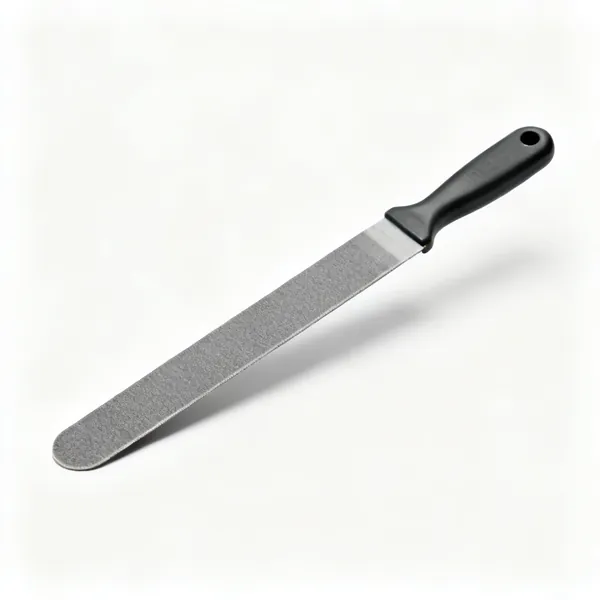
  • Long file board: A long flat sanding file boardEssential

    Long file board

    A long flat board that spans the repair and cuts the high spots. Length is what makes a panel flat rather than smooth.

  • A set of rubber sanding blocksEssential

    Sanding blocks

    Flat and curved blocks so pressure is spread. Fingers create hollows, and blocks are what actually flatten a panel.

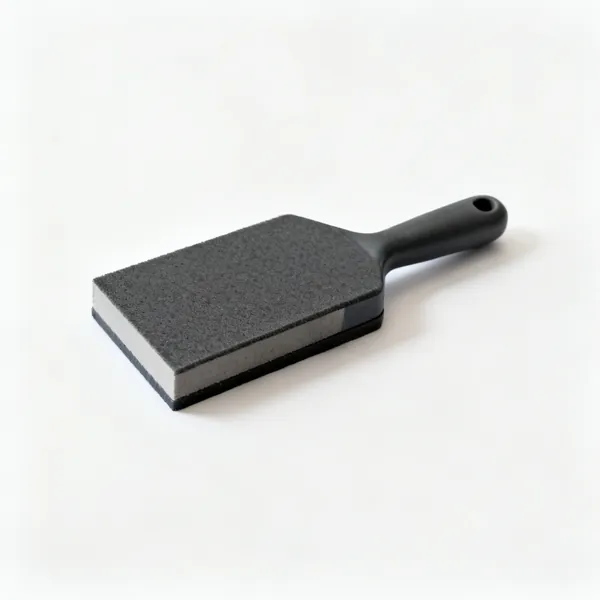
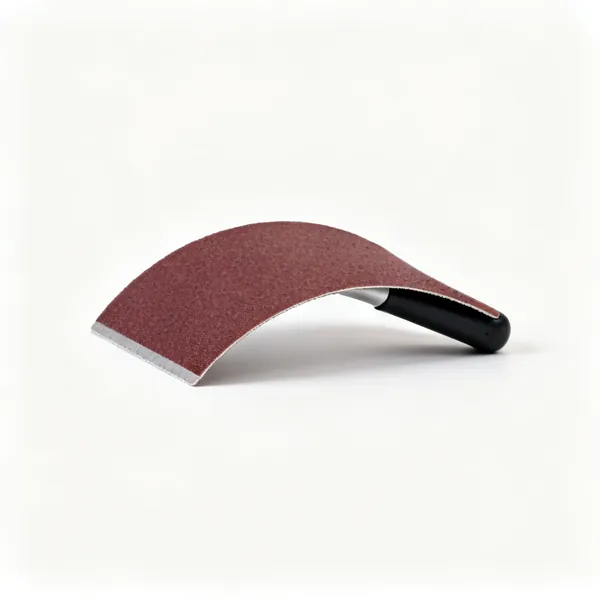
  • Flexible sanding pad: A flexible curved sanding pad

    Flexible sanding pad

    Follows a curve without flattening it, for wings and swage lines where a rigid block would cut through the shape.

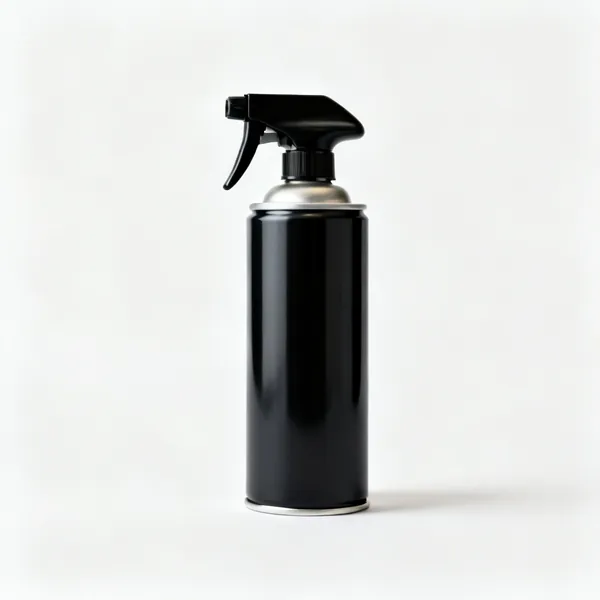
  • An aerosol can of black guide coatEssential

    Guide coat

    A contrast mist that stays in the low spots as you sand. It shows the shape your eye and hand both miss.

  • Fine stopper: A tube of fine finishing stopper filler

    Fine stopper

    A very fine filler for pinholes and sanding scratches after the main filling. Primer will not fill a pinhole.

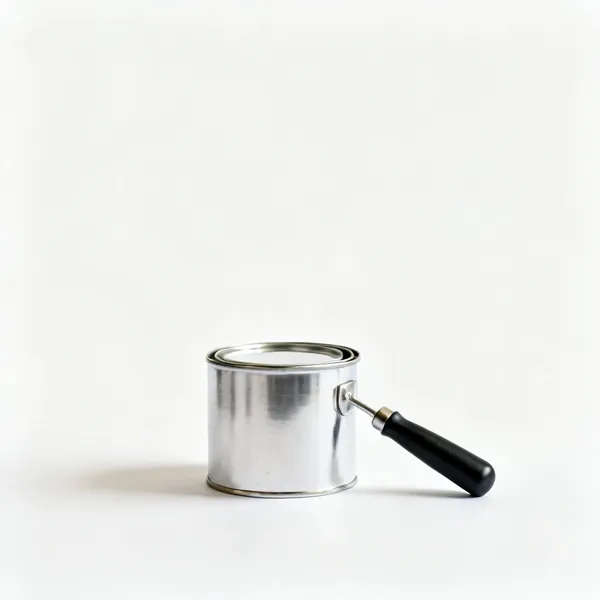
  • A tin of glazing putty filler

    Glazing putty

    A thin skim over a whole repair to take out the last imperfections before primer. The step that removes pinholes.

  • Fibreglass filler: A tin of fibreglass reinforced body filler

    Fibreglass filler

    Reinforced filler that bridges a small gap and resists moisture. Stronger than standard filler and much harder to sand.

Sanding & abrasives 10

Most of the hours in a repair. The grit sequence is the technique, and skipping steps shows under primer.

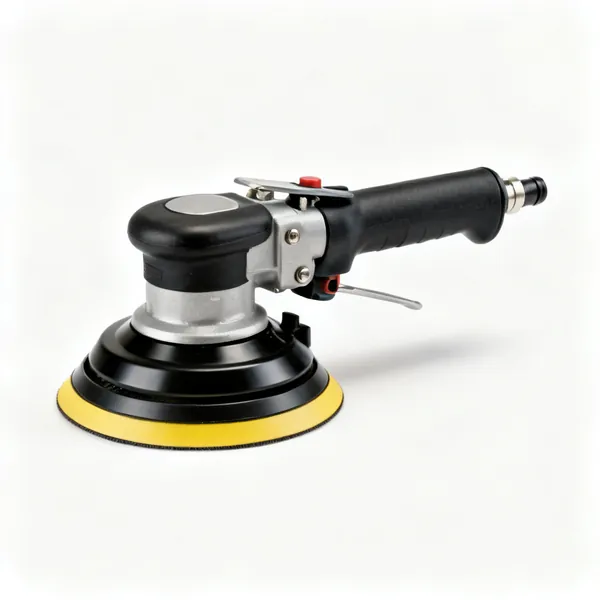
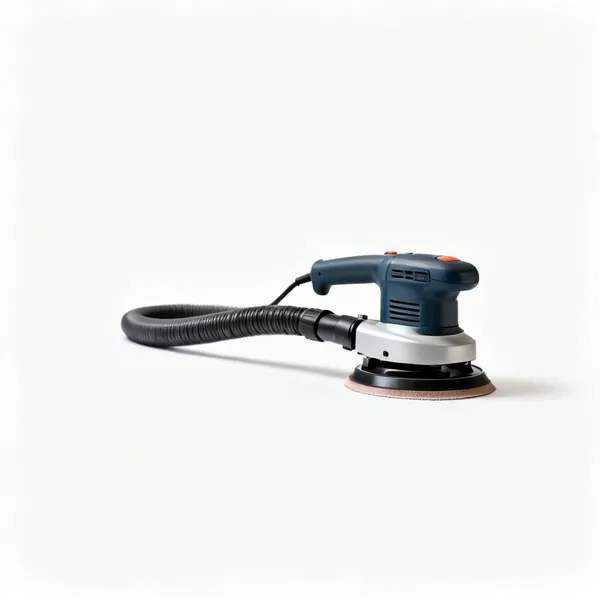
  • Dual action sander: A pneumatic dual action orbital sanderEssential

    Dual action sander

    Random orbit action that cuts without leaving swirl marks. The main powered sander in bodywork.

  • Orbital board sander: An inline air board sander

    Orbital board sander

    A long rectangular pad for flatting a whole panel evenly, where a round sander leaves scalloped low spots.

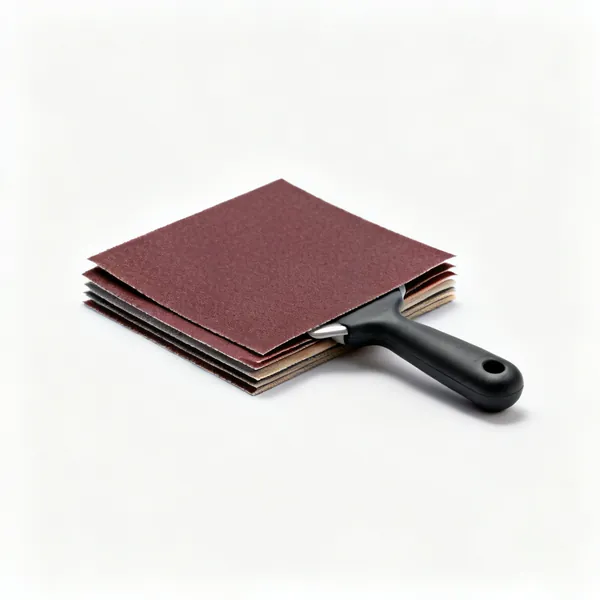
  • Abrasive paper: Sheets of automotive abrasive sandpaper in several gritsEssential

    Abrasive paper

    From around 80 grit for filler up to 800 or finer before paint. Work through in order, never skipping a step.

  • Wet and dry paper: Sheets of wet and dry abrasive paperEssential

    Wet and dry paper

    Used with water for the fine grits, so the paper does not clog and the finish is cleaner and cooler.

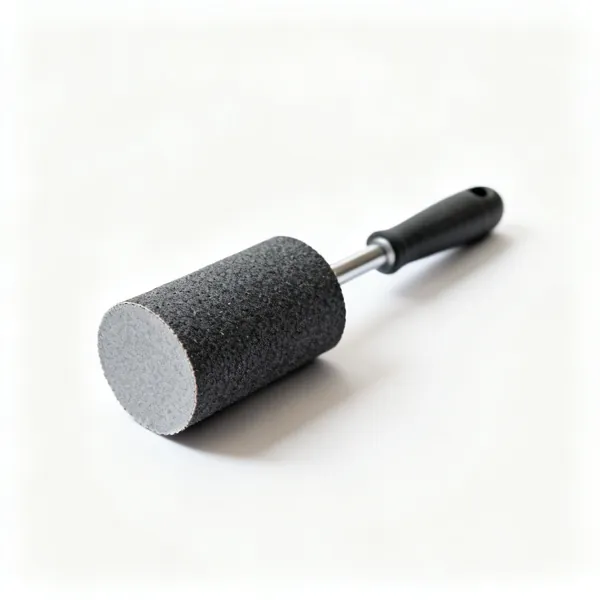
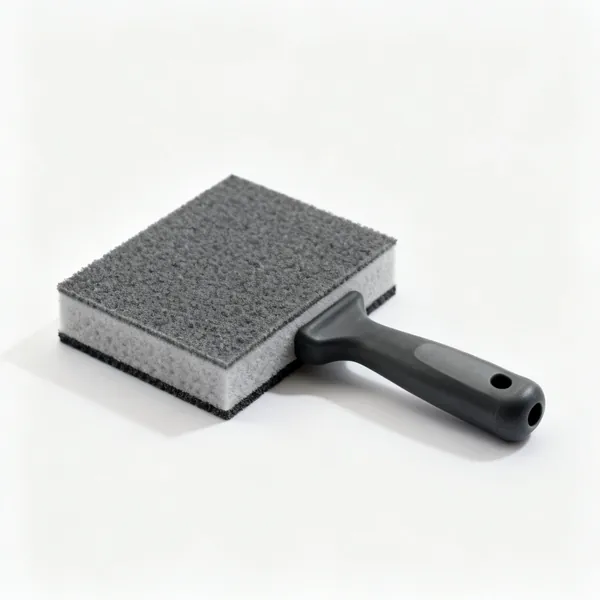
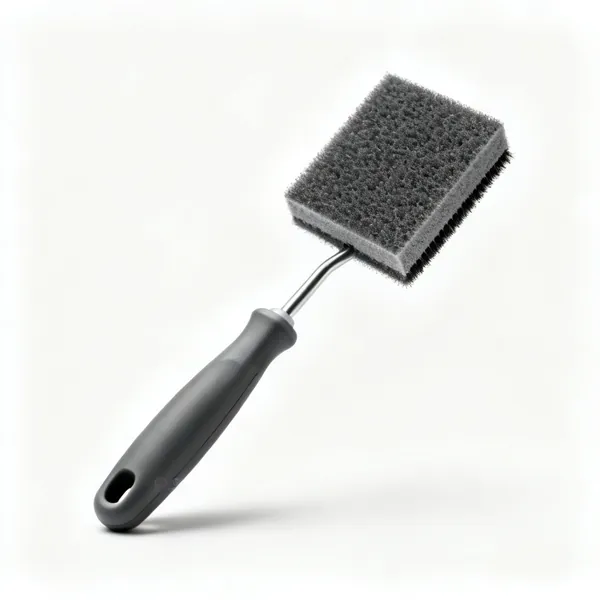
  • Abrasive sponge: An abrasive sanding sponge pad

    Abrasive sponge

    Follows a curve and gets into a recess where paper on a block cannot reach. Useful on edges and returns.

  • Abrasive scuff padsEssential

    Scuff pads

    Abrades existing paint to give a key without cutting through it, which is what a blend area needs.

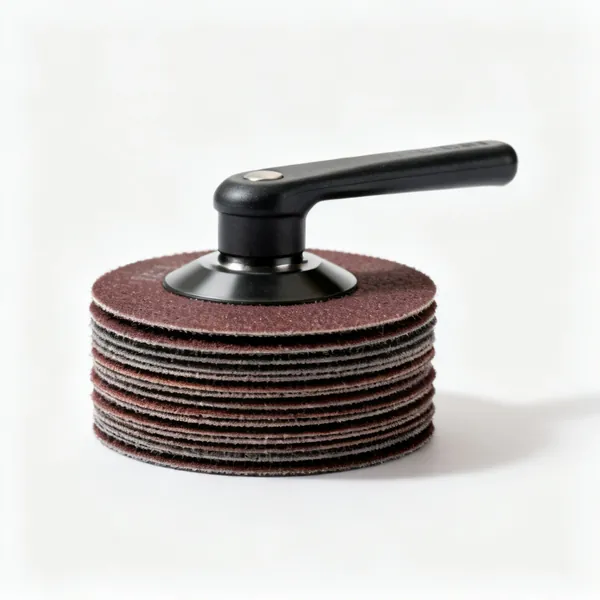
  • Hook and loop discs: A stack of hook and loop sanding discsEssential

    Hook and loop discs

    Discs for the dual action sander, changed constantly. A clogged disc burnishes the surface instead of cutting it.

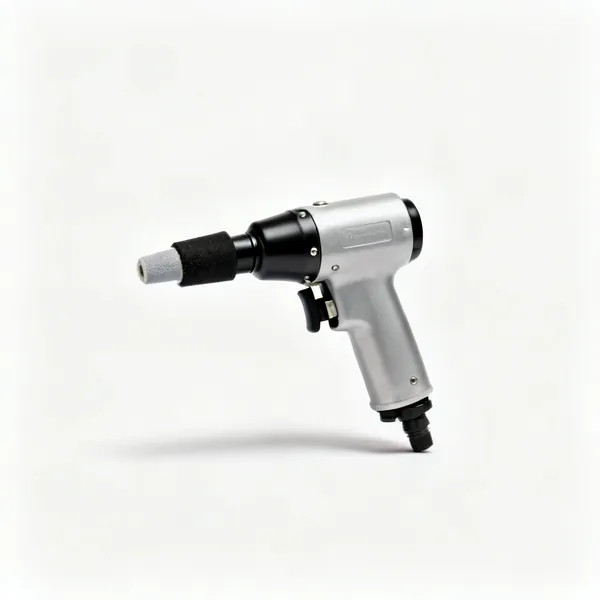
  • Detail sander: A small pneumatic detail finger sander

    Detail sander

    A small pad or finger sander for tight areas around lights, handles and swage lines.

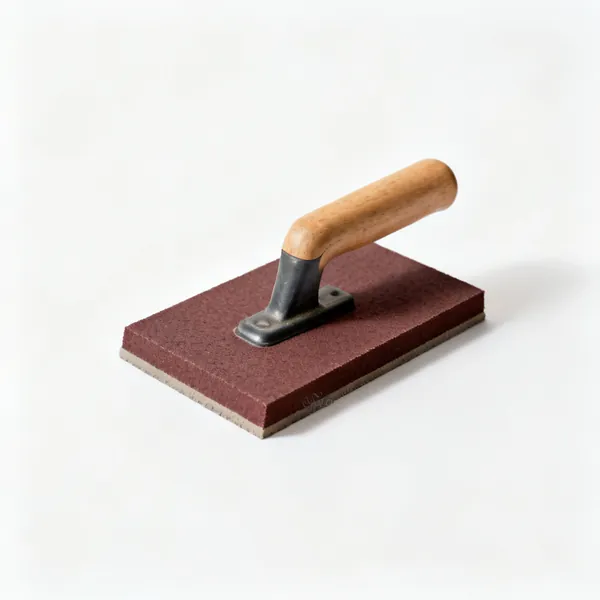
  • Hard block: A hard flat sanding block

    Hard block

    A rigid block for cutting a flat surface truly flat. Used on the final flatting before paint on a large panel.

  • Extraction & mask: A dust extractor with a sanding hoseEssential

    Extraction & mask

    Sanding filler and old paint produces very fine dust, and old paint may contain lead or chromates. Extract at source.

Masking & preparation 10

Everything that happens after sanding and before the trigger is pulled. Cheap, quick and it decides how clean the job looks.

  • Rolls of automotive masking tapeEssential

    Masking tape

    Automotive grade in several widths. Cheap tape bleeds, lifts and leaves adhesive baked onto the paint.

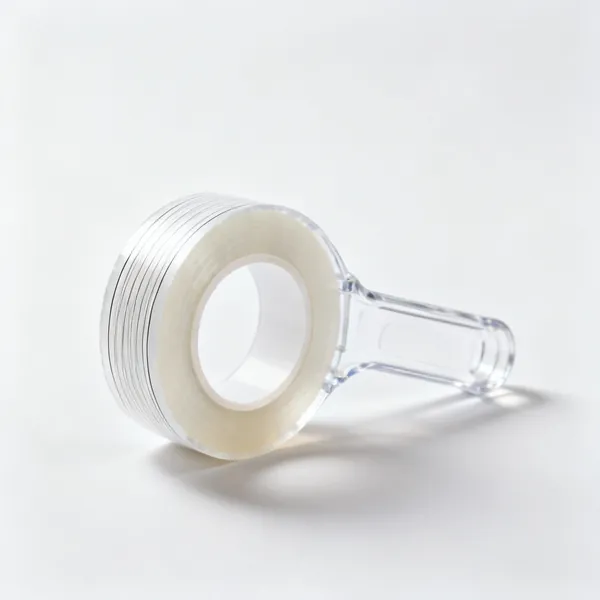
  • Fine line tape: A roll of fine line masking tape

    Fine line tape

    Thin flexible tape that follows a curve and gives a crisp edge on two tone work and stripes.

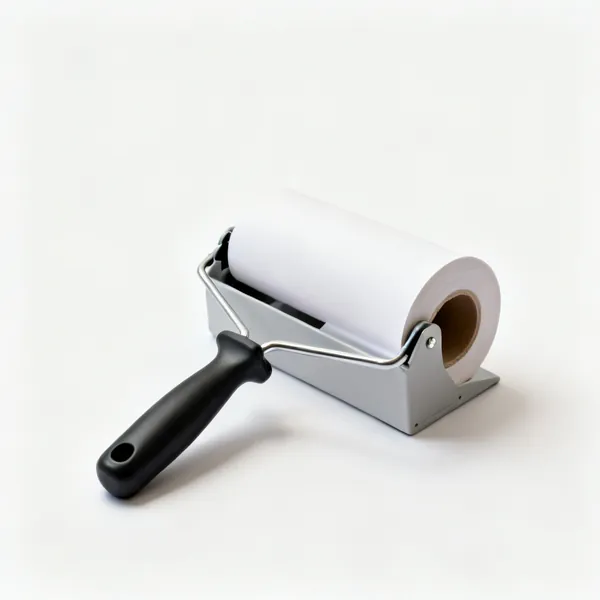
  • A roll of masking paper on a dispenserEssential

    Masking paper

    Paper rather than newspaper, which lets solvent through onto the surface you are protecting.

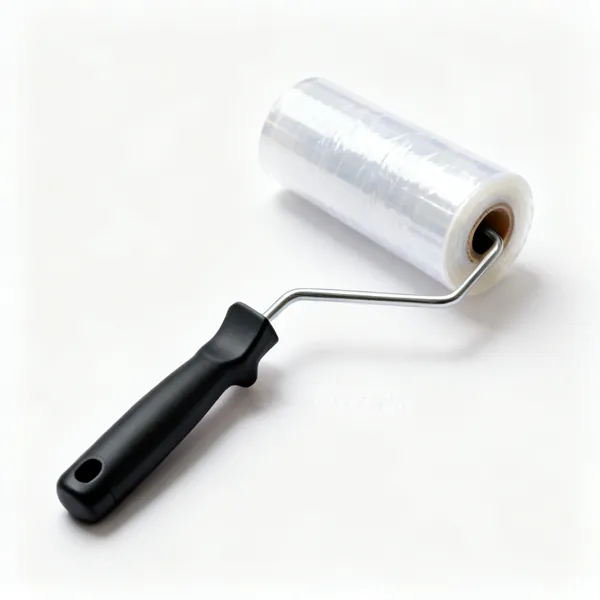
  • A roll of plastic masking filmEssential

    Masking film

    Static cling plastic covering large areas like glass and the rest of the car quickly.

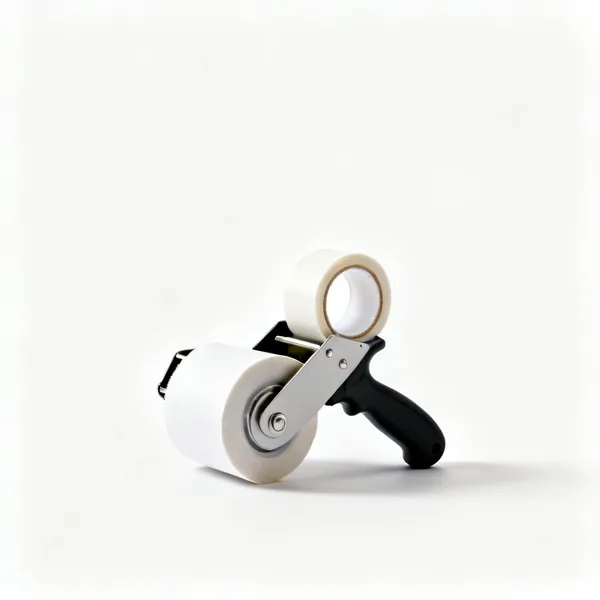
  • Masking dispenser: A masking paper and tape dispenser

    Masking dispenser

    Applies tape to the edge of paper in one pass. Turns an hour of masking into fifteen minutes.

  • A roll of foam masking tape

    Foam masking tape

    Sits in a door or bonnet gap so the paint feathers into the shut line instead of stopping at a hard edge.

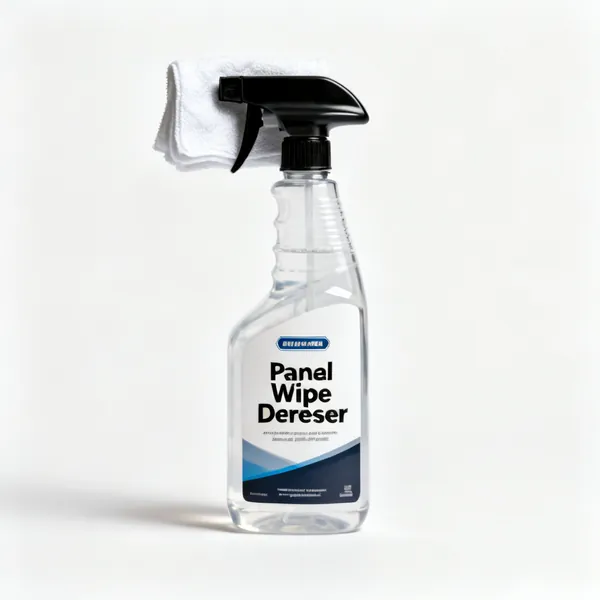
  • A bottle of panel wipe degreaser with a clothEssential

    Panel wipe

    Removes grease, silicone and polish residue before painting. Skipping it causes fisheyes, which mean starting again.

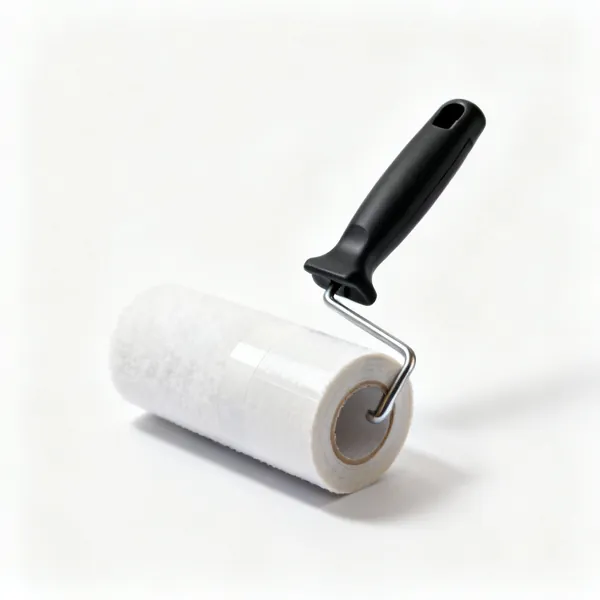
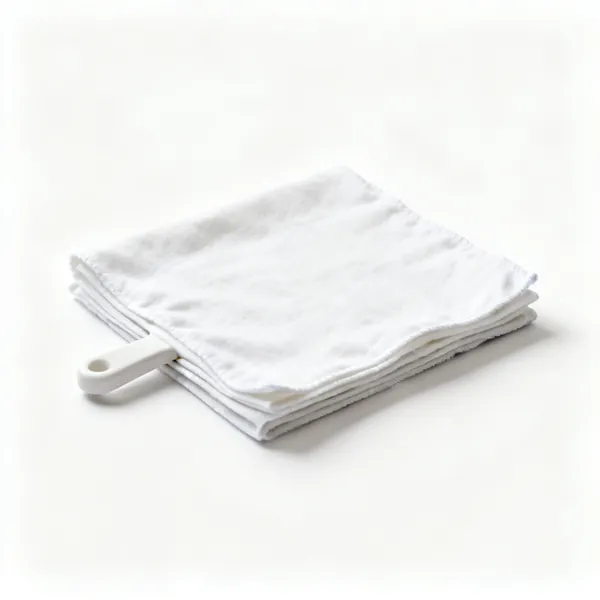
  • A folded tack clothEssential

    Tack cloth

    A sticky cloth wiped over the panel immediately before spraying, catching the dust that landed while masking.

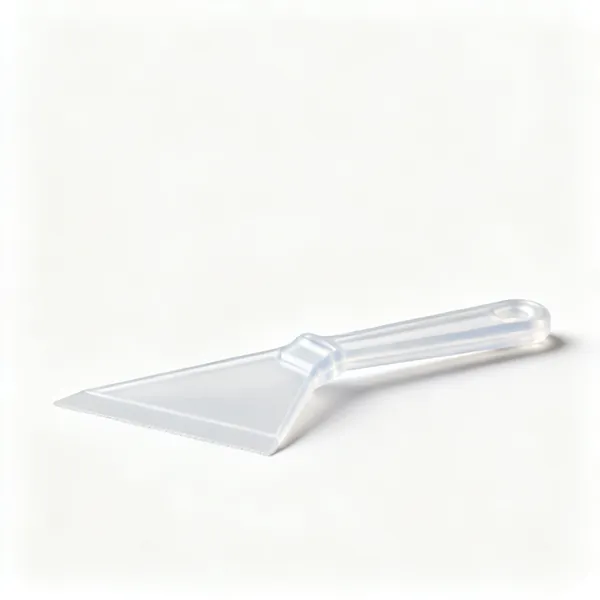
  • A set of plastic trim removal toolsEssential

    Trim removal tools

    Nylon wedges that pop trim and clips without marking paint. Masking around trim is always worse than removing it.

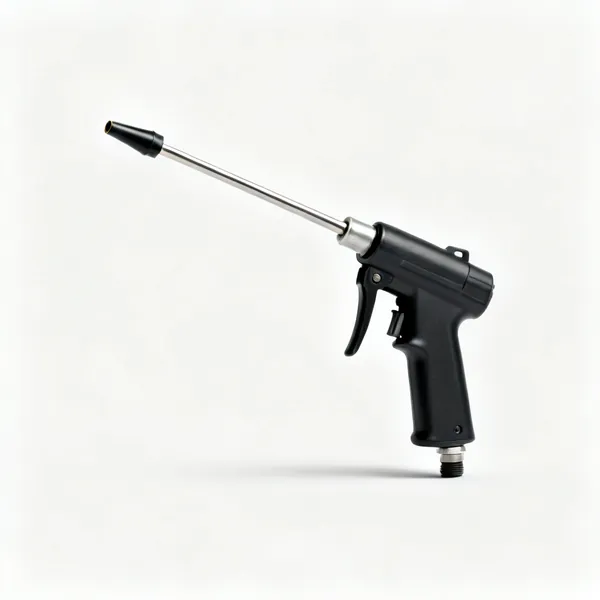
  • An air blow gun with a nozzleEssential

    Air blow gun

    Blows dust out of shut lines and recesses. Do it before masking, or you blow it onto the panel afterwards.

Spraying & finishing 14

The visible result of everything before it. Preparation and environment matter far more than the gun.

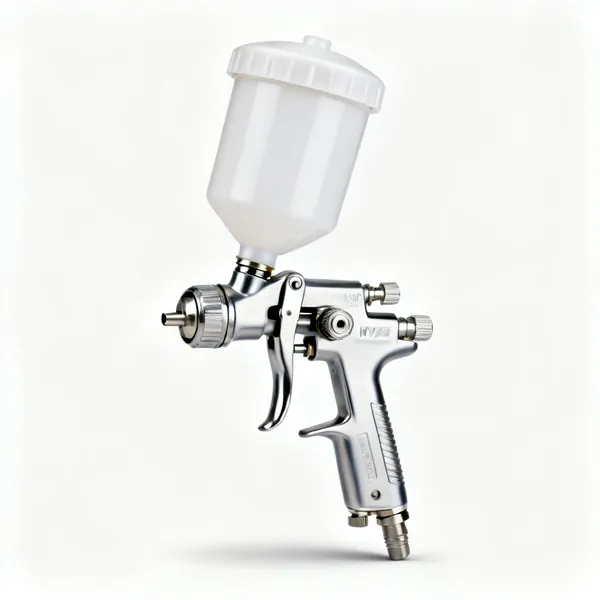
  • An HVLP spray gun with a gravity cupEssential

    Spray gun

    A gravity or suction fed HVLP gun. Nozzle size suits the material: fine for base coat, larger for primer.

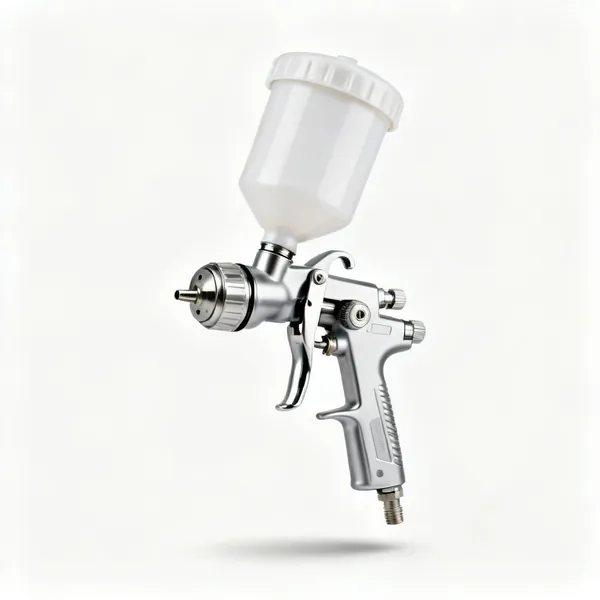
  • Primer gun: A primer spray gun with a large nozzle

    Primer gun

    A larger nozzle for high build primer, which is too thick to atomise through a fine base coat setup.

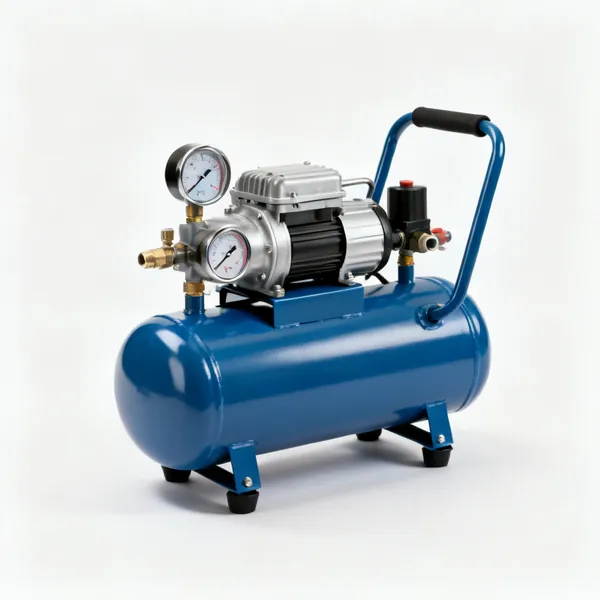
  • An air compressor with a tank and gaugesEssential

    Air compressor

    Sized on air consumption rather than tank size, since sanders and guns use far more than people expect.

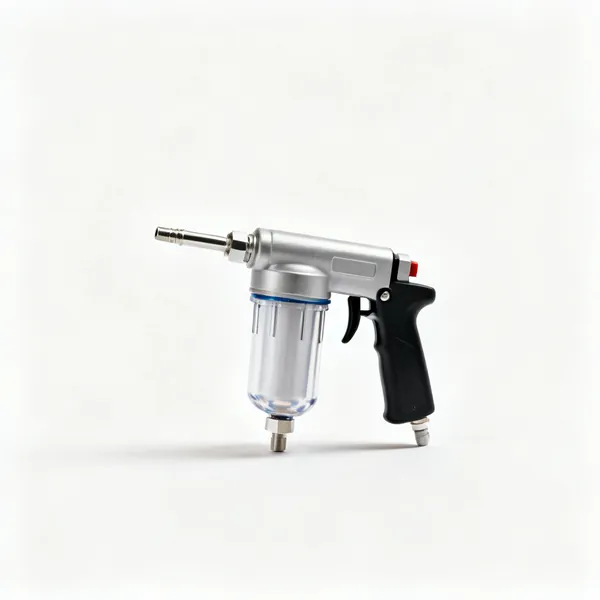
  • Water & oil trap: An air line water and oil separator filterEssential

    Water & oil trap

    Removes moisture and oil from the air line. Without it, both land in the paint as blisters and fisheyes.

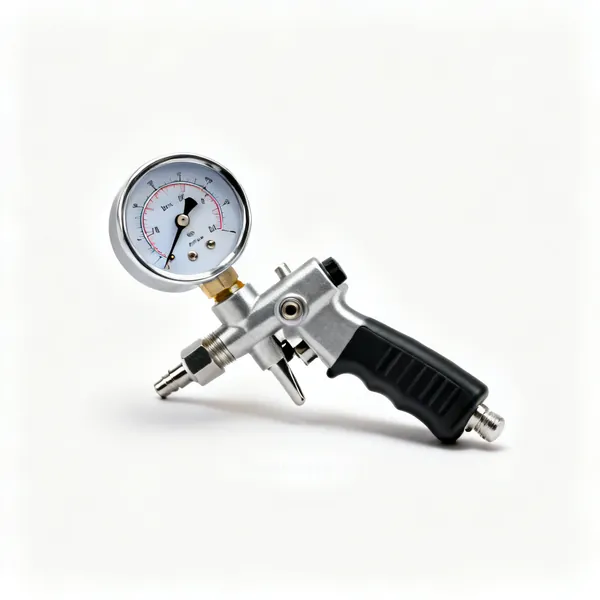
  • Air regulator: An air pressure regulator with a gaugeEssential

    Air regulator

    Sets the pressure at the gun rather than at the tank, which is where the reading actually matters.

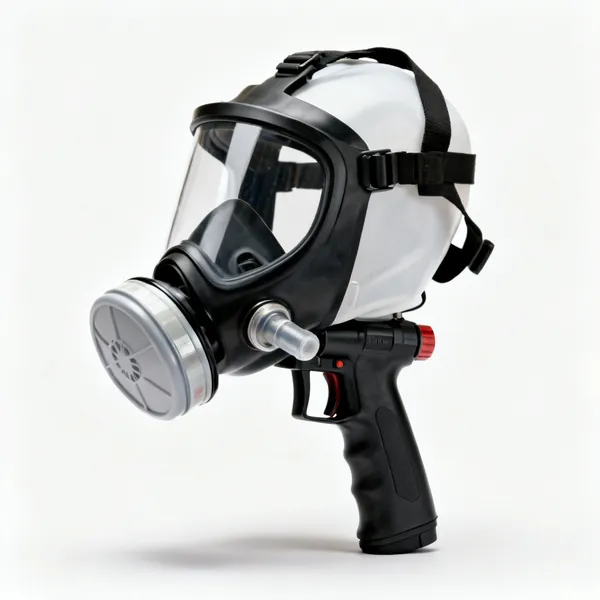
  • Air fed respirator: An air fed spray painting respirator hoodEssential

    Air fed respirator

    Clean air from outside the workspace. The only adequate protection against isocyanates in two pack paint.

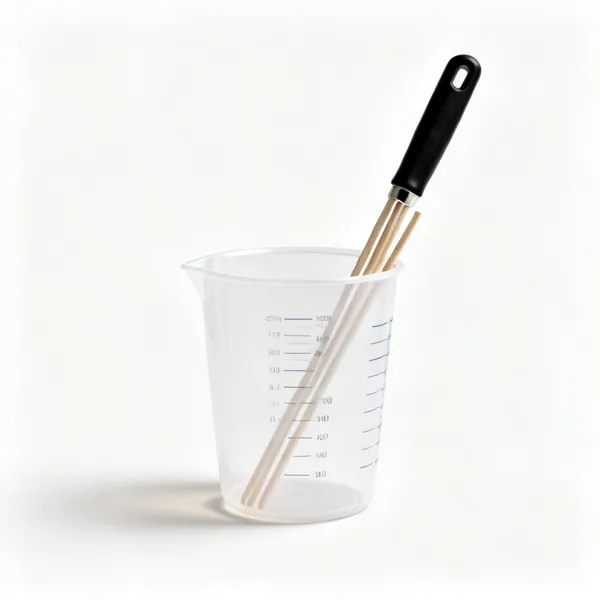
  • Mixing cups & sticks: Graduated paint mixing cups and stirring sticksEssential

    Mixing cups & sticks

    Graduated cups for measuring paint, hardener and thinner accurately. Guessing the ratio changes how it cures.

  • Paint strainers: Paper paint strainer conesEssential

    Paint strainers

    Filters bits out of mixed paint on the way into the gun. One flake of skin from the tin ruins a panel.

  • Viscosity cup: A paint viscosity measuring cup

    Viscosity cup

    Times how long paint takes to drain, giving a repeatable thinning ratio rather than judging by eye.

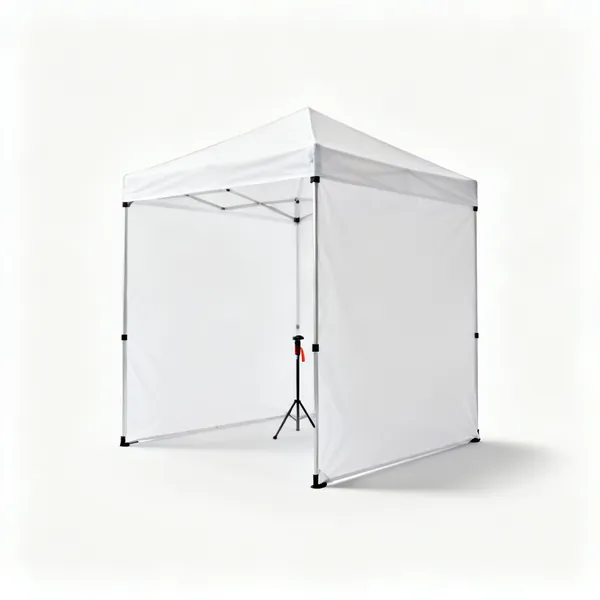
  • Spray shelter: A portable spray painting shelter tent

    Spray shelter

    A filtered enclosure that keeps dust out and fumes contained. The nearest thing to a booth in a home garage.

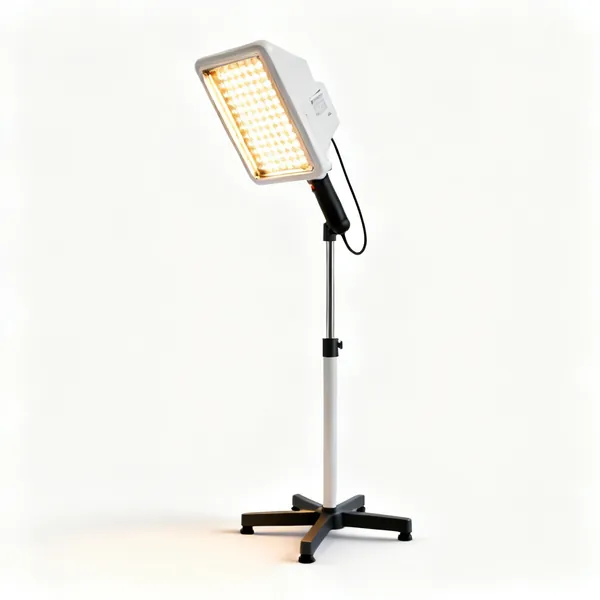
  • Infrared drying lamp: An infrared paint curing lamp on a stand

    Infrared drying lamp

    Cures paint and filler from the inside out, which a cold garage otherwise makes impossibly slow.

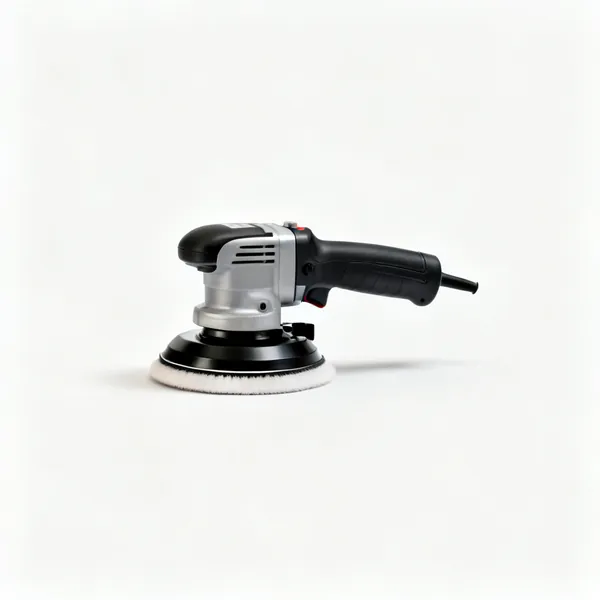
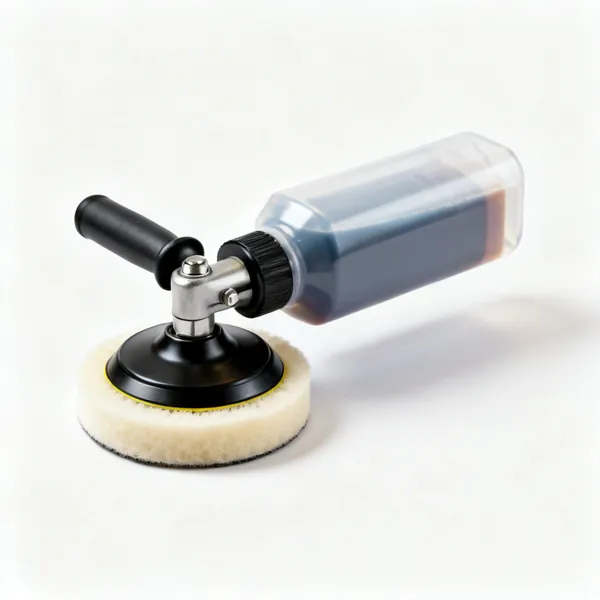
  • A dual action car polisher machine

    Polisher

    A rotary or dual action machine for flatting and polishing the finished paint, removing dust nibs and orange peel.

  • Compound & pads: Polishing compound bottles with foam pads

    Compound & pads

    Cutting compound then finishing polish on separate pads. Using one pad for both puts the coarse cut back in.

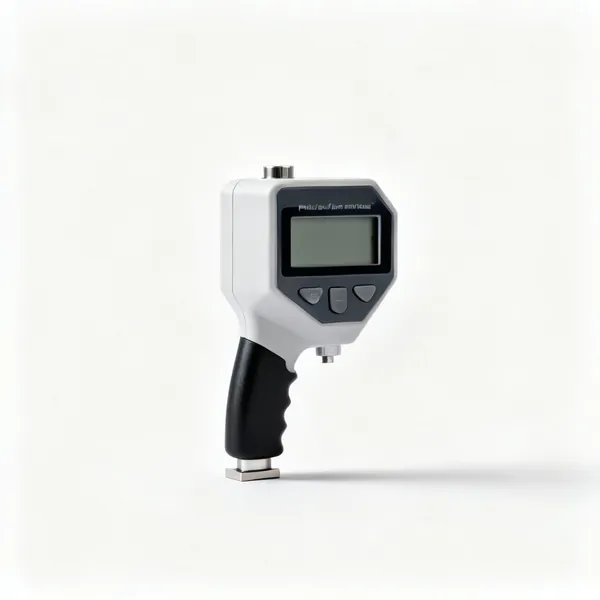
  • Paint depth gauge: A digital paint thickness depth gauge

    Paint depth gauge

    Reads how much paint is on a panel, which tells you whether it has been resprayed and how much you can safely flat.

Protection & finishing off 10

Sealing the repair so it lasts, and protecting yourself while doing it. The underside is where the next rust starts.

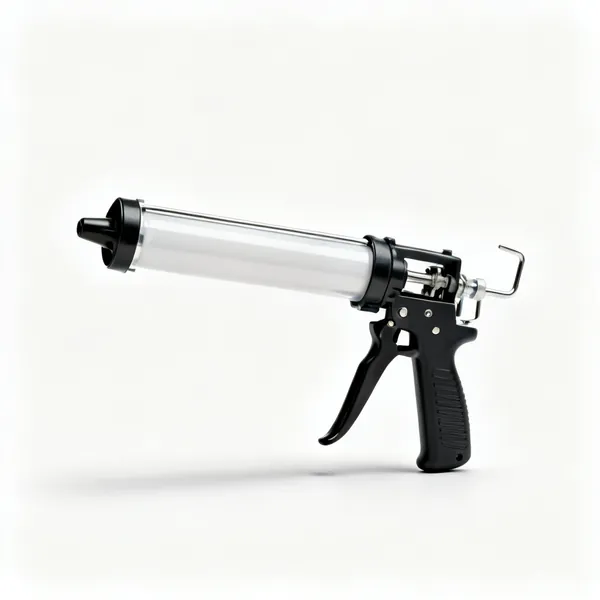
  • A cartridge gun with body seam sealerEssential

    Seam sealer

    Applied along a repaired joint to keep water out. Skipping it is why a repaired panel rusts from behind in two years.

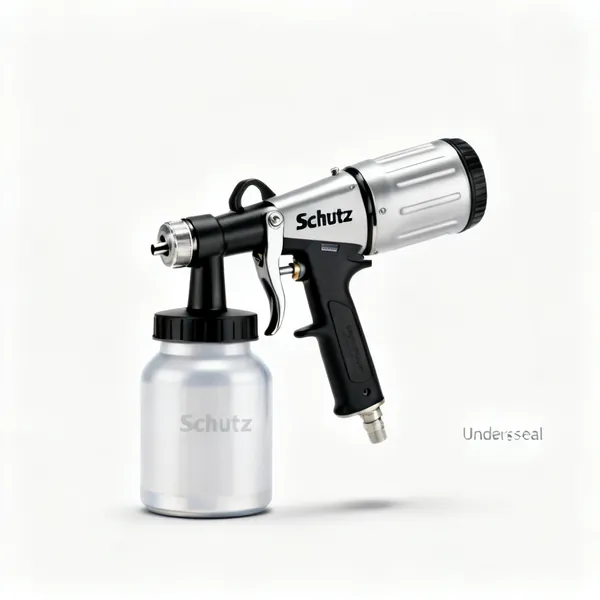
  • Underseal gun: A schutz underseal spray gun with a canister

    Underseal gun

    Sprays a thick protective coating to the underside and inside a wheel arch, where stone chips and salt do the damage.

  • A cavity wax injection kit with a long probe

    Cavity wax

    Injected into box sections and sills through existing holes, coating the inside where rust actually starts.

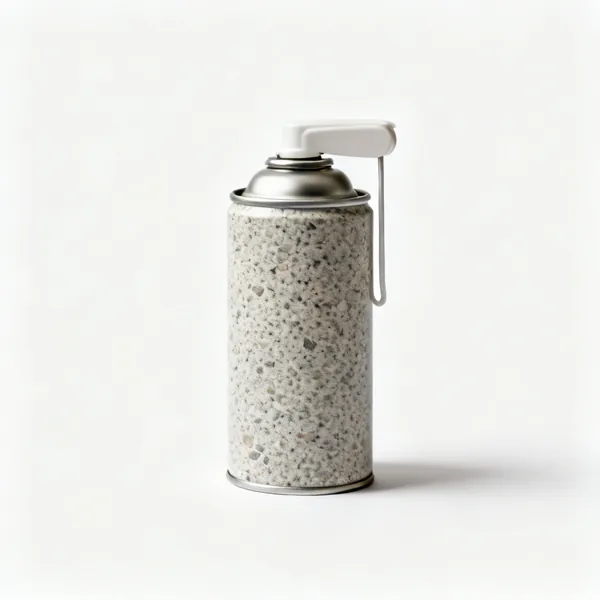
  • An aerosol can of textured stone chip coating

    Stone chip coating

    A textured tough coating for lower panels and sills that takes stone impact without chipping through to metal.

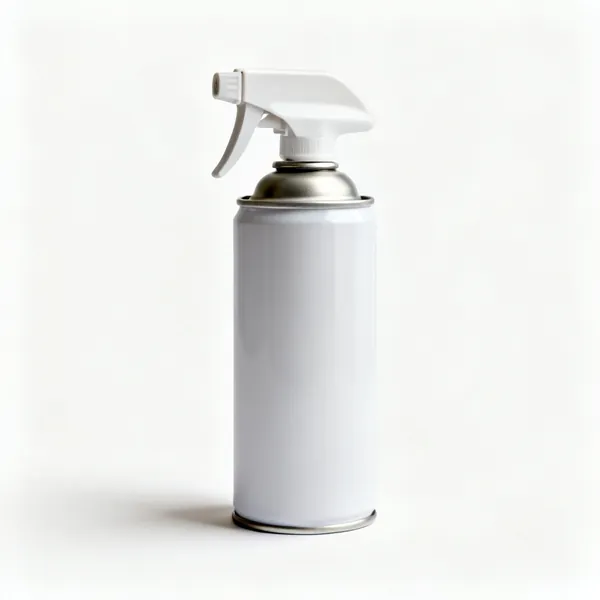
  • An aerosol can of etch primerEssential

    Etch primer

    Bites into bare metal chemically, giving adhesion that ordinary primer cannot. First coat on any bare steel.

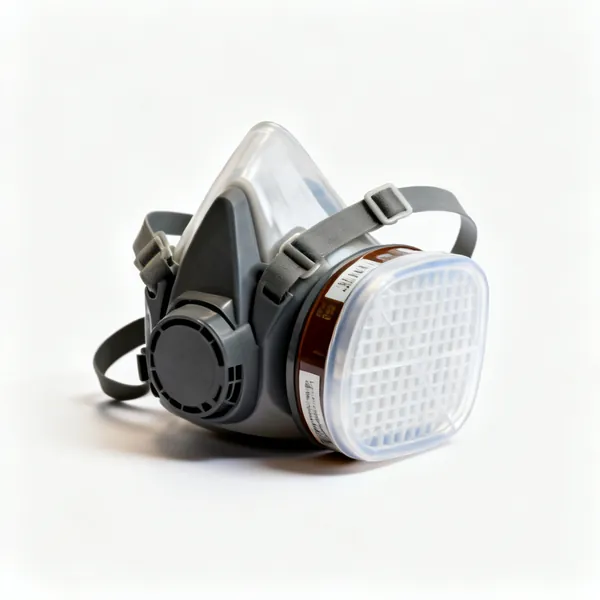
  • A cartridge respirator maskEssential

    Cartridge respirator

    For sanding, degreasing and aerosol work. Adequate for those and not for two pack spraying.

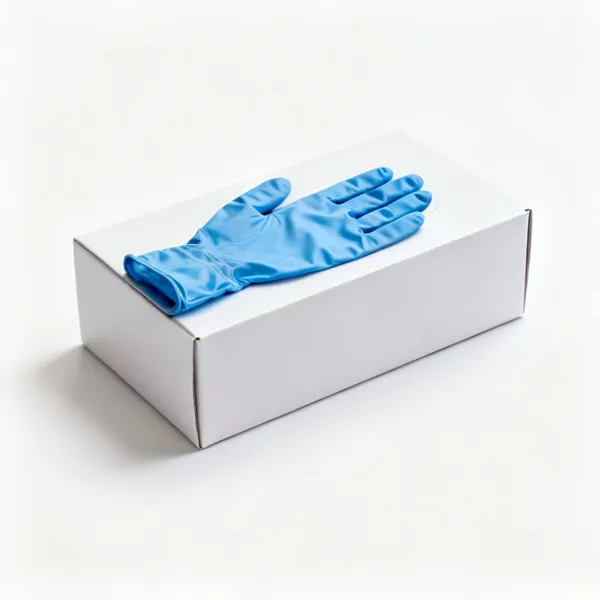
  • A box of blue nitrile glovesEssential

    Nitrile gloves

    Isocyanates and solvents pass through skin. Also keeps hand oils off a panel about to be painted.

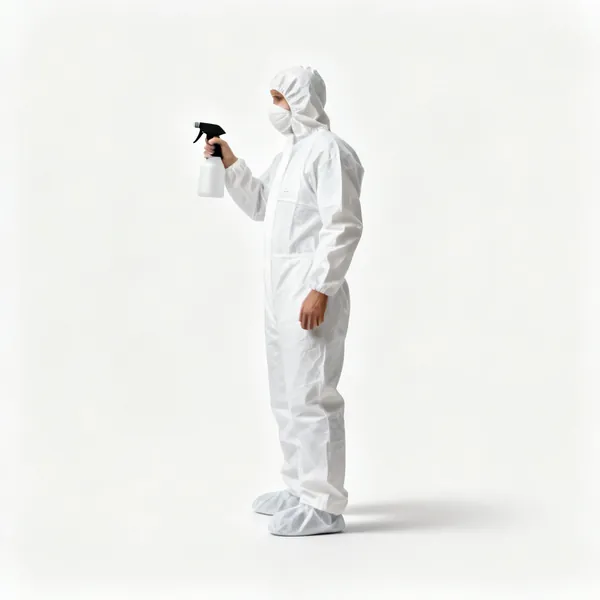
  • Spray suit: A white disposable spray painting coverall suitEssential

    Spray suit

    Stops fibres and dust from your clothing landing in wet paint, and keeps overspray off you.

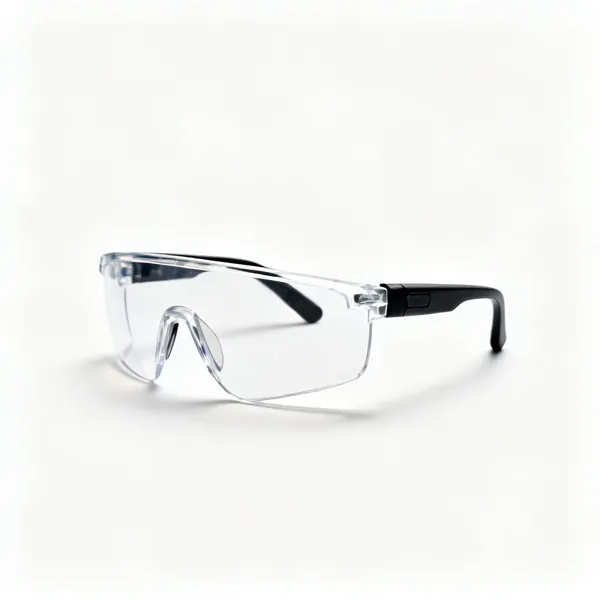
  • A pair of wraparound safety glassesEssential

    Safety glasses

    Grinding sparks, filler dust and solvent splash. Wraparound, since a grinder throws to the side.

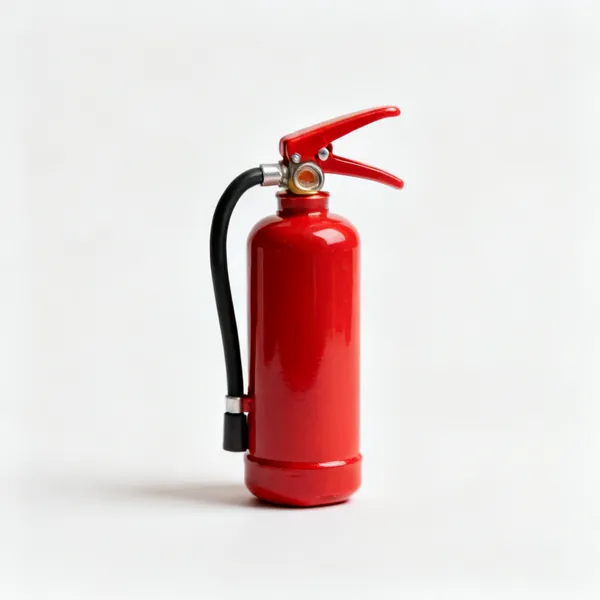
  • A small red fire extinguisherEssential

    Fire extinguisher

    Solvent, aerosols and grinding sparks in one space. Within reach whenever anything is being cut or sprayed.

Choosing auto body tools

Bodywork is a process, not a set of tools. Every stage has to be finished before the next one starts, because paint hides nothing and magnifies everything.

The process, and why the order cannot be shuffled

Bodywork goes wrong when stages get skipped or overlapped. The sequence is fixed: get the metal as close to shape as possible, treat any rust back to bare clean steel, fill only the last millimetre, shape the filler, prime, block it flat, then paint.

The reason is that every stage magnifies the one before it. Filler cannot fix a panel that is still the wrong shape, it just makes a thick soft patch that cracks. Primer will not hide a sanding scratch, it will show it. And paint, especially metallic, reveals every flat spot and every ripple you could not see in bare metal.

The single most useful habit is to stop looking at the panel and start feeling it, with a flat hand and with a guide coat.

Metal first, filler last
Get the shape back with hammers, dollies or a puller. Filler is for the final millimetre, never for the shape.
Thin filler, built in layers
Thick filler traps air, cracks and eventually lets go of the panel. Several thin coats, each shaped before the next.
Use a guide coat
A light mist of contrast colour, then sand. What remains is a low spot. It shows what your eye cannot.
Feel it with a flat hand
Your palm detects a ripple far better than your eye does. Flat hand, light pressure, sweep across the repair.
Work through the grits in order
Every skipped grit leaves scratches the next one cannot remove, and primer then shows them clearly.
Check under a light that rakes the panel
Overhead light hides waves. A light along the surface reveals exactly what the finished paint will.

Rust, and the only repair that lasts

Rust is not a surface problem. By the time it shows, it is in the metal, and covering it with filler simply hides it while it continues underneath. A filled rust patch reappears, usually within two winters, and looks worse than before.

The only lasting repair is to remove all of it. Cut out or grind back until every trace of brown is gone, treat the surrounding metal, then weld or bond in new steel if there is a hole. Filler over sound bare metal is fine; filler over rust is a delay, not a repair.

Cut back to bright clean steel
All of it. Rust left under a repair keeps going, and it will come back through the paint.
A hole needs metal, not filler
Anything you can push through wants a welded or bonded patch. Filler across a hole has nothing to hold on to.
Treat the surrounding area
Rust converter or an etch primer on the bare metal around the repair, before anything covers it.
Seal the back of the panel too
Most rust starts from behind, in a trapped damp cavity. Repairing only the visible side is repairing the symptom.
Check the structure, not just the skin
Rust in a sill, chassis rail or suspension mount is a safety issue and a test failure, not a cosmetic one.

Spraying, and what actually decides the finish

Paint problems are almost always preparation problems or environment problems, not gun problems. A cheap gun over good preparation in a clean warm space beats an expensive gun over poor preparation in a cold dusty garage.

The two environmental factors that matter are dust and temperature. Dust lands in wet paint and stays there. Cold slows the cure, changes how the paint flows and causes runs and blooming. Neither is fixed by technique.

This is also the point where the health risk becomes serious. Two pack paints contain isocyanates, and they need an air fed respirator rather than a cartridge mask. This is genuinely different from ordinary spray painting.

Two pack paint needs air fed breathing protection
Isocyanates cause occupational asthma, and it is permanent. A cartridge mask is not adequate protection for this.
Control the dust before you mix anything
Damp the floor, wipe everything down, and let it settle. Dust in wet paint is a flatting and polishing job.
Warm the panel and the paint
Cold paint will not flow out, and the finish blooms or runs. Around 20 degrees for both, and stable.
Tack cloth immediately before spraying
The last wipe catches the dust that landed while you masked. It costs nothing and it saves the coat.
Blend rather than stopping at a hard edge
A repair blended out into the panel disappears. A hard edge is visible forever, whatever the colour match.
Practise the gun on something else first
Set the fan, the fluid and the distance on scrap. Learning that on the panel costs you the panel.

What to buy first, in order

Stage one: assessment and small repairs
A body hammer, a dolly, a sanding block set, abrasive paper in a range of grits, a filler spreader, a wire brush, a work light and eye protection.
Stage two: shaping properly
A dual action sander, a long flat file board, a slapper, a pick hammer, a panel gauge and a guide coat aerosol.
Stage three: rust and panel work
An angle grinder with cutting and stripping discs, a MIG welder or panel bonding kit, a spot weld cutter, tin snips and a hole punch flanger.
Stage four: paint
A compressor with a water trap and regulator, a spray gun, masking materials, an air fed respirator, and polishing gear for finishing.

Mistakes that show in the paint

Filling over rust
It comes back through, usually within two winters, and looks worse than the original damage.
Using filler to make the shape
Thick filler cracks, absorbs moisture and eventually lets go. Get the metal right first.
Skipping grits when sanding
Coarse scratches survive under fine paper and then primer highlights them perfectly.
Sanding with your fingers instead of a block
Fingers create hollows and ripples. Blocks and boards are what make a panel flat.
Spraying two pack in a cartridge mask
Isocyanate exposure causes permanent occupational asthma. This is the most serious risk on the page.
Painting in a cold or dusty space
Cold causes runs and blooming, dust means flatting and polishing. Neither is a technique problem.
Stopping the paint at a panel edge
A hard edge in the middle of a panel is visible from any angle. Blend it out or take the panel to a natural break.
Judging the repair under overhead light
It hides waves that daylight and raking light show immediately. Check it the way the customer will see it.

Looking after auto body tools

Clean the spray gun immediately
Dried paint in the nozzle or needle changes the pattern permanently. Strip and clean it every single time.
Drain the compressor and the water trap
Water and oil in the air line lands in the paint as blisters and fisheyes. Drain it before every session.
Keep hammer faces polished
A hammer face that has picked up a nick prints that nick into the panel with every blow.
Do not let filler set on a spreader
A ragged spreader edge leaves ridges. They cost almost nothing, so replace them rather than fighting them.
Store abrasives dry and flat
Damp paper clogs instantly and curled paper cannot follow a block. Both waste more than they cost.
Cap the paint and stir tins properly
A skinned tin drops flakes into the mix that turn into visible bits in the finish.

Frequently asked questions

What auto body tools do I need to start?
A body hammer, a dolly, a set of sanding blocks, abrasive paper across a range of grits, filler and spreaders, a wire brush, a good work light and eye protection. That covers assessing damage and repairing a dent or small rust patch properly.
What is the difference between auto body tools and mechanic tools?
Mechanic tools turn fasteners and diagnose systems. Auto body tools shape metal and produce a finish: hammers and dollies, files, sanders, filler tools, masking and spray equipment. There is almost no overlap beyond a grinder and a drill.
Can I just fill over rust?
No. Rust continues under filler and comes back through the paint, usually within two winters, looking worse than before. The metal has to be cut or ground back until every trace is gone, and a hole needs a welded or bonded patch.
What is a dolly and why do I need one?
A shaped steel block held behind the panel while you work the front with a hammer. Without a dolly you are stretching the metal rather than shaping it, which makes the dent worse and harder to fix.
How thick can body filler be?
As thin as you can manage, built in layers, and never used to create the shape. Thick filler traps air, cracks and eventually releases from the panel. Get the metal close first, then use filler for the last millimetre.
What is a guide coat?
A light mist of contrasting colour sprayed over a repair before sanding. As you sand, the guide coat stays in the low spots and disappears from the high ones, showing you exactly where the panel is not flat.
Why do I need to sand through the grits in order?
Each grit removes the scratches left by the previous one. Skip a step and the coarse scratches survive, and primer highlights them rather than hiding them. The sequence is what produces a flat scratch free surface.
Is spraying two pack paint at home safe?
Not without air fed breathing protection. Two pack paints contain isocyanates, which cause permanent occupational asthma, and a cartridge respirator does not provide adequate protection. This is the most serious health risk in bodywork.
Why does my paint look dull or blotchy?
Commonly a cold panel or cold paint, which stops it flowing out, or moisture in the air line, or spraying too dry. Warm the panel and the paint to around 20 degrees, drain the water trap and check your gun distance.
What causes fisheyes in fresh paint?
Contamination, usually silicone or oil. It can come from polish residue on the panel, from your hands, or from oil in the compressed air. Degrease properly with panel wipe and fit a decent water and oil trap.
Do I need a compressor for bodywork?
For spraying, effectively yes, unless you use aerosols for a small repair. Air tools also do most of the sanding. Size it on air consumption rather than tank size, since a sander uses far more air than people expect.
How do I blend a repair into the surrounding paint?
Spray the colour progressively lighter as you move away from the repair, then clear the whole panel to a natural edge. Stopping colour or clear at a hard line in the middle of a panel leaves a mark visible from any angle.