Disclosure

Blacksmithing tools: names, pictures and what each one is used for

A complete blacksmithing tools list with a picture of every one, all 94 grouped by the job, from the forge and anvil through hammers, tongs, punches, swages and heat treatment. The names here are the oldest and strangest on the site, so each line says plainly what the tool does.

40 are marked essential: a forge, an anvil, a hammer, tongs and a vice will make most things, including many of the other tools here.

Forge & fire 11

The heat source and everything that manages it. A clean well managed fire is most of the difference between easy and impossible work.

  • A blacksmith coal forge hearth with a fire

    Coal forge

    A hearth burning coal or coke with an air blast. Reaches higher local heat than gas and needs real fire management.

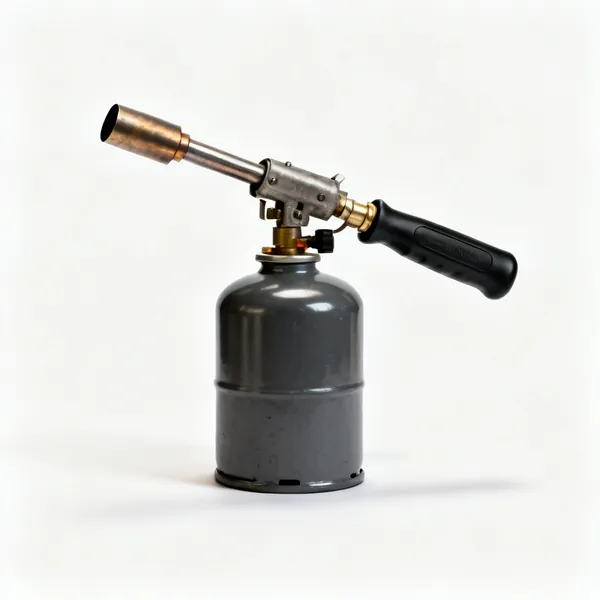
  • Gas forge: A propane gas blacksmith forge with a burnerEssential

    Gas forge

    A refractory lined chamber with a propane burner. Clean, quick to light and easier to control than solid fuel.

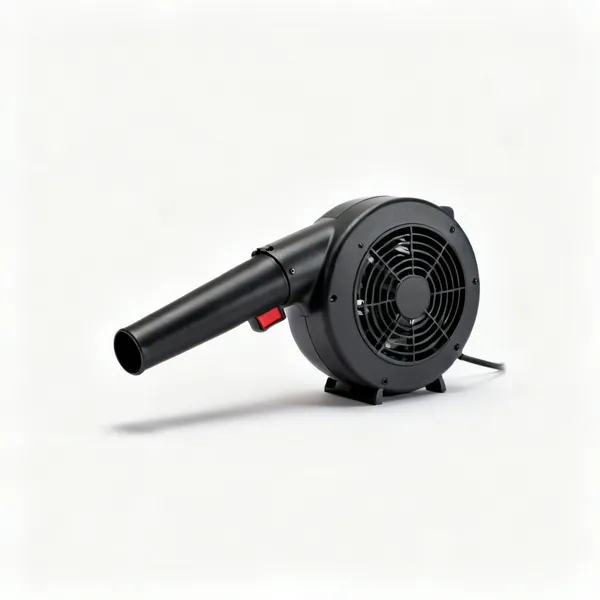
  • An electric forge blower fan

    Blower

    Supplies the air blast to a solid fuel fire. Air is what makes a coal fire reach forging heat rather than just glow.

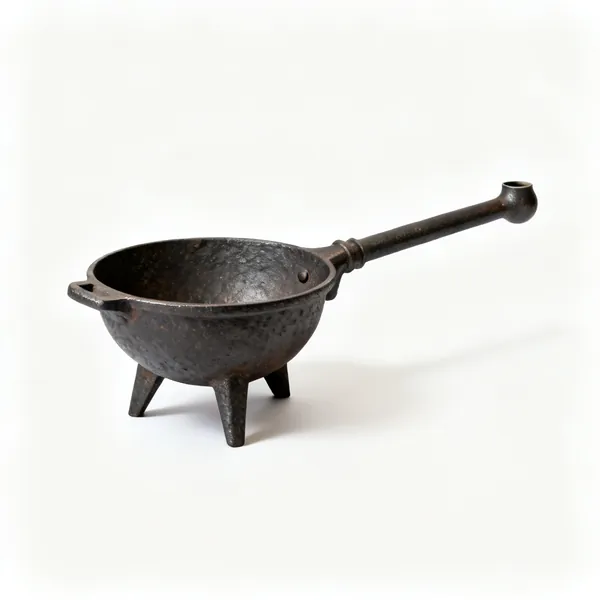
  • Tuyere & fire pot: A cast iron forge fire pot and tuyere

    Tuyere & fire pot

    The air inlet and the bowl the fire sits in. Clinker collects here and strangles the fire if it is not cleared.

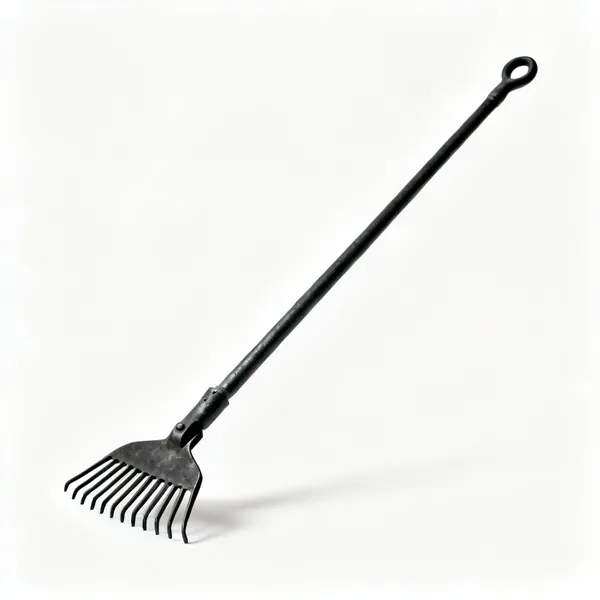
  • A long blacksmith fire rake tool

    Fire rake

    Shapes and manages the fire, pulling fuel in over the work and clearing clinker out of the way.

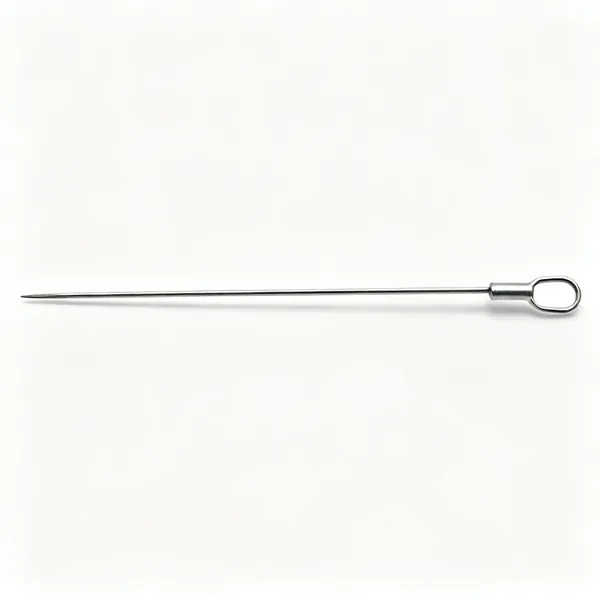
  • A long steel fire poker

    Fire poker

    Breaks up clinker and opens the fire up. Traditionally the first thing a smith forges for their own use.

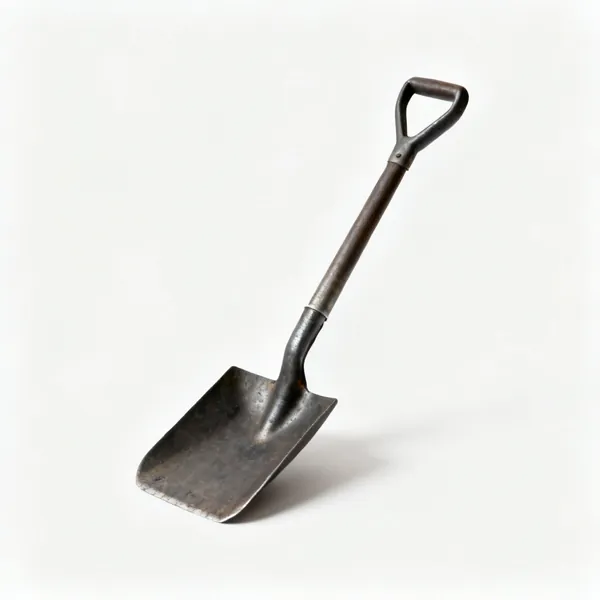
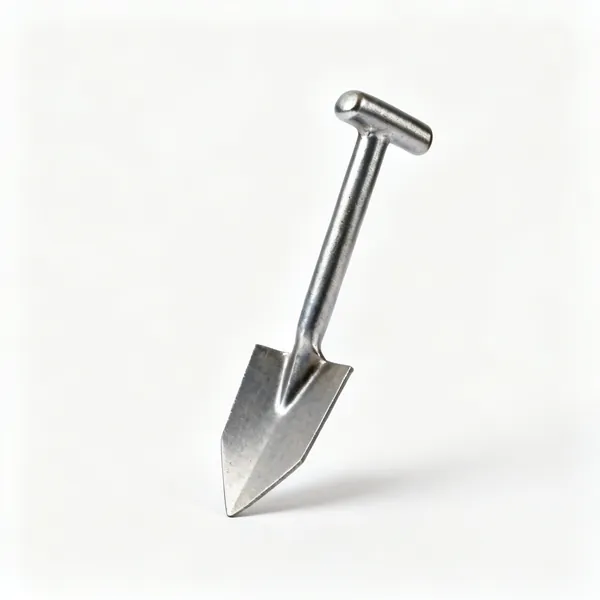
  • A small coal and coke shovel

    Coke shovel

    A small shovel for feeding fuel and clearing ash without disturbing the shape of the fire.

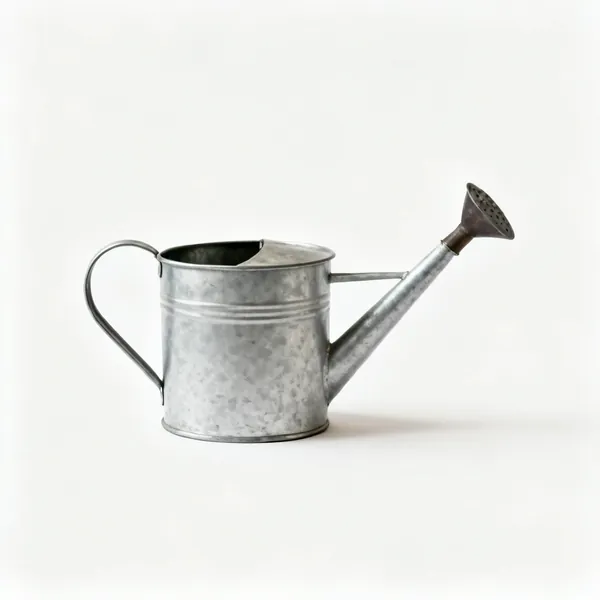
  • Water can: A watering can with a long spout for a forge

    Water can

    Sprinkles water to control the edges of a coal fire, keeping it concentrated where the work is.

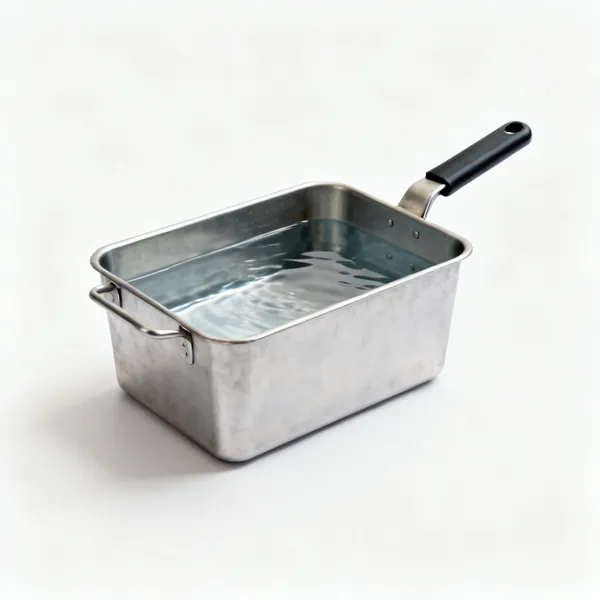
  • A steel quench tank filled with waterEssential

    Quench tank

    A generous tank of water or oil for cooling and hardening. Generous, because a small bucket boils violently.

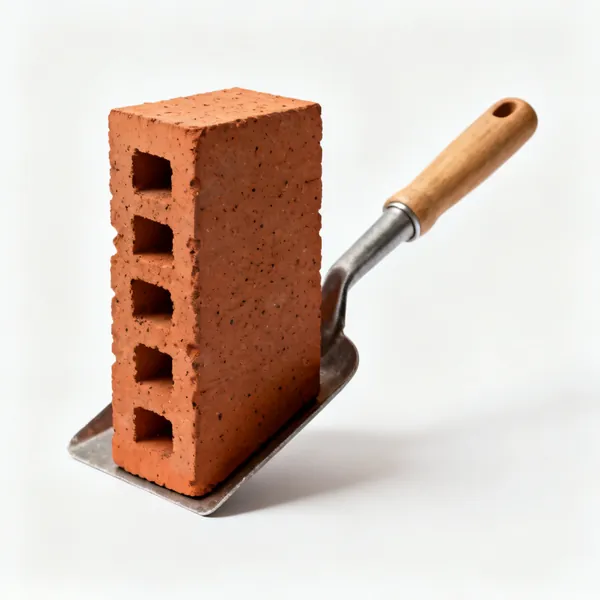
  • Refractory firebricksEssential

    Firebricks

    Refractory bricks to build a hearth, close a forge opening down or support work in the fire.

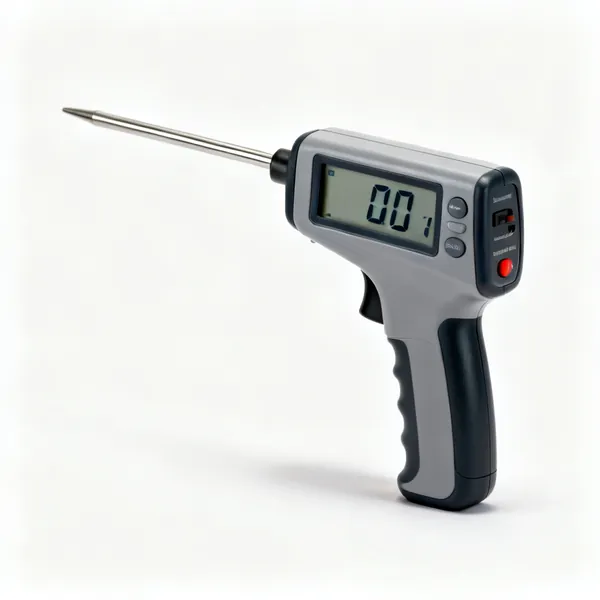
  • A digital pyrometer temperature gauge with a probe

    Pyrometer

    Reads forge temperature directly, which is useful for consistent heat treatment where colour is hard to judge.

Anvil & work surfaces 11

What you hammer against. Mass is the specification, and it must be mounted so it cannot move.
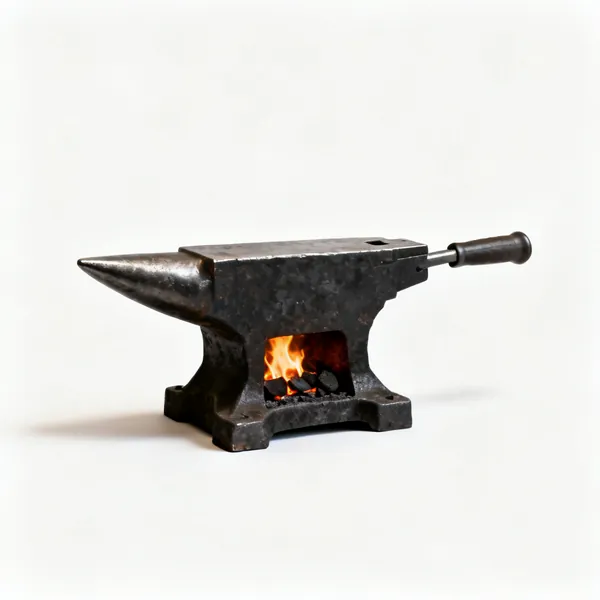
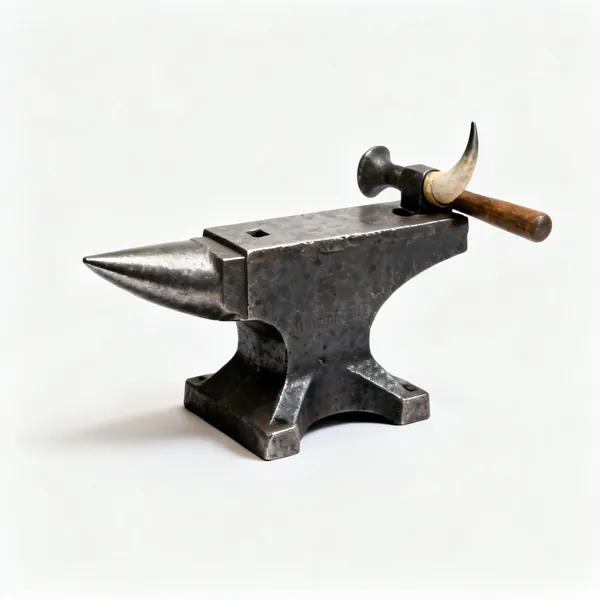
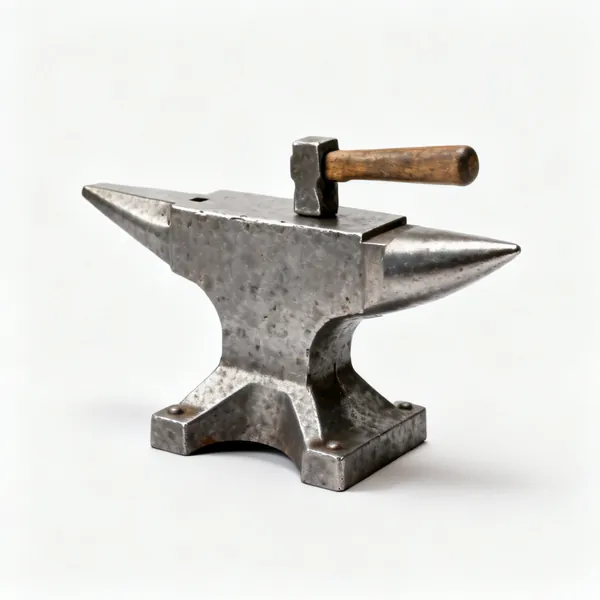
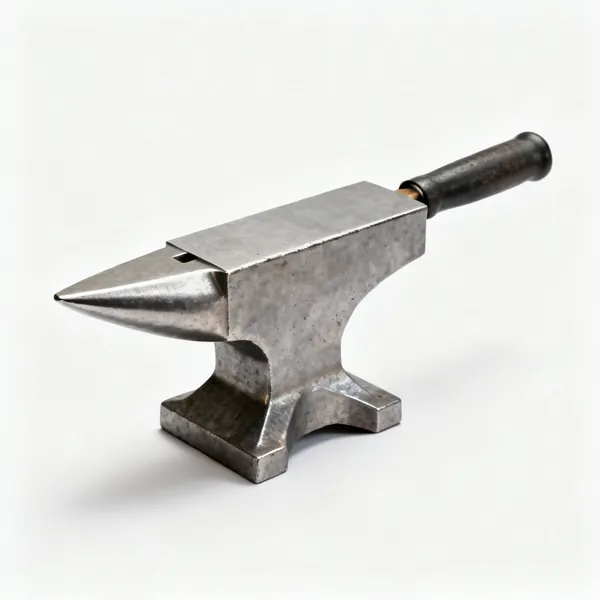
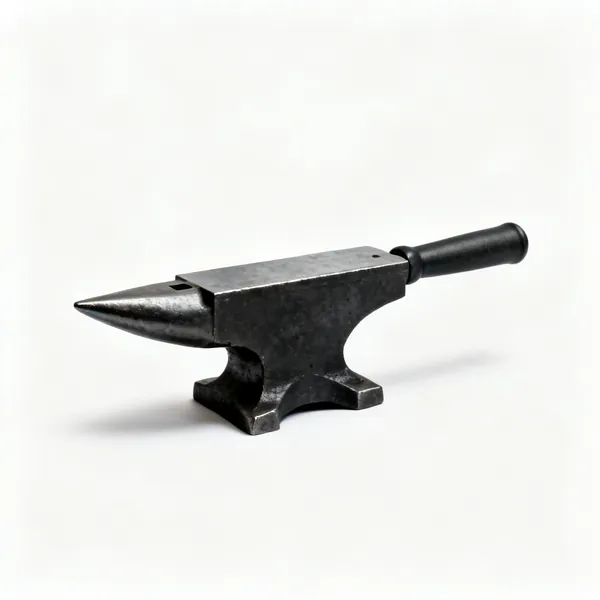
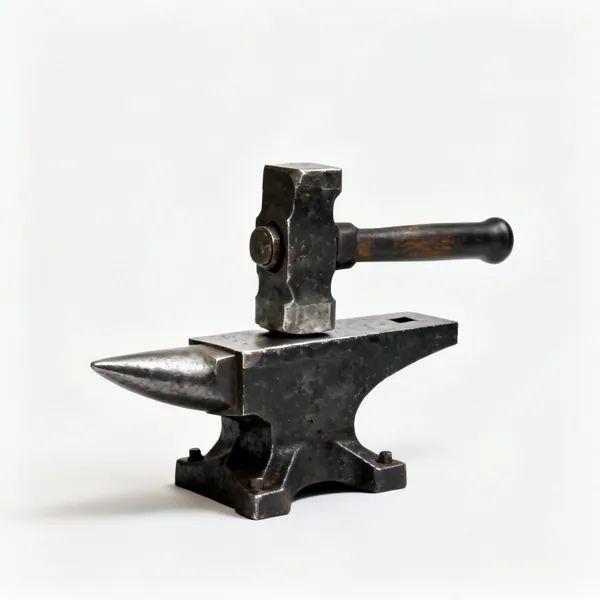
  • A steel blacksmith anvil with a hornEssential

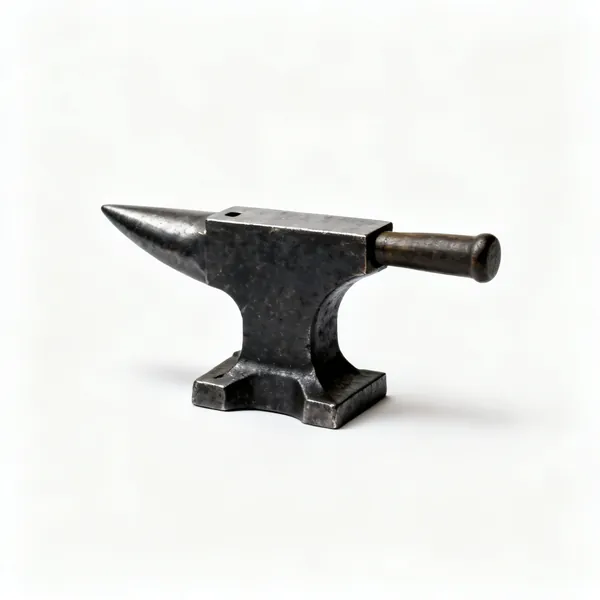
    Anvil

    A hardened flat face with a horn, a hardy hole and a pritchel hole. Mass under the blow is what returns the energy.
  • A steel anvil standEssential

    Anvil stand

    A stump or steel stand holding the anvil solidly at knuckle height. A moving anvil wastes every blow.

  • A cast iron swage block with shaped holes

    Swage block

    A heavy block with shaped depressions and grooves for forming curves, spoons and half round sections.

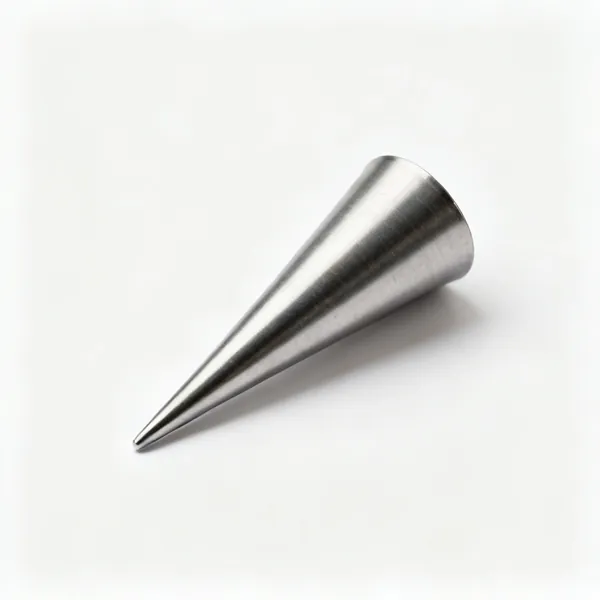
  • A steel cone mandrel

    Cone mandrel

    A large tapered cone for forming and truing rings and collars to a size. Rings shrink as they cool, so this sizes them.

  • Steel metalworking stakes

    Stakes

    Shaped steel forms held in the vice or hardy hole for working sheet and hollow shapes over.

  • A hardy hot cut chisel tool for an anvilEssential

    Hardy hot cut

    An upward facing chisel in the hardy hole that hot steel is cut against, so the anvil holds the blade and you hold the work.

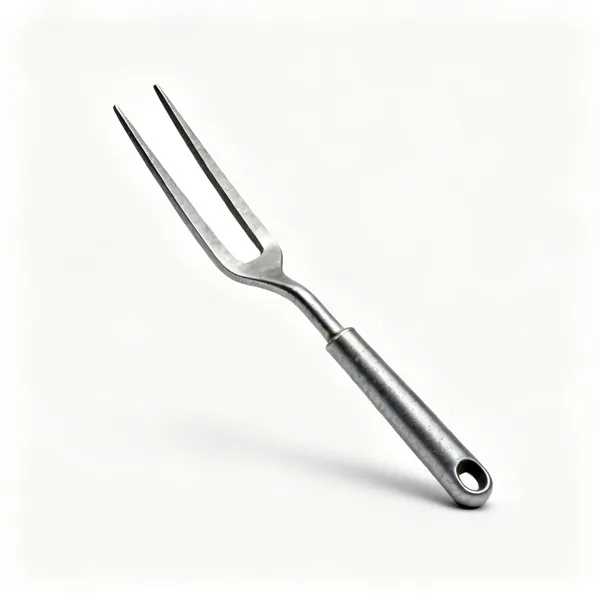
  • A two pronged bending fork hardy tool

    Bending fork

    A two pronged hardy tool used as a fulcrum to bend bar to a controlled angle or curve.

  • A small bick iron horn hardy tool

    Bick iron

    A small horn in the hardy hole for fine curves and scrolls too small for the anvil horn.

  • A mild steel cutting plate for an anvilEssential

    Cutting plate

    A soft steel plate laid on the anvil to chisel against, so the hardened anvil face is never cut into.

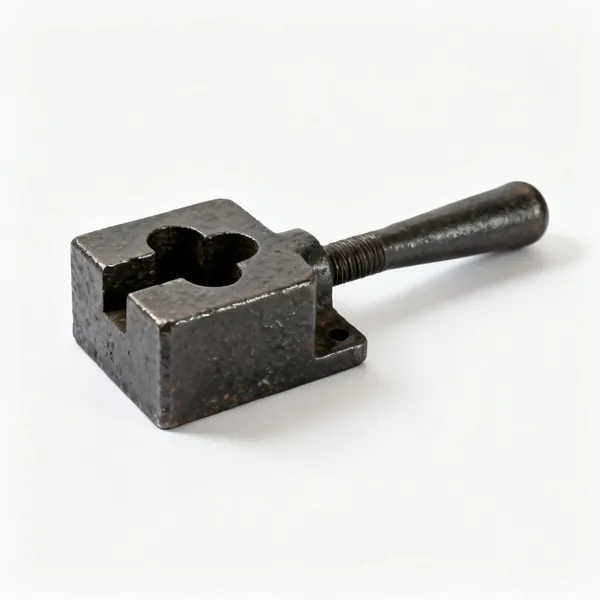
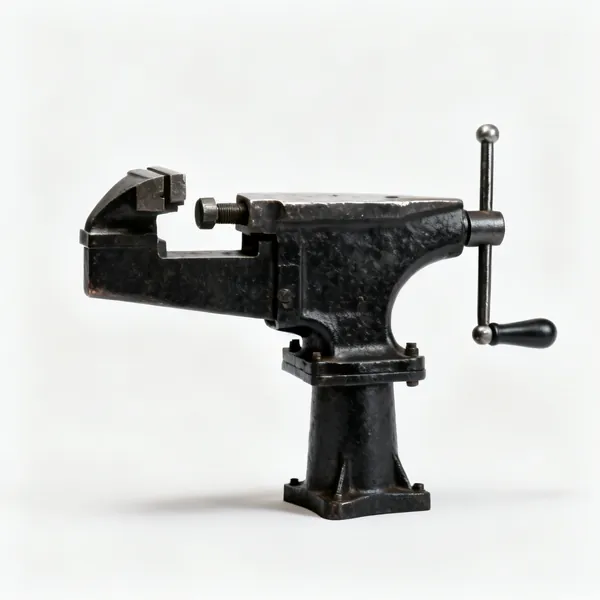
  • Blacksmith's leg vice: A blacksmith's leg post viceEssential

    Blacksmith's leg vice

    A post vice that takes hammering, unlike a cast engineer's vice, which cracks under it. Bolted to a bench and the floor.

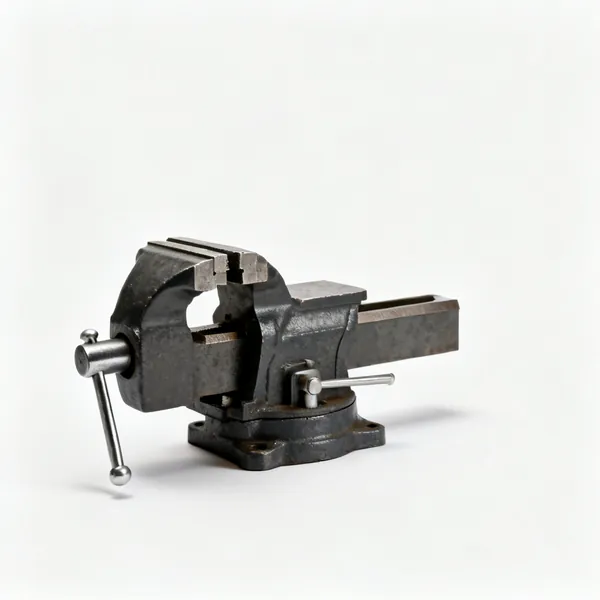
  • Engineer's vice: A heavy engineer's bench vice

    Engineer's vice

    Precise holding for filing and cold work. Not for hammering against, since the castings break.

Hammers & strikers 10

The tools that move metal. One good hammer learned properly beats a rack of them barely used.

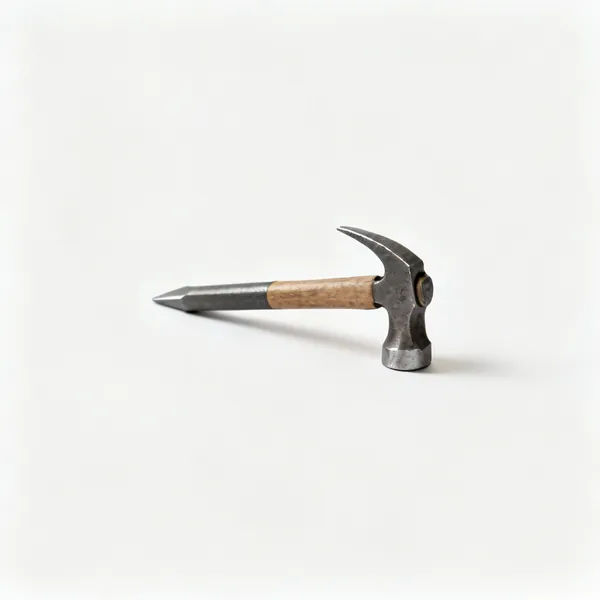
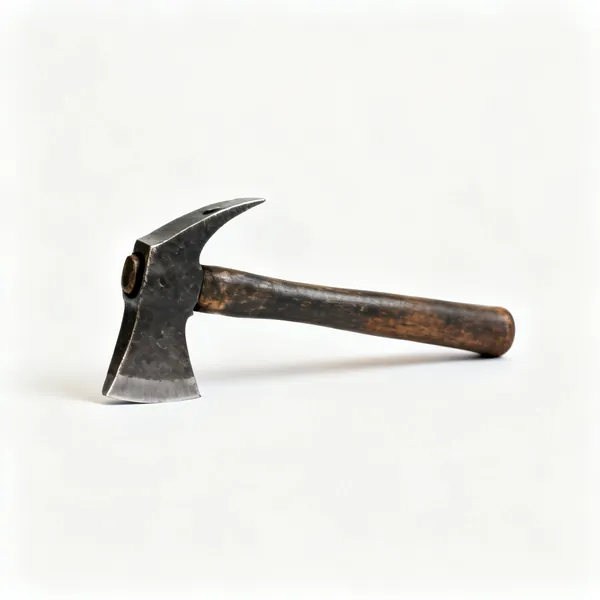
  • A blacksmith cross pein hammerEssential

    Cross pein hammer

    A flat face and a wedge shaped pein across the handle, for spreading metal in one direction. The standard first hammer.

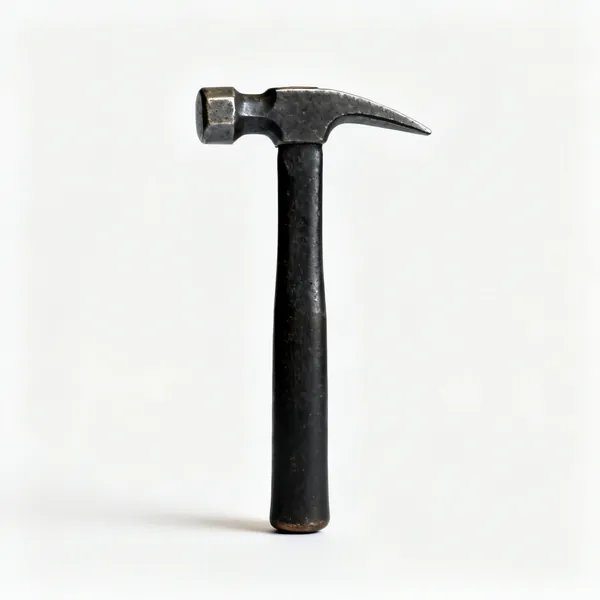
  • A blacksmith straight pein hammer

    Straight pein hammer

    The pein runs along the handle, spreading metal the other way. Owning both means never turning the work.

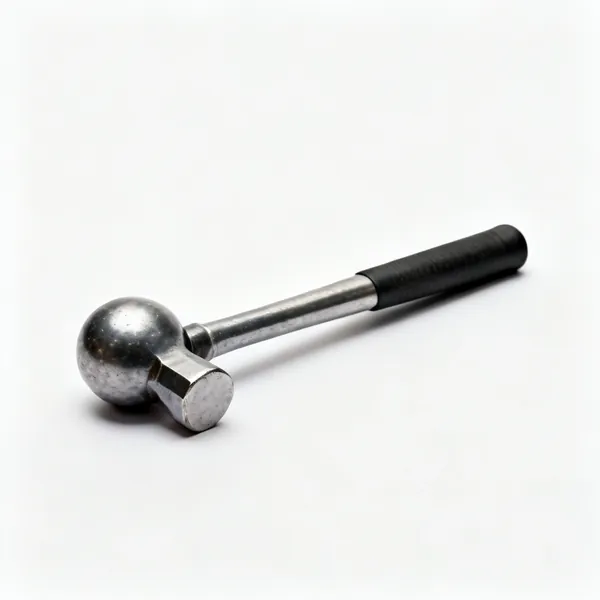
  • A ball pein hammer

    Ball pein hammer

    A rounded pein for dishing, riveting and starting a hollow without leaving a hard edged mark.

  • A blacksmith rounding hammer

    Rounding hammer

    A flat face and a domed face, the domed side moving metal fast without leaving sharp tool marks.

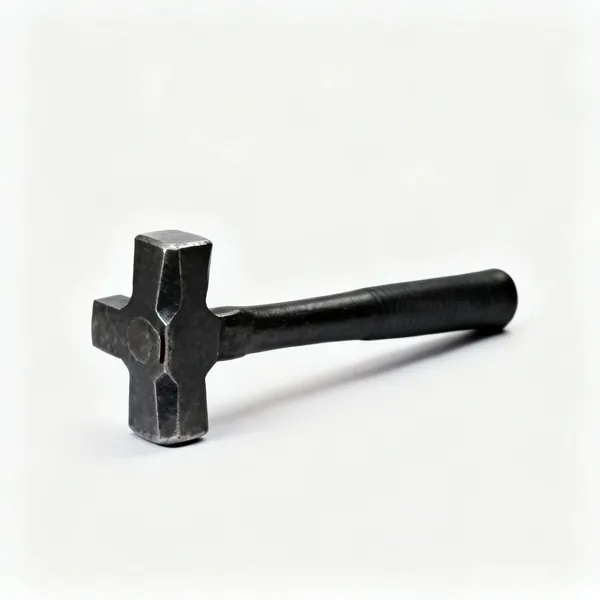
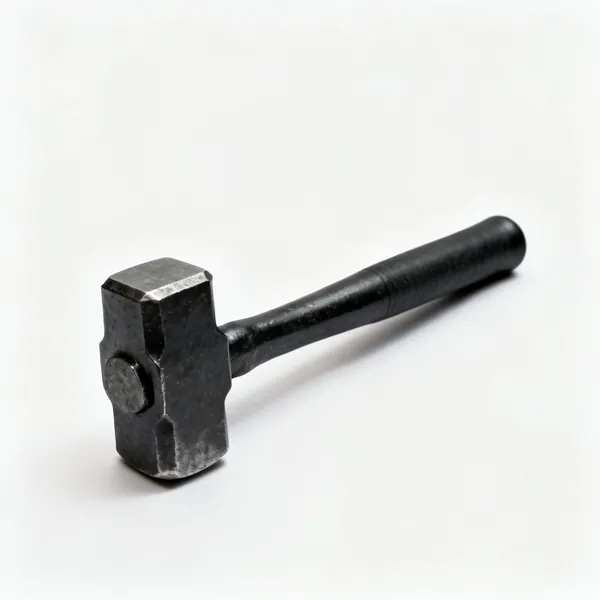
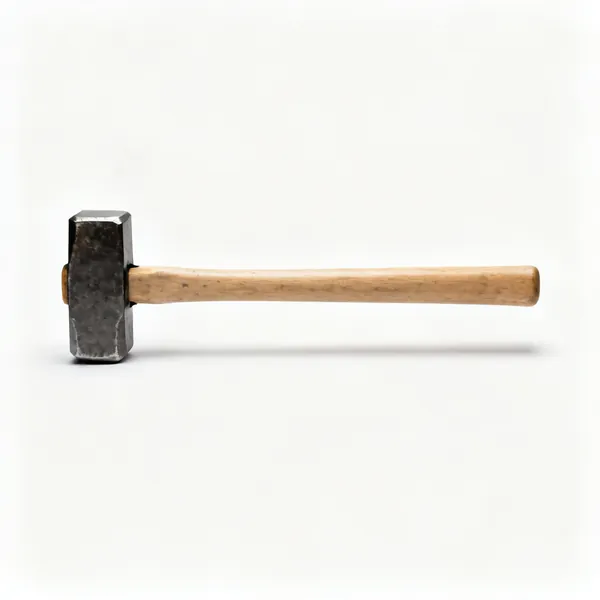
  • A long handled sledge hammer

    Sledge hammer

    Two handed, swung by a striker while the smith holds and directs the work. How heavy stock is moved.

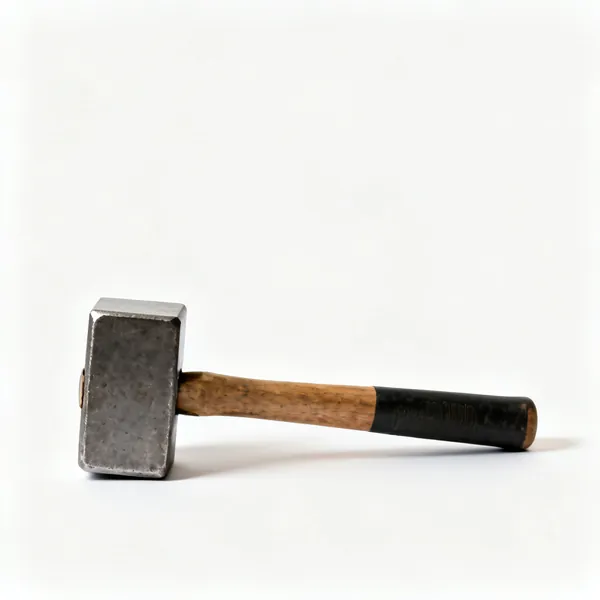
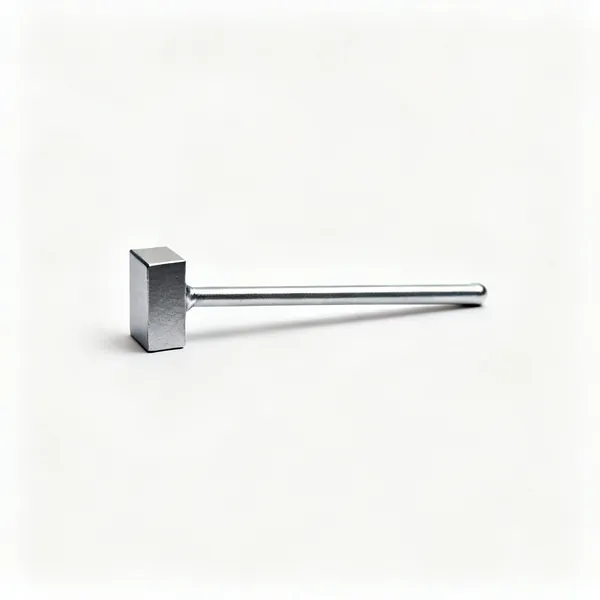
  • A square faced set hammer

    Set hammer

    A square faced hammer struck with another hammer to set a crisp shoulder or corner precisely.

  • A blacksmith flatter tool with a handle

    Flatter

    A broad polished face struck from above to smooth out hammer marks over a wide area.

  • Fullers: Top and bottom fuller blacksmith tools

    Fullers

    Rounded tools, top and bottom, that create a groove or draw metal out quickly in a controlled place.

  • A mechanical blacksmith power hammer

    Power hammer

    A mechanical hammer doing the heavy drawing out. It replaces a striker and it is the biggest single upgrade in a shop.

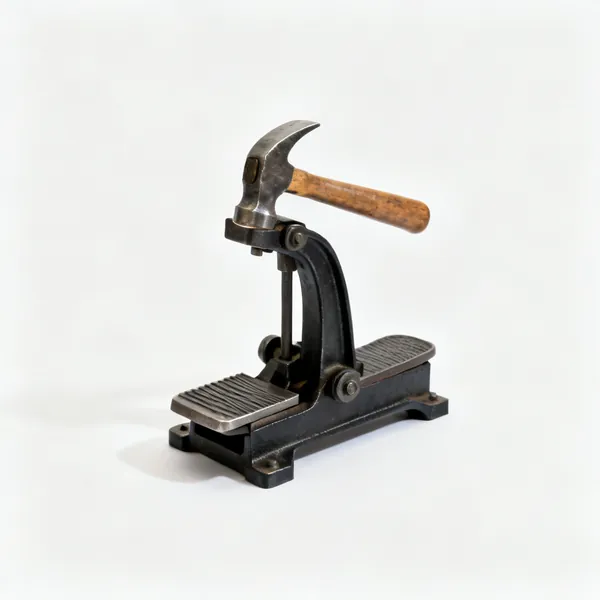
  • A foot operated treadle hammer

    Treadle hammer

    Foot operated so both hands hold the work and a tool. Gives controlled repeated blows without a second person.

Tongs & holding 9

Holding hot steel securely. Tongs must fit the stock, because loose tongs drop hot metal onto your feet.

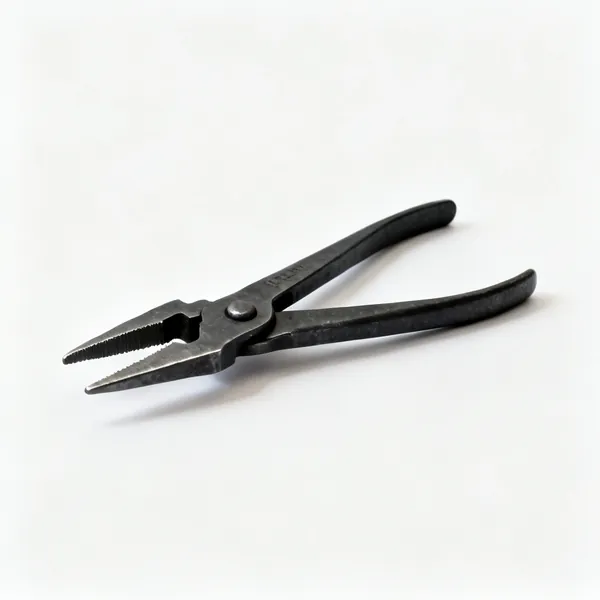
  • A pair of blacksmith flat bit tongsEssential

    Flat bit tongs

    Flat jaws gripping bar and sheet stock. The general purpose pair and the one to own first.

  • A pair of blacksmith bolt tongs

    Bolt tongs

    A recessed jaw that grips a shouldered or headed piece securely, where flat jaws would slide off.

  • A pair of blacksmith V bit tongs

    V bit tongs

    V shaped jaws that hold round and square stock centred, so the work does not rotate as you hammer.

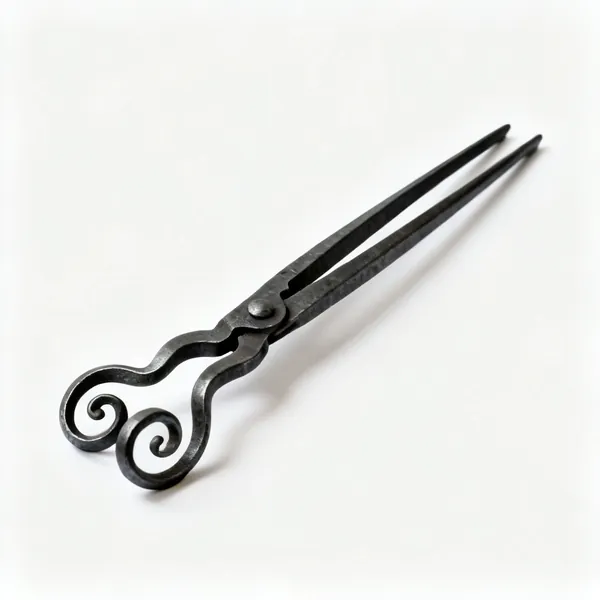
  • A pair of blacksmith scroll tongs

    Scroll tongs

    Curved jaws for holding and forming a scroll without flattening the curl you just made.

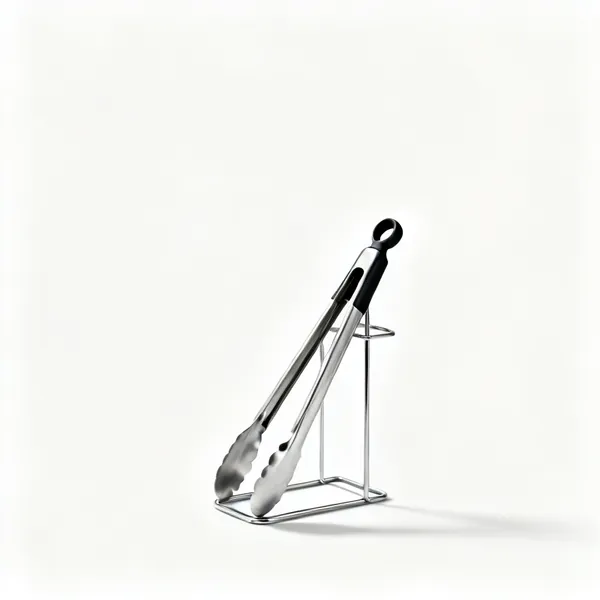
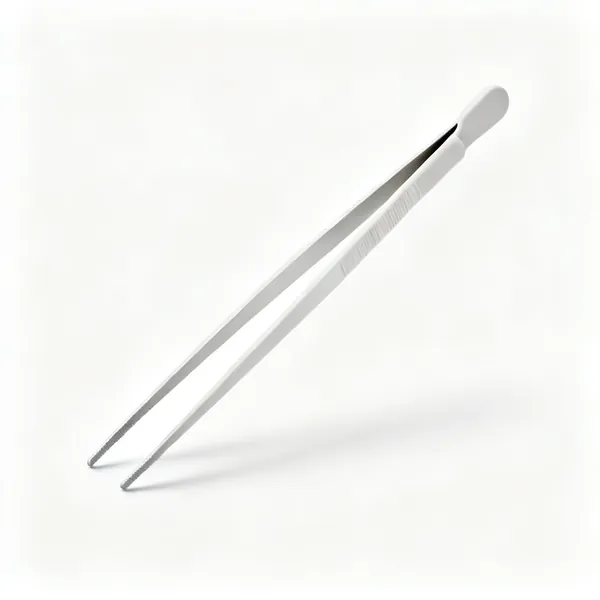
  • A pair of long light pick up tongsEssential

    Pick up tongs

    Long light tongs for retrieving anything from the fire. Not for holding while forging, and always to hand.

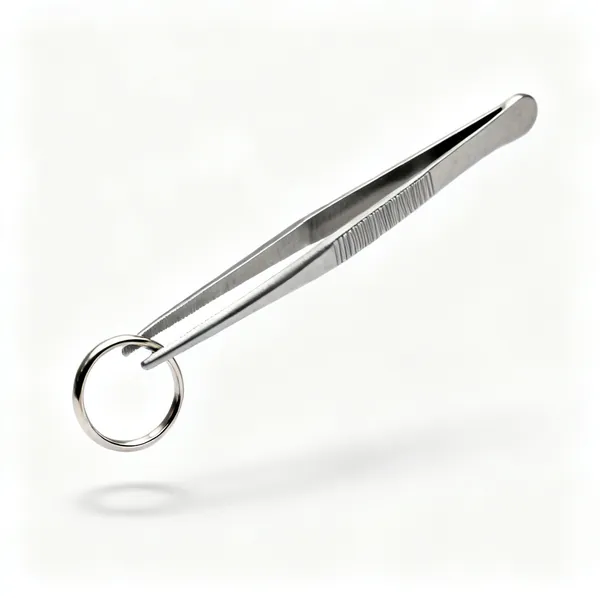
  • Tong ring: A steel tong holding ring

    Tong ring

    A collar slid over the reins to lock the tongs closed, so your grip does not have to hold the work all day.

  • A steel bench holdfast clamp

    Holdfast

    A hooked bar dropped into a hole in the bench or stump and tapped to clamp work down instantly.

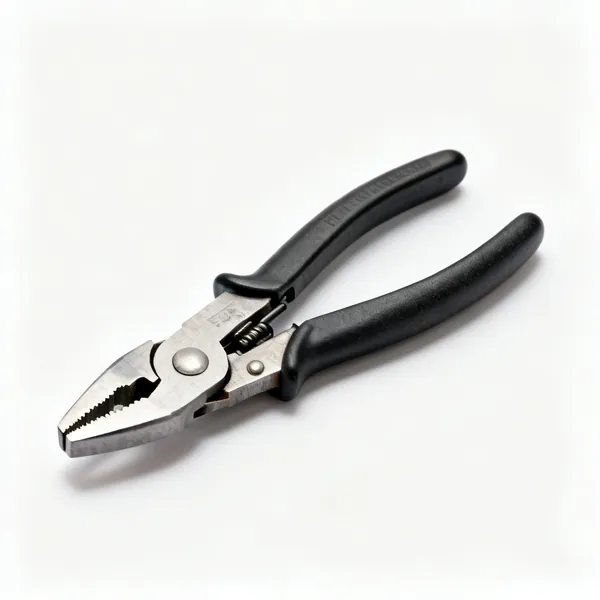
  • A pair of locking pliersEssential

    Locking pliers

    Clamp shut with real force to hold a hot end or act as a temporary handle on a piece with no reins.

  • Tong rack: A steel tong storage rack with tongs

    Tong rack

    Keeps tongs sorted and reachable. A pile of similar looking tongs costs real time at the fire.

Cutting & punching 11

Removing metal and making holes. Punching displaces metal rather than removing it, which keeps the piece strong.

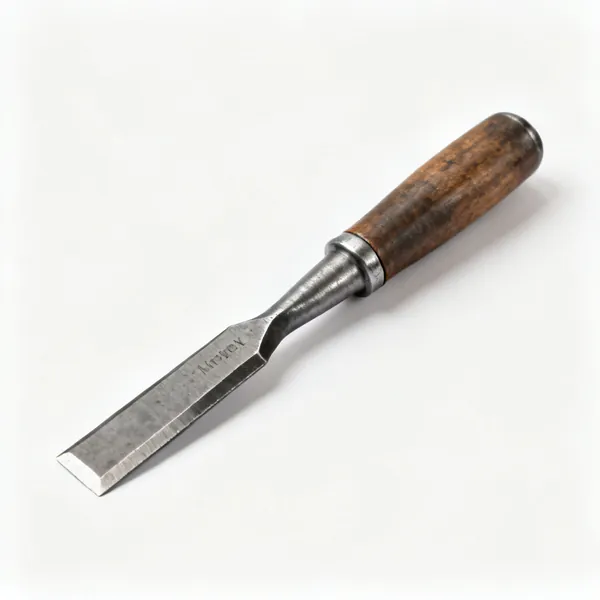
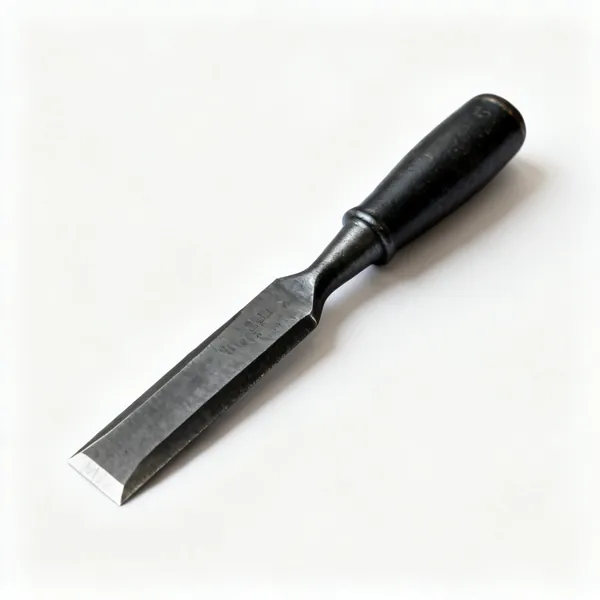
  • A blacksmith hot cut chisel with a handleEssential

    Hot cut chisel

    A thick blunt chisel for cutting hot steel, ground at a wide angle so the heat does not destroy the edge.

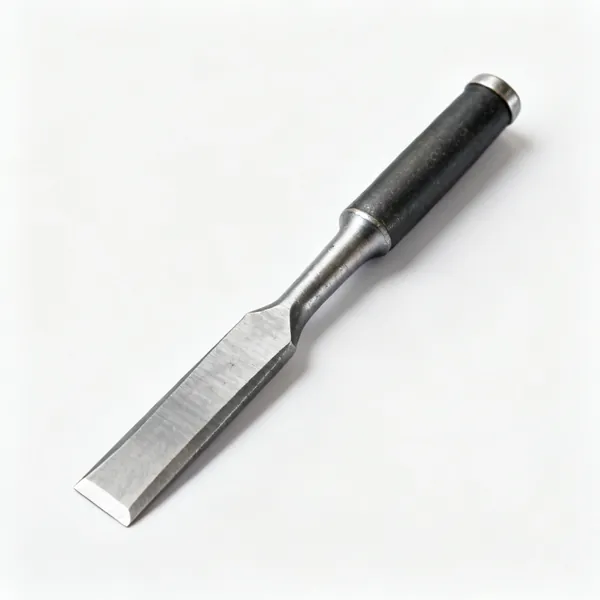
  • A steel cold chiselEssential

    Cold chisel

    A harder narrower edge for cutting cold steel. Never used hot, since the heat softens it immediately.

  • Round punch: A round blacksmith hole punchEssential

    Round punch

    Displaces hot metal to start a round hole. Punching keeps the fibre intact, where drilling cuts through it.

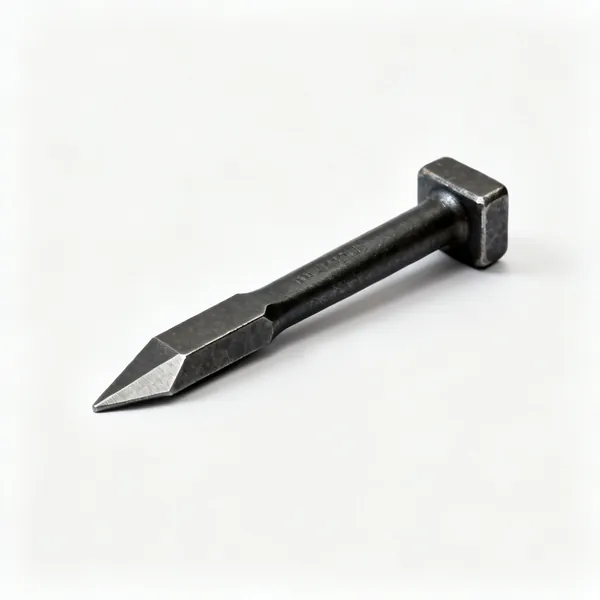
  • A slot punch blacksmith tool

    Slot punch

    Makes a slot for a rivet, a tenon or a handle eye, which a round punch then cannot produce.

  • Steel blacksmith driftsEssential

    Drifts

    Driven through a punched hole to shape and size it accurately. A punched hole alone is rough and undersized.

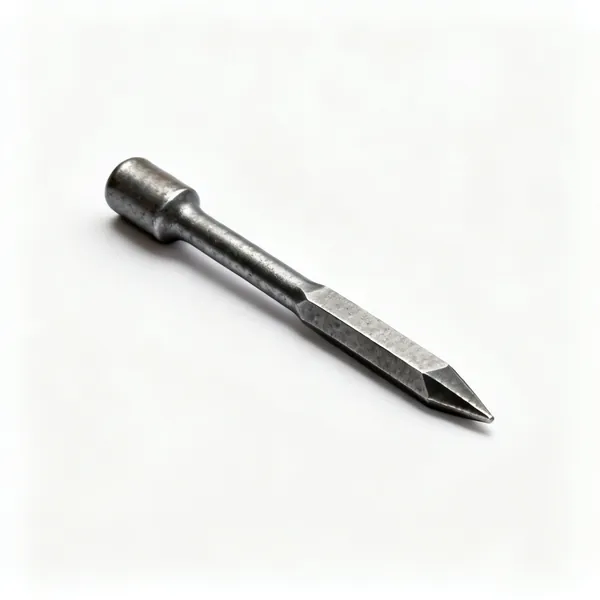
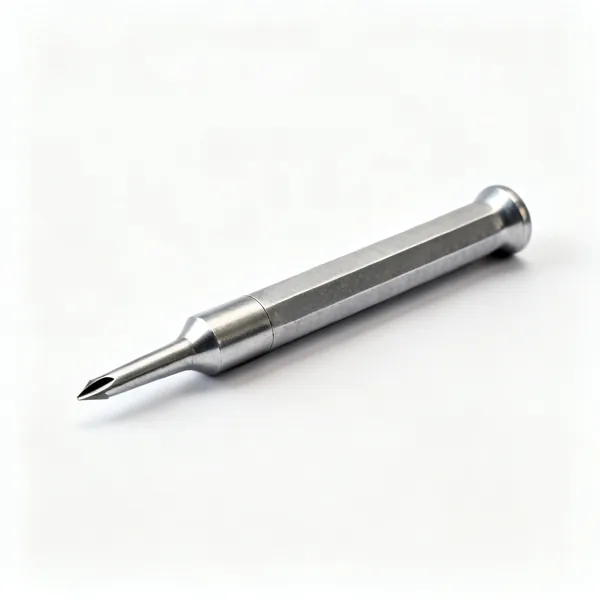
  • A steel centre punchEssential

    Centre punch

    Marks a spot so a drill starts where intended rather than skating across the surface.

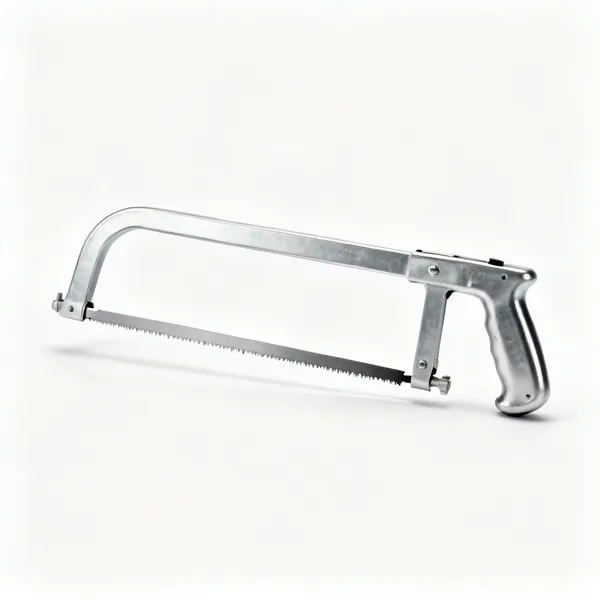
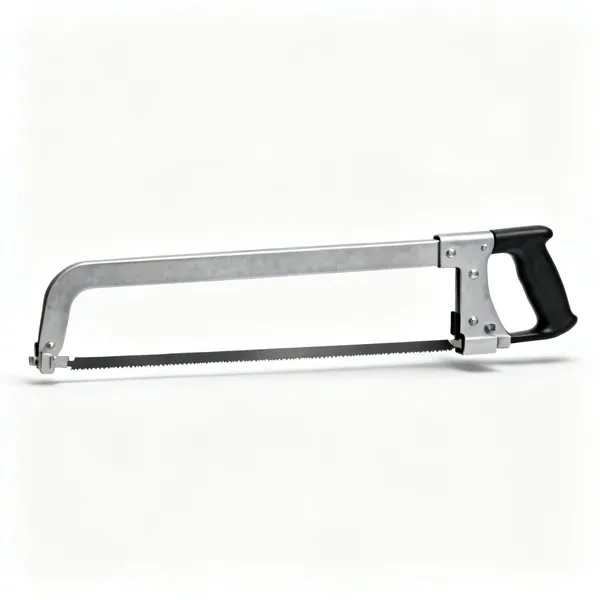
  • HacksawEssential

    Hacksaw

    Cold cutting stock accurately to length. Slower than a grinder and it does not lose you the last millimetre.

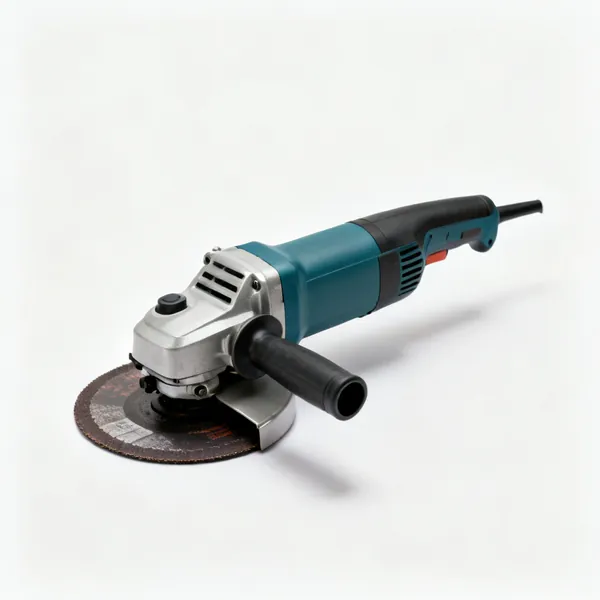
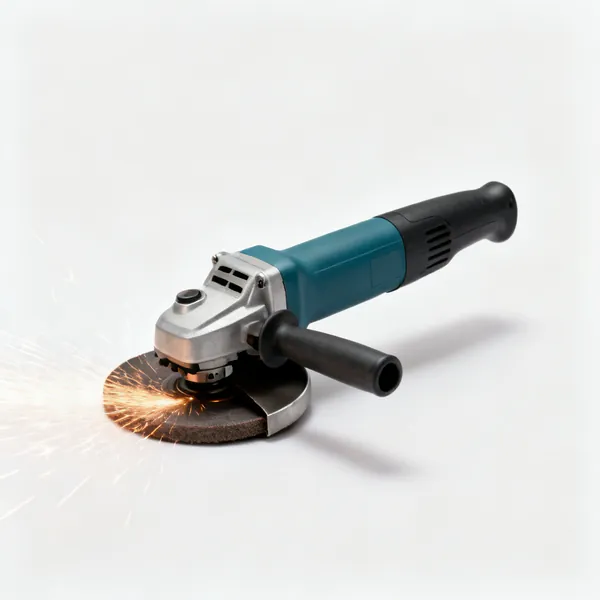
  • Angle grinderEssential

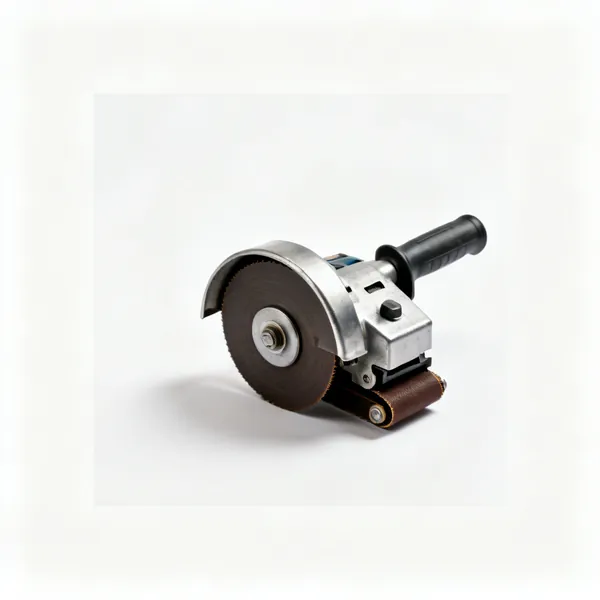
    Angle grinder

    Cuts, grinds and cleans. Used constantly in a modern forge and the most likely tool here to injure you.

  • Metal bandsaw: A horizontal metal cutting bandsaw

    Metal bandsaw

    Square accurate cuts with no sparks and little noise. Slower than a grinder and far more accurate.

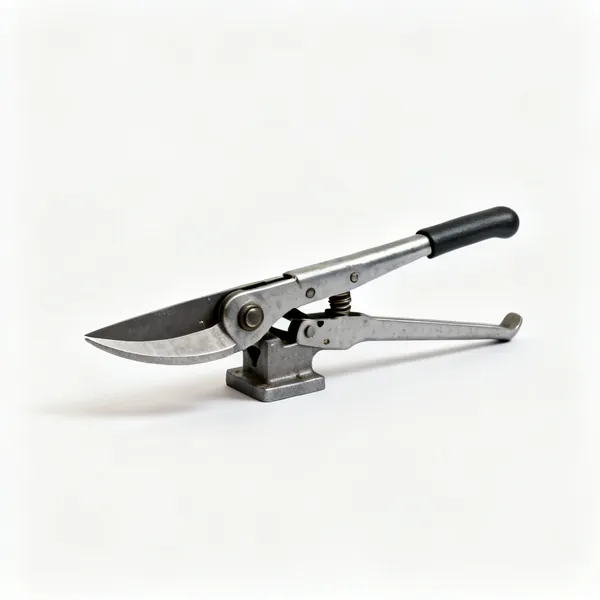
  • Bench shear: A bench mounted metal shear

    Bench shear

    A lever shear that cuts bar and flat stock cold in one motion, cleanly and without heat.

  • A coarse hot rasp file

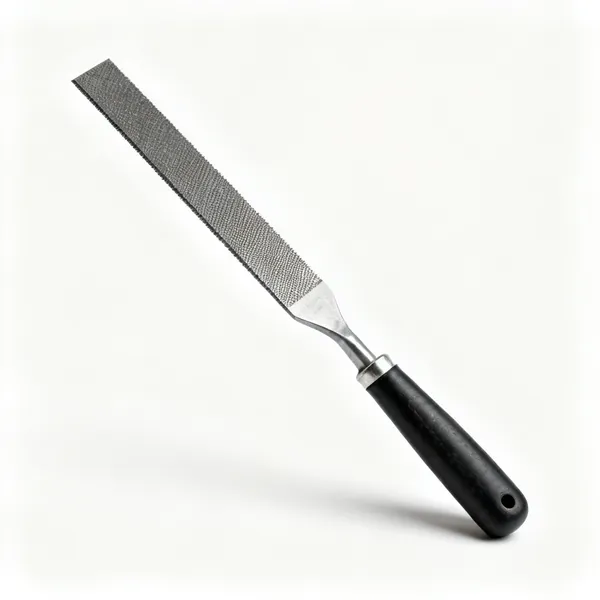
    Hot rasp

    A coarse rasp used on hot steel to shape it fast, where a file would clog and blunt instantly.

Forming & finishing shapes 10

Turning a bar into a shape. Scrolls, twists, tapers and collars, most of which need one specific tool each.

  • Scroll jig: A steel scroll bending jig

    Scroll jig

    A former that a bar is bent around, giving identical scrolls. Freehand scrolls never match each other.

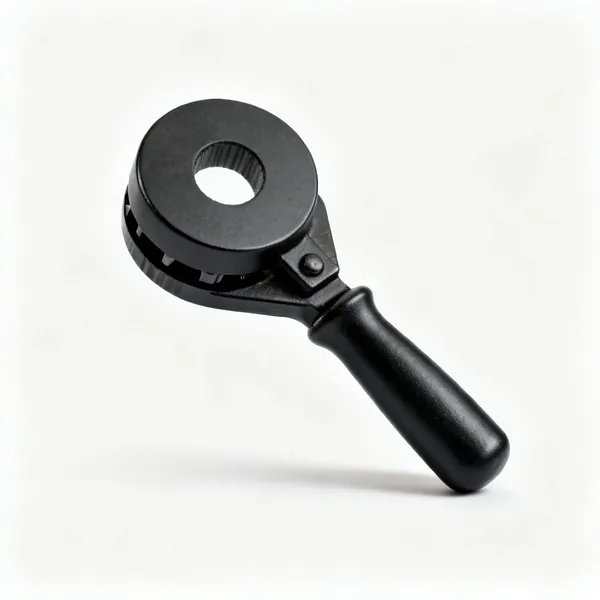
  • A blacksmith twisting wrench

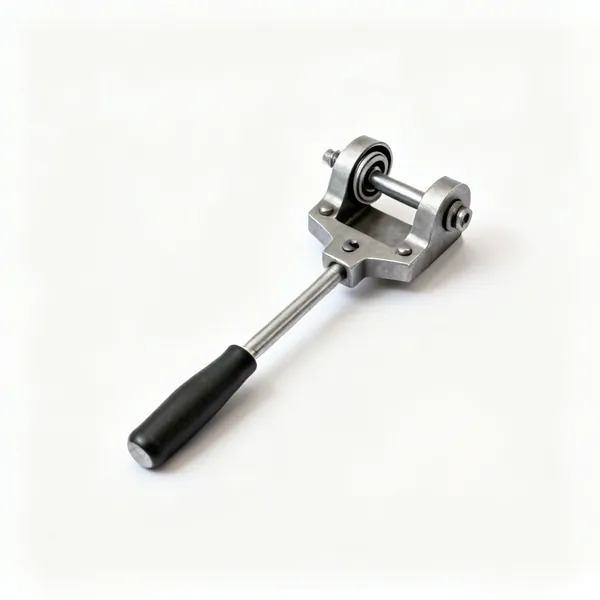
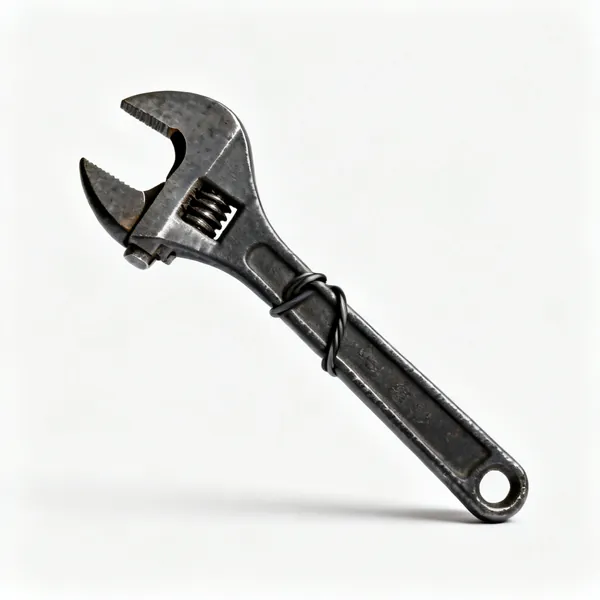
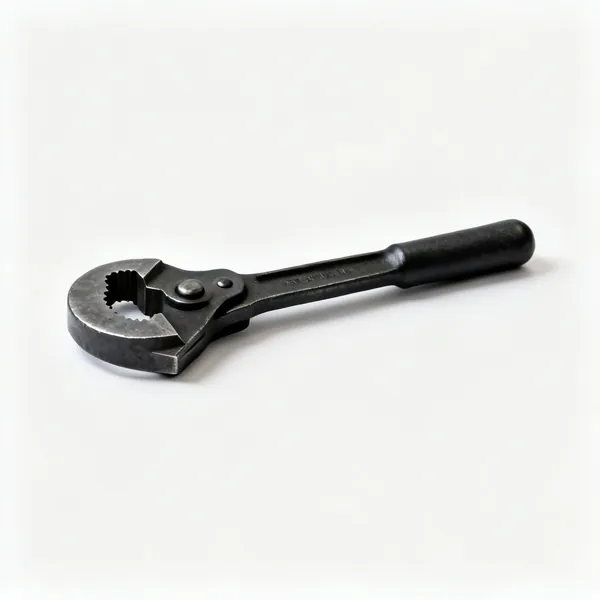
    Twisting wrench

    Grips square bar and twists it evenly along its length. A decorative twist and also a structural stiffener.

  • A monkey tool blacksmith shouldering tool

    Monkey tool

    Sets a clean square shoulder on a tenon by driving the shoulder up against a drilled block.

  • A blacksmith heading tool plate

    Heading tool

    A plate with a hole that a bar end is upset into, forming a nail or bolt head in place.

  • A steel bolster plate with holes

    Bolster plate

    A plate with graded holes that supports work while punching, so the punched slug has somewhere to go.

  • Collar tool: A blacksmith collaring tool

    Collar tool

    Forms and closes a collar around joined bars. Traditional joinery for ironwork, with no welding involved.

  • A spring swage blacksmith tool

    Spring swage

    Two matched dies on a spring so both halves stay aligned, forming a shape in repeated blows.

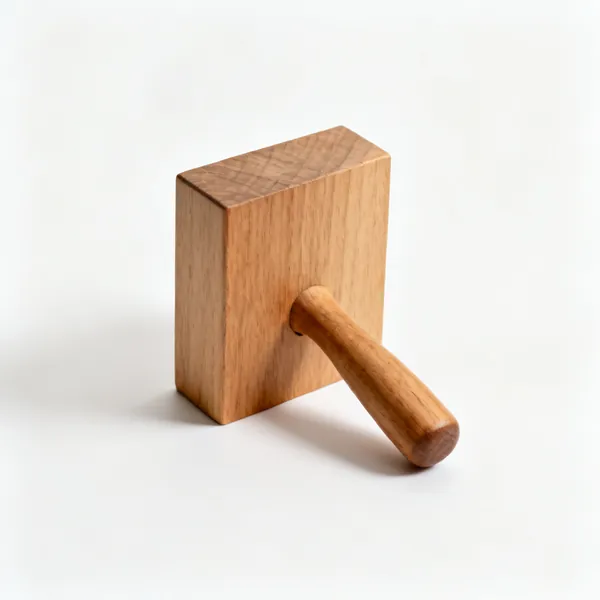
  • A wooden dishing form block

    Dishing form

    A hollow depression in wood or steel that sheet is hammered into to raise a bowl shape.

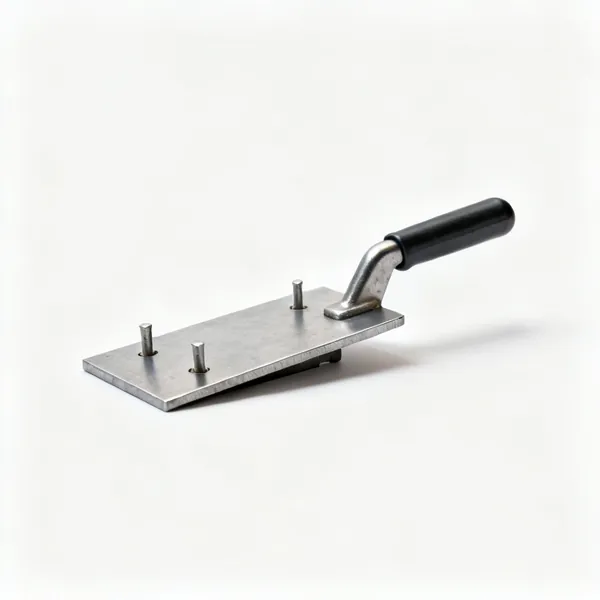
  • A steel bending jig plate with pegs

    Bending jig

    A pegged plate for bending repeatable angles and curves cold, which is how railings stay consistent.

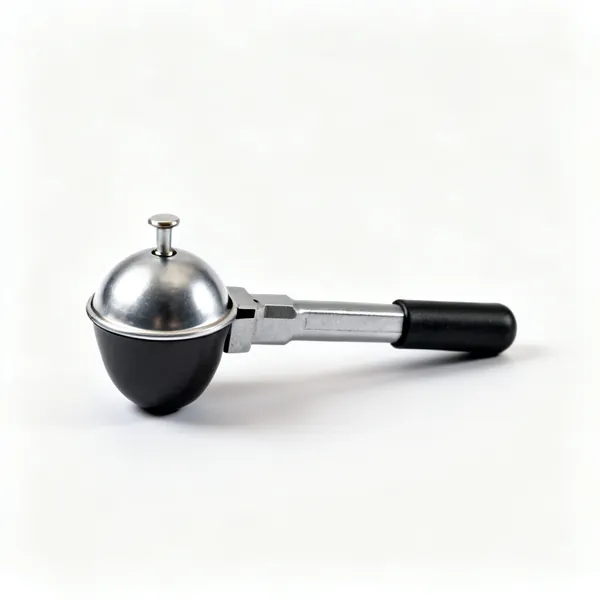
  • A rivet setting tool with a domed cup

    Rivet set

    Forms a neat dome on a rivet head instead of a hammered lump. Traditional joining, and it looks deliberate.

Heat treatment & finishing 11

Making a tool actually work, and cleaning up what you made. Hardening without tempering is the classic mistake.

  • Magnet on a stick: A magnet on a long steel handleEssential

    Magnet on a stick

    Steel loses magnetism at hardening temperature, so a magnet finds critical far more reliably than colour does.

  • A covered oil quench tank

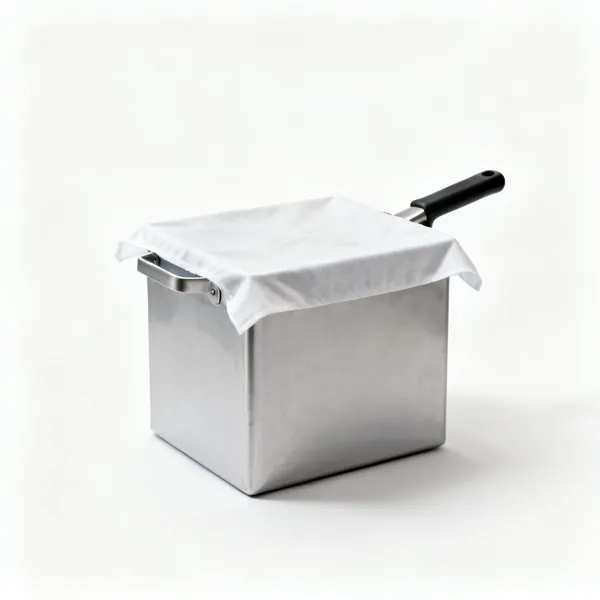
    Oil quench tank

    Slower than water, so it hardens most tool steels without cracking them. A lid, because it can catch fire.

  • A small electric tempering oven

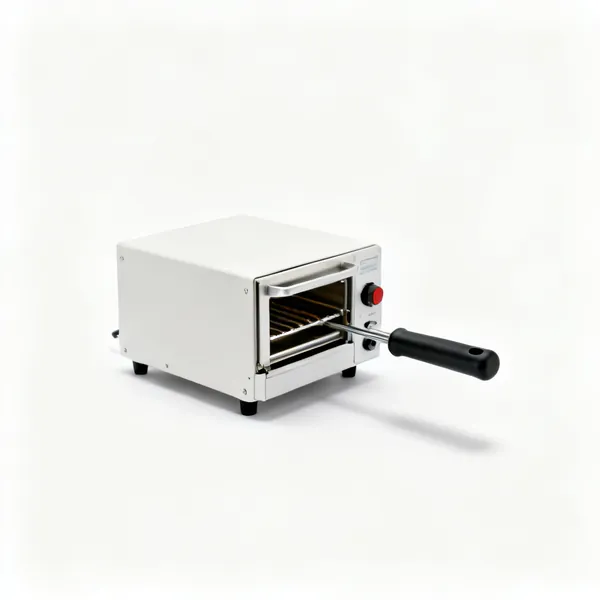
    Tempering oven

    Holds an accurate low temperature for tempering, which is far more repeatable than judging oxide colours.

  • A long handled wire brushEssential

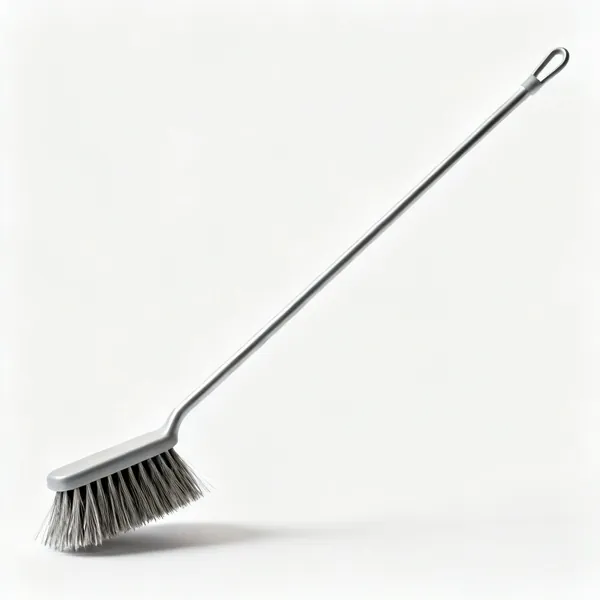
    Wire brush

    Knocks scale off hot steel so the surface can be seen and the finish is not pitted with loose scale.

  • A set of engineer's filesEssential

    Files

    Cold shaping and refining after forging. Also the traditional test of whether a hardening actually took.

  • A belt grinder for metalwork

    Belt grinder

    Shapes and finishes fast, and it is what knife makers use for bevels. The most useful powered addition after the forge.

  • A bench grinder with two wheelsEssential

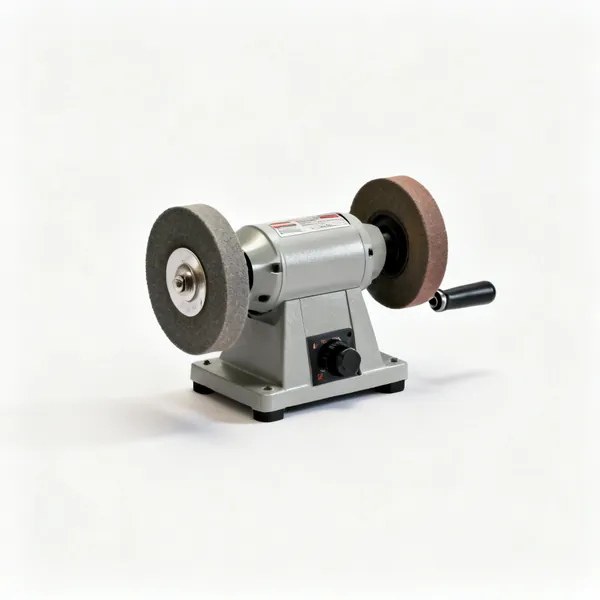
    Bench grinder

    Sharpens punches and chisels and dresses mushroomed heads. Dip in water often, since overheating ruins the temper.

  • A wire wheel on a bench grinder

    Wire wheel

    Cleans scale and rust from finished work quickly. A face shield, since bench wheels throw broken wires.

  • Wax finish: A block of beeswax with a clothEssential

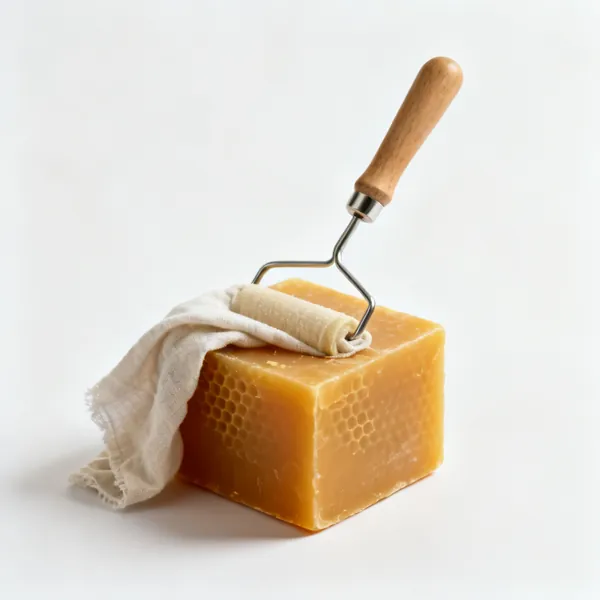
    Wax finish

    Beeswax or oil applied to hot finished steel, giving a durable black finish that resists rust.

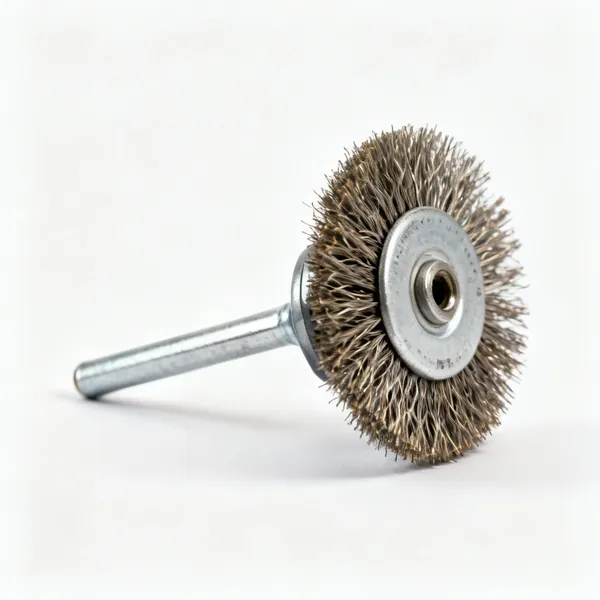
  • Wire cup brush

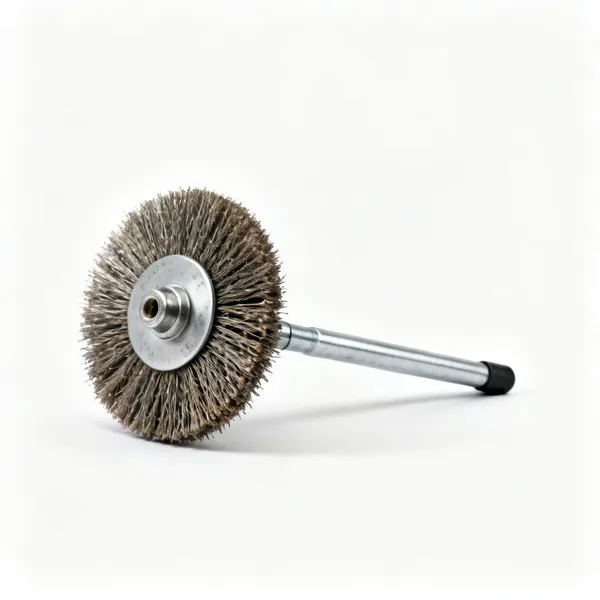
    Wire cup brush

    In a grinder, strips heavy scale off larger work far faster than a hand brush.

  • Spark test wheel: A grinding wheel with sparks for spark testing steel

    Spark test wheel

    Grinding unknown steel and reading the spark pattern gives a rough idea of its carbon content and whether it will harden.

Measuring & marking 9

Hot steel cannot be marked with a pencil and it changes size as it cools. Measuring here has its own tricks.

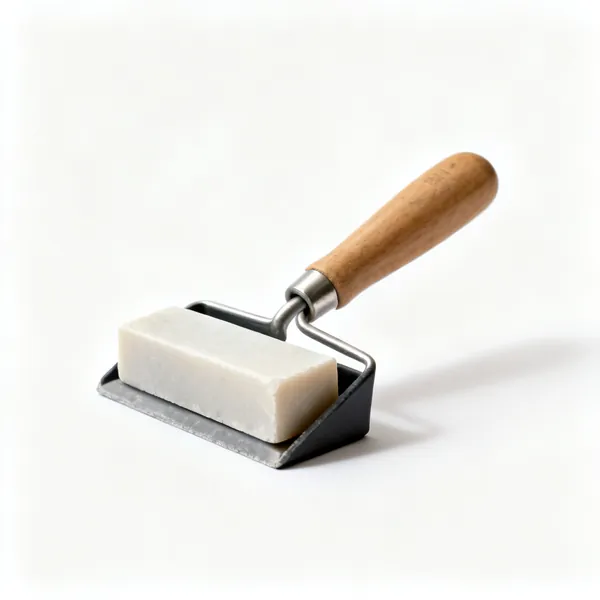
  • A flat soapstone marker in a holderEssential

    Soapstone

    Marks hot steel where chalk burns off and pencil vanishes. The traditional marker and still unbeaten.

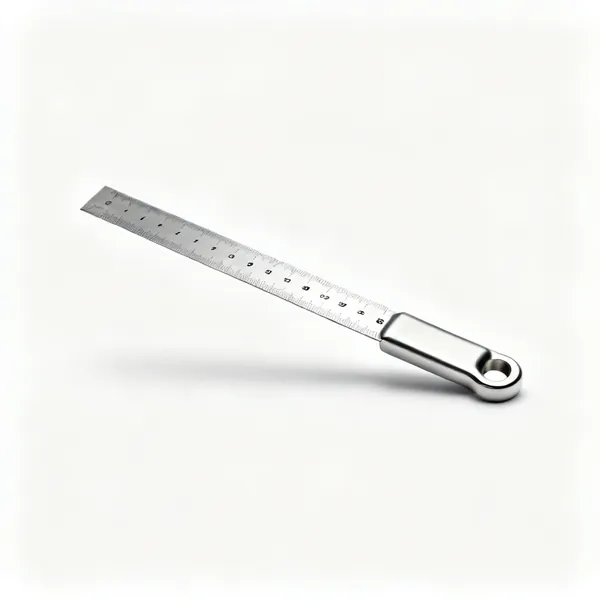
  • A stainless steel ruleEssential

    Steel rule

    Survives heat and sparks. A tape measure melts if you lay it on hot work, which happens once.

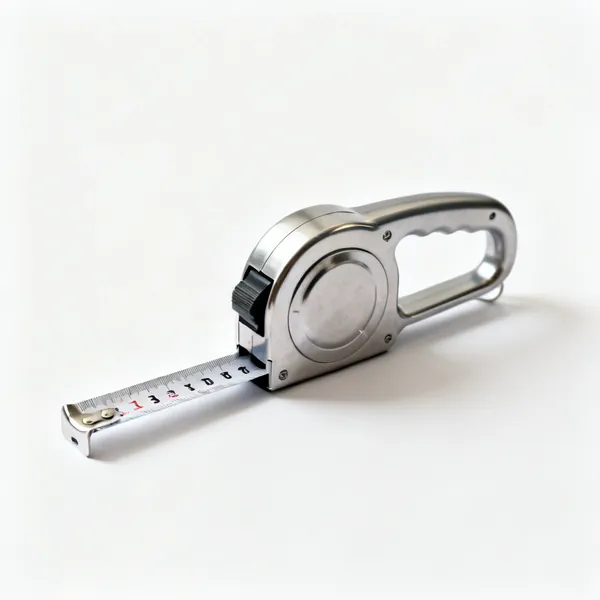
  • A steel tape measureEssential

    Tape measure

    General measuring of stock and layout. Kept away from anything hot, unlike a steel rule.

  • A pair of steel spring dividersEssential

    Dividers

    Steps off equal distances along a bar and scribes arcs, which is how repeating elements come out evenly spaced.

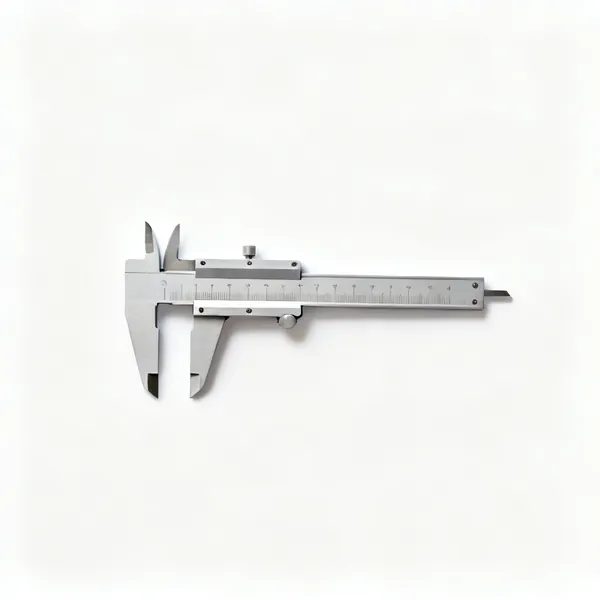
  • A pair of outside calipers

    Outside calipers

    Compares a hot dimension without a scale, transferring it to a rule once the work is out of your hands.

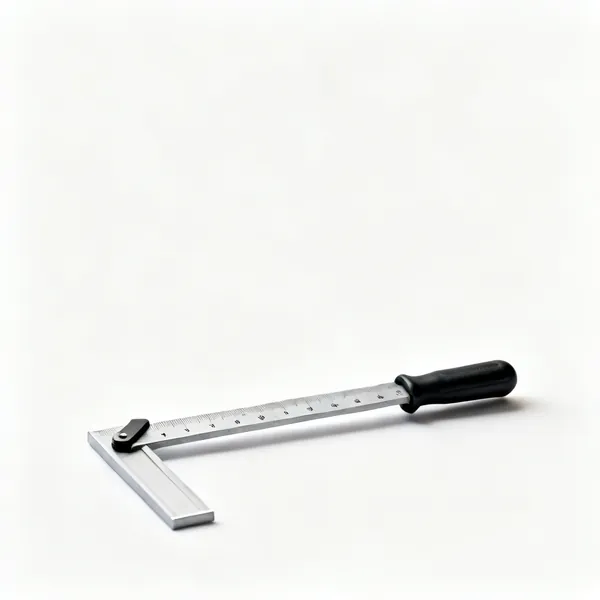
  • Engineer's square: An engineer's try squareEssential

    Engineer's square

    Checks a shoulder or a bend is square. Ironwork looks wrong very quickly if the angles are not right.

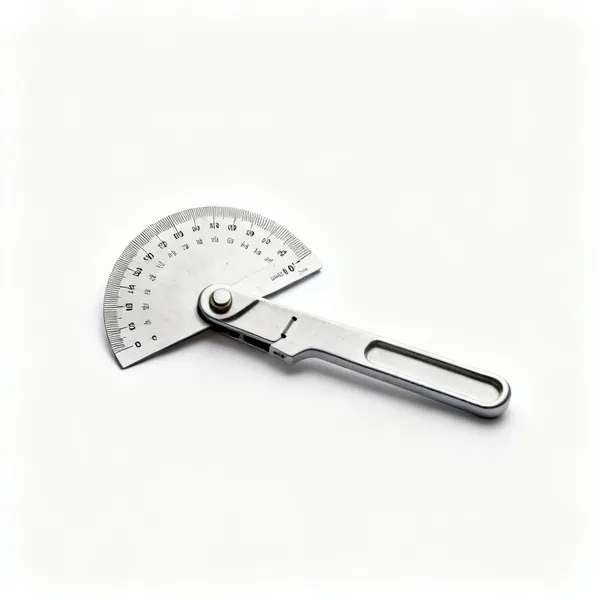
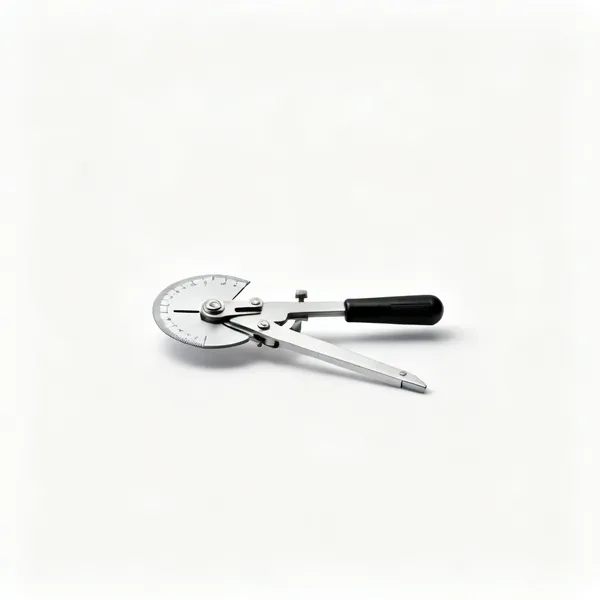
  • Angle gauge

    Angle gauge

    Reads and transfers an angle for repeatable bends, so a set of brackets actually matches.

  • A centre finder marking tool

    Centre finder

    Locates the centre of round stock so a hole is drilled or punched on the axis rather than near it.

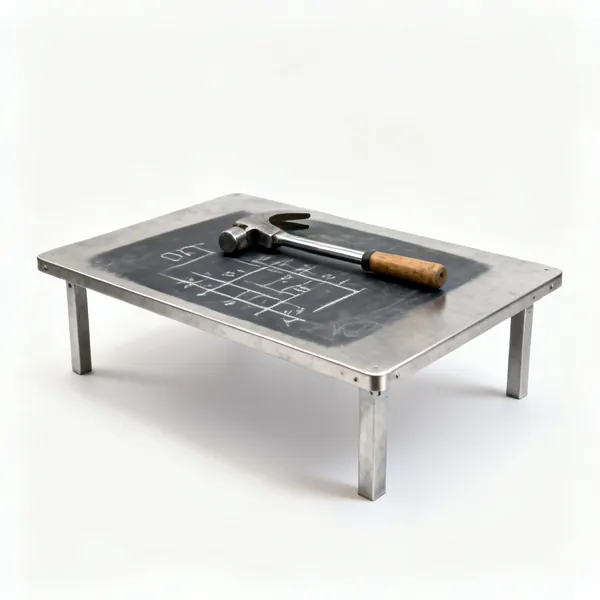
  • A steel layout table with chalk markings

    Layout table

    A flat steel surface with a full size drawing chalked on it, for checking assemblies against as you build them.

Safety & workshop 12

Open fire, hot metal and carbon monoxide. The hazards here are immediate and the protection is simple.

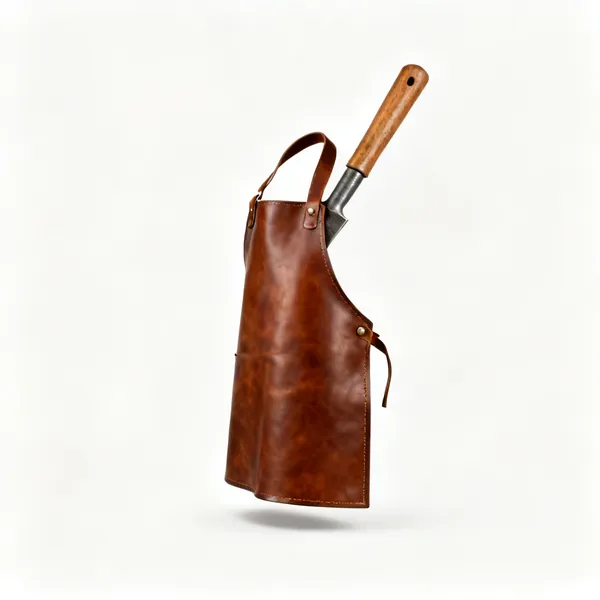
  • Leather apron: A brown leather blacksmith apronEssential

    Leather apron

    Stops scale and sparks and gives you something to brush hot debris off. Leather, since synthetics melt.

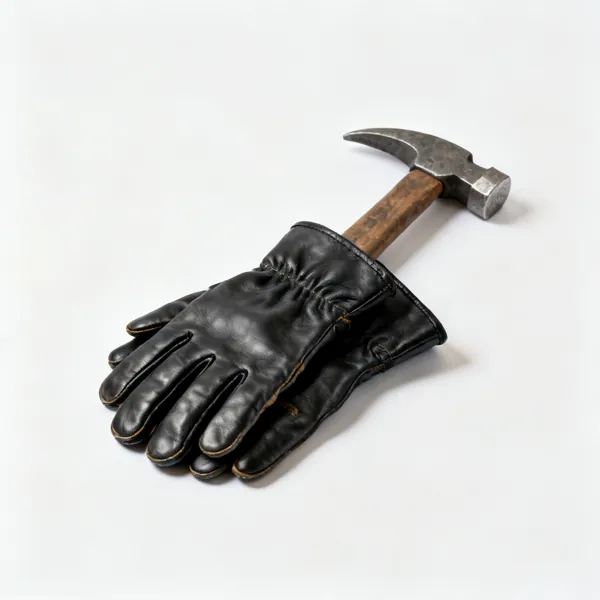
  • Leather gloves: A pair of leather blacksmith glovesEssential

    Leather gloves

    One glove on the tong hand is the traditional approach, keeping feel in the hammer hand. Leather only.

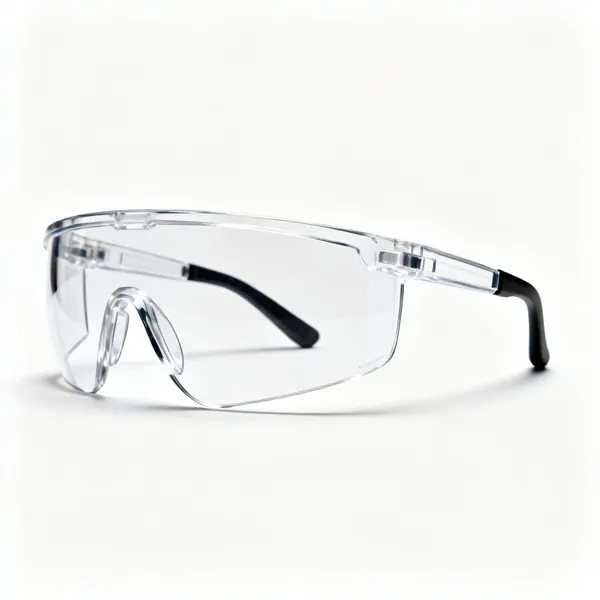
  • A pair of wraparound safety glassesEssential

    Safety glasses

    Scale flies off hot steel with every blow, and it is hot when it lands. Wraparound, and worn always.

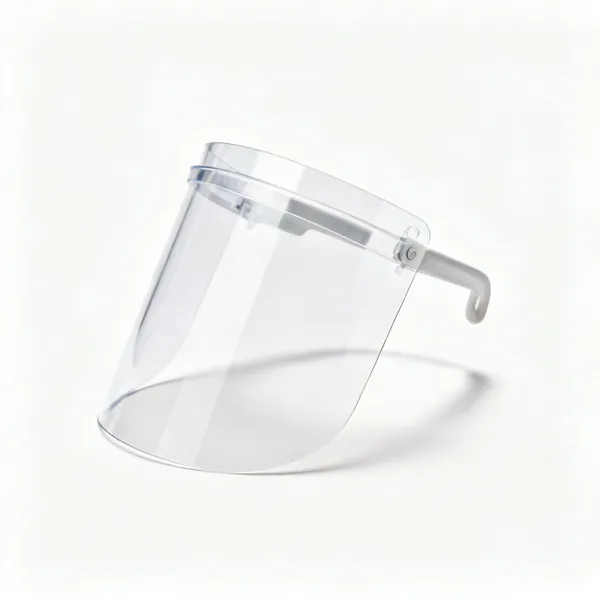
  • A clear face shield visor

    Face shield

    For grinding and wire wheeling, where fragments come at the whole face rather than just the eyes.

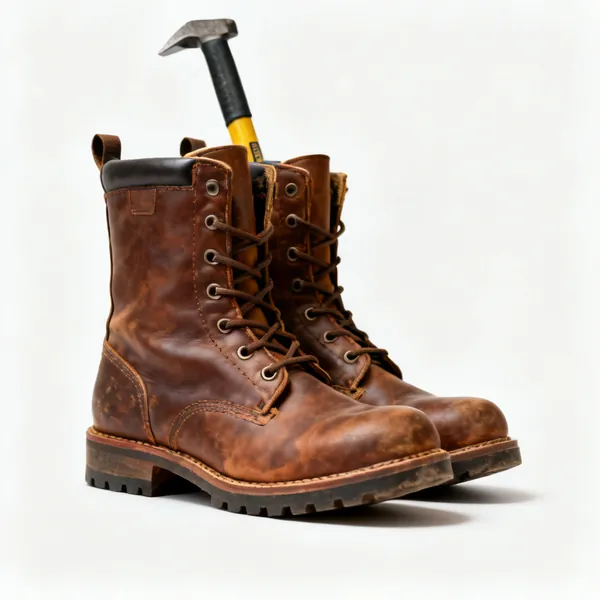
  • Leather boots: A pair of leather safety bootsEssential

    Leather boots

    Dropped hot steel lands on feet. Leather with a toe cap, and never trainers with a mesh upper.

  • A respirator mask with cartridgesEssential

    Respirator

    Forge smoke, grinding dust and any coating on the steel. Also the reason never to heat galvanised metal at all.

  • A pair of ear defendersEssential

    Ear defenders

    Hammer on anvil is genuinely loud, and it is a sharp impact noise that damages hearing quickly.

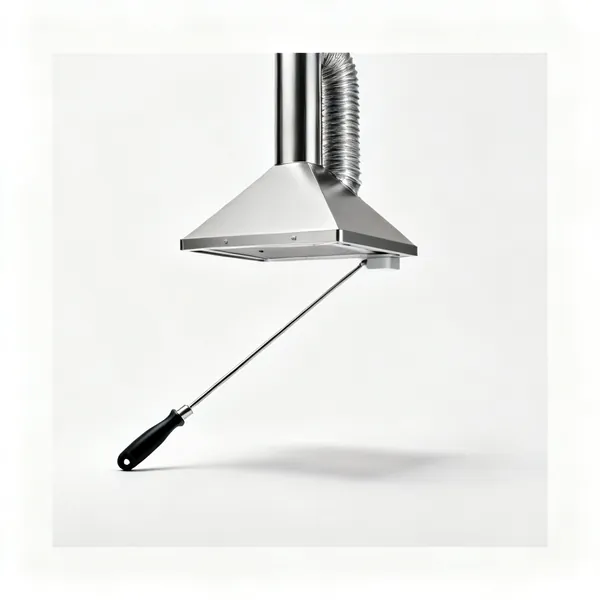
  • Extraction & ventilation: A forge extraction hood and ductingEssential

    Extraction & ventilation

    Coal, coke and gas all produce carbon monoxide. A hood over the fire and real airflow, not a cracked window.

  • A carbon monoxide alarm detectorEssential

    Carbon monoxide alarm

    The hazard you cannot see, smell or feel until you are already affected. Cheap, and it belongs in every forge.

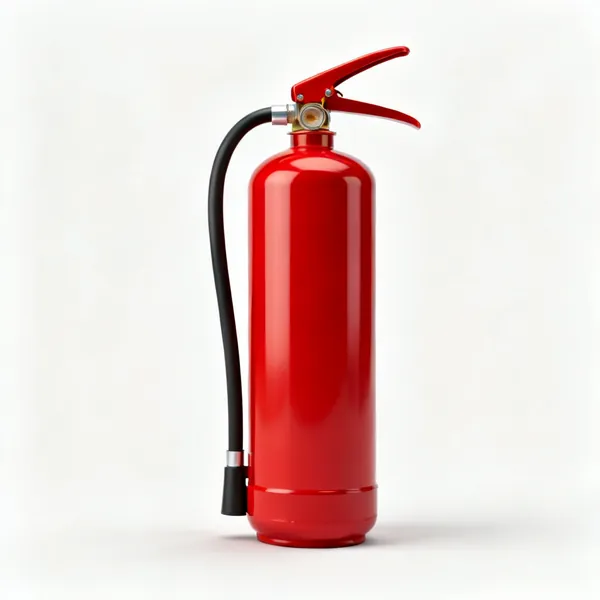
  • A red fire extinguisherEssential

    Fire extinguisher

    An open fire, hot metal and quite possibly an oil quench tank. Within reach, checked, and appropriate to oil.

  • Burn first aid: A first aid kit with burn dressingsEssential

    Burn first aid

    Burn gel and dressings, plus running water. Burns are the injury in this craft and the response is time critical.

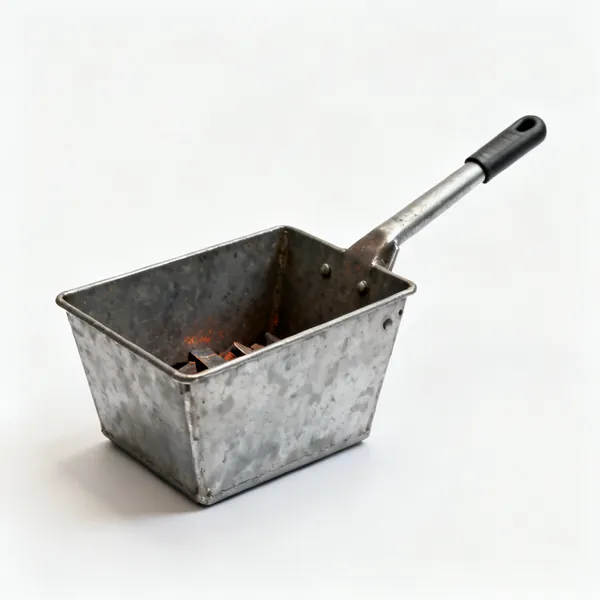
  • Hot scrap bin: A steel bin for hot metal offcutsEssential

    Hot scrap bin

    A steel bin for hot offcuts, since a hot cut off dropped on the floor is what somebody kneels on later.

Choosing blacksmithing tools

You need remarkably little to start, and the traditional route is to buy four things and forge the rest yourself.

You need four things, then you make the rest

Blacksmithing has the lowest genuine entry cost of any craft on this site, because a smith's traditional answer to needing a tool is to forge it.

The four things you cannot make are a heat source, something to hammer on, something to hammer with, and something to hold hot steel. A forge, an anvil, a hammer and a pair of tongs. With those you can make more tongs, punches, chisels, drifts and most of the specialist tools on this page.

That is also the recommended learning path, because making your own tongs teaches drawing out, tapering and riveting all at once, and if they come out badly you have lost a bit of scrap.

Forge, anvil, hammer, tongs
Everything else on this page can be forged with those four, and most of it traditionally was.
Mass matters more than shape in an anvil
A heavy lump of steel with a flat face beats a light anvil with a pretty horn. Rebound comes from mass.
One hammer, and learn it
Around a kilogram to start. Heavier tires you and lighter takes forever, and control beats force.
Tongs must fit the stock
Loose tongs drop hot steel. Make or buy a pair that grip your usual bar size properly.
Make your own tools as practice
Tongs, punches and chisels are the classic first projects, and the scrap cost of failure is nothing.
A solid stand, not a wobbly one
The anvil must not move or bounce. Bolted or strapped to a stump or a stand at knuckle height.

Reading the heat, which is the actual skill

Steel is worked at a colour, not a temperature reading. Learning to see those colours is the central skill, and it takes a while because the workshop light changes what you see.

Broadly, bright yellow to orange is the working range for most forging. Red is too cold for heavy moving and it is where you finish detail. Cross into white and sparking and you are burning the steel, which destroys it permanently. And working steel that has gone below red causes cracking, because you are trying to move metal that no longer wants to move.

This is why smiths work in dim light. In bright sunlight you cannot judge the colour and you will burn or crack the work.

Yellow to orange for heavy moving
That is the range where steel is genuinely plastic. Work fast and return it to the fire often.
Stop when it drops below red
Hammering cold steel work hardens and cracks it. Reheat rather than getting the last blows in.
Sparks mean you have burned it
White heat and sparking destroys the steel structure and it cannot be recovered. Back it out of the fire.
Work in dim light
You judge heat by colour, and daylight washes the colour out. This is why forges are dark.
Heat only the part you are working
A local heat lets you move one area without distorting the rest of the piece.
Many short heats beat one long one
A long soak scales and decarburises the surface. In and out, and keep the fire clean.

Hardening and tempering, and why both are needed

If you make a tool, you have to heat treat it or it will not hold an edge. There are three steps and skipping the last one is how tools shatter.

Annealing softens steel so it can be worked and filed. Hardening means heating to critical, when it stops being magnetic, then quenching it fast: that gives maximum hardness and makes the steel brittle enough to break like glass. Tempering then reheats it gently to trade a little hardness for a lot of toughness, and it is not optional.

A hardened untempered chisel will snap on the first blow. It is the most common mistake in tool making.

Harden, then always temper
Hardened untempered steel is brittle and will shatter. Temper straight after quenching, while it is still warm.
Use a magnet to find critical
Steel loses its magnetism right around the hardening temperature, which is far more reliable than judging the colour.
Match the quench to the steel
Water for some, oil for most tool steels. The wrong quench cracks the piece as it cools.
Temper by the oxide colours
Straw for a hard cutting edge, deeper brown and purple for tools taking impact. An oven works too.
Normalise before hardening
A couple of heats and slow air cools relieve the stress from forging, so the piece does not warp in the quench.
Know what steel you have
Mystery steel from a scrapyard may not harden at all. A spark test and a test quench on an offcut tell you.

What to buy first, in order

Stage one: the four essentials
A forge, an anvil, a cross pein hammer around a kilogram, and a pair of tongs that fit your stock. Plus a bucket of water, leather gloves and eye protection.
Stage two: holding and cutting
A blacksmith's leg vice or a heavy engineer's vice, a hot cut chisel, a cold chisel, a hacksaw and an angle grinder.
Stage three: shaping
Punches and drifts, a hardy tool or two, a swage block or bolster, a bending fork and a set of dividers and soapstone for marking.
Stage four: heat treatment and finishing
A quench tank, a magnet, a wire brush, files, a belt sander, and a small kiln or oven for accurate tempering.

Mistakes that ruin work or hurt people

Hardening without tempering
The tool shatters on first use. Temper immediately after quenching, every time.
Working steel below red heat
It work hardens and cracks, usually invisibly, and the crack appears later under load.
Burning the steel
White heat and sparks destroy the grain structure permanently. There is no way back from it.
Quenching hot steel in a small bucket
It boils, steams violently and can spit. A generous tank of water or oil, and never near your face.
Galvanised steel in the forge
Zinc fume causes metal fume fever and it is genuinely unpleasant. Never heat galvanised or plated steel.
Loose or wrong sized tongs
Dropped hot steel goes onto your boot or the floor. Tongs must actually grip the stock they are used on.
An anvil that moves
Wasted energy and unpredictable rebound. It must be solidly mounted at knuckle height.
Working in bright light
You cannot read the heat colour, so you will either burn the steel or work it too cold.
Synthetic clothing near the forge
It melts onto skin. Cotton, wool or leather only, and no loose sleeves near the fire.

Looking after blacksmithing tools

Never hammer directly on the anvil face
Hammer on steel, not on the anvil. Missing the work chips the hardened face and that damage prints into future work.
Keep the anvil face clean and lightly oiled
Scale on the face prints into the work, and bare steel rusts overnight in a damp shop.
Dress hammer and punch heads
A mushroomed head throws fragments when struck. File the burr off before it spreads.
Do not quench tools you hammer with
Hardening a hammer face makes it brittle. Hammers are meant to be tough rather than hard.
Keep the quench tank covered
Water evaporates and oil collects scale and dust. Both need to be clean when you actually need them.
Clean the fire and the tuyere
Clinker builds up and strangles the air supply, and then the fire will not reach forging heat at all.

Frequently asked questions

What blacksmithing tools do I need to start?
Four things: a forge, an anvil, a hammer of around a kilogram and a pair of tongs that fit your stock. Add a bucket of water, leather gloves and eye protection. You can forge most of the other tools on this page yourself.
What size anvil do I need?
Mass matters more than shape or size. Anything from around 50 kilograms upwards works well, and a heavy flat block of steel beats a light decorative anvil, because the rebound that does the work comes from mass underneath the blow.
Can I use a piece of railway track as an anvil?
Yes, and it is a common start. Stood on end it gives good mass under the blow, which is far better than laid flat. A flat face ground on top and a solid mounting matter more than owning a traditional shape.
What colour should the steel be when I forge it?
Bright yellow to orange for heavy moving, and red for finishing detail. Below red you are work hardening and cracking it, and at white heat with sparks you have burned the steel and it cannot be recovered.
Why do blacksmiths work in dim light?
Because heat is judged by colour, and daylight washes the colour out of hot steel. In bright sunlight you cannot tell forging heat from burning heat, so you will either destroy the steel or work it too cold.
What is the difference between hardening and tempering?
Hardening means heating to critical then quenching fast, which gives maximum hardness and leaves the steel brittle enough to shatter. Tempering then reheats it gently to trade a little hardness for a lot of toughness. Both are needed.
How do I know when steel is hot enough to harden?
Use a magnet. Steel loses its magnetism at almost exactly the hardening temperature, so when a magnet stops sticking you are at critical. It is far more reliable than judging the colour, especially in changing light.
What is a hardy hole for?
The square hole in the anvil face that takes hardy tools: hot cuts, bending forks, swages and bending jigs with a matching square shank. It turns the anvil into a holder for whatever shaped tool the job needs.
What is the difference between a punch and a drift?
A punch makes the initial hole by displacing metal. A drift is then driven through to shape and size that hole accurately. Punching alone gives a rough undersized hole, so both are used in sequence.
Can I use a coal forge indoors?
Only with proper extraction, because coal and coke produce carbon monoxide. A gas forge is cleaner and easier to ventilate but still needs real airflow. This is not a craft to do in a closed garage.
Why must I never heat galvanised steel?
The zinc coating vaporises and zinc fume causes metal fume fever, which produces genuine flu symptoms and lands people in bed. Grind the coating off well beyond the heated area first, or use uncoated steel.
What steel should I use for making tools?
A known tool steel with a specification, so you know how to harden it. Scrapyard steel may not harden at all. Old files, leaf springs and coil springs are traditional sources, and a test quench on an offcut tells you what you have.