Disclosure

Finishing tools: names, pictures and what each one is used for

A complete finishing tools list with a picture of every one, all 66 grouped by the stage, from filling and sanding through staining, sealing, applying a finish and polishing it. Doing these in the wrong order is what spoils otherwise good work.

36 are marked essential: enough to take a surface from bare to properly finished.

Filling & preparation 12

Making the surface sound before anything else happens. Everything after this reveals what was left here.

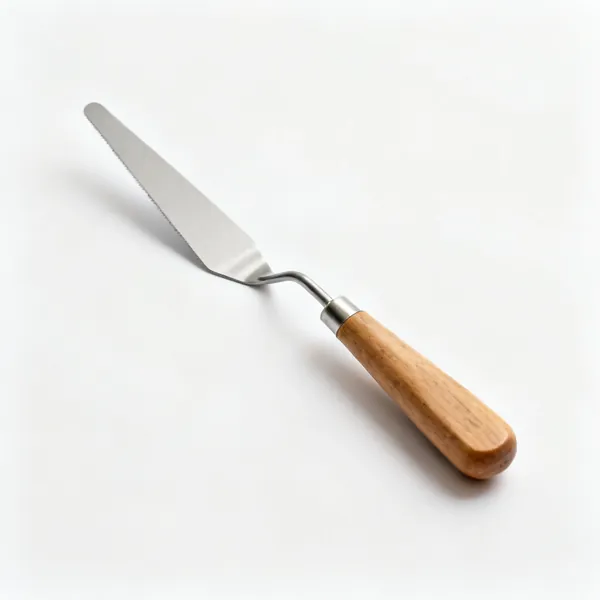
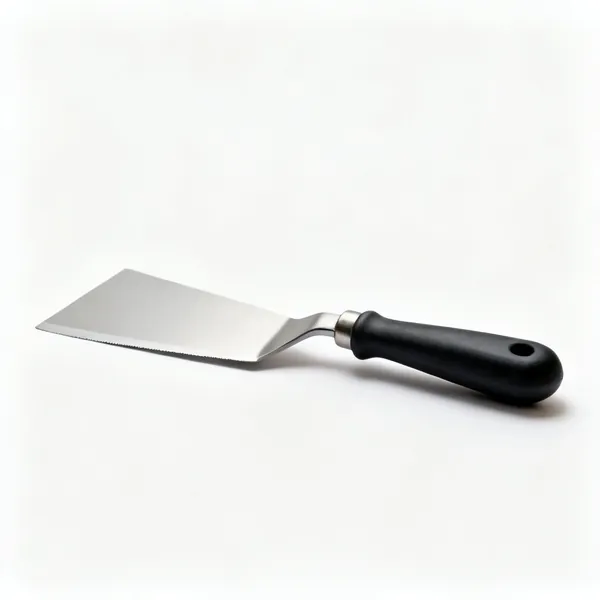
  • A flexible filling knife with a wooden handleEssential

    Filling knife

    A flexible blade for pressing filler in and scraping it flush. Flex is what lets it follow the surface.

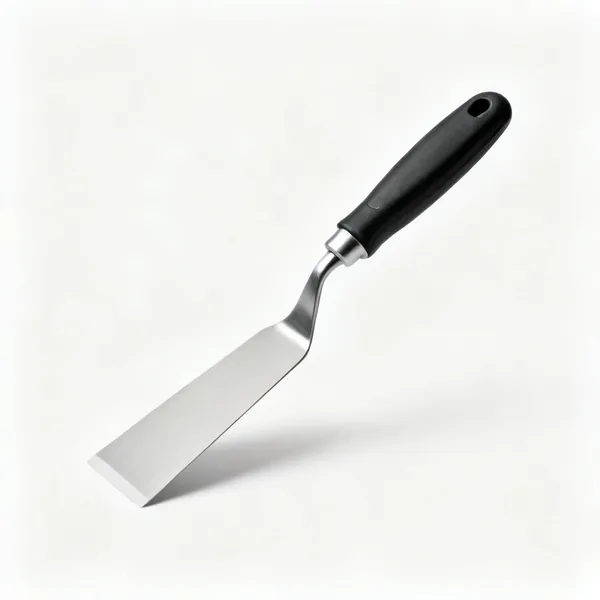
  • A stiff putty knife

    Putty knife

    Stiffer and narrower, for working filler into a deep hole or bedding glazing putty into a rebate.

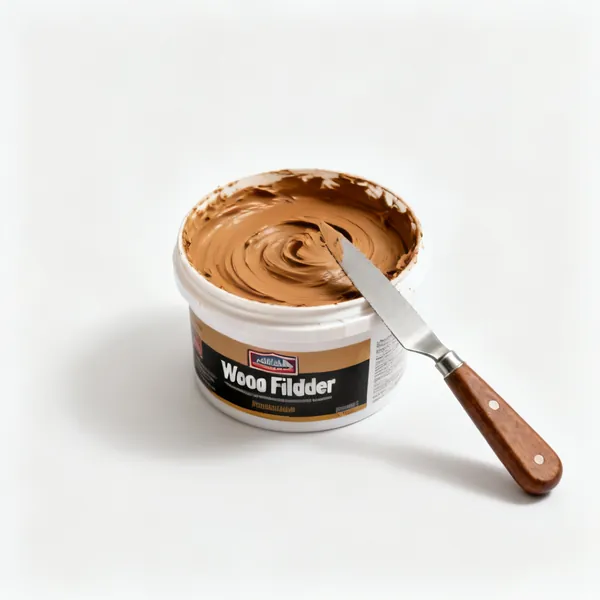
  • A tub of wood filler with a knifeEssential

    Wood filler

    Fills holes and splits. A stainable type on anything visible, since ordinary filler shows as a patch.

  • A tin of wood grain filler paste

    Grain filler

    A paste rubbed into open grained timber like oak and ash, so a gloss finish can be truly flat rather than pitted.

  • Colour matched wax filler sticks

    Wax filler sticks

    Colour matched wax pressed into small holes in an already finished surface, where a wet filler cannot be used.

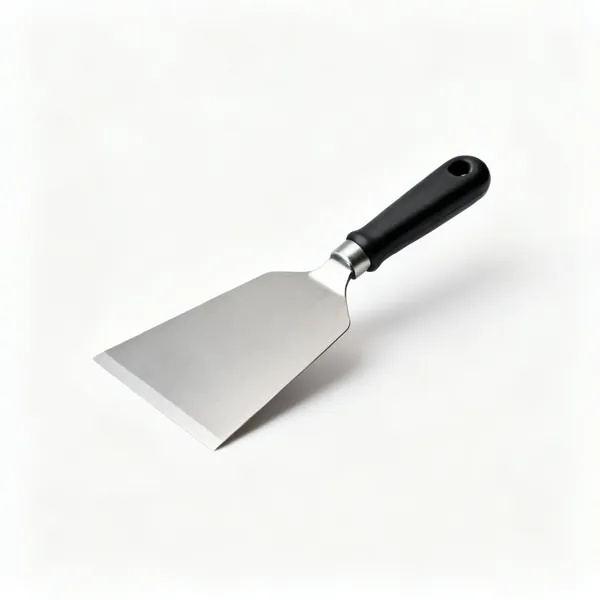
  • A paint scraper with a stiff bladeEssential

    Paint scraper

    Removes old finish, flaking paint and adhesive. It is a cutting tool, so it needs sharpening rather than force.

  • A steel cabinet scraper card

    Cabinet scraper

    A thin steel blade with a burnished hook that takes a fine shaving, leaving a surface better than sanding can.

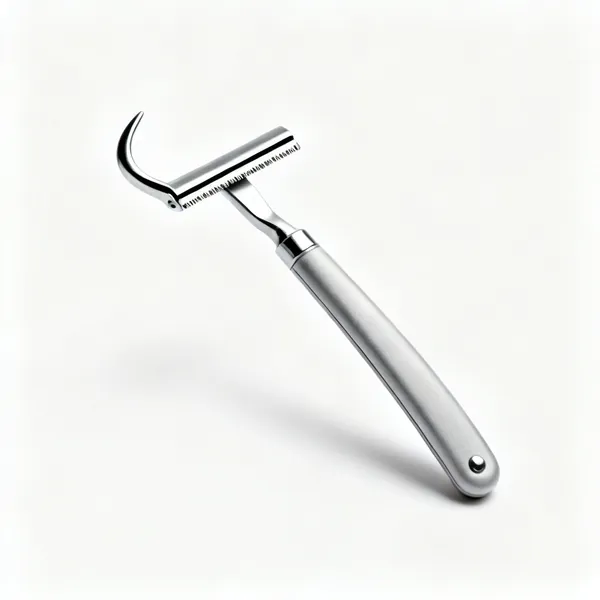
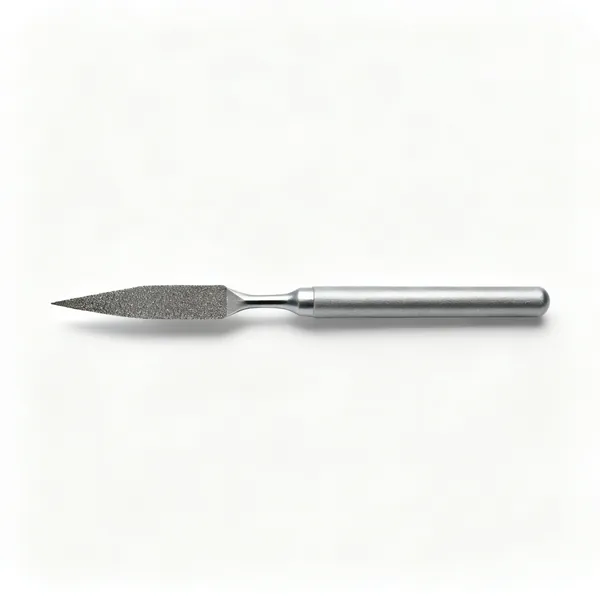
  • A combination shave hook scraper

    Shave hook

    Shaped edges for scraping mouldings and beading, where a flat scraper cannot follow the profile.

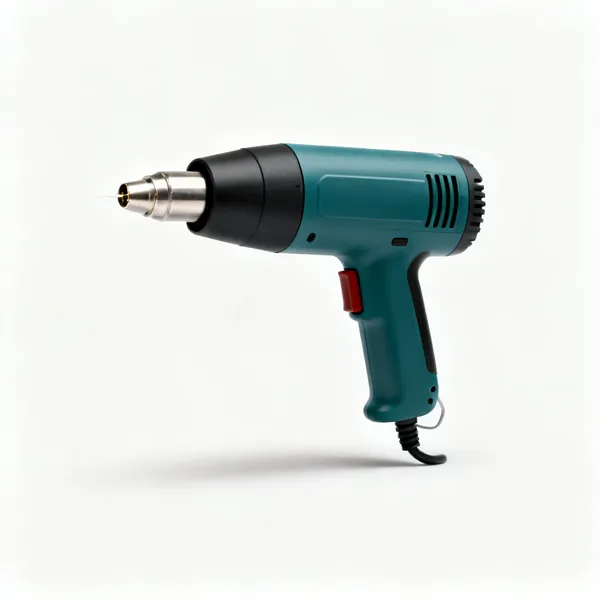
  • An electric heat gun

    Heat gun

    Softens old paint so it lifts with a scraper. Kept moving, since it scorches timber and cracks glass.

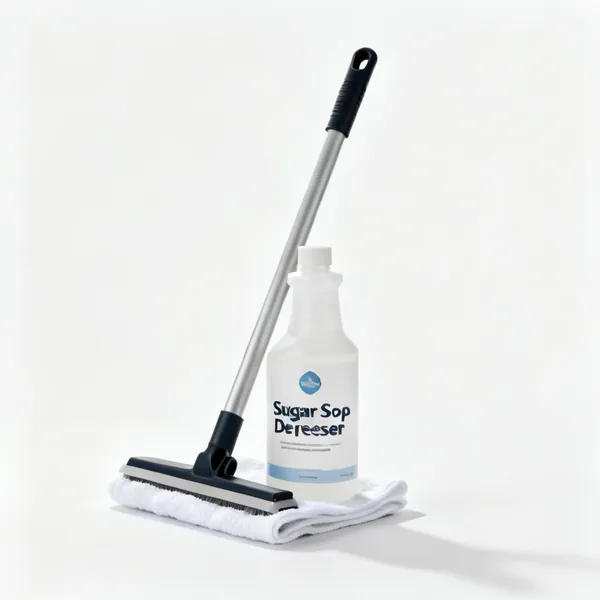
  • Degreaser & sugar soap: A bottle of sugar soap degreaser with a clothEssential

    Degreaser & sugar soap

    Removes grease, polish and handling residue. Finish will not adhere over silicone or oil, and it fisheyes instead.

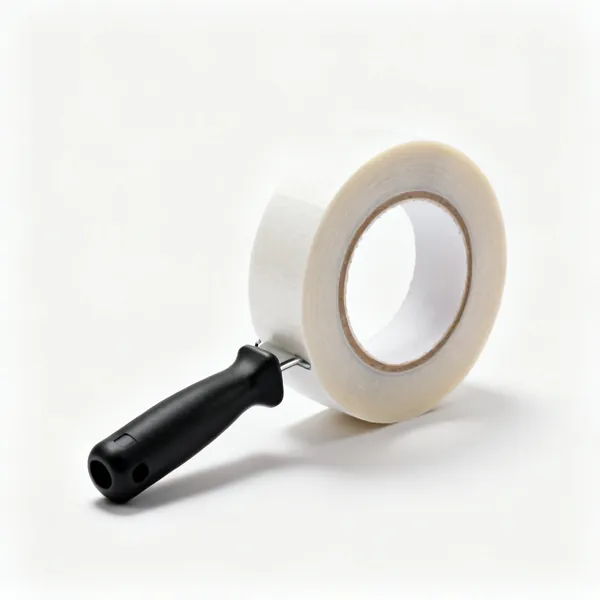
  • Rolls of masking tapeEssential

    Masking tape

    Protects what is not being finished. Low tack on delicate surfaces, and removed before the finish fully hardens.

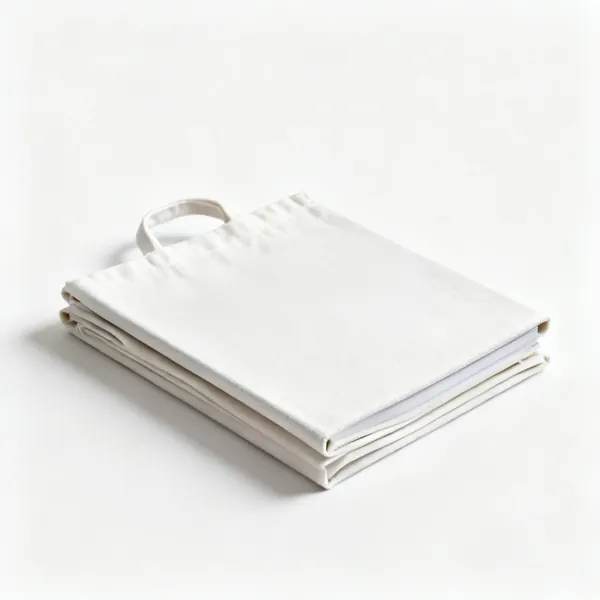
  • Dust sheets: A folded canvas dust sheetEssential

    Dust sheets

    Cover everything nearby. Finishing generates dust and splashes, and cleaning up costs more than covering up.

Sanding & smoothing 13

Most of the hours and most of the result. Blocks and machines rather than fingers, and the grits in order.

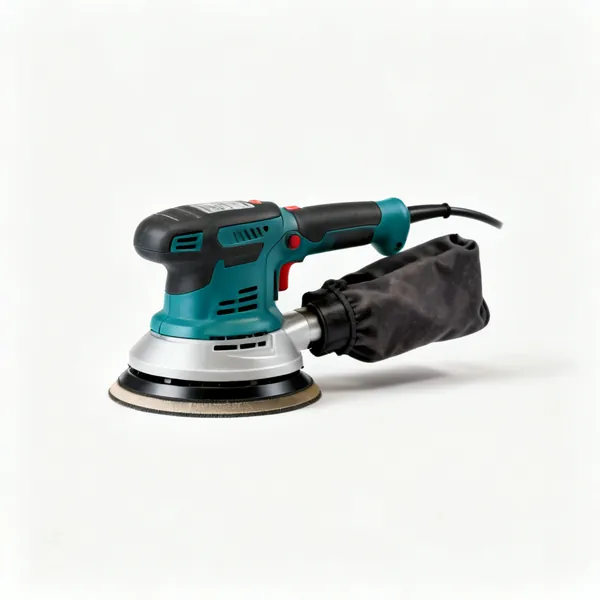
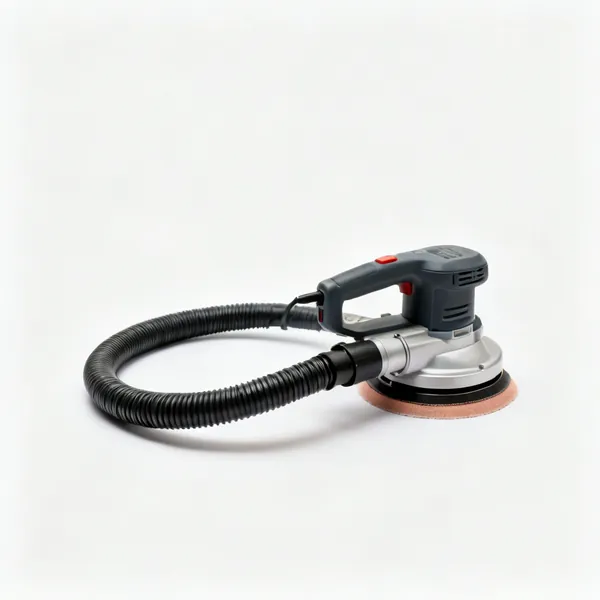
  • A random orbit sander with a dust bagEssential

    Random orbit sander

    Cuts fast without leaving swirl marks, which is why it is the default powered finishing sander.

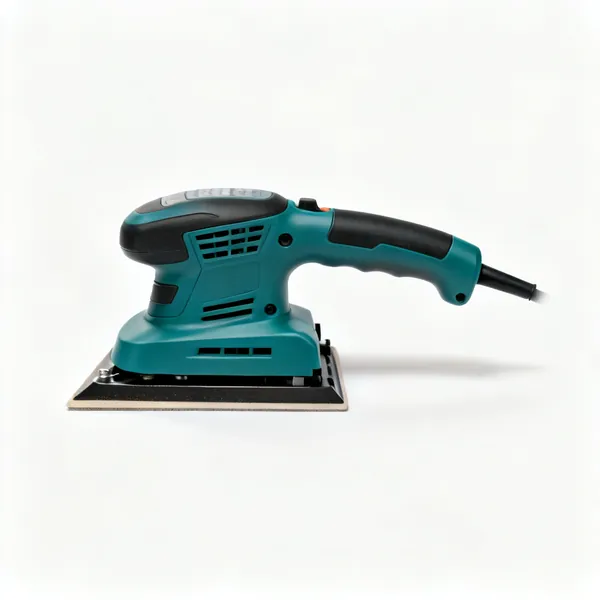
  • Detail sander: A triangular detail palm sander

    Detail sander

    A pointed pad reaching into corners and against a rebate, where a round pad cannot get close.

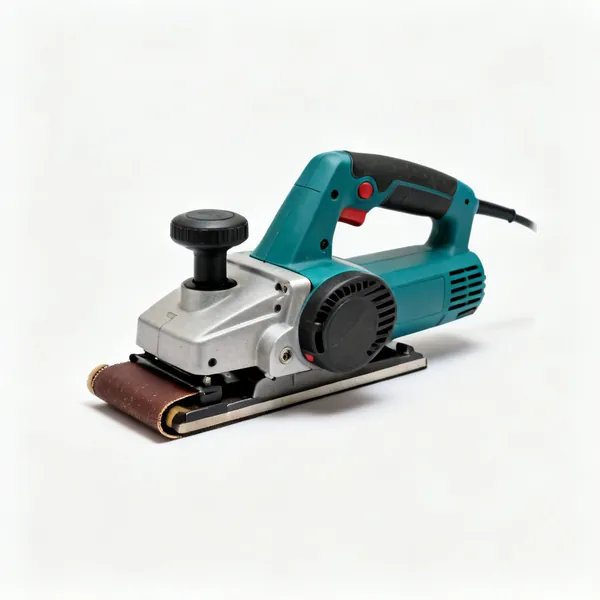
  • An electric belt sander

    Belt sander

    Removes material very fast and very unforgivingly. Kept moving, or it digs a hollow in seconds.

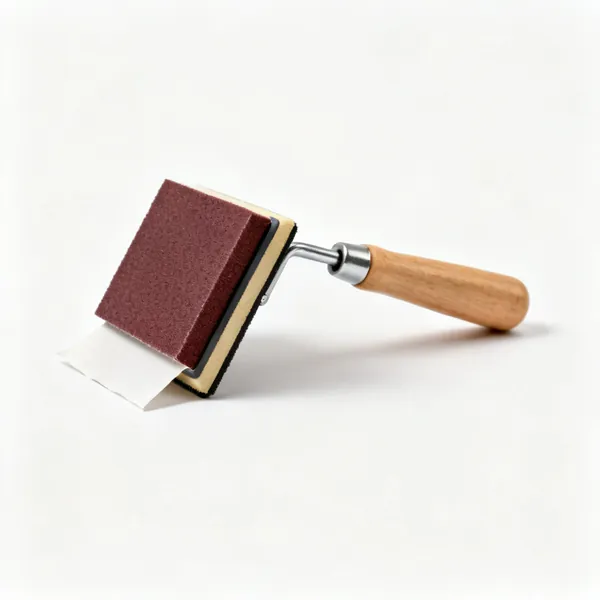
  • Sanding blocks: A rubber sanding block with paperEssential

    Sanding blocks

    Keeps abrasive flat so a flat surface stays flat. Fingers make hollows you only see once the finish is on.

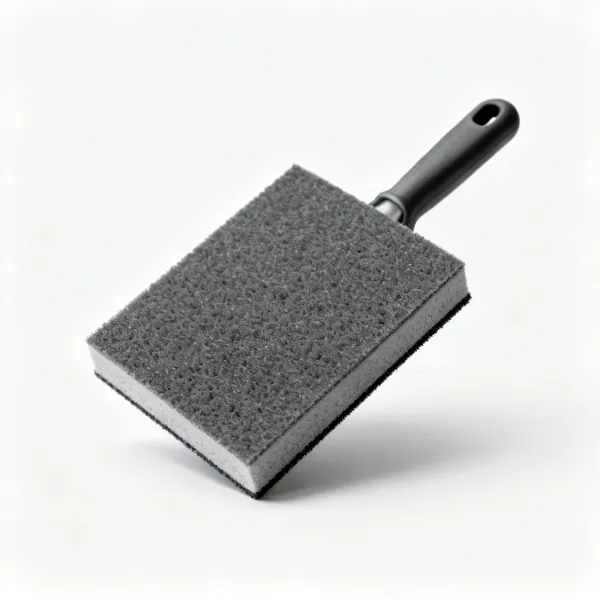
  • Sanding sponges: Abrasive sanding sponge padsEssential

    Sanding sponges

    Follows a curve or a moulding without flattening it, which a rigid block cannot do.

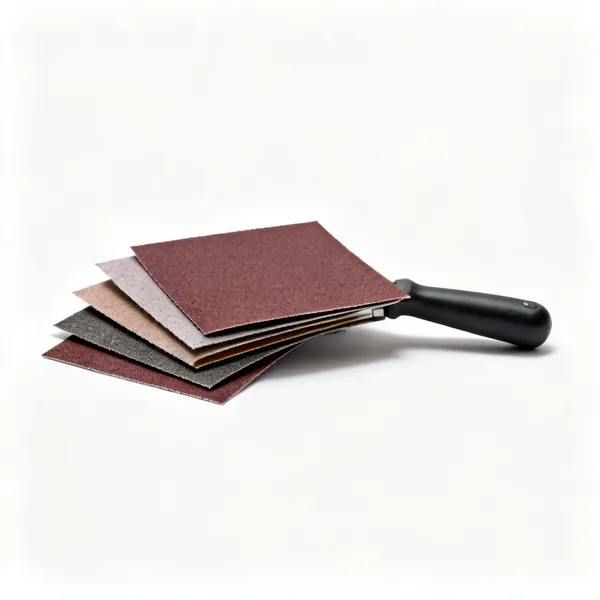
  • Abrasive paper: Sheets of abrasive sandpaper in several gritsEssential

    Abrasive paper

    A full range of grits, worked through in order. The single most important consumable in finishing.

  • Wet and dry paper: Sheets of wet and dry abrasive paperEssential

    Wet and dry paper

    Used with water or oil at fine grits, so it does not clog and the cut is cleaner. For flatting between coats.

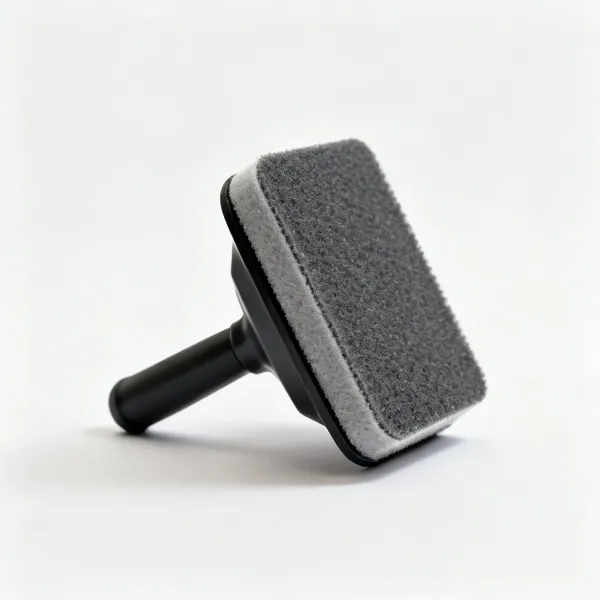
  • Abrasive pads: Abrasive finishing padsEssential

    Abrasive pads

    Nylon pads that key a surface between coats without cutting through, and they follow any shape.

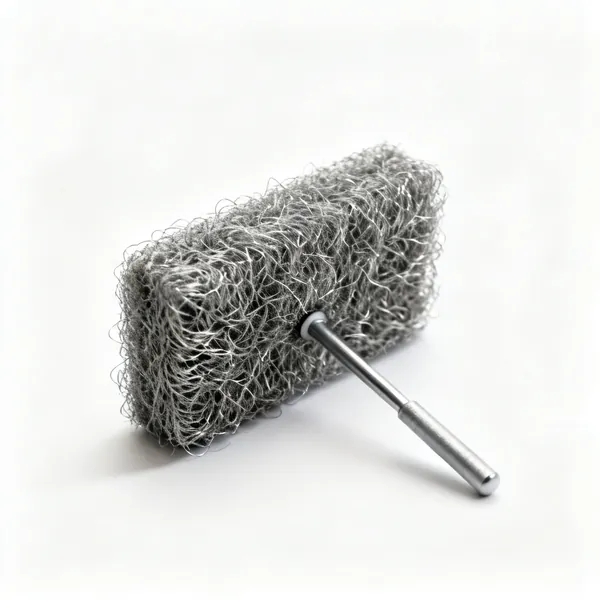
  • A pad of fine steel wool

    Steel wool

    Very fine grades for rubbing back a finish and applying wax. Never under a water based finish, since it rusts.

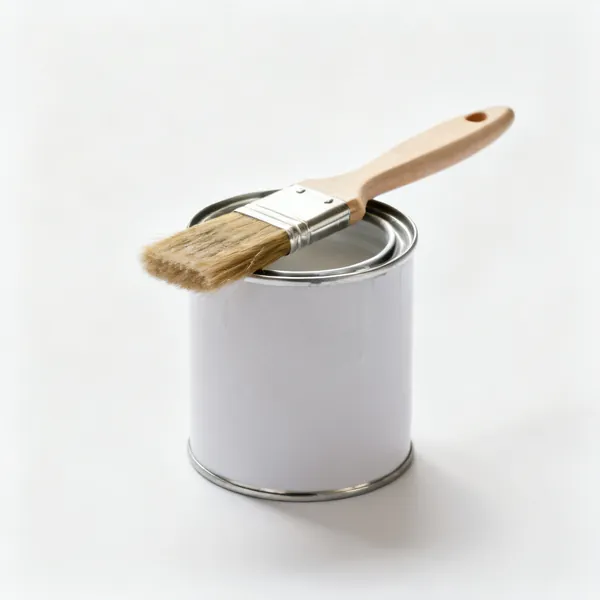
  • A tin of sanding sealer with a brush

    Sanding sealer

    A first coat that seals the surface and sands back easily, giving a flat base for the finish coats.

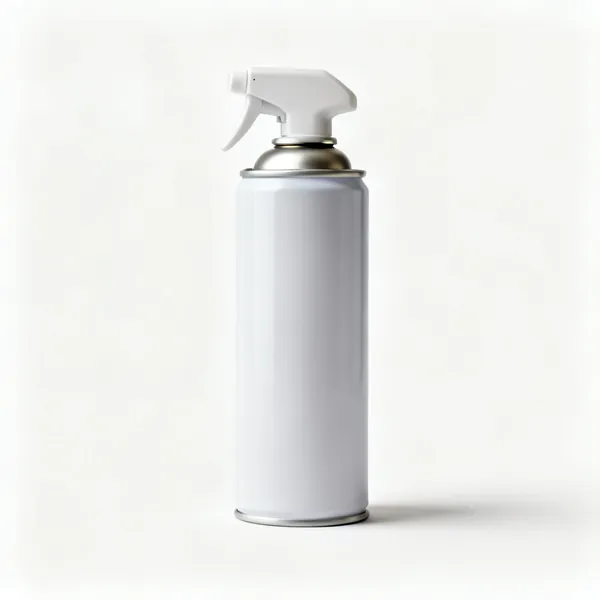
  • An aerosol can of guide coat spray

    Guide coat

    A contrast mist that stays in low spots as you sand, showing exactly where the surface is not yet flat.

  • Vacuum & extraction: A workshop vacuum with a sanding hoseEssential

    Vacuum & extraction

    Connected to the sander and used between grits. Grit carried into a finer grade puts scratches back in.

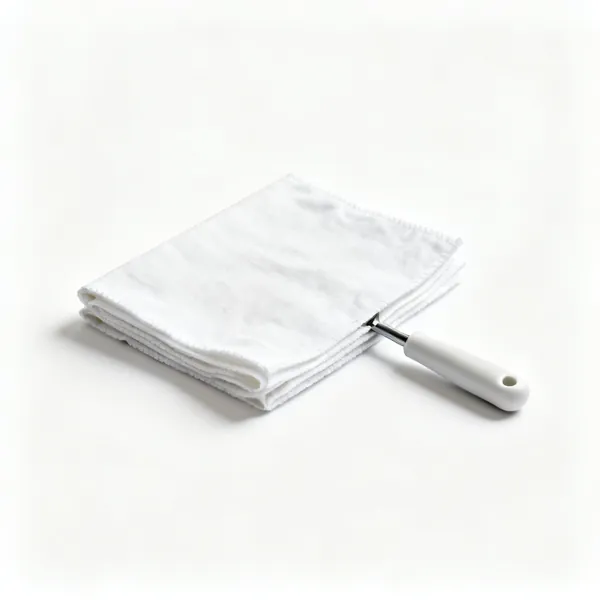
  • Tack cloths: A folded tack clothEssential

    Tack cloths

    The last wipe before a coat, picking up dust a vacuum leaves behind. Cheap, and it saves the coat.

Colour & stain 9

Changing the colour before the protective finish goes on. Always tested on an offcut of the same material first.

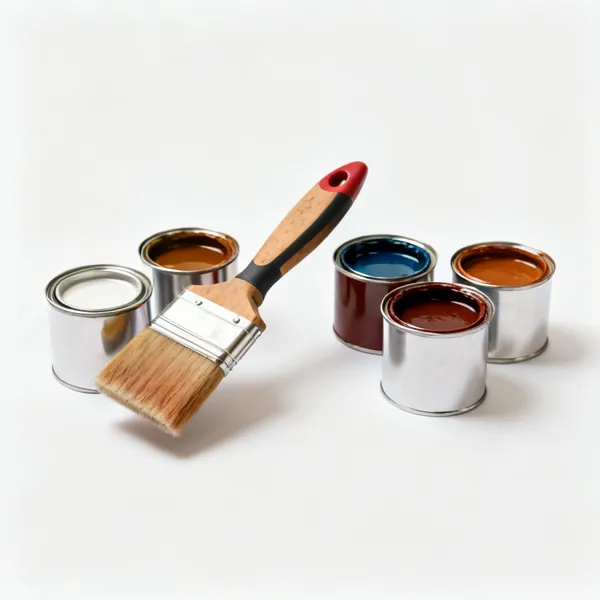
  • Tins of wood stain in several coloursEssential

    Wood stain

    Colours the timber without building a film. Every species and board takes it differently, so test first.

  • Bottles of wood dye

    Wood dye

    Penetrates deeper and more evenly than a pigmented stain, and it shows the grain rather than obscuring it.

  • A tin of pre stain wood conditioner

    Wood conditioner

    A wash coat evening out absorption on blotchy timbers like pine and cherry, before any stain goes on.

  • Stain applicator: A stain application padEssential

    Stain applicator

    A pad or cloth laying stain evenly and wiping the excess. A brush leaves laps that darken permanently.

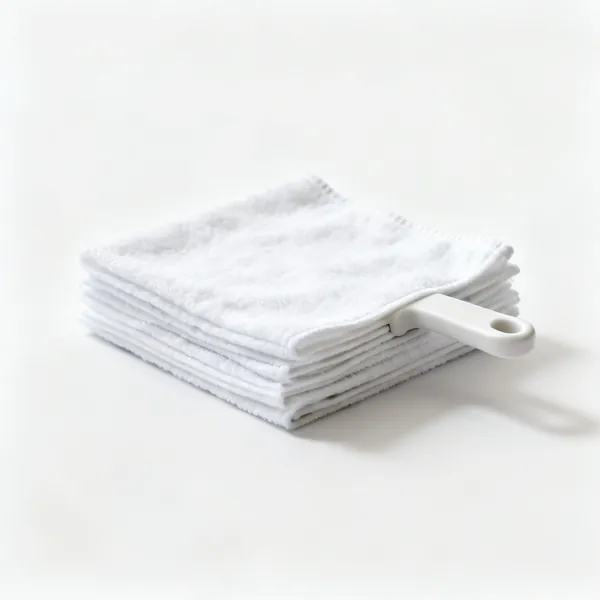
  • Lint free cloths: A stack of lint free cotton clothsEssential

    Lint free cloths

    Applying and wiping back stains, oils and waxes. An ordinary cloth sheds fibres into the finish.

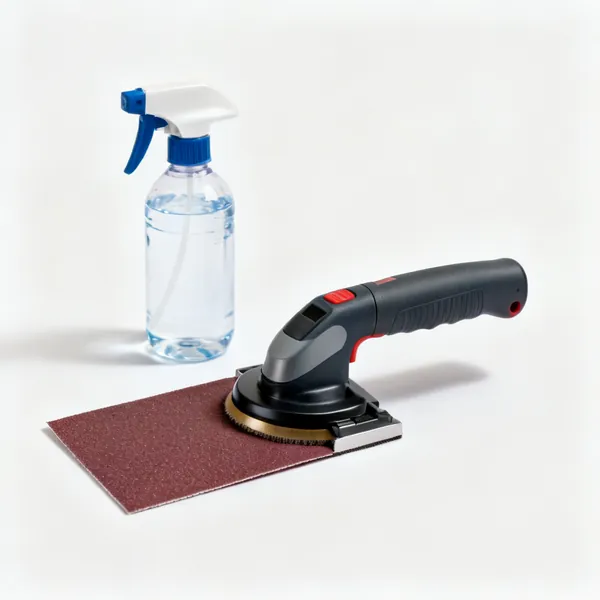
  • Water for grain raising: A spray bottle of water beside sandpaper

    Water for grain raising

    Damping timber then sanding lightly once dry, so the grain that would lift under a water based finish lifts now.

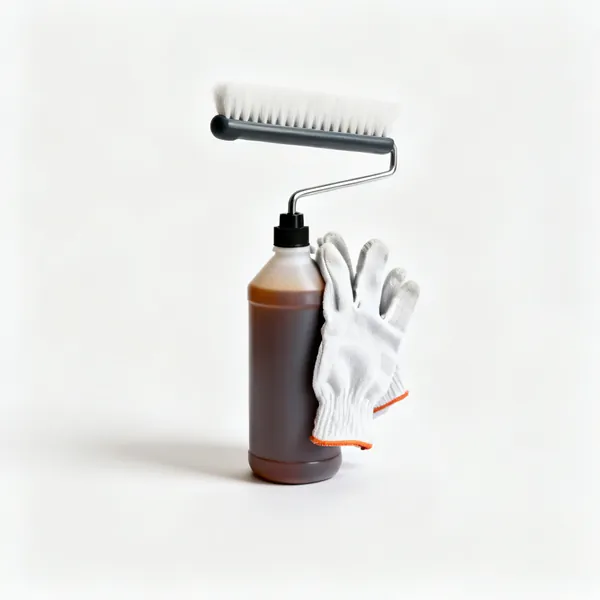
  • A bottle of wood bleach with gloves

    Wood bleach

    Lightens timber or removes a stain that went too dark. Aggressive, so gloves and a test piece.

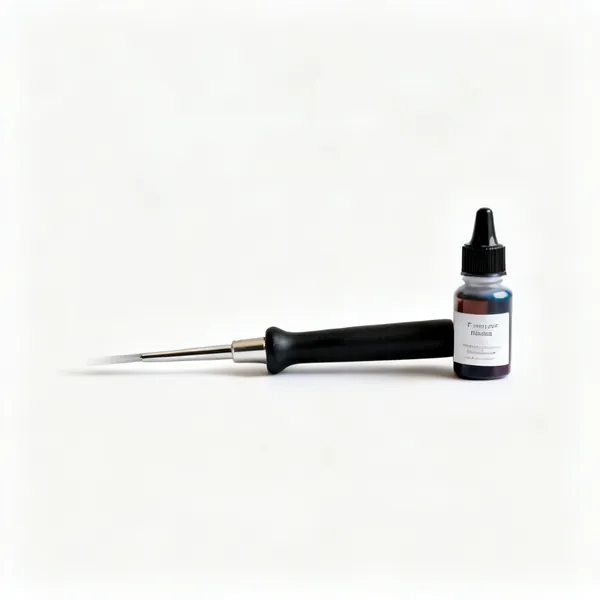
  • Tints & colourants: Small bottles of finishing tint colourants

    Tints & colourants

    Adjusts a finish or a filler to match the surrounding timber, which is how a repair disappears.

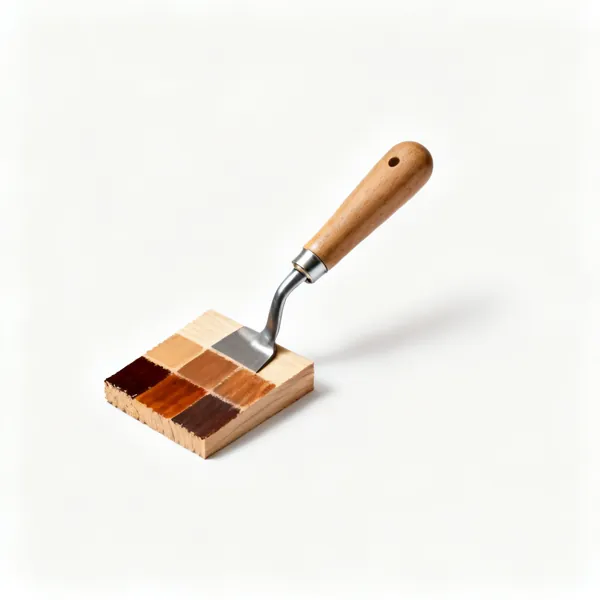
  • Test offcuts: Wood offcuts showing several stain samplesEssential

    Test offcuts

    Same board, same preparation, same product. The only reliable way to know what a stain will actually do.

Applying the finish 13

Getting the coat on evenly and keeping it clean. Conditions matter as much as technique.

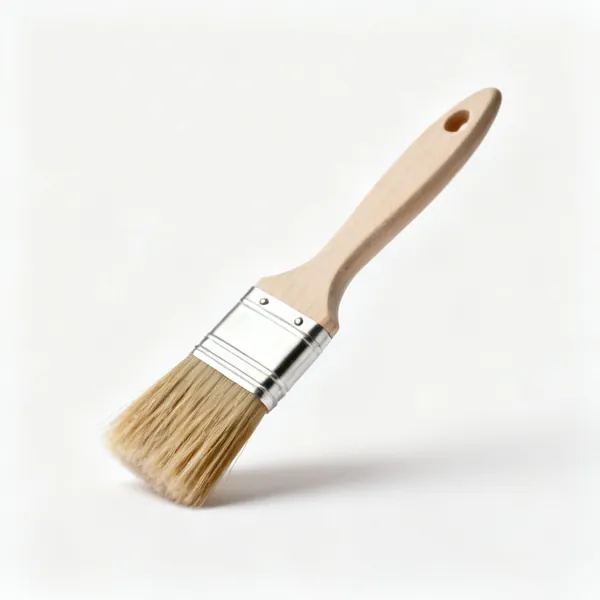
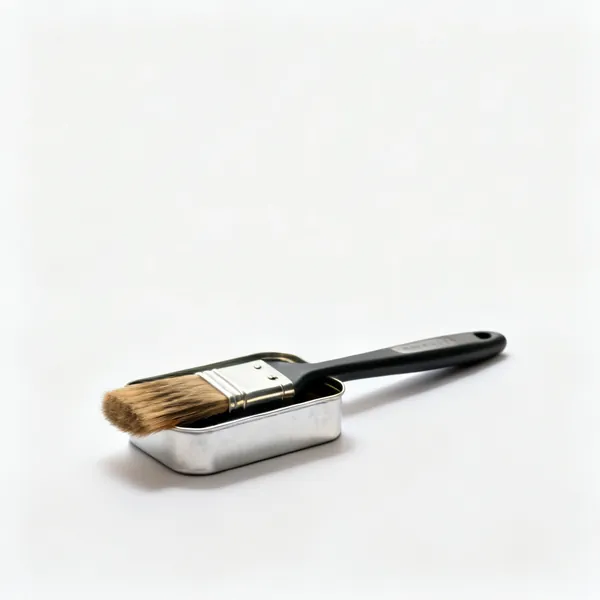
  • Finishing brush: A fine bristle finishing paint brushEssential

    Finishing brush

    A good bristle brush lays a smooth coat and holds a straight edge. Cleaned properly it lasts decades.

  • Synthetic brush: A synthetic filament paint brushEssential

    Synthetic brush

    For water based finishes, since natural bristle absorbs water and goes limp. Not interchangeable with bristle.

  • A wide flat varnish brush

    Varnish brush

    A wide flat brush that holds a lot and releases it evenly, which is what varnish needs to flow out.

  • A set of fine detail brushes

    Detail brushes

    Fine brushes for touching in, cutting a line and working into carving and mouldings.

  • Foam applicator: Foam paint applicator brushesEssential

    Foam applicator

    Lays a very even coat with no brush marks, and it is disposable. Excellent on flat panels.

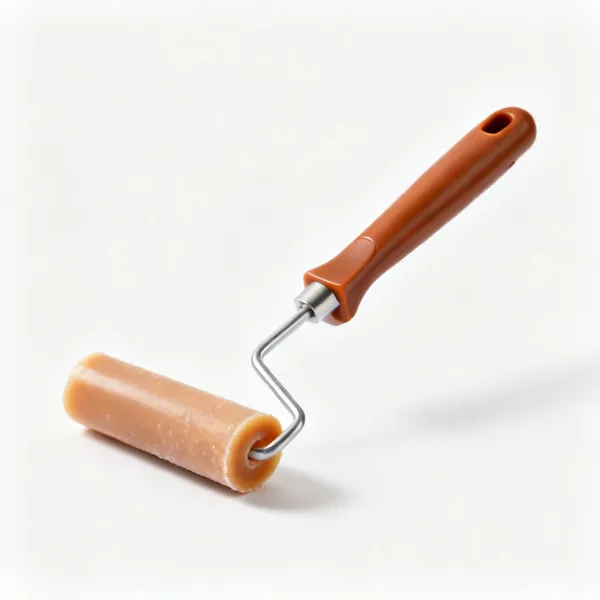
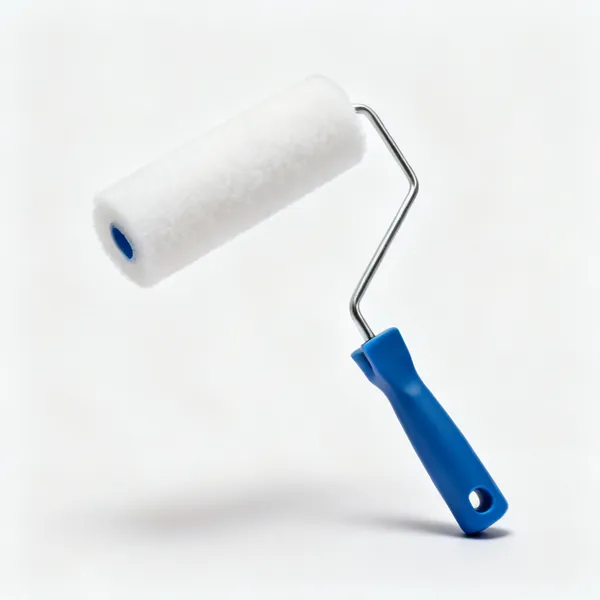
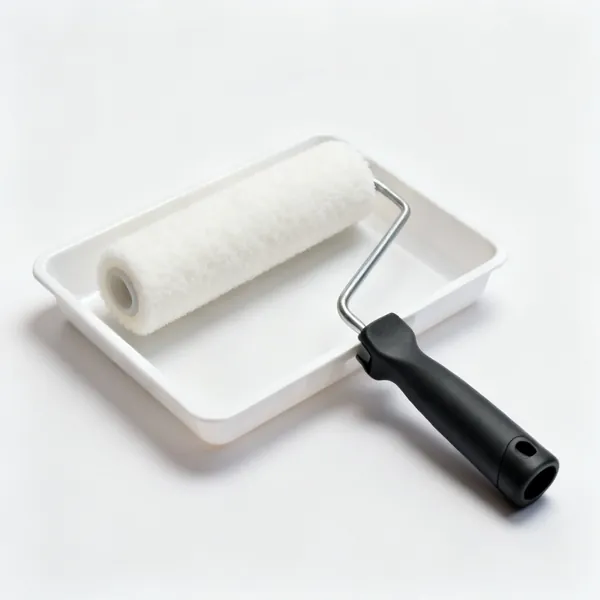
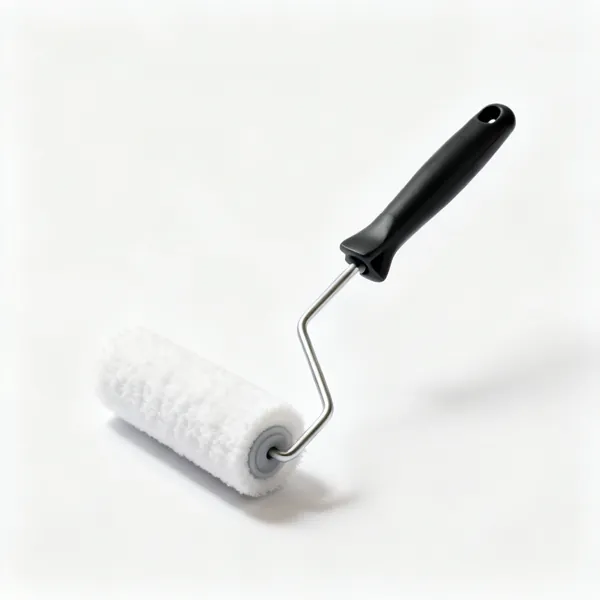
  • Fine foam roller: A fine foam paint roller and trayEssential

    Fine foam roller

    A short nap or foam roller for a flat even coat over an area, followed by a light brush to lay it off.

  • Wax applicator: A wax application cloth pad

    Wax applicator

    A cloth or pad for applying wax thinly. Wax goes on sparingly and comes off almost entirely.

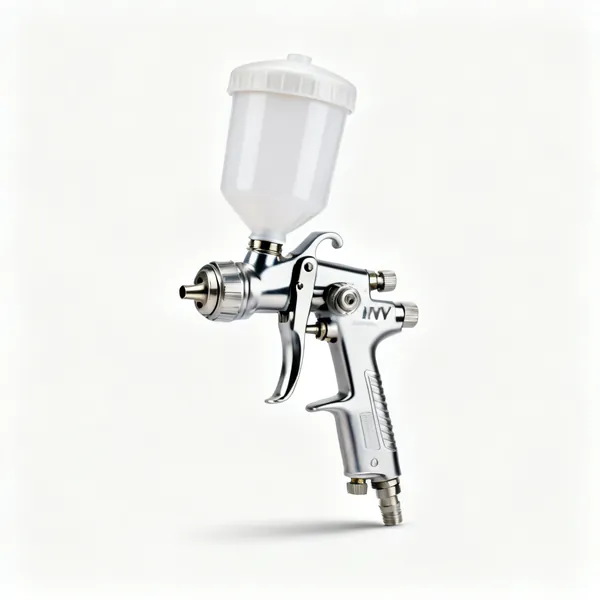
  • An HVLP spray gun with a cup

    Spray gun

    The best finish available, and it needs a clean space, extraction and practice on scrap first.

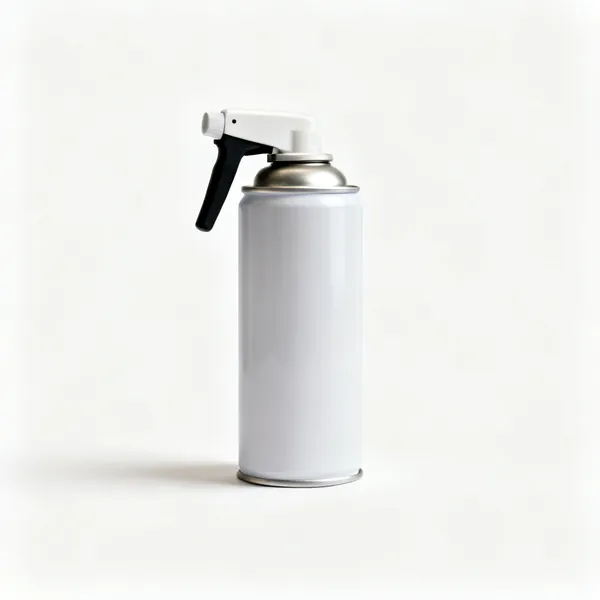
  • Aerosol finishes: Aerosol spray finish cans

    Aerosol finishes

    Spray quality on a small job with no equipment. Thin coats from a consistent distance, and warm the can.

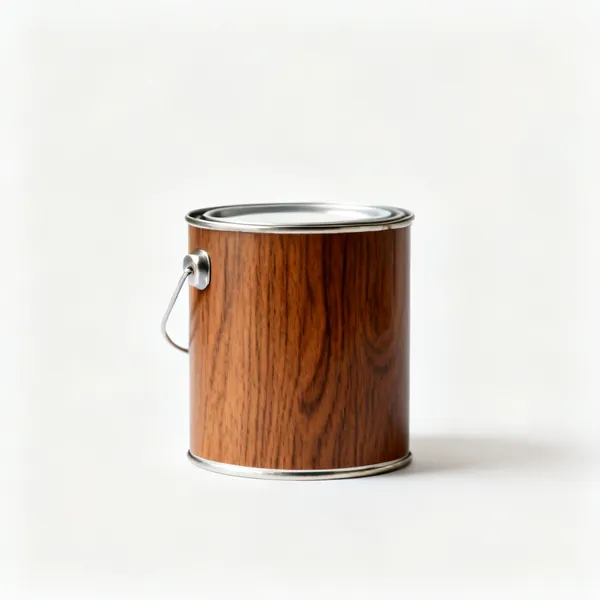
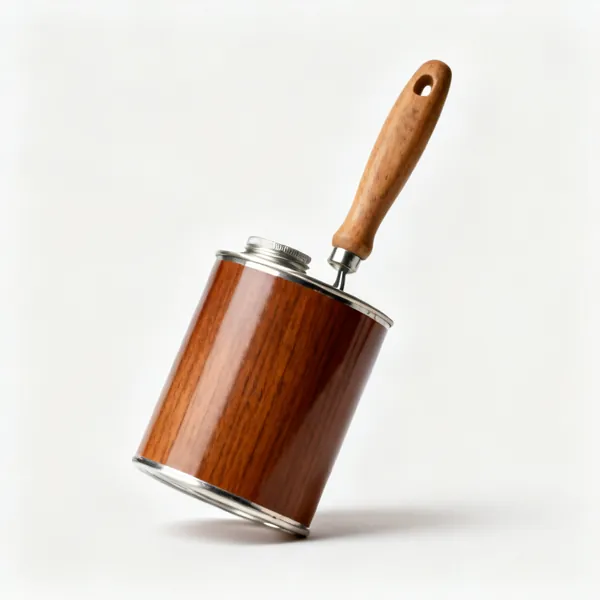
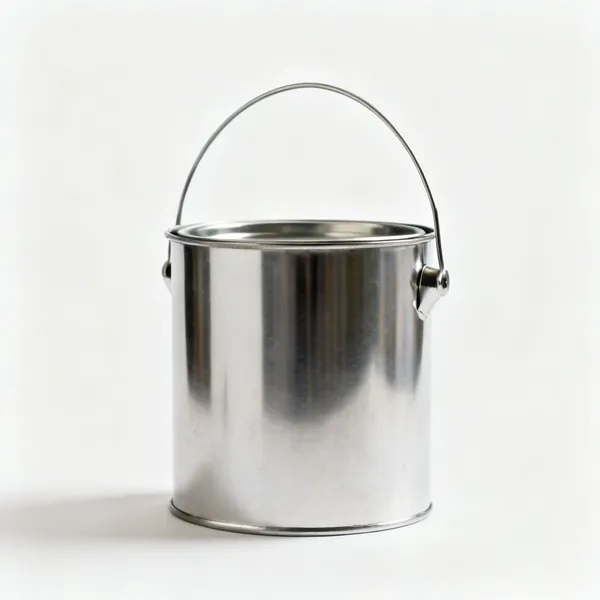
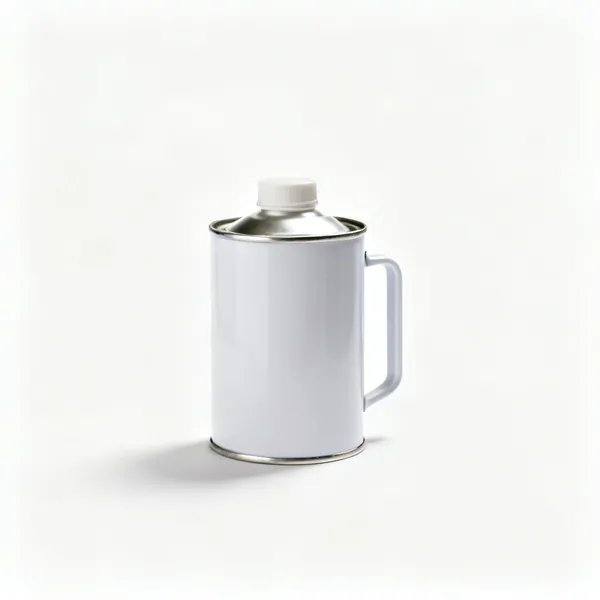
  • A metal paint kettle with a handleEssential

    Paint kettle

    Decant into this rather than working from the tin, which keeps the stock clean and stops a skin forming.

  • Paper paint strainer conesEssential

    Paint strainer

    Filters bits out of a part used tin. One flake of dried skin ruins an otherwise perfect coat.

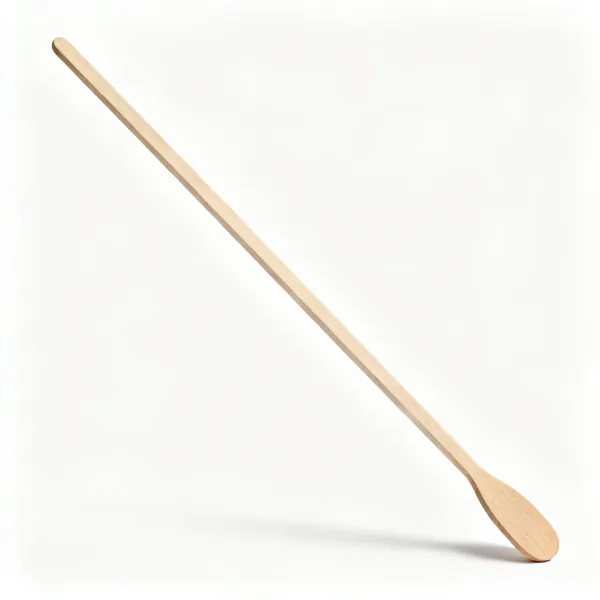
  • Stirrers: Wooden paint stirring sticksEssential

    Stirrers

    Stir slowly and thoroughly rather than shaking. Shaking whips in air and every bubble dries as a crater.

  • Raking light: An LED work light on a standEssential

    Raking light

    A light along the surface as you work, showing misses and runs while they can still be corrected.

Polishing & final finish 9

Bringing the finish itself to its final state. Only ever done after the film is fully hard.

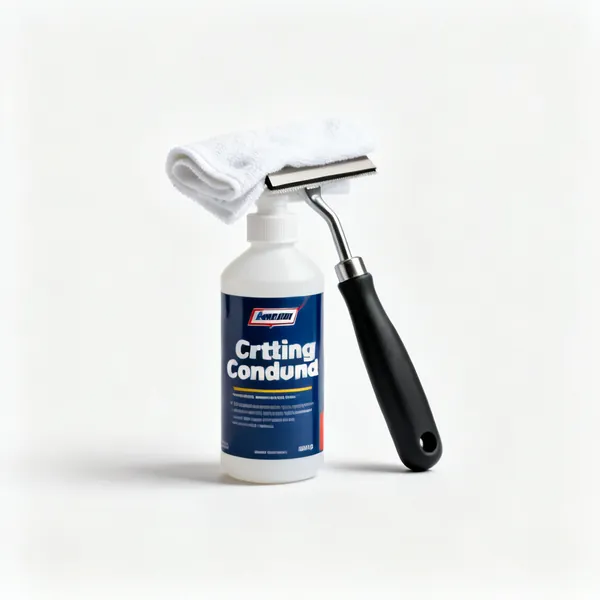
  • A bottle of cutting compound with a cloth

    Cutting compound

    A fine abrasive paste that removes dust nibs and orange peel from a hard finish before polishing.

  • A bottle of finishing polish

    Finishing polish

    A finer paste that brings the surface up to gloss after compounding. Separate cloth, or it puts the cut back.

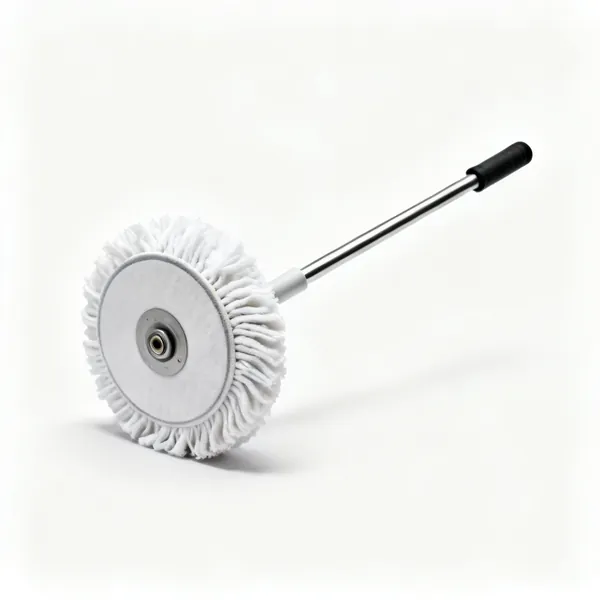
  • A cloth polishing mop wheel

    Polishing mop

    A machine mop for larger areas. One compound per mop, since a contaminated mop cannot produce a final polish.

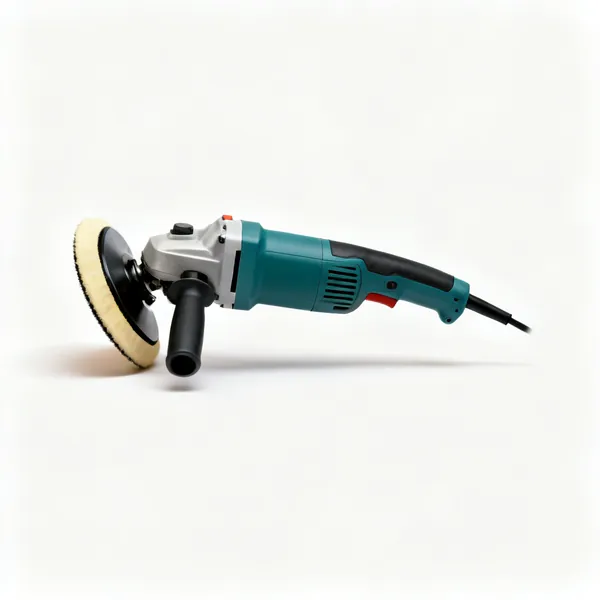
  • Dual action polisher: A dual action polishing machine

    Dual action polisher

    Polishes without burning through, which a rotary can do in seconds on an edge or a corner.
  • Folded microfibre clothsEssential

    Microfibre cloths

    The final buff, and several of them. A cloth loaded with compound just redistributes it.

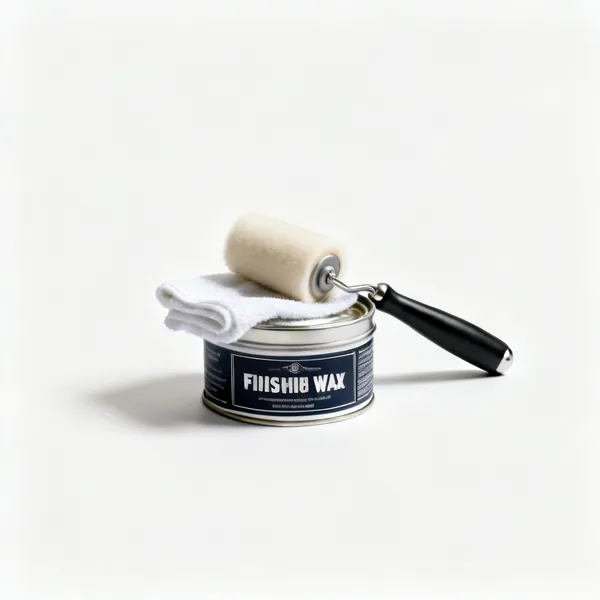
  • A tin of finishing wax with a clothEssential

    Finishing wax

    A protective final layer with a soft sheen, buffed off after a few minutes. Not a substitute for a film finish.

  • A bottle of burnishing cream

    Burnishing cream

    Very fine abrasive taking a rubbed finish to a consistent satin or gloss without leaving swirls.

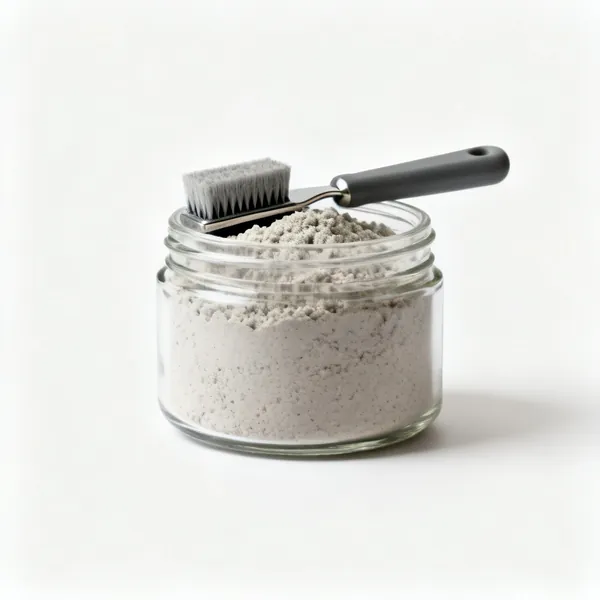
  • Pumice & rottenstone: Jars of pumice and rottenstone powder

    Pumice & rottenstone

    Traditional fine abrasive powders used with oil to rub a finish to satin. Slow, controllable and beautiful.

  • Denibbing pad: A fine denibbing abrasive padEssential

    Denibbing pad

    A very fine pad for a light pass between coats, removing dust nibs and keying the next coat.

Cleaning up & safety 10

Solvents, dust and the genuine fire risk of oil finishes. Cleaning tools properly is what makes them last.

  • A tin of brush cleaner with a brushEssential

    Brush cleaner

    The right solvent for the finish, then soap and water. A brush is a decades long tool or a consumable, and this decides which.
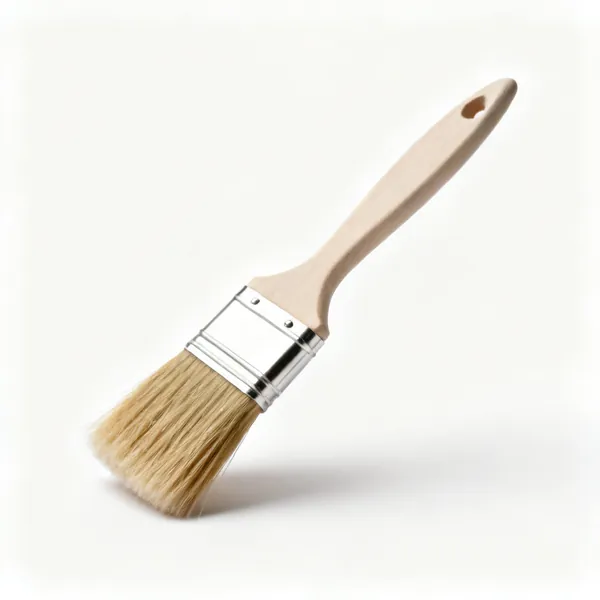
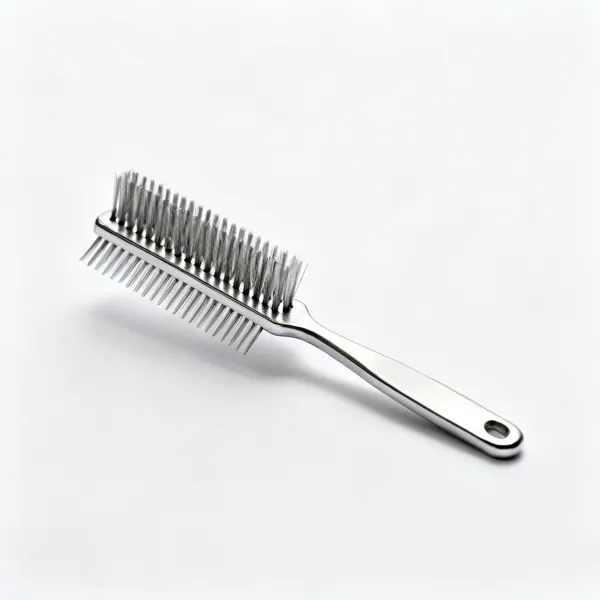
  • Brush comb: A metal brush cleaning comb

    Brush comb

    Combs bristles straight while cleaning, so the brush dries in shape and keeps its edge.

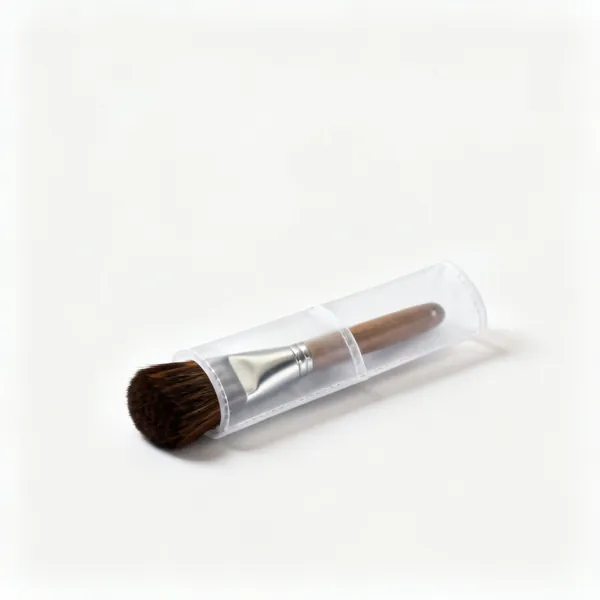
  • A brush keeper storage sleeve

    Brush keeper

    Holds a cleaned brush in shape while it dries and protects it in storage. Standing on the bristles bends them for good.

  • Solvents: Cans of white spirit and methylated spiritEssential

    Solvents

    White spirit, methylated spirit and cellulose thinners. Matched to the finish, since the wrong one does nothing.

  • A box of nitrile glovesEssential

    Nitrile gloves

    Solvents and stains pass through skin and stain hands for days. Also keeps hand oils off the surface.

  • A cartridge respirator maskEssential

    Respirator

    For solvent vapour and any spraying. You stop noticing the smell long before it stops being harmful.

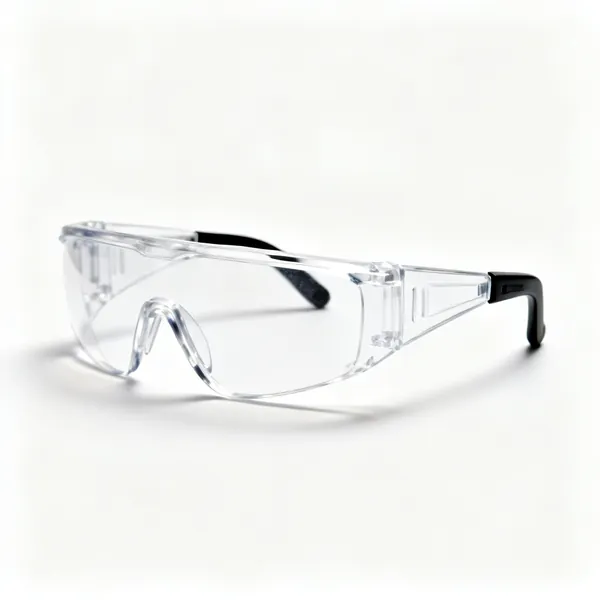
  • A pair of clear safety glassesEssential

    Safety glasses

    Splash while stirring and decanting, and dust while sanding. Cheap, and eyes do not recover.
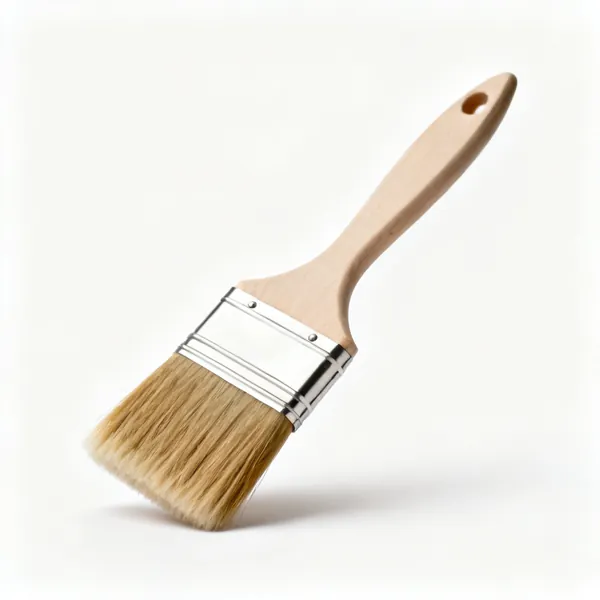
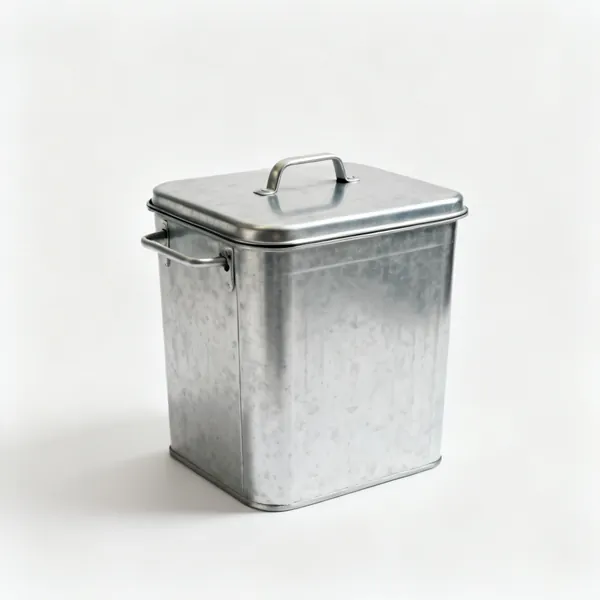
  • Metal rag bin: A metal lidded bin for oily ragsEssential

    Metal rag bin

    Oil finishes generate heat as they cure and a heap of rags can self ignite. A lidded metal bin, or laid flat to dry.
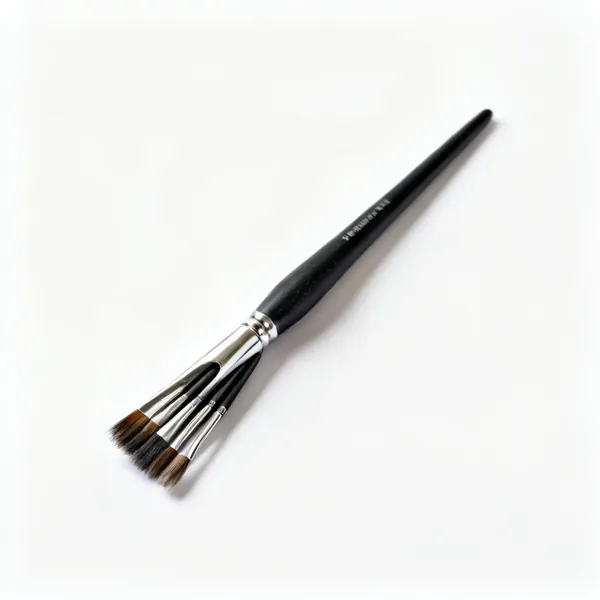
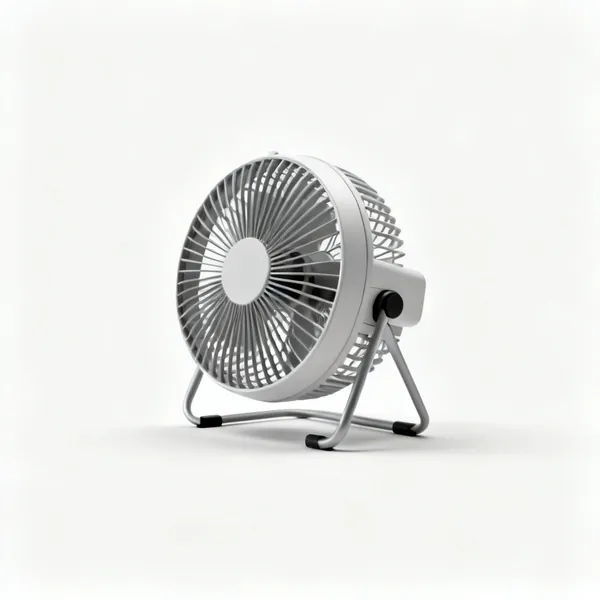
  • A portable ventilation fanEssential

    Ventilation fan

    Moves solvent vapour out. It accumulates in a closed room and it is both a health and a fire risk.

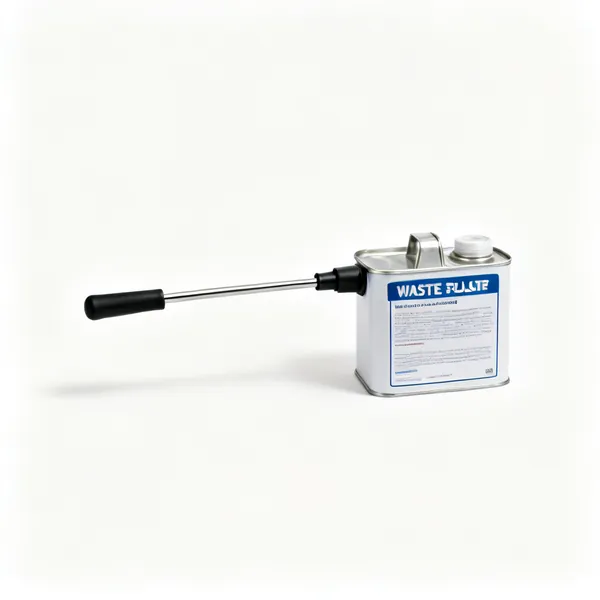
  • Waste containers: Labelled waste solvent containers

    Waste containers

    Solvent and finish waste collected for proper disposal rather than poured away, since it must not go down a drain.

Choosing finishing tools

The finish reveals the preparation rather than hiding it. Every stage magnifies what the previous one left behind, which is why the order cannot be shuffled.

Every stage magnifies the last one

This is the whole principle of finishing, and it explains why the order is fixed. A finish does not hide what is underneath it, it reveals it. Sanding scratches invisible on bare timber become obvious under stain. A ridge you cannot see in filler is unmistakable under gloss.

So the sequence is: fill, sand through the grits in order, remove all the dust, seal or stain, then build the finish in thin coats, denibbing between them. Skipping a grit leaves scratches the next one cannot remove, and every coat after that makes them clearer.

The most useful habit is to check the surface the way the finish will be seen: with a light raking along it rather than shining straight at it, because that is what reveals a ripple or a scratch.

Work through the grits in order
Each grade removes the scratches from the last. Skip one and the coarse marks survive under everything after.
Check with a raking light
A light shining along the surface shows ridges and scratches that overhead light hides completely.
Remove every trace of dust
Vacuum, then a tack cloth. A single speck in a wet coat has to be cut back and recoated.
Thin coats, more of them
Thin coats flow out, dry properly and sand easily. One thick coat runs, wrinkles and stays soft.
Denib between coats
A very light pass with fine abrasive knocks off dust nibs and gives the next coat something to key to.
Test on an offcut first
Same material, same preparation, same product. Every timber takes stain differently and there is no way to guess it.

Sanding well, which is most of the work

Most of the hours in finishing are sanding, and most finishing failures are sanding failures. Two things go wrong: uneven pressure and stopping too early.

Uneven pressure comes from using fingers instead of a block. Fingers create hollows and rounded edges you cannot see until the finish goes on. A block spreads the pressure so a flat surface stays flat.

Stopping too early is a judgement problem, and the fix is a guide coat: a light mist of contrasting colour, or simply a pencil scribble across the surface. When it has all gone, that area is sanded evenly. Without it you are guessing, and the finish will tell you where you guessed wrong.

Always use a block or a machine
Fingers create hollows and round over edges. A block is what keeps a flat surface flat.
Sand with the grain on timber
Across the grain leaves scratches that stain darkens and emphasises rather than hides.
Use a guide coat or pencil marks
When the marks have gone, that area is evenly sanded. Otherwise you are guessing at coverage.
Change abrasive far sooner than feels justified
A clogged sheet burnishes rather than cuts, and burnished timber will not take stain evenly.
Ease the edges deliberately
A sharp arris holds no finish and wears through first. A very slight round is what makes an edge last.
Vacuum between grits, not just at the end
Coarse grit left on the surface gets dragged by the finer paper and puts deep scratches back in.

Applying the finish

Once the preparation is right, application is mostly about conditions and patience. Cold slows the cure and changes how a finish flows, dust lands in anything wet, and working in poor light means you cannot see what you have missed.

The other decision is which applicator. A brush suits oil based finishes and detail, a foam pad or roller lays a very even coat on a flat area, and a cloth is right for oils and waxes that are wiped on and off. Spraying gives the best finish and needs a clean space and real extraction.

Whatever you use, keep a wet edge: work into the area you just coated before it starts to set, or the overlap shows as a line for the life of the finish.

Keep a wet edge
Work into what you just coated. An overlap onto a partly set coat leaves a visible line permanently.
Control the dust before you open the tin
Vacuum, let it settle, then tack cloth. Dust in a wet coat means cutting back and recoating.
Warm enough, and stable
Cold finishes will not flow out and stay soft for days. Around 15 to 20 degrees, and not falling overnight.
Light along the surface as you work
It shows misses, runs and thin patches while you can still fix them rather than after they have set.
Stir, never shake
Shaking whips air into the finish and every bubble becomes a crater. Stir slowly and thoroughly.
Decant rather than working from the tin
It keeps the stock clean and stops a skin forming, and dropped bits from a tin rim ruin a coat.

Mistakes that show in the finish

Sanding with fingers instead of a block
Hollows and rounded edges that are invisible until the finish goes on and then impossible to correct.
Skipping a grit
Coarse scratches survive under every finer grade, and the finish makes them more obvious rather than less.
One thick coat instead of three thin ones
It runs, wrinkles, stays soft and cannot be sanded flat. Thin coats are faster overall.
Not removing the dust
Every speck in a wet coat becomes a permanent nib that has to be cut back and recoated.
Shaking the tin
Air whipped into a finish becomes bubbles, and every bubble dries as a small crater.
Staining without a test piece
Every board takes stain differently. The test piece costs an offcut and it saves the project.
Finishing in a cold room
It will not flow out, stays tacky for days and picks up every bit of dust while it waits.
Filler that is harder than the surround
It sands proud, takes stain differently and shows as a visible patch under any finish.
Oily rags left in a heap
Oil finishes generate heat as they cure and rags can self ignite. A metal lidded bin or laid out flat to dry.

Looking after finishing tools

Clean brushes properly, immediately
A brush is a consumable if you neglect it and lasts decades if you do not. Right solvent, then wash and reshape.
Store brushes hanging or flat
Standing on the bristles bends them permanently, and a bent brush cannot lay a straight edge again.
Never leave a brush in solvent
It bends the bristles against the bottom and swells the ferrule. Suspended, if you must, and only briefly.
Keep abrasives dry and flat
Damp paper clogs instantly and curled paper cannot follow a block. Both waste more than they cost.
Seal part used tins properly
A skin forms and flakes into the next coat. Clean the rim, seal it well and store it upside down.
Dispose of oily rags safely
Spread flat to dry or a metal lidded bin. This is a genuine and little known fire risk in a workshop.

Frequently asked questions

What finishing tools do I need?
Filler and a filling knife, sanding blocks and abrasive paper in a range of grits, a random orbit sander, a vacuum and tack cloths, a good brush, a foam applicator, lint free cloths and a raking light to inspect the surface.
What order should finishing be done in?
Fill, sand through the grits in order, remove all dust, seal or stain, then build the finish in thin coats with a light denibbing between them. The order is fixed because each stage magnifies whatever the last one left behind.
Why do my sanding scratches show under stain?
Because stain settles into scratches and darkens them rather than hiding them. Sand with the grain, work through the grits without skipping any, and use a guide coat so you can see when an area is evenly sanded.
What grit should I finish sanding at?
For timber taking a stain or oil, usually around 180 to 220. Sanding much finer burnishes the surface so it will not absorb evenly. For a hard film finish being polished, you go much finer, but that is after the finish is on.
What is a guide coat?
A light mist of contrasting colour, or simply pencil scribbles across the surface, applied before sanding. When the marks have gone the area is evenly sanded. Without one you are guessing at coverage and the finish will show it.
Should I use a brush, a roller or a cloth?
A brush for oil based finishes and detail, a foam pad or fine roller to lay a very even coat on a flat area, and a lint free cloth for oils and waxes that are wiped on and off. Spraying gives the best result and needs a clean space.
Why is my finish bubbling?
Usually the tin was shaken rather than stirred, which whips air in, or the applicator was overloaded and worked too vigorously. Stir slowly, decant into a separate pot, and lay the coat on rather than brushing it back and forth.
Why is my finish still tacky days later?
Most often it was applied too thickly or in a cold room, and sometimes it is a compatibility problem with what was underneath. Thin coats at around 15 to 20 degrees, and always test a product over an existing finish first.
What is denibbing?
A very light pass with fine abrasive between coats, removing dust nibs and giving the next coat something to key to. It takes a minute per coat and it is the difference between a smooth finish and a gritty one.
Do I need to seal timber before staining?
On softwoods and blotchy timbers like pine, maple and cherry, a wash coat or conditioner first gives a far more even result, because those species absorb stain unevenly. Test both ways on an offcut from the same board.
Why does my wood filler show through the finish?
Filler absorbs stain and finish differently from the surrounding timber, so it shows as a patch. Use a filler intended to take stain, tint it to match, or on visible work use sawdust from the same piece mixed with glue.
Are oily rags really a fire risk?
Yes, genuinely. Oil finishes cure by oxidising, which generates heat, and a heap of rags can insulate that heat until it ignites. Spread them flat to dry or put them in a metal bin with a lid, never crumpled in a corner.