Disclosure

Flooring tools: names, pictures and what each one is used for

A complete flooring tools list with a picture of every one, all 82 grouped by the job, from lifting an old floor and levelling the base through laying laminate, engineered wood, vinyl and carpet. Each covering has its own small set that nothing else replaces.

31 are marked essential: enough to lift an old floor, get the base right and lay a click floor properly.

Lifting & stripping 11

Getting the old floor off and the base back to something sound. Usually the hardest and dirtiest part of the job.

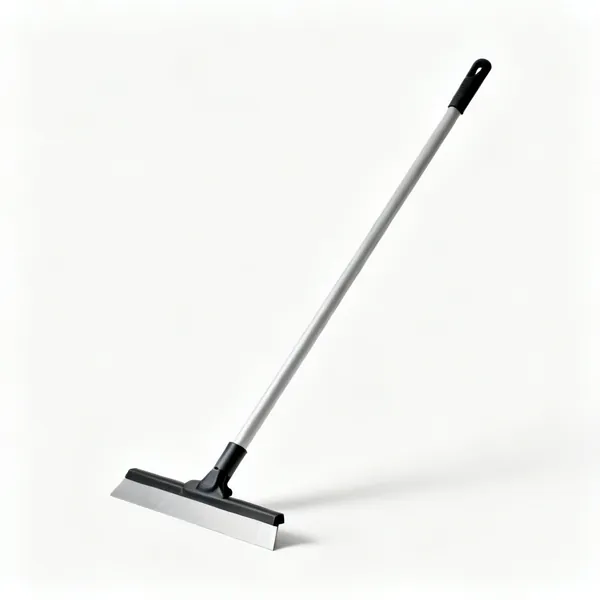
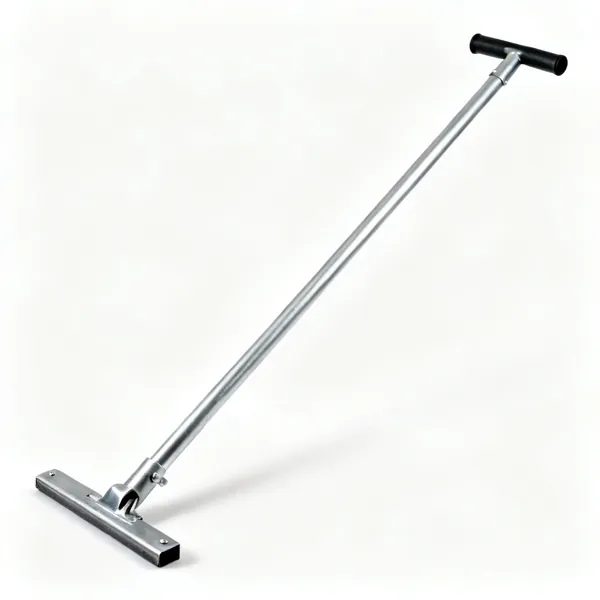
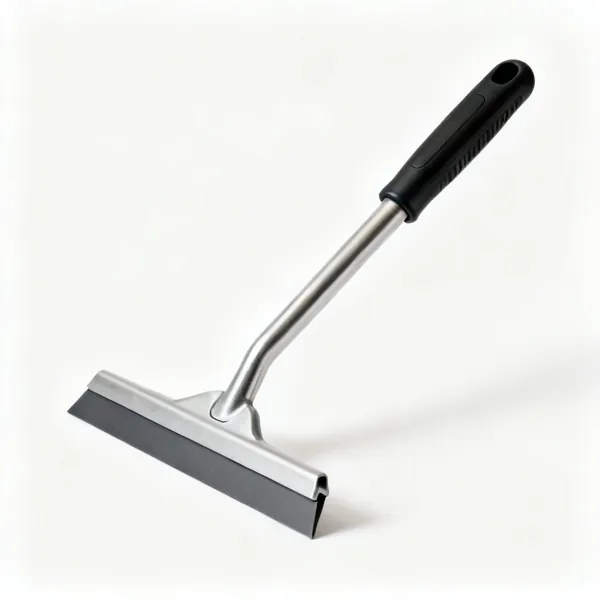
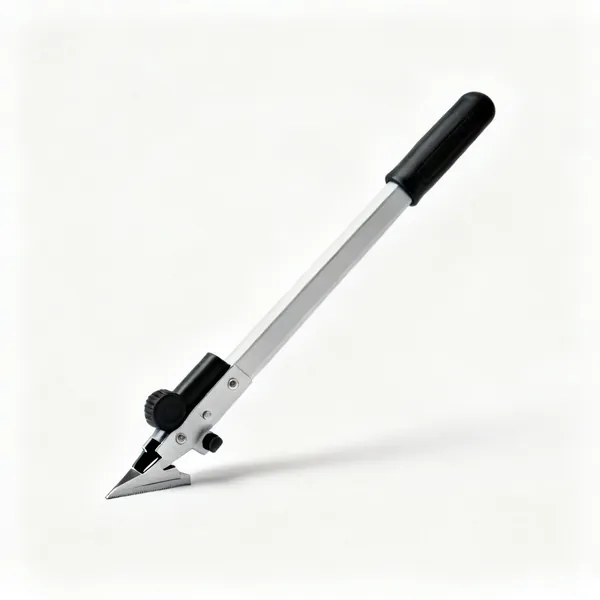
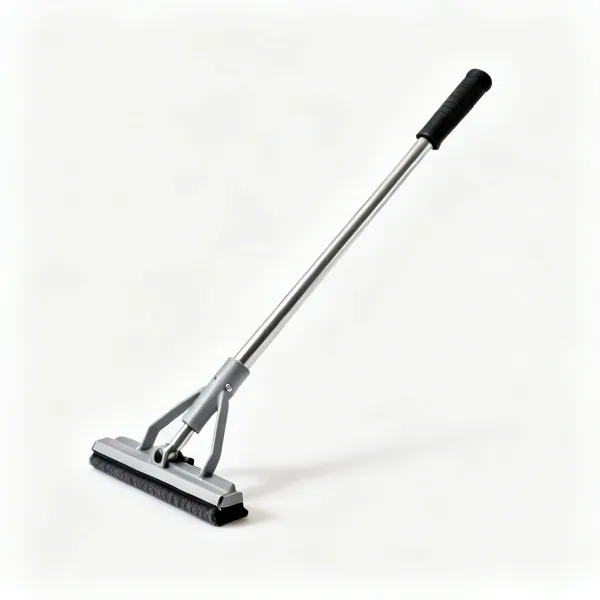
  • A long handled floor scraper with a wide bladeEssential

    Floor scraper

    A long handled blade for shifting old adhesive, vinyl and foam backing. It is a cutting tool, so sharpen the edge.

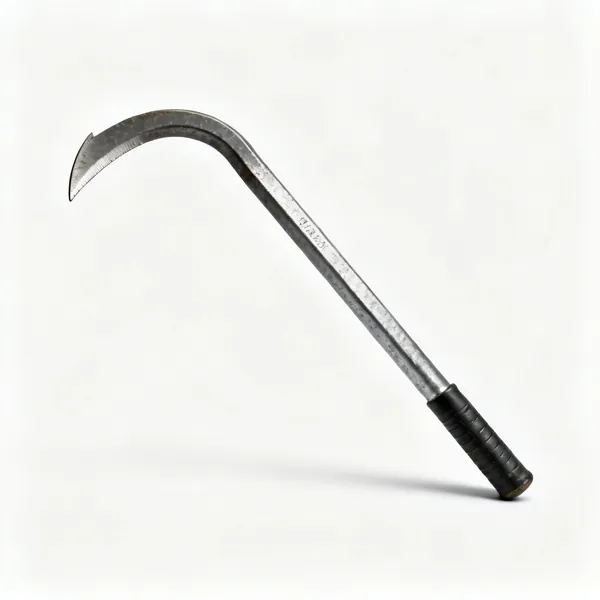
  • A curved steel wrecking barEssential

    Wrecking bar

    Levers up boards, battens and gripper rods. Length is the whole specification, since it is pure leverage.

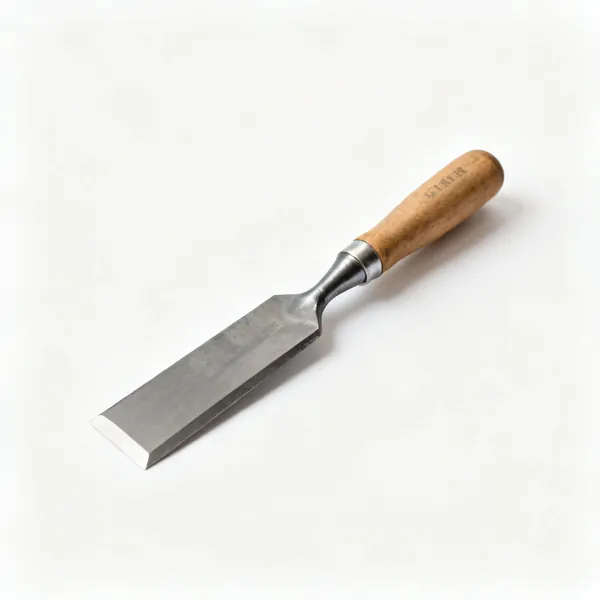
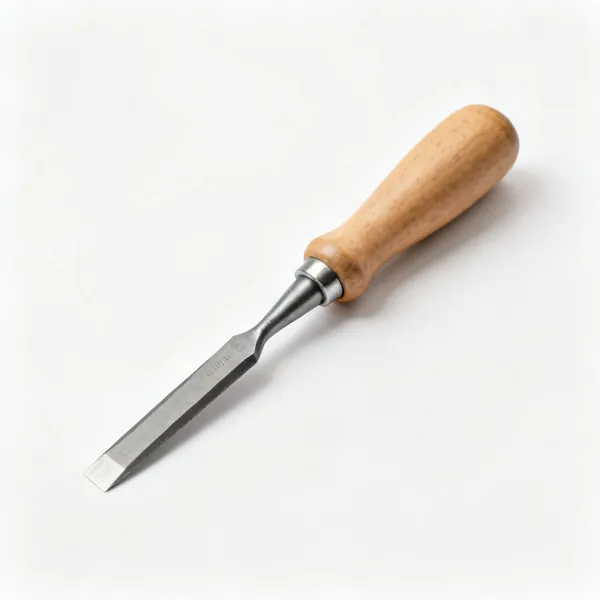
  • Flooring chisel: A wide flooring lifting chisel

    Flooring chisel

    A wide flat blade that gets under a board and lifts it without splintering the ones next to it.

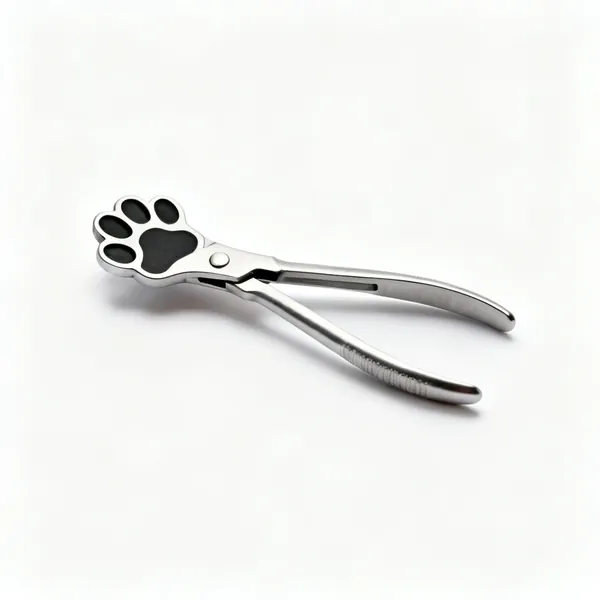
  • A cat's paw nail pullerEssential

    Nail puller

    Grips sunk and headless nails a claw cannot catch. Old floors are full of them, and every one left behind tears underlay.

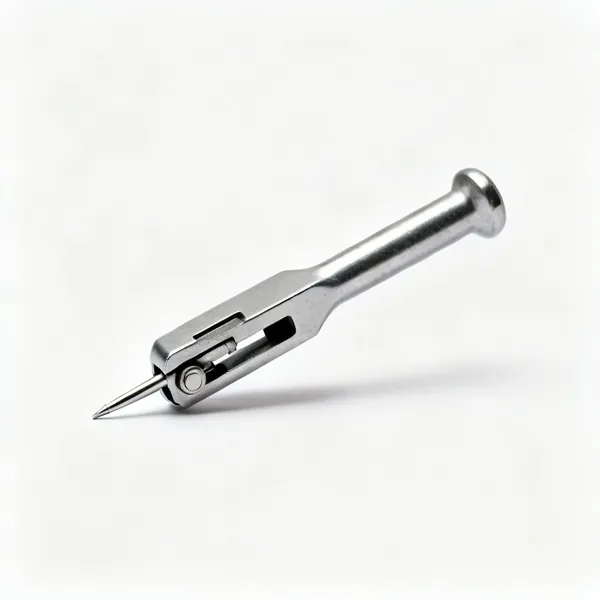
  • A steel nail punchEssential

    Nail punch

    Drives a proud nail head below the surface. One raised head shows through vinyl and cuts underlay.

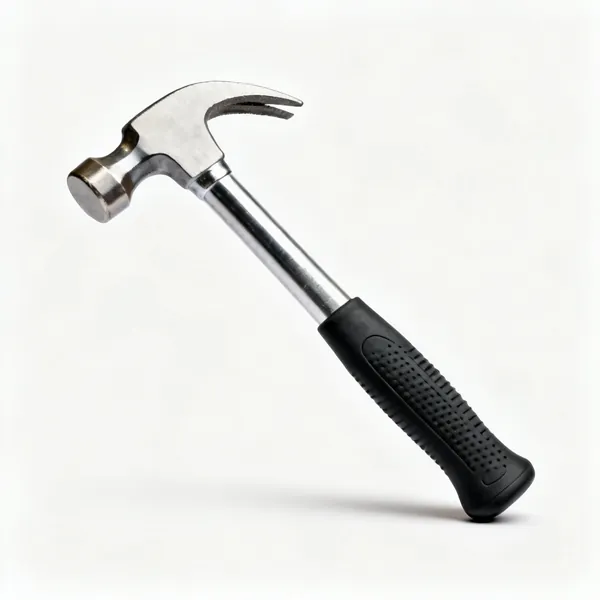
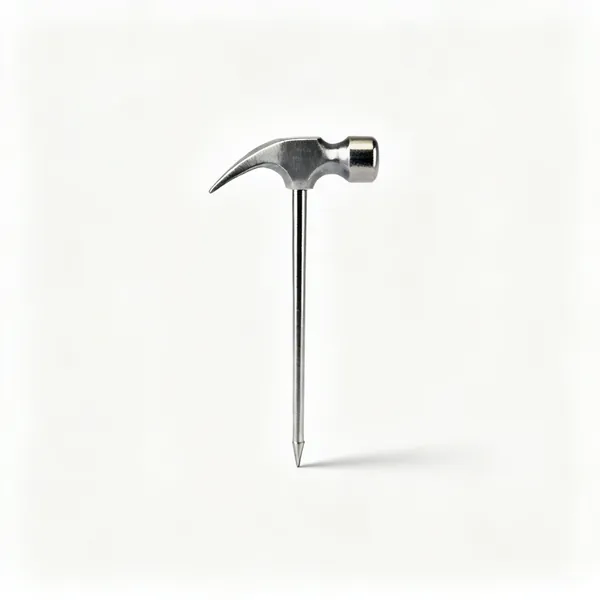
  • A claw hammer with a rubber gripEssential

    Claw hammer

    Pulling nails and general lifting. Straight claw, since it doubles as a lever between boards.

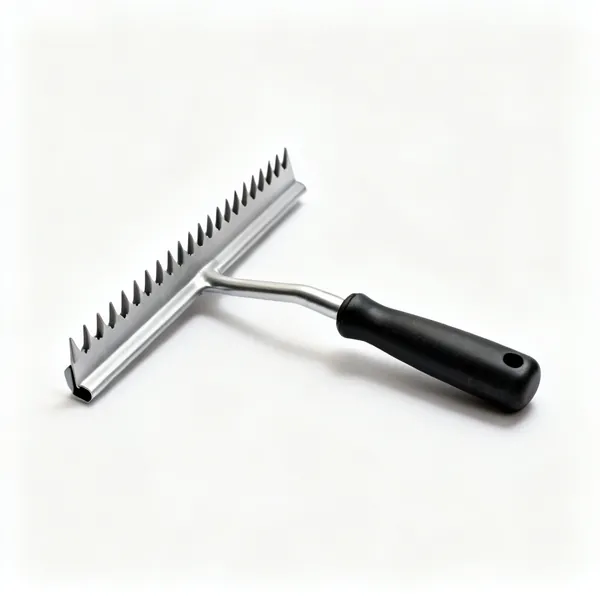
  • Carpet puller: A toothed carpet pulling tool

    Carpet puller

    A toothed grip that pulls old carpet up in strips without shredding it. Far faster than by hand.

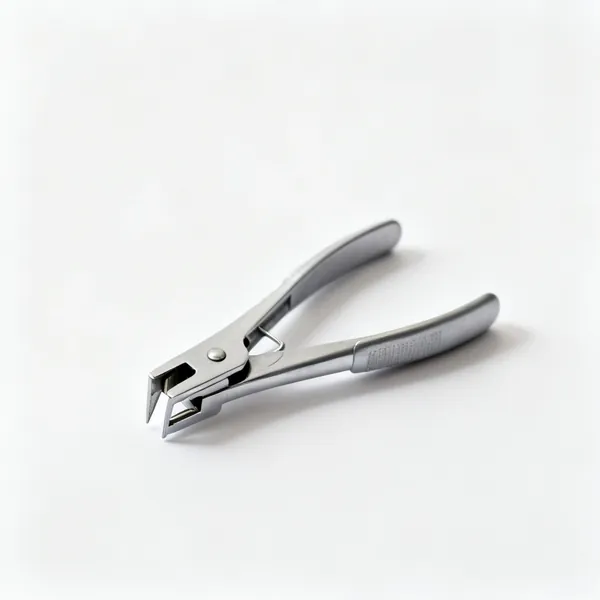
  • Staple remover: A staple lifting remover tool

    Staple remover

    Lifts the hundreds of staples that held old underlay. Left in place they tear new underlay immediately.

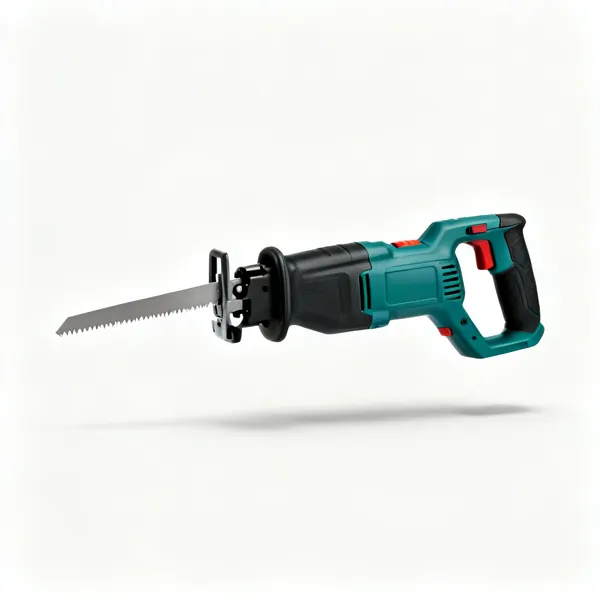
  • A cordless reciprocating saw with a blade

    Reciprocating saw

    Cuts through nailed boards and old battens where nothing else fits, and it does not care what is in the way.

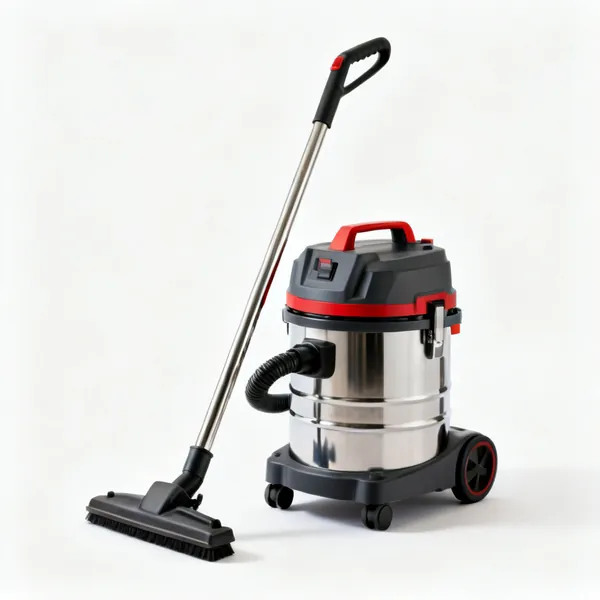
  • Shop vacuum: A workshop wet and dry vacuum cleanerEssential

    Shop vacuum

    The base has to be genuinely clean before anything goes down. A single stone under vinyl becomes a permanent bump.

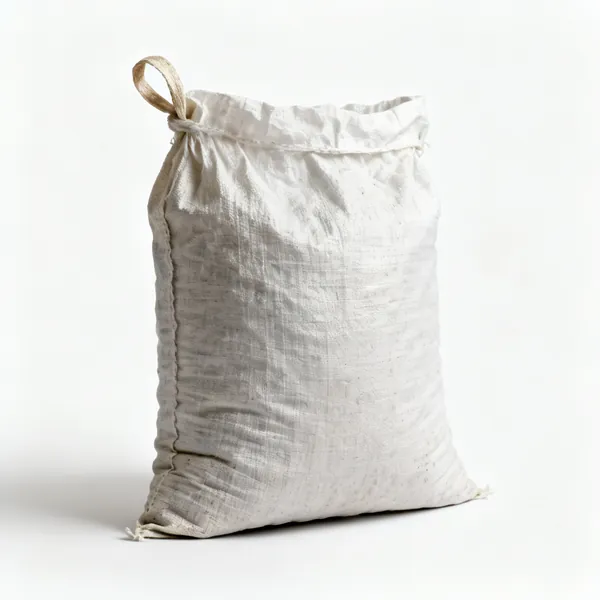
  • Rubble sacks: A woven rubble sackEssential

    Rubble sacks

    Old flooring is heavy and full of nails. Woven sacks, filled half full, because a full one cannot be lifted.

Levelling & preparation 12

Making the base flat and dry. This is the group people skip and the reason floors fail.

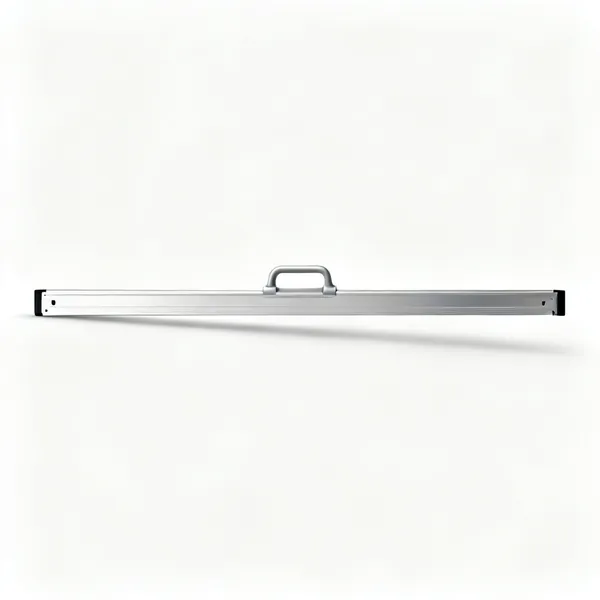
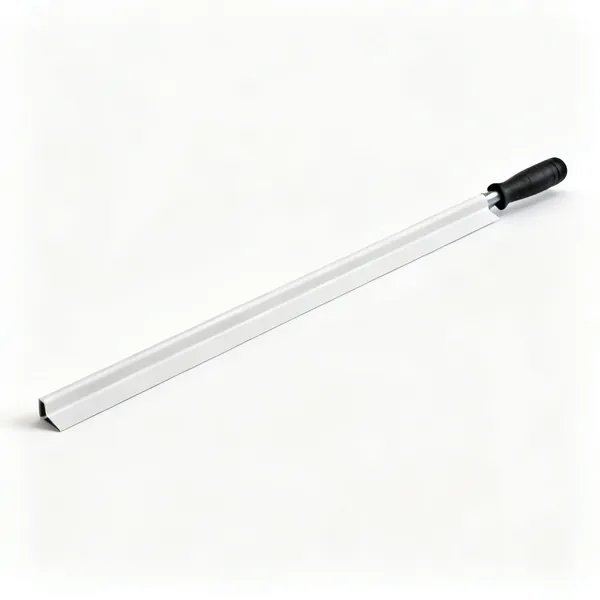
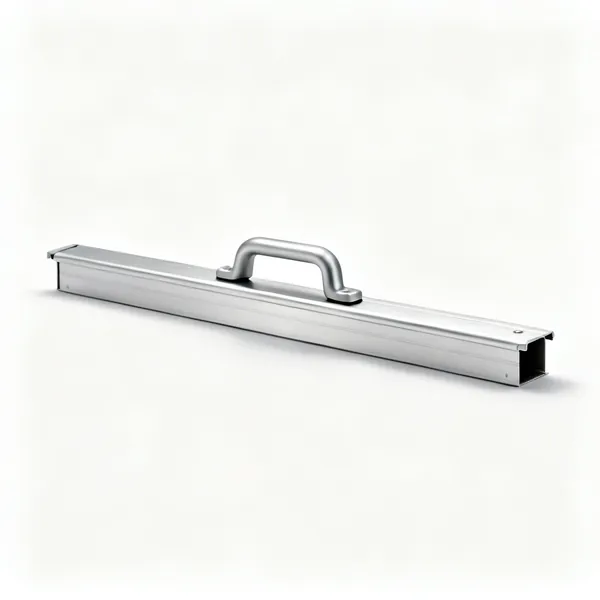
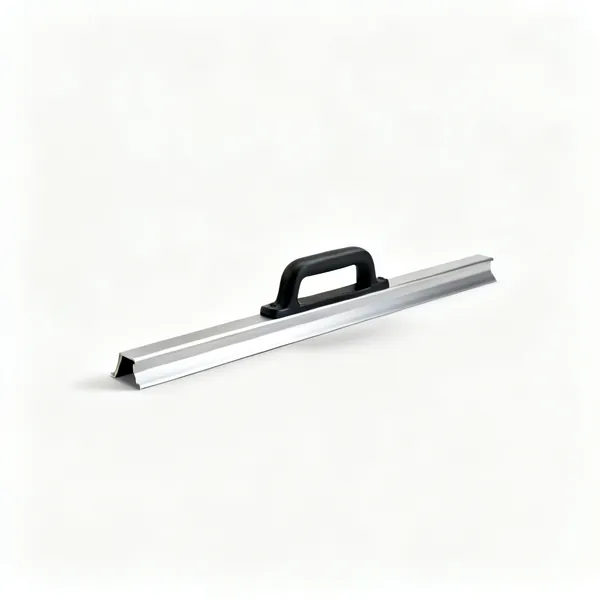
  • Long straight edge: A long aluminium straight edgeEssential

    Long straight edge

    Laid across the floor in several directions to find hollows and humps. Look for light underneath rather than measuring.

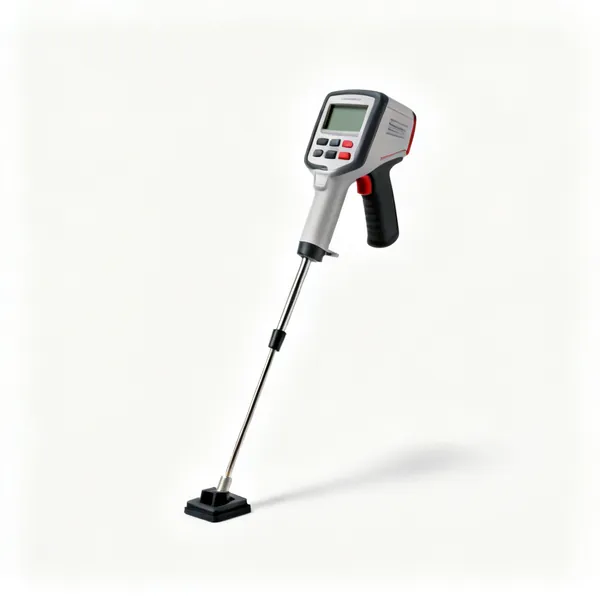
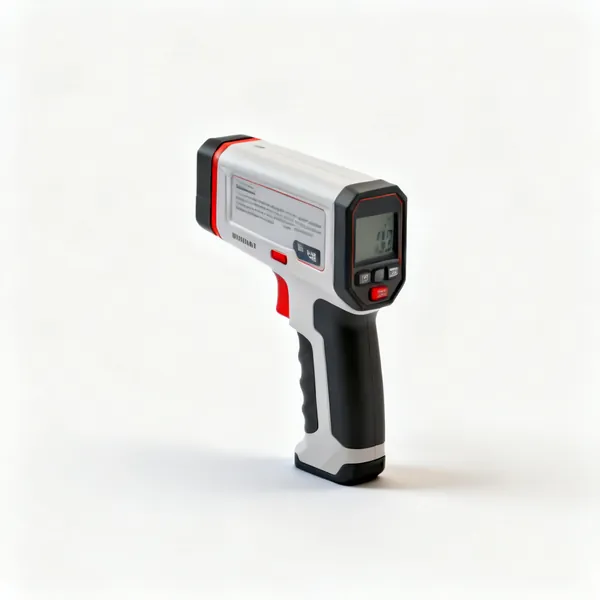
  • A handheld floor moisture meter with a probeEssential

    Moisture meter

    Tells you whether a screed or slab has finished drying. Wood on a damp base cups permanently, and it looks dry long before it is.

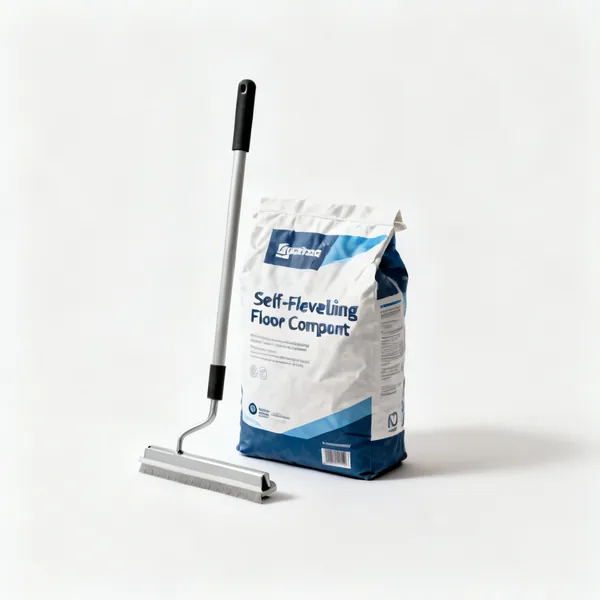
  • Self levelling compound: A bag of self levelling floor compound

    Self levelling compound

    Poured out to flatten a floor that dips. Mixed thin, worked fast, and it goes off quicker than you expect.

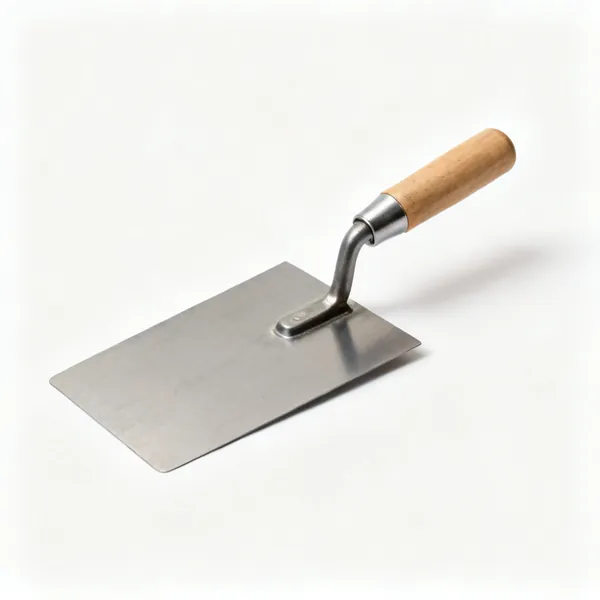
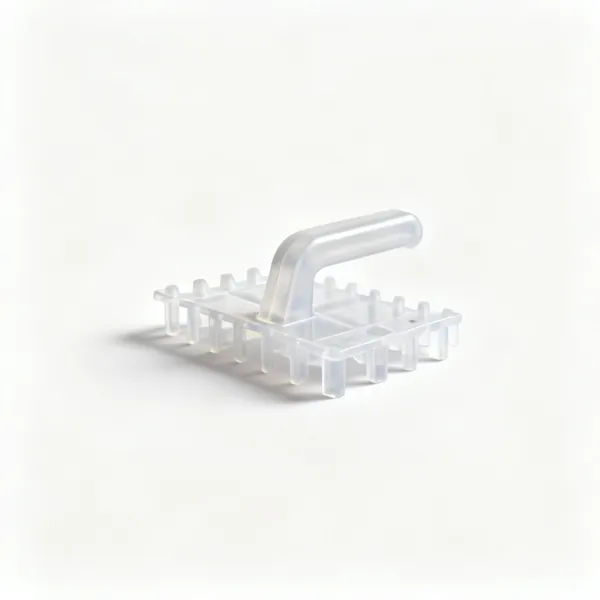
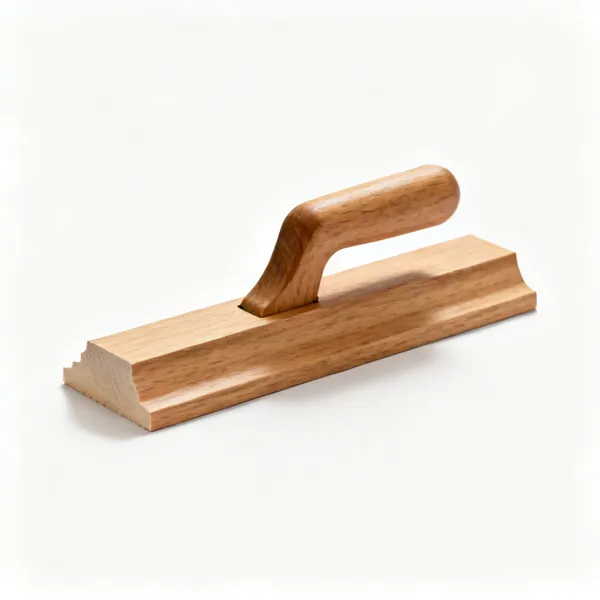
  • A wide flooring smoothing trowel

    Smoothing trowel

    Spreads levelling compound lightly. Overworking it leaves trowel marks that set in permanently.

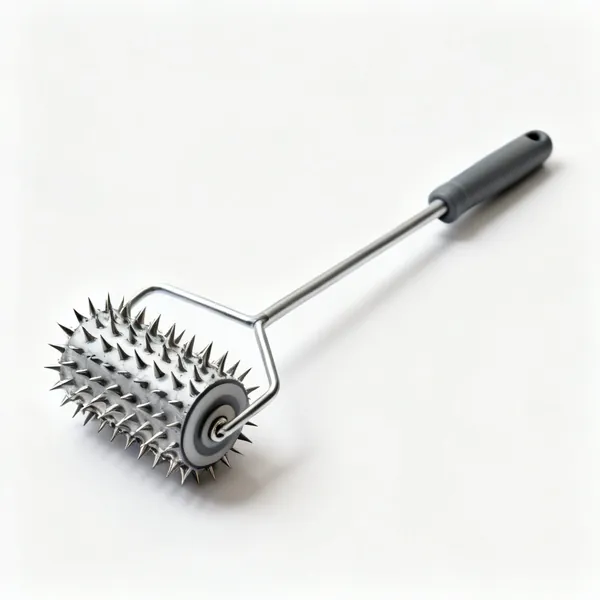
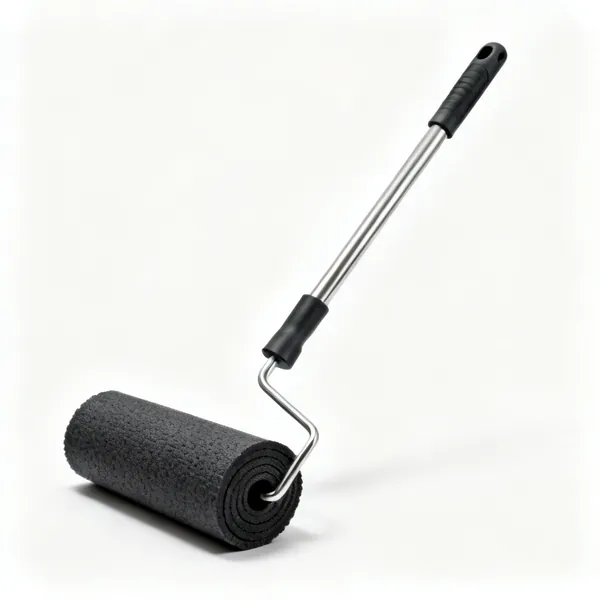
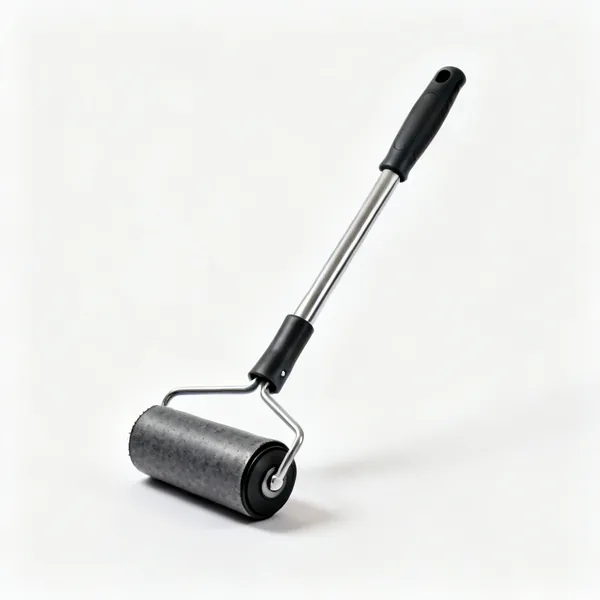
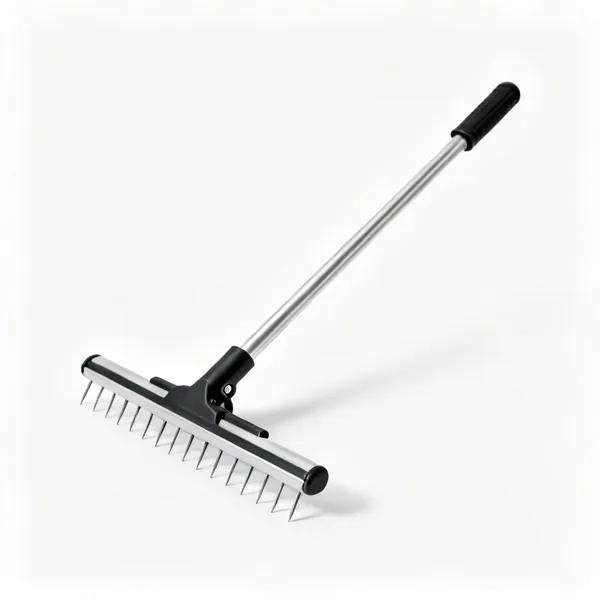
  • A spiked roller on a long handle

    Spiked roller

    Releases trapped air from poured compound. An air pocket is a hollow under the finished floor.

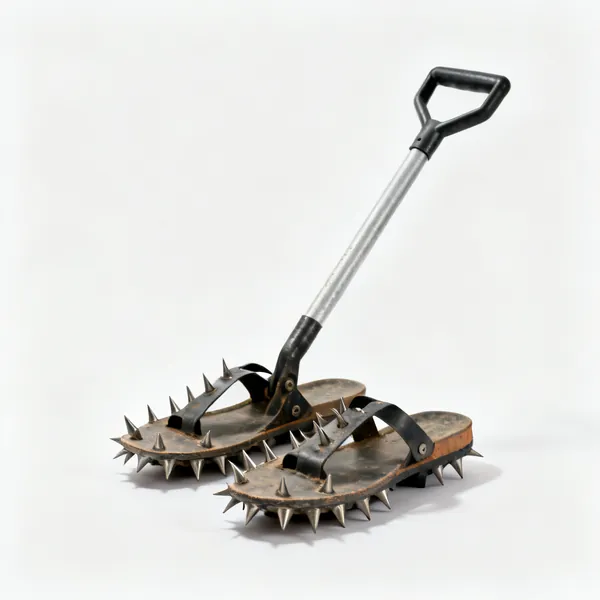
  • Spiked shoes: A pair of spiked levelling compound shoes

    Spiked shoes

    Strap on soles that let you walk through wet compound without leaving footprints in the finished surface.

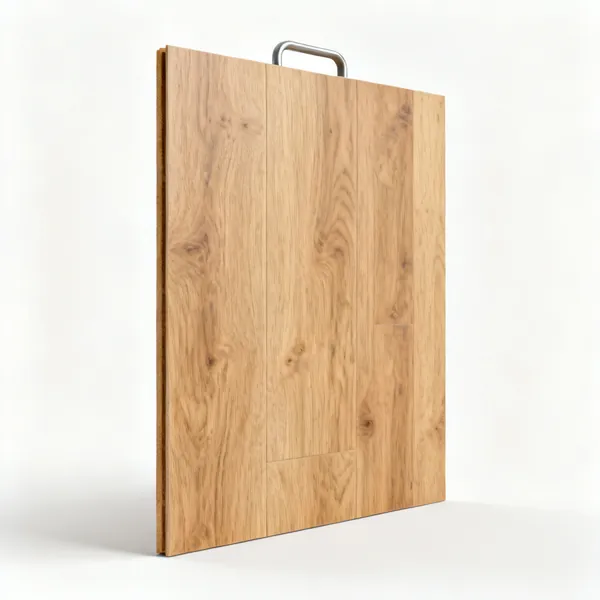
  • Overboarding ply: Sheets of plywood flooring boards

    Overboarding ply

    Sheets screwed down over an uneven or squeaky boarded floor, giving a flat stable base. Often quicker than levelling.

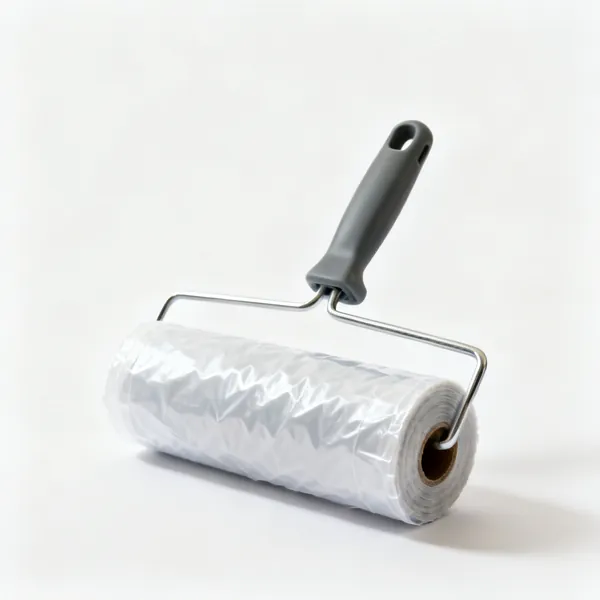
  • A roll of damp proof membrane sheetingEssential

    Damp proof membrane

    A plastic layer between a concrete base and the floor, stopping residual moisture reaching it. Taped at every lap.

  • A roll of foam flooring underlayEssential

    Underlay

    Absorbs small irregularities, quietens the floor and carries the damp proof layer. Not a substitute for a flat base.

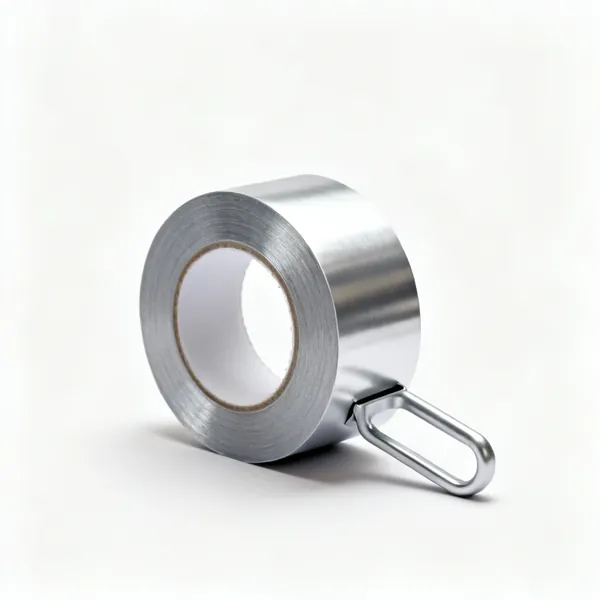
  • Underlay tape: A roll of silver underlay jointing tapeEssential

    Underlay tape

    Joins and seals underlay laps so the membrane is continuous and the sheets cannot creep apart as you work.

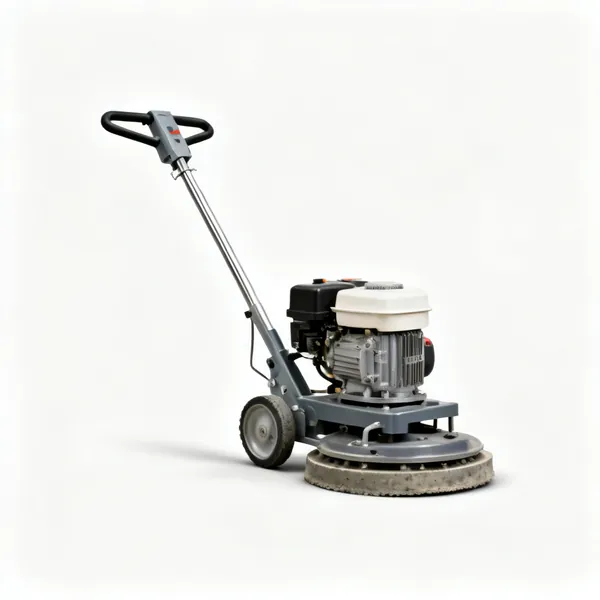
  • Concrete grinder: A concrete floor grinder machine

    Concrete grinder

    Takes high spots and old adhesive off a concrete base. Hired, and it needs proper dust extraction for the silica.

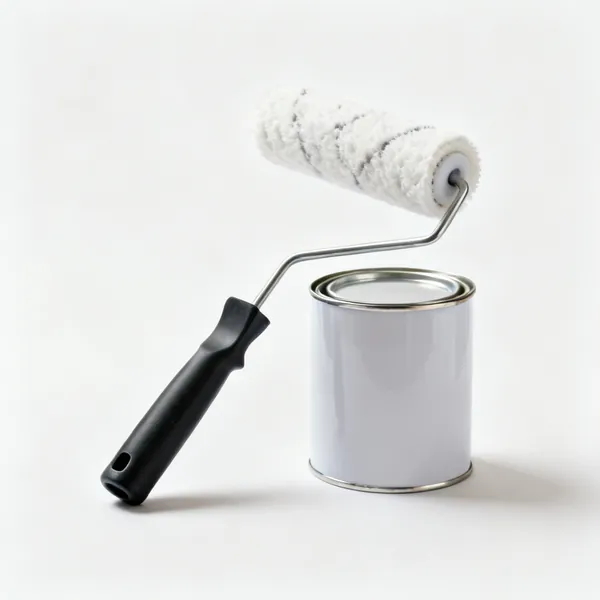
  • Primer & roller: A paint roller and tin of floor primer

    Primer & roller

    Seals an absorbent base so levelling compound or adhesive cures properly instead of drying out into it.

Laminate & click flooring 11

The most common DIY floor. Three cheap tools do almost all of it, and improvising any of them damages the boards.

  • A plastic laminate flooring tapping blockEssential

    Tapping block

    Takes the hammer blow so the board profile does not. Hitting a board directly crushes the click joint permanently.

  • A steel flooring pulling barEssential

    Pulling bar

    Hooks over the last board and pulls the joint closed where there is no room to swing at a block.

  • Plastic flooring expansion spacersEssential

    Expansion spacers

    Hold the perimeter gap while you lay, and stay in until the last row is done. Without them the floor creeps tight.

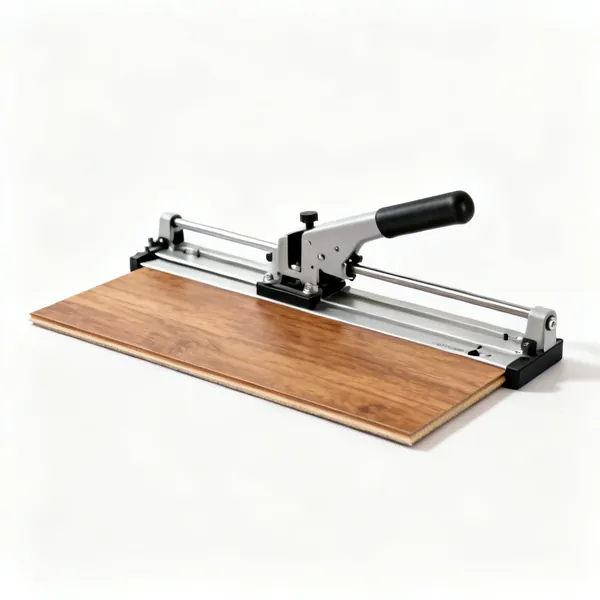
  • Laminate guillotine: A laminate flooring guillotine cutter

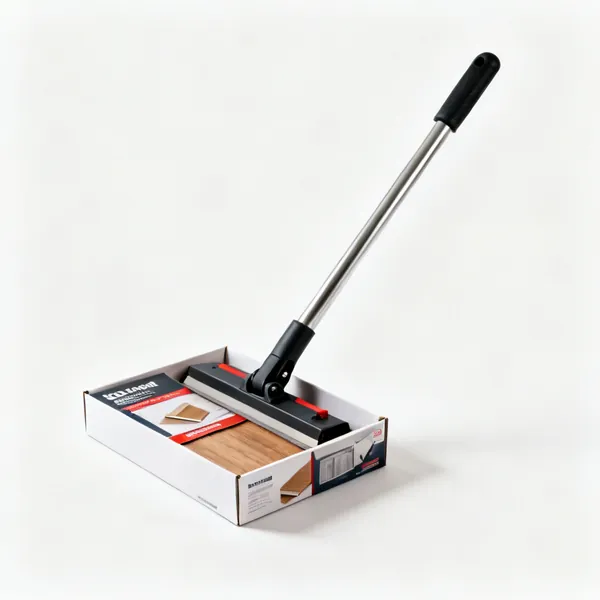
    Laminate guillotine

    Shears a board to length with no dust and no noise. Much faster than a saw for a whole room of cross cuts.

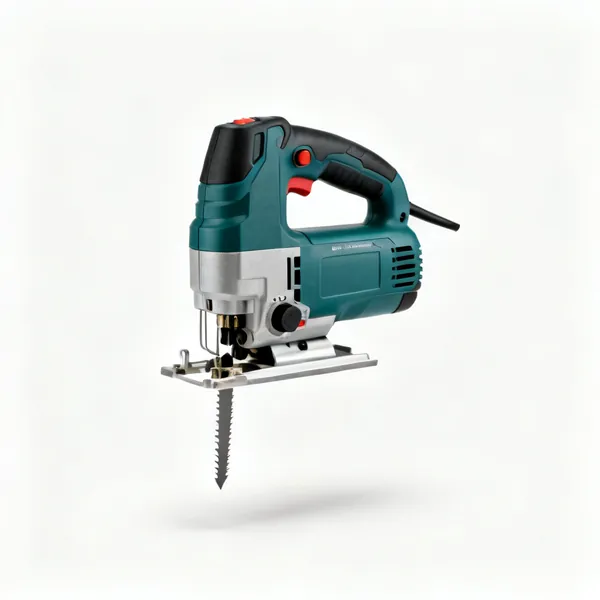
  • A cordless jigsaw with a bladeEssential

    Jigsaw

    Cuts curves and notches around pipes and awkward corners. A down cutting blade keeps the decorative face from chipping.

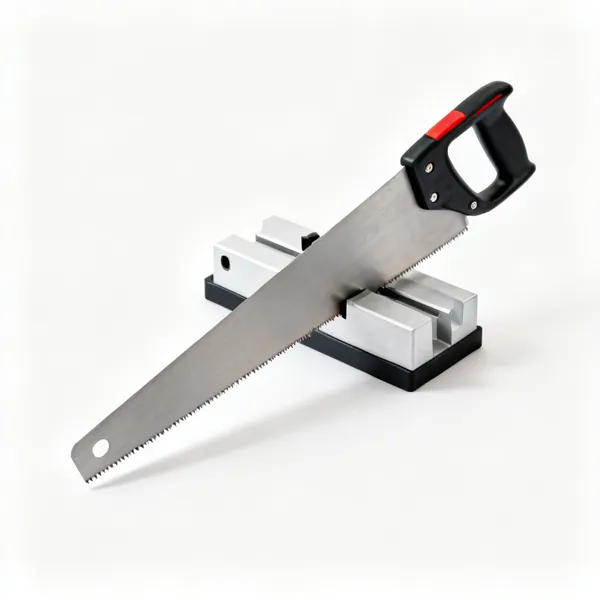
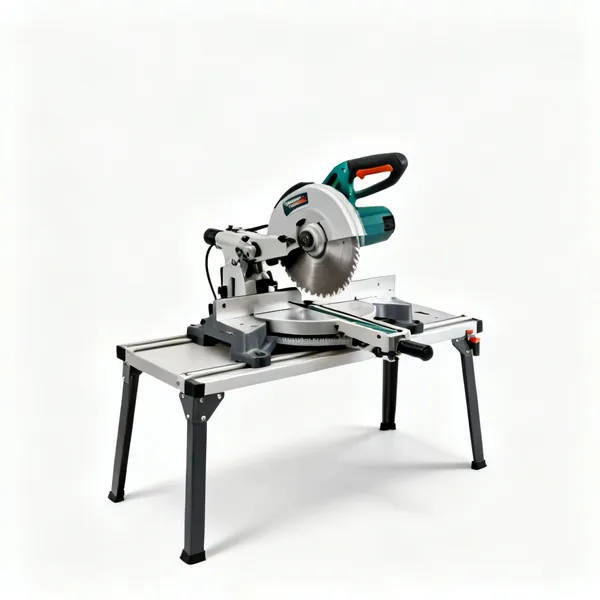
  • Mitre saw: A mitre chop saw on a bench

    Mitre saw

    Square accurate cross cuts, repeatably, with a stop set for a run of identical lengths. Faster than measuring each one.

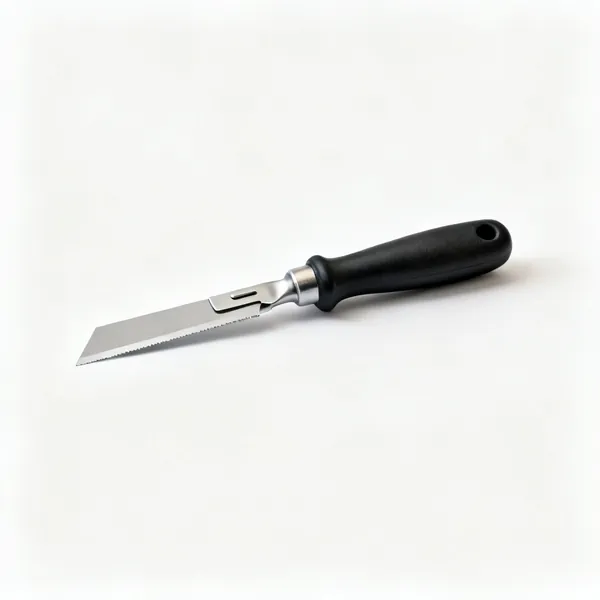
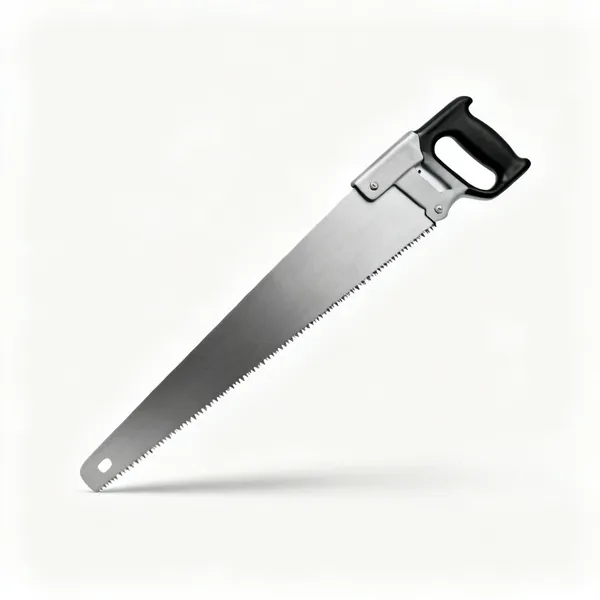
  • A flush cutting pull sawEssential

    Pull saw

    A flexible blade that cuts flat on the floor to undercut a door frame, so a board can slide under it.

  • An oscillating multi tool with a flush cut blade

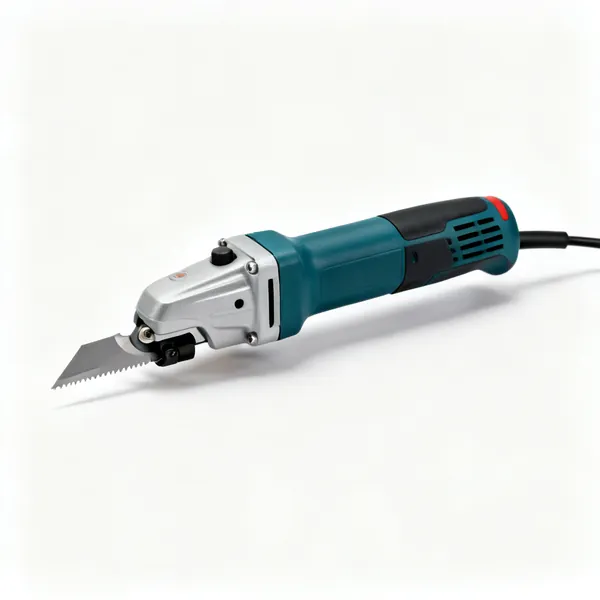
    Oscillating multi tool

    Undercuts frames and skirting in place, in the corners a pull saw cannot reach. Also cuts out a damaged board mid floor.

  • A plastic contour profile gauge

    Profile gauge

    Copies a moulded shape like an architrave and transfers it to the board. Beats cutting twice and guessing once.

  • A laminate flooring installation kit in a box

    Installation kit

    Block, bar and spacers together in one box. Cheap, and the block in a cheap kit is usually the part that fails first.

  • Vinyl plank cutter: A vinyl plank flooring shear cutter

    Vinyl plank cutter

    A shear for luxury vinyl plank, which a saw melts and drags rather than cutting cleanly.

Solid & engineered wood 10

Fixed down rather than floating, which means the tools are about closing joints tightly and fastening without damaging the face.

  • A manual flooring nailer with a mallet

    Flooring nailer

    Drives a cleat through the tongue at the right angle in one blow, closing the joint as it fires. Hired by the day.

  • Flooring cramps: A pair of floor board cramps

    Flooring cramps

    Squeeze several boards tight against the laid floor before fixing. Closing a run by hand leaves gaps you cannot recover.

  • Secret nail punch: A tongue nail punch tool

    Secret nail punch

    Sets a nail into the tongue below the surface so the fixing is hidden by the next board.

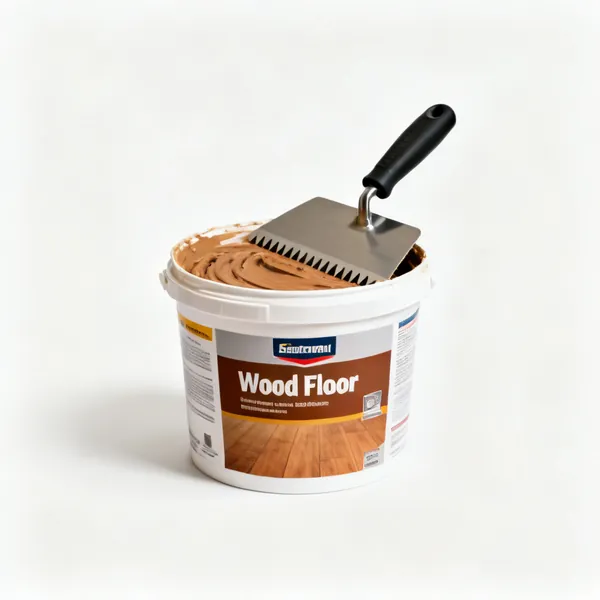
  • A tub of wood flooring adhesive with a notched trowel

    Flooring adhesive

    Bonds engineered boards to a solid base, giving a quieter and more stable floor than floating. Notched trowel applied.

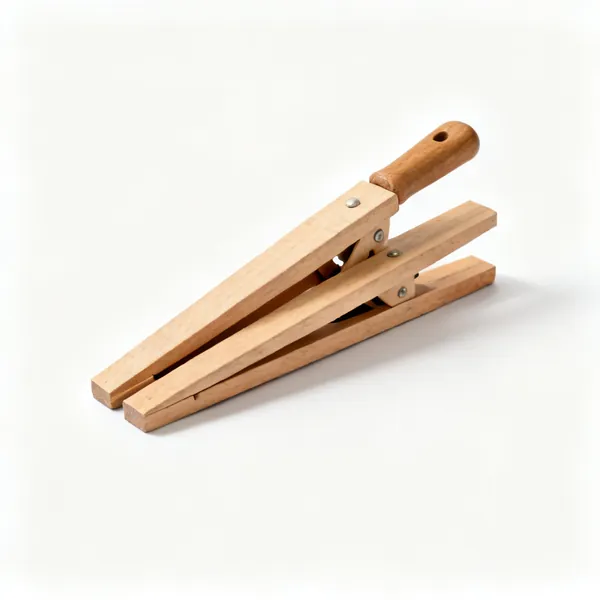
  • Pairs of wooden folding wedges

    Folding wedges

    Pairs of tapered wedges driven against a batten to close a run tight. The traditional method before cramps existed.

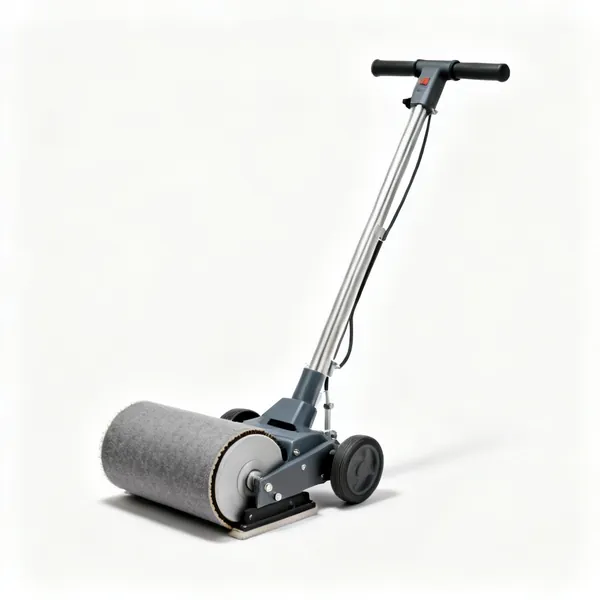
  • Floor sander: A drum floor sanding machine

    Floor sander

    Takes an old solid floor back to bare timber. Hired, and it is unforgiving: stop moving and it digs a hollow.

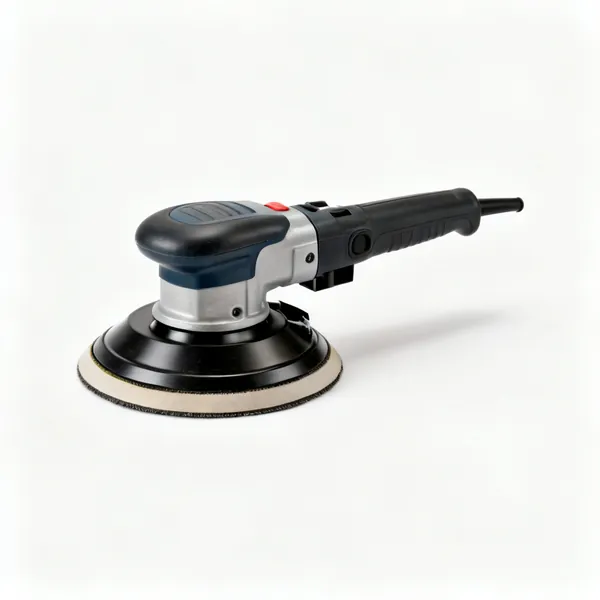
  • Edging sander: A disc edging floor sander

    Edging sander

    Reaches the perimeter a drum sander cannot, right up to the skirting. Skipping it leaves a dark border round the room.

  • Corner scraper: A hand corner floor scraper

    Corner scraper

    Hand scrapes the corners and behind pipes where no machine reaches. Slow, and the only way to finish those spots.

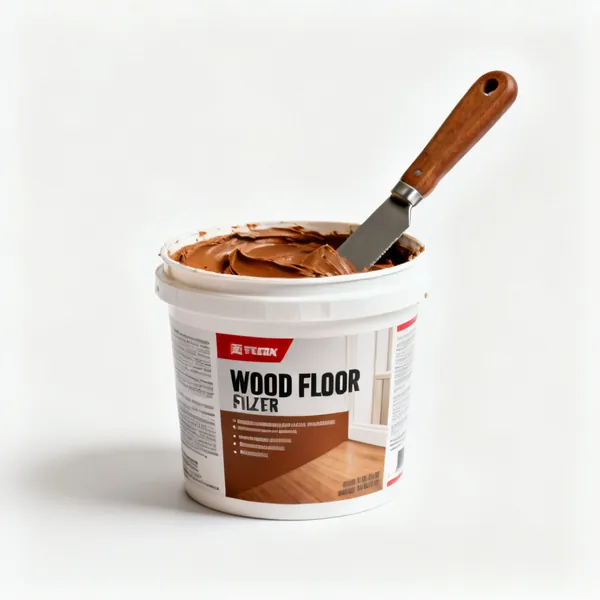
  • A tub of wood floor gap filler with a knife

    Gap filler

    Fills small gaps and nail holes, mixed with sanding dust to match. Applied before the final sanding pass.

  • A T bar floor finish applicator with a pad

    Finish applicator

    A T bar and pad that lays lacquer or oil evenly and thin. A brush leaves laps that show for the life of the finish.

Vinyl & sheet flooring 11

Sheet materials are scribed to the room rather than measured. Sharp blades and a steady hand rather than power tools.

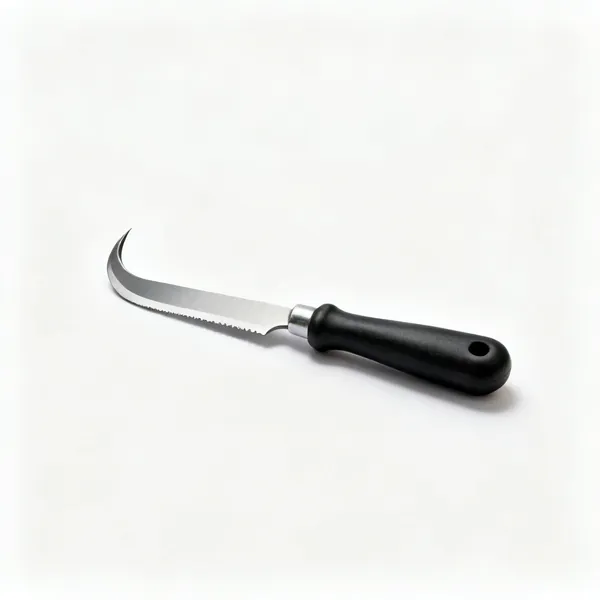
  • Hook knife: A hook blade flooring knifeEssential

    Hook knife

    A curved blade that pulls itself into sheet vinyl as you draw it, cutting clean without wandering off the line.

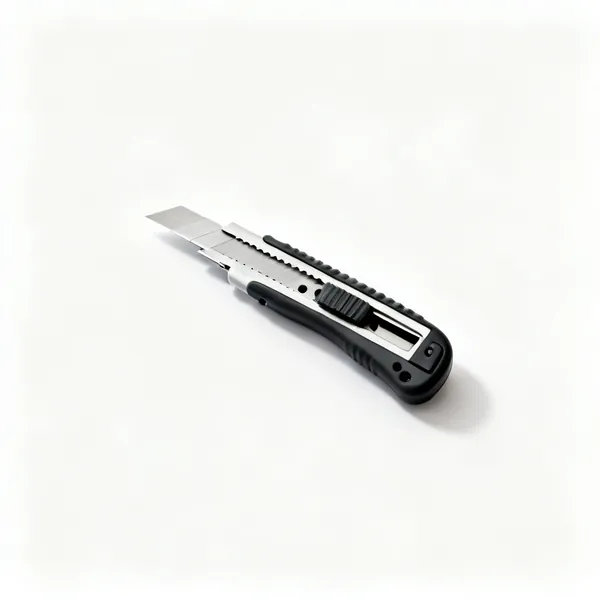
  • A retractable utility knife with bladesEssential

    Utility knife

    Straight blades for scoring vinyl tile and cutting underlay. Change the blade constantly, since a dull one tears.

  • Floor scriber: A flooring scriber marking tool

    Floor scriber

    Traces the exact line of a wall onto the sheet, including every bow. This is how a sheet floor fits a real room.

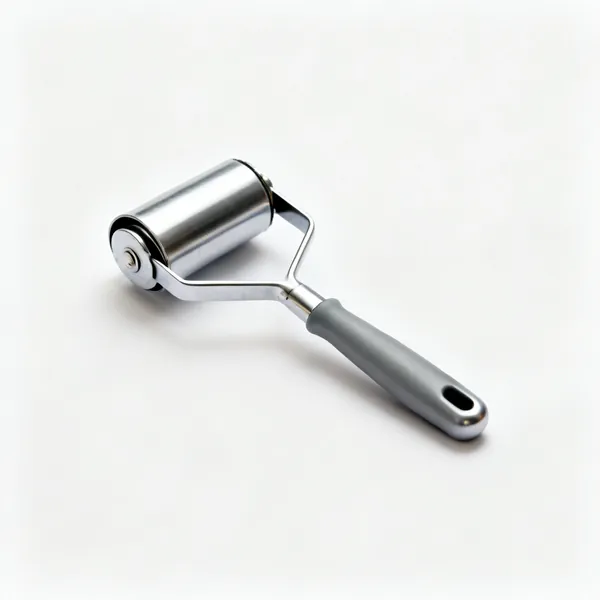
  • A metal seam roller with a handleEssential

    Seam roller

    Presses a seam or an edge down into the adhesive so it bonds and lies flat. An unrolled seam lifts and shows.

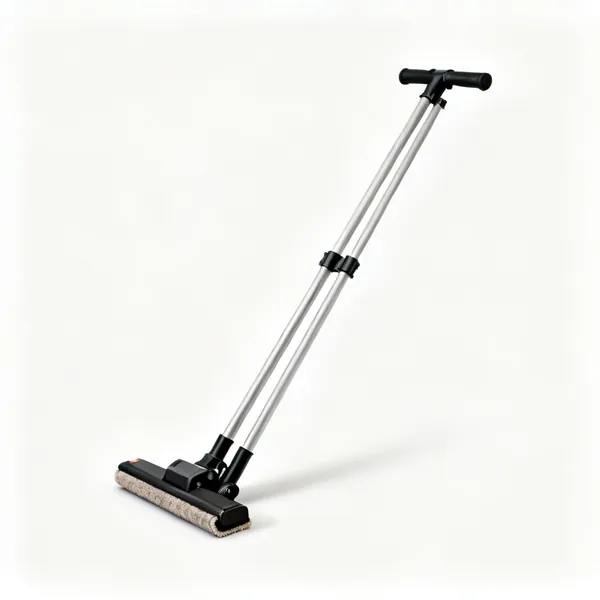
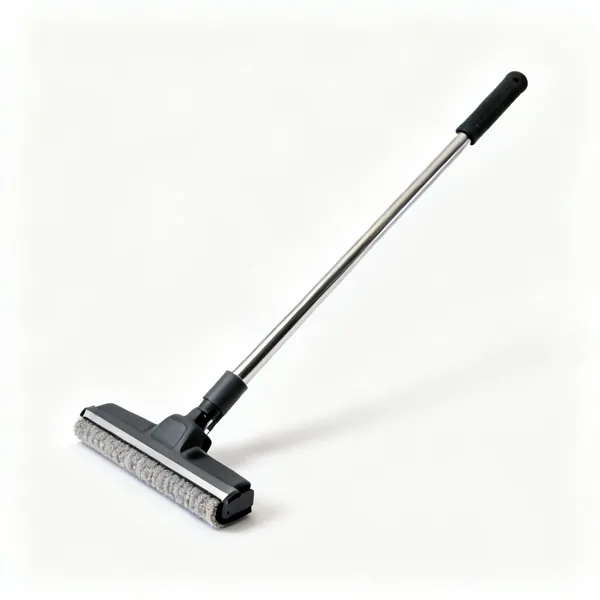
  • Floor roller: A heavy weighted flooring roller

    Floor roller

    A heavy weighted roller that beds a whole glued floor into the adhesive, driving air out from underneath.

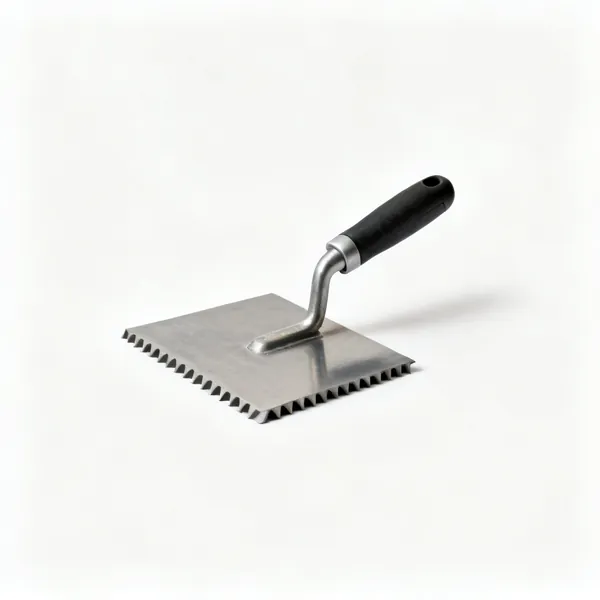
  • Notched trowel: A notched flooring adhesive trowelEssential

    Notched trowel

    Combs floor adhesive to the right depth. Notch size is specified by the adhesive, and it sets the bed.

  • Hot air welder & rod: A hot air vinyl welding gun with welding rod

    Hot air welder & rod

    Welds vinyl seams into a continuous waterproof surface. What makes a bathroom or a kitchen floor genuinely sealed.

  • A manual vinyl seam grooving tool

    Grooving tool

    Cuts a channel along a seam for the welding rod to sit in. The weld needs the groove, not just heat.

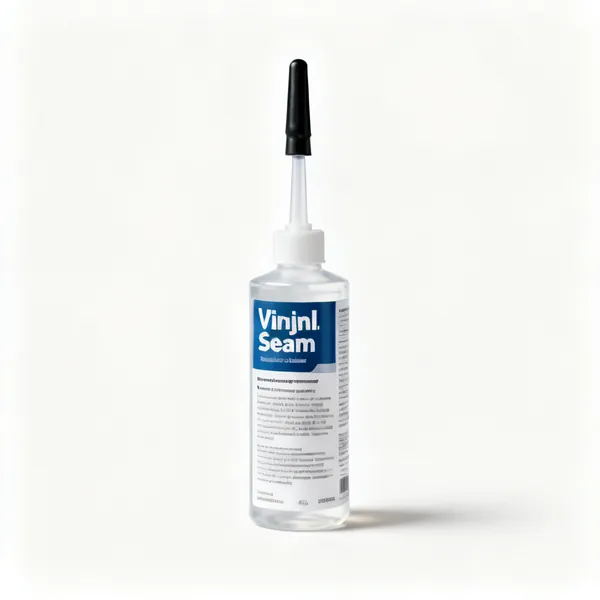
  • A bottle of vinyl seam sealer with an applicator

    Seam sealer

    A liquid that chemically bonds two vinyl edges where welding is not practical. Keeps water out of the joint.

  • A length of vinyl cove former fillet

    Cove former

    A fillet that lets vinyl curve up the wall instead of stopping at it, so there is no joint at floor level at all.

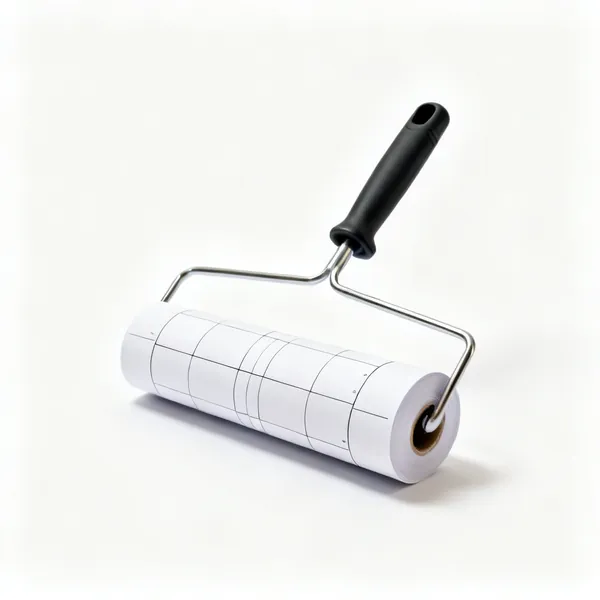
  • A roll of flooring template paper

    Template paper

    Make the mistakes in paper rather than in the sheet. Essential in a room full of awkward shapes.

Carpet fitting 10

Carpet is stretched into place, not laid. Almost nothing here is used for any other covering.

  • A carpet knee kicker stretching tool

    Knee kicker

    Stretches carpet onto the gripper at an edge with a knee driven push. Unstretched carpet ripples and wears out early.

  • A carpet power stretcher with poles

    Power stretcher

    A lever and pole system that stretches a whole room properly across its width, which a knee kicker cannot manage.

  • Carpet bolster: A carpet fitting bolster chisel

    Carpet bolster

    Tucks the stretched edge down behind the gripper and into the gulley. The tool that finishes every edge.

  • Carpet gripper rods with pins

    Gripper rods

    Angled pins nailed around the perimeter that hold the stretch. Pins pointing towards the wall, always.

  • Carpet knife: A carpet trimming knife with a blade

    Carpet knife

    A heavy trimming knife for cutting pile and backing. Cut from the back on woven carpet so the pile is not damaged.

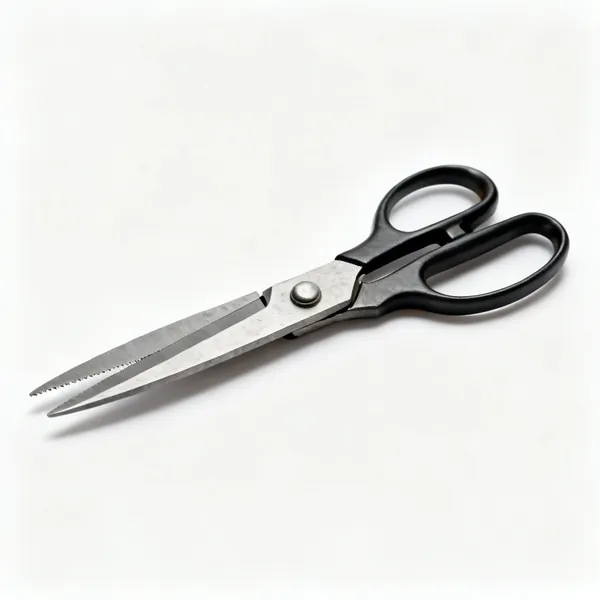
  • A pair of heavy carpet shears

    Carpet shears

    Heavy shears for trimming pile flush and cutting seams. Napping shears trim a proud tuft after fitting.

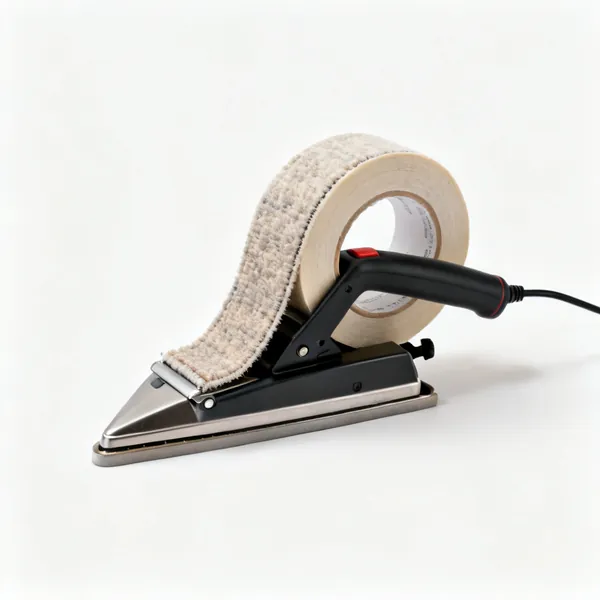
  • A carpet seaming iron with tape

    Seaming iron

    Melts heat bond tape under a joint so two pieces become one. The seam is invisible if the pile is aligned first.

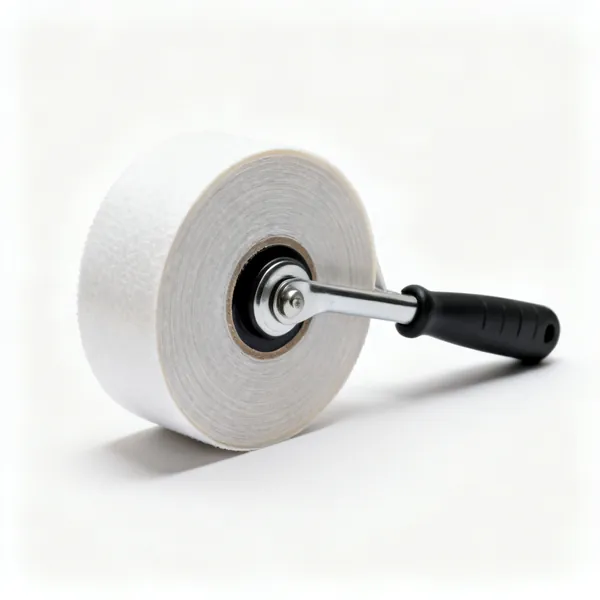
  • Heat bond tape: A roll of carpet heat bond seaming tape

    Heat bond tape

    Adhesive backed tape activated by the seaming iron. What actually holds a carpet seam together.

  • Stair tool: A carpet stair fitting tool

    Stair tool

    Forces carpet tightly into the angle of a stair tread and riser. Nothing else gets into that corner properly.

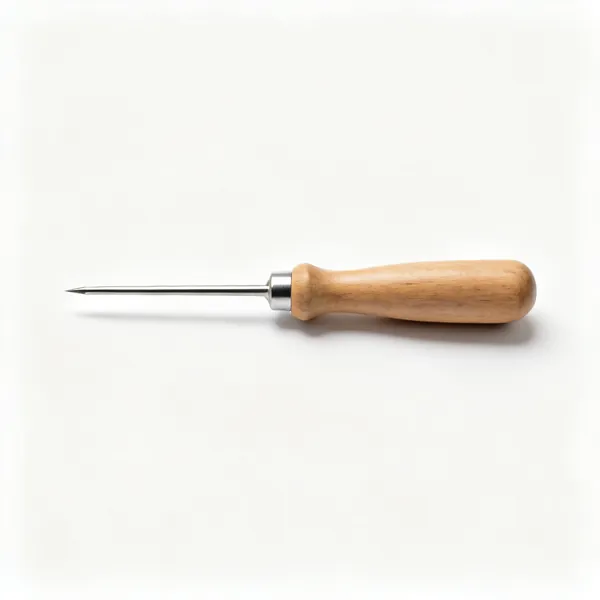
  • Awl & tucker: A carpet fitting awl and tucker tool

    Awl & tucker

    Positions and eases carpet into a corner and around a pipe without cutting a hole bigger than needed.

Trims & finishing 9

The edges are what a finished floor is judged on, and they are also what hides the expansion gap.

  • Scotia beading: Lengths of wooden scotia flooring beadingEssential

    Scotia beading

    Covers the expansion gap at the skirting without trapping the floor. Pinned to the skirting, never to the floor.
  • Threshold bars: An aluminium flooring threshold barEssential

    Threshold bars

    Joins two floors at a doorway and covers the gap. Also where large areas are broken so each room can move.

  • A mitre block with a sawEssential

    Mitre block

    Cuts beading at forty five degrees for a clean corner. Freehand mitres never meet, and the gap is at eye level.

  • A small pin hammerEssential

    Pin hammer

    A light hammer for panel pins into beading, where a claw hammer would split the moulding.

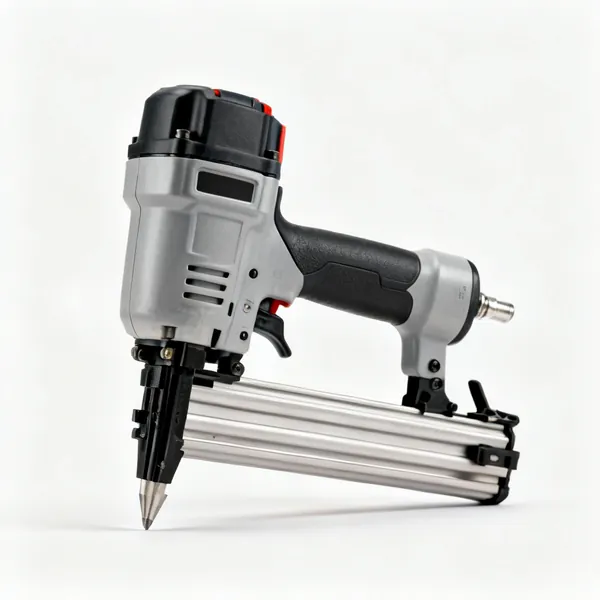
  • A cordless pin nailer

    Pin nailer

    Fires fine pins that leave almost no hole, holding beading while adhesive grabs. Neater than any hand nailing.

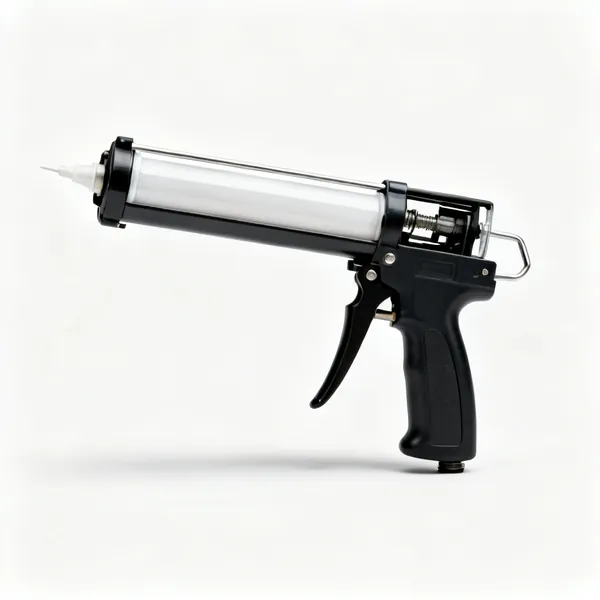
  • A cartridge adhesive gun

    Adhesive gun

    Grab adhesive for beading and thresholds where pins would split the moulding or there is nothing to pin into.

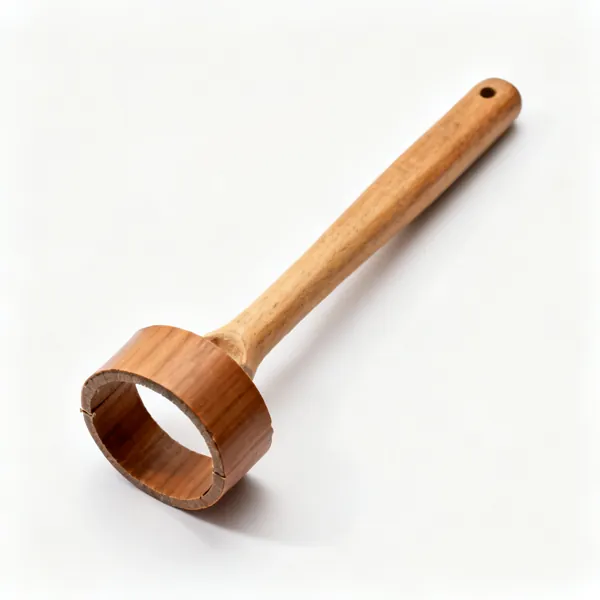
  • Pipe collars: Wooden pipe collar covers

    Pipe collars

    Two part rings that neaten the hole where a pipe passes through. The cut is never perfect and this hides it.

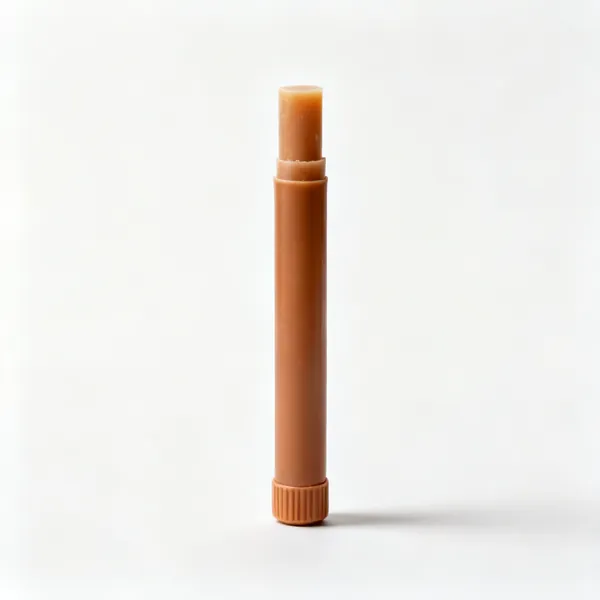
  • Colour matched filler: Colour matched flooring filler wax sticks

    Colour matched filler

    Fills pin holes and small gaps in a shade close to the floor. A wax stick blends better than a paste on a finished floor.
  • An aluminium stair nosing profile

    Stair nosing

    A profile finishing the front edge of a step. Structural as well as cosmetic, since a bare step edge wears and breaks up.

Measuring & marking 8

Floors are large areas and rooms are never square, so measuring well saves a great deal of material.

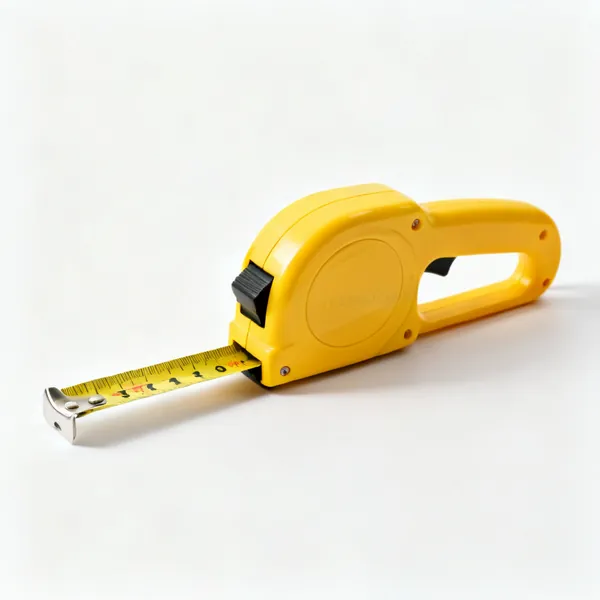
  • A yellow tape measure with a wide bladeEssential

    Tape measure

    Eight metres with a wide stiff blade that stands out unsupported, which is what lets you measure a room alone.

  • Laser measure: A handheld laser distance measure

    Laser measure

    Reads a room in seconds and calculates area, which is how you order the right quantity plus a sensible waste allowance.

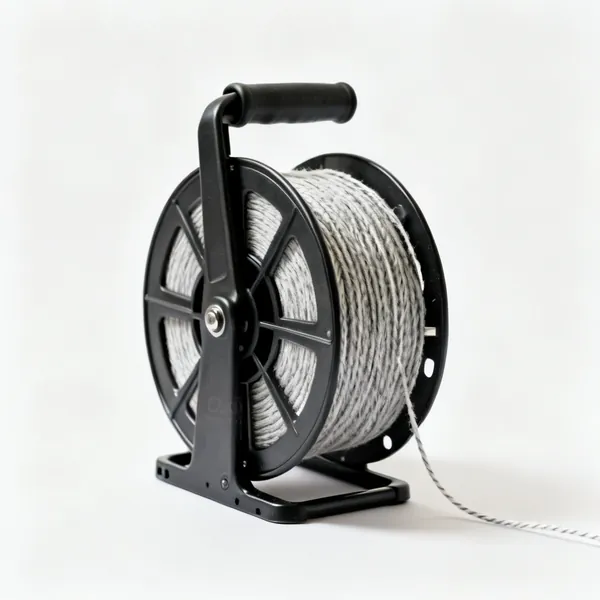
  • A chalk line reelEssential

    Chalk line

    Snaps the reference line the first row is laid to. A first row off line puts every row after it off line too.

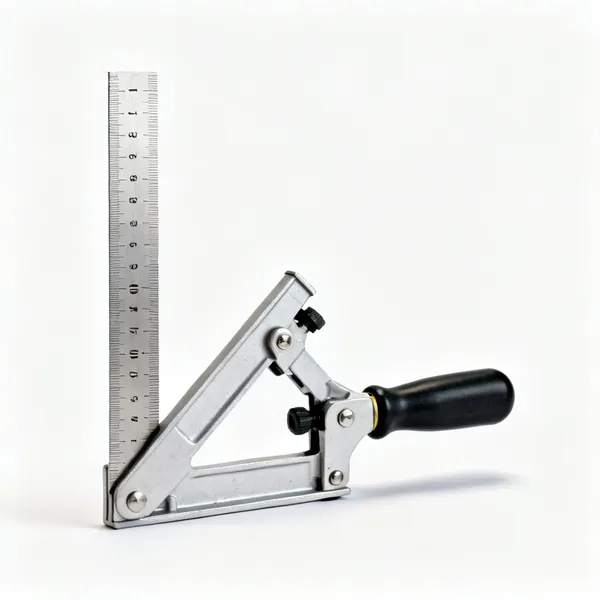
  • A combination square with a steel ruleEssential

    Combination square

    Marks square cuts and a repeated distance from an edge. The most used marking tool once boards are being cut.

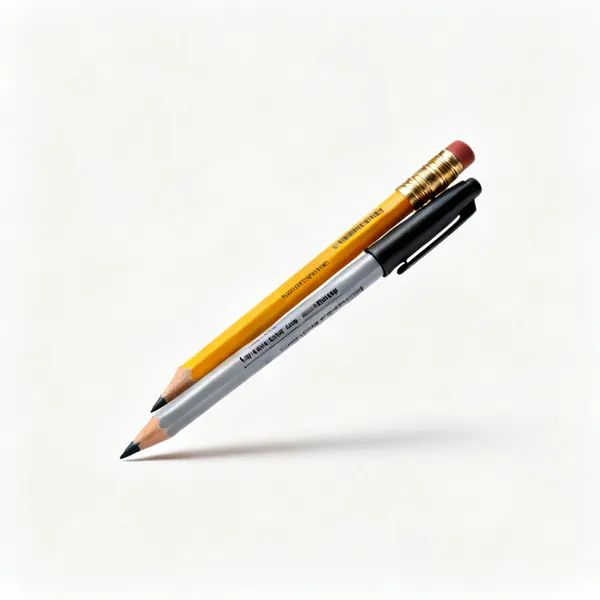
  • Pencils & marker: Carpenter pencils and a marker penEssential

    Pencils & marker

    Pencil on timber, marker on vinyl and underlay. Mark the offcut side, so the line is not part of the finished piece.

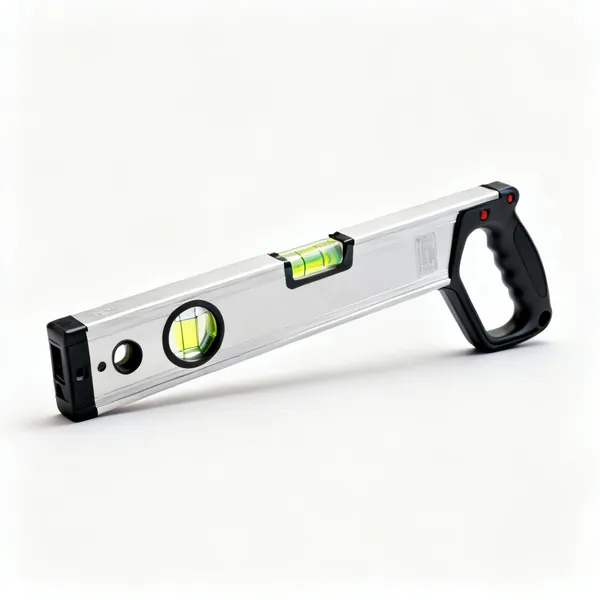
  • An aluminium spirit levelEssential

    Spirit level

    Checks a base for level and finds slopes a straight edge misses. Level and flat are different problems.

  • Angle finder

    Angle finder

    Reads a real corner angle so a cut and a mitre actually fit. Very few rooms are the ninety degrees they should be.

  • A pair of gel knee padsEssential

    Knee pads

    The whole trade is done on the knees on a hard floor. The first thing to buy and the last thing anyone regrets.

Choosing flooring tools

Almost every flooring complaint traces back to the base underneath or to what happens at the edges, rather than to the covering itself.

The base decides everything

Flooring problems are almost never the flooring. A floor that creaks, dips, peaks at the joints or cups across the boards is usually reporting on what is underneath it.

Two things matter: flat and dry. Flat means within a few millimetres over a couple of metres, because a click joint sitting over a hollow will flex until it fails, and a dip under vinyl telegraphs straight through as a visible line. Dry means the screed or slab has actually finished drying, which takes far longer than people expect and is the cause of most cupped wood floors.

Both are cheap to check and expensive to ignore, because the fix afterwards means lifting the entire floor.
Check flatness with a long straight edge
Lay it across the floor in several directions and look for light underneath. A three millimetre gap over two metres is the usual limit.
Test the moisture, do not guess
A new screed can take a month per 25 millimetres to dry. Wood laid on a damp base cups, and it cups permanently.
Fix squeaks before you cover them
Screw loose boards down to the joists. Once the new floor is on, that squeak is there for its whole life.
Punch nails below the surface
One proud nail head or screw tears underlay and shows through vinyl. Go over the whole floor before laying anything.
Let the flooring acclimatise
Wood and laminate need a few days in the room, flat and unopened, to reach its humidity. Skipping this causes gaps or buckling later.

Expansion gaps, and why floors buckle

Wood and laminate expand and contract with humidity, and they do it across the width of the boards. A floor with no room to move has nowhere to go but up, and that is what a buckled floor is.

So every edge needs a gap, usually around ten to twelve millimetres, hidden under the skirting or a bead. That means every wall, every doorway, and every pipe and upright the floor goes around. Get it right and the floor moves invisibly for decades. Fill one edge with adhesive or trap it under a heavy unit and the whole floor lifts in the middle.

A gap at every edge, without exception
Walls, thresholds, pipes, kitchen plinths and door frames. One trapped edge is enough to buckle the middle of the room.
Use spacers and leave them until the end
They hold the gap while you work. Taking them out early lets the floor creep tight against the wall.
Break the floor at doorways
Large areas and separate rooms need a threshold rather than a continuous run, since each room has its own humidity.
Undercut the door frame, do not cut the board round it
A saw run along the floor lets the board slide under the frame, which looks right and keeps the gap hidden.
Never glue a floating floor down at the edges
Floating means floating. Adhesive at the perimeter is the most common cause of a ridge across the middle.

Each covering has a few tools nothing replaces

Most of a flooring toolkit is shared: a saw, a knife, a tape, a straight edge. Then each covering adds a handful of specific tools, and those are the ones people try to improvise and regret.

Laminate and click wood
A tapping block, a pulling bar and spacers. Hitting a board directly ruins the click profile, so the block is not optional.
Solid and engineered wood, fixed down
A flooring nailer or cramps to close joints. Closing a long run by hand leaves gaps you cannot get back out.
Sheet vinyl and lino
A hook knife, a scriber and a seam roller. Vinyl is cut by scribing to the shape rather than measuring and hoping.
Luxury vinyl tile
A knife and a straight edge, plus a roller for glue down. Cut on the face with a fresh blade and snap it.
Carpet
A knee kicker, a stretcher, a bolster and gripper rods. Carpet is stretched into place, not laid, and this is the kit that does it.

What to buy first, in order

Stage one: lifting and preparing
A floor scraper, a wrecking bar, a nail punch, a claw hammer, a long straight edge, a moisture meter and a shop vacuum. Knee pads before anything else.
Stage two: laying a click floor
A tapping block, a pulling bar, spacers, a jigsaw or a hand saw, a mitre or pull saw for undercutting frames, a tape and a pencil.
Stage three: cutting properly
A laminate guillotine or a mitre saw, a profile gauge for awkward shapes, and a multi tool for undercutting door frames in place.
Stage four: the specific covering
A hook knife and seam roller for vinyl, a knee kicker and gripper for carpet, or a flooring nailer and cramps for fixed wood.

Mistakes that mean lifting it again

No expansion gap
The floor buckles into a ridge, usually in the middle of the room, and the only fix is lifting the edges.
Laying on a floor that is not flat
Click joints over a hollow flex until they break, and every dip shows through vinyl as a visible line.
Laying wood on a damp screed
It cups, and cupping does not reverse when the screed finally dries. Test rather than assume.
Not acclimatising the boards
A floor laid straight off the van gaps or buckles as it reaches room humidity. Days, not hours.
Hitting boards directly with a hammer
It crushes the tongue and groove profile, so the joint never closes properly again. Use the tapping block.
Cutting boards around a door frame
It looks obviously cut and leaves a gap that cannot be hidden. Undercut the frame and slide the board under.
A blunt knife on vinyl
It drags and tears instead of cutting, and the edge is then visible forever. Blades are consumables, and change them often.
Starting without planning the last row
You end with a two centimetre sliver along the far wall. Measure the room and split the difference across the first and last rows.

Looking after flooring tools

Change knife blades constantly
A knife blade cutting vinyl or underlay dulls within a few metres. Cheap, and a blunt blade ruins the cut edge.
Keep the tapping block undamaged
A split or dented block passes the damage on to the board profile. Replace it rather than persevering.
Clean adhesive off rollers before it sets
Set adhesive on a seam roller means it can never lie flat again, so the seam stays visible.
Sharpen scrapers
A floor scraper is a cutting tool. A file along the edge doubles its speed at removing old adhesive.
Store straight edges hanging or flat
A straight edge leaning in a corner bows, and a bowed one certifies a floor as flat when it is not.
Look after the knee pads
They are the tool that protects the part of you the job actually wears out. Replace them when the gel goes hard.

Frequently asked questions

What flooring tools do I need to start?
Knee pads, a tape measure, a pencil, a knife with plenty of blades, a long straight edge, a saw, a tapping block, a pulling bar and spacers. Add a floor scraper and a wrecking bar if you are lifting an old floor first.
How flat does a subfloor need to be?
Usually within about three millimetres over a two metre span, and check the manufacturer's figure. Click joints over a hollow flex until they fail, and any dip under sheet vinyl telegraphs through as a visible line.
Why do laminate floors buckle?
Almost always no expansion gap, or one edge trapped. Laminate expands with humidity, and if there is nowhere for it to move it lifts in the middle. Every wall, doorway, pipe and kitchen plinth needs a gap of around ten millimetres.
What is a tapping block for?
Transferring hammer blows to a board without touching the tongue and groove. Hitting the board directly crushes the click profile so the joint never closes properly again, and that damage is permanent.
What is a pulling bar used for?
Closing the last row and the last board in a run, where there is no room to swing a hammer against a block. It hooks over the board end and pulls the joint closed from the wall side.
Do I need to acclimatise laminate or wood flooring?
Yes, and it is one of the most skipped steps. Leave the packs flat and unopened in the room for the time the manufacturer states, usually around 48 hours, so they reach the room's humidity. Otherwise the floor gaps or buckles later.
How do I cut flooring around a door frame?
Undercut the frame rather than cutting the board around it. A pull saw or an oscillating multi tool run flat on the floor removes enough of the frame for the board to slide underneath, which hides the expansion gap and looks right.
Can I lay wood flooring on a new concrete screed?
Not until it has dried, which takes roughly a month for every 25 millimetres of thickness. Test it with a moisture meter rather than judging by appearance. Wood laid on a damp base cups, and it does not flatten out again afterwards.
What is a knee kicker for?
Stretching carpet onto gripper rods at the edges of a room. Carpet is stretched into place rather than simply laid, and without stretching it ripples and wears out early. For larger rooms a power stretcher does the same job better.
What is the difference between a hook knife and a straight blade?
A hook blade pulls itself into the material as you draw it, which suits cutting sheet vinyl and lino cleanly without it wandering. A straight blade suits scoring luxury vinyl tile and cutting underlay.
Do I need underlay?
For floating floors, yes, unless the boards have it attached. It absorbs small irregularities, reduces sound and, with a damp proof membrane, protects the floor from moisture below. It is not a substitute for a flat subfloor.
How do I stop a floor squeaking before I cover it?
Screw the loose boards down into the joists rather than nailing them, since nails work loose again. Do it before the new floor goes on, because once it is covered the squeak is there for the life of the floor.