Disclosure

Glass working tools: names, pictures and what each one is used for

A complete glass working tools list with a picture of every one, all 79 grouped by the job, from cutting and breaking through grinding, leading, copper foil, soldering, fusing and finishing. Glass is the least forgiving material here: a mistake is a broken piece rather than a setback.

36 are marked essential: enough to cut, shape and assemble a leaded or copper foil panel properly.

Cutting & scoring 11

Putting a controlled fracture into glass. Score once, break immediately, and the rest follows.
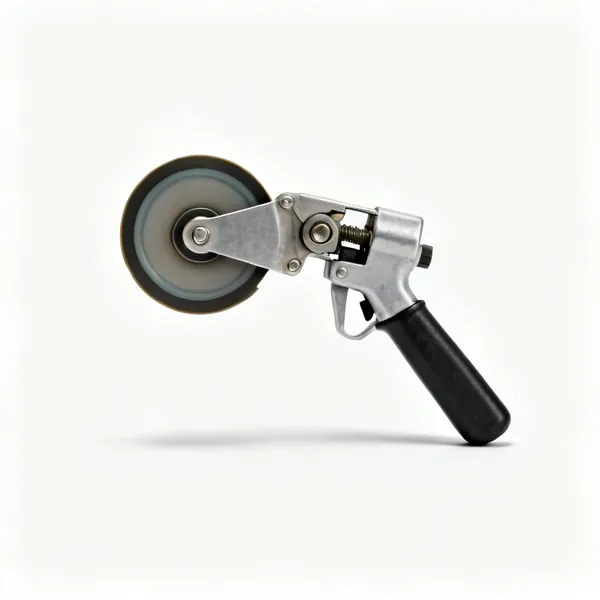
  • An oil filled glass cutter with a wheelEssential

    Oil filled glass cutter

    A hardened wheel in a handle with an oil reservoir. Scores a fracture the glass is then broken along.

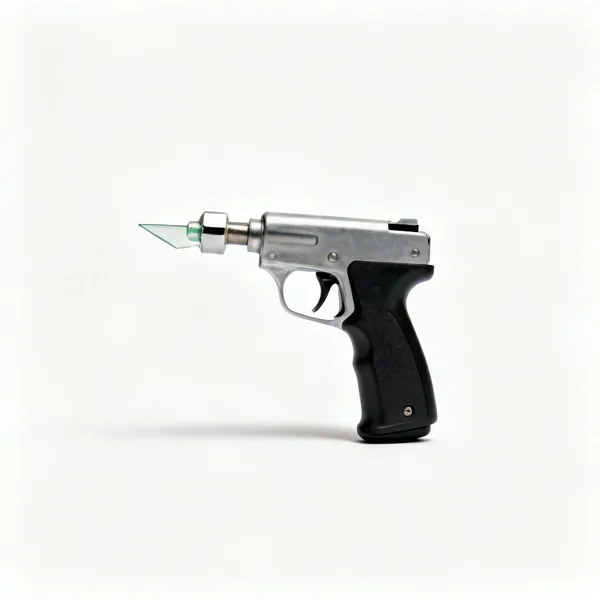
  • Pistol grip cutter: A pistol grip glass cutter

    Pistol grip cutter

    The same wheel in a grip that is easier on the hand and wrist over long sessions of cutting.

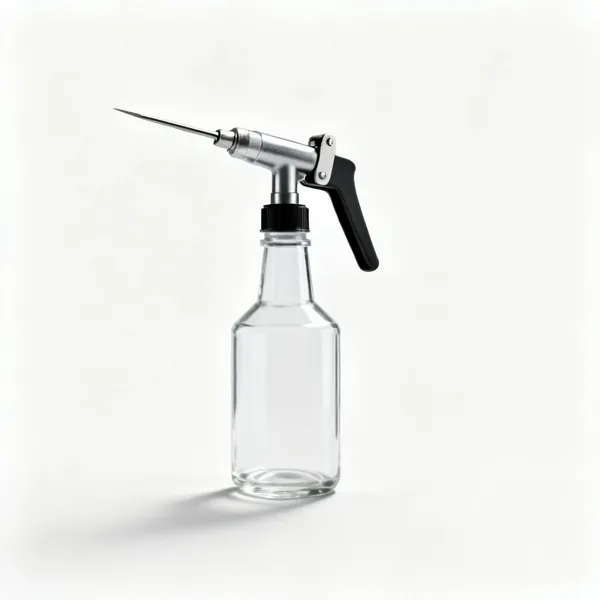
  • A bottle of glass cutting oilEssential

    Cutting oil

    Lubricates the wheel for a cleaner score and much longer wheel life. It is a consumable that saves consumables.

  • Spare cutting wheels: Replacement glass cutter wheels

    Spare cutting wheels

    The wheel is the tool and it wears. A blunt wheel crushes the surface and the score will not run.

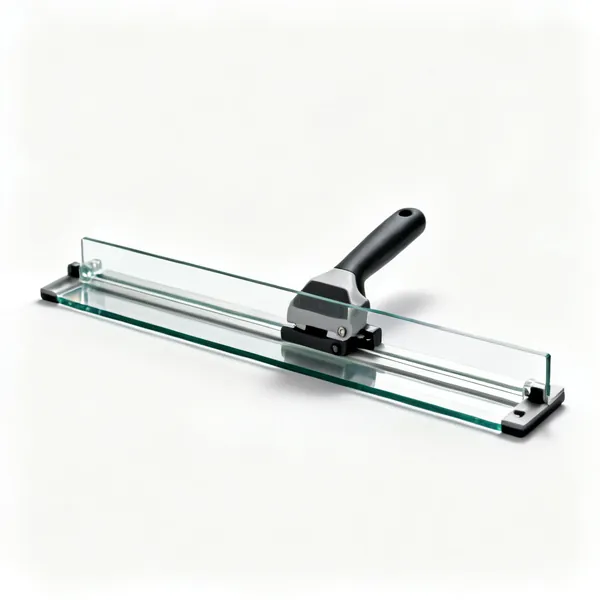
  • Strip cutter: A glass strip cutting guide tool

    Strip cutter

    A guide that holds the cutter a set distance from an edge, for cutting repeated parallel strips accurately.

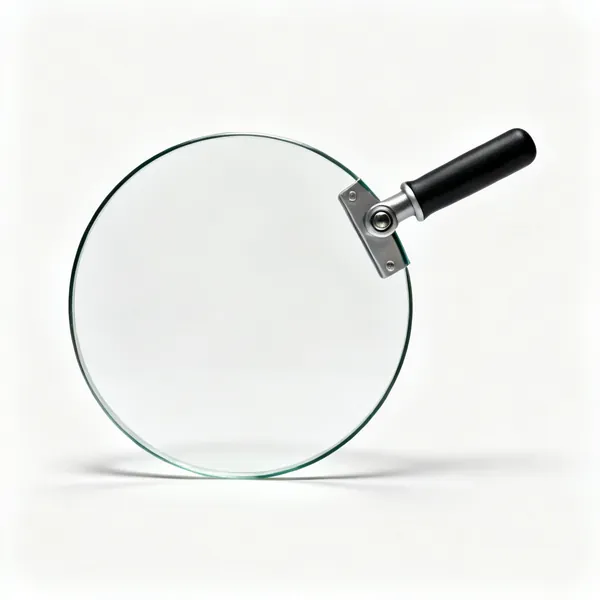
  • A glass circle cutter with a pivot arm

    Circle cutter

    A pivoting arm that scores a true circle. Freehand circles in glass are essentially impossible.

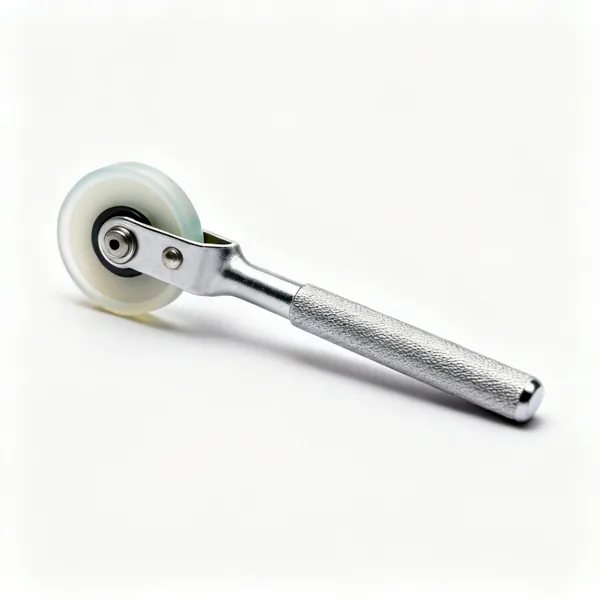
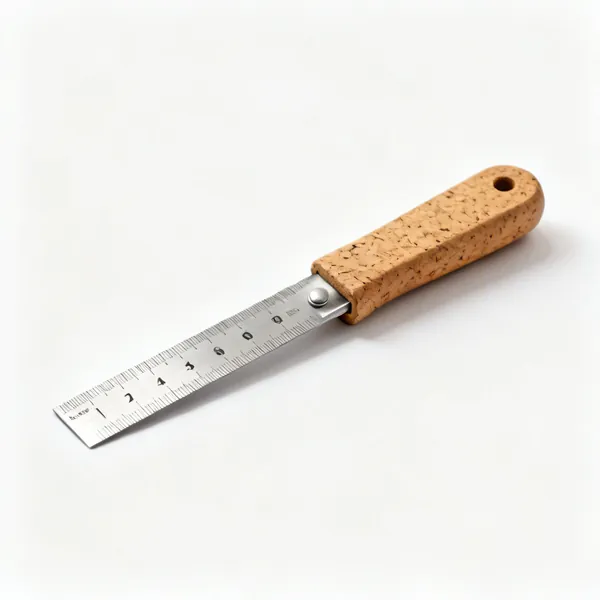
  • Cork backed rule: A cork backed steel rulerEssential

    Cork backed rule

    A straight edge that does not slide on glass. The cork is what stops it moving mid score.
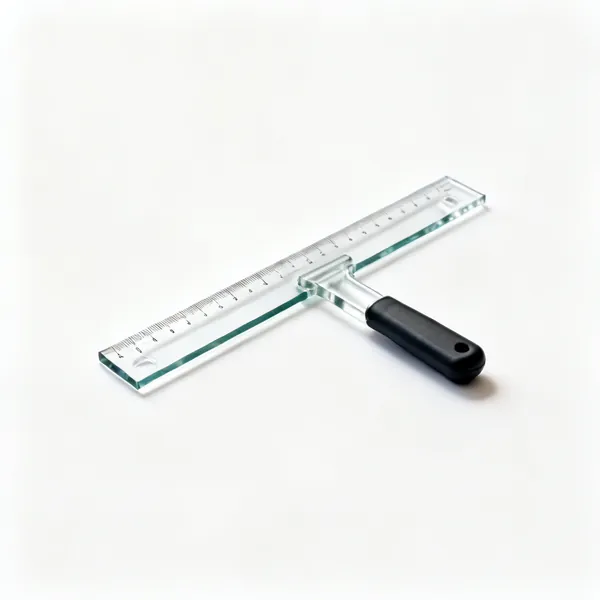
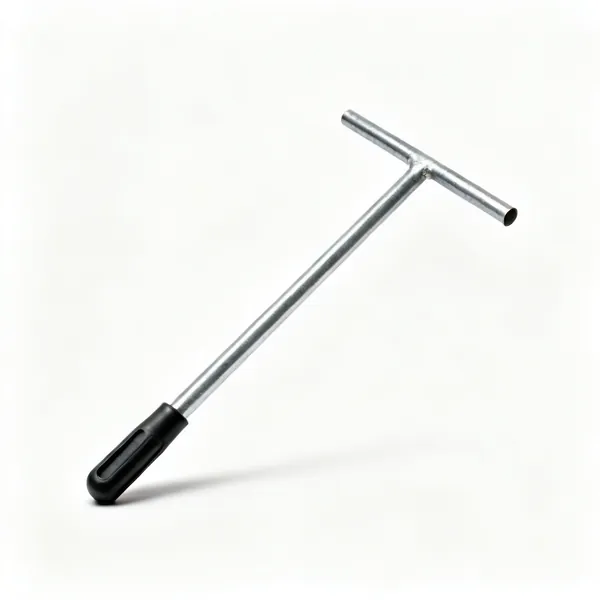
  • Cutting square: A glass cutting T square

    Cutting square

    A T square for glass, giving a score truly perpendicular to an edge without measuring twice.

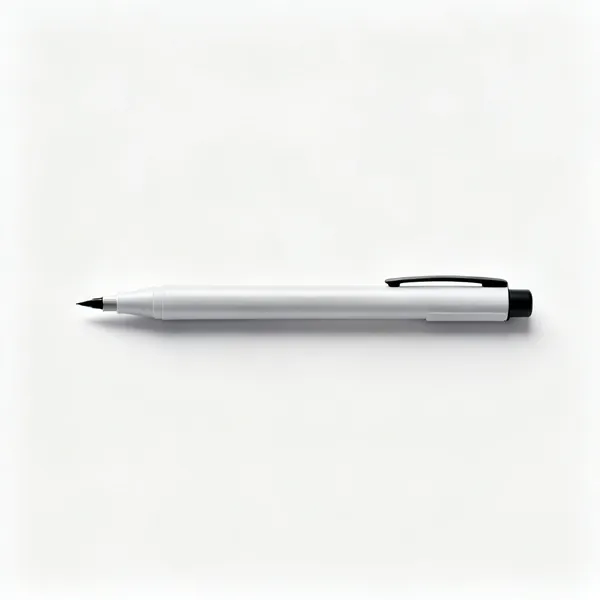
  • A fine tipped marker penEssential

    Marker pen

    Marks the score line on the glass. Fine tipped, and it must wipe off without leaving a residue.
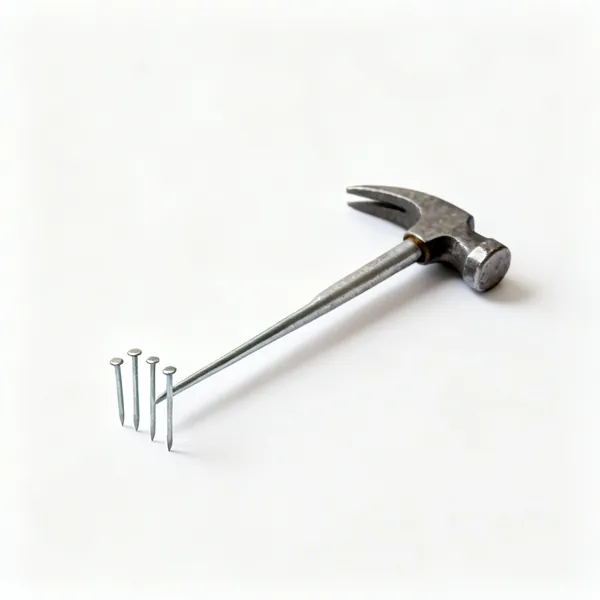
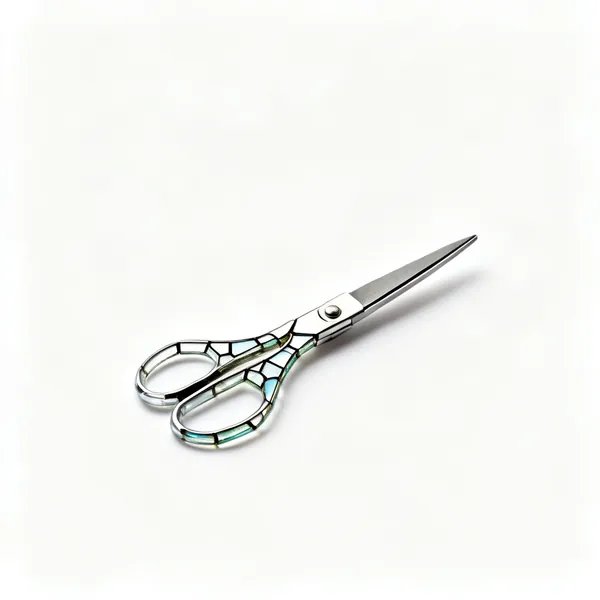
  • Stained glass pattern shears

    Pattern shears

    Cuts a paper pattern and removes a strip the width of the lead or foil at the same time, so pieces fit.

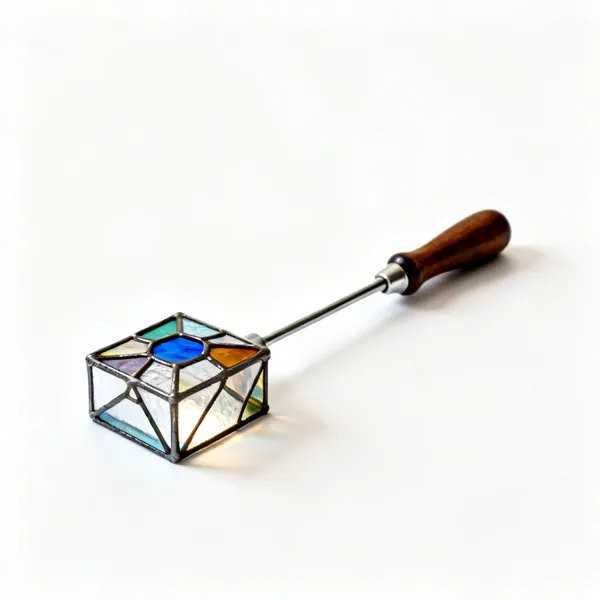
  • A stained glass light box

    Light box

    Backlights the glass so you can see colour and texture as it will look in a window, and trace a pattern through.

Breaking & shaping 8

Making the score run where you want it. Small controlled actions, since glass propagates a crack instantly.

  • A pair of glass running pliersEssential

    Running pliers

    Curved jaws applying even pressure either side of a score so the fracture runs cleanly along it.

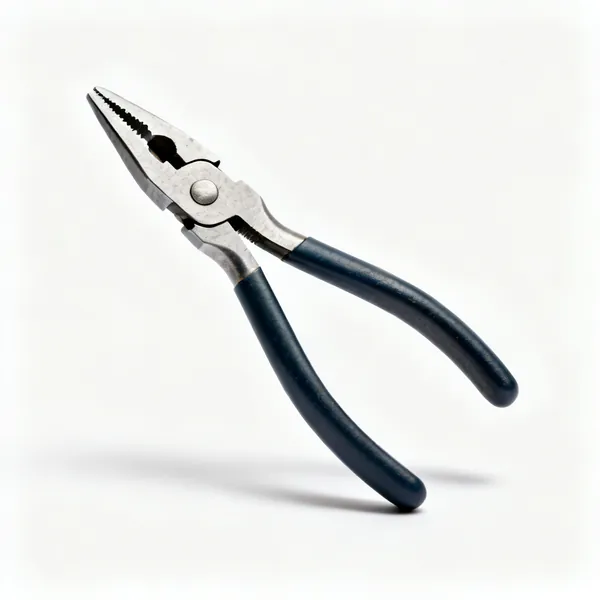
  • A pair of grozing pliers for glassEssential

    Grozing pliers

    Serrated flat jaws for nibbling waste away in small bites, which is how a curve is cleaned up.

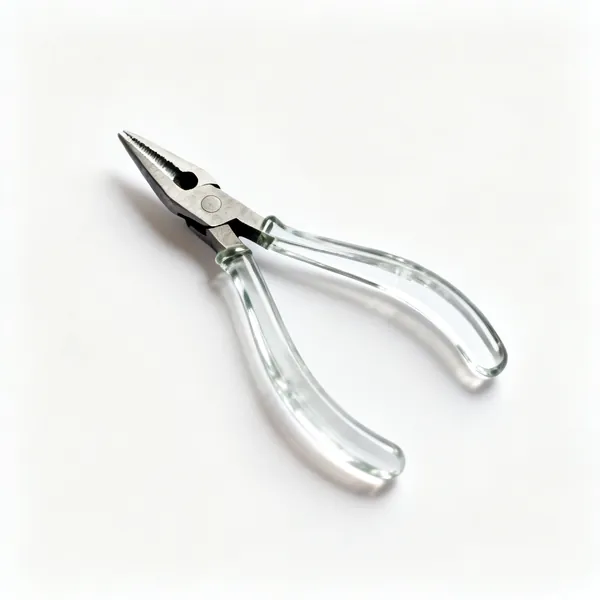
  • A pair of glass breaking pliers

    Breaking pliers

    Narrow smooth jaws gripping a thin strip too small to hold by hand, so it can be snapped off a score.

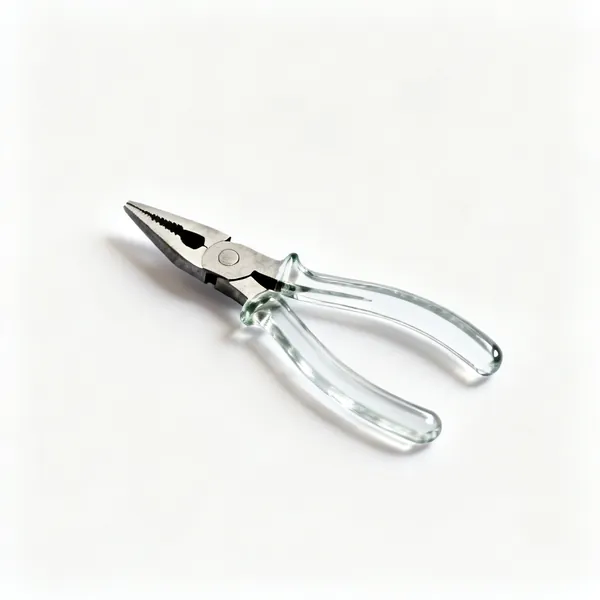
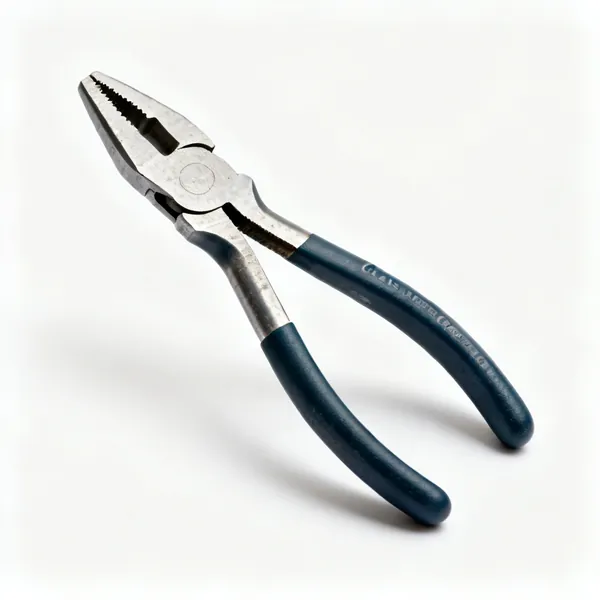
  • A pair of glass breaker grozer pliersEssential

    Breaker grozer

    One tool doing both jobs, with a flat jaw and a curved serrated one. The pair most people actually use.

  • Mosaic nippers: A pair of wheeled mosaic glass nippers

    Mosaic nippers

    Wheeled jaws that bite small pieces off tile and glass for mosaic, where a score is not practical.

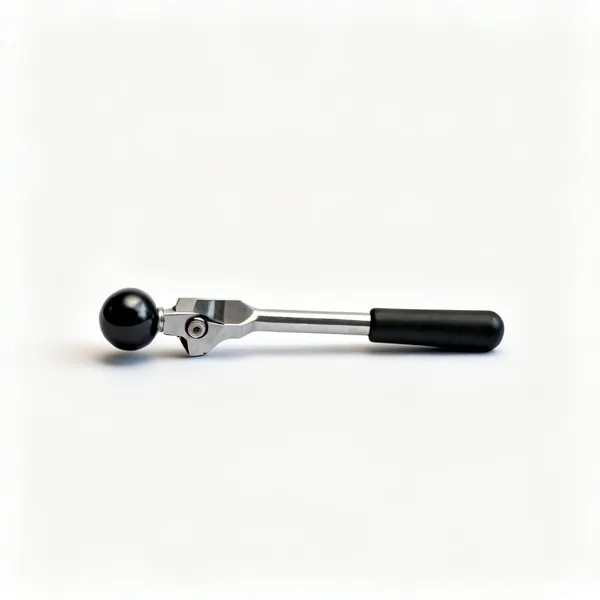
  • Tapping key: A glass cutter with a ball tapping end

    Tapping key

    The ball end of a cutter tapped along the underside of a score to start the break in an awkward place.

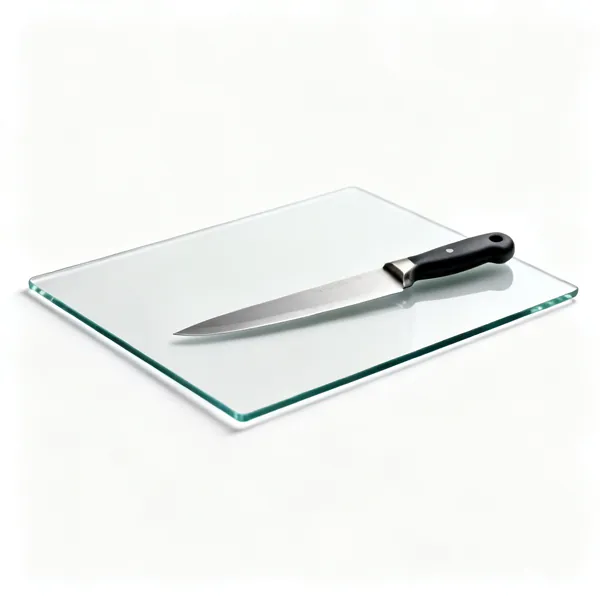
  • Cutting surface: A flat glass cutting work boardEssential

    Cutting surface

    A flat board or a piece of carpet underlay. Glass must be fully supported or it breaks where it is unsupported.

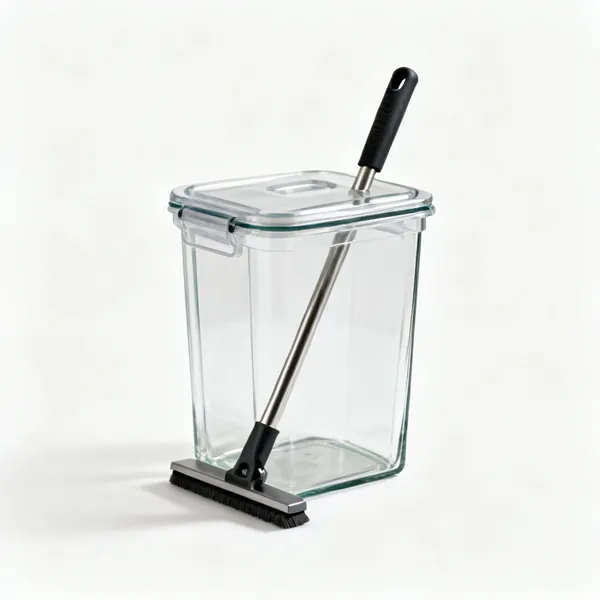
  • Cullet bin: A lidded bin for glass offcutsEssential

    Cullet bin

    A lidded bin for glass offcuts. Loose glass waste is how people get cut hours after they finished working.

Grinding & smoothing 9

Refining a cut edge so pieces fit each other. The purchase that most improves the finished result.

  • An electric glass grinder machine with a bitEssential

    Glass grinder

    A water cooled diamond bit spinning in a table, refining an edge to the line. Transforms how a panel fits.

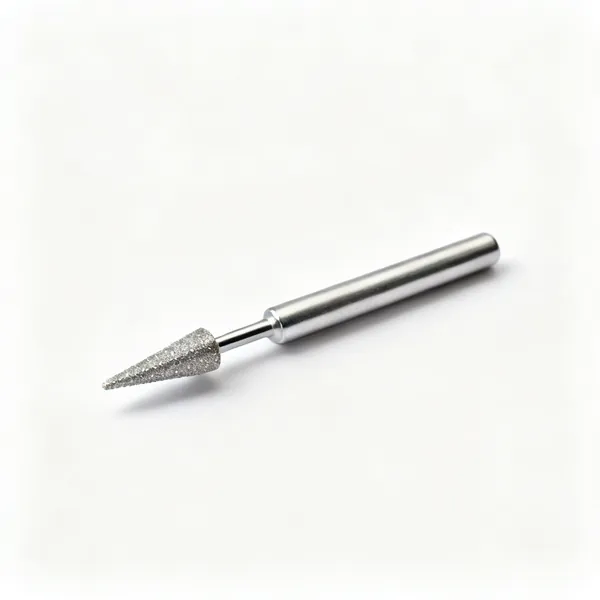
  • Diamond glass grinder bitsEssential

    Grinder bits

    Diamond coated bits in several diameters. A small one gets into a tight concave curve a standard bit cannot.

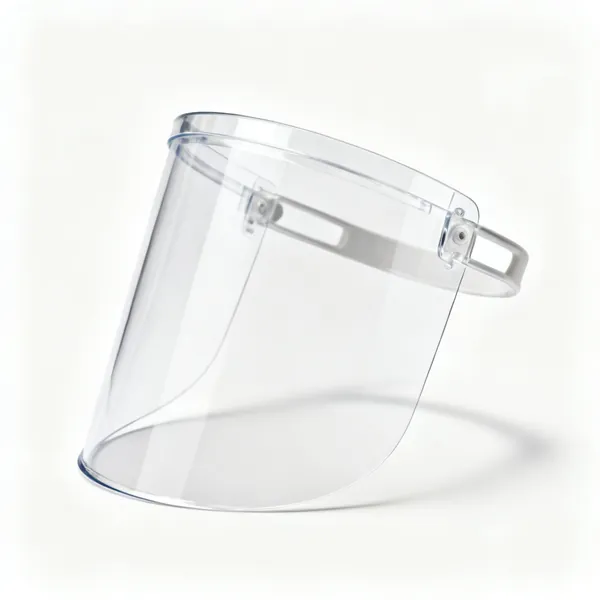
  • Grinder eye shield: A clear grinder face shield screenEssential

    Grinder eye shield

    A clear screen catching the wet glass spray. Grinding throws a fine slurry of glass particles straight up.

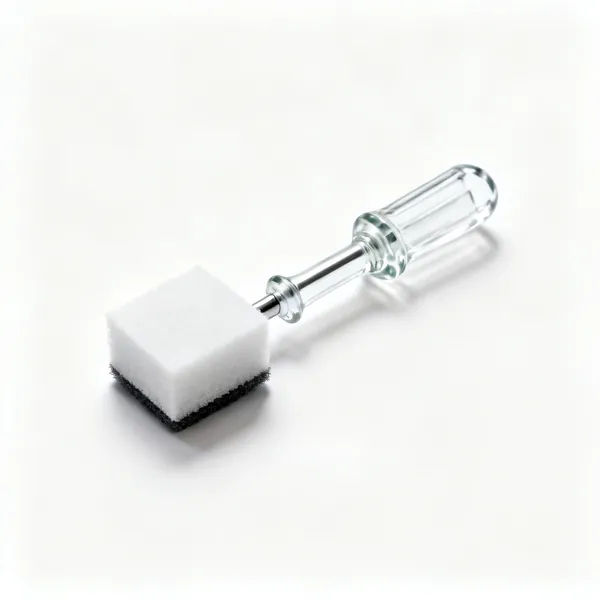
  • Grinder sponge: A glass grinder water spongeEssential

    Grinder sponge

    Wicks water up to the bit continuously. A dry bit destroys itself in minutes and cracks the glass.
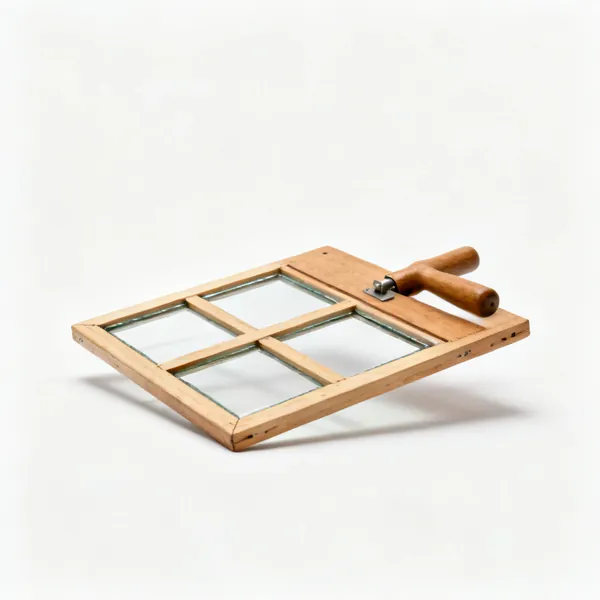
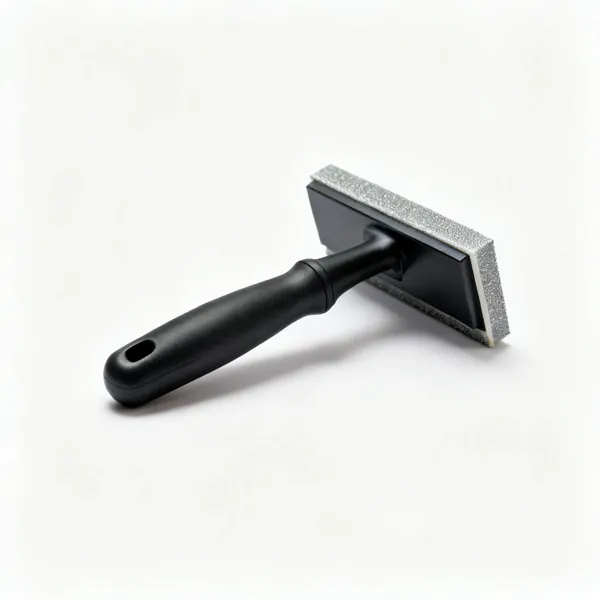
  • Diamond hand pads: Diamond hand smoothing pads for glass

    Diamond hand pads

    Hand smoothing an edge in grades, for a piece too awkward for the grinder or a final finish.

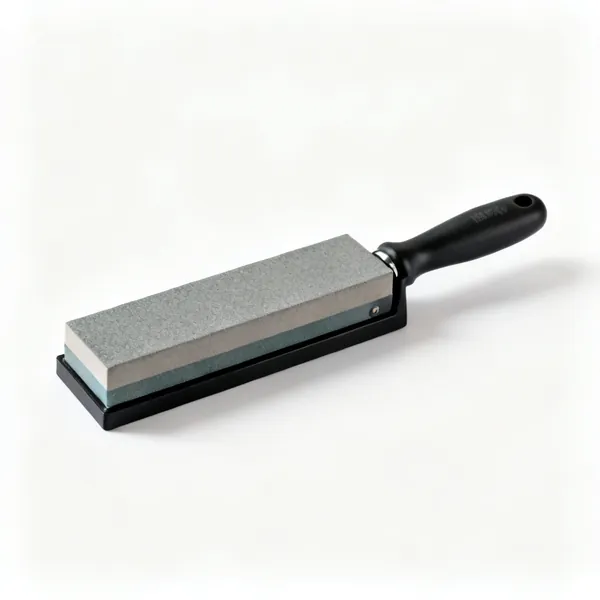
  • Carborundum stone: A carborundum sharpening stone for glass

    Carborundum stone

    Takes the sharp arris off an edge by hand. The low tech option and useful for a quick safety edge.

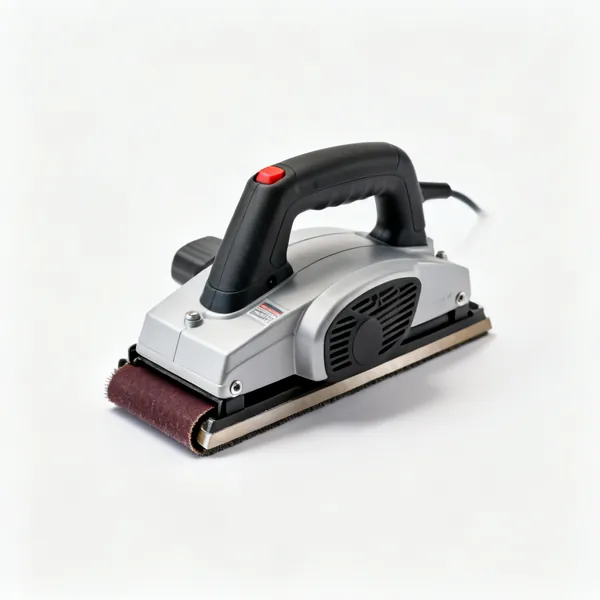
  • A wet belt sander for glass

    Wet belt sander

    A water fed abrasive belt for flat edges and bevels, much faster than a grinder over a long straight line.

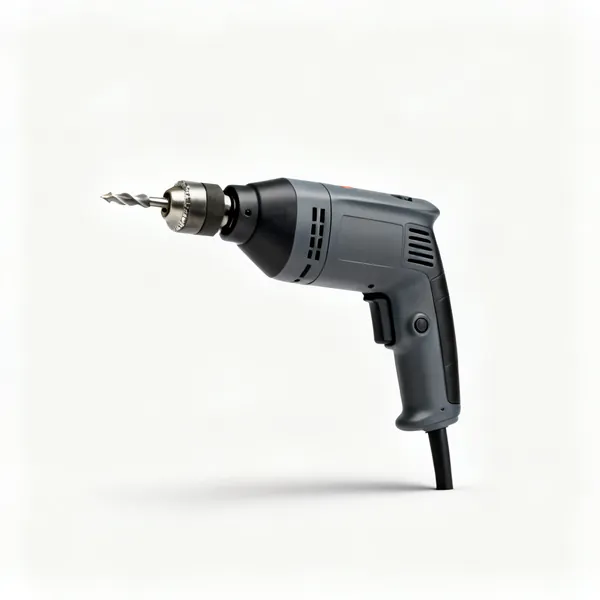
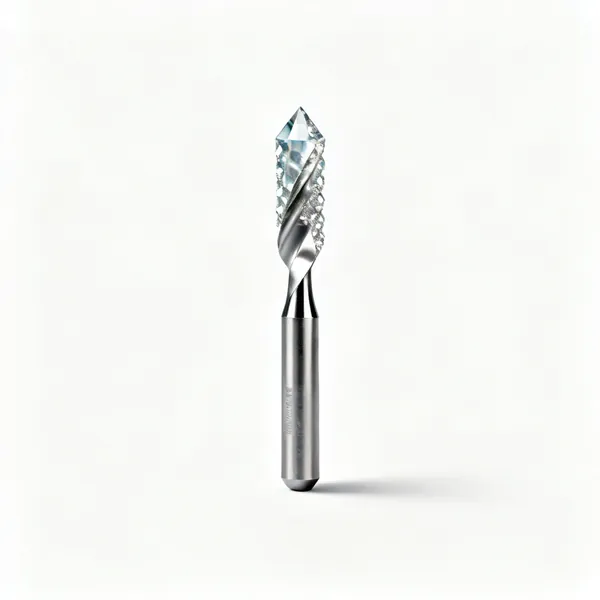
  • Diamond hole bits: Diamond glass drill bits

    Diamond hole bits

    Drills glass under water at low speed. Dry drilling cracks it, and speed generates the heat that does the cracking.

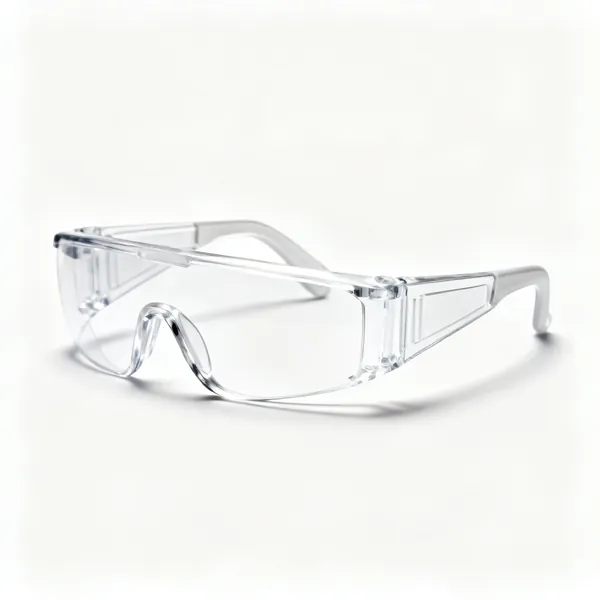
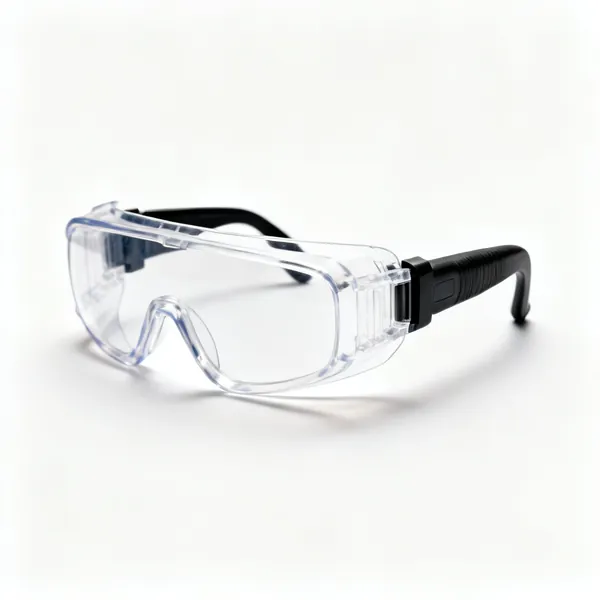
  • A pair of clear safety glassesEssential

    Safety glasses

    Breaking and grinding both throw fragments. Non negotiable in this craft more than any other on the site.

Leaded glass 10

The traditional method, with each piece held in a lead channel. Suits larger panels and needs its own tools.

  • Lengths of H section lead came

    Lead came

    H and U section lead strip that holds each piece of glass. Widths chosen for the design and the panel size.
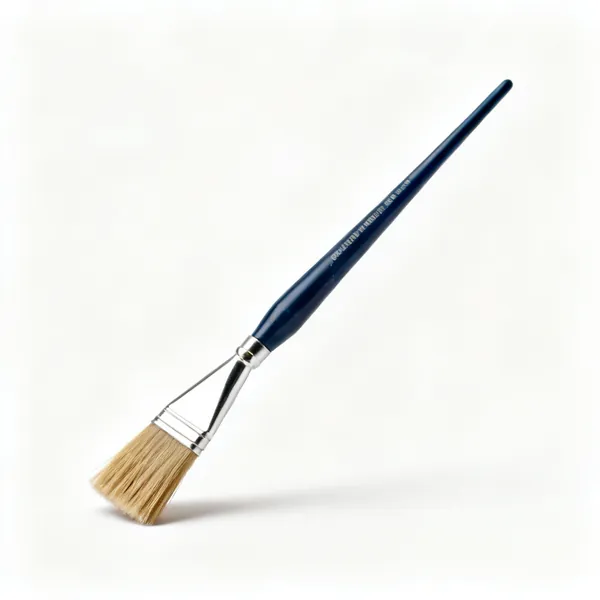
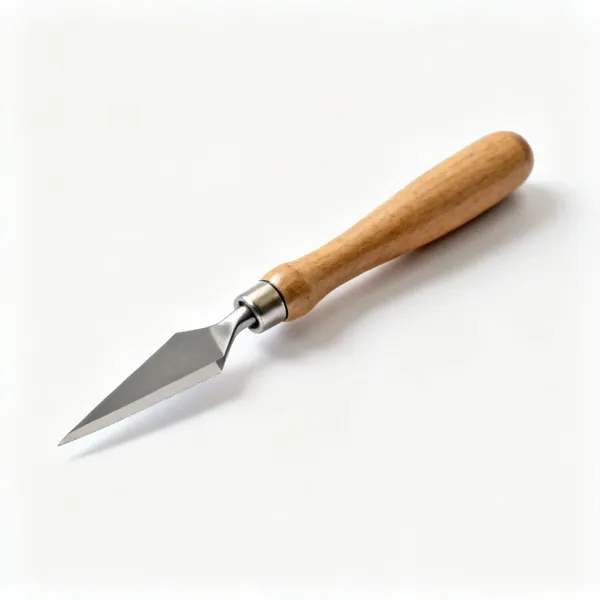
  • A stained glass lead knife

    Lead knife

    A curved blade that cuts came cleanly without crushing the channel. A rocking cut rather than a slice.

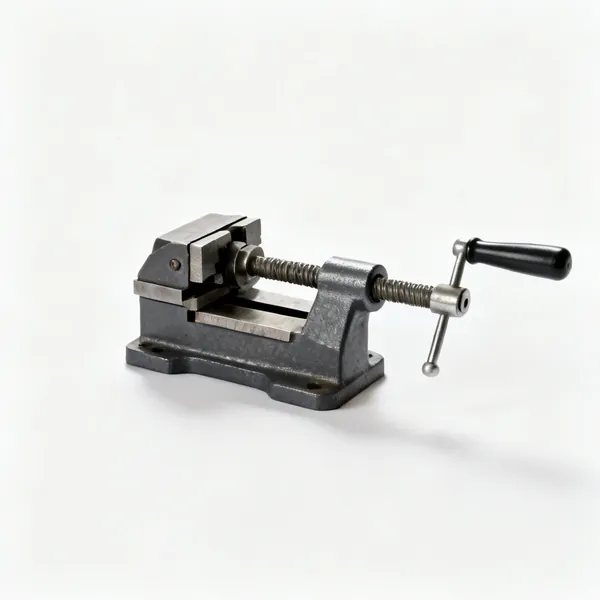
  • Lead vice: A lead stretching vice

    Lead vice

    Grips one end of came so it can be stretched straight before use. Unstretched lead is soft and wavy.

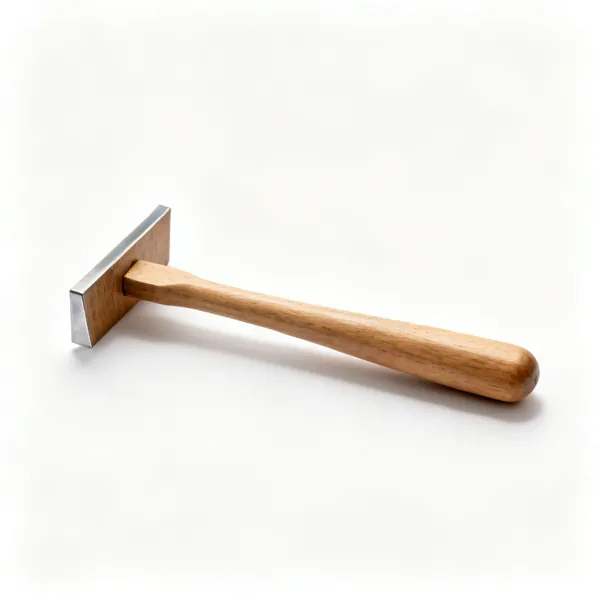
  • A wooden lathekin stained glass tool

    Lathekin

    A shaped wooden or plastic tool that opens up a came channel so glass slides in without forcing.

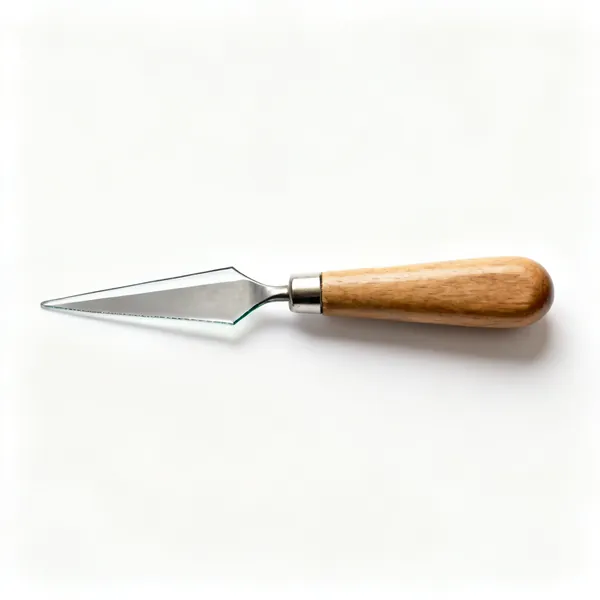
  • A stained glass stopping knife

    Stopping knife

    A weighted blunt knife for opening leaves of came and easing glass into place without breaking it.

  • Flat horseshoe nails for stained glass

    Horseshoe nails

    Flat sided nails tapped into the board to hold the assembly tight while it is built up and soldered.

  • A wooden stained glass glazing board with battens

    Glazing board

    A softwood board with battens along two edges, giving a square corner to build the panel out from.

  • A stiff cementing brush for stained glass

    Cementing brush

    Works leaded cement under the came, which waterproofs and stiffens a finished panel. A stiff scrubbing brush.

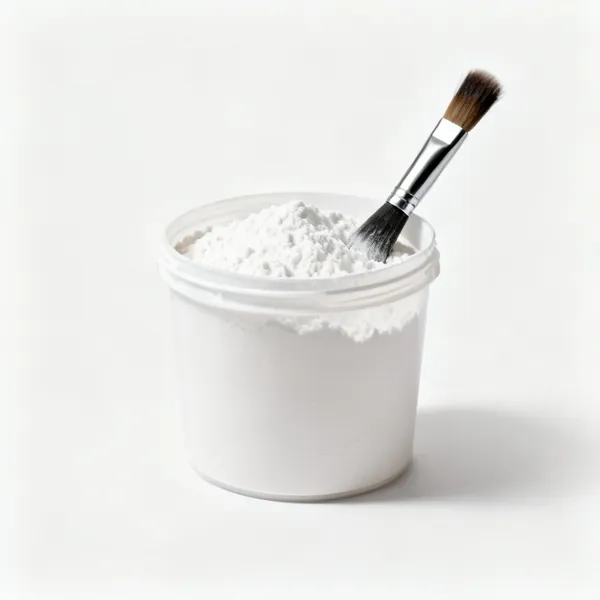
  • A tub of whiting powder with a brush

    Whiting

    Powdered chalk brushed over a cemented panel to absorb the excess and polish the lead as it dries.
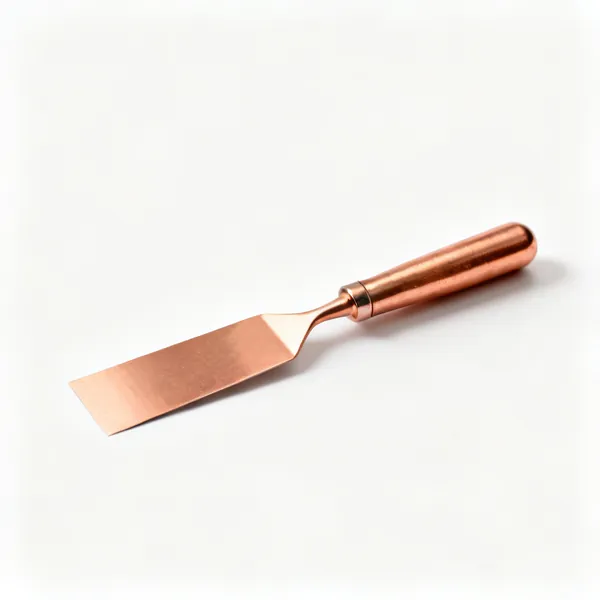
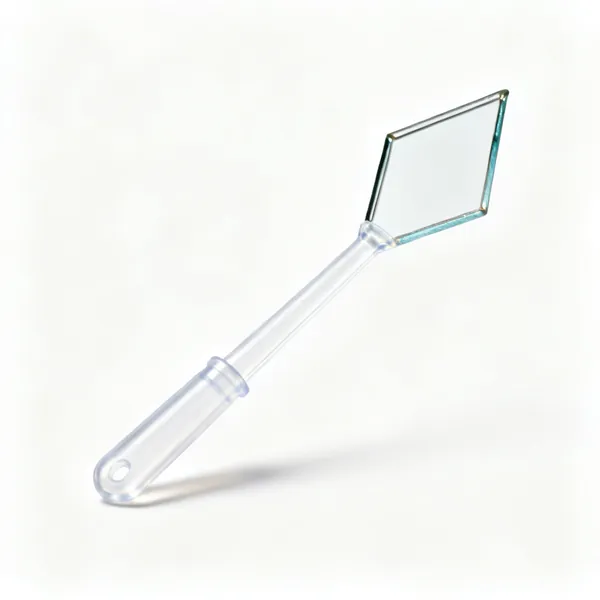
  • A plastic stained glass fid toolEssential

    Fid

    A hard plastic tool for burnishing foil and easing lead. Also what removes excess cement from a came edge.
Copper foil & soldering 11

The modern method, allowing finer and smaller pieces. Everything depends on clean fluxed copper.

  • Rolls of adhesive copper foil tapeEssential

    Copper foil

    Adhesive backed copper tape wrapped around each piece edge, giving the solder something to bond to.

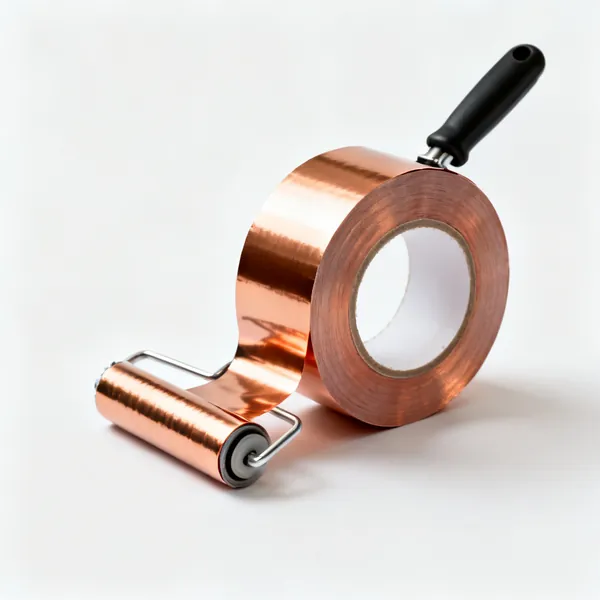
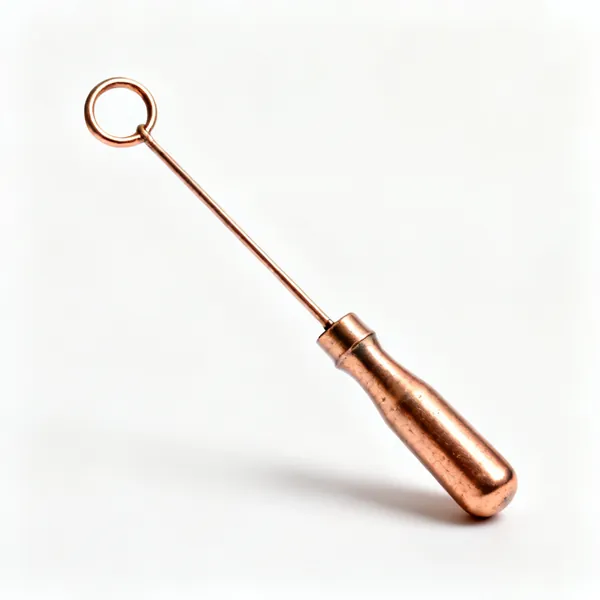
  • A copper foil dispenser holder

    Foil dispenser

    Holds the roll and peels the backing as you pull, so foil goes on straight and centred.

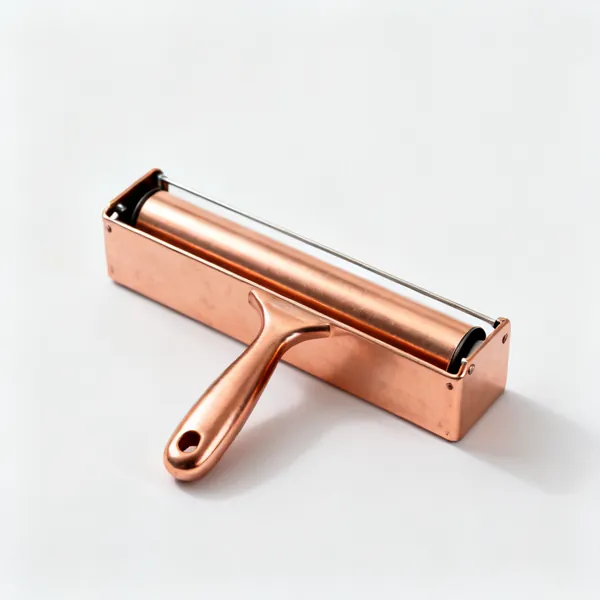
  • Foil burnisher: A copper foil burnishing toolEssential

    Foil burnisher

    Presses foil down tight to the glass. Unburnished foil lifts at the edges and the solder line looks lumpy.

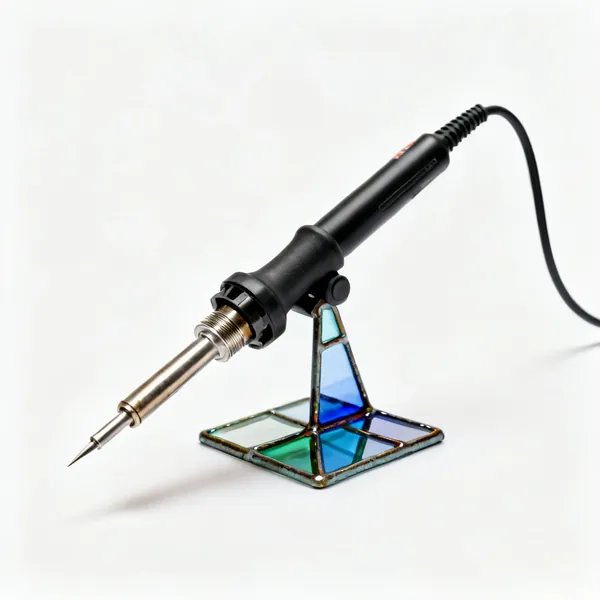
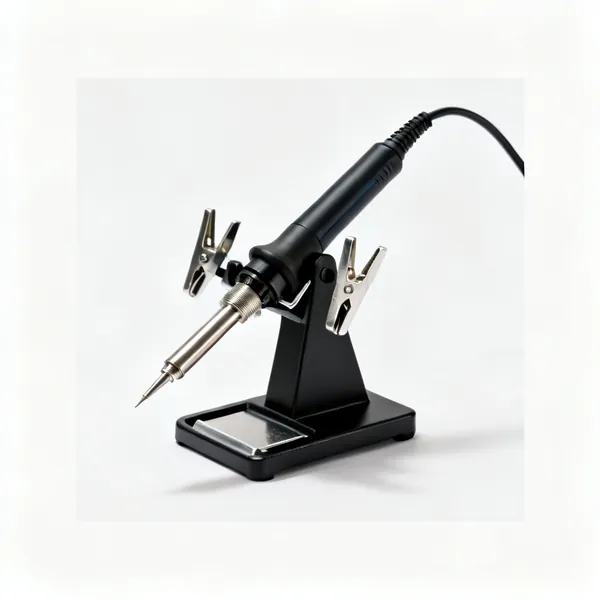
  • A stained glass soldering iron with a standEssential

    Soldering iron

    Around 80 to 100 watts with a temperature control. Too little power and the seam never flows properly.

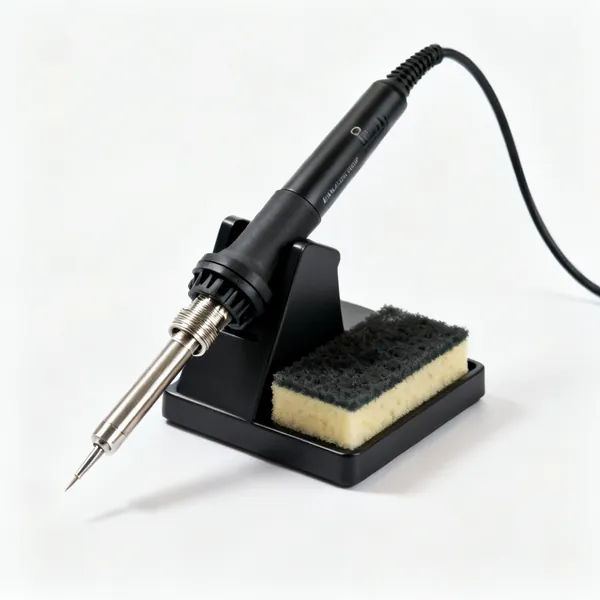
  • A soldering iron stand with a spongeEssential

    Iron stand

    Holds a hot iron safely with a sponge for wiping the tip. A hot iron loose on a bench sets things alight.

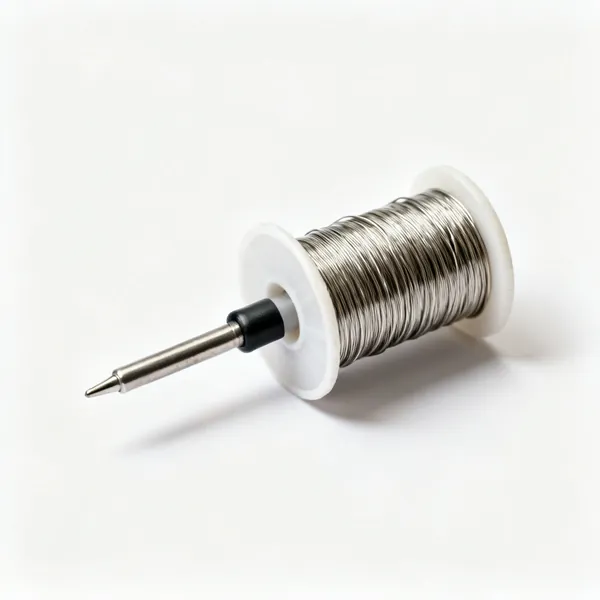
  • A reel of stained glass solder wireEssential

    Solder

    Usually 60/40 tin lead for a smooth bead. Lead free exists, costs more and runs hotter.

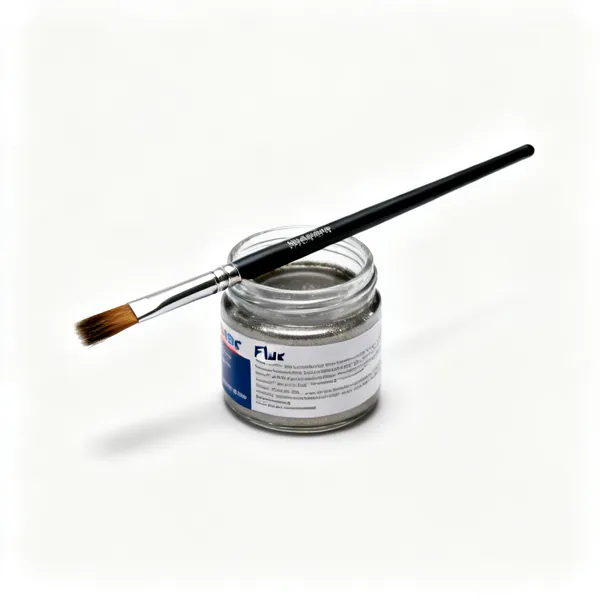
  • A jar of soldering flux with a brushEssential

    Flux

    Cleans the copper as it heats so solder can flow. Without flux the solder beads up and bonds to nothing.

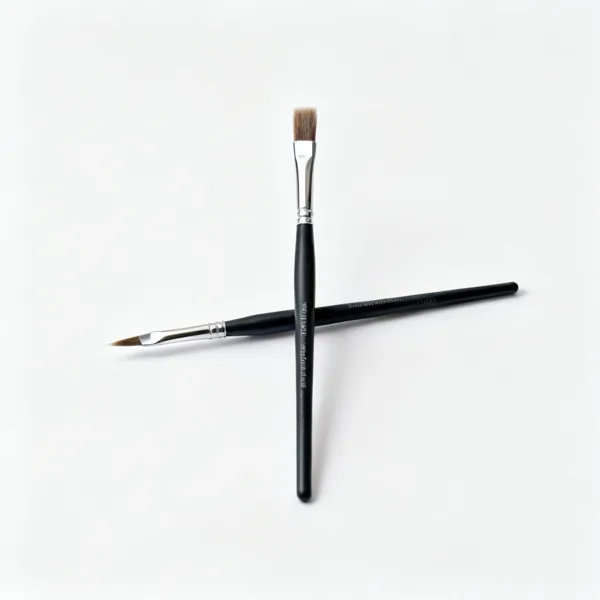
  • Flux brush: Small flux application brushesEssential

    Flux brush

    Applies flux just ahead of the iron. Cheap and disposable, since flux destroys a brush fairly quickly.

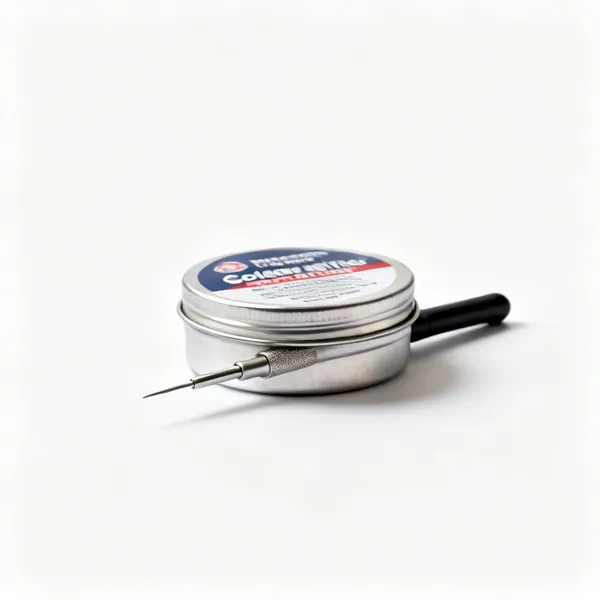
  • Tip cleaner & tinner: A tin of soldering tip cleaner and tinnerEssential

    Tip cleaner & tinner

    Restores an oxidised iron tip. A dull grey tip transfers almost no heat and makes soldering feel impossible.

  • A small bench top fume extractor fanEssential

    Fume extractor

    Pulls flux fumes away from your face. They are a respiratory irritant and there is no reason to breathe them.

  • A helping hands soldering stand with clips

    Helping hands

    Holds a piece steady while you solder, which matters for three dimensional work and small assemblies.

Fusing & kiln work 9

Melting glass together in a kiln. A different discipline, and the cooling schedule matters more than the peak heat.

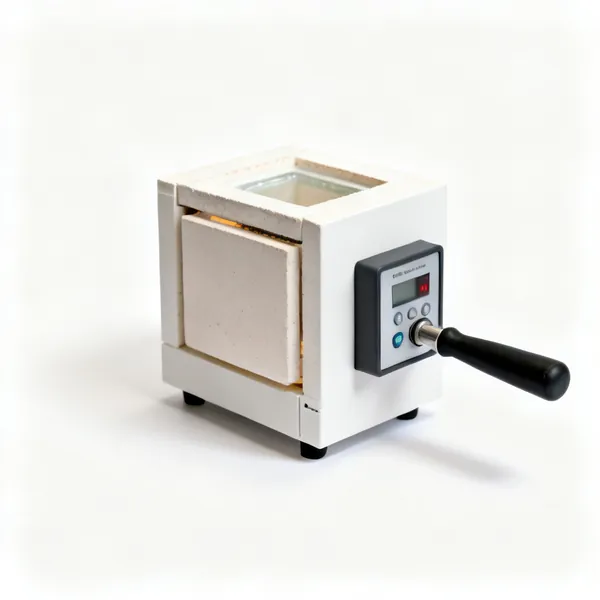
  • Glass kiln: A small programmable glass fusing kiln

    Glass kiln

    A programmable kiln with accurate control. Glass needs controlled cooling to anneal, or it cracks from internal stress.

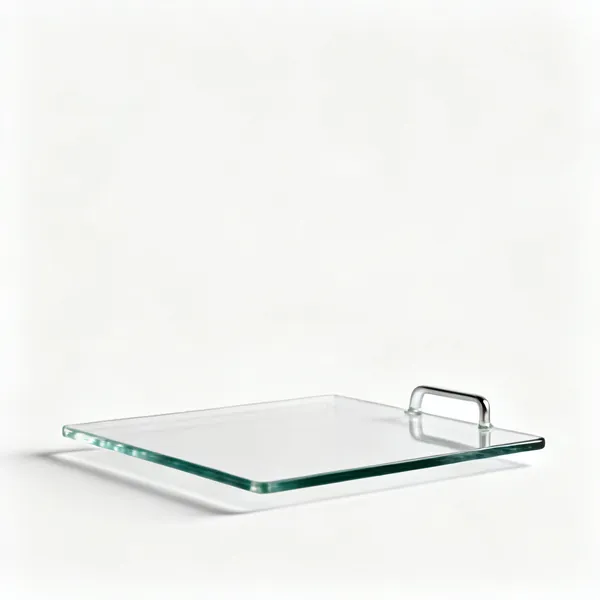
  • A refractory glass kiln shelf

    Kiln shelf

    A flat refractory shelf the glass sits on. It must be genuinely flat, since the glass takes its shape.

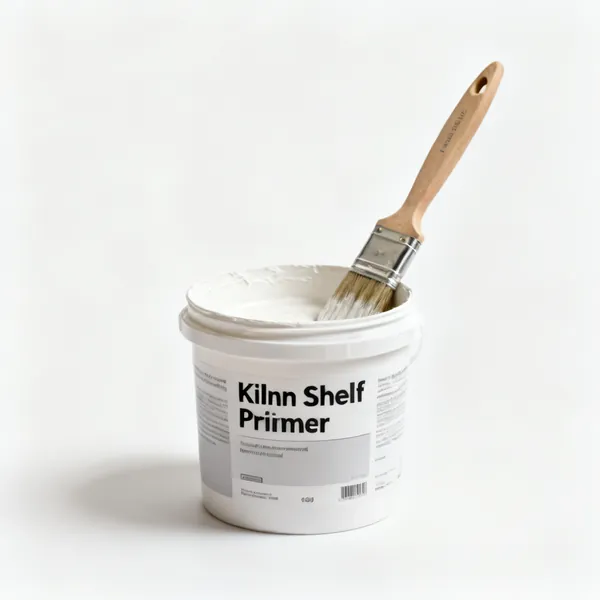
  • A tub of kiln shelf primer with a brush

    Shelf primer

    A coating that stops molten glass sticking to the shelf. Without it the piece fuses to the shelf permanently.

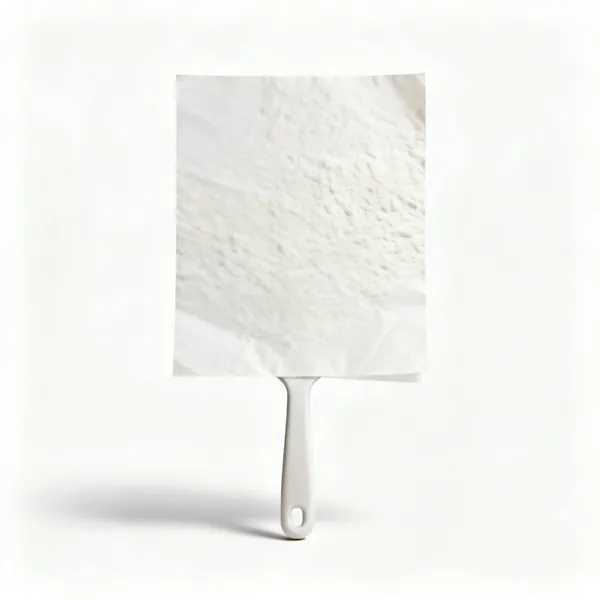
  • Fibre paper: Sheets of ceramic fibre kiln paper

    Fibre paper

    A ceramic paper barrier between glass and shelf, and used to create texture or dams in a mould.

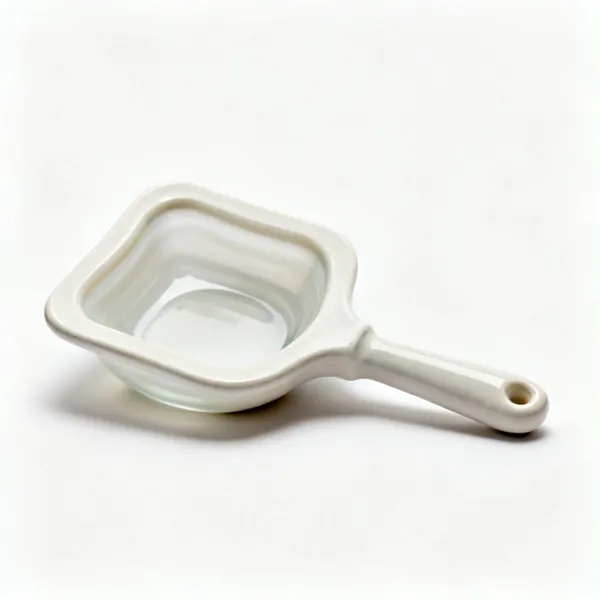
  • Slumping moulds: A ceramic glass slumping mould

    Slumping moulds

    Ceramic or steel forms the glass softens into, producing bowls and dishes from a flat fused piece.

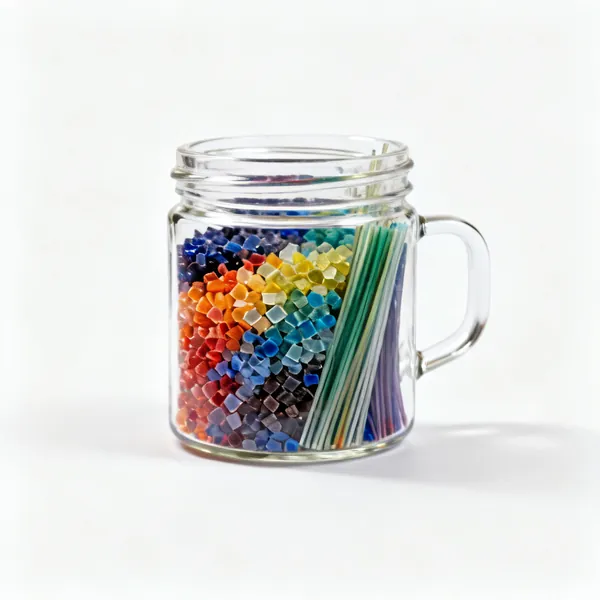
  • Glass frit & stringers: Jars of coloured glass frit and stringers

    Glass frit & stringers

    Crushed glass and thin rods for adding colour and line detail before fusing. Compatible glass only.

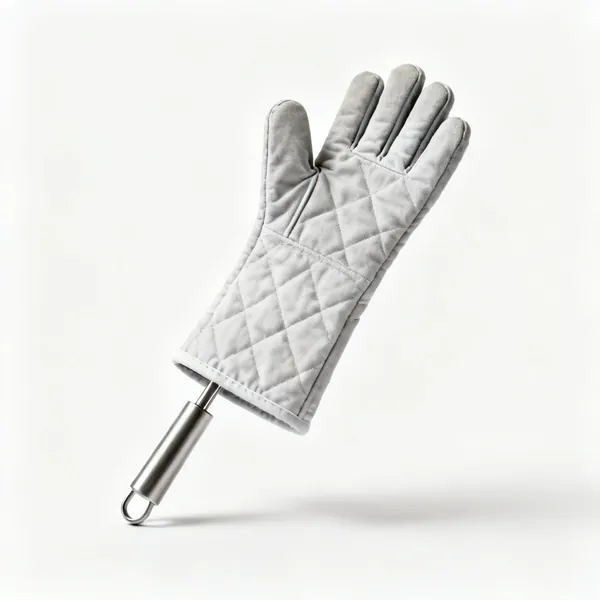
  • Heatproof gloves: A pair of long heatproof kiln gloves

    Heatproof gloves

    Long gauntlets for handling shelves and moulds. A kiln stays dangerous long after the programme finishes.

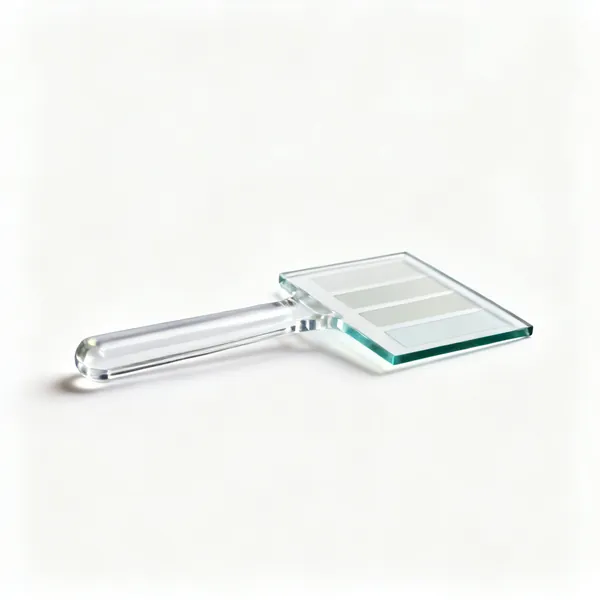
  • Fused glass compatibility test strips

    Compatibility test strips

    Glasses with different expansion rates crack apart when fused. A test firing is the only way to be sure.

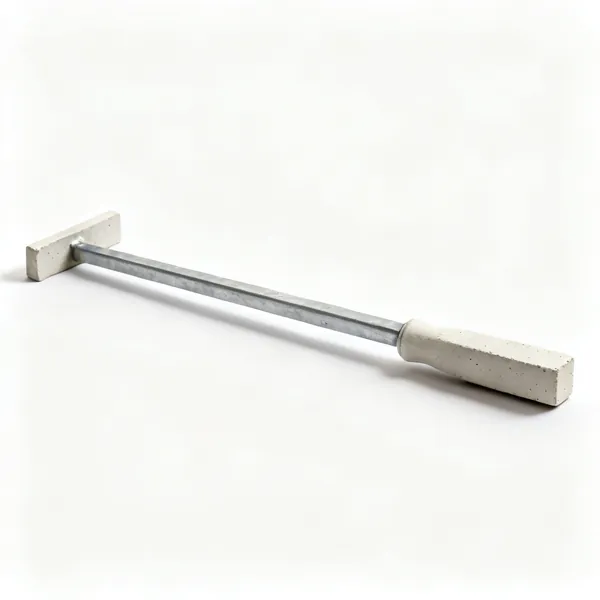
  • Refractory kiln dam bars

    Dam bars

    Refractory bars that contain molten glass to a shape, so a thick piece keeps a square edge as it fuses.

Finishing & decoration 11

Cleaning, colouring and treating the finished piece. Flux residue is the thing that spoils work weeks later.

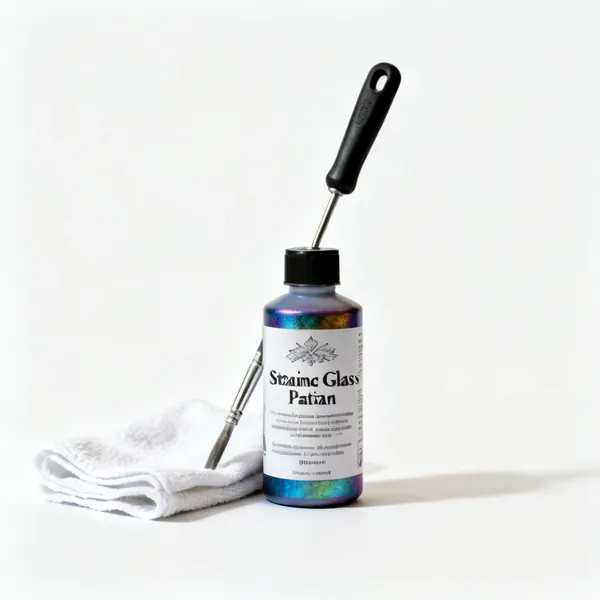
  • A bottle of stained glass patina with a clothEssential

    Patina

    Chemically darkens solder lines to black or copper. It also removes the raw shine that makes work look unfinished.

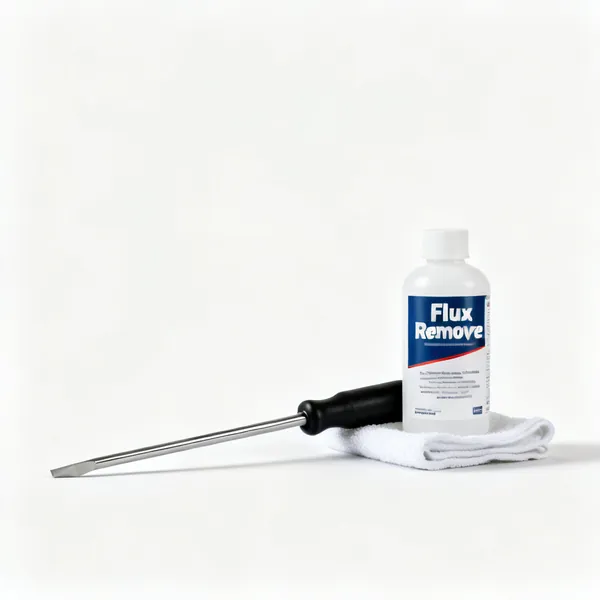
  • A bottle of flux remover with a clothEssential

    Flux remover

    Neutralises and washes off flux residue, which is corrosive and causes a white bloom on a panel later.

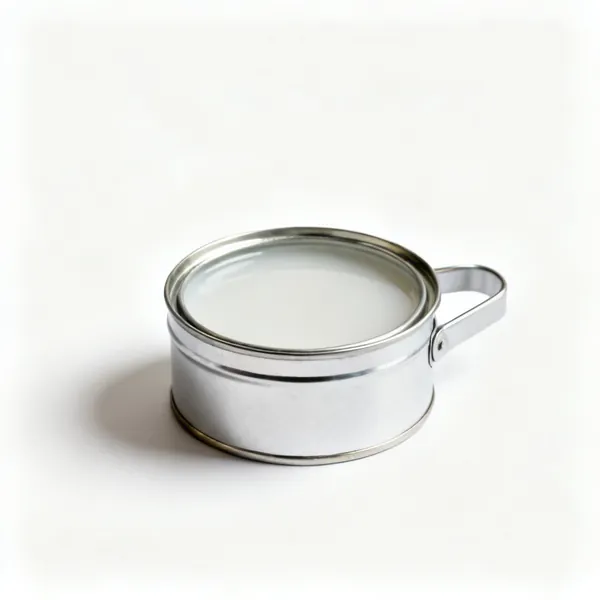
  • Finishing polish: A tin of stained glass finishing wax polishEssential

    Finishing polish

    Waxes and protects the panel, and it makes the lead and solder shine. The last step before it goes up.

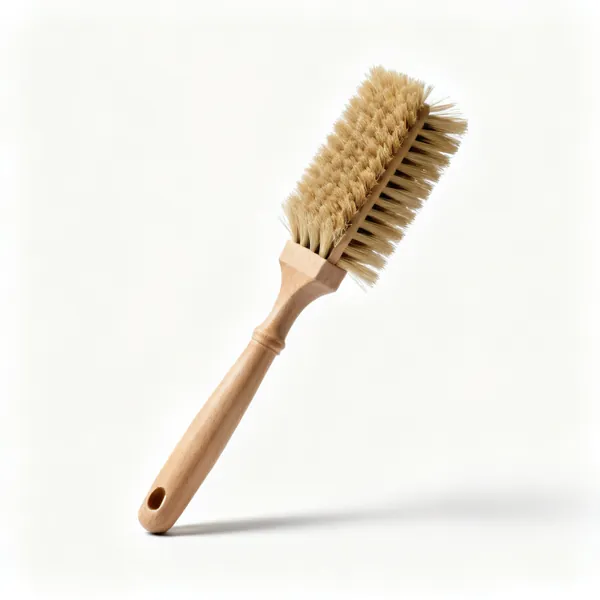
  • Stiff cleaning brushes for stained glassEssential

    Cleaning brushes

    Stiff brushes to work cleaner into a solder seam, where a cloth cannot reach the corners.

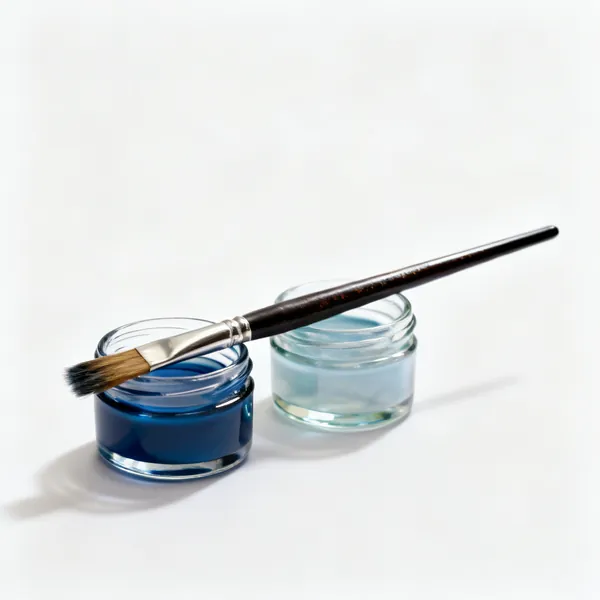
  • Pots of vitreous glass paint with brushes

    Glass paint

    Vitreous paint fired onto glass for painted detail such as faces and lettering. The traditional technique.

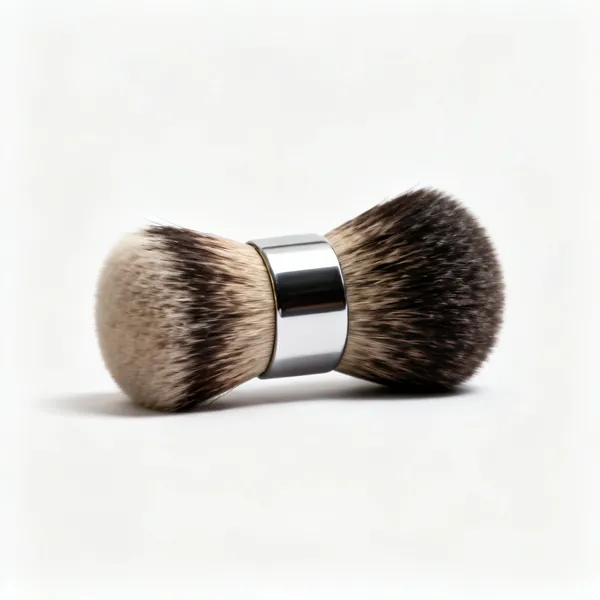
  • Badger blender: A badger hair blending brush

    Badger blender

    A very soft wide brush that evens a wash of glass paint out to a smooth graded tone before firing.

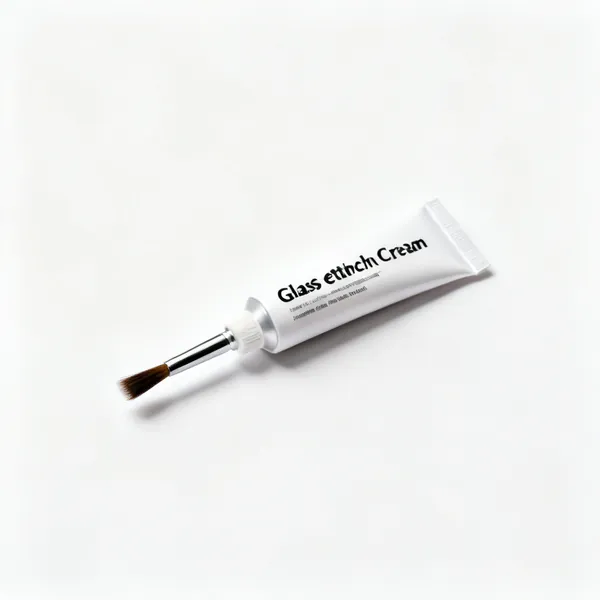
  • A tube of glass etching cream with a brush

    Etching cream

    Frosts glass chemically for a matt area or a stencilled design. Acidic, so gloves and ventilation.

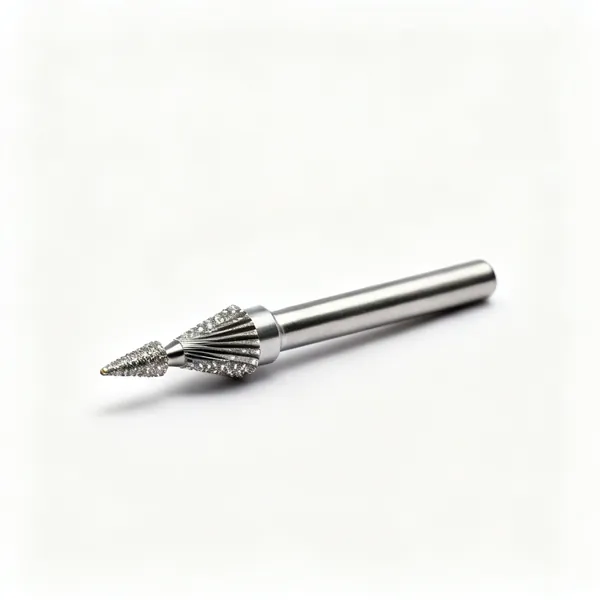
  • Rotary engraver: A rotary engraving tool with diamond burrs

    Rotary engraver

    Diamond burrs in a rotary tool for engraving a design into the surface. Dust must be controlled.

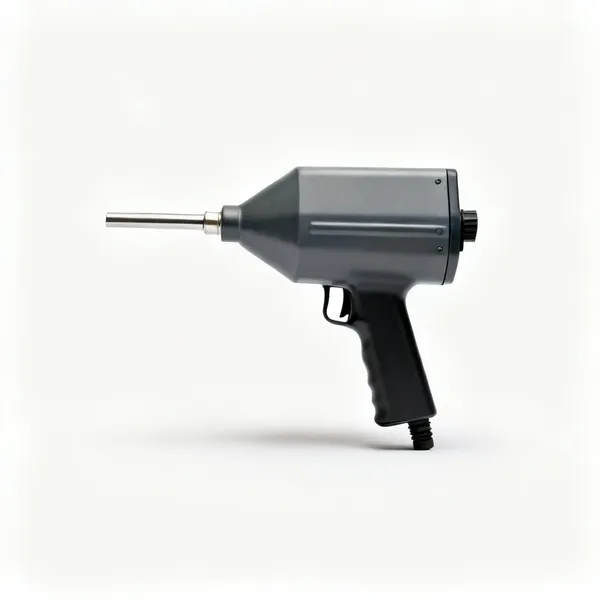
  • A small sandblasting cabinet

    Sandblasting cabinet

    Frosts and carves glass through a resist stencil, giving crisp edges chemical etching cannot match.

  • A steel reinforcing bar for a stained glass panel

    Reinforcing bar

    Steel or lead covered bar soldered across the back of a larger panel, since glass panels sag under their own weight.

  • Tinned copper hanging loops for stained glass

    Hanging loops

    Tinned copper wire loops soldered to the frame. Sized to the actual weight, which is more than it looks.

Safety & workspace 10

Sharp glass, hot irons and lead. All three cause harm quickly, and all three are easy to manage.

  • A pair of enclosed safety gogglesEssential

    Safety goggles

    Enclosed rather than open sided, since grinding throws a wet spray and breaking throws chips upwards.

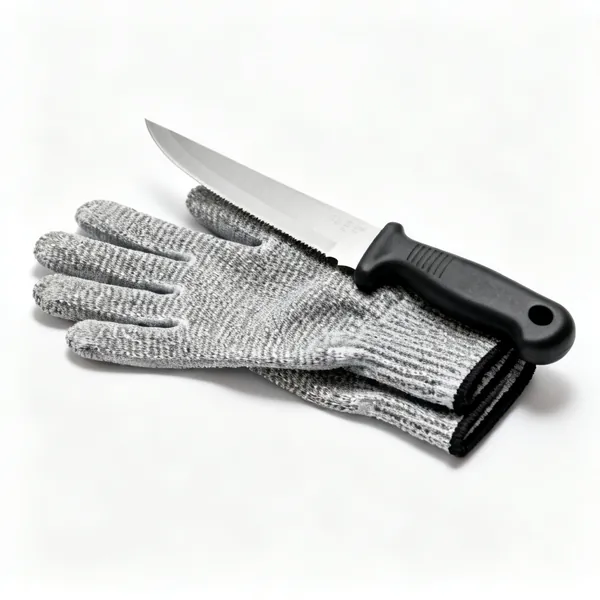
  • A pair of cut resistant gloves

    Cut resistant gloves

    For handling large sheets, where a slip means a serious cut. Off for cutting, since you need feel.

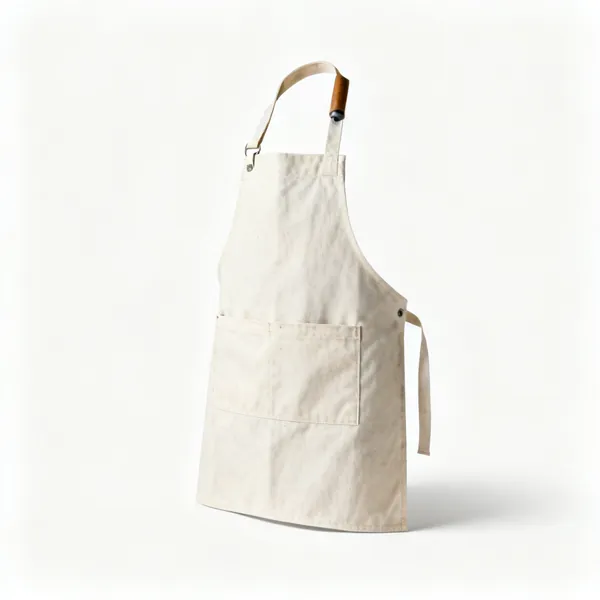
  • A canvas workshop apronEssential

    Apron

    Catches glass slivers before they reach your clothes and get carried through the house.

  • Closed shoes: A pair of closed leather work shoesEssential

    Closed shoes

    There is always glass on the floor, whatever you do. Never bare feet or sandals in a glass studio.

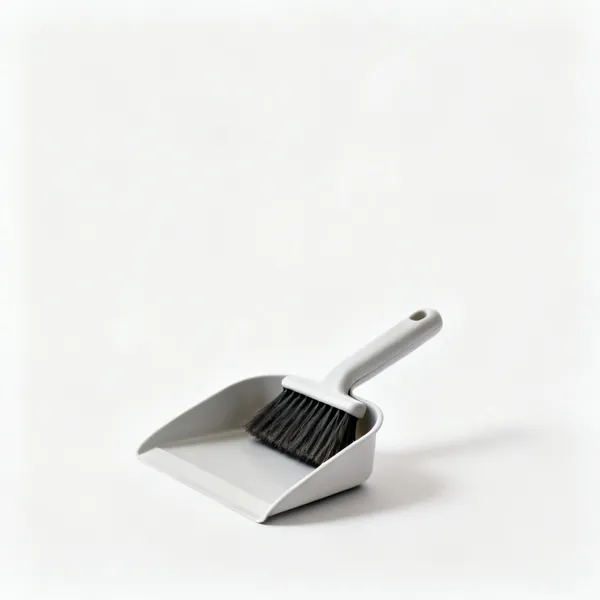
  • Brush & dustpan: A small brush and dustpanEssential

    Brush & dustpan

    A dedicated set that never goes anywhere else, since glass slivers transferred to a kitchen are a real hazard.

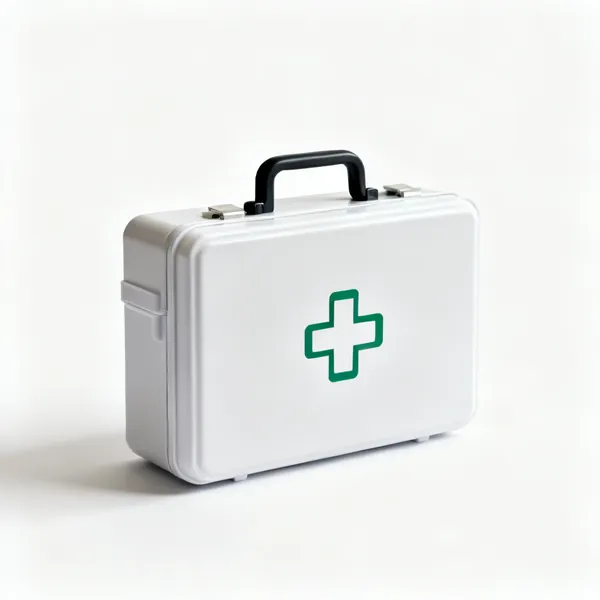
  • A small first aid kit boxEssential

    First aid kit

    Plasters and dressings within reach. Cuts here are frequent, shallow and bleed more than they should.

  • Hand wash station: A soap dispenser and hand towelEssential

    Hand wash station

    Because of lead. Hand to mouth is the main route in, so washing before eating is the key habit.

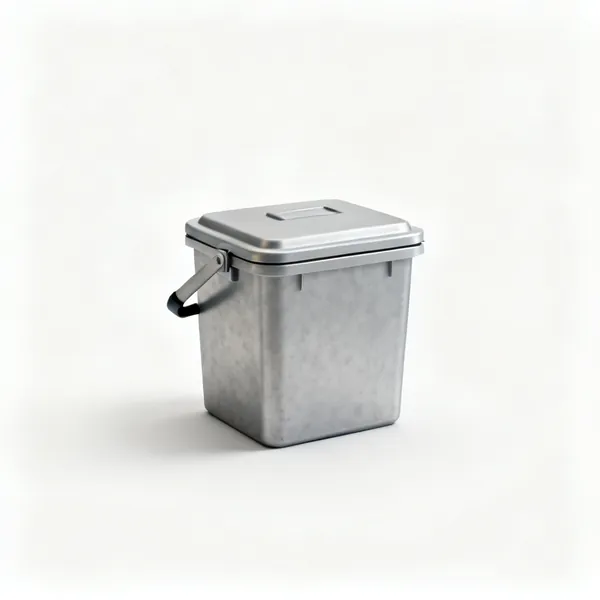
  • Lead scrap bin: A small lidded bin for lead scrapEssential

    Lead scrap bin

    Lead and solder offcuts collected rather than swept about the workshop. Recyclable, and it keeps the bench clean.

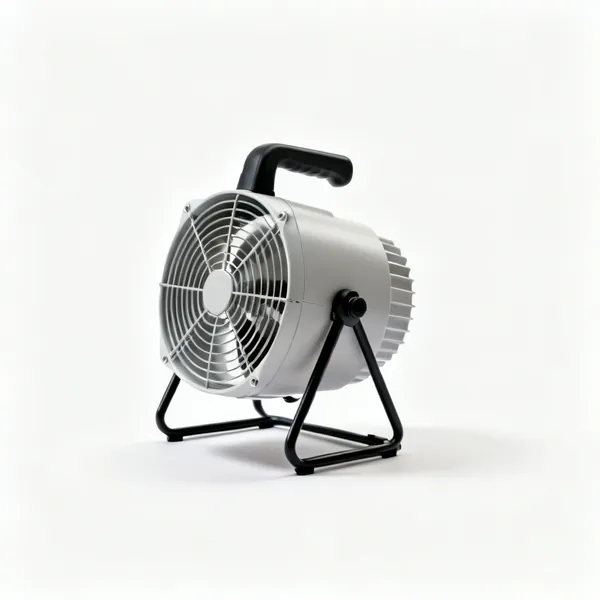
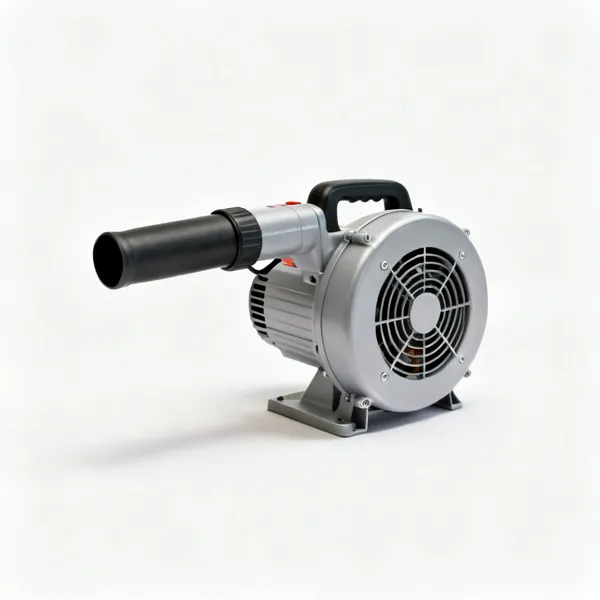
  • Ventilation fan: A small workshop extraction fanEssential

    Ventilation fan

    Moves flux fumes and any dust away from your face. An open window and a fan is the minimum arrangement.

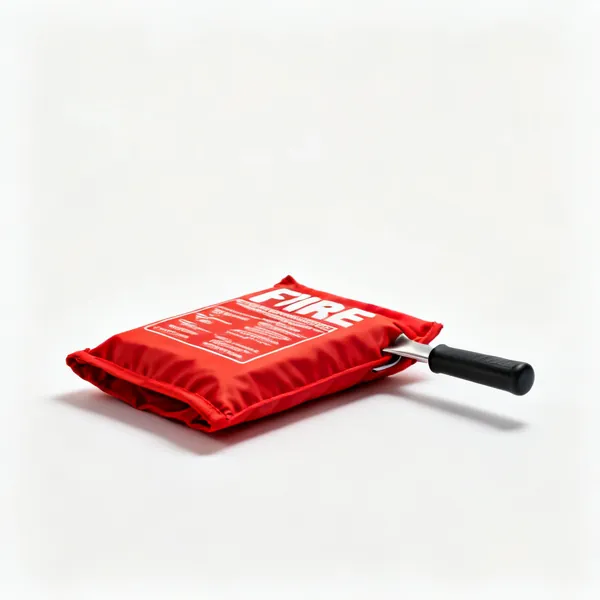
  • A fire blanket in a pouch

    Fire blanket

    A hot iron and flammable flux on a wooden bench. Cheap, and it lives on the wall next to the bench.

Choosing glass working tools

Glass does not get cut, it gets scored and then broken along the score. Nearly every tool here exists to control where that break goes.

Glass is scored and broken, not cut

This is the single thing to understand, and it explains almost every tool here. A glass cutter does not cut through glass. It puts a controlled fracture into the surface, and the glass is then broken along that line.

That means the score has to be right first time. Going over a score twice does not deepen it, it creates a second competing fracture, and the glass then breaks along neither. It also blunts the cutter wheel on the glass that has already been scored.

One continuous pass, consistent pressure, right off the far edge. You should hear a light hiss rather than a scratching sound, and see a fine even line rather than a white crushed one.

Score once, never twice
A second pass over the same line creates a competing fracture and breaks the glass unpredictably. It also ruins the wheel.
Run the score off both edges
A score that stops short leaves the glass anchored, and the break will curve away at the end.
Listen to the sound
A light hiss is right. A gritty scratching noise means too much pressure and a crushed line that breaks badly.
Break it straight away
A score relaxes within minutes. Break it while it is fresh, or it will not follow the line at all.
Oil the cutter
Cutting oil lubricates the wheel, gives a cleaner score and makes the wheel last far longer.
Score the smooth side
On textured or rolled glass, score the flatter face. The wheel cannot make a consistent line on texture.

Curves, and why glass will not do what you want

Glass breaks in straight lines given the chance, so an inside curve is the hardest thing in the craft. A tight concave curve will not simply break out in one piece.

The technique is to take it in stages: score the curve, then score a series of relief lines from the curve out to the edge, and nibble the waste away in small pieces with grozing pliers. Trying to remove the whole waste piece at once splits the work through the middle instead.

Then the grinder tidies the line. Almost no cut edge in stained glass goes into a panel unground, because the fit between pieces is what makes a panel lie flat.

Score the curve, then relief cuts
A series of lines from the curve out to the edge lets you remove waste in small pieces rather than all at once.
Nibble with grozing pliers
Small bites near the line. A large bite propagates a crack straight through the piece you are keeping.
Outside curves are much easier
Convex curves break reasonably well in one go. Design around this if you can, especially early on.
Grind to the line, not past it
The grinder is for refining a break, not for shaping glass from scratch. That is slow and wastes wheels.
Cut to the pattern, then check the fit
Panels grow as you assemble them. Check pieces against the drawing regularly rather than at the end.

Lead and solder, which need respect

Traditional stained glass uses lead came, and copper foil work uses lead based solder. Both mean handling lead, and lead is a cumulative toxin that is particularly harmful to children and to anyone pregnant.

The practical rules are simple and they matter. Never eat, drink or smoke where you work. Wash your hands thoroughly before you do any of those, since the main route in is hand to mouth rather than breathing. Ventilate while soldering, because flux fumes are an irritant. And keep lead work out of a kitchen entirely.

None of this makes the craft unsafe, and all of it is worth doing properly rather than being casual about.

Wash hands before eating, always
Hand to mouth is the main route lead gets into people. This is the single most important habit.
Never work where food is prepared
Lead dust settles on surfaces. A separate bench, and ideally not a kitchen table.
Ventilate while soldering
Flux fumes are a respiratory irritant. Extraction at the bench or an open window and a fan.
Keep children and pets out
Lead is far more harmful to children, and there is broken glass on the floor whatever you do.
Sweep up lead offcuts
Small lead scraps and solder spatter accumulate. Collect them rather than letting them spread.
Consider lead free solder
It works, it costs more and it runs at a higher temperature. A reasonable trade for some people.

What to buy first, in order

Stage one: cutting
An oil filled glass cutter, cutting oil, running pliers, grozing pliers, a cork backed steel rule, a marker and safety glasses. Plus a decent light box or a window.
Stage two: shaping and fitting
A glass grinder with a standard bit, a sponge and water, a grinder eye shield and a pattern shears. This is the tool that transforms results.
Stage three: assembling
For copper foil: foil, a fid, a soldering iron, flux, a brush and a stand. For leaded work: a lead knife, a lead vice, horseshoe nails and a stopping knife.
Stage four: finishing and fusing
Patina, cement and whiting for leaded panels, polish and a brush. If fusing, a kiln, shelf paper and a firing schedule.

Mistakes that break glass

Scoring the same line twice
The break follows neither fracture and the piece is lost. It also blunts the cutting wheel immediately.
Leaving a score before breaking it
The fracture relaxes within minutes and then will not run. Score and break as one action.
Taking too big a bite with grozers
The crack runs into the piece you are keeping. Small bites, close to the line, working round.
Trying to break out a tight inside curve in one piece
It splits through the middle. Relief cuts and nibble it away instead.
Soldering with a dirty or unfluxed joint
Solder will not flow onto oxidised copper. It beads up and sits on the surface without bonding.
Overheating copper foil
Too much heat for too long lifts the foil off the glass and can crack the glass itself.
Eating with lead on your hands
The main route lead enters the body. Wash first, every time, and never keep food at the bench.
Working without eye protection
Breaking and grinding both throw fragments, and glass in an eye is a hospital visit.

Looking after glassworking tools

Keep the cutter oiled and replace the wheel
A blunt wheel gives a crushed score that will not run. Wheels are cheap and they are consumables.
Store the cutter wheel down in oil
An oil reservoir cutter kept upright dries the wheel out. Down, or in its case.
Keep the grinder reservoir topped up
The bit is water cooled. Running it dry destroys the bit in minutes and cracks the glass you are grinding.
Tin the iron and keep it clean
A soldering iron tip that has oxidised will not transfer heat. Wipe it and re tin it while it is hot.
Clean flux off finished work and tools
Flux residue is corrosive and it keeps working. It causes the white bloom on a panel weeks later.
Sweep the bench and the floor properly
Glass slivers and lead scrap both accumulate. A dedicated brush and dustpan that never goes elsewhere.

Frequently asked questions

What glass working tools do I need to start?
An oil filled glass cutter, cutting oil, running pliers, grozing pliers, a cork backed steel rule, a marker and safety glasses. Add a glass grinder as soon as you can, because it transforms how well pieces fit together.
Does a glass cutter actually cut glass?
No. It scores a controlled fracture into the surface, and the glass is then broken along that score. Understanding this explains almost every other tool, because they all exist to control where the break goes.
Why can't I score the same line twice?
A second pass creates a competing fracture, so the glass breaks along neither line and the piece is usually lost. It also blunts the cutting wheel, because the wheel is running over glass that is already fractured.
What are running pliers for?
Applying even pressure either side of a score so the fracture runs along it cleanly. They have a curved jaw and a centre line you align with the score, and they make straight breaks far more reliable than snapping by hand.
What is the difference between running pliers and grozing pliers?
Running pliers make a score run into a clean break. Grozing pliers have serrated flat jaws for nibbling small pieces of waste away from a curve or an edge, in small bites close to the line.
How do I cut an inside curve in glass?
In stages. Score the curve, then score a series of relief lines from the curve out to the edge, and nibble the waste away in small pieces with grozing pliers. Trying to remove the whole waste piece at once splits the work.
Do I need a glass grinder?
Not to start, and it is the single most transformative purchase. It refines every cut edge so pieces actually fit each other, and a panel only lies flat if the pieces fit. Grinding by hand with a stone is possible and slow.
What is the difference between leaded and copper foil stained glass?
Leaded work uses H section lead came channels holding each piece, soldered at the joints, and suits larger panels. Copper foil wraps each piece in adhesive foil and solders the whole seam, which allows finer detail and smaller pieces.
Is working with lead solder dangerous?
It carries a real but manageable risk. Lead is a cumulative toxin and the main route in is hand to mouth, so wash hands thoroughly before eating, never keep food at the bench, ventilate while soldering, and keep children away.
Why won't my solder stick to the copper foil?
Almost always no flux, or a dirty surface. Solder will not flow onto oxidised copper, so it beads up and sits on top without bonding. Flux the seam properly and make sure the iron is hot and freshly tinned.
What is a fid used for?
A plastic or wooden tool for pressing copper foil down tight onto the glass and burnishing it smooth. Foil that is not properly burnished lifts at the edges and the solder line then looks lumpy and uneven.
Can I fire glass in a pottery kiln?
Sometimes, but the firing schedules are completely different, and glass needs controlled cooling to anneal or it cracks from internal stress. A kiln with accurate programmable control is what matters more than whether it was sold for glass.