Disclosure

Jewellery making tools: names, pictures and what each one is used for

A complete jewellery making tools list with a picture of every one, all 89 grouped by the job, from sawing and filing through forming, soldering, stone setting, polishing and measuring. Almost everything here is small, precise and cheaper than people expect.

44 are marked essential: enough to cut, form, solder and finish a ring or a pendant properly.

Sawing & cutting 10

Cutting metal accurately. The piercing saw defines this craft and it is the tool most worth persevering with.

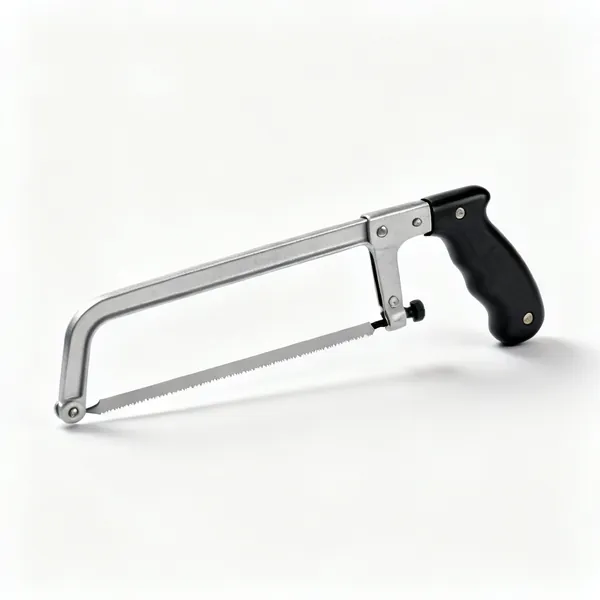
  • Piercing sawEssential

    Piercing saw

    An adjustable frame holding a fine blade under tension, cutting intricate shapes in sheet. The core jewellery tool.

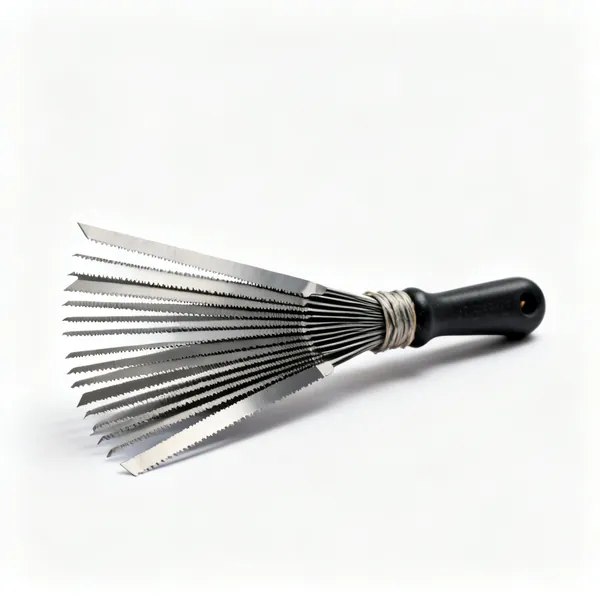
  • A bundle of fine jewellers saw bladesEssential

    Saw blades

    Fine blades in graded sizes, fitted teeth down. Consumables, so buy by the dozen and stop fearing breakages.

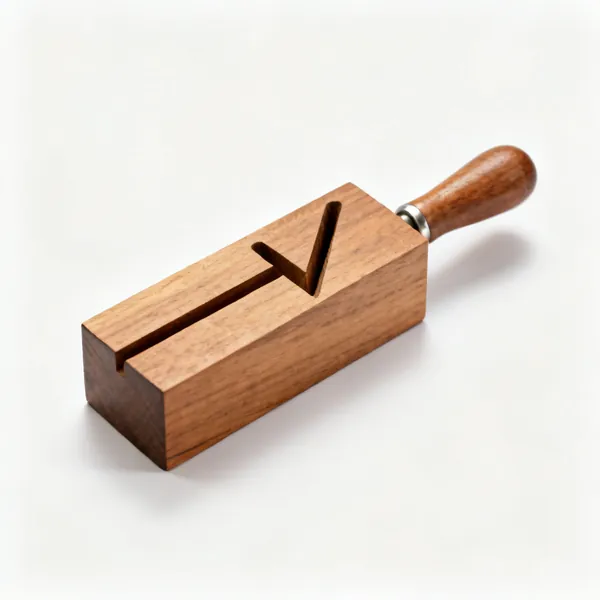
  • A wooden jewellers bench peg with a V slotEssential

    Bench peg

    A wooden block with a V slot supporting work right at the cut, which is what makes accurate piercing possible.

  • A bench peg clamp with a screw

    Bench peg clamp

    Fixes the peg to any table, so a kitchen table becomes a bench without drilling into it.

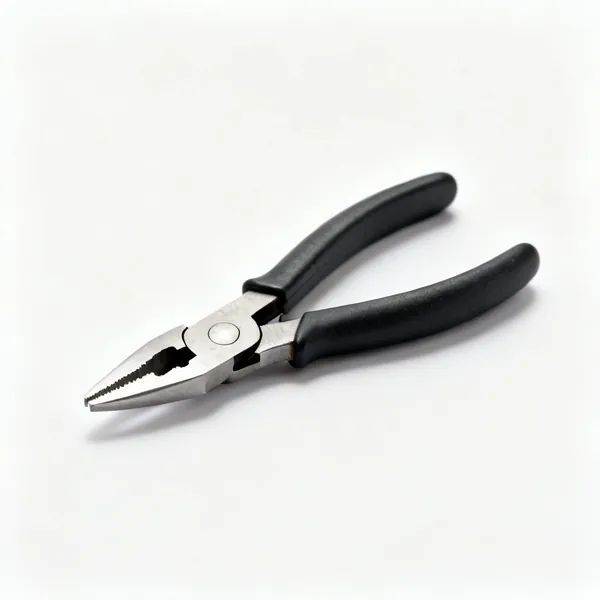
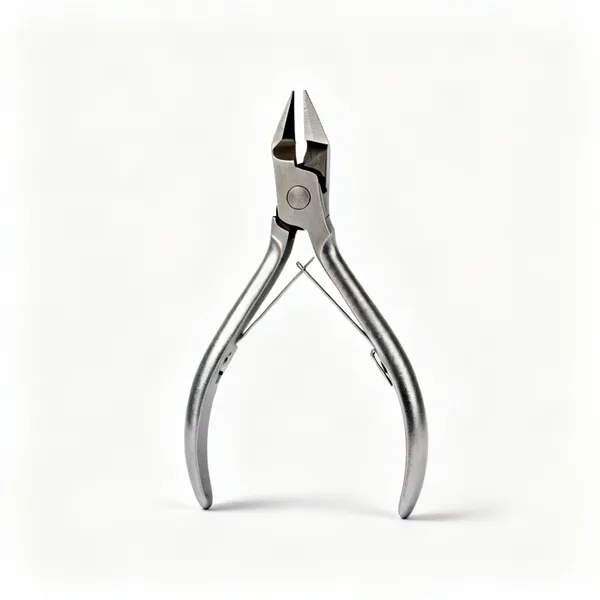
  • A pair of small flush side cuttersEssential

    Side cutters

    Cuts wire cleanly and close. Flush cutters leave a square end that needs no filing before soldering.

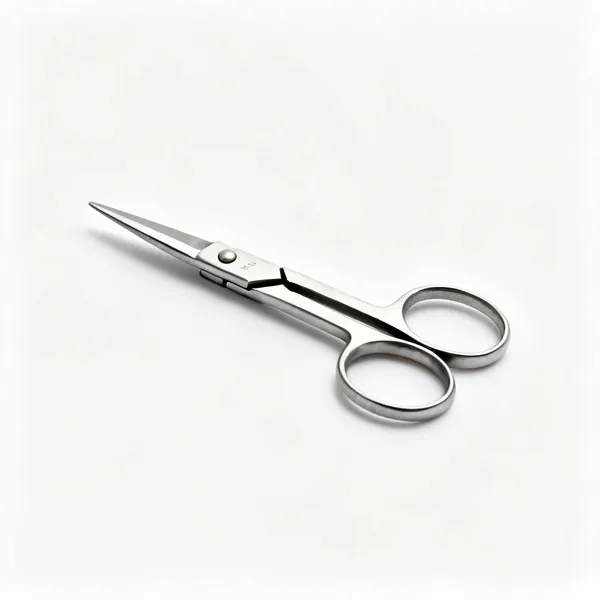
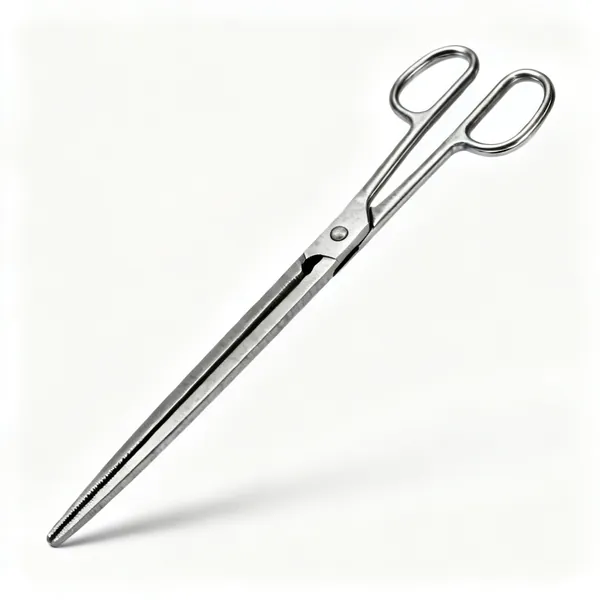
  • A pair of jewellers metal shears

    Metal shears

    Cuts sheet quickly where accuracy is not critical, such as roughing out a blank before sawing to the line.

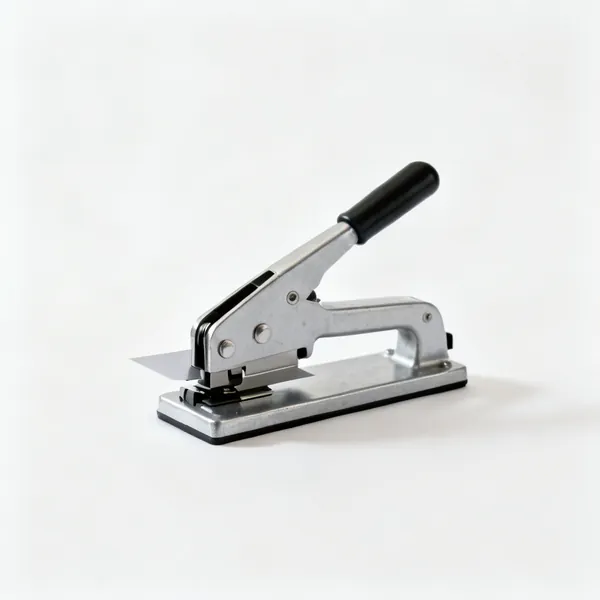
  • Bench shear: A small bench mounted metal guillotine shear

    Bench shear

    A lever shear that cuts sheet dead straight and square, which hand shears never quite manage.

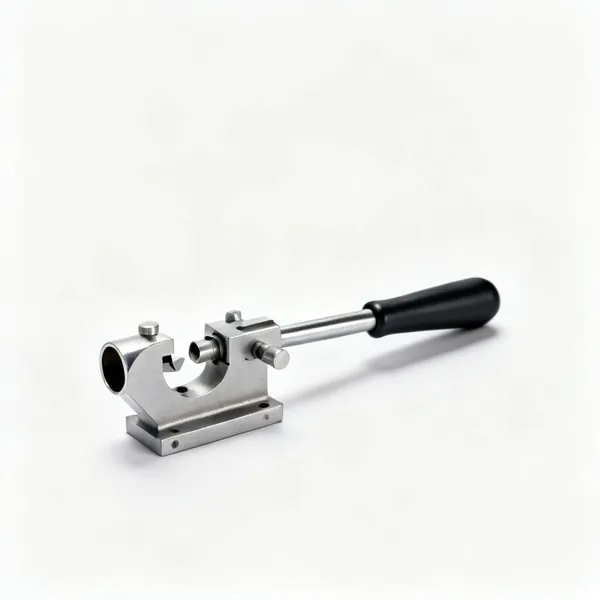
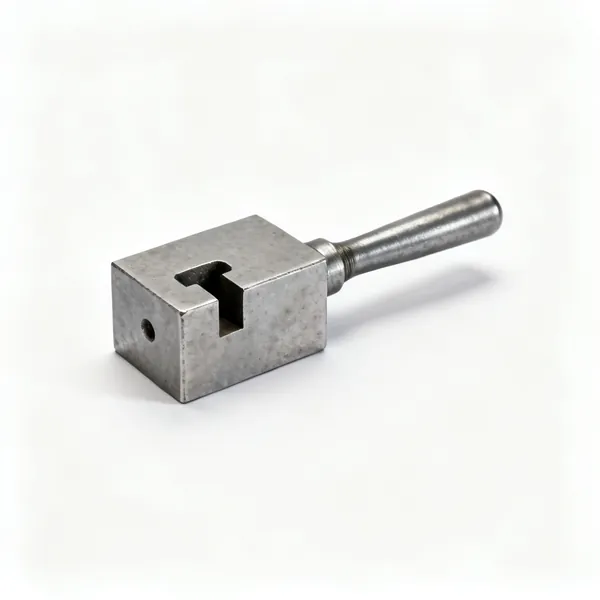
  • A jewellers tube cutting jig

    Tube cutting jig

    Holds tube square and to a repeatable length while you saw it. Cutting tube by eye is never square.

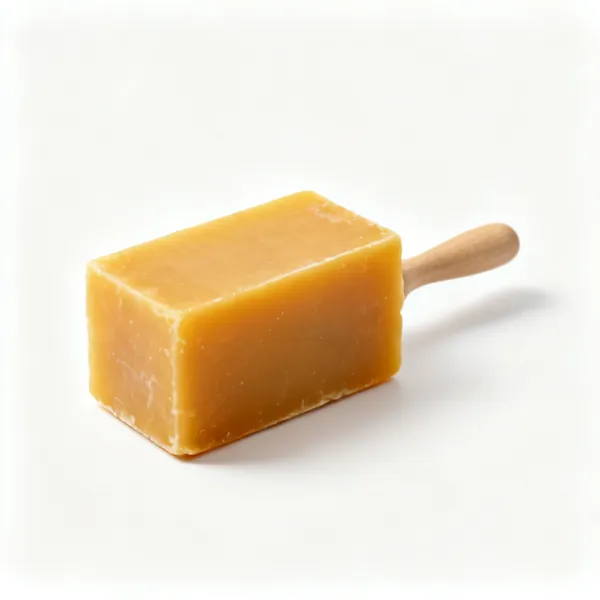
  • A block of beeswax cutting lubricantEssential

    Cutting lubricant

    Beeswax or proprietary lube on the blade. Cuts cleaner, quieter and makes a blade last noticeably longer.

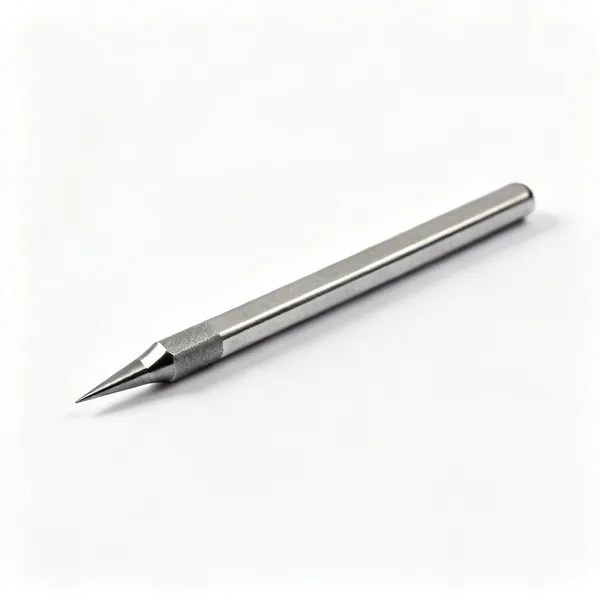
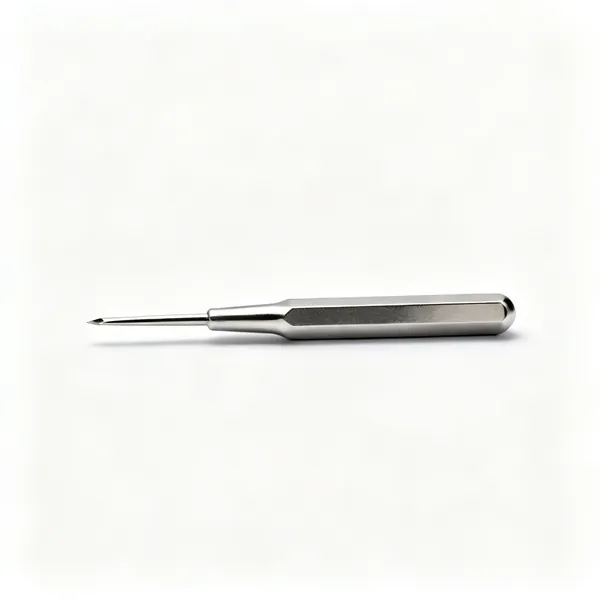
  • A steel scriber with a carbide pointEssential

    Scriber

    Scratches a fine permanent line on metal to saw to. Pencil rubs off and marker is too wide to be accurate.

Filing & abrasives 10

Shaping and refining after the saw. The largest share of bench hours, and the stage that decides the finish.

  • A set of jewellers hand filesEssential

    Hand files

    Larger files in flat, half round and round for removing metal and truing a shape. Precious metals only, never steel.

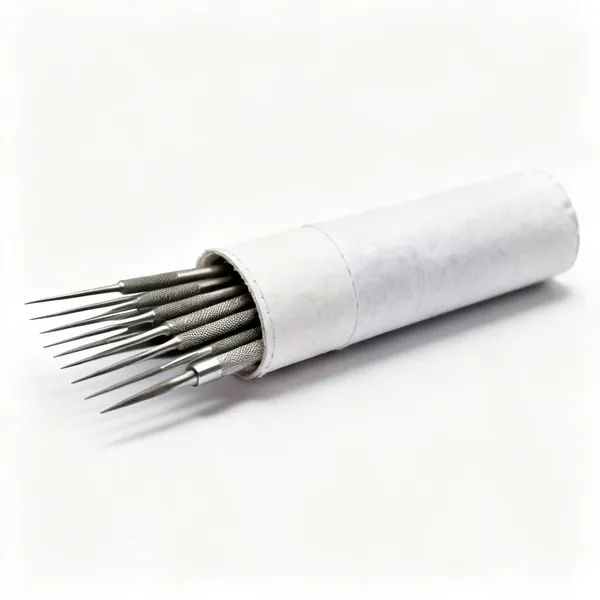
  • A set of jewellers needle files in a rollEssential

    Needle files

    Small files in many profiles for detail, inside a curve and into a corner. The set you reach for constantly.

  • A set of curved riffler files

    Riffler files

    Curved and bent files that reach into a concave shape or under an overhang no straight file can enter.

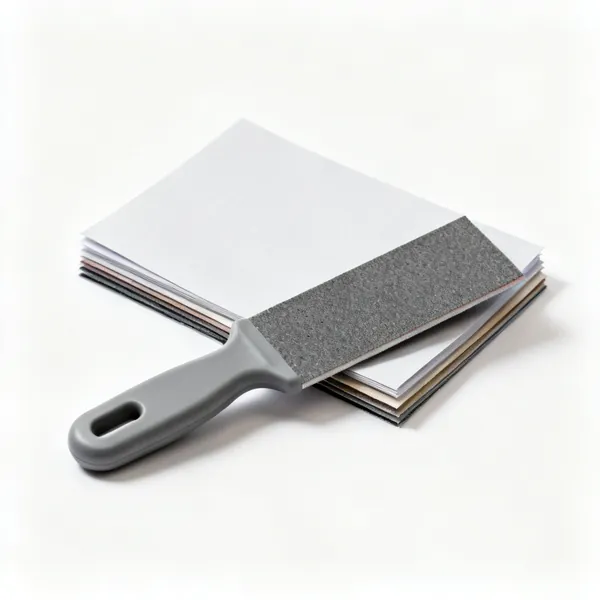
  • Emery paper: Sheets of emery abrasive paper in several gradesEssential

    Emery paper

    Abrasive paper from coarse to very fine, worked through in order. Skipping a grade always shows in the polish.

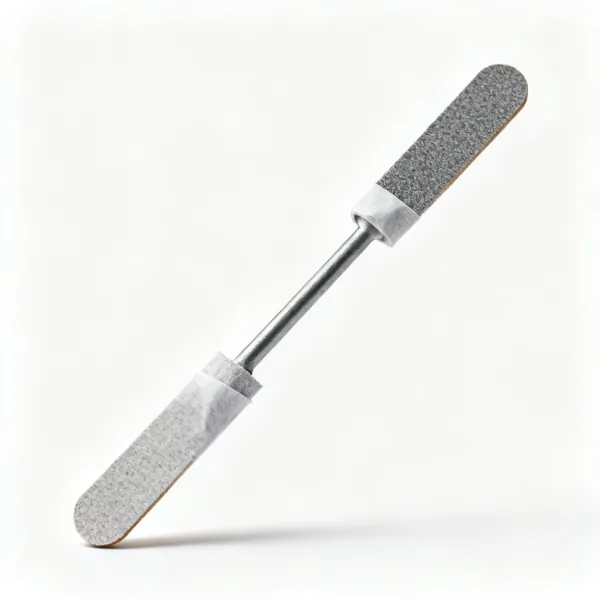
  • Emery sticks: Emery paper wrapped sanding sticksEssential

    Emery sticks

    Paper wrapped on a stick so it works flat and reaches an edge without rounding it over.

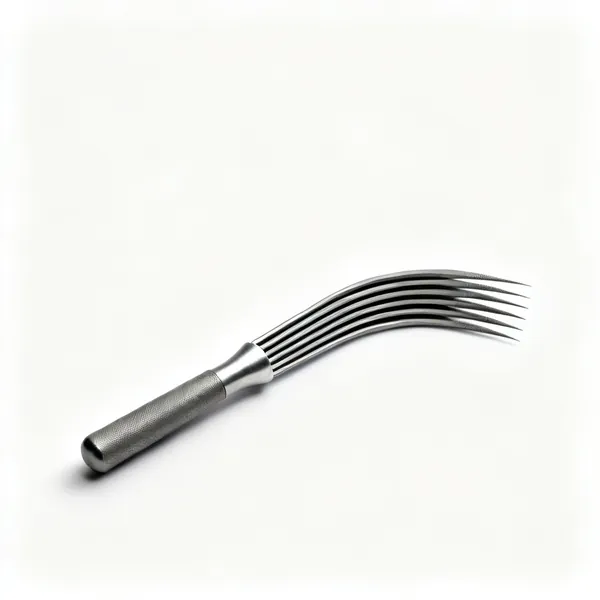
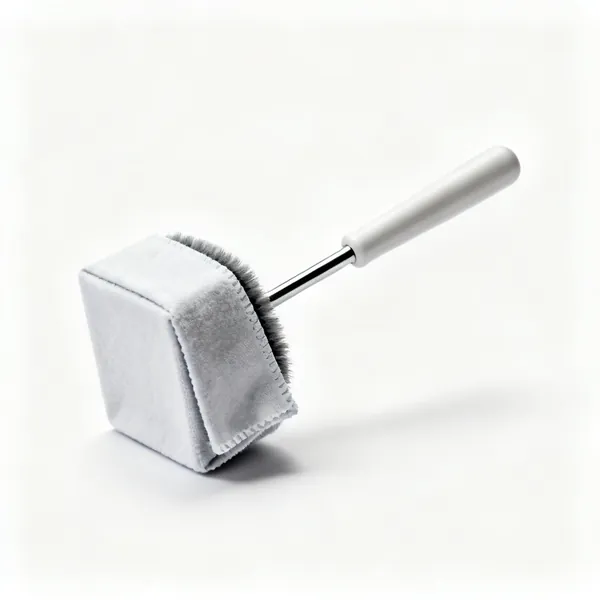
  • File card: A file cleaning card brushEssential

    File card

    A stiff brush that clears metal from the teeth. A clogged file burnishes and scratches rather than cutting.

  • A curved steel jewellers burnisherEssential

    Burnisher

    A polished steel curve rubbed on metal to compress and shine it. Also what closes a setting over a stone.

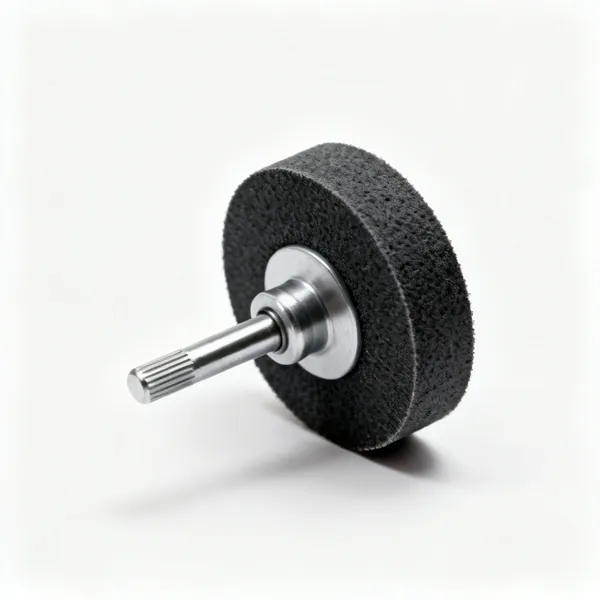
  • Abrasive wheels: Rubber abrasive polishing wheels for a rotary tool

    Abrasive wheels

    Rubber bonded wheels for a rotary tool, in grades, for reaching areas a file and paper cannot.

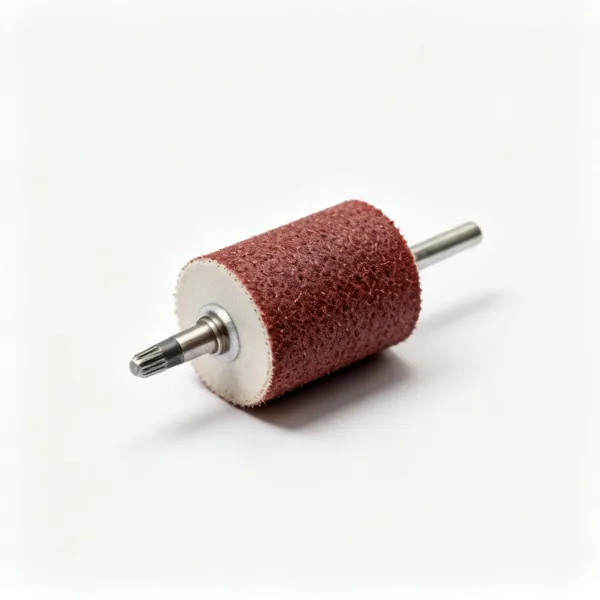
  • Small abrasive sanding drums for a rotary tool

    Sanding drums

    Small abrasive cylinders in a pendant motor for the inside of a ring and other curved surfaces.

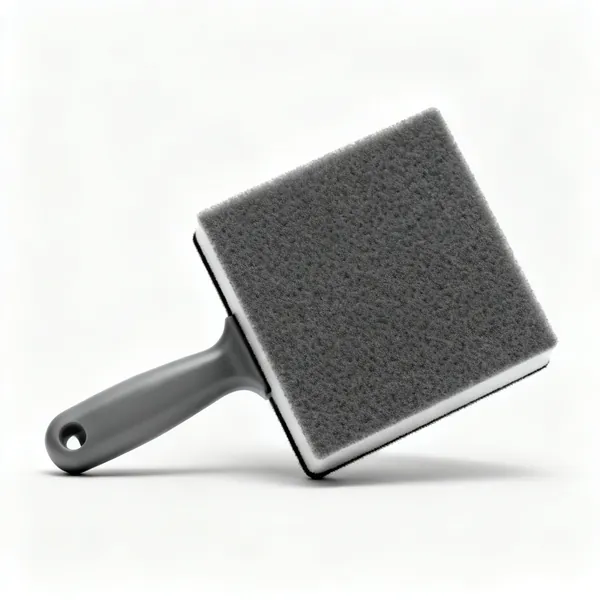
  • Abrasive pads: Abrasive finishing pads

    Abrasive pads

    Gives a consistent satin or brushed finish, which is a deliberate finish rather than a stage on the way to shine.

Forming & hammering 12

Bending, stretching and shaping metal. Small hammers and polished steel surfaces, since every mark transfers.

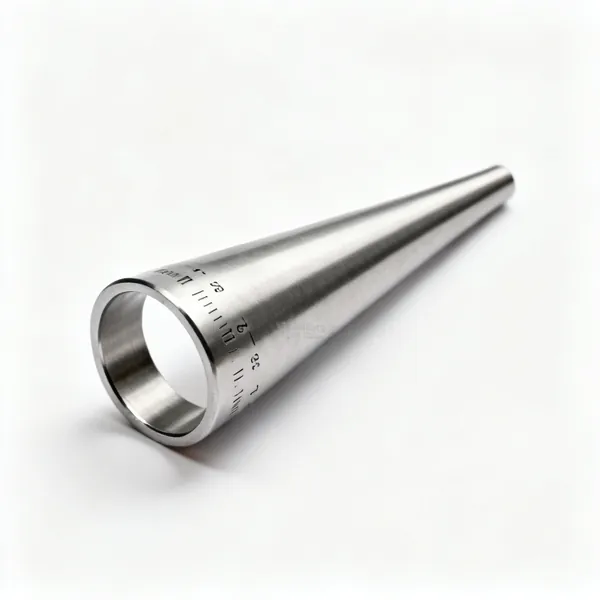
  • A tapered steel ring mandrel with size markingsEssential

    Ring mandrel

    A tapered steel rod marked with ring sizes, for forming and sizing rings. Ungrooved if you plan to hammer on it.

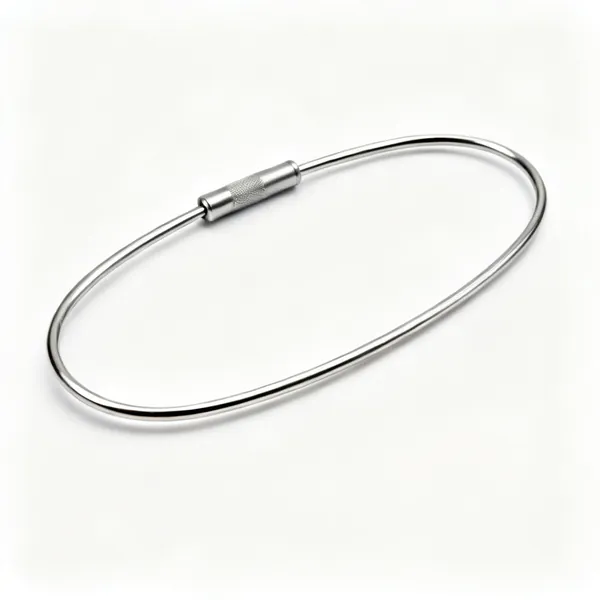
  • An oval steel bracelet mandrel

    Bracelet mandrel

    A larger oval or round mandrel for forming bangles and bracelets to a wearable shape.

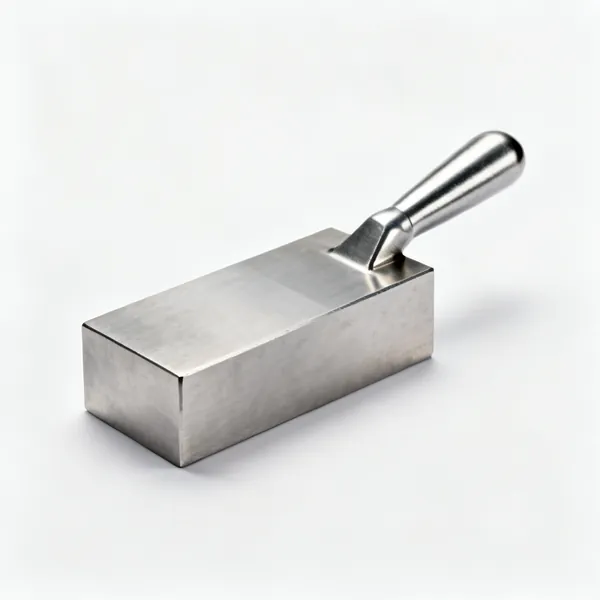
  • A polished steel bench blockEssential

    Steel bench block

    A polished flat steel surface to hammer and stamp against. Polished, since every mark on it transfers to the work.

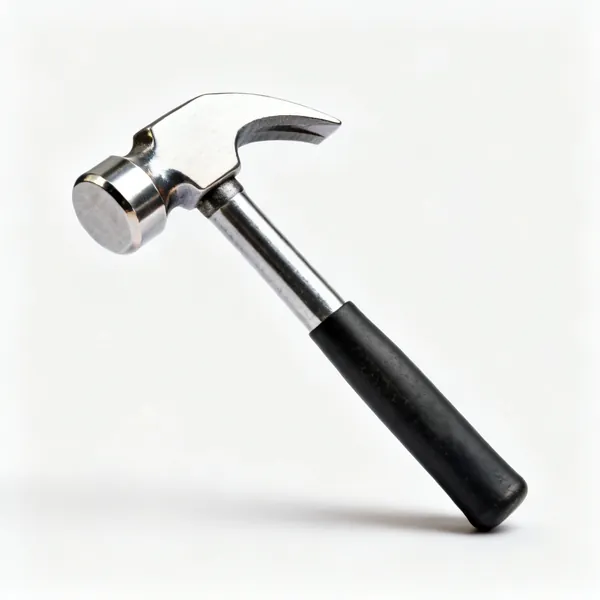
  • A small planishing hammer with a polished faceEssential

    Planishing hammer

    A polished face for smoothing and slightly hardening metal, leaving a faint even texture rather than dents.

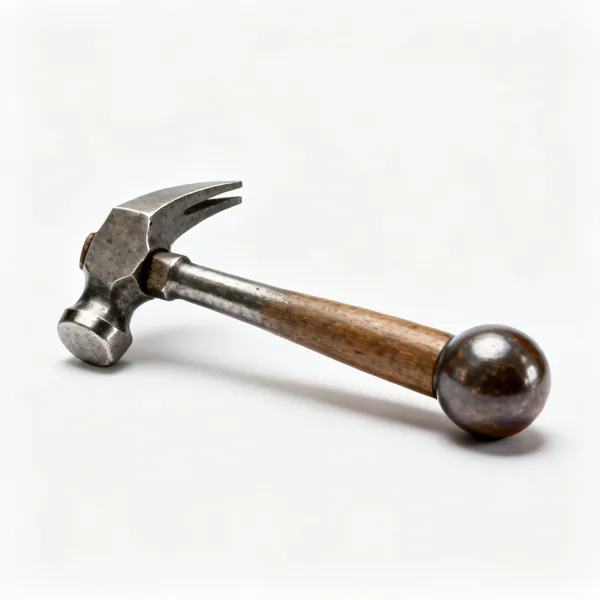
  • A jewellers chasing hammer with a bulbous handle

    Chasing hammer

    A broad slightly domed face with a springy handle, for texturing and for driving punches all day.

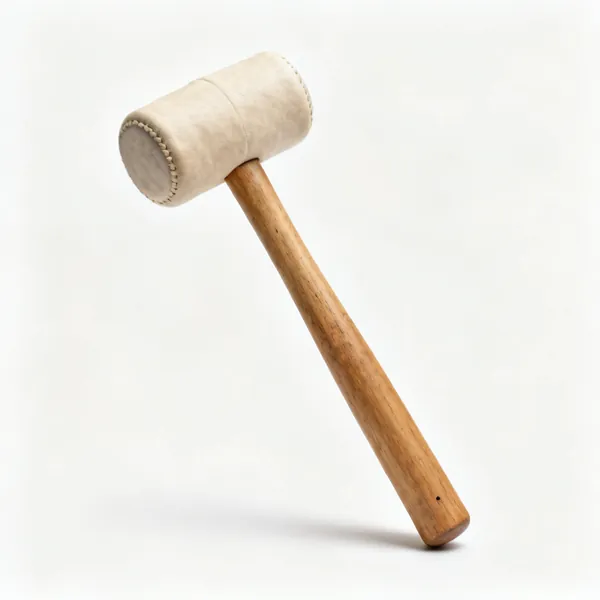
  • Rawhide mallet: A rawhide jewellers malletEssential

    Rawhide mallet

    Shapes metal on a mandrel without marking or stretching it, unlike a steel hammer.

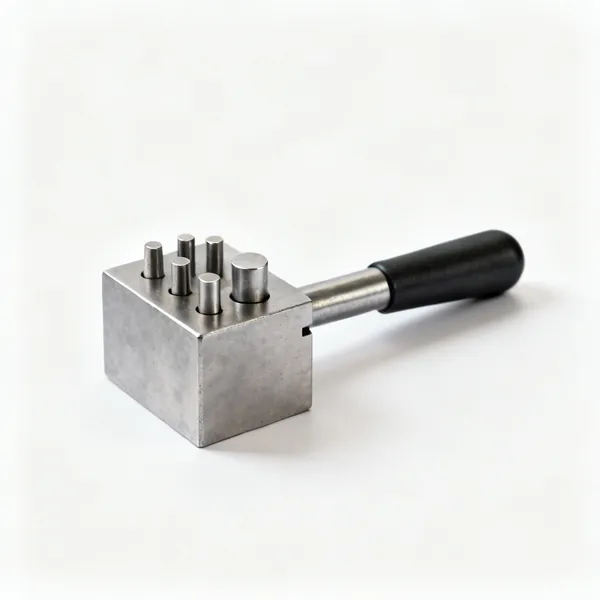
  • Dapping block & punches: A steel dapping block with punches

    Dapping block & punches

    Hemispherical depressions and matching punches that form flat discs into domes in graduated steps.

  • Swage block: A steel swage forming block

    Swage block

    Grooves of various radii for forming sheet into a channel or a half round section.

  • A steel wire draw plate

    Draw plate

    A plate of graduated holes that wire is pulled through to reduce and shape it. How you make your own wire.

  • Draw tongs: A pair of heavy wire drawing tongs

    Draw tongs

    Heavy grip pliers that pull wire through the draw plate with enough force and without slipping.

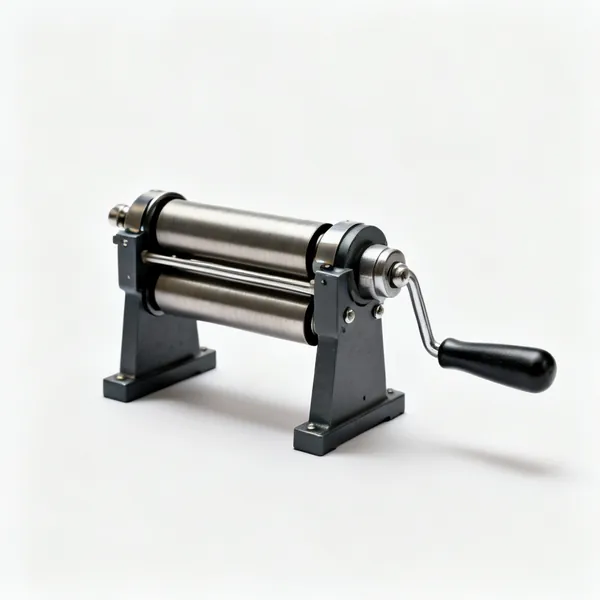
  • A jewellers rolling mill with rollers and handle

    Rolling mill

    Rolls sheet thinner, changes wire section and impresses texture. The big investment, and it makes your own stock.

  • A set of small metal texturing punches

    Texturing punches

    Struck punches that impress a pattern or a hallmark. Also how a maker's mark goes on a finished piece.

Pliers & holding 11

Bending, gripping and assembling. Smooth jaws for anything visible, since serrations mark metal permanently.

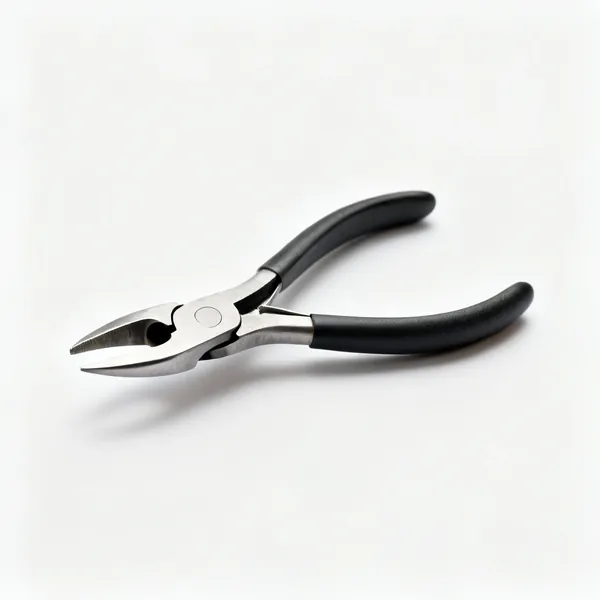
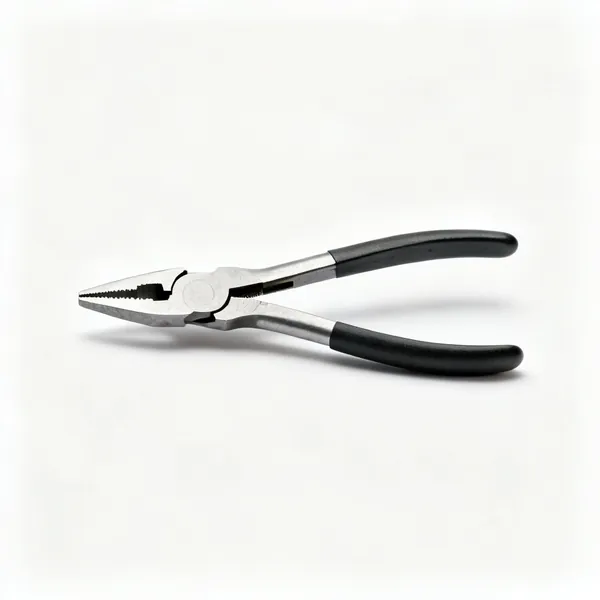
  • Flat nose pliers: A pair of flat nose jewellery pliersEssential

    Flat nose pliers

    Parallel flat jaws for sharp bends and gripping flat stock without denting it.

  • Round nose pliers: A pair of round nose jewellery pliersEssential

    Round nose pliers

    Tapered round jaws for forming loops and curves in wire. The tool that makes an ear wire.

  • Half round pliers: A pair of half round jewellery pliersEssential

    Half round pliers

    One flat and one curved jaw for bending a ring shank without kinking or marking the inside.

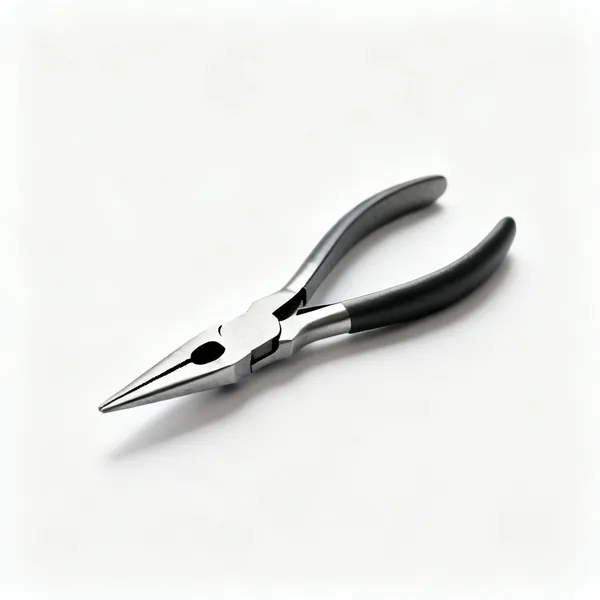
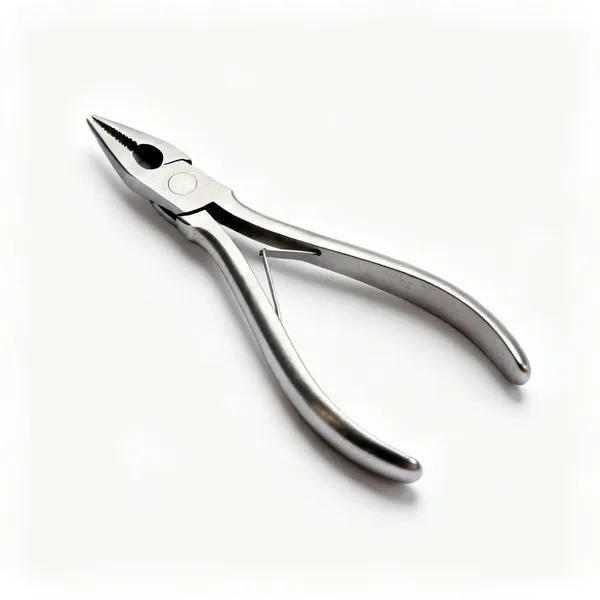
  • Chain nose pliers: A pair of chain nose jewellery pliersEssential

    Chain nose pliers

    Tapered flat jaws reaching into small spaces, for closing jump rings and gripping fine work.

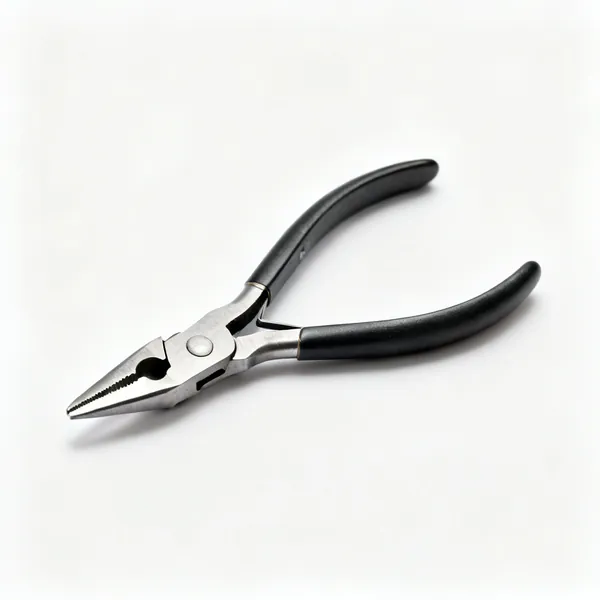
  • A pair of parallel action pliers

    Parallel action pliers

    Jaws that stay parallel through the whole squeeze, gripping evenly instead of pinching at the tip.

  • Stepped bail pliers: A pair of stepped bail forming pliers

    Stepped bail pliers

    Stepped jaws giving repeatable loop diameters, so a run of matching loops actually matches.

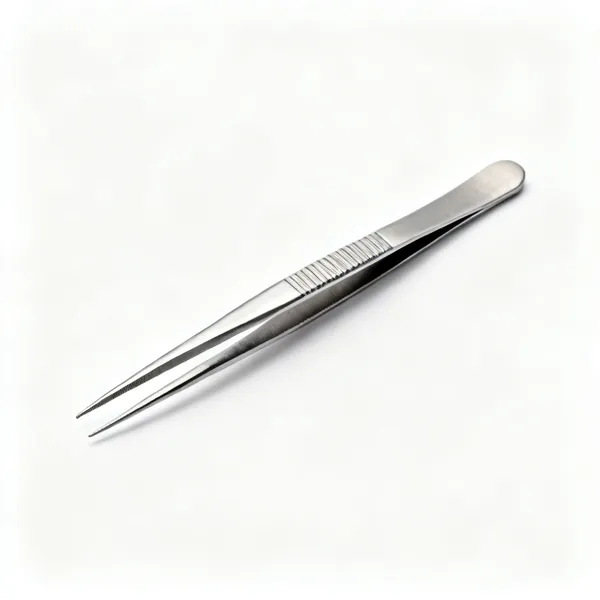
  • A set of jewellers tweezersEssential

    Tweezers

    Fine and cross locking types for placing tiny parts. Cross locking hold themselves shut so your hand can rest.

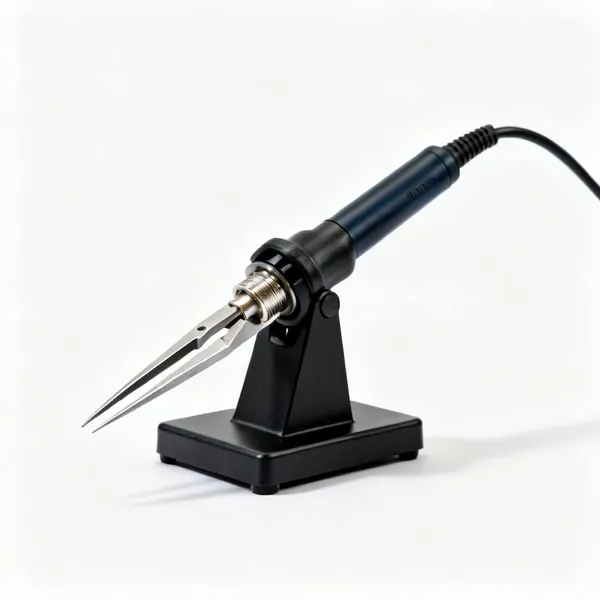
  • A third hand soldering stand with tweezers

    Third hand

    A weighted base holding tweezers in position, so both your hands are free while soldering.

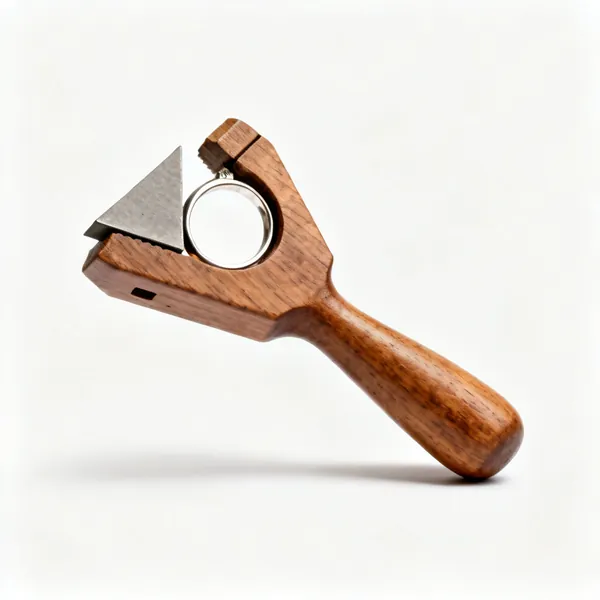
  • A wooden jewellers ring clamp with a wedgeEssential

    Ring clamp

    A wooden clamp with a wedge that grips a ring firmly for filing, setting and polishing without marking it.

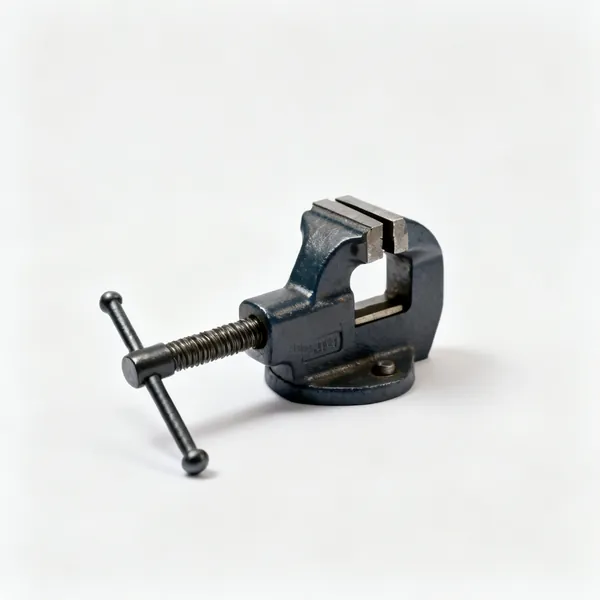
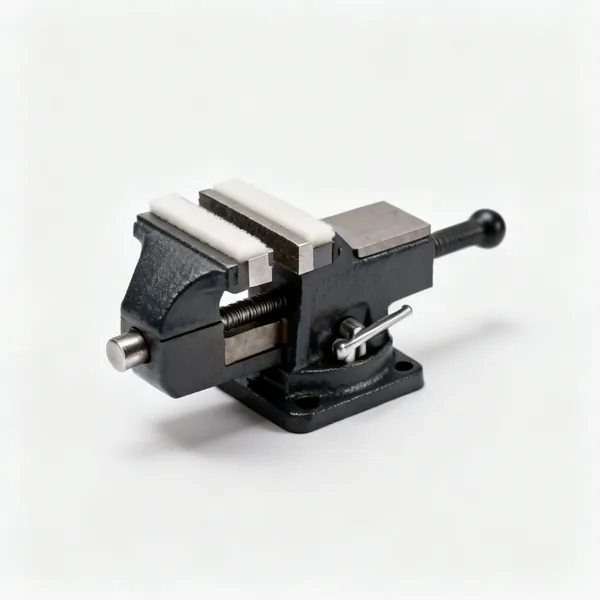
  • A small bench vice with soft jaws

    Small bench vice

    Holds mandrels and larger work. Fitted with soft jaws for anything that must not be marked.

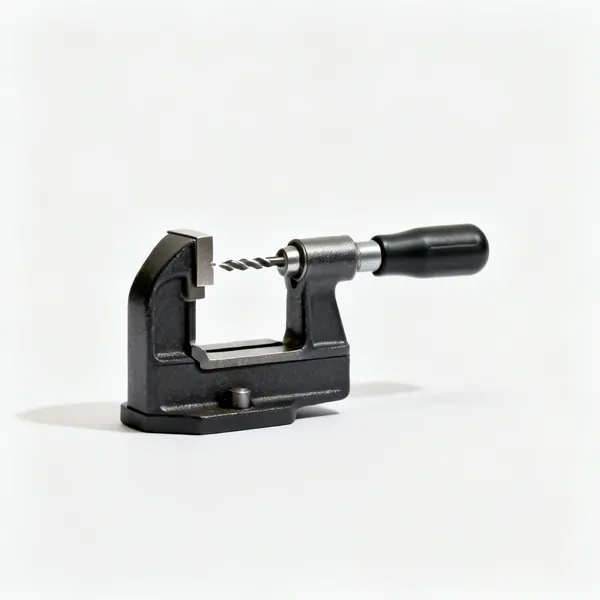
  • A pin vice holding a small drill bit

    Pin vice

    Holds a very small drill or broach by hand for delicate work where a machine would be too aggressive.

Soldering & annealing 12

Joining metal with heat. Cleanliness and a tight joint matter more than the size of the torch.

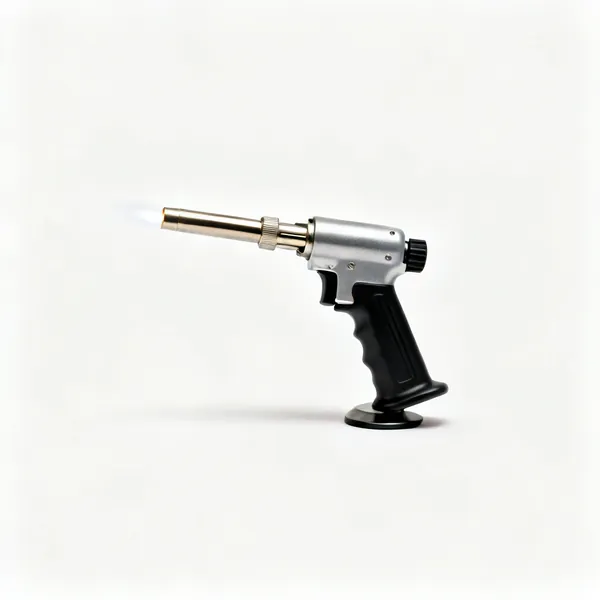
  • A small jewellers gas soldering torchEssential

    Soldering torch

    A small gas torch with a fine flame for jewellery scale work. Bigger is not better on a delicate piece.

  • Strips of hard medium and easy silver solderEssential

    Silver solder

    In hard, medium and easy grades that melt at falling temperatures, so several joints can be made in sequence.

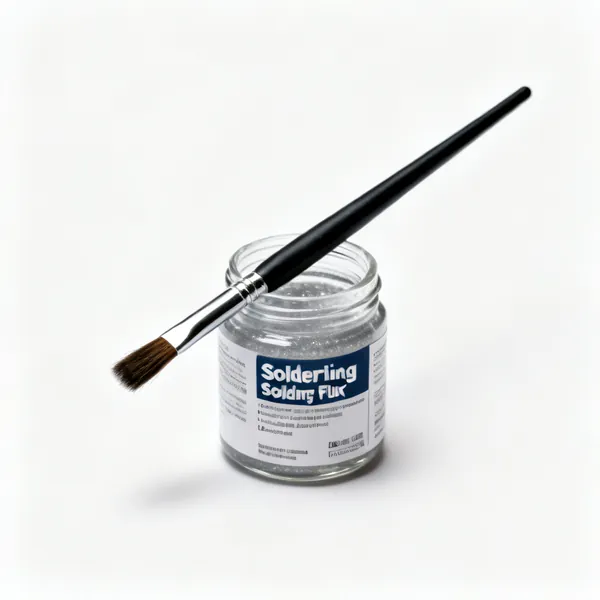
  • A jar of soldering flux with a brushEssential

    Flux

    Keeps the joint clean as it heats and lets solder flow. Solder will not run onto oxidised metal at all.

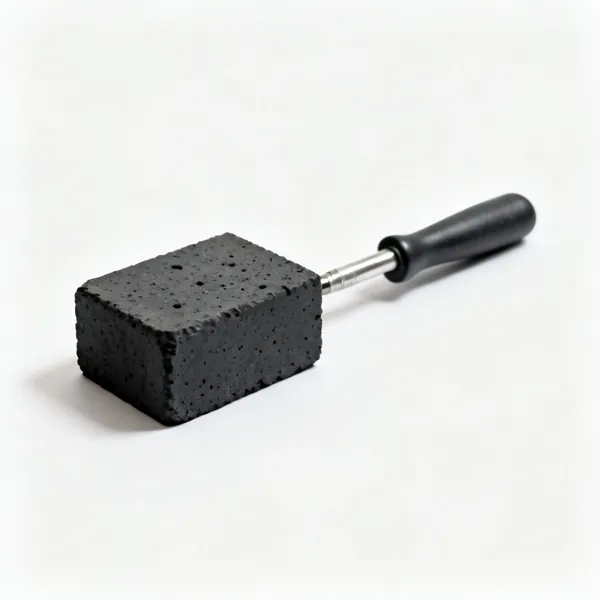
  • A charcoal soldering blockEssential

    Soldering block

    A heatproof surface to work on. Charcoal reflects heat back into the piece and helps small work come up to temperature.

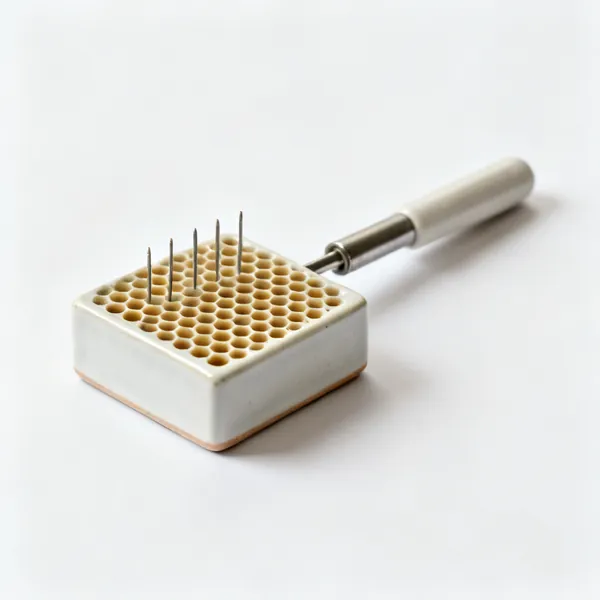
  • Honeycomb block: A ceramic honeycomb soldering block with pins

    Honeycomb block

    A ceramic block with holes that take steel pins to position work at any angle while it is soldered.

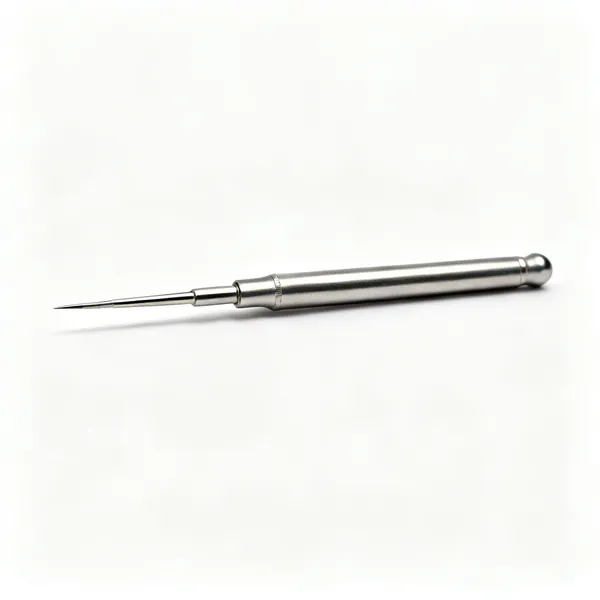
  • A titanium solder pick probeEssential

    Solder pick

    A titanium probe for placing and nudging molten solder. Titanium because solder will not stick to it.

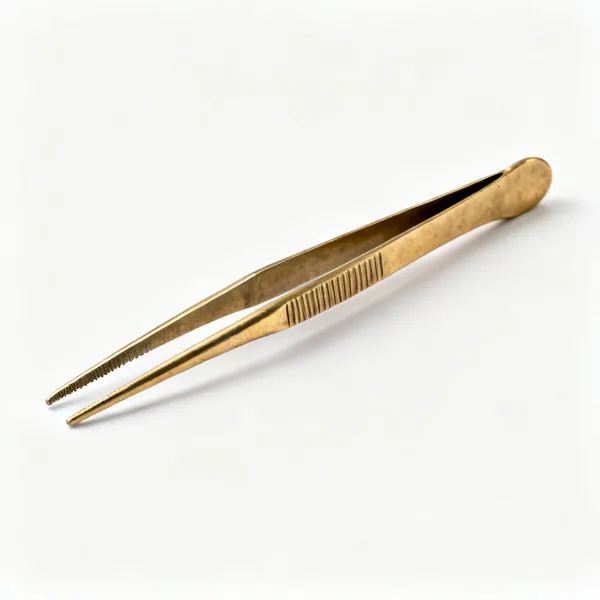
  • Brass tweezers: A pair of brass pickle tweezersEssential

    Brass tweezers

    For handling work in the pickle. Steel tweezers in pickle copper plate the entire piece pink.

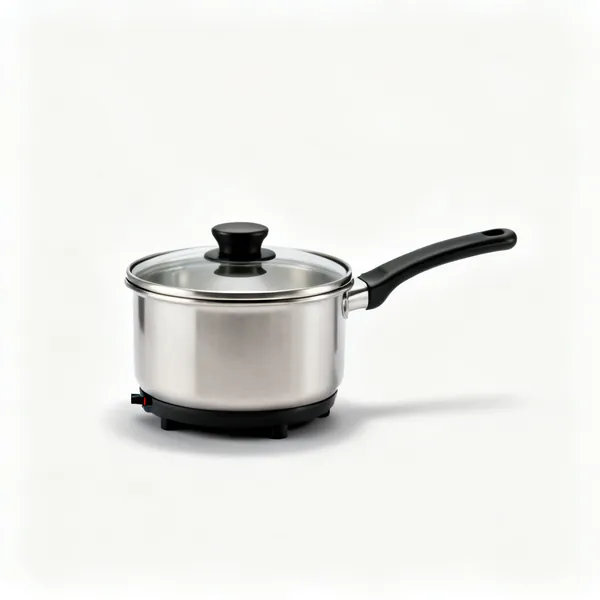
  • A small heated pickle pot with a lidEssential

    Pickle pot

    A warm acid bath that removes firescale and flux after soldering. Lidded, since the fumes corrode nearby steel.

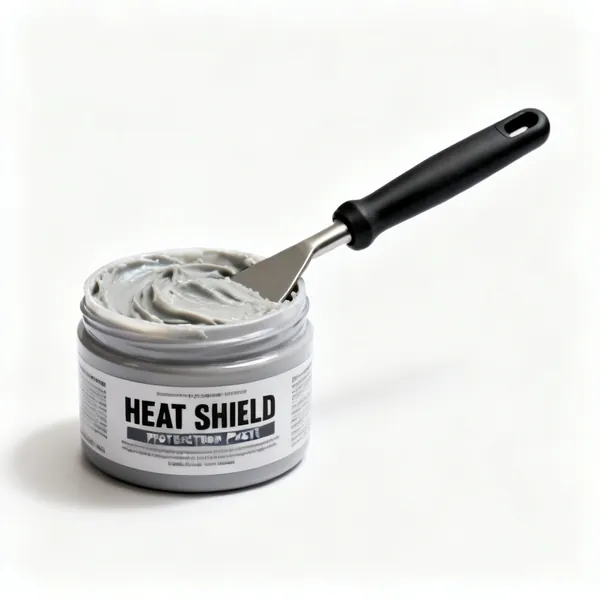
  • Heat shield paste: A jar of heat shield protection paste

    Heat shield paste

    Protects an existing solder joint or a heat sensitive part while you solder next to it.

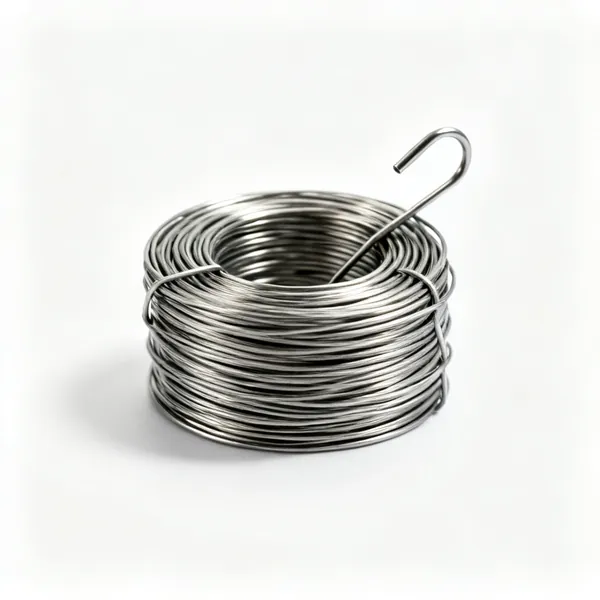
  • A coil of iron binding wire

    Binding wire

    Iron wire holding parts together while soldering, then removed. It must come off before the piece goes in pickle.

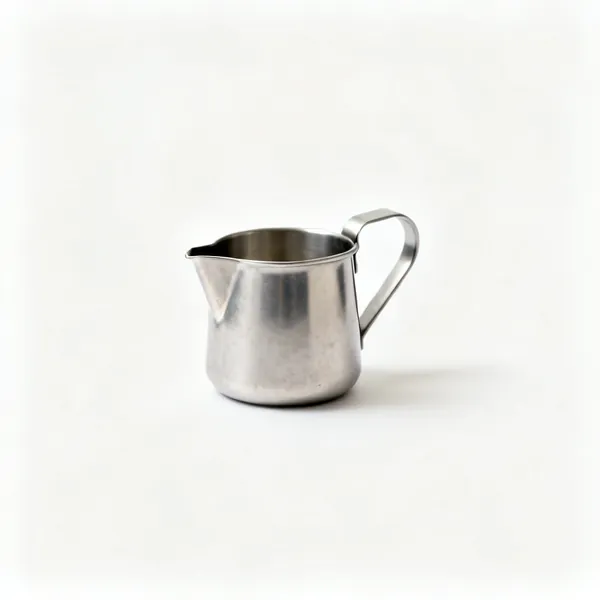
  • Quench pot: A small metal quench water potEssential

    Quench pot

    Water to cool work after heating. Also the safety item, since everything on the block is hotter than it looks.

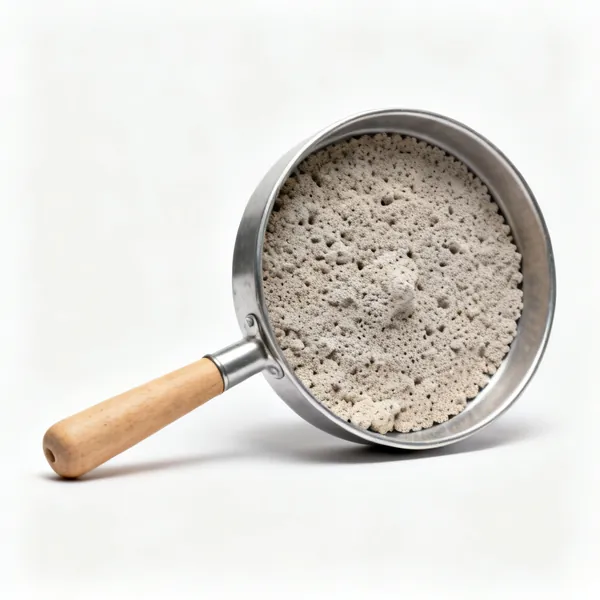
  • A rotating annealing pan filled with pumice

    Annealing pan

    A rotating pan of pumice that supports awkward work and lets you turn it in the flame without touching it.

Stone setting 10

Holding a stone securely without damaging it. Precise, patient work and the stage where an expensive stone is at risk.

  • A steel bezel pusher tool

    Bezel pusher

    A square steel face that pushes a bezel wall over a stone. Little and often, working around the setting.

  • A bezel rocker setting tool

    Bezel rocker

    Rocked along a bezel to close it evenly rather than in the steps a pusher can leave.

  • A set of jewellers setting burrs

    Setting burrs

    Cuts a precise seat for a stone so it sits level and secure. Sized to the stone, and it must be a good fit.

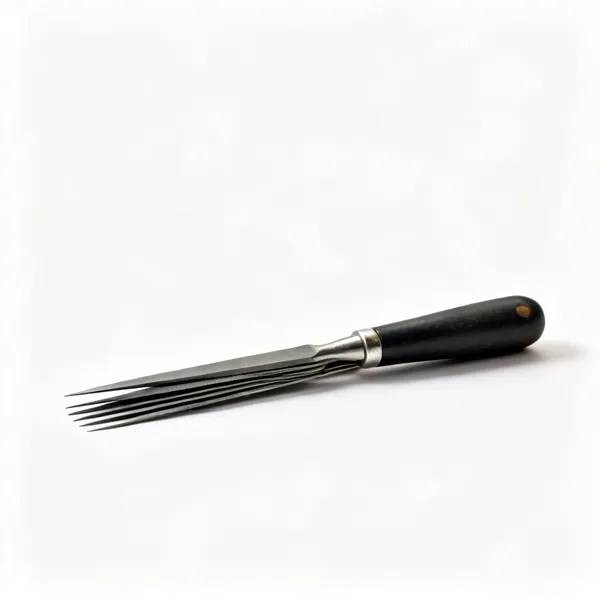
  • A set of jewellers gravers with handles

    Gravers

    Sharpened steel cutters for raising beads and cutting a bright edge in a setting. Skilled hand work.

  • A beading tool for stone setting

    Beading tool

    Rounds off a raised bead of metal over a stone, which is how a grain set stone is finished neatly.

  • A notched prong pusher tool

    Prong pusher

    Bends a claw over a stone without slipping off and scratching it. A notched tip grips the prong.

  • Setting wax stick: A stone setting wax pick stick

    Setting wax stick

    A sticky wax on a stick for lifting and placing small stones that tweezers would flick across the room.

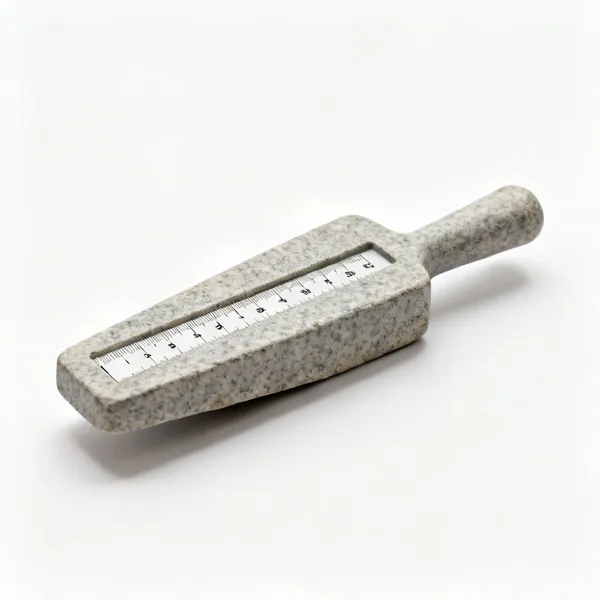
  • Stone gauge: A stone measuring gauge with a scale

    Stone gauge

    Measures a stone accurately so the seat and setting are cut to fit rather than approximately.

  • A hammer handpiece attachment for a pendant motor

    Hammer handpiece

    A pendant motor attachment that taps rapidly, setting metal over a stone in a controlled way.

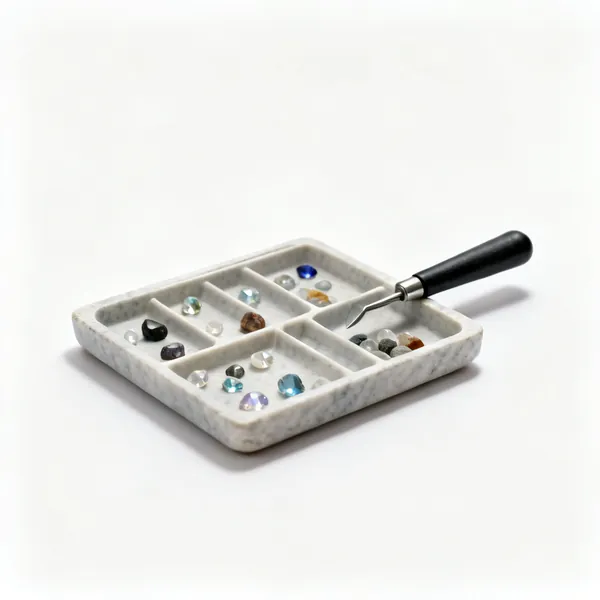
  • A stone sorting tray with small gemstones

    Stone sorting tray

    Trays and papers for sorting and holding loose stones. Dropped stones vanish into a workshop floor permanently.

Polishing & finishing 12

What everyone actually sees. Polishing reveals scratches rather than hiding them, so it comes last and in order.

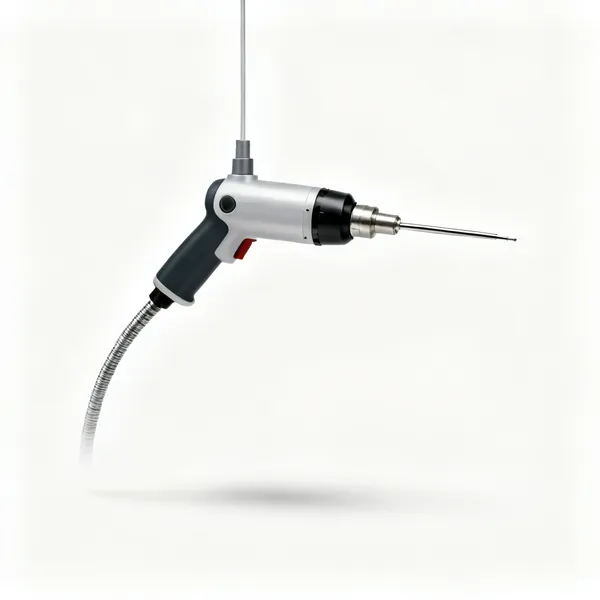
  • A pendant motor with a flexible shaft handpiece

    Pendant motor

    A hanging motor with a flexible shaft and light handpiece, giving fine speed control for setting and polishing.

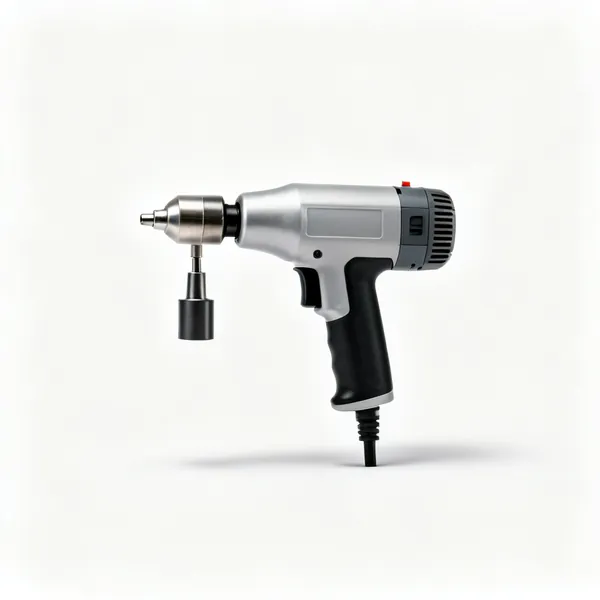
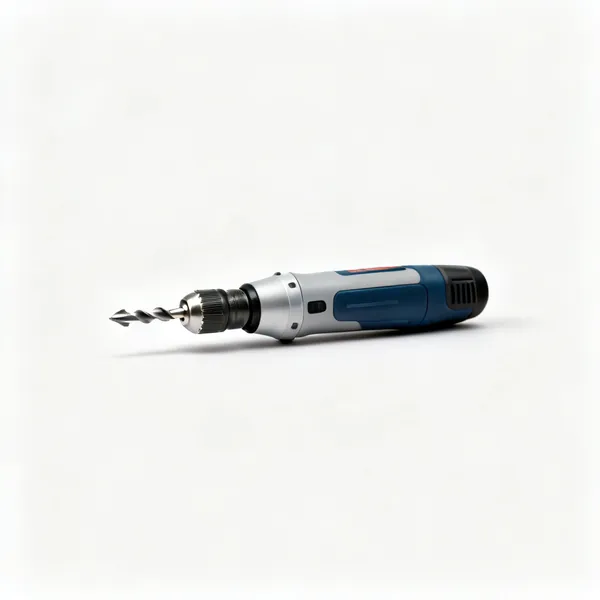
  • Rotary tool: A small rotary multi tool with bitsEssential

    Rotary tool

    A handheld multi tool taking the same burrs and wheels. Heavier than a pendant motor and a sensible start.

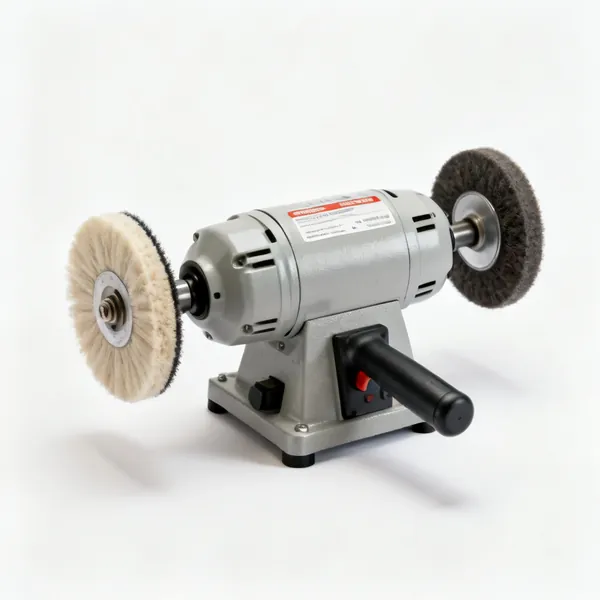
  • Bench polisher: A bench polishing motor with buffing wheels

    Bench polisher

    A double ended motor with mops for fast finishing. It grabs work, so hold firmly and below the centre line.

  • Tripoli compound: A bar of tripoli polishing compoundEssential

    Tripoli compound

    The coarser polishing compound that removes fine scratches. On its own dedicated mop, always.

  • A bar of red rouge polishing compoundEssential

    Rouge

    The fine compound that gives the final shine. On a separate mop, since tripoli carried over ruins the finish.

  • Calico and felt polishing mopsEssential

    Polishing mops

    Calico and felt wheels, one per compound and labelled. Mixing compounds is why a final polish will not come up.

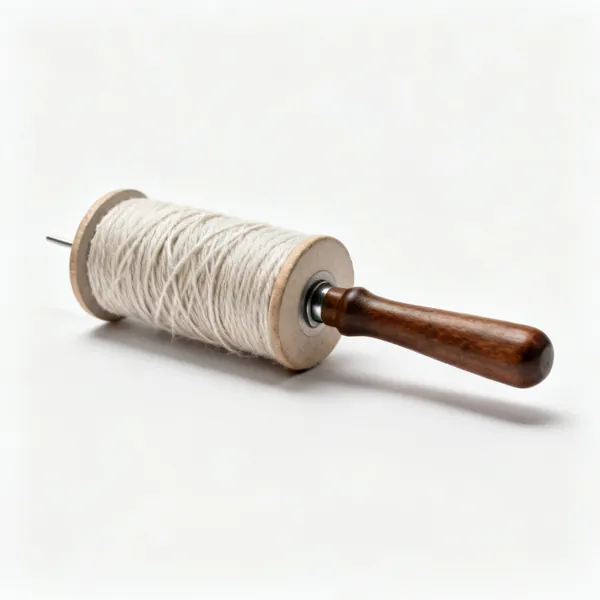
  • Polishing thread cord on a spool

    Polishing thread

    Charged cord pulled through a pierced opening to polish inside a shape no mop can reach.

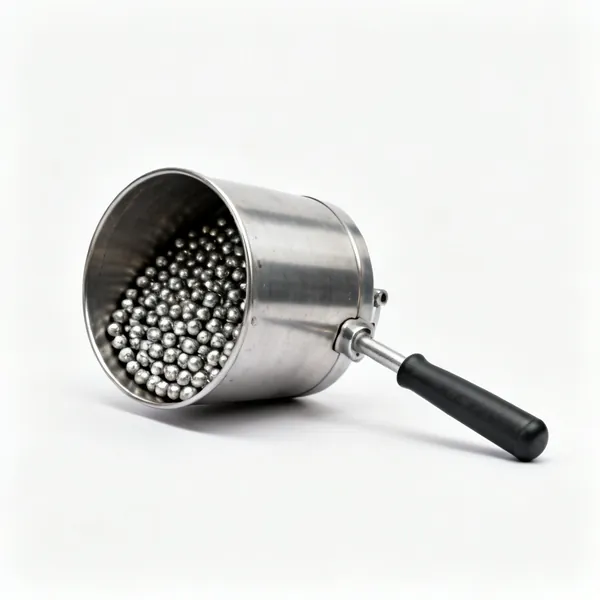
  • A rotary barrel tumbler with steel shot

    Barrel tumbler

    Polishes and work hardens with steel shot and water while you do something else. Excellent on chain.
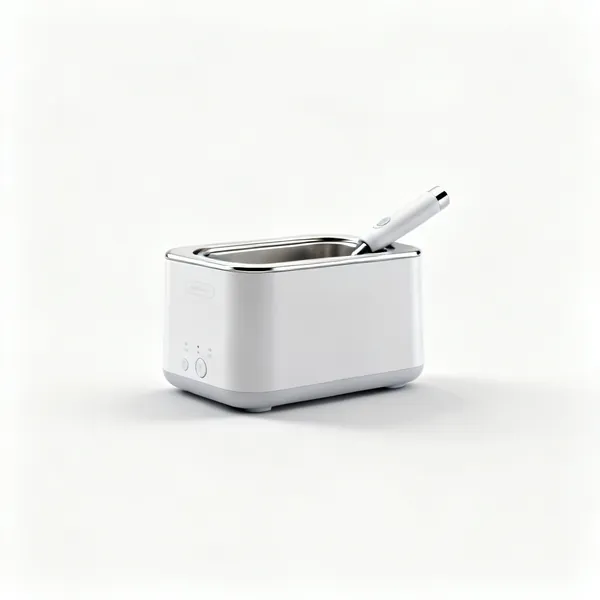
  • Ultrasonic cleaner: A small ultrasonic jewellery cleaner

    Ultrasonic cleaner

    Shakes polishing compound out of every crevice. Compound left in a corner is what makes a piece look grubby.

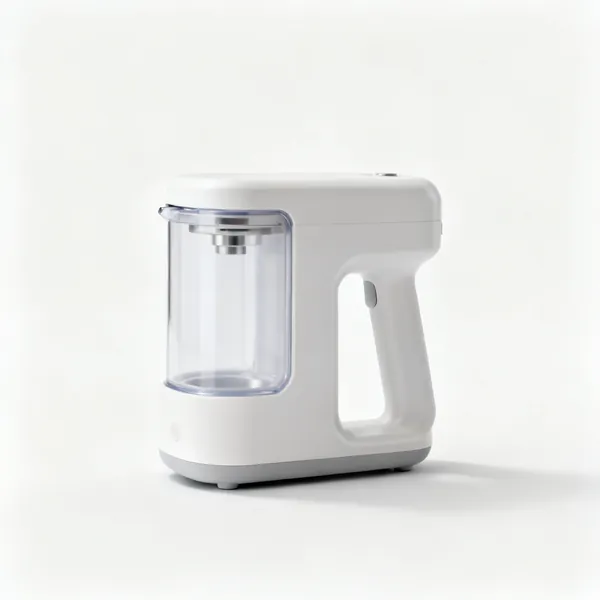
  • A small jewellery steam cleaner

    Steam cleaner

    Blasts residue out with steam, which is the professional finish after ultrasonic cleaning.

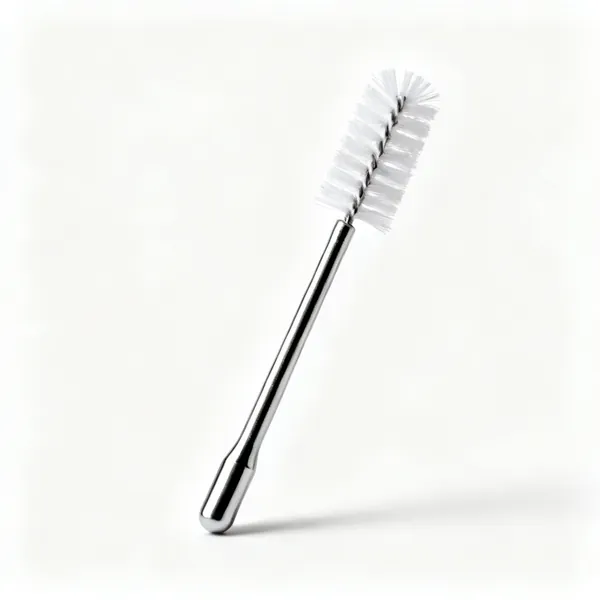
  • Small jewellery cleaning brushesEssential

    Cleaning brushes

    Soft brushes and soapy water. The low tech version, and it removes most compound if you are thorough.

  • Polishing cloths: A jewellery polishing clothEssential

    Polishing cloths

    Impregnated cloth for the final hand finish and for removing tarnish from a piece already made.

Measuring & inspection 12

Precision at fractions of a millimetre, and being able to see what you are doing. Both are easy to skimp on.

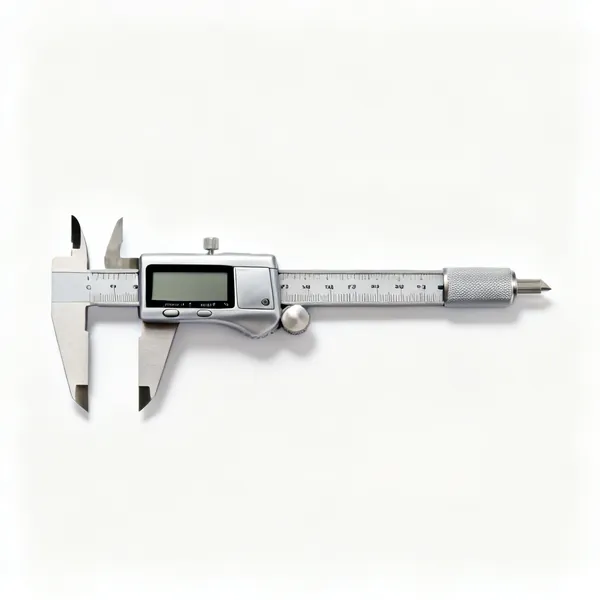
  • Digital calipers: A pair of digital vernier calipersEssential

    Digital calipers

    Measures thickness, diameter and depth to a hundredth of a millimetre, which is the tolerance this craft works to.

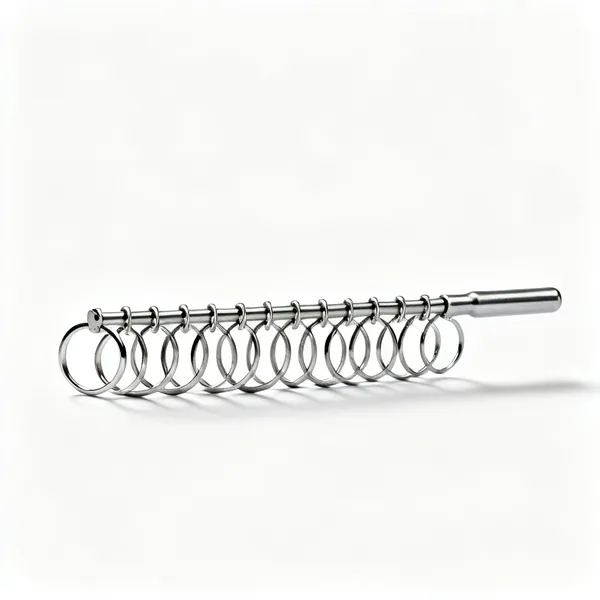
  • Ring sizers: A set of metal ring sizer gauges on a ringEssential

    Ring sizers

    A set of graded rings for measuring a finger accurately. Guessing a ring size wastes the whole piece.

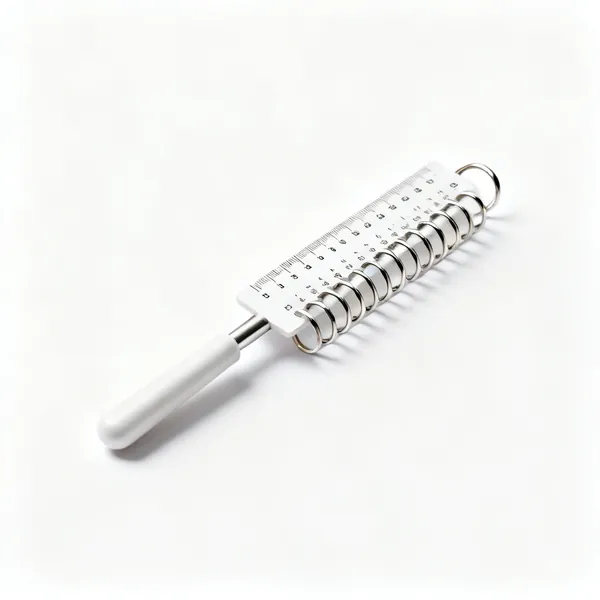
  • Ring size stick: A ring sizing measurement stick

    Ring size stick

    Measures the internal size of an existing ring, so a copy or a resize starts from a real number.

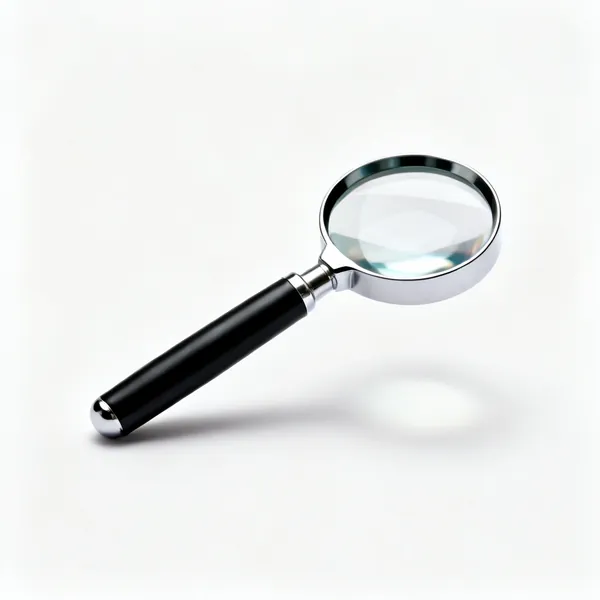
  • A jewellers loupe magnifierEssential

    Loupe

    A ten times magnifier for inspecting a joint, a setting and a finish. You cannot fix what you cannot see.

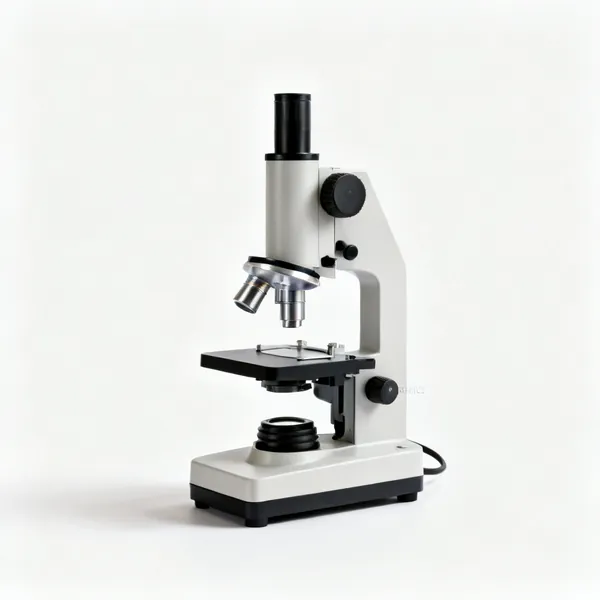
  • A stereo bench microscope

    Bench microscope

    Stereo magnification for setting and engraving, keeping both hands free at real working distance.

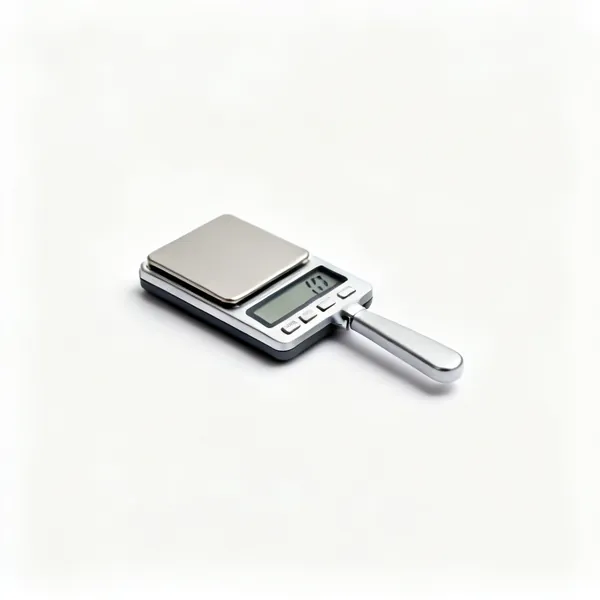
  • Precision scales: Small precision digital jewellery scalesEssential

    Precision scales

    Reads to a hundredth of a gram, for weighing metal and stones and for costing a piece honestly.

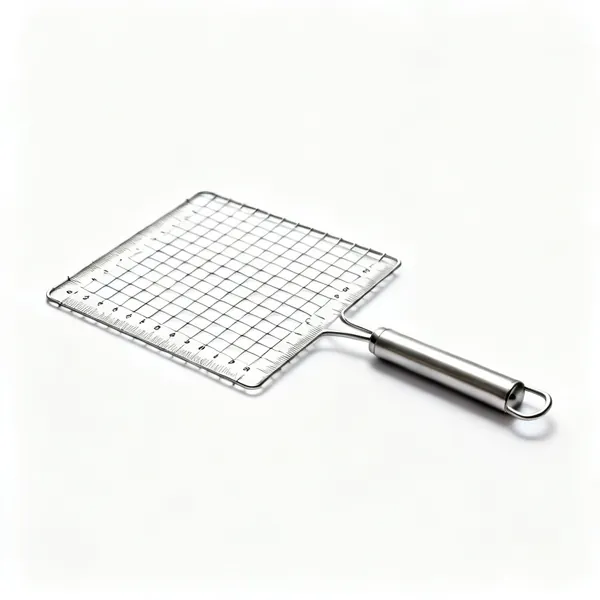
  • Wire gauge plate: A metal wire gauge measuring plate

    Wire gauge plate

    Slots that identify wire and sheet thickness by gauge number, which is how most stock is sold.

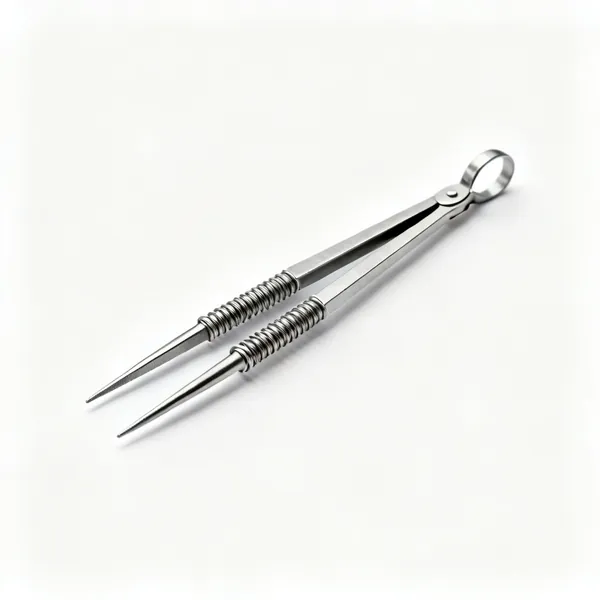
  • A pair of steel spring dividersEssential

    Dividers

    Scribes a circle and steps off equal distances, which is how repeating elements end up evenly spaced.

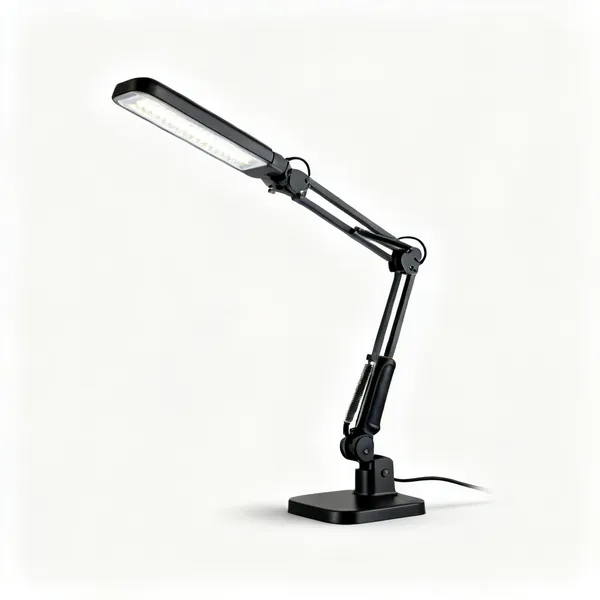
  • Bench light: An adjustable LED bench task lampEssential

    Bench light

    Bright, adjustable and close. Almost every fault at this scale is a fault you could not see clearly.
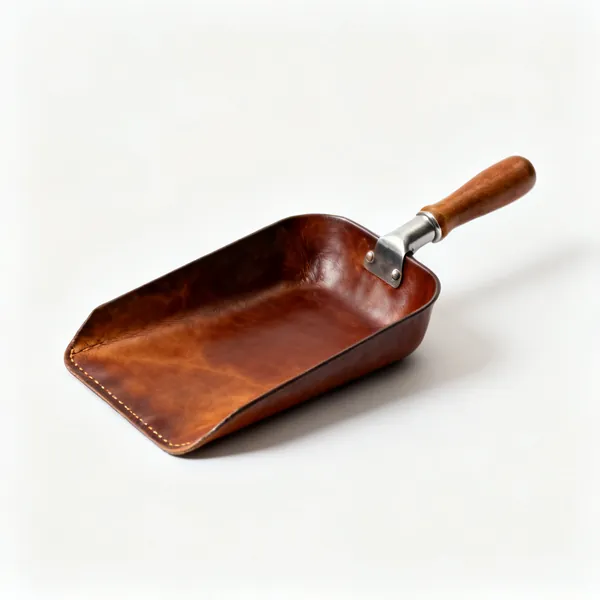
  • A leather bench skin catch trayEssential

    Bench skin

    A tray or leather apron under the peg catching filings and dropped stones. Precious metal scrap is worth money.

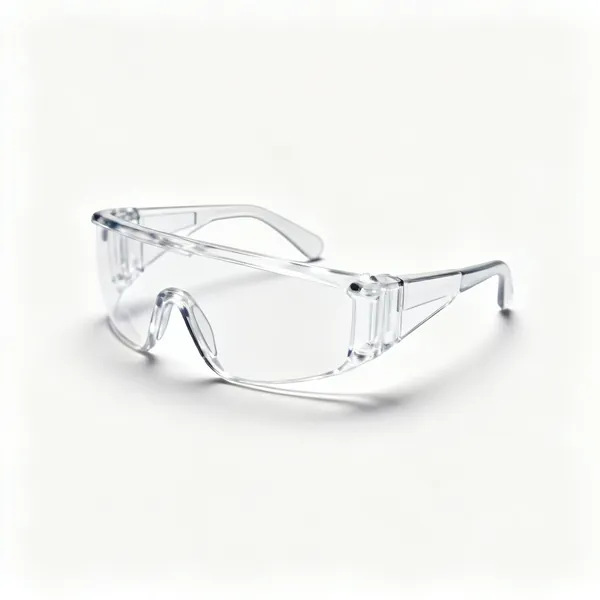
  • A pair of clear safety glassesEssential

    Safety glasses

    Sawing, polishing and drilling all throw fragments, and a polishing motor throws work at speed.

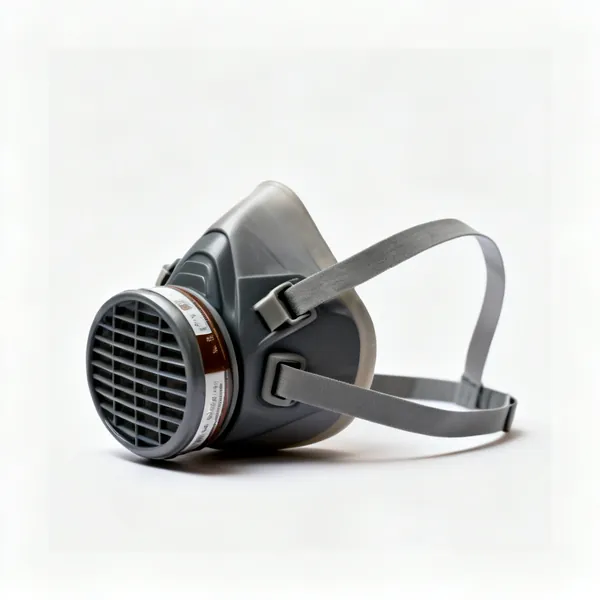
  • A dust mask respirator

    Dust mask

    Polishing compound and metal dust are both worth not breathing, especially over long sessions.

Choosing jewellery making tools

Precision beats power in everything here. The tools that matter most are the ones that cut and file accurately, and the ones that let you see what you are doing.
The piercing saw, and why everyone breaks blades

The piercing saw is the defining jewellery tool, and it is the one that puts people off in the first hour. The blades are hair fine, they snap constantly at first, and it feels impossible.

Almost all of it comes down to three things. The blade must be fitted with the teeth pointing down towards the handle, so it cuts on the pull stroke. It must be tensioned drum tight, because a slack blade twists and snaps. And the saw must be held vertical and moved without any sideways force at all, letting the blade do the cutting rather than being pushed through.

Once those three are right, a blade lasts a surprisingly long time. Blades are consumables regardless, so buy them by the dozen and stop treating each break as a failure.

Teeth down, towards the handle
It cuts on the pull stroke. Fitted the other way it skates on the surface and achieves nothing.
Tension it drum tight
It should ping when plucked. A slack blade wanders, twists and snaps within a few strokes.
Vertical, and no sideways pressure
Let the blade cut. Steering it is what breaks it, so turn the work rather than the saw.
Lubricate the blade
Beeswax or cut lube on the teeth cuts cleaner, quieter and slower to blunt.
Match the blade to the metal thickness
At least two teeth in contact at all times. Too coarse a blade in thin sheet snags and tears.
Buy blades by the dozen
They are consumables. Fear of breaking one is why people cut badly and slowly.

Soldering, which is about heat and cleanliness

Jewellery soldering fails for two reasons: the joint was not clean, or the heat was in the wrong place. Solder flows towards heat and it will only flow onto clean bright metal.

The joint also has to fit before you start. Solder fills a gap of a few hundredths of a millimetre by capillary action, not a visible gap. If you can see daylight through the joint, no amount of solder will bridge it soundly.

The other thing worth knowing early is that solder comes in grades that melt at different temperatures. That is how you make several joints on one piece without the earlier ones falling apart: hard solder first, then medium, then easy.

Clean and bright, then flux
Solder will not flow onto oxide or grease. Abrade the joint, degrease it, then flux to keep it clean while it heats.
A tight joint, not a filled gap
Solder works by capillary action across a few hundredths of a millimetre. A visible gap will not fill soundly.
Heat the whole piece, not the solder
Solder runs to the hottest point. Bring the metal up to temperature and the solder will follow it.
Work down the solder grades
Hard first, then medium, then easy. That is how a piece with several joints survives the later ones.
Pickle after every solder
Warm acid removes the firescale and flux glass so the next joint has clean metal to work with.
Never put steel in the pickle
Steel tweezers in pickle copper plate the whole piece pink. Use brass or titanium tongs.

Finishing takes longer than making

Beginners consistently underestimate this. Making the shape might take an hour and finishing it properly takes two, and finishing is what people actually see.

The sequence is the same as every other trade on this site: work through the grades in order and never skip one. Files, then emery paper from coarse to fine, then tripoli, then rouge. Every scratch you leave shows more clearly with each stage of polish, because polishing is what makes scratches visible rather than hiding them.

The most common mistake is going to the polishing motor too early, which just puts a shine on the scratches.

Polishing reveals scratches, it does not remove them
Every mark left by a file or coarse emery becomes more obvious once there is a shine around it.
Work through the grades in order
File, then coarse emery, then progressively finer, then compound. Skipping a stage costs more time than it saves.
Tripoli then rouge, on separate wheels
One wheel per compound. Mixing them puts the coarse cut back into the final polish.
Tie your hair back and hold work firmly
A polishing motor grabs work and throws it. Below the centre line of the wheel, always.
Finish inside surfaces first
The inside of a ring is nearly impossible to reach once it is assembled. Do it while you still can.
Clean between compounds
Residue carried from one stage to the next is the usual reason a final polish will not come up.

What to buy first, in order

Stage one: cutting and filing
A piercing saw with a dozen blades, a bench peg, a hand file set, needle files, emery paper, half round pliers, flat nose pliers, side cutters and a ring mandrel.
Stage two: soldering
A small torch, a soldering block or charcoal, solder in three grades, flux, brass tweezers, a pickle pot and a steel bench block with a planishing hammer.
Stage three: finishing
Tripoli and rouge with separate mops, a pendant motor or rotary tool with burrs and wheels, a burnisher and an ultrasonic or a good brush and soap.
Stage four: setting and precision
A ring clamp, setting burrs, a bezel pusher, gravers, a loupe, digital gauges and a rolling mill or draw plate if you make your own stock.

Mistakes that cost metal or a stone

Fitting the saw blade the wrong way
Teeth must point down towards the handle. Fitted upwards it will not cut and you will assume the saw is faulty.
Soldering a joint you can see through
Solder bridges a few hundredths of a millimetre, not a visible gap. Fit the joint first.
Steel tweezers in the pickle
It copper plates the entire piece pink. Brass or titanium only, and keep steel out of the pot entirely.
Overheating and melting the piece
Silver goes from bright to slumped very quickly. Watch the colour of the metal rather than the clock.
Polishing before finishing
The shine makes every remaining scratch obvious. Do the abrasive work first, all of it.
Heating a stone that is already set
Most stones crack or discolour with heat. Set stones last, or protect and remove them first.
Over pushing a bezel
Too much force cracks the stone or leaves the bezel bruised and wavy. Little and often, working around the setting.
Working without magnification
You cannot correct what you cannot see, and a loupe reveals faults that look fine to the naked eye.

Looking after jewellery tools

Never file steel with a precious metal file
Steel loads and blunts a file quickly, and then it burnishes silver instead of cutting it. Keep separate files.
Brush files out with a file card
A clogged file scratches rather than cuts, and the metal caught in it transfers to the next piece.
Keep plier jaws smooth for finished work
Serrated jaws mark metal permanently. Polish a pair smooth or tape them for anything visible.
One compound per polishing mop
Label them. A rouge mop contaminated with tripoli will never bring up a final polish.
Cover the pickle pot
It evaporates, and the fumes corrode every steel tool in the room. Lid on when not in use.
Keep the bench peg and sweep the bench
Precious metal filings are worth collecting. A bench skin under the peg pays for itself.

Frequently asked questions

What jewellery making tools do I need to start?
A piercing saw and blades, a bench peg, hand and needle files, emery paper, half round and flat nose pliers, side cutters and a ring mandrel. Add a small torch, solder, flux and a pickle pot and you can make and join properly.
Why do my saw blades keep breaking?
Usually one of three things: the teeth are fitted upwards instead of down towards the handle, the blade is not tensioned tight enough, or you are pushing sideways. Turn the work rather than steering the saw, and blades last far longer.
Which way do piercing saw blade teeth face?
Down, towards the handle, so the saw cuts on the pull stroke. Run your finger along the blade before tightening it: it should feel smooth upwards and catch downwards.
What are the different grades of solder for?
Hard, medium and easy solder melt at progressively lower temperatures. That lets you make several joints on one piece by working down the grades, so the earlier joints do not come apart while you make the later ones.
Why won't my solder flow?
Almost always a dirty joint or heat in the wrong place. Solder only flows onto clean bright fluxed metal, and it runs towards the hottest point. Heat the whole piece rather than aiming the flame at the solder itself.
What is pickle and do I need it?
A warm mild acid solution that removes firescale and flux residue after soldering. Yes, you need it, because the next solder joint will not flow onto oxidised metal. Never put steel in it, as that copper plates the piece pink.
What is a bench peg for?
A shaped wooden block clamped to the bench that supports work while you saw and file. The V slot lets the saw pass through while the work stays supported right at the cut, which is what makes accurate piercing possible.
Do I need a pendant motor or will a rotary tool do?
A rotary tool is a reasonable start. A pendant motor gives a lighter handpiece on a flexible shaft with better speed control, which matters for stone setting and inside a ring. Both take the same burrs.
What is the difference between tripoli and rouge?
Tripoli is the coarser compound that removes fine scratches, and rouge is the fine one that produces the final shine. They need separate mops, because tripoli carried into the rouge stage puts the scratches back.
How do I set a stone without cracking it?
Work gradually and evenly. With a bezel, push a little at a time working around the setting rather than closing one side fully. Never heat a set stone, and check the seat is level before the stone goes in.
What size ring mandrel do I need?
A stepped or tapered steel mandrel marked with ring sizes covers everything. Get one without a groove if you plan to hammer rings on it, since a grooved mandrel is for holding stone set rings safely.
Is soldering jewellery safe at home?
With sensible precautions, yes. Work on a fireproof surface, ventilate the space, keep flammables away and have water to hand. Pickle is an acid, so gloves and eye protection, and never mix it with anything else.