Disclosure

Laboratory tools: names, pictures and what each one is used for

A complete laboratory tools list with a picture of every one, all 96 pieces of apparatus grouped by the job, from measuring volume and mass through heating, holding, mixing, separating and observing. Two that look almost identical often work to different accuracies.

59 are marked essential: what a school or college laboratory uses constantly.

Measuring volume 12

Several pieces look similar and differ enormously in accuracy. Which one you reach for decides how good your result can be.

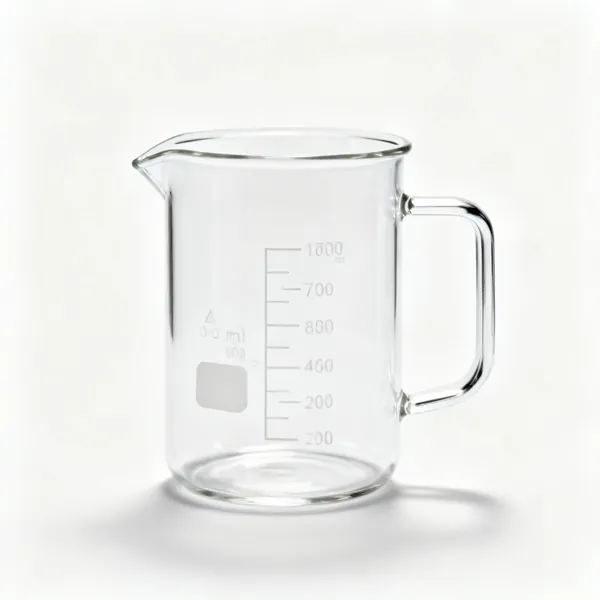
  • A glass laboratory beaker with graduation markingsEssential

    Beaker

    A straight sided container with a lip for pouring. Its graduations are approximate, so it holds and mixes rather than measures.

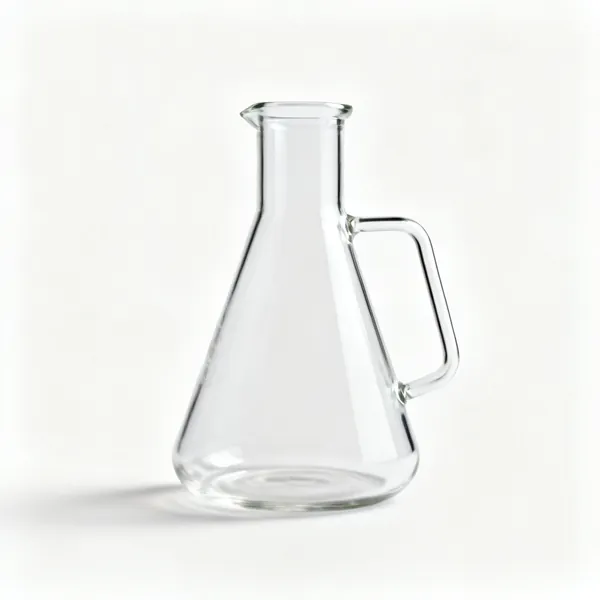
  • Conical flask: A glass conical Erlenmeyer flaskEssential

    Conical flask

    Sloping sides and a narrow neck, so contents can be swirled without spilling. The standard titration vessel.

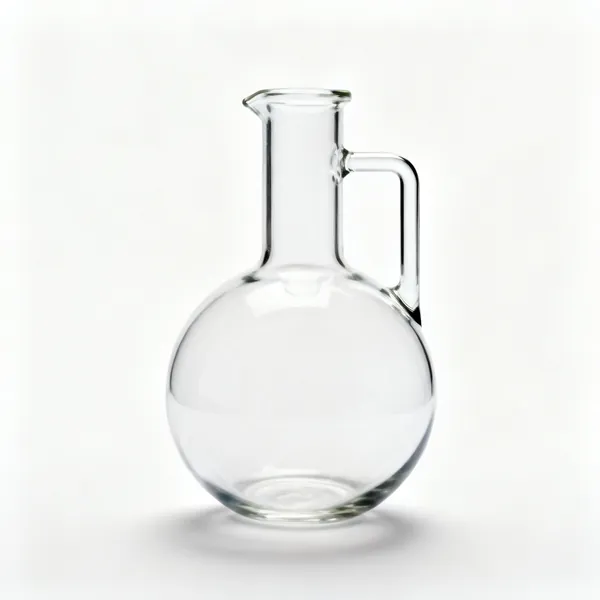
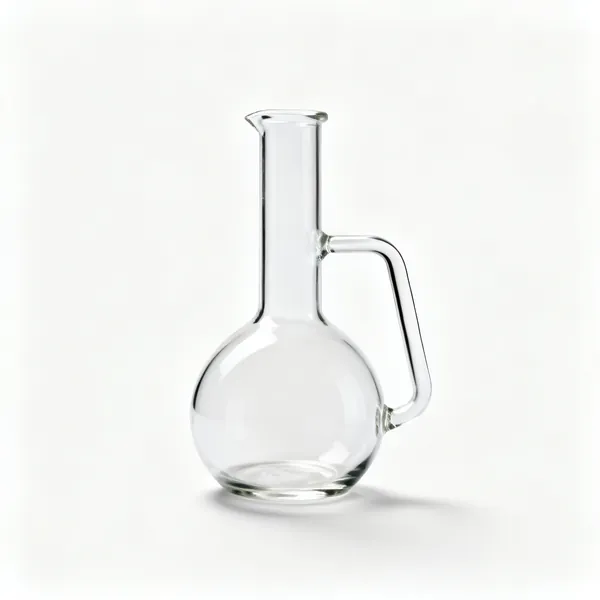
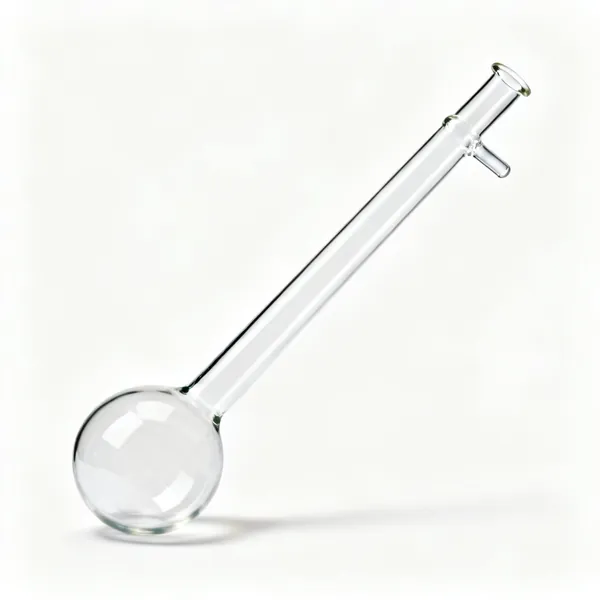
  • Round bottom flask: A glass round bottom laboratory flask

    Round bottom flask

    An even curved base that heats uniformly, used for distillation and reflux. It needs a stand or a cork ring to sit upright.

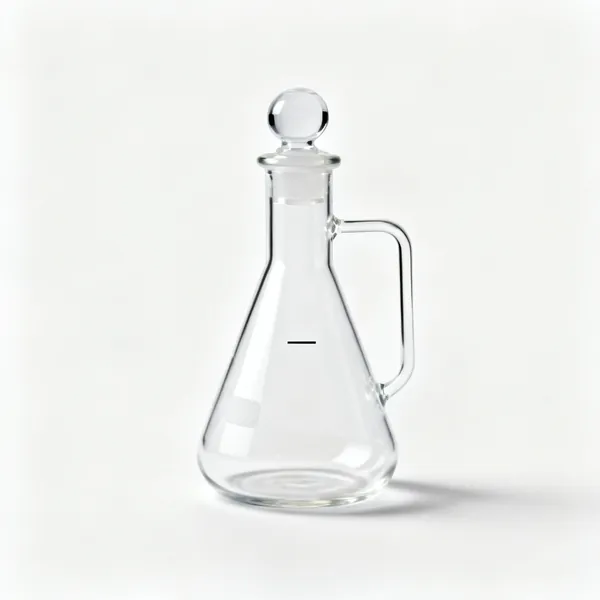
  • A glass volumetric flask with a stopper and single graduation lineEssential

    Volumetric flask

    A long neck with one calibration line, measuring a single volume very accurately. How a standard solution is made up.

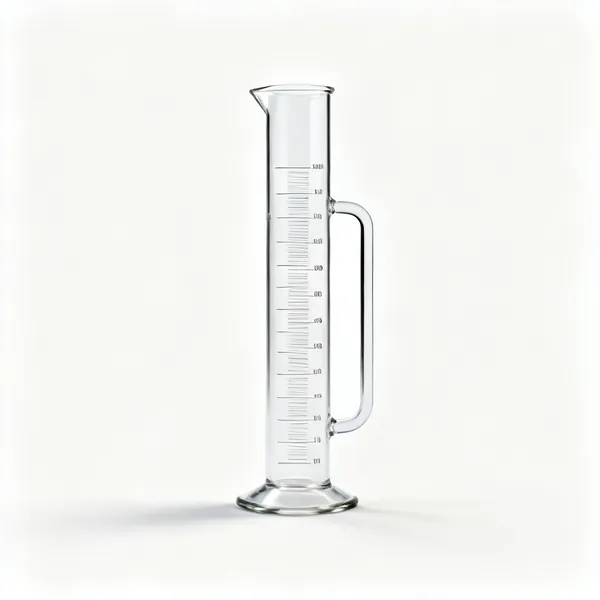
  • A tall glass graduated measuring cylinderEssential

    Measuring cylinder

    A tall graduated tube, accurate to about one percent. The everyday tool when a volume actually matters.

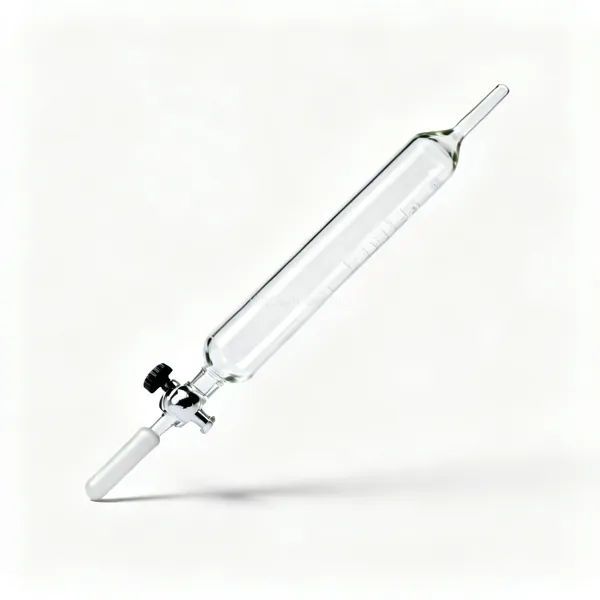
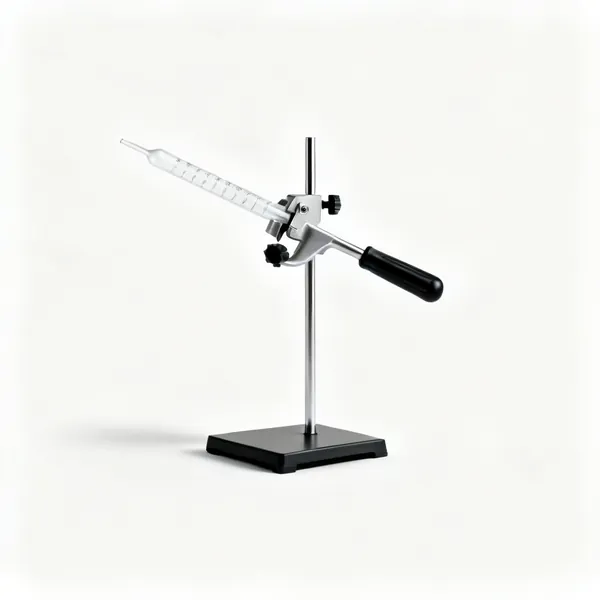
  • A glass burette with a stopcock tapEssential

    Burette

    A long graduated tube with a tap, delivering a variable volume you can read precisely. The core of any titration.

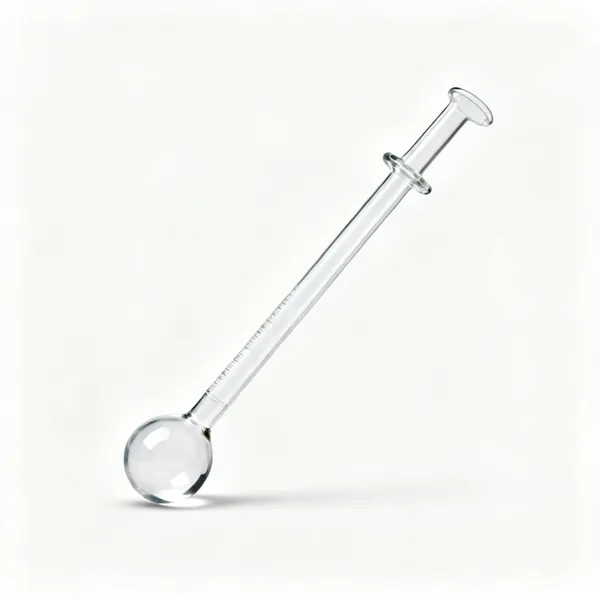
  • A glass volumetric pipette with a single bulbEssential

    Volumetric pipette

    Delivers one fixed volume very accurately. Never filled by mouth, and never blown out, since it retains a film by design.

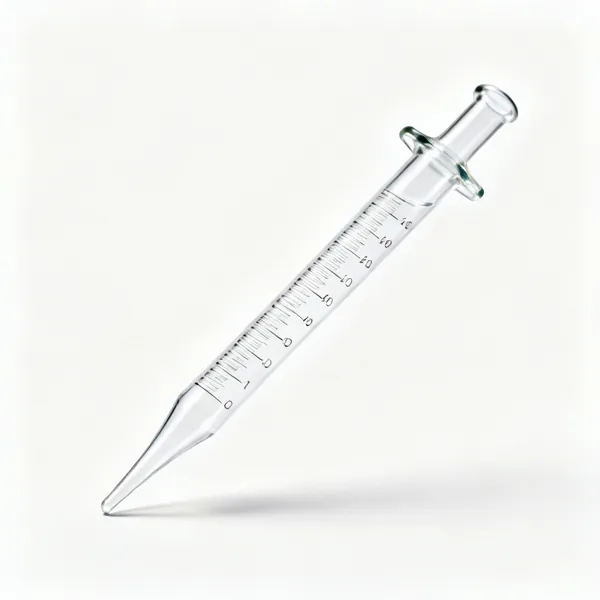
  • Graduated pipette: A graduated glass laboratory pipette

    Graduated pipette

    Marked along its length so it can deliver a range of volumes, less accurately than a volumetric pipette.

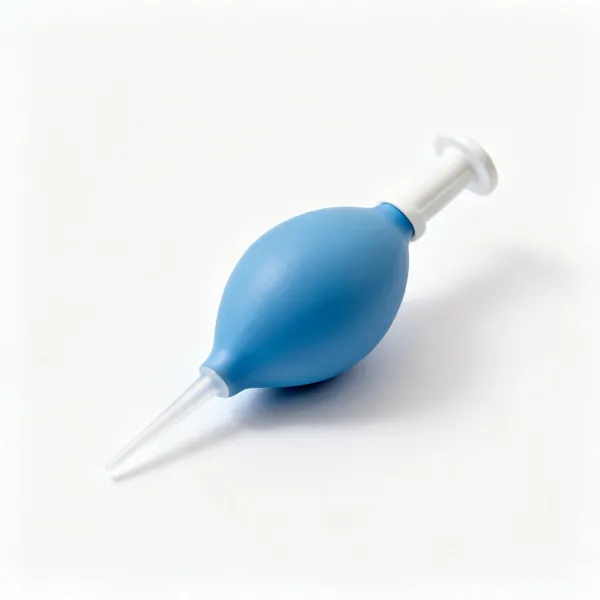
  • A rubber pipette filler bulbEssential

    Pipette filler

    A bulb or wheel that draws liquid up, so nobody ever pipettes by mouth. The reason that rule is easy to keep.

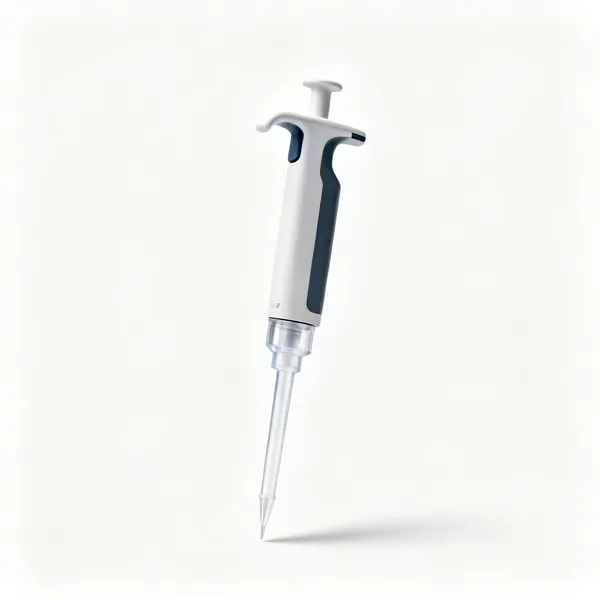
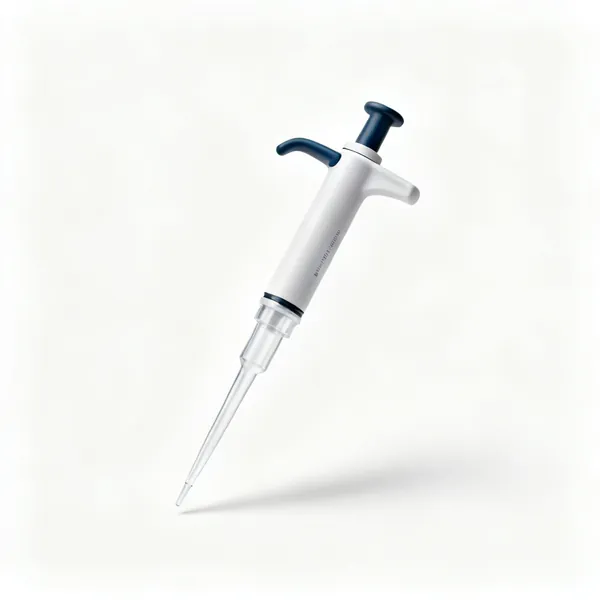
  • An adjustable micropipette with a disposable tip

    Micropipette

    Delivers microlitre volumes with a disposable tip, adjustable by a dial. Standard in biology and biochemistry.

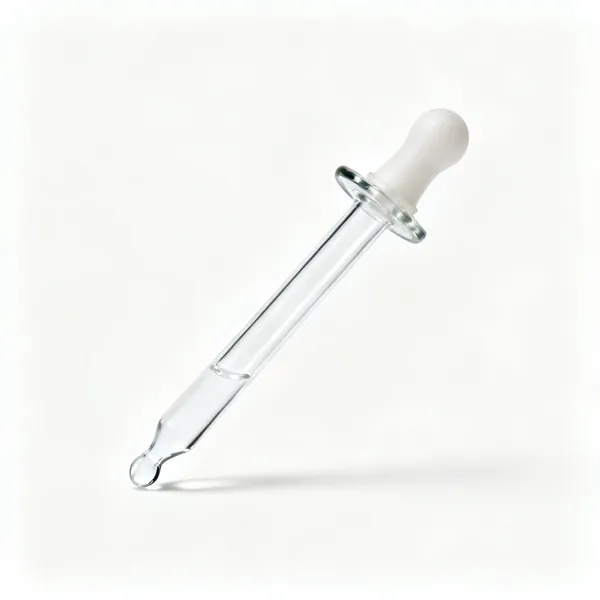
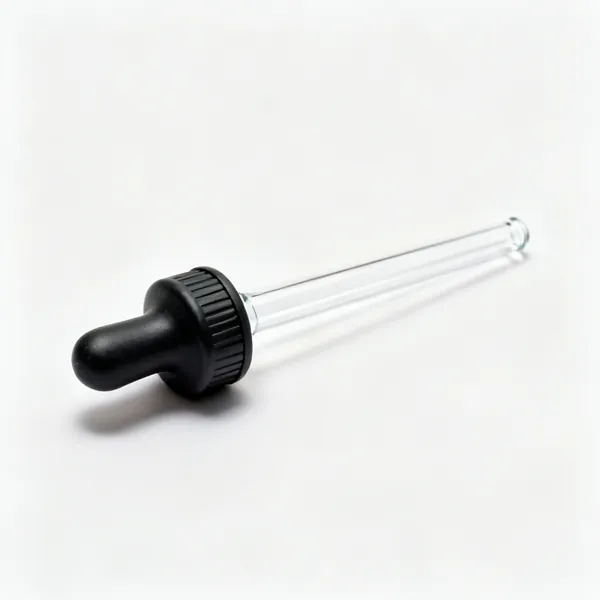
  • A glass dropping pipette with a rubber teatEssential

    Dropping pipette

    A simple teat pipette for adding a few drops, such as an indicator. No useful accuracy and constantly used.

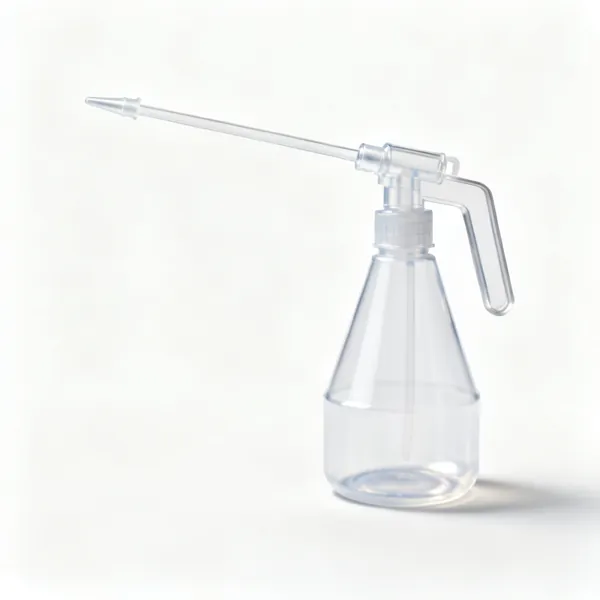
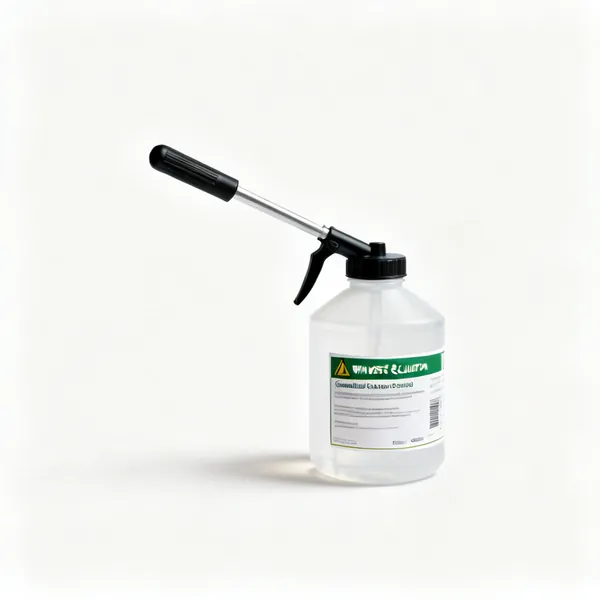
  • A plastic laboratory wash bottle with a nozzleEssential

    Wash bottle

    A squeeze bottle of distilled water for rinsing glassware and washing residue down a flask wall during a titration.

Measuring mass & temperature 10

Quantitative work rests on these. Both are easily thrown off by the environment rather than by the instrument.

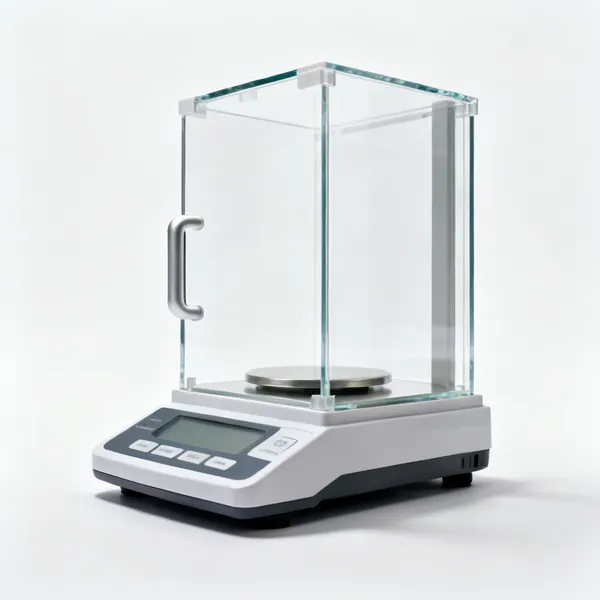
  • A digital laboratory electronic balanceEssential

    Electronic balance

    Reads mass to two or three decimal places. Level, clean and out of a draught, or an accurate balance reads inaccurately.

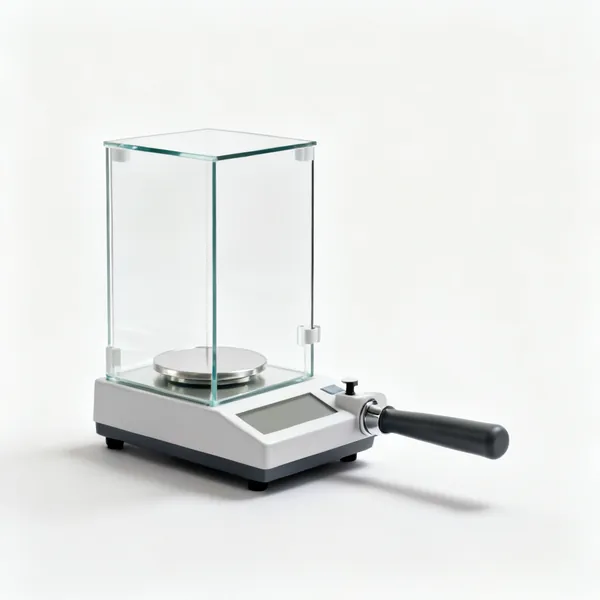
  • An analytical balance with a glass draught shield

    Analytical balance

    Reads to four decimal places inside a draught shield, because at that resolution air movement alone shifts the reading.

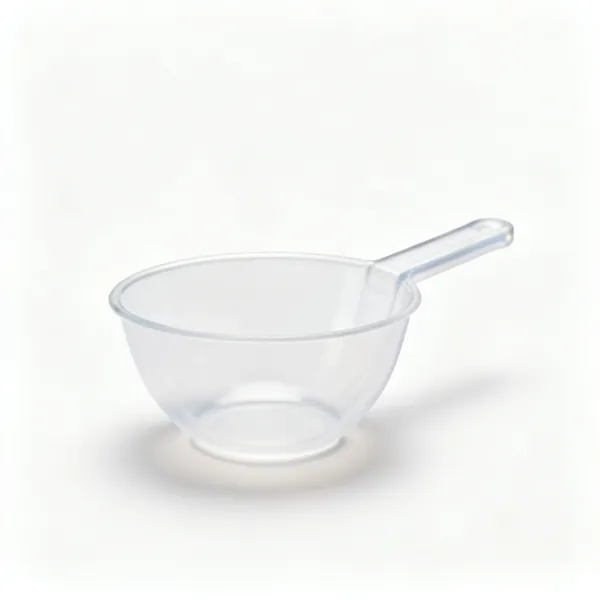
  • Plastic laboratory weighing boatsEssential

    Weighing boat

    A small dish for weighing powder without contaminating the balance pan. Tared first, then filled.

  • A curved glass watch glassEssential

    Watch glass

    A shallow curved disc for weighing, evaporating small volumes and covering a beaker without sealing it.

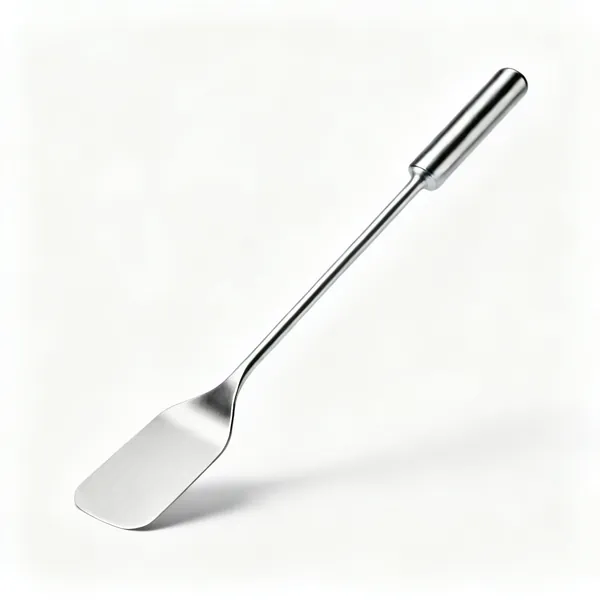
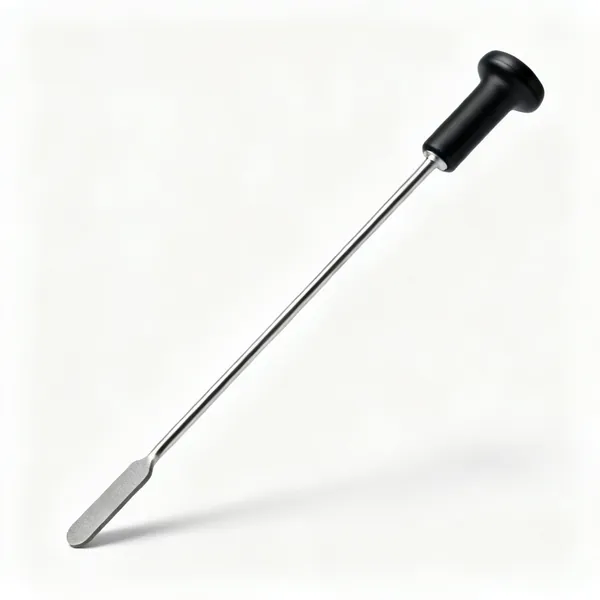
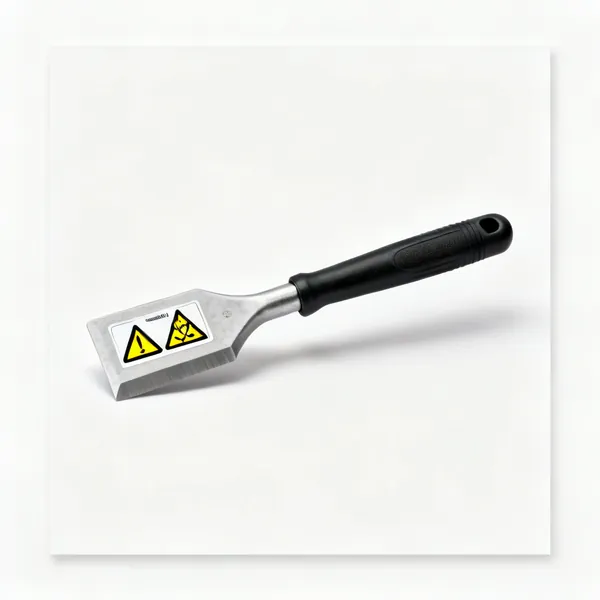
  • A stainless steel laboratory spatulaEssential

    Spatula

    Transfers solid chemicals. One per chemical, since a shared spatula carries traces between containers.

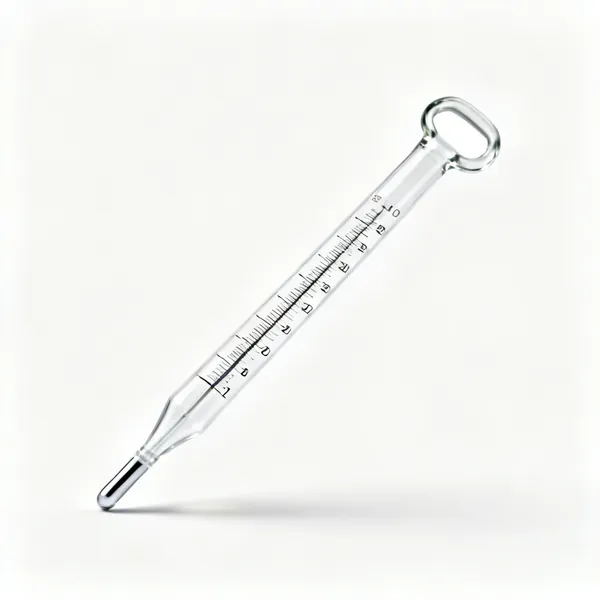
  • A glass laboratory thermometer with a scaleEssential

    Thermometer

    Reads the temperature of a mixture. The bulb sits in the liquid, not against the glass, or it reads the vessel.

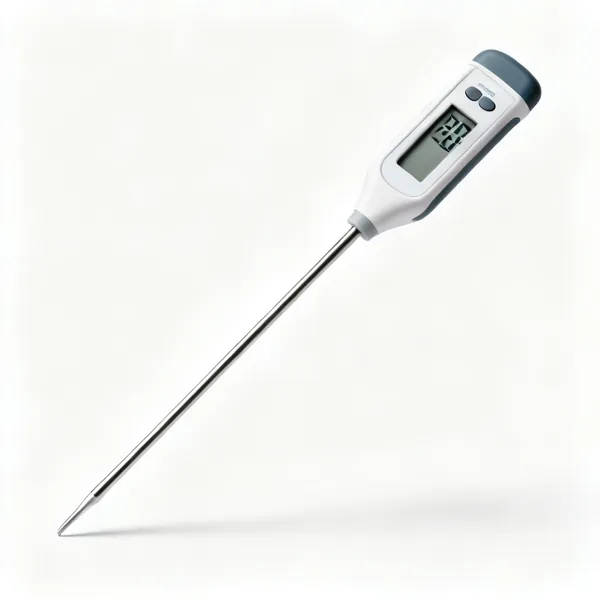
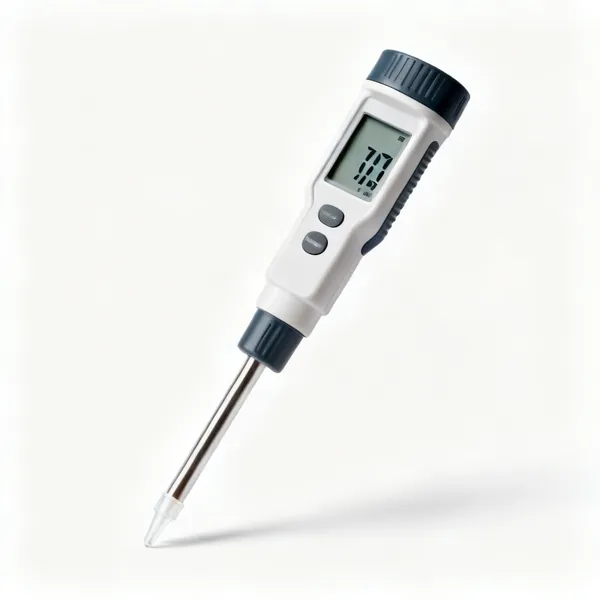
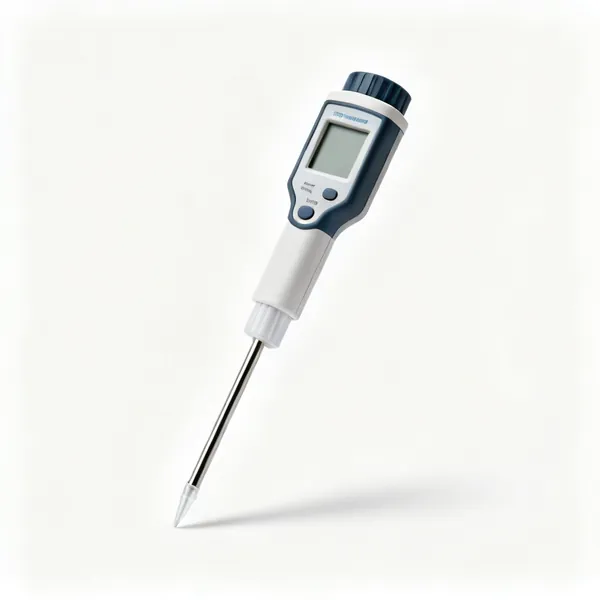
  • Digital thermometer: A digital laboratory thermometer with a probe

    Digital thermometer

    A probe with a fast readout, and safer than glass. Easier to read precisely and it needs calibrating occasionally.

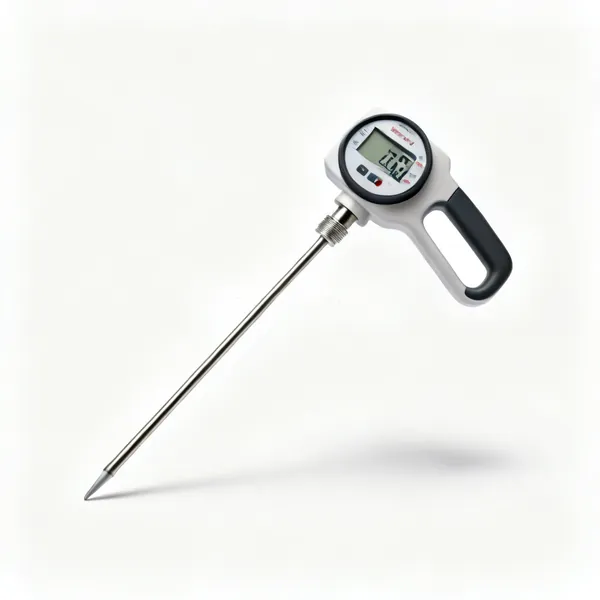
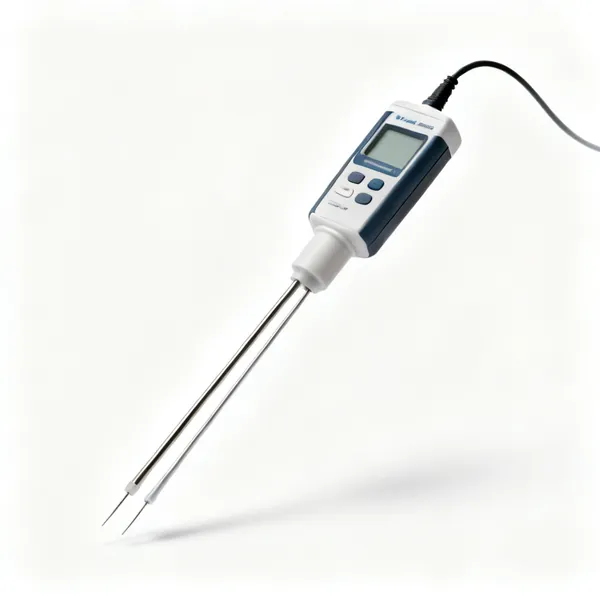
  • A thermocouple temperature probe with a meter

    Thermocouple

    Measures far higher temperatures than a liquid thermometer can, for furnace and combustion work.

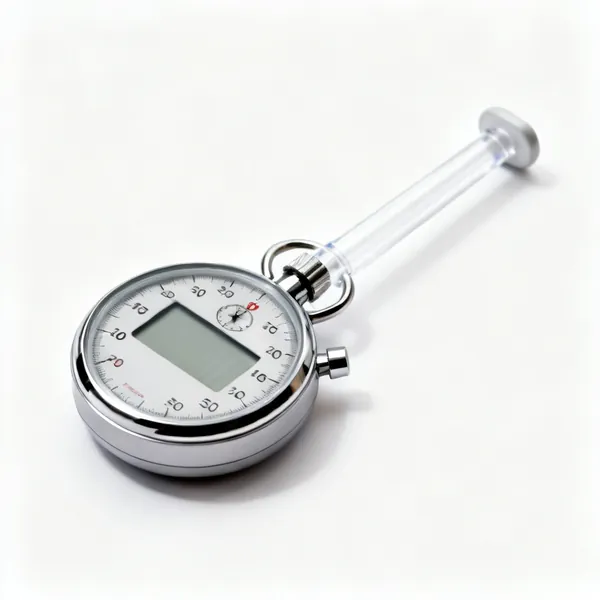
  • A digital laboratory stopwatchEssential

    Stopwatch

    Rates of reaction are half of school chemistry, and they all need timing consistently from the same moment.

  • A glass laboratory desiccator with a lid

    Desiccator

    A sealed vessel with a drying agent, for cooling a heated sample without it absorbing moisture and gaining mass.

Heating & sterilising 13

Where laboratory accidents concentrate. Even heat, a vent, and never trusting how hot glass looks.

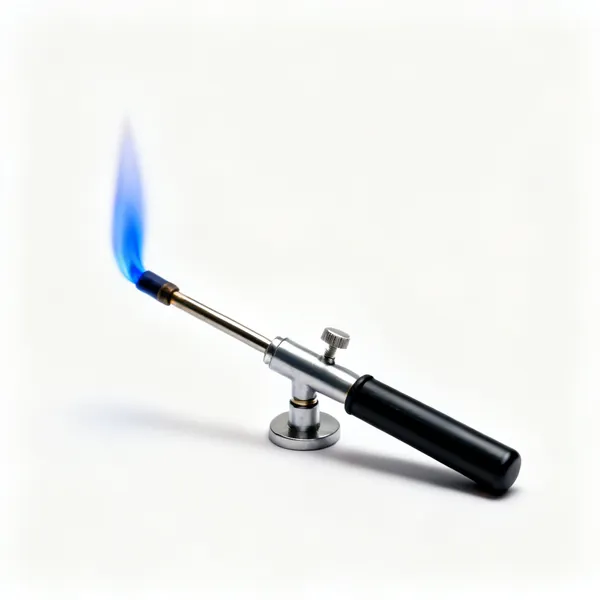
  • A Bunsen burner with a blue flameEssential

    Bunsen burner

    An adjustable gas flame. The air hole sets the flame: yellow is cool and dirty, blue is hot and clean.

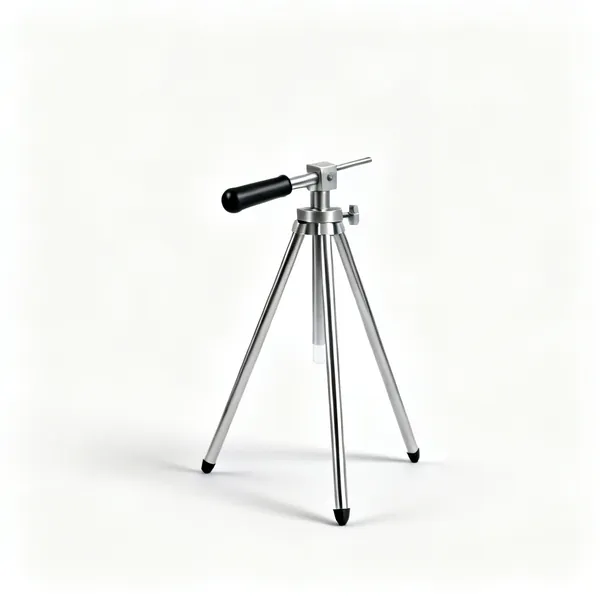
  • A steel laboratory tripod standEssential

    Tripod

    A three legged stand holding a gauze above the burner. Three legs sit stably on an uneven bench where four would rock.

  • A wire gauze square for a laboratory tripodEssential

    Wire gauze

    Spreads the flame's heat across a whole vessel base. Without it the flame cracks the glass at one point.

  • Heatproof mat: A heatproof laboratory bench matEssential

    Heatproof mat

    Protects the bench and gives you somewhere to put hot apparatus down. Hot glass looks exactly like cold glass.

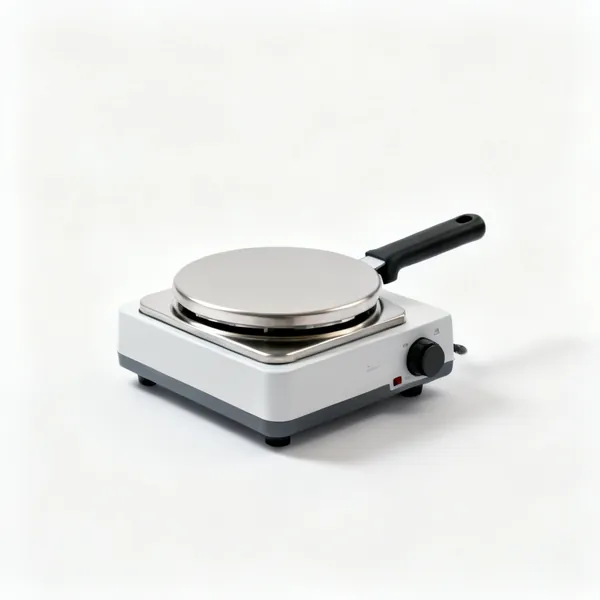
  • An electric laboratory hot plate

    Hot plate

    Electric heating with no open flame, so it is safer with flammable solvents and gives more controllable heat.

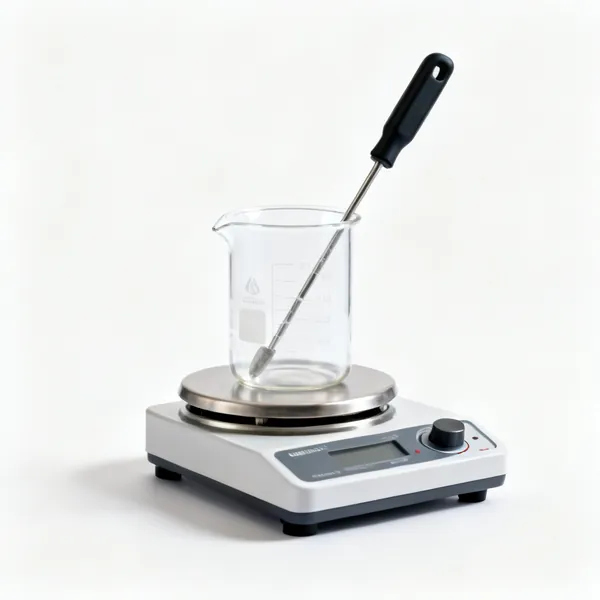
  • A magnetic stirrer hotplate with a beaker

    Magnetic stirrer hotplate

    Heats and stirs together using a magnet spinning a bar in the vessel. Even heating with no hand needed.

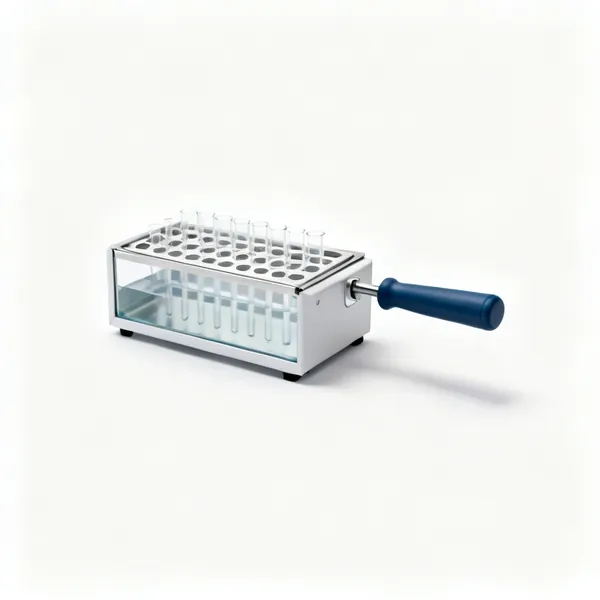
  • A laboratory water bath with racks

    Water bath

    Holds samples at a steady temperature below boiling, which suits enzymes and anything that must not overheat.

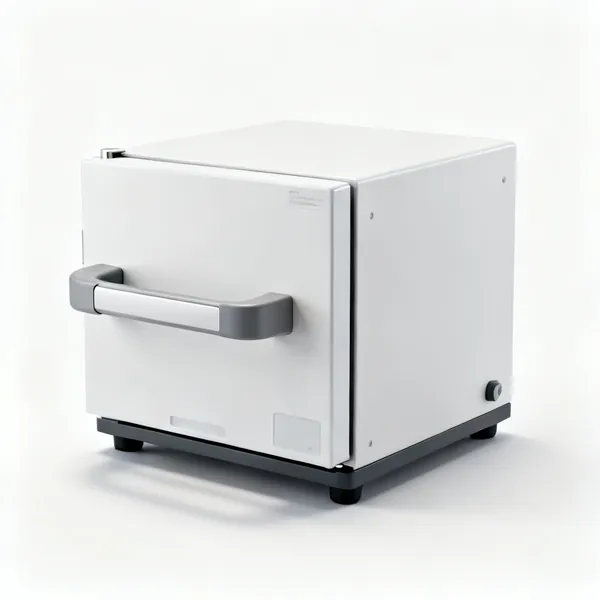
  • A laboratory drying oven

    Drying oven

    Dries samples and glassware at a controlled temperature. Never used for volumetric glassware, which it decalibrates.

  • A laboratory muffle furnace

    Muffle furnace

    Reaches several hundred degrees for ashing and ignition, in a chamber that keeps combustion products off the sample.

  • A benchtop laboratory autoclave

    Autoclave

    Sterilises with pressurised steam, which kills spores that boiling alone does not. Essential in microbiology.

  • Crucible & lid: A ceramic laboratory crucible with a lid

    Crucible & lid

    A ceramic vessel for heating a solid to high temperature, as in finding water of crystallisation.

  • A porcelain evaporating basin dishEssential

    Evaporating basin

    A shallow wide dish presenting a large surface area, so a solution evaporates to leave the solid behind.

  • Anti bumping granules in a small dishEssential

    Anti bumping granules

    Give bubbles somewhere to form so boiling is steady. They prevent a superheated liquid erupting all at once.

Holding & supporting 11

Apparatus has to be held steady, level and at a height. Most of it cannot stand up on its own.

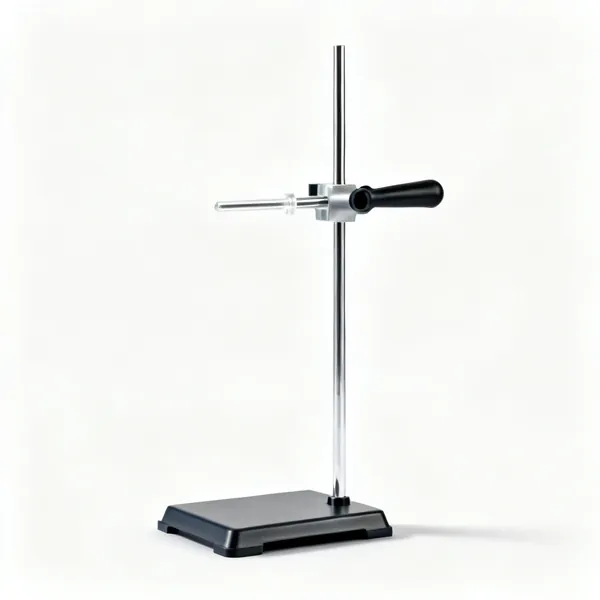
  • A laboratory retort clamp stand with a heavy baseEssential

    Clamp stand

    A heavy base and vertical rod that everything else attaches to. The base weight is what stops the assembly toppling.

  • Boss & clamp: A laboratory boss head and clamp on a standEssential

    Boss & clamp

    A boss grips the rod, a clamp grips the glassware. Snug rather than tight, since glass cracks under clamp pressure.

  • A burette clamp on a standEssential

    Burette clamp

    Holds a burette vertically without pinching it, with the tap accessible from the front.

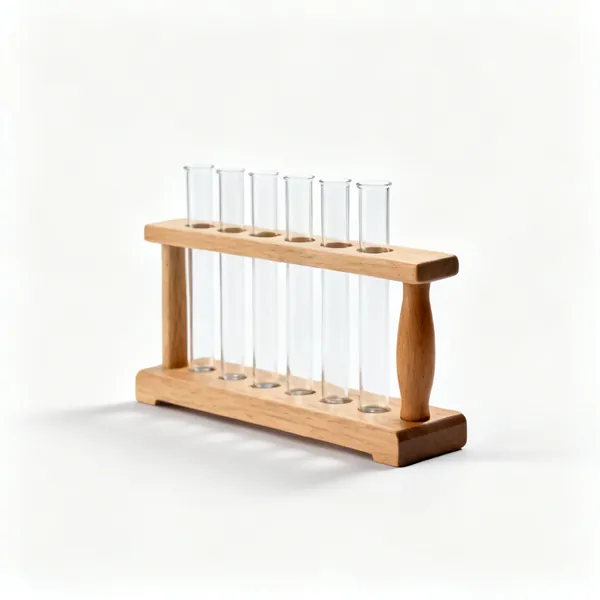
  • A wooden test tube rack with test tubesEssential

    Test tube rack

    Holds tubes upright and in a known order, so a set of samples cannot be confused or knocked over.

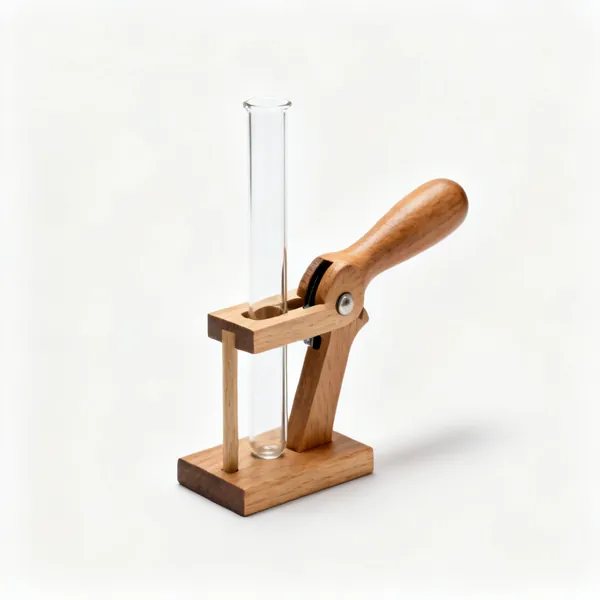
  • A wooden test tube holder clampEssential

    Test tube holder

    Wooden or metal tongs to hold a tube in a flame, keeping your hand away from both the heat and the mouth.

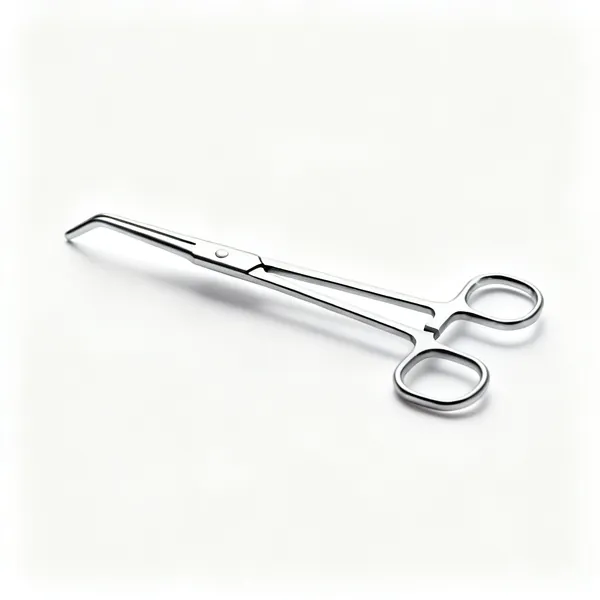
  • A pair of steel crucible tongsEssential

    Crucible tongs

    Long steel tongs for lifting hot crucibles and evaporating dishes. The only safe way to move them.

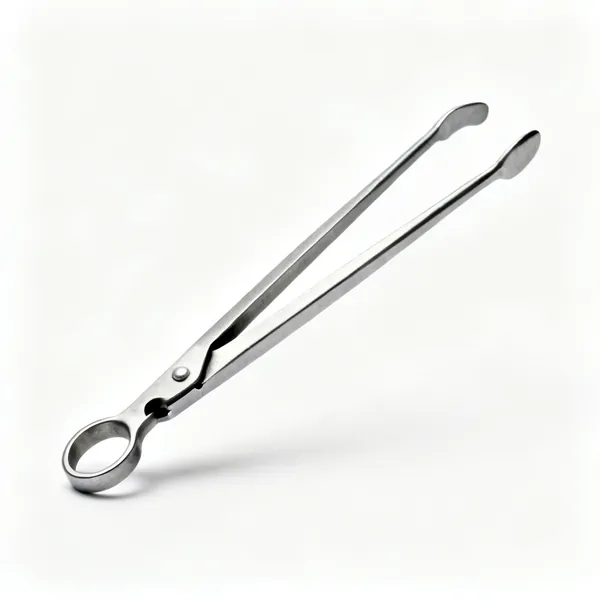
  • A pair of beaker tongs

    Beaker tongs

    Shaped to grip a beaker's rim securely, since crucible tongs slip off a smooth glass wall.

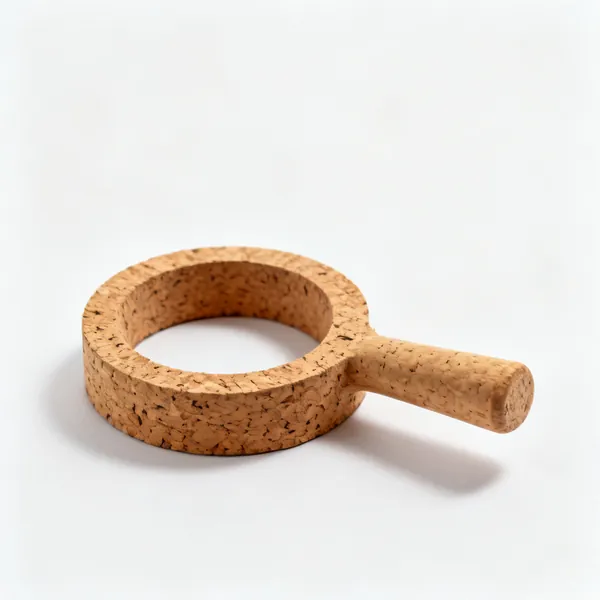
  • A cork ring flask stand

    Cork ring

    A ring that lets a round bottom flask stand upright on the bench, which it cannot do by itself.

  • A laboratory pipette stand with pipettes

    Pipette stand

    Holds pipettes upright and off the bench, since a tip touching the bench is contaminated.

  • Three finger clamp: A three finger laboratory clamp

    Three finger clamp

    Grips round glassware at three points, holding a flask or condenser more securely than a two jaw clamp.

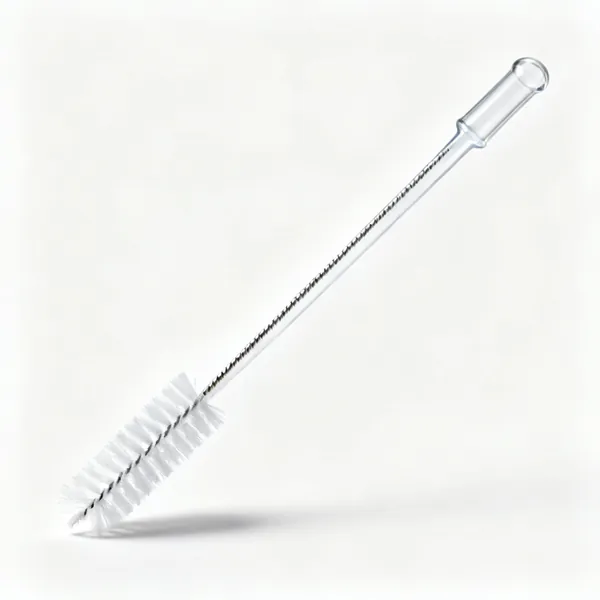
  • Test tube brush: A laboratory test tube cleaning brushEssential

    Test tube brush

    Reaches the bottom of a narrow tube, which nothing else can. Dried residue is contamination for the next experiment.

Mixing & separating 12

Combining, dividing and purifying. Most of practical chemistry is separating one thing from another.

  • Glass stirring rod: A glass laboratory stirring rodEssential

    Glass stirring rod

    Stirs, and guides liquid down a wall when pouring. Also used to spot test with a drop on indicator paper.

  • Magnetic stirrer & bar: A magnetic stirrer with a stir bar

    Magnetic stirrer & bar

    A rotating magnet spins a bar in the vessel, stirring continuously and hands free for a long reaction.

  • A laboratory vortex mixer

    Vortex mixer

    Shakes a tube rapidly to mix small volumes thoroughly in seconds. Standard in biology labs.

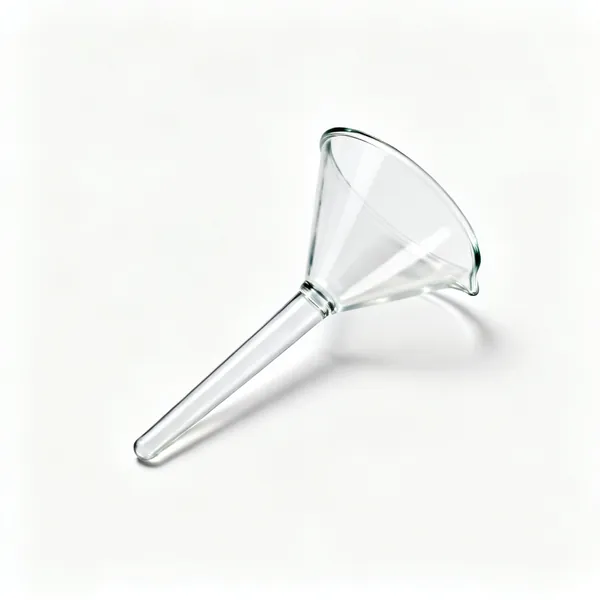
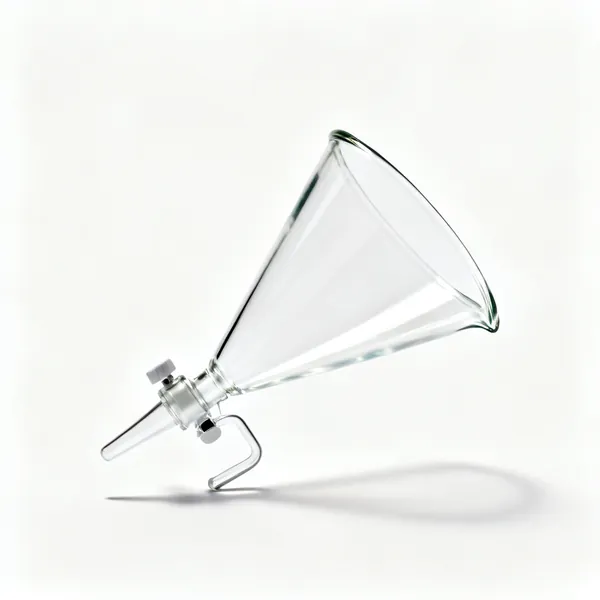
  • A glass laboratory filter funnelEssential

    Filter funnel

    Transfers liquid into a narrow neck without spilling, and holds filter paper for gravity filtration.

  • Circles of laboratory filter paperEssential

    Filter paper

    Separates an insoluble solid from a liquid. The solid stays as residue, the liquid passes as filtrate.

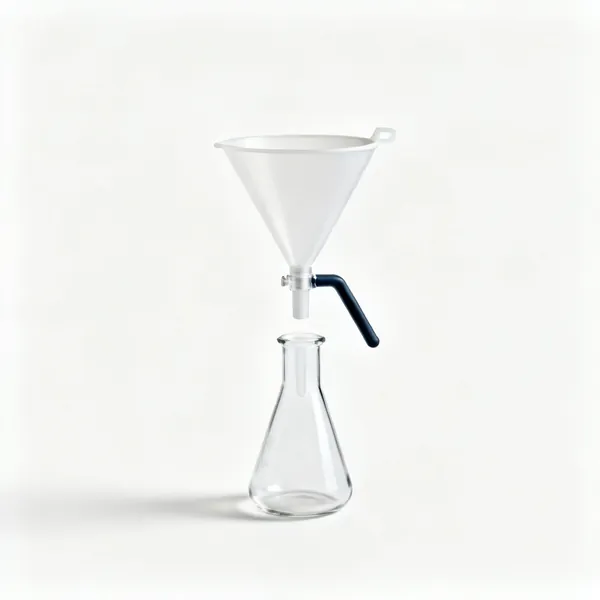
  • Buchner funnel & flask: A Buchner funnel on a filtration flask

    Buchner funnel & flask

    Filtration under vacuum, which is far faster than gravity and gives a much drier solid.

  • A glass separating funnel with a stopcock

    Separating funnel

    A pear shaped funnel with a tap for separating two immiscible liquids by running the lower layer off.

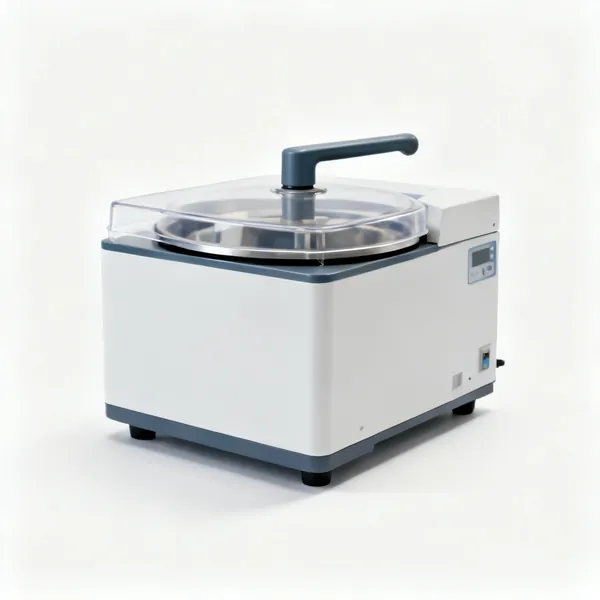
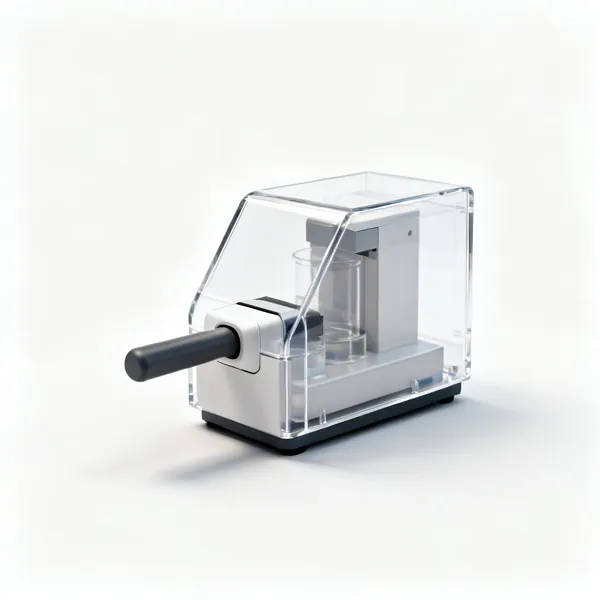
  • A benchtop laboratory centrifuge

    Centrifuge

    Spins tubes at speed so denser material collects at the bottom. Loaded in balanced pairs, or it damages itself.

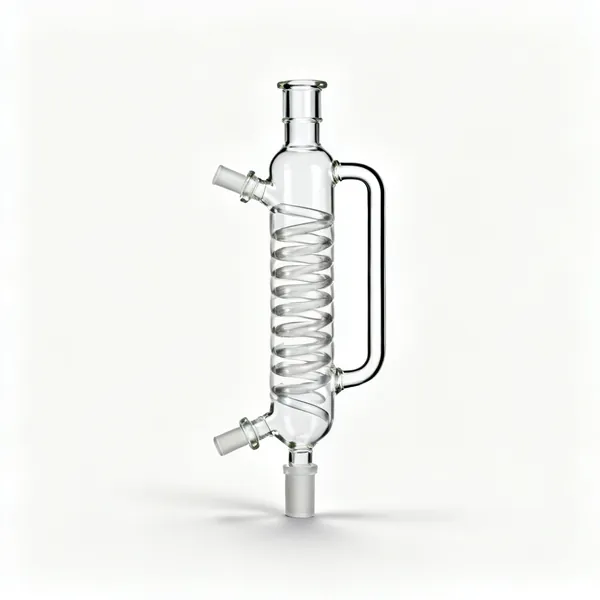
  • A glass Liebig condenser with hose connections

    Liebig condenser

    A water jacketed tube that cools vapour back to liquid. The core of distillation and reflux.

  • A glass distillation apparatus set up

    Distillation apparatus

    Flask, still head, condenser and receiver, separating liquids by boiling point. The classic purification method.

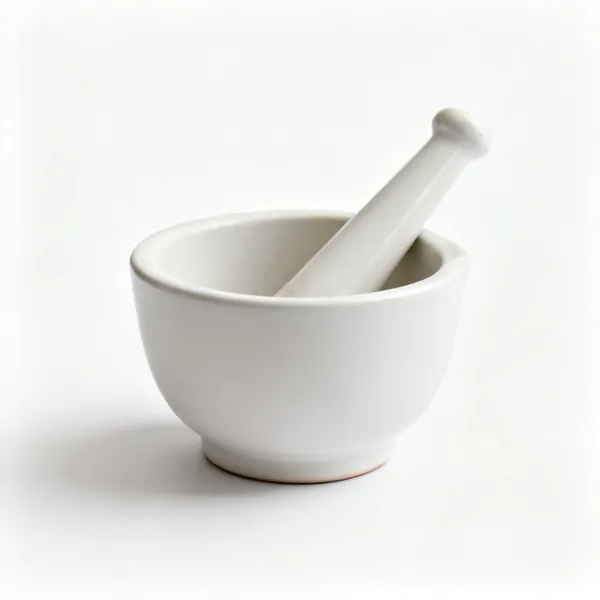
  • Mortar & pestle: A porcelain mortar and pestleEssential

    Mortar & pestle

    Grinds a solid to a fine powder, which dissolves and reacts far faster than lumps because of the surface area.

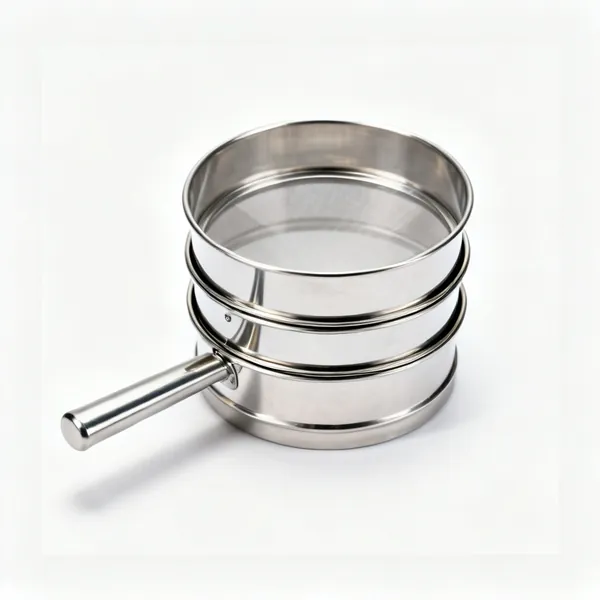
  • Stacked laboratory test sieves

    Test sieves

    Graded mesh separating a powder by particle size, and measures the distribution of sizes in a sample.

Sample containers & handling 12

Holding samples, cultures and reagents. Labelling matters as much as the container itself.

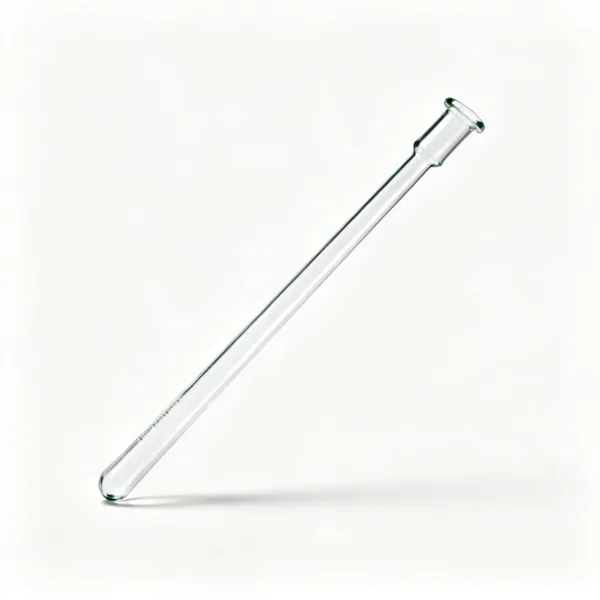
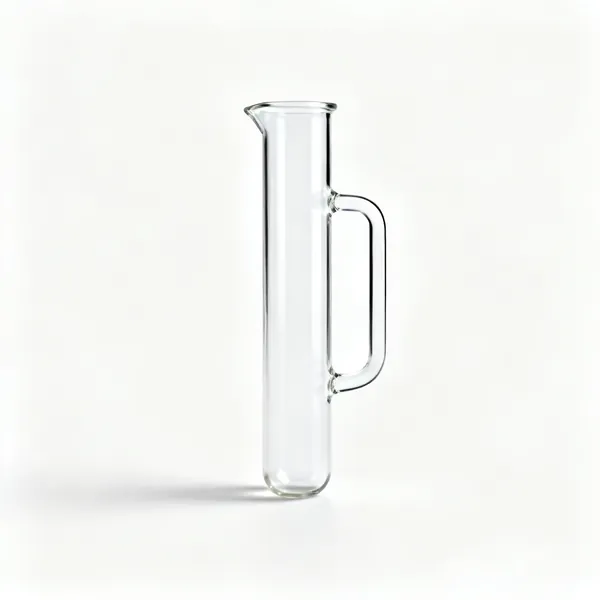
  • Glass laboratory test tubesEssential

    Test tube

    A small round bottomed tube for reactions on a tiny scale. Heated pointing away from everybody, and never filled full.

  • A large glass boiling tubeEssential

    Boiling tube

    Larger and thicker walled than a test tube, made to be heated directly with a bigger volume inside.

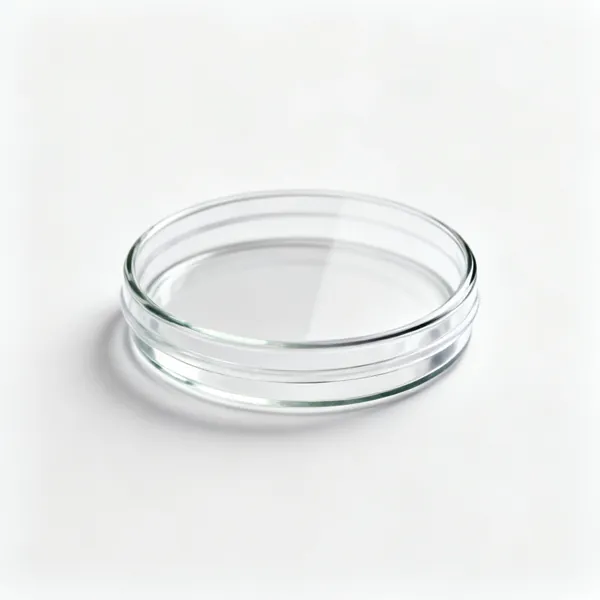
  • A glass petri dish with a lidEssential

    Petri dish

    A shallow lidded dish for growing cultures on agar. The lid rests rather than seals, so gas can exchange.

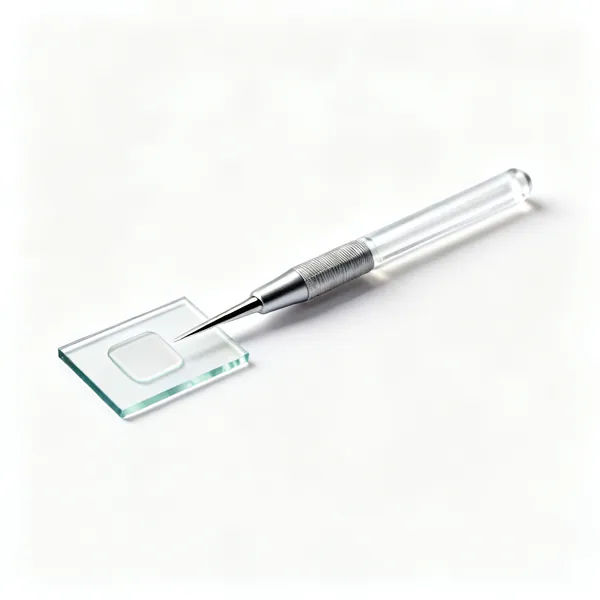
  • Glass microscope slides with coverslipsEssential

    Microscope slides

    Flat glass rectangles a specimen is mounted on. With a coverslip on top to flatten and protect it.

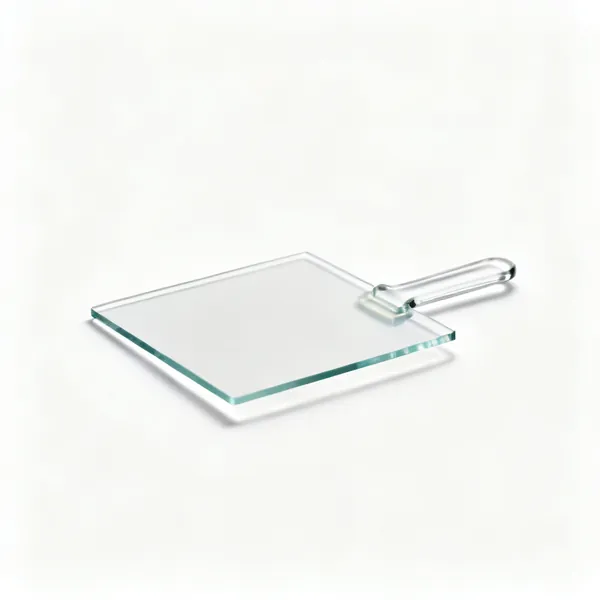
  • Thin glass microscope coverslipsEssential

    Coverslips

    Very thin glass squares over a specimen. Lowered at an angle so no air bubble is trapped underneath.

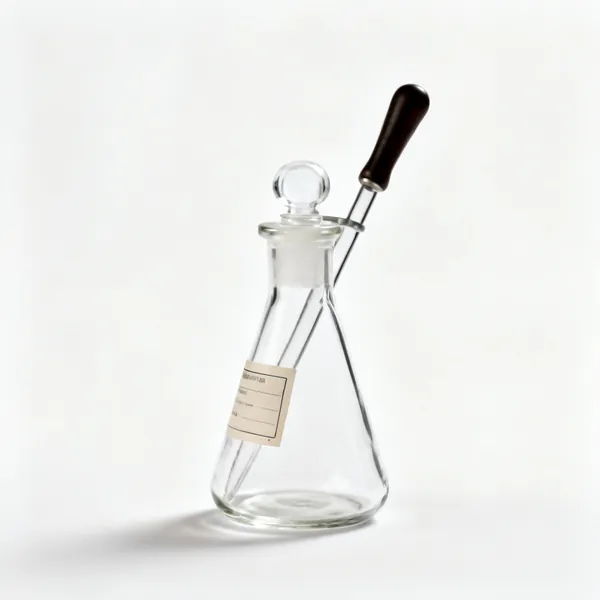
  • A glass reagent bottle with a stopper and labelEssential

    Reagent bottle

    A stoppered bottle for storing solutions, amber for anything light sensitive. Always labelled with contents and date.

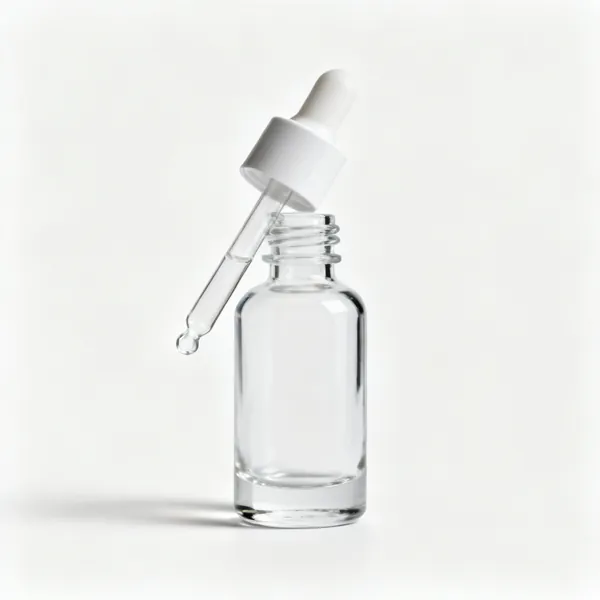
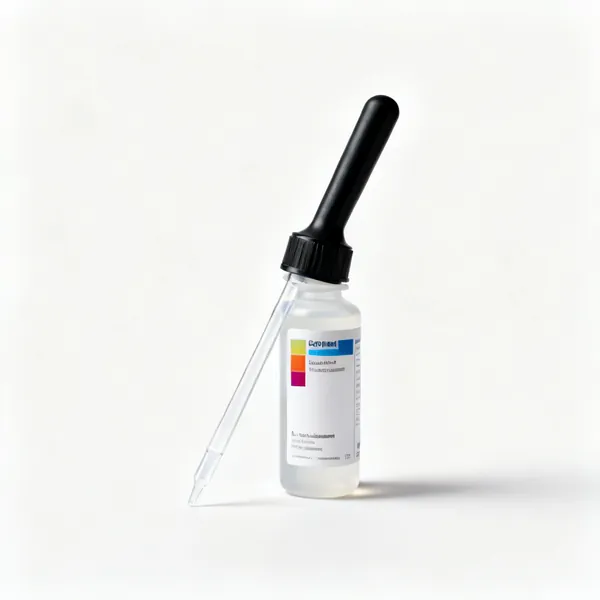
  • A glass dropper bottle with a pipette lidEssential

    Dropper bottle

    A small bottle with an integral pipette for indicators and reagents used a drop at a time.

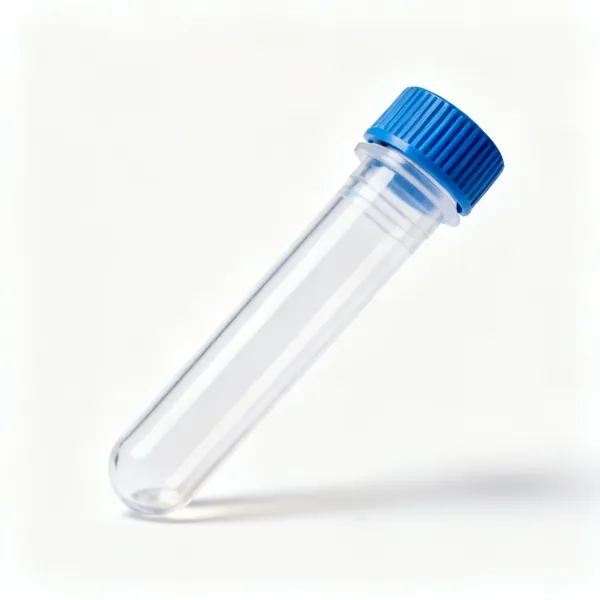
  • Plastic screw cap specimen tubes

    Specimen tubes

    Screw capped tubes for storing and transporting samples without them leaking or evaporating.

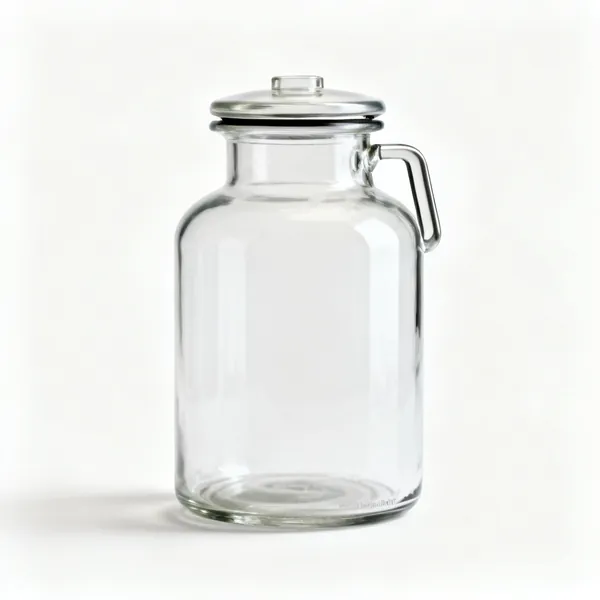
  • Gas jar & lid: A glass gas jar with a lid

    Gas jar & lid

    Collects and holds a gas for testing. A glass lid slides across the top to keep the gas in.

  • Delivery tube & bung: A rubber bung with a glass delivery tubeEssential

    Delivery tube & bung

    Carries a gas from where it is made to where it is collected. The bung must fit, or the gas escapes at the neck.

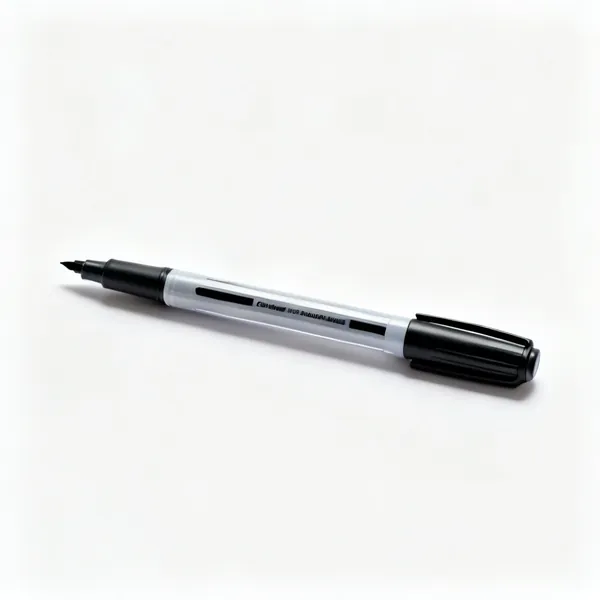
  • Labels & marker: Laboratory labels and a marker penEssential

    Labels & marker

    An unlabelled container is waste, because its contents can no longer be trusted. Written as you pour, not later.

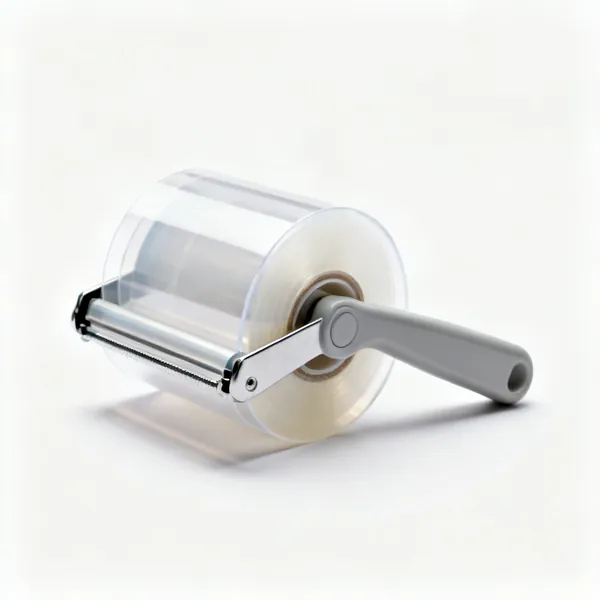
  • A roll of laboratory sealing film

    Sealing film

    A stretchable film sealing a container against evaporation and contamination without an airtight closure.

Observation & analysis 12

Seeing and measuring what a reaction actually did. The instruments that turn an observation into data.

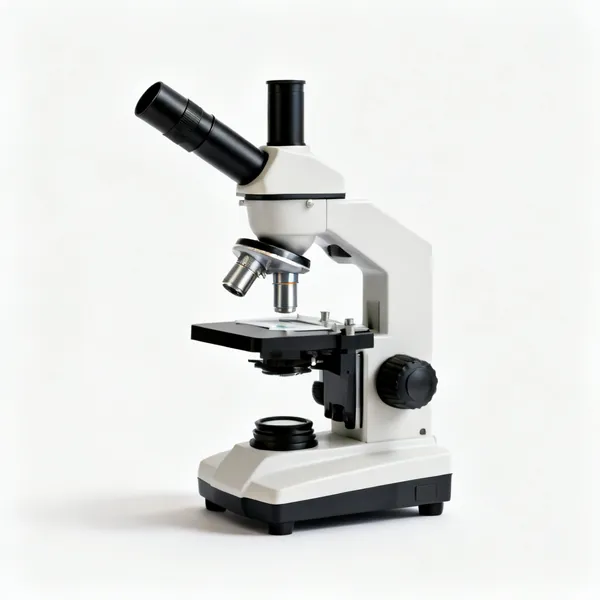
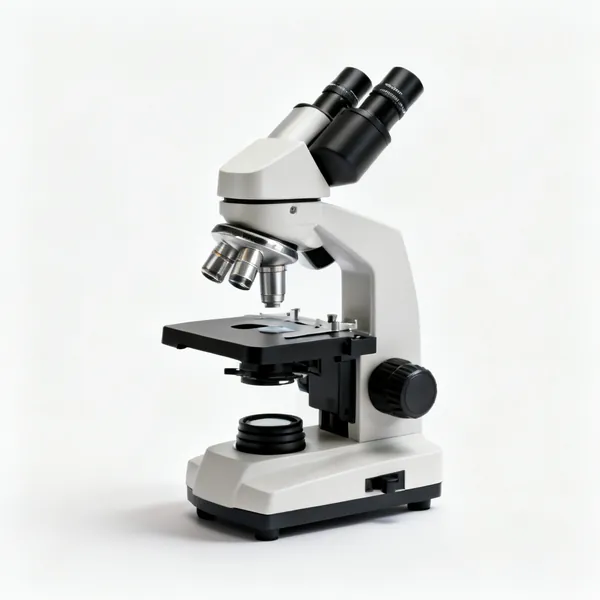
  • Compound microscope: A compound laboratory microscopeEssential

    Compound microscope

    Magnifies through an objective and an eyepiece. Focused with the low power lens first, always, to avoid crushing the slide.

  • Stereo microscope: A stereo dissecting microscope

    Stereo microscope

    Lower magnification in three dimensions, for dissection and examining a solid object rather than a thin slide.

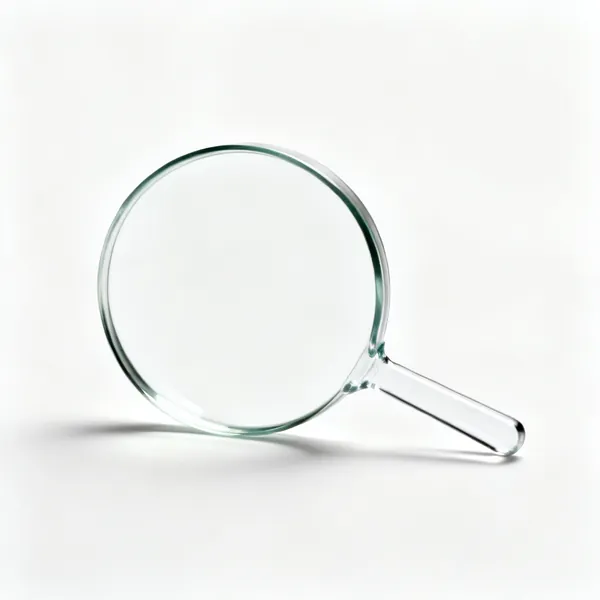
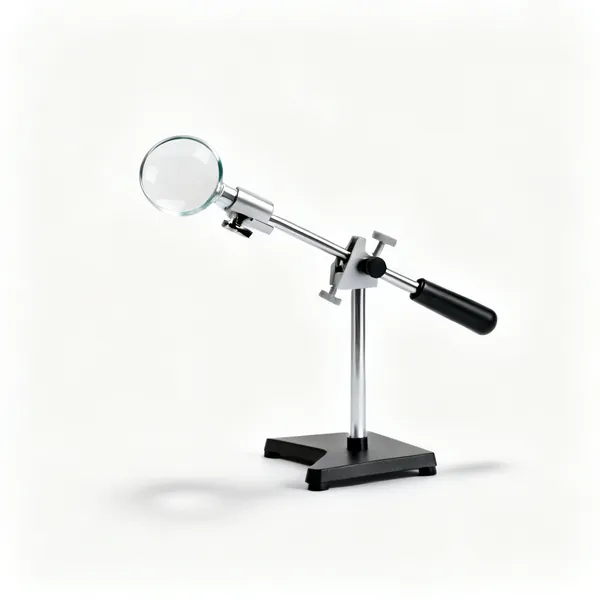
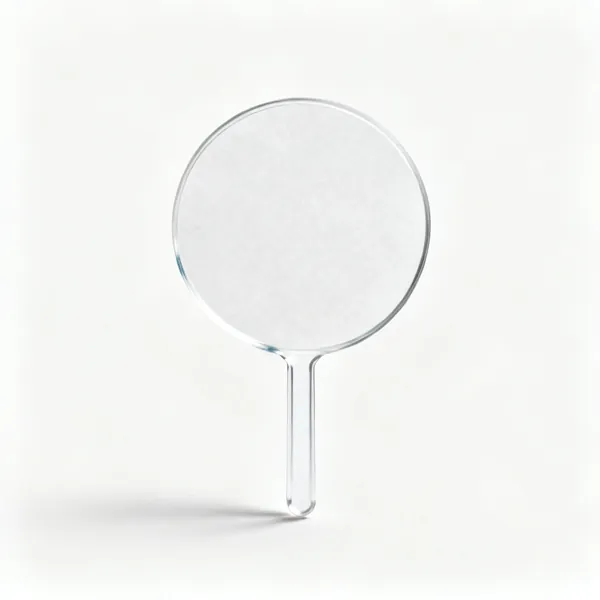
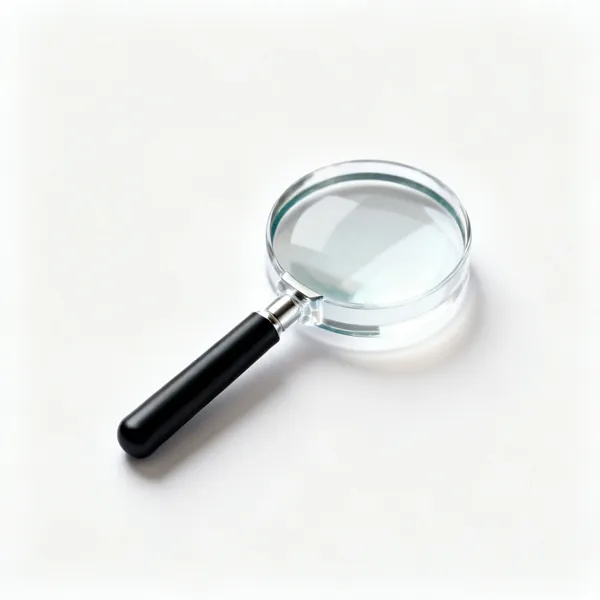
  • A laboratory hand lens magnifierEssential

    Hand lens

    A simple magnifier for examining specimens and precipitates in the field or at the bench.

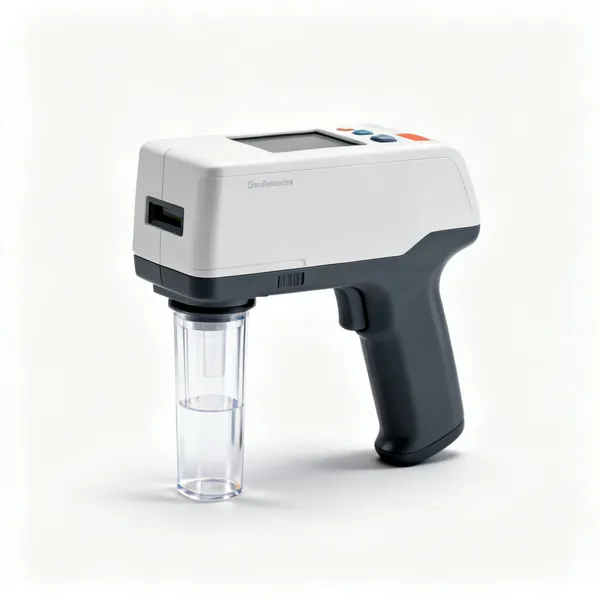
  • A digital pH meter with a probe

    pH meter

    Reads pH numerically from a probe, far more precisely than paper. Calibrated against buffers before use.

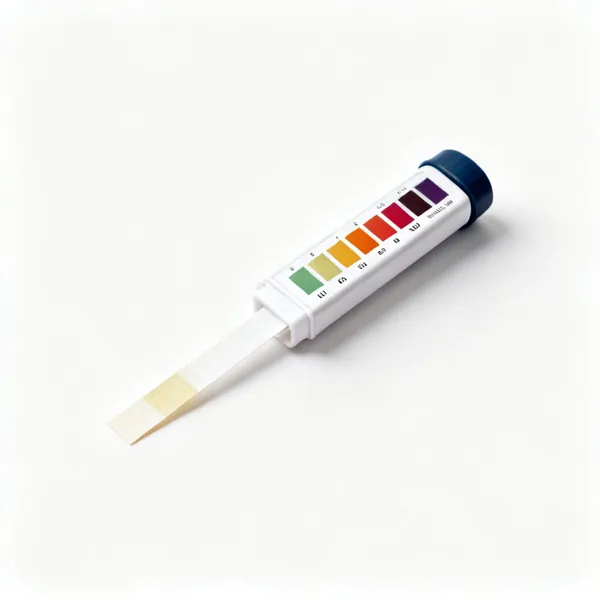
  • pH paper: PH indicator paper strips with a colour chartEssential

    pH paper

    Indicator paper giving an approximate pH from a colour change. Quick, cheap and good enough for most classwork.

  • Indicators: Bottles of laboratory indicator solutionsEssential

    Indicators

    Solutions changing colour at a known pH, such as litmus, phenolphthalein and methyl orange. The endpoint of a titration.

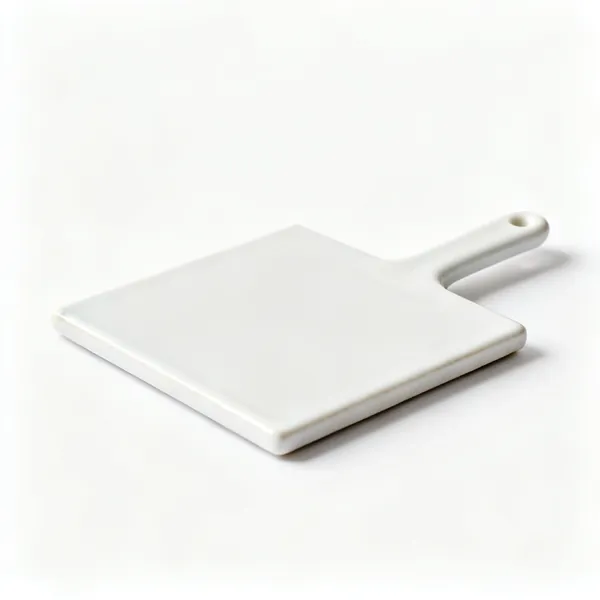
  • White tile: A white ceramic laboratory tileEssential

    White tile

    Sits under a titration flask so the colour change is visible against white. A cheap item that makes the endpoint clear.

  • A benchtop laboratory spectrophotometer

    Spectrophotometer

    Measures how much light a solution absorbs, which gives concentration. How colorimetric analysis is quantified.

  • A laboratory colorimeter with a cuvette

    Colorimeter

    A simpler filtered version of the same idea, used with a calibration curve at school and college level.

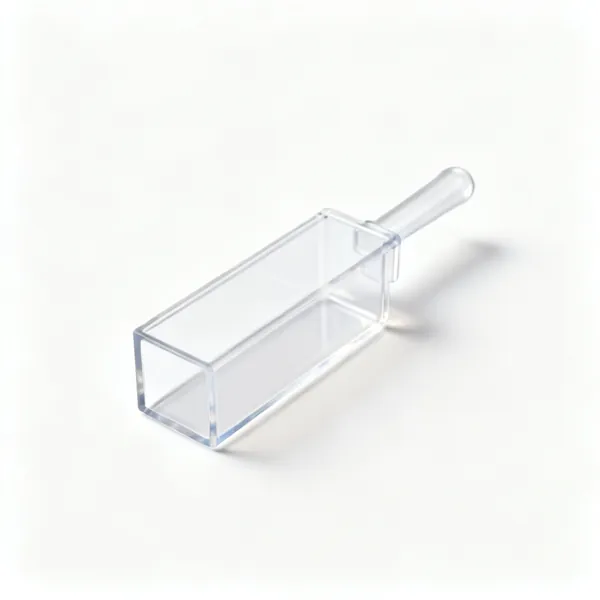
  • Plastic laboratory cuvettes

    Cuvettes

    Small square cells of exact path length holding the sample. Handled by the frosted sides, since fingerprints absorb light.

  • A conductivity meter with a probe

    Conductivity meter

    Measures how well a solution conducts, which indicates dissolved ion concentration and follows a reaction's progress.

  • A laboratory data logger with sensor probes

    Data logger

    Records readings from probes over time automatically, which is how a rate of reaction is captured properly.

Safety & protection 14

Before any apparatus at all. In a laboratory these are equipment rather than accessories.

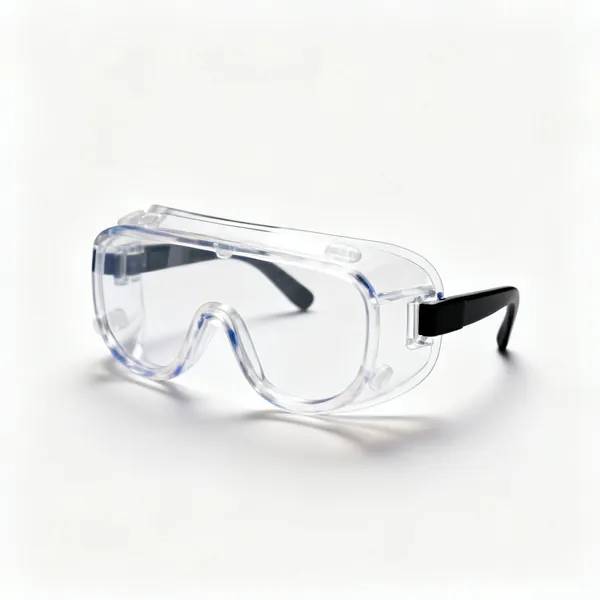
  • A pair of enclosed laboratory safety gogglesEssential

    Safety goggles

    Fully enclosed, since a splash arrives from any direction. Worn from before the first bottle is opened.

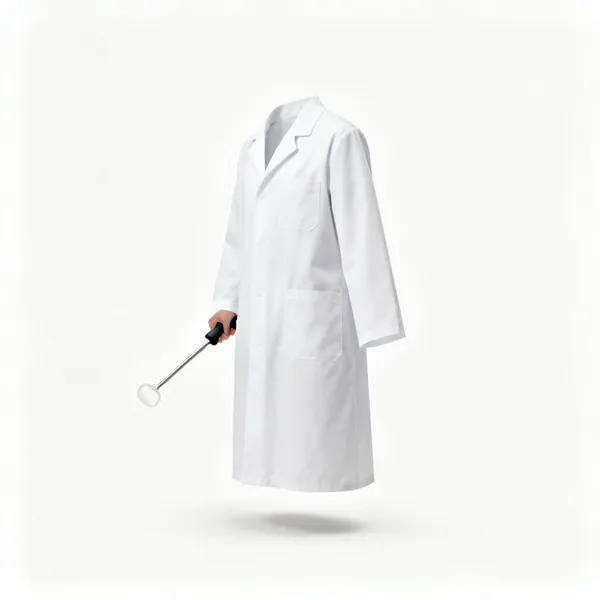
  • Lab coat: A white laboratory coatEssential

    Lab coat

    A barrier between chemicals and your clothes and skin, and it can be removed quickly if something is spilled on it.

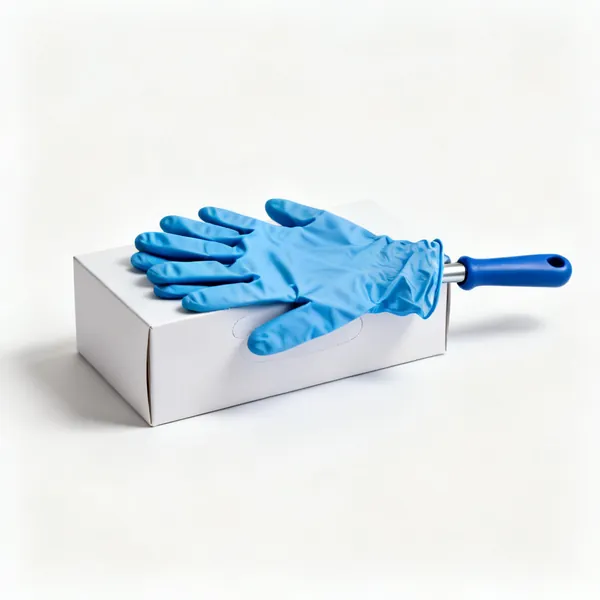
  • Nitrile gloves: A box of blue nitrile laboratory glovesEssential

    Nitrile gloves

    Chosen for the chemical, since some solvents pass straight through nitrile and the wrong glove holds it against skin.

  • A laboratory fume cupboard with the sash raisedEssential

    Fume cupboard

    Extracts vapour away from you, with the sash low as a shield. Anything toxic or volatile is done inside it.

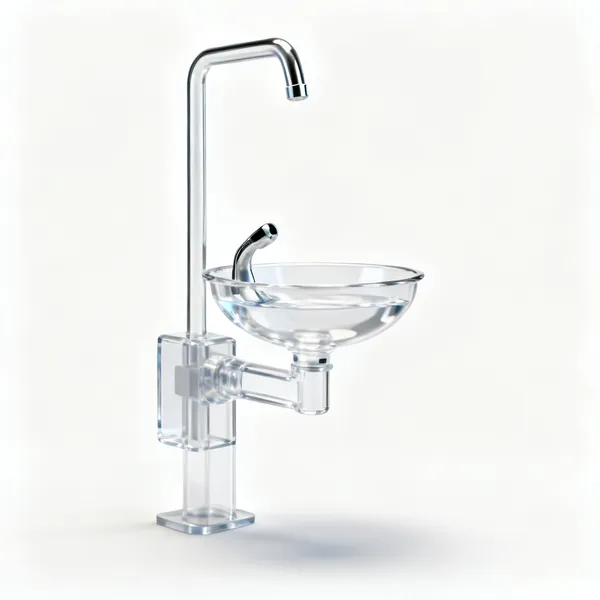
  • A laboratory eyewash stationEssential

    Eyewash station

    Flushes a chemical splash from the eye with a gentle stream for many minutes. Know where it is before you need it.

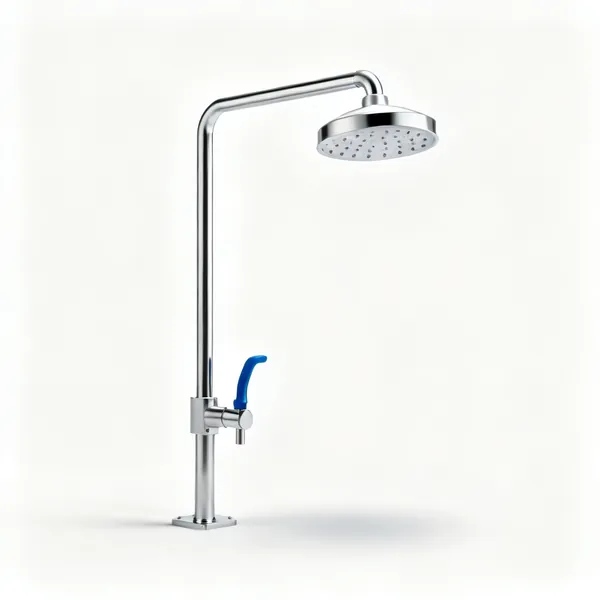
  • An emergency laboratory safety showerEssential

    Safety shower

    Drenches the whole body after a serious spill. Pulled without hesitation, because seconds matter more than clothing.

  • A chemical spill kit with absorbent materialsEssential

    Spill kit

    Absorbent and neutralising materials with instructions, so a spill is contained rather than spread by a paper towel.

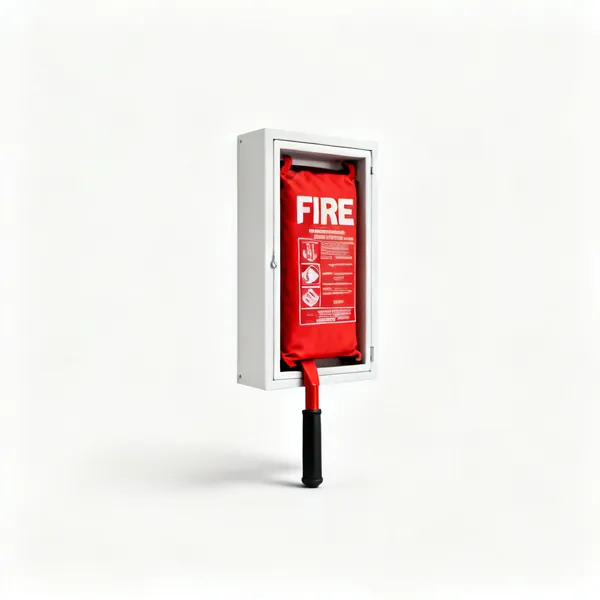
  • A fire blanket in a wall mounted caseEssential

    Fire blanket

    Smothers a small fire, including clothing. Mounted by the door where it can be reached on the way out.

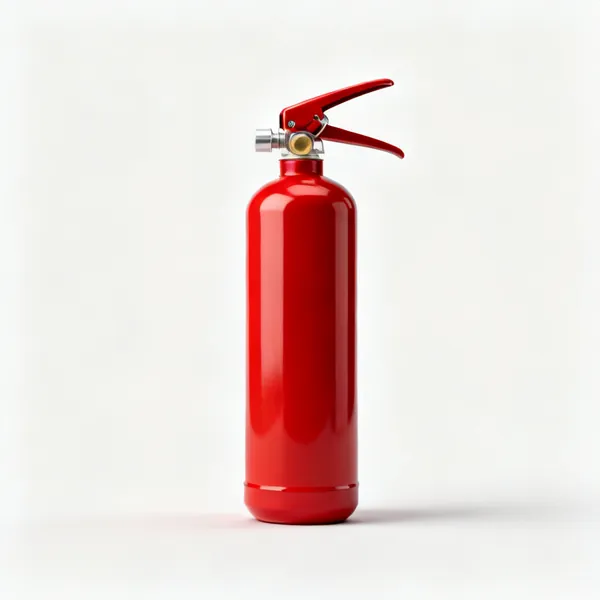
  • A red laboratory fire extinguisherEssential

    Fire extinguisher

    The right type for the hazard, since water on burning solvent or live electrics makes it worse.

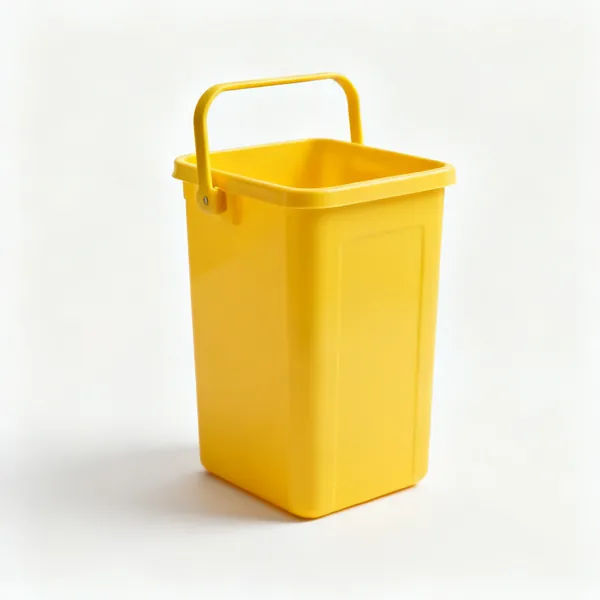
  • Sharps bin: A yellow rigid sharps disposal binEssential

    Sharps bin

    A rigid sealed container for broken glass, blades and needles. Never a normal waste bin, for whoever empties it.

  • Waste containers: Labelled chemical waste collection bottlesEssential

    Waste containers

    Labelled bottles for chemical waste by type. Almost nothing in a laboratory goes down the sink.

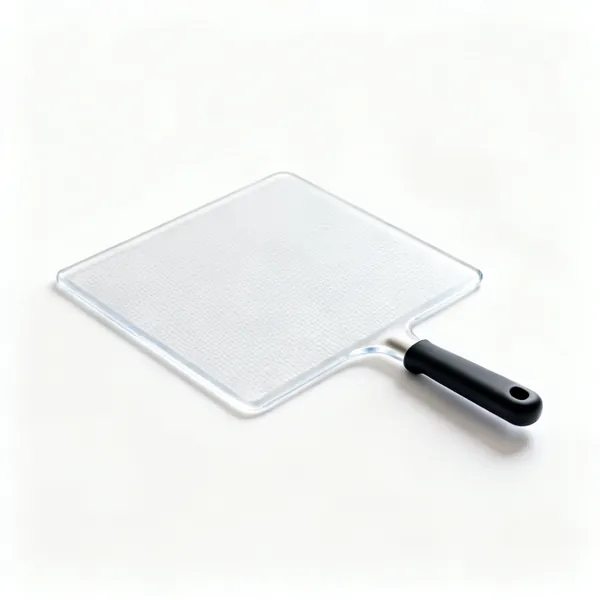
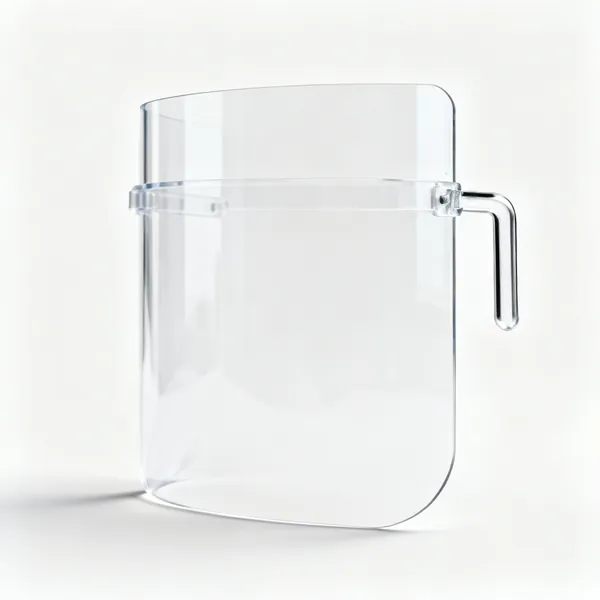
  • A clear laboratory safety screen shield

    Safety screen

    A clear shield between an experiment and the class, for anything that could spit or shatter.

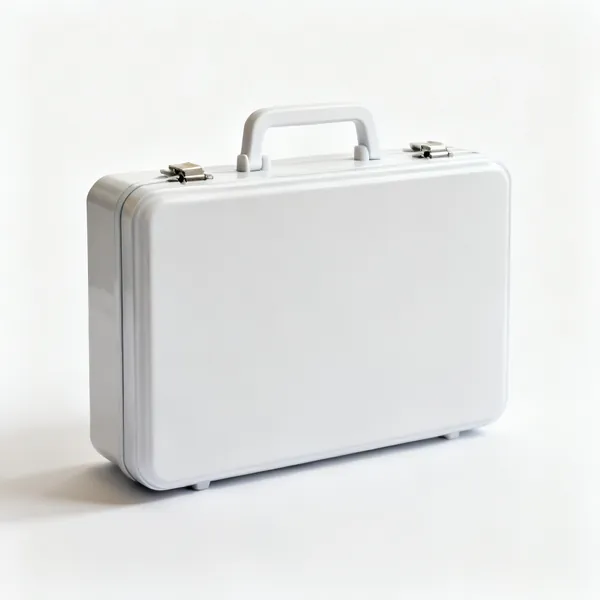
  • A laboratory first aid kit boxEssential

    First aid kit

    Burns, cuts and splashes. Stocked for chemical and thermal injury rather than just plasters.

  • Hazard labels: Chemical hazard warning pictogram labelsEssential

    Hazard labels

    Standard pictograms showing what a substance does. Reading them is the first step of any risk assessment.

Using laboratory apparatus properly

Almost every wrong result in a teaching laboratory comes from one of four things: the wrong glassware, a misread scale, contamination, or heating something the wrong way.

Which glassware measures, and which only holds

This is the distinction that costs students the most marks, and it is invisible unless somebody points it out. A beaker and a measuring cylinder both have scales printed on them, and they are not remotely equally accurate.

A beaker is a container. Its graduations are approximate and there for convenience, typically within about five percent, which is useless for anything quantitative. A measuring cylinder is a measuring instrument, accurate to around one percent. A volumetric flask or a pipette is better again, accurate to a fraction of a percent, because it measures one single volume rather than a range.

So the rule is simple: if the number matters, do not measure it in a beaker. Use the least convenient piece of glassware that is accurate enough, because convenience and accuracy pull in opposite directions here.

Beakers hold, cylinders measure
Beaker graduations are approximate. If a volume appears in your results, it did not come from a beaker.
One volume beats a range
A volumetric flask or pipette measures a single fixed volume very accurately. That is why it has one line.
Read at eye level, from the meniscus bottom
Read the bottom of the curve for water, at eye level. Looking down adds a consistent error to every reading.
Know whether it is TC or TD
To Contain holds that volume, To Deliver pours it out. A TD pipette leaves a little behind on purpose, so never blow it out.
Never heat volumetric glassware
Heat changes its calibration permanently. Volumetric flasks and pipettes are not for warming anything.
Match the size to the volume
Measuring 5 ml in a 250 ml cylinder is far less accurate than in a 10 ml one. Use the smallest that fits.

Heating without breaking or burning anything

Heat is where laboratory accidents concentrate, and the causes are consistent and avoidable.

Glass breaks from thermal shock, meaning a sudden change in temperature or heat applied unevenly to one spot. That is why you use borosilicate glass, spread the heat with a gauze, and never put hot glass straight onto a cold bench or into cold water.

The other classic is superheating: a liquid heated smoothly past its boiling point without bubbling, which then erupts all at once when it is disturbed. Anti bumping granules or a stirrer bar prevent it, and pointing a heated tube away from everybody prevents the consequences.

Borosilicate glass for anything heated
It tolerates thermal change. Ordinary soda glass cracks, and a cracked vessel fails while it is full and hot.
Spread the heat with a gauze
A flame on one spot of a beaker base cracks it. The gauze distributes it across the whole bottom.
Anti bumping granules in anything boiling
They give bubbles somewhere to form, which stops a superheated liquid erupting out of the flask in one go.
Never seal a heated container
Pressure has nowhere to go and the vessel becomes a bomb. Always leave a vent or an open path.
Point a heated test tube away from people
Including yourself. Contents can shoot several feet out of the mouth without warning.
Hot glass looks exactly like cold glass
There is no visual difference. Use tongs, and put it on a mat rather than a cold bench.

Contamination, and why cleaning is part of the method

A surprising share of unexplained results are contamination rather than bad technique. Glassware carries traces of whatever was in it last, and traces are enough to change a titration or ruin a culture.

Two habits deal with most of it. Rinse glassware with the solution you are about to put in it, not just with water, because a water film dilutes your reagent by an unknown amount. And never return unused reagent to the stock bottle, since whatever it picked up in your glassware then contaminates everybody's supply.

The other half is not letting things touch. A pipette tip against the bench, a stopper laid face down, a spatula used for two chemicals: each is a route for contamination that looks like nothing at the time.

Rinse with the solution, not just water
A film of water in a burette dilutes the first readings by an unknown amount. Rinse with what is going in.
Never pour reagent back into the stock
It contaminates the whole bottle for everyone. Pour what you need, and dispose of the excess properly.
One spatula per chemical
A shared spatula transfers traces between containers, and the contamination follows into every later experiment.
Stoppers face up, or held
A stopper laid face down on the bench picks up whatever is there and carries it back into the bottle.
Label everything immediately
An unlabelled beaker is waste, because you can no longer trust what is in it. Write it as you pour.
Dry does not mean clean
A dry residue is still a residue. Wash, rinse with distilled water, then dry.

The apparatus most practical work is built from

Measuring and holding
Beakers, conical flasks, measuring cylinders, test tubes and a rack, a funnel, a stirring rod, a spatula and a wash bottle. Almost every experiment uses these.
Heating
A Bunsen burner, a tripod, a gauze, a heatproof mat, tongs and a thermometer. Or a hot plate, which is safer and slower.
Quantitative work
A balance, volumetric flasks, pipettes with a filler, a burette and clamp stand, and a white tile to see the endpoint against.
Safety, before any of it
Goggles, a lab coat, gloves suited to the chemical, access to a fume cupboard, an eyewash station and a spill kit. These are not optional extras.

Mistakes that spoil results or cause accidents

Measuring an important volume in a beaker
Beaker graduations are approximate. Anything that appears in your calculations needs a cylinder, pipette or volumetric flask.
Reading a scale from above or below
Parallax adds a consistent error to every single reading. Eye level, at the bottom of the meniscus.
Pipetting by mouth
Never, under any circumstances, with anything. A pipette filler exists precisely so this is unnecessary.
Heating a sealed vessel
Pressure builds with nowhere to go. This is how glassware becomes shrapnel.
Adding water to concentrated acid
It boils and spits acid back at you. Always acid into water, slowly, and with stirring.
No anti bumping granules when boiling
A superheated liquid erupts out of the flask all at once, usually across the bench.
Returning excess reagent to the bottle
It contaminates the stock for everyone who uses it afterwards.
Wearing gloves that do not suit the chemical
Some solvents pass straight through nitrile. The wrong glove holds the chemical against your skin.
Not knowing where the safety equipment is
Eyewash, shower, extinguisher and spill kit. In an emergency there is no time to look for them.

Looking after laboratory apparatus

Wash glassware immediately after use
Dried residue is far harder to shift, and some residues attack glass over time.
Rinse with distilled water last
Tap water leaves dissolved solids as it dries, which is a contaminant in the next experiment.
Dry inverted on a rack
Air dry rather than towel dry, since a cloth leaves fibres and whatever it last touched.
Never heat or oven dry volumetric glassware
It is calibrated, and heat changes that calibration permanently.
Check glassware for cracks before use
A star crack or chip fails under heat or vacuum. Discard it rather than getting one more use out of it.
Keep the balance clean, level and closed
Draughts and spilled powder are the two things that make an accurate balance read inaccurately.
Cover the microscope and store objectives dry
Dust on a lens is the commonest reason an image will not resolve, and immersion oil left on hardens.

Frequently asked questions

What are the basic laboratory tools?
Beakers, conical flasks, measuring cylinders, test tubes and a rack, a funnel, a stirring rod, a spatula, a wash bottle, a Bunsen burner with tripod and gauze, tongs, a thermometer and a balance. Plus goggles and a lab coat, which come before any of it.
What is the difference between a beaker and a measuring cylinder?
A beaker is a container whose graduations are approximate, typically within about five percent. A measuring cylinder is a measuring instrument accurate to around one percent. If a volume appears in your results, it should not have been measured in a beaker.
What is the difference between a conical flask and a volumetric flask?
A conical flask, or Erlenmeyer, has sloping sides for swirling without spilling, and is used for titrations and mixing. A volumetric flask has a long neck with a single calibration line and measures one exact volume, used for making up standard solutions.
How do you read a meniscus correctly?
At eye level, taking the reading from the bottom of the curve for water and most aqueous solutions. Reading from above or below introduces parallax error, which is consistent rather than random, so it biases every measurement the same way.
What does TC and TD mean on glassware?
To Contain and To Deliver. TC glassware holds that volume when filled to the line. TD glassware delivers that volume when poured out, and deliberately retains a small film, which is why you must never blow out the last drop from a TD pipette.
Why do you use a gauze when heating a beaker?
To spread the heat across the whole base. A flame concentrated on one spot heats the glass unevenly, and the resulting thermal stress cracks it, usually while it is full of hot liquid.
What are anti bumping granules for?
They give bubbles a place to form so a liquid boils steadily. Without them a liquid can superheat past its boiling point without bubbling and then erupt all at once, throwing the contents out of the flask.
Why must you never pipette by mouth?
Because you can ingest the contents, and even apparently harmless solutions may be contaminated. A pipette filler or bulb costs very little and removes the risk entirely. This is one of the few absolute rules in a laboratory.
Do you add acid to water or water to acid?
Always acid to water, slowly and with stirring. Diluting concentrated acid releases a lot of heat, and adding water to acid concentrates that heat at the surface, which makes it boil and spit acid back out.
What is the difference between a pipette and a burette?
A pipette delivers one fixed volume accurately. A burette delivers a variable volume and lets you read exactly how much has been dispensed, which is what a titration needs. A burette is read before and after, and the difference is the volume used.
What is a desiccator used for?
Keeping something dry. It is a sealed vessel containing a drying agent, used to cool a heated sample without it absorbing moisture from the air, which would otherwise change its mass before you weigh it.
Why should glassware be rinsed with the solution rather than water?
Because a film of water left inside dilutes the solution you add next by an unknown amount. Rinsing a burette or pipette with the solution it will contain removes that error, and it matters most in quantitative work like titrations.