Disclosure

Leather working tools: names, pictures and what each one is used for

A complete leather working tools list with a picture of every one, all 84 grouped by the job, from cutting and skiving through hole punching, saddle stitching, edge finishing, dyeing and hardware. The names give nothing away, so each line says plainly what the tool does.

37 are marked essential: enough to make a belt, a wallet or a bag, hand stitched and finished.

Cutting & skiving 13

Where the craft starts and where sharpness matters most. A dragged cut cannot be recovered by any later stage.

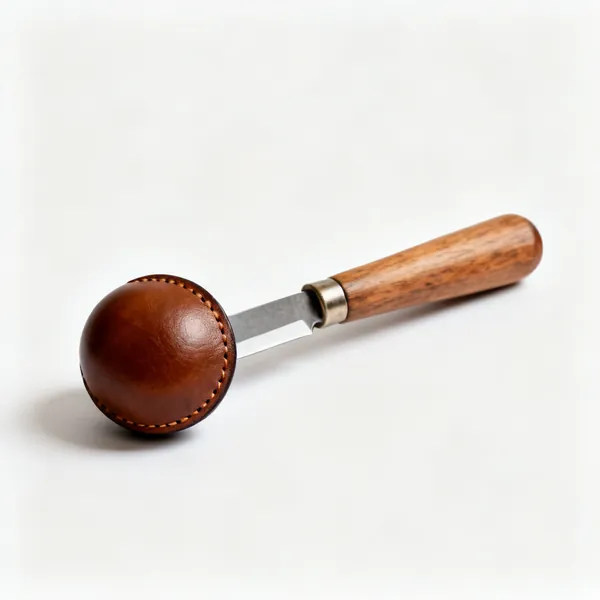
  • Round knife: A leather round head knife with a wooden handle

    Round knife

    A crescent blade that cuts, skives and pares. The traditional leatherworker's knife, and it takes practice to control.

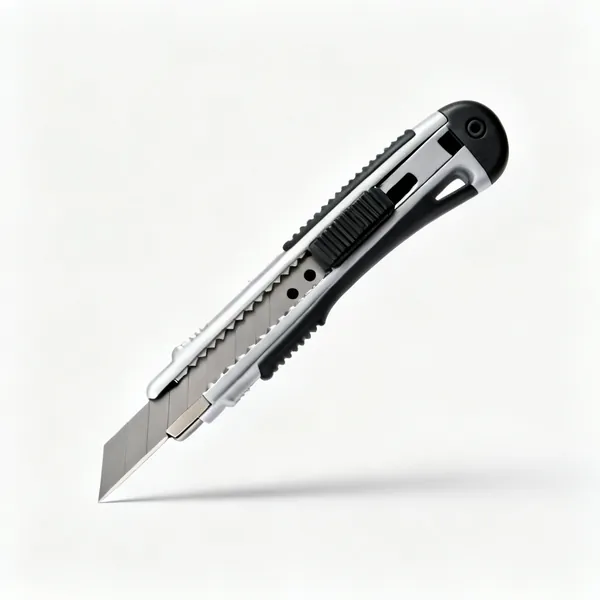
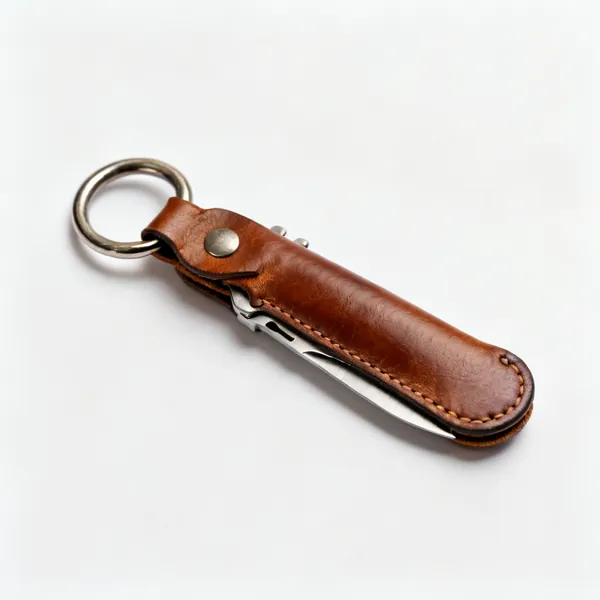
  • A retractable utility knife with bladesEssential

    Utility knife

    Replaceable blades, always sharp, and the practical starting point. A fresh blade beats a dull expensive knife.

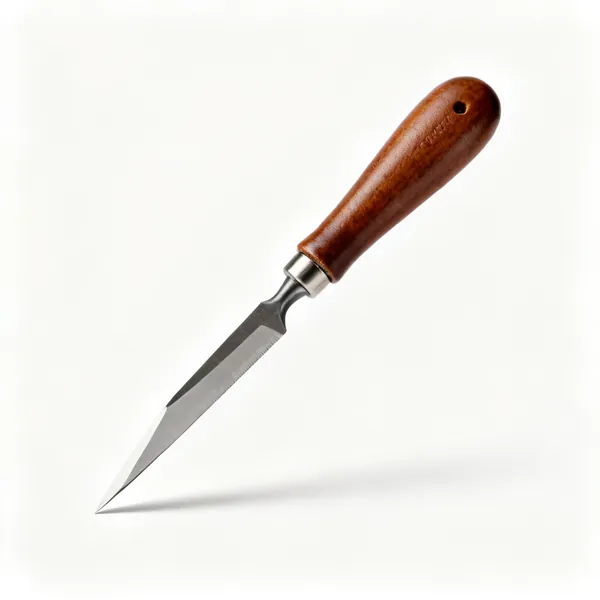
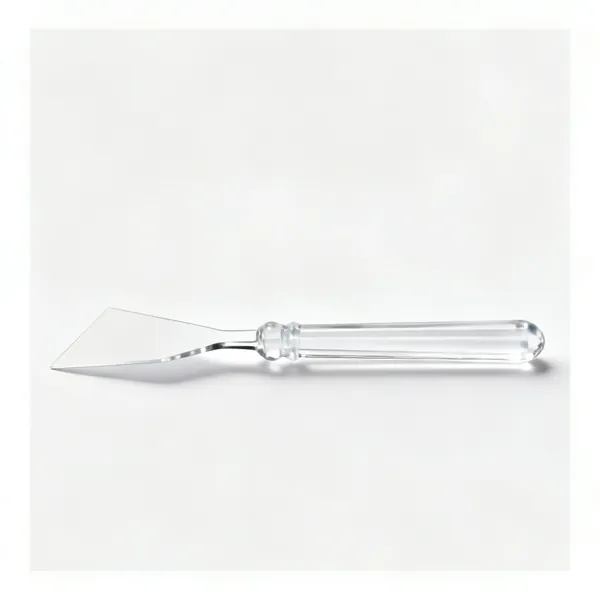
  • Skiving knife

    Skiving knife

    A shallow angled blade for thinning an edge so a fold or seam is not bulky. Held almost flat to the leather.

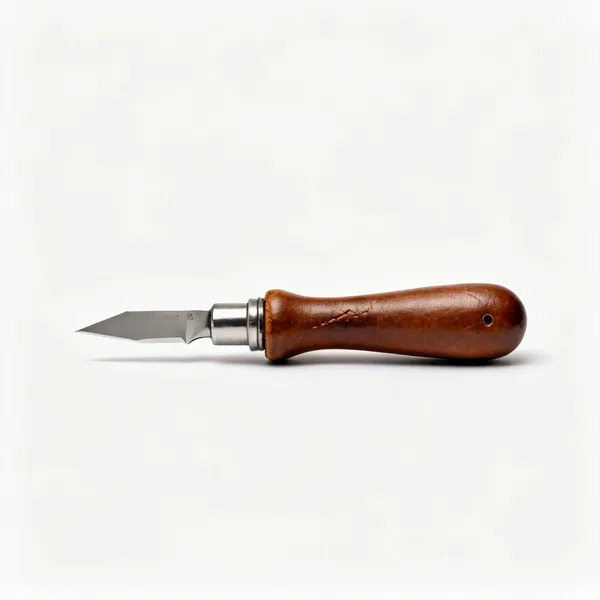
  • A leather safety skiver tool with a bladeEssential

    Safety skiver

    A guarded blade that shaves a controlled thickness off an edge. Far easier than a skiving knife and less versatile.

  • A leather swivel knife with a yoke

    Swivel knife

    A blade in a rotating barrel that cuts decorative lines into cased leather. The first tool in any tooled design.

  • A wooden adjustable leather strap cutter

    Strap cutter

    Cuts a parallel strap of set width from a hide. Cutting a long straight belt freehand never stays parallel.

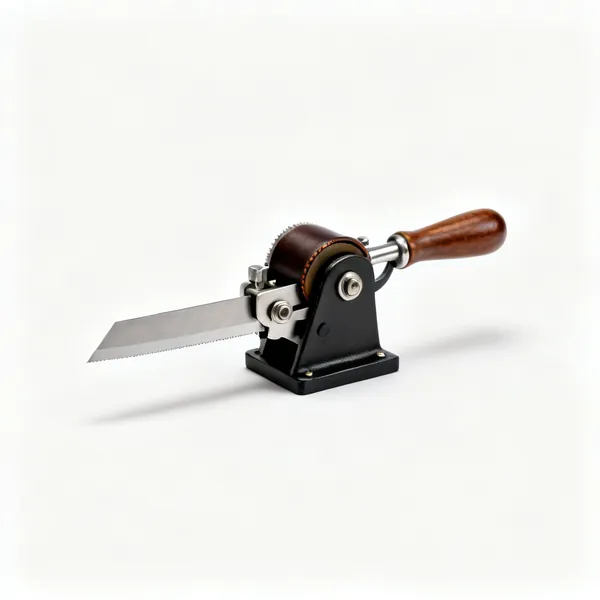
  • Leather splitter: A leather splitting machine with a blade and roller

    Leather splitter

    Reduces a whole piece to a uniform thinner thickness, rather than just thinning an edge like a skiver does.

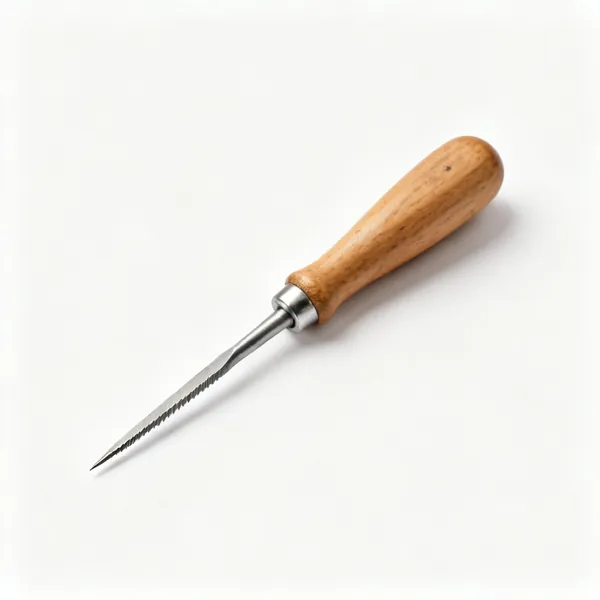
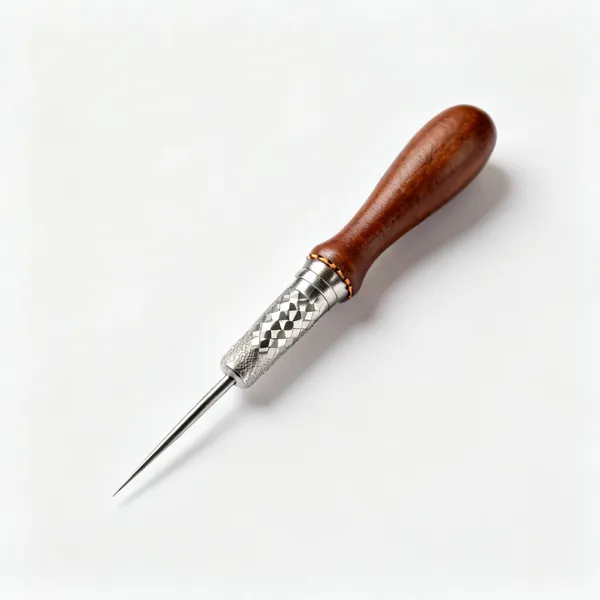
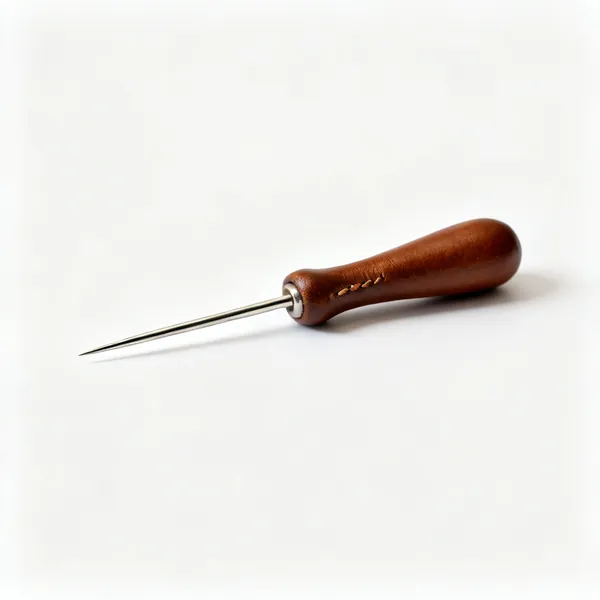
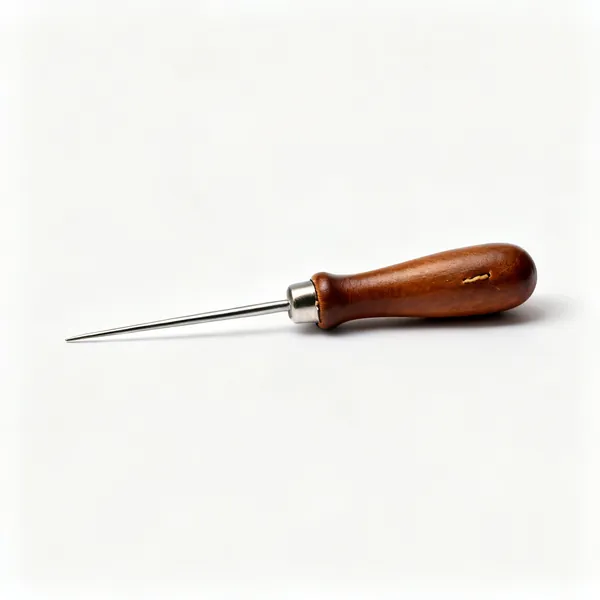
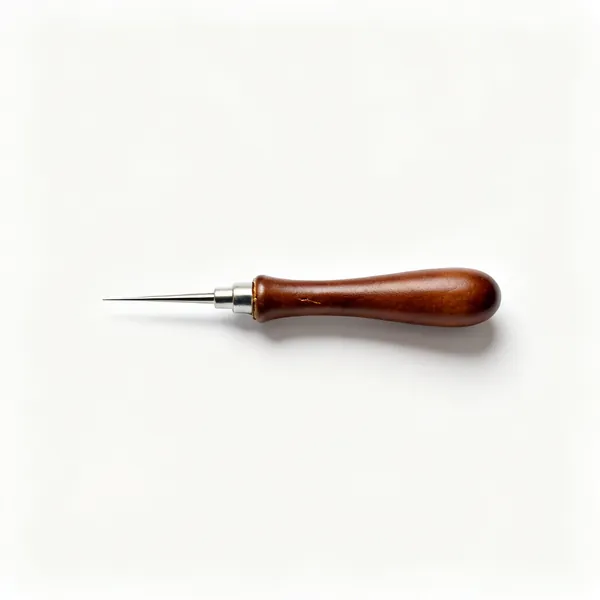
  • A scratch awl with a wooden handleEssential

    Scratch awl

    Scribes a cut line and marks positions. A pencil rubs off and a pen bleeds, so leather is marked by scoring it.

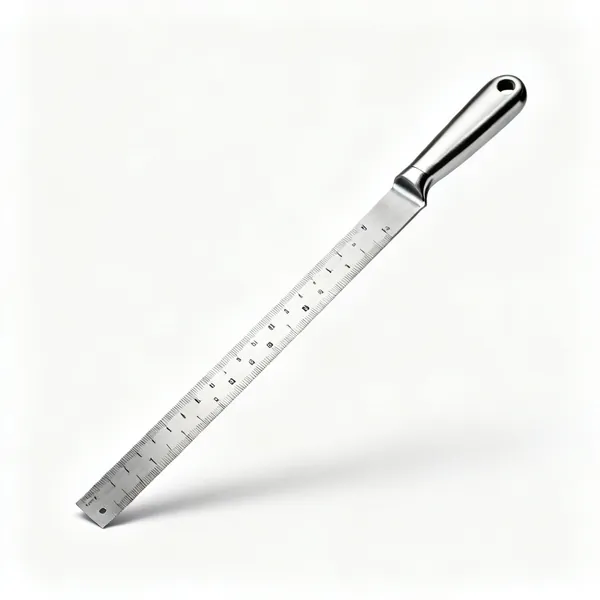
  • A heavy stainless steel ruleEssential

    Steel rule

    A heavy rule to cut against, thick enough that the blade cannot ride up over the edge.

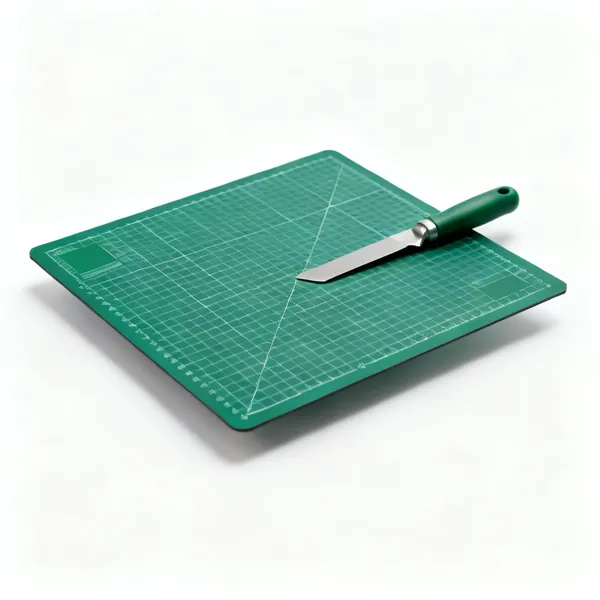
  • A green self healing cutting matEssential

    Cutting mat

    Self healing surface that protects the blade and the bench. A hard surface blunts a knife on the first stroke.

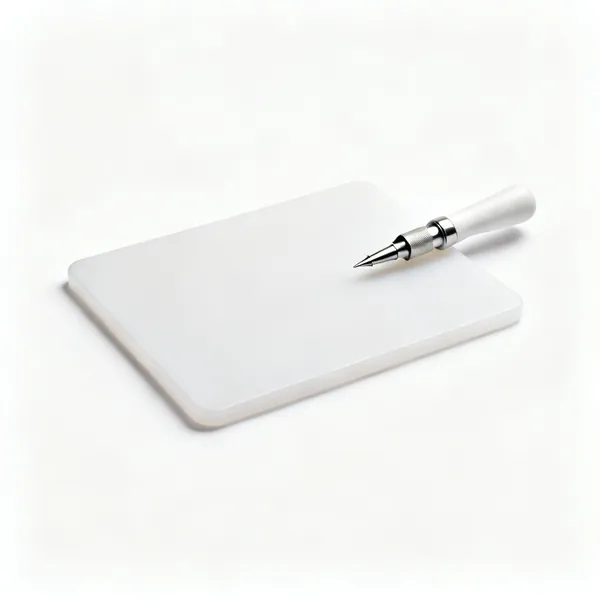
  • A white poly cutting board for leather punchingEssential

    Poly cutting board

    A dense plastic block to punch and chisel into, which lets tools through without damaging their edges.

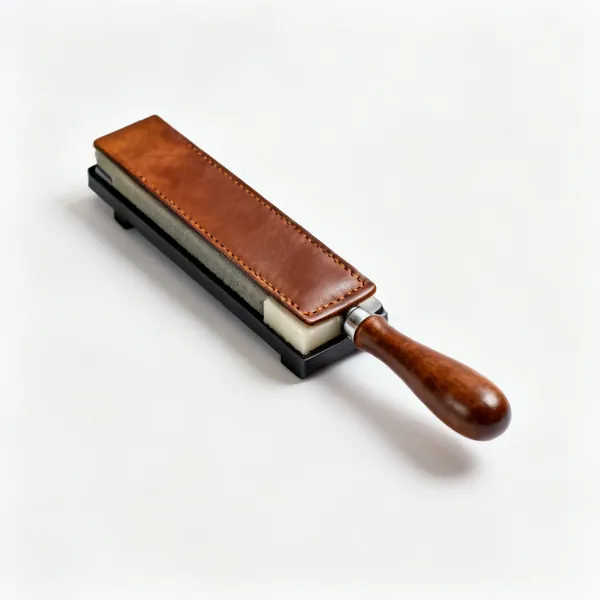
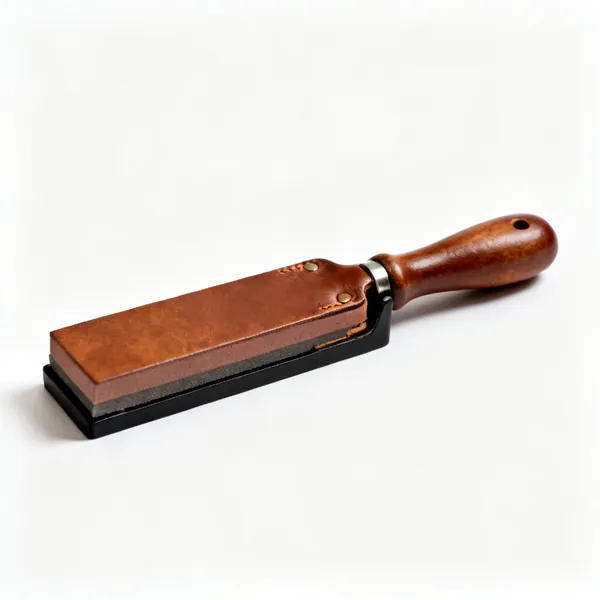
  • Strop & compound: A leather sharpening strop with polishing compoundEssential

    Strop & compound

    A leather strop loaded with polishing compound. Ten seconds before each session keeps an edge genuinely sharp.

  • Leather tool sharpening stones

    Sharpening stones

    For setting a bevel properly when a strop is no longer enough. Done once well, then maintained by stropping.

Measuring & marking 9

Leather is marked by scoring and creasing rather than by pencil. These tools set out everything before a cut.

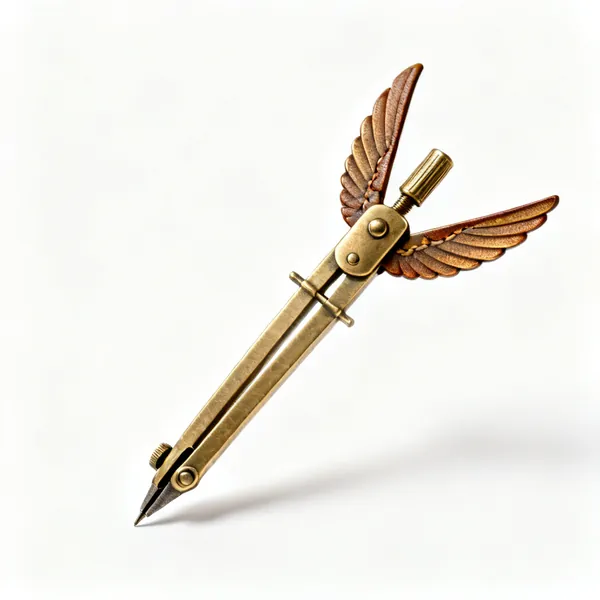
  • A brass wing divider compass for leatherEssential

    Wing divider

    Scribes a line at a set distance from an edge, which is how a stitch line runs perfectly parallel to the edge.

  • A leather edge creaser tool

    Edge creaser

    Presses a decorative line just in from the edge, which crisps the outline and marks the stitch line at once.

  • An adjustable leather stitch groover tool

    Stitch groover

    Cuts a shallow channel for the thread to sit in, below the surface where it is protected from wear.

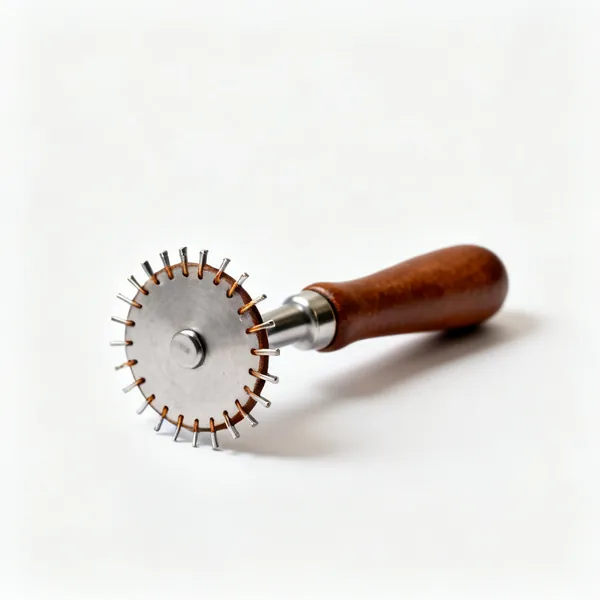
  • A leather stitch marking wheel tool

    Stitch marking wheel

    A toothed wheel that rolls evenly spaced marks along a line. Quick, and less precise than a pricking iron.

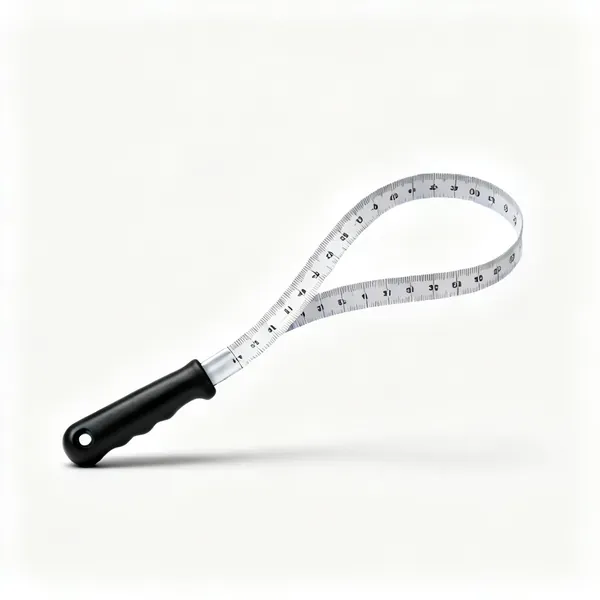
  • A flexible tape measureEssential

    Tape measure

    Flexible, for measuring around a curve and sizing a belt or strap to a body rather than to a drawing.

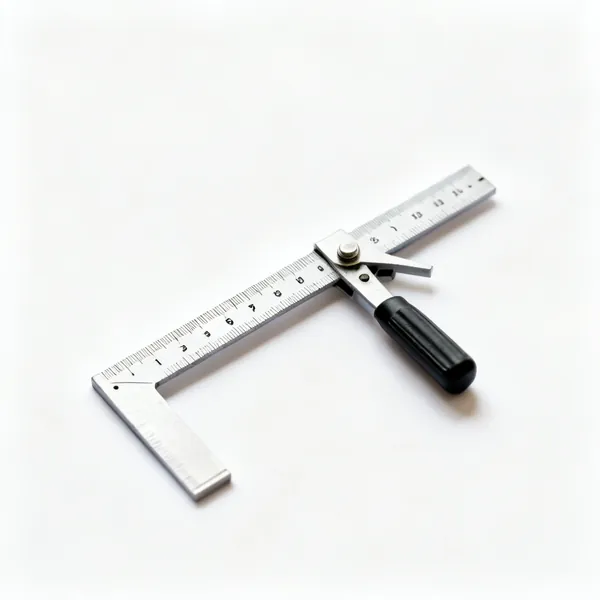
  • A small engineer's squareEssential

    Engineer's square

    Squares a cut line off an edge. Leather has no grain to guide you, so square comes from the tool.

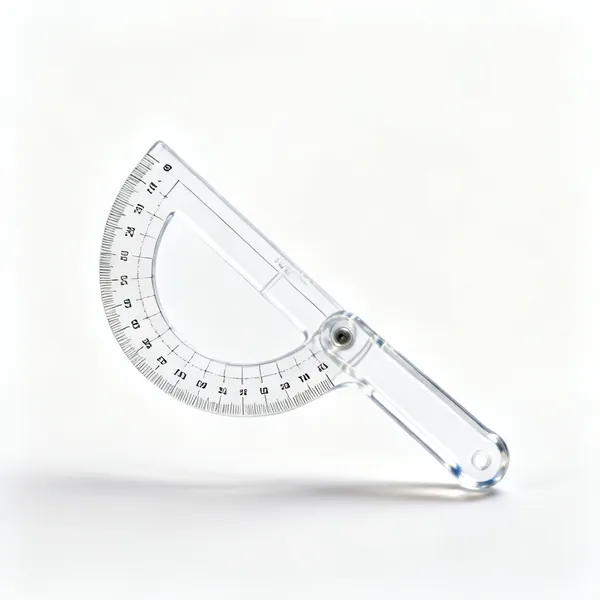
  • Curve templates: Clear plastic curve template rulers

    Curve templates

    Draws consistent curves on corners and flaps. Freehand curves never match from one side to the other.

  • Sheets of stiff pattern card with a pattern drawn onEssential

    Pattern card

    Stiff card to make and keep patterns on. Make the mistakes in card, because leather is the expensive part.

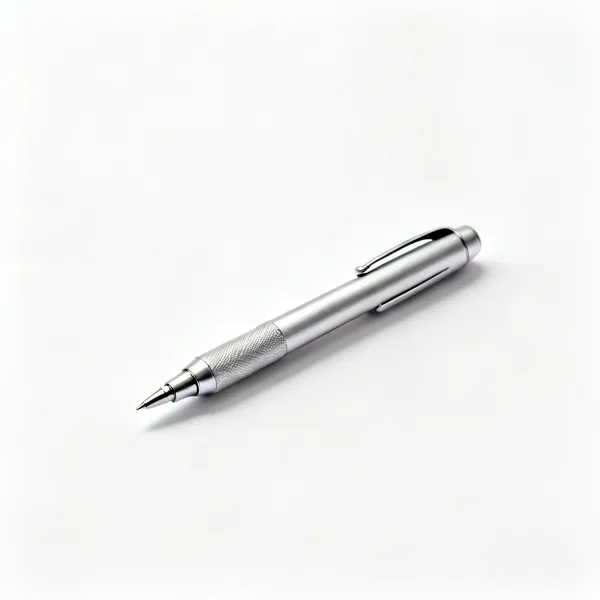
  • Silver pen or chalk: A silver marking pen for leather

    Silver pen or chalk

    Marks on dark leather where a scored line is invisible. Wipes off, unlike anything with ink in it.

Punching & piercing 11

Making holes for stitching and hardware. All of these are cutting tools and all of them need to be sharp.

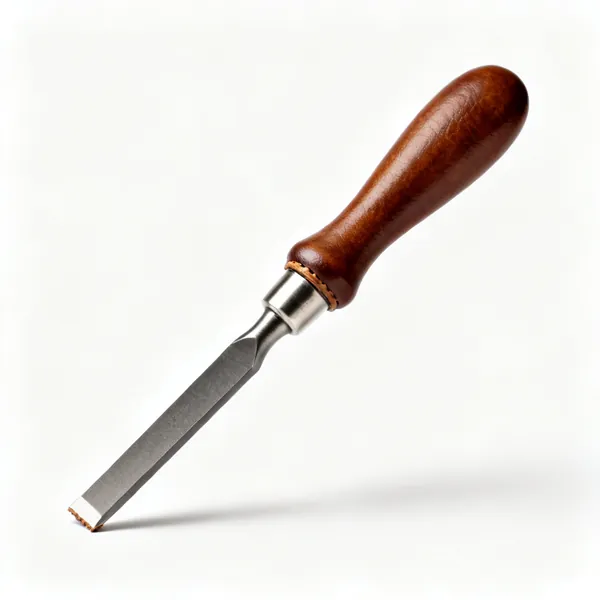
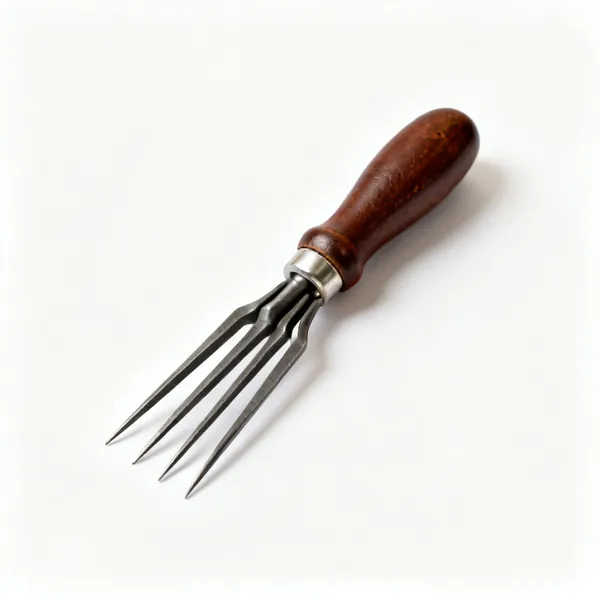
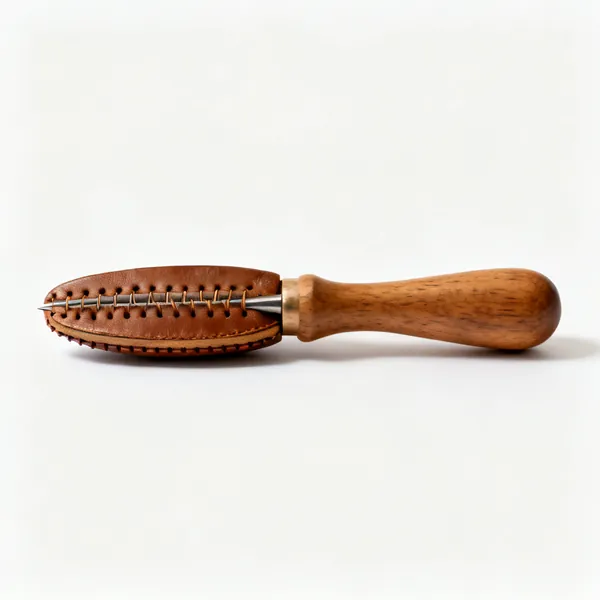
  • Stitching chiselEssential

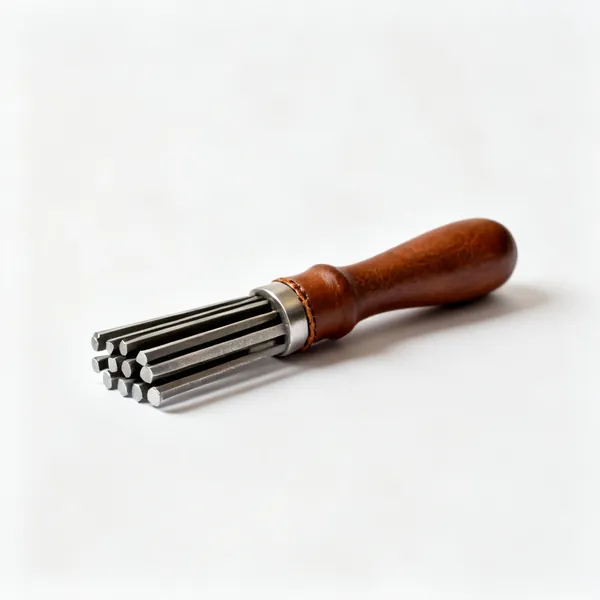
    Stitching chisel

    Angled prongs that cut a row of evenly spaced slits right through. The fast route to a clean stitch line.

  • A brass leather pricking iron

    Pricking iron

    Marks the position and angle of each stitch without piercing through. You then pierce each one with an awl.

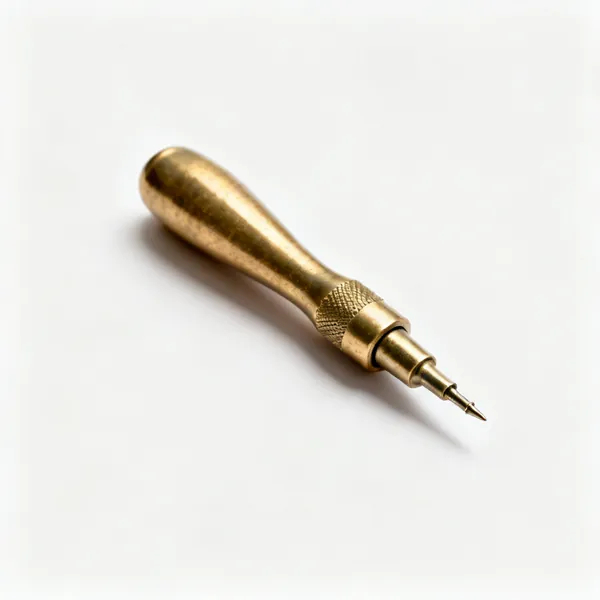
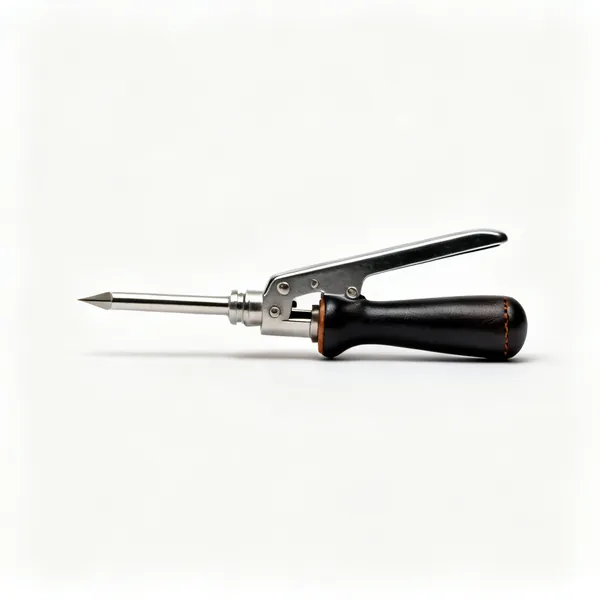
  • Diamond awl: A diamond leather stitching awl with a handleEssential

    Diamond awl

    A diamond section blade that pierces a slit angled to the stitch line, rather than a round hole.

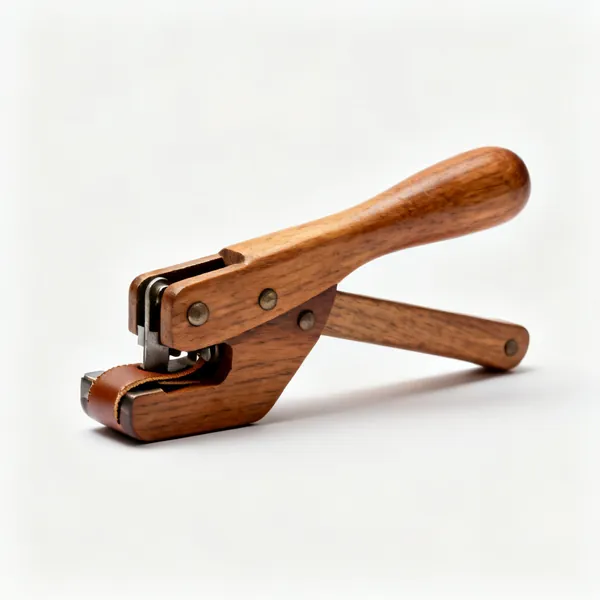
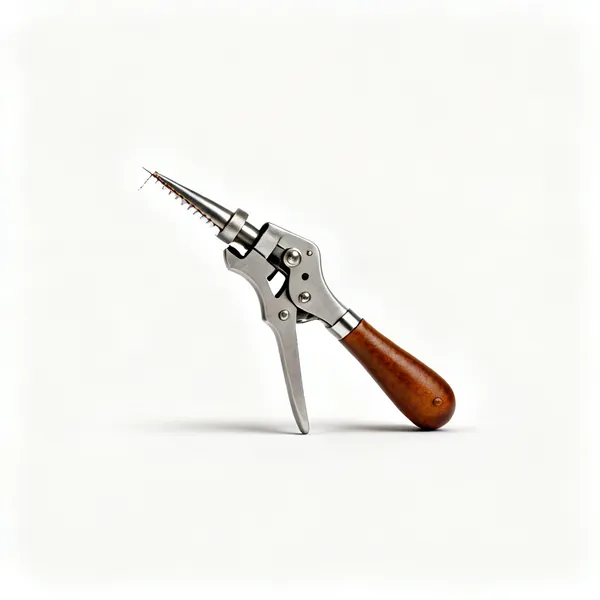
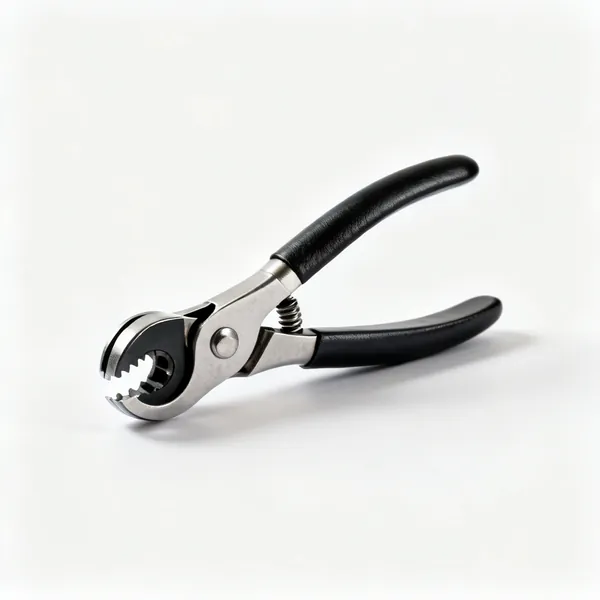
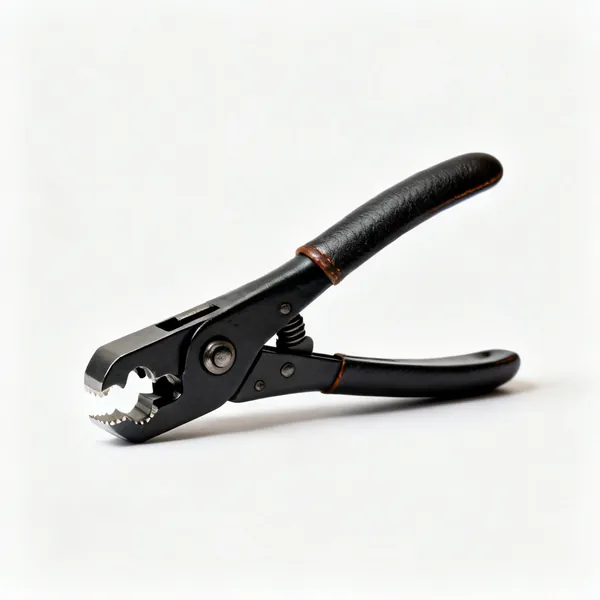
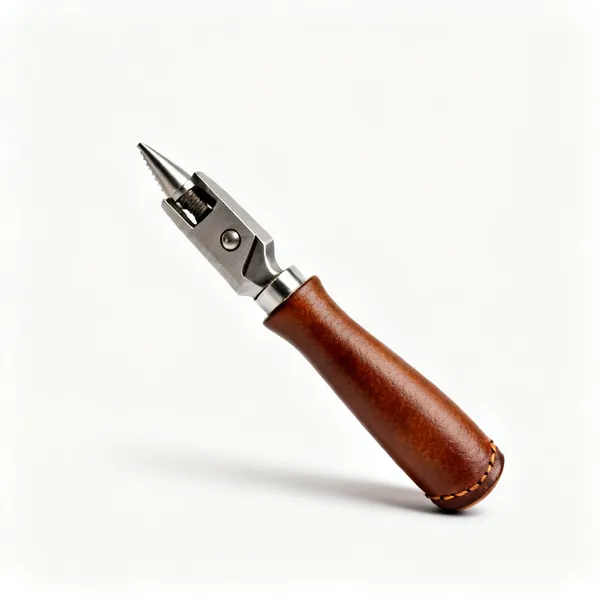
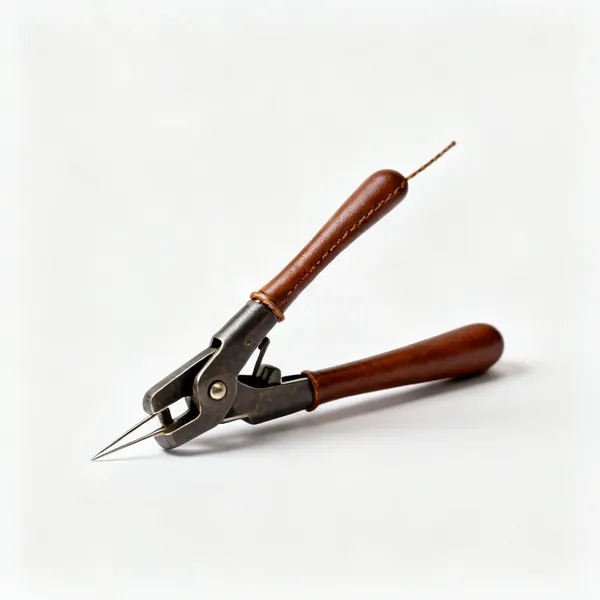
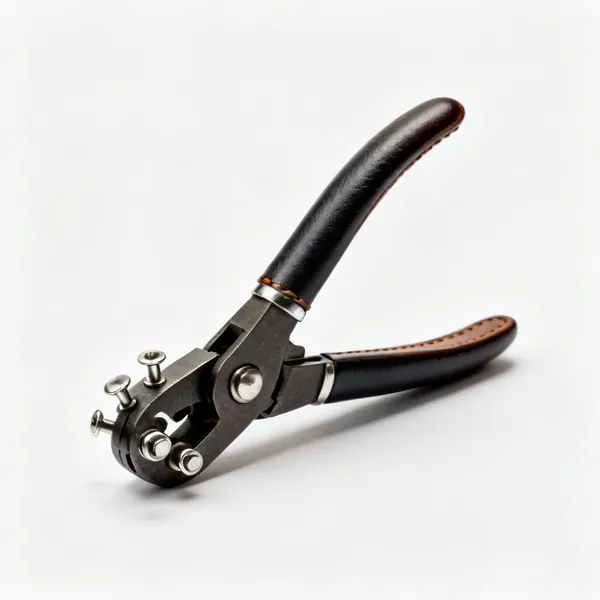
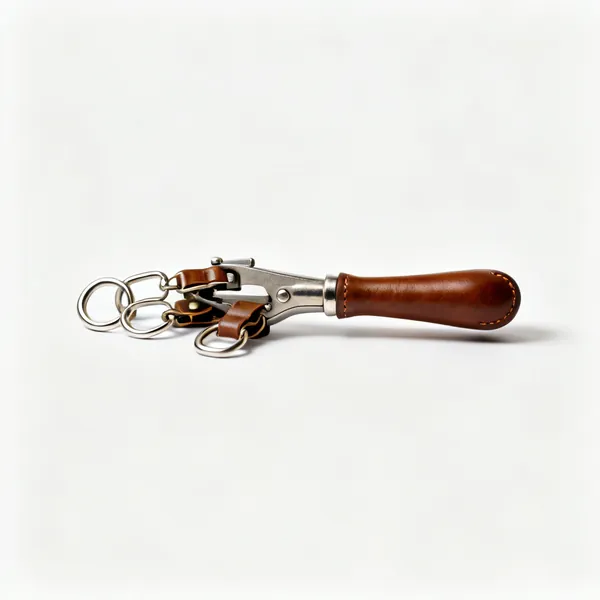
  • Revolving punch: A revolving leather hole punch plierEssential

    Revolving punch

    A plier with a wheel of sizes for belt holes and small hardware. The one punch most people start with.

  • Drive punch set: A set of leather drive hole punchesEssential

    Drive punch set

    Individual struck punches in a range of sizes, which reach where a plier cannot and cut cleaner holes.

  • Oblong punch: An oblong slot leather punch

    Oblong punch

    Cuts the slot a buckle tongue or a strap passes through. A round hole in the wrong shape looks wrong forever.

  • Strap end punch: A strap end leather punch

    Strap end punch

    Cuts a rounded or pointed strap end in one blow, identical every time. Cutting them by knife never matches.

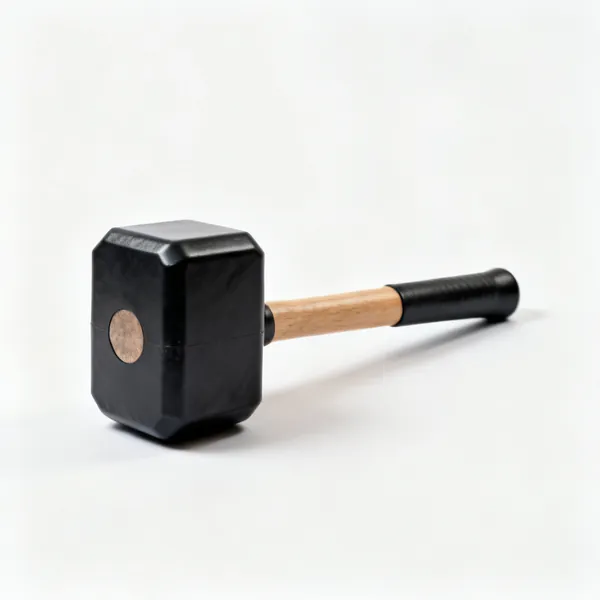
  • A leatherworking poly maul with a weighted headEssential

    Maul

    A weighted round headed mallet for striking punches and chisels. Nylon or rawhide, since steel damages tool heads.

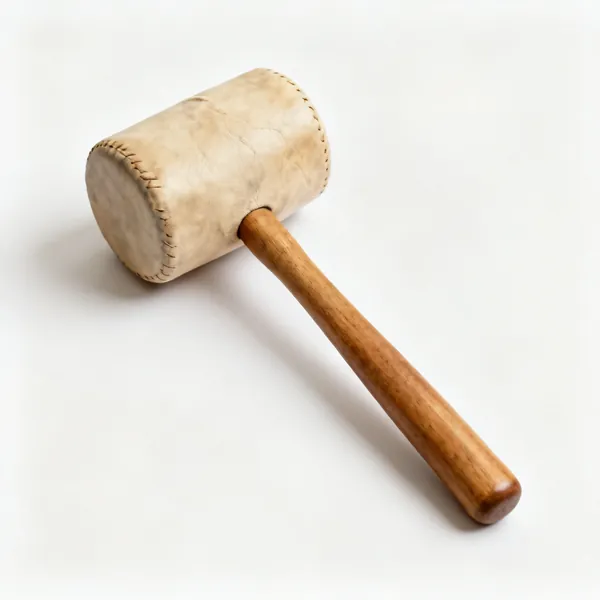
  • Rawhide mallet: A rawhide leatherworking mallet

    Rawhide mallet

    A softer strike for stamping, where a maul is too much. Traditional, and gentle on stamp faces.

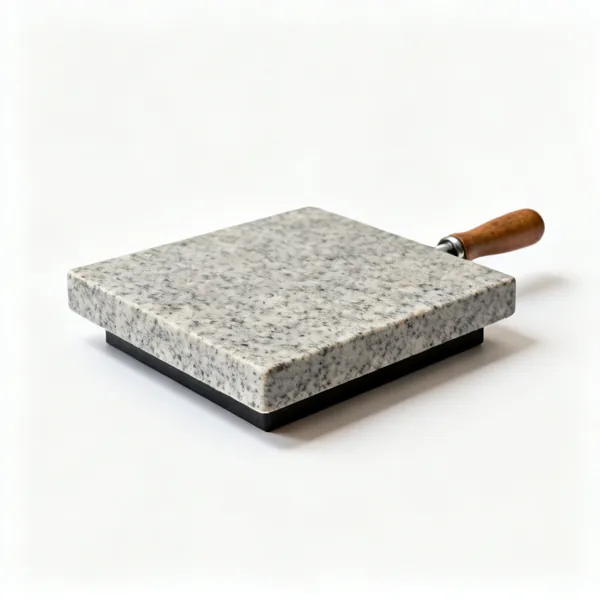
  • Granite slab: A granite leatherworking bench slab

    Granite slab

    A heavy flat stone under the work that returns the blow rather than absorbing it, so punches cut in one hit.

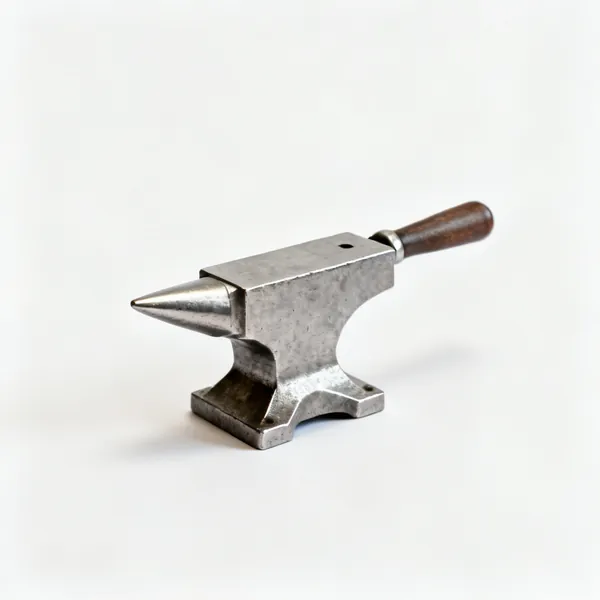
  • Steel anvil block: A small steel leatherworking anvil blockEssential

    Steel anvil block

    A small steel block under hardware while it is set. Without it, a rivet or snap deforms instead of setting.

Stitching 11

Two needles, one thread, and something to hold the work. The technique is old because nothing has beaten it.

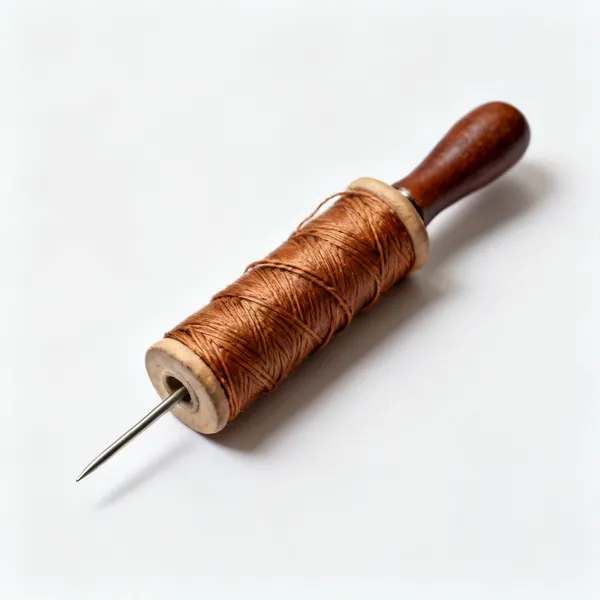
  • Blunt tipped leather harness needlesEssential

    Harness needles

    Blunt tipped needles with a large eye, used in pairs. Blunt because the hole is already made, so they follow it.

  • Waxed thread: Spools of waxed leather stitching threadEssential

    Waxed thread

    Waxed linen or braided polyester. The wax resists abrasion and grips itself so a stitch does not work loose.

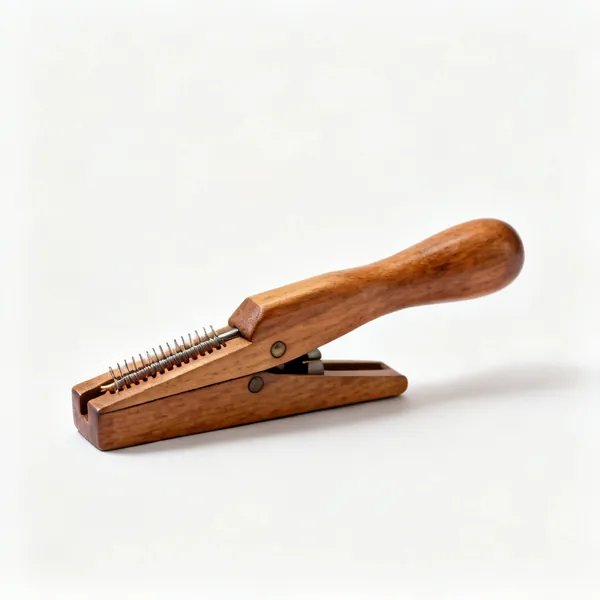
  • A wooden leather stitching pony clampEssential

    Stitching pony

    A clamp that holds the work upright so both hands are free for the two needles. Saddle stitching needs one.

  • A wooden leather stitching clam

    Stitching clam

    A floor standing clamp held between the knees, giving more reach and a better angle than a pony for long seams.

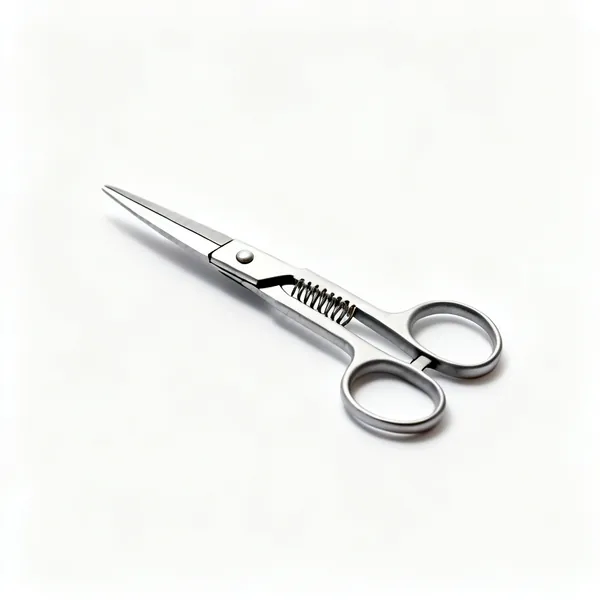
  • A pair of spring loaded thread snipsEssential

    Thread snips

    Spring loaded blades that cut thread close with a squeeze. They live beside the work and never leave it.

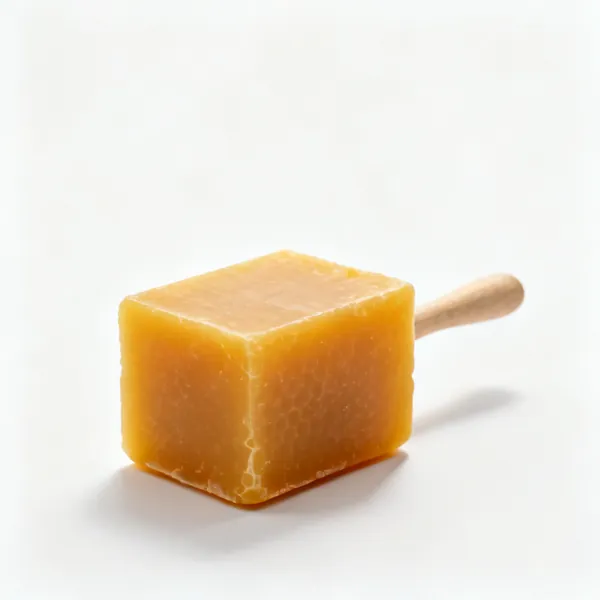
  • A block of beeswax

    Beeswax

    Waxes bare thread and eases a needle through a tight hole. Also what you rub a burnisher with.

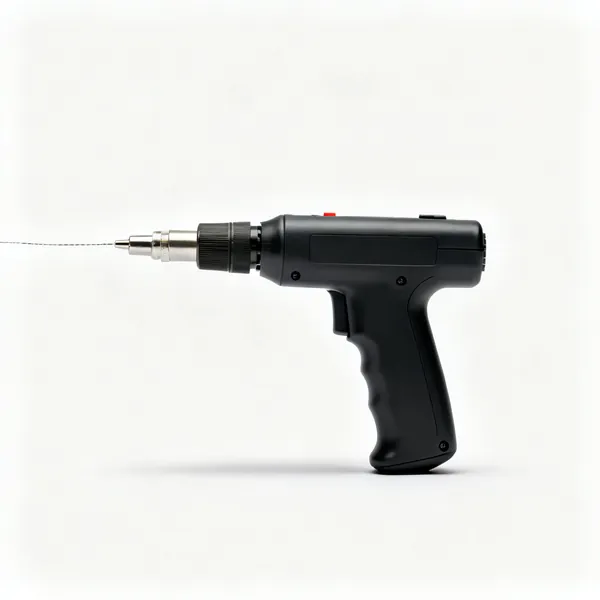
  • Thread burner: An electric thread burning tool

    Thread burner

    Melts and seals a synthetic thread end so it cannot fray or pull back through the last hole.

  • Leather lacing needles with clamps

    Lacing needles

    A clamping needle that grips flat lace for decorative lacing, which will not pass through a normal eye.

  • A leather lacing fid tool

    Lacing fid

    A tapered point that opens a hole so lace can be threaded, without cutting the hole any bigger.

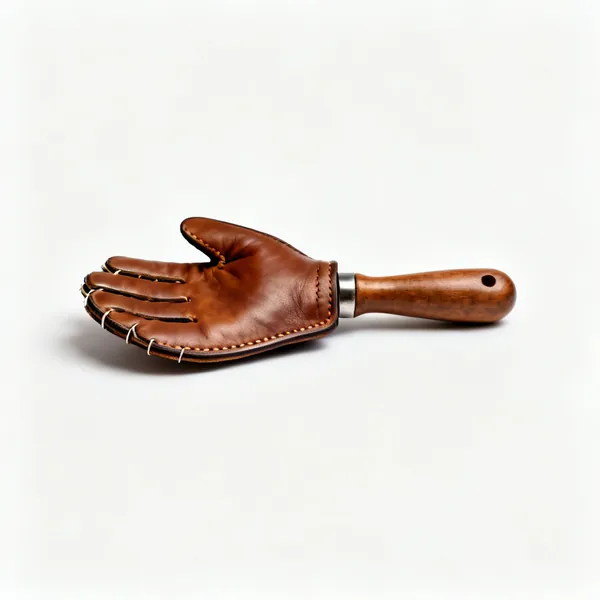
  • Stitching palm: A leather sewing palm guard

    Stitching palm

    A leather palm guard that pushes a needle through the thickest work. What sailmakers and saddlers use.

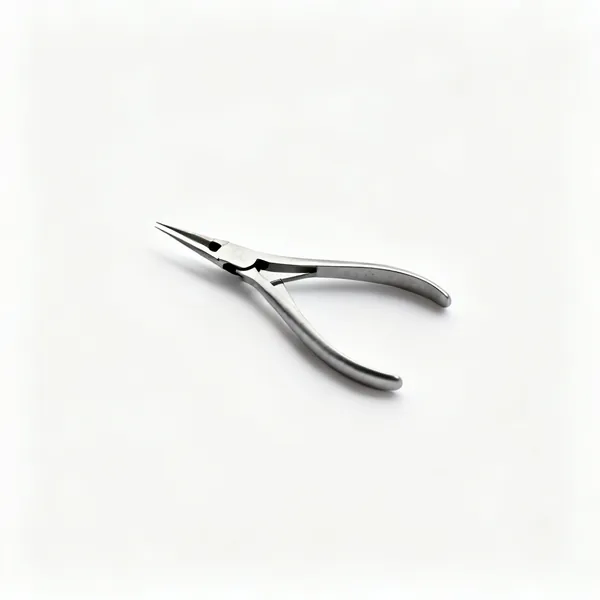
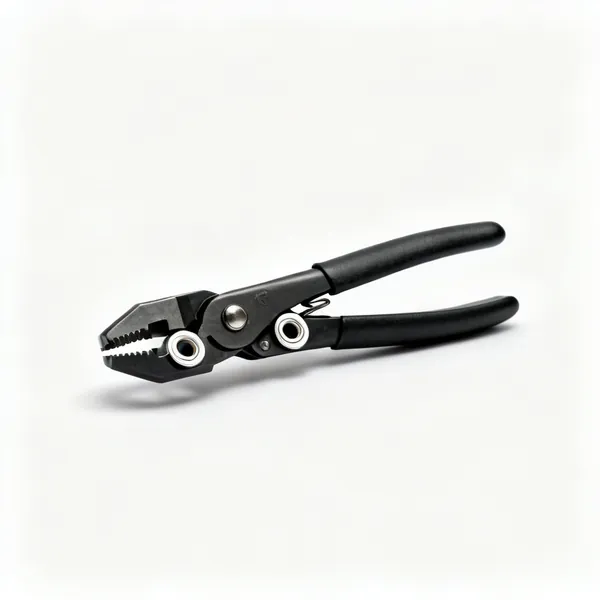
  • A pair of small flat nosed needle pliers

    Needle pliers

    Grips and pulls a needle stuck in a tight hole, without bending it or shredding the thread.

Edge finishing 10

The most visible difference between amateur and professional work, and it takes minutes per edge.

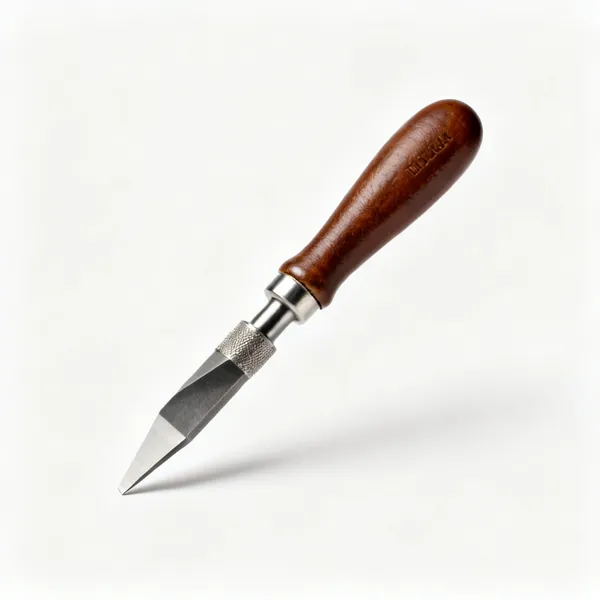
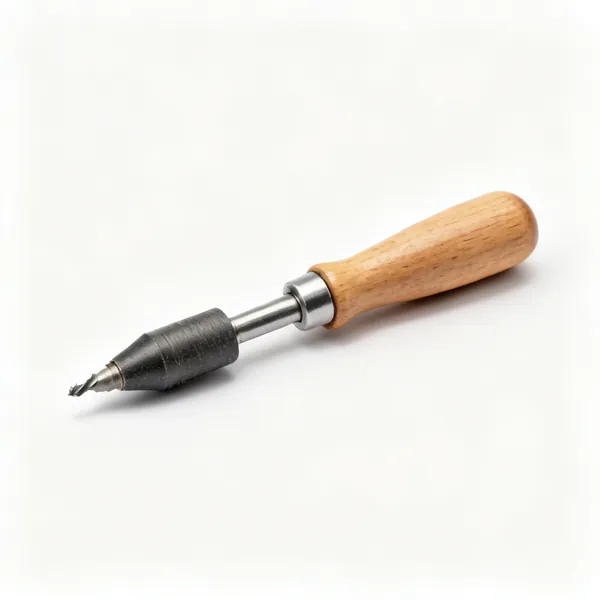
  • A leather edge beveller toolEssential

    Edge beveller

    Cuts the square corner off an edge so it can round over when burnished. First step in every edge finish.

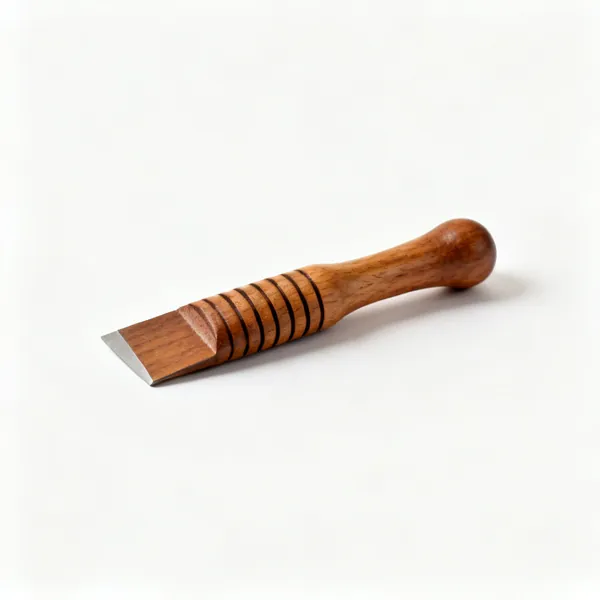
  • A wooden leather edge burnisher with groovesEssential

    Burnisher

    A grooved wood or canvas tool rubbed hard along a damp edge. Friction and heat compress the fibres to a shine.

  • Drill burnisher: A wooden burnisher attachment for a drill

    Drill burnisher

    The same grooved shape in a drill, doing in seconds what hand burnishing takes minutes to achieve.

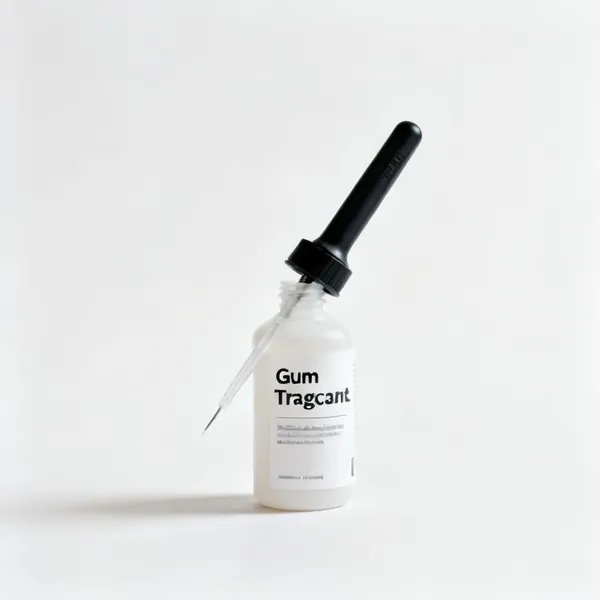
  • A bottle of gum tragacanth with an applicatorEssential

    Gum tragacanth

    Sizes the edge before burnishing and seals it after, so the shine lasts rather than fluffing up with handling.

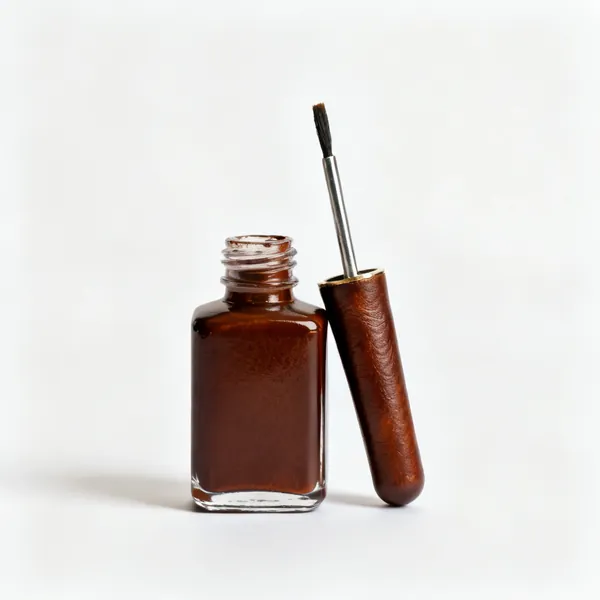
  • A bottle of leather edge paint with an applicator

    Edge paint

    Several thin coats on chrome tanned leather, which will not burnish. The correct finish for soft leathers.

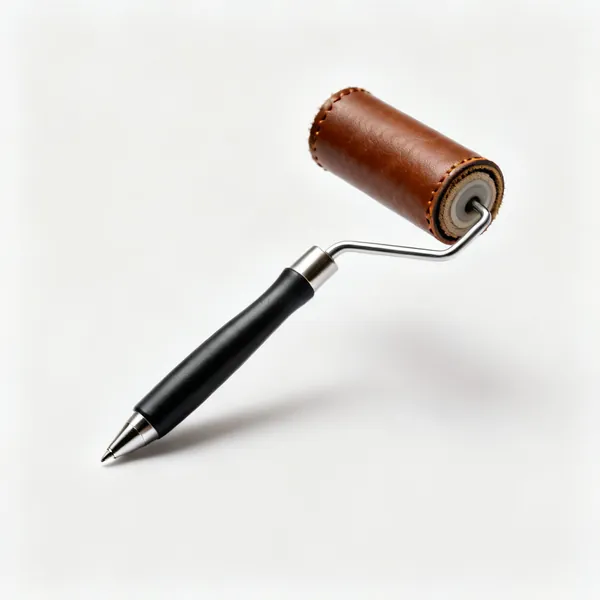
  • Edge paint roller: A leather edge paint applicator roller pen

    Edge paint roller

    A small wheel that lays edge paint evenly along a run, much neater than a brush or a finger.

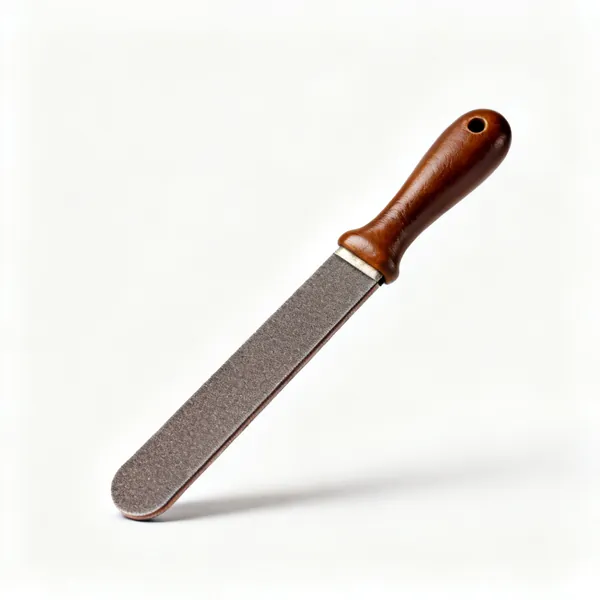
  • Abrasive sanding sticks for leather edgesEssential

    Sanding sticks

    Abrasive on a stick for truing an edge through the grits before burnishing. Coarse to fine, no skipping.

  • Heated creasing iron: A heated leather creasing iron tool

    Heated creasing iron

    A warmed iron that presses a permanent crisp line near the edge. The traditional finishing detail on fine goods.

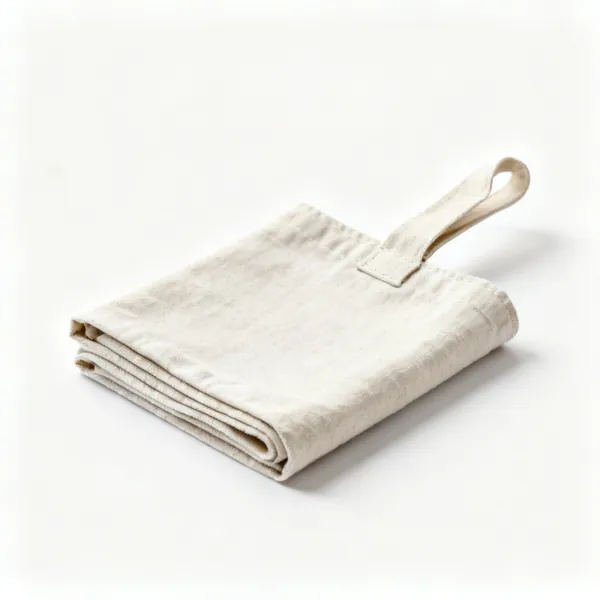
  • Canvas & denim: A folded piece of canvas clothEssential

    Canvas & denim

    Rubbing an edge with coarse cloth burnishes it beautifully for nothing. Many makers prefer it to a wooden tool.

  • A bone folder tool

    Bone folder

    Creases and flattens a fold or a glued seam without marking the surface the way a metal tool would.

Dyeing & finishing 11

Colour and protection. Every hide takes dye differently, so the test scrap is the important part.

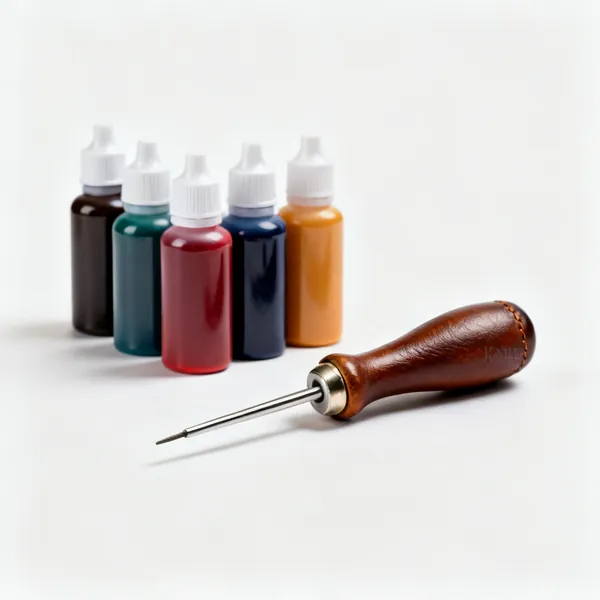
  • Bottles of leather dye in several coloursEssential

    Leather dye

    Spirit or water based colour that penetrates the leather. Thin even coats, tested on an offcut from the same hide.

  • Dye applicators: Wool dye daubers and spongesEssential

    Dye applicators

    Wool daubers and sponges for laying dye evenly in overlapping circles. A brush leaves streaks that never blend out.

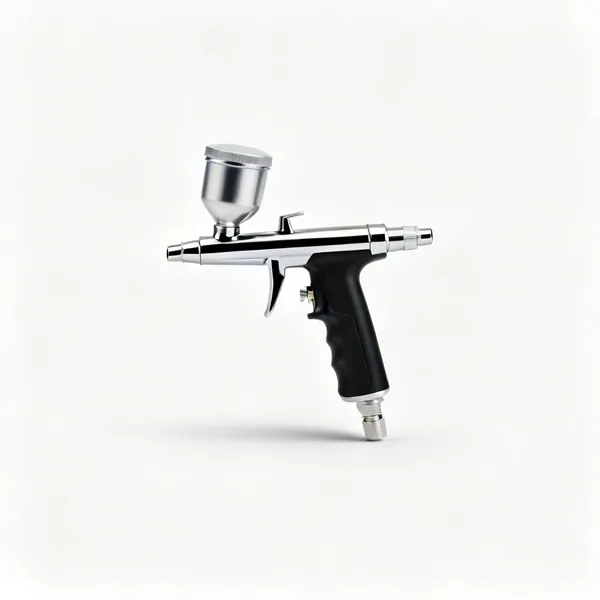
  • An airbrush with a small compressor

    Airbrush

    Sprays dye in a perfectly even coat and does gradients no hand application can match.

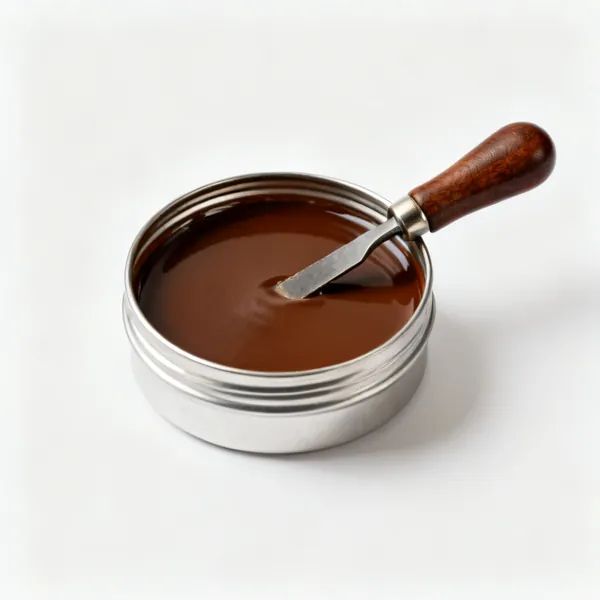
  • Antique paste: A tin of leather antique finish paste

    Antique paste

    Wiped on and off so it settles into tooled impressions, which is what makes a stamped pattern read as depth.

  • A bottle of leather resist finish

    Resist

    Blocks antique from soaking into the raised areas, so only the recesses darken. Used before antiquing.

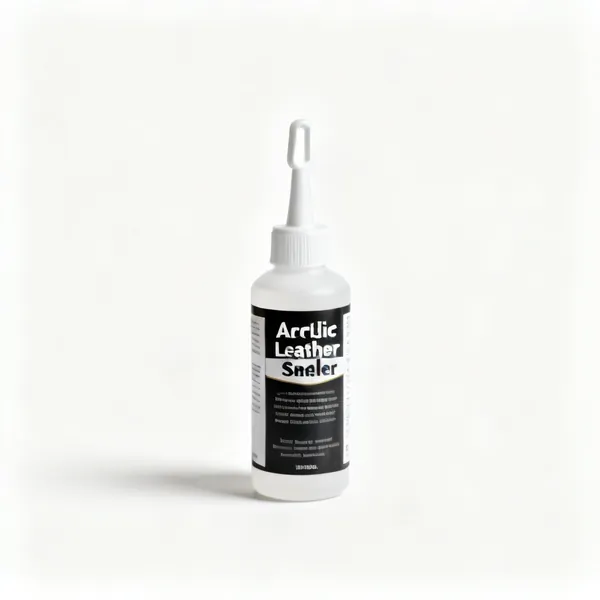
  • Acrylic finish: A bottle of acrylic leather finish sealerEssential

    Acrylic finish

    A topcoat sealing dye in and keeping water out. Without it dye rubs off onto clothing, which people notice.

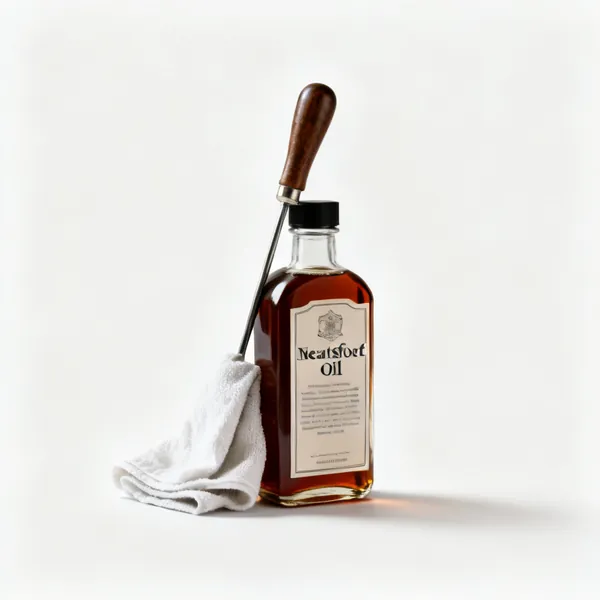
  • A bottle of neatsfoot oil with a cloth

    Neatsfoot oil

    Feeds and softens leather and deepens the colour. Applied sparingly, since too much makes it limp and greasy.

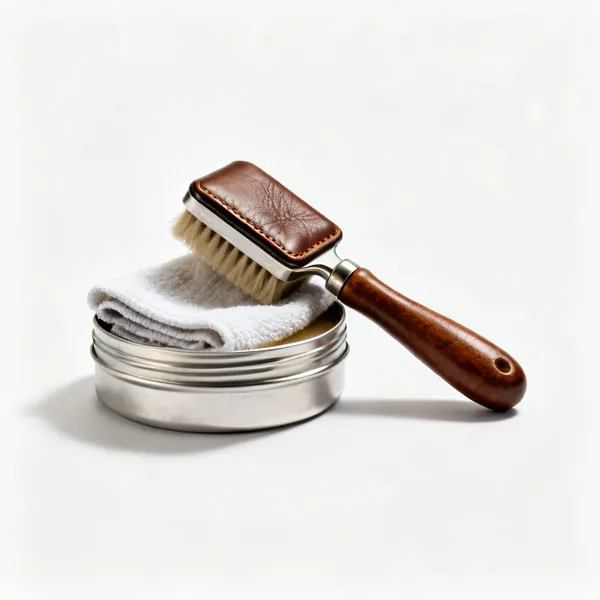
  • A tin of leather conditioner with a cloth

    Conditioner

    Wax or cream that keeps finished leather supple. Also the first step in restoring something dried out.

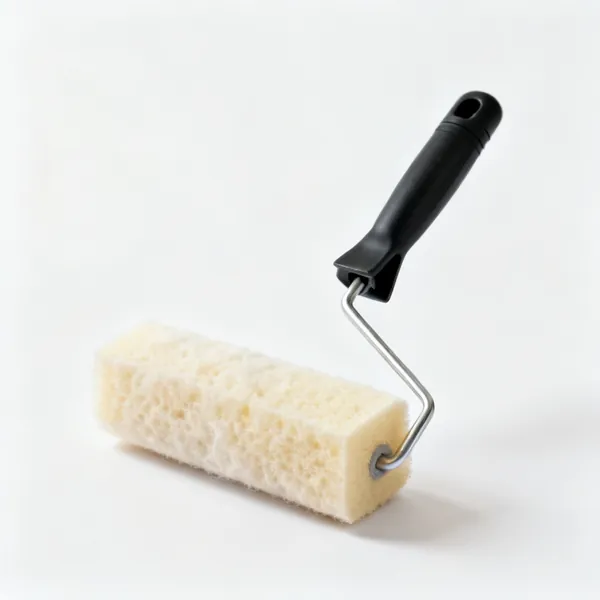
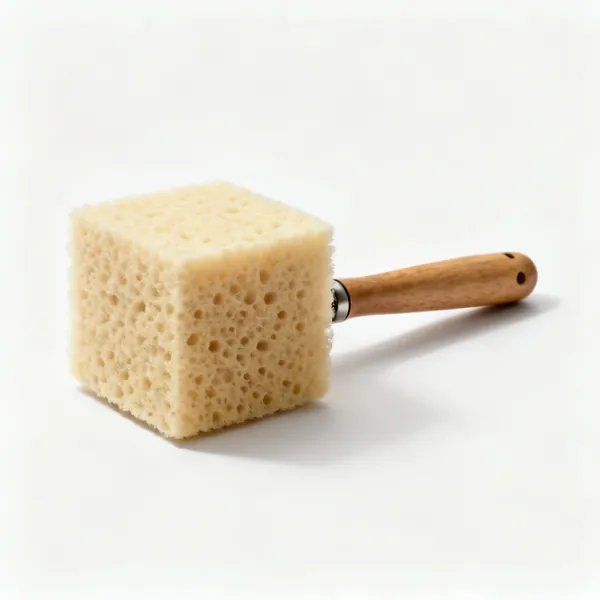
  • Casing sponge: A natural sponge for casing leatherEssential

    Casing sponge

    Dampens leather evenly for tooling or moulding. Damp rather than soaked, or it dries stiff and blotchy.
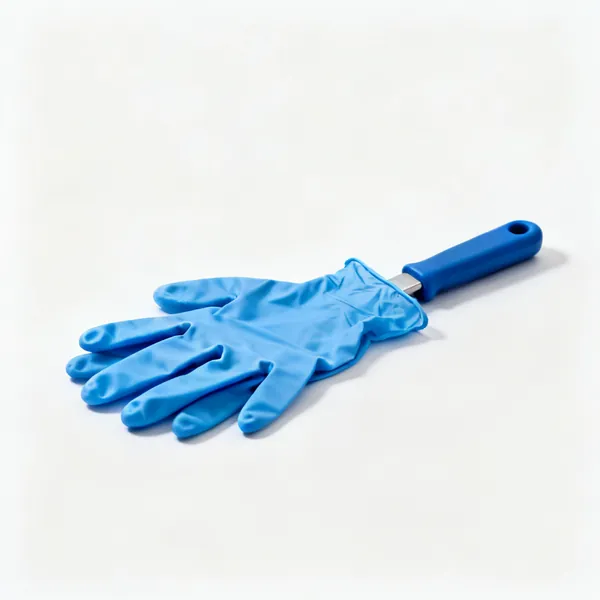
  • A box of blue nitrile glovesEssential

    Nitrile gloves

    Dye stains skin for days and transfers from your fingers onto pale leather. Cheap and used constantly.

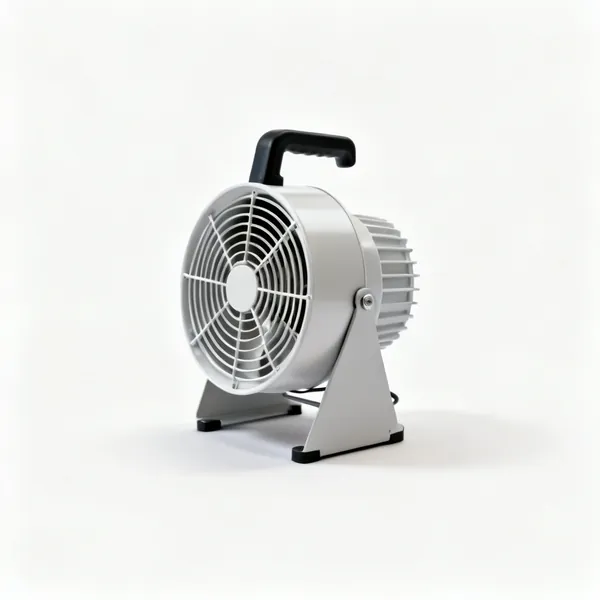
  • Ventilation: A small bench top extraction fan

    Ventilation

    Spirit dyes and finishes give off solvent. An extractor or an open window and a fan is the minimum.

Tooling & stamping 8

Decorative work on cased vegetable tanned leather. Chrome tanned leather will not hold an impression.

  • Stamp set: A set of leather stamping tools

    Stamp set

    Struck steel stamps that press a pattern into cased leather. Backgrounders, bevellers, veiners and pears.

  • A set of leather alphabet stamps

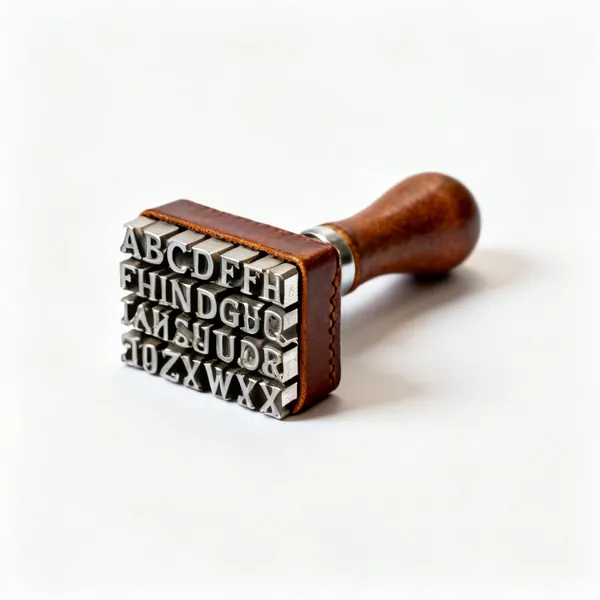
    Alphabet stamps

    Letters and numbers for names and initials. Set out with a guide line, since freehand spacing drifts visibly.

  • Modelling tool: A leather modelling spoon tool

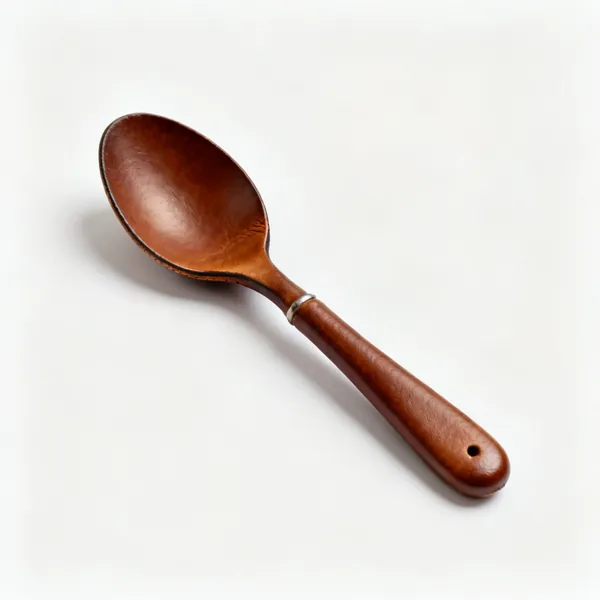
    Modelling tool

    A smooth spoon end for pushing and shaping damp leather by hand, refining what the stamps have started.

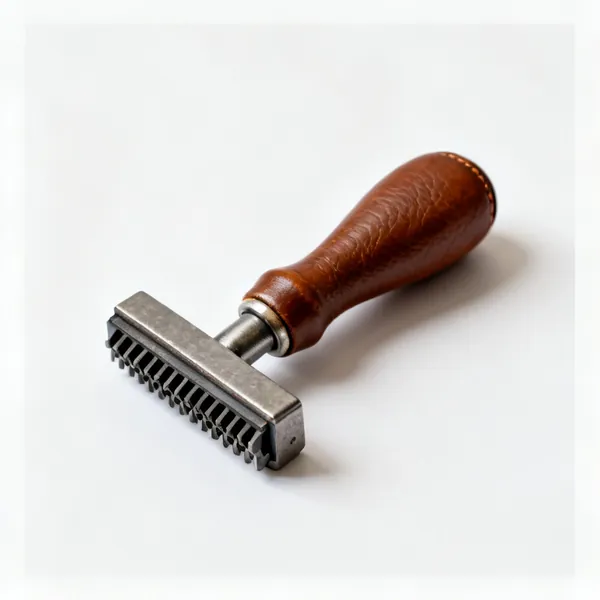
  • A leather embossing wheel tool

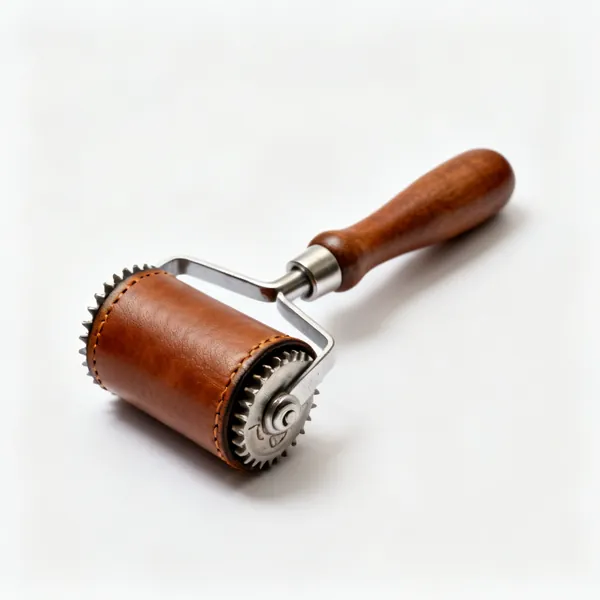
    Embossing wheel

    Rolls a repeating border pattern along an edge in one continuous pass, faster than stamping each element.

  • Backgrounder

    Backgrounder

    Textures the area around a design so it recedes and the main motif stands forward.

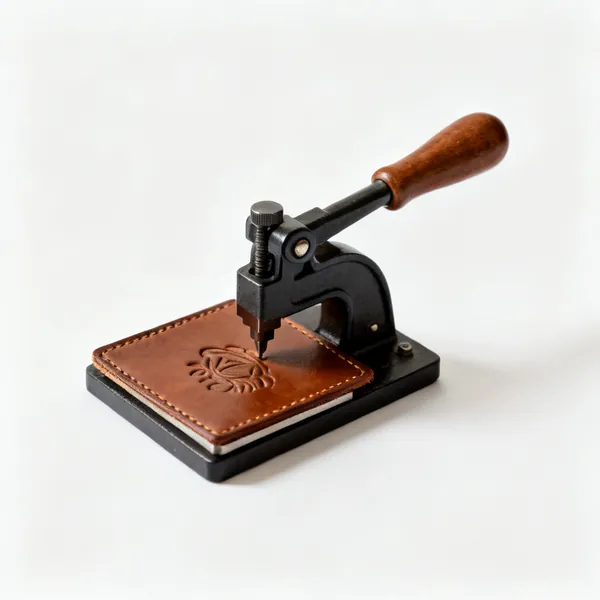
  • A small leather embossing press

    Embossing press

    Applies even pressure through a plate for a consistent deep impression across a whole piece, and can be heated.

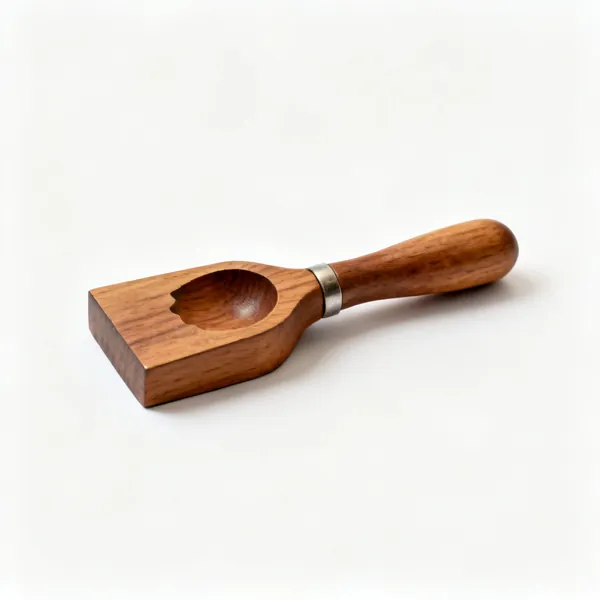
  • Moulds & formers: A wooden leather moulding form

    Moulds & formers

    Wet leather is pressed over a form and dries hard in that shape. How sheaths and cases are made to fit.

  • A leather tracing stylus tool

    Tracing stylus

    Transfers a design from tracing paper onto damp leather as a faint guide line to cut and stamp to.

Hardware & assembly 11

Buckles, rivets, snaps and glue. Hardware set badly is the most common point of failure on a finished piece.

  • Rivet setter: A leather rivet setting tool with rivetsEssential

    Rivet setter

    Sets a rivet cap without deforming or marking it, on a steel block. Struck squarely, or the cap goes lopsided.

  • Snap setter: A leather snap fastener setting tool kitEssential

    Snap setter

    Sets press studs in four parts. Each stud size needs its own die, and mismatched dies ruin the stud.

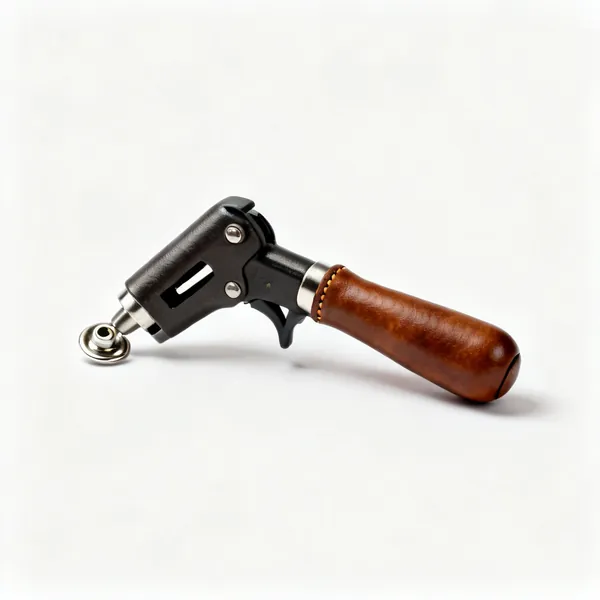
  • Eyelet setter: An eyelet setting tool with eyelets

    Eyelet setter

    Sets metal eyelets so a lace hole cannot tear out. A punched hole alone fails under repeated load.

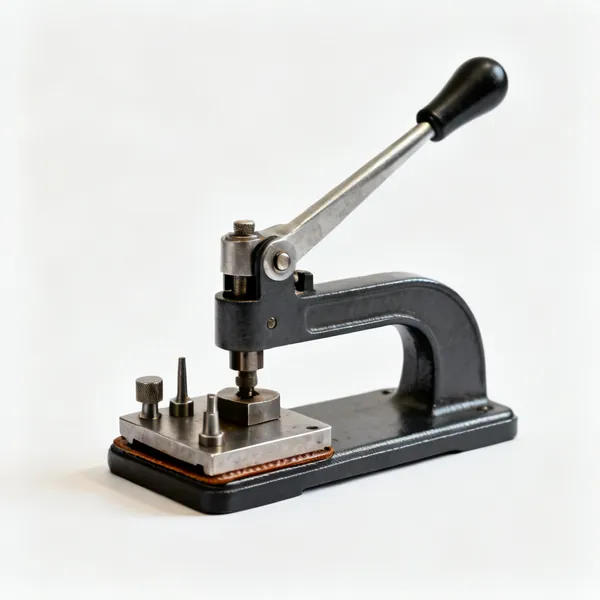
  • Hand press: A hand operated leather hardware press with dies

    Hand press

    A bench press with interchangeable dies that sets hardware consistently every time, without hammering.
  • An assortment of leather belt bucklesEssential

    Buckles

    Sized to the strap width, which is measured on the inside of the buckle rather than across the frame.

  • An assortment of double cap leather rivetsEssential

    Rivets

    Double cap rivets in several lengths. Too long and it bends over inside, too short and it will not grip.

  • A tin of leather contact cement with a brushEssential

    Contact cement

    Bonds two surfaces before stitching so nothing shifts. Applied to both faces and left tacky before joining.
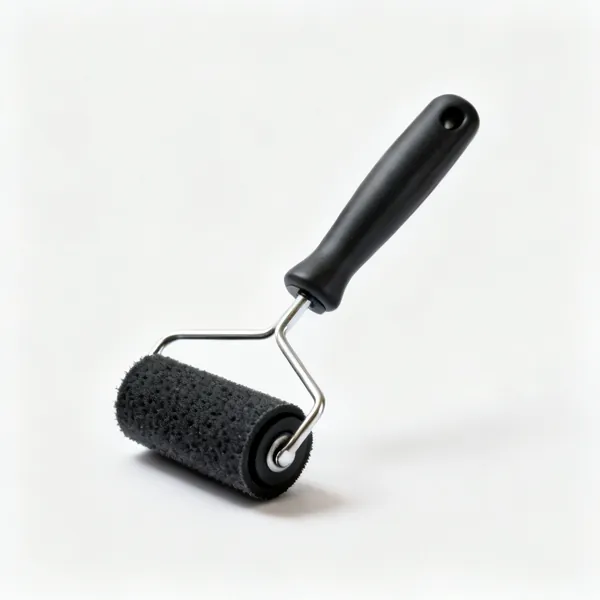
  • A small rubber seam roller

    Seam roller

    Presses a glued lamination together evenly so there are no air pockets, which would show as a soft spot.

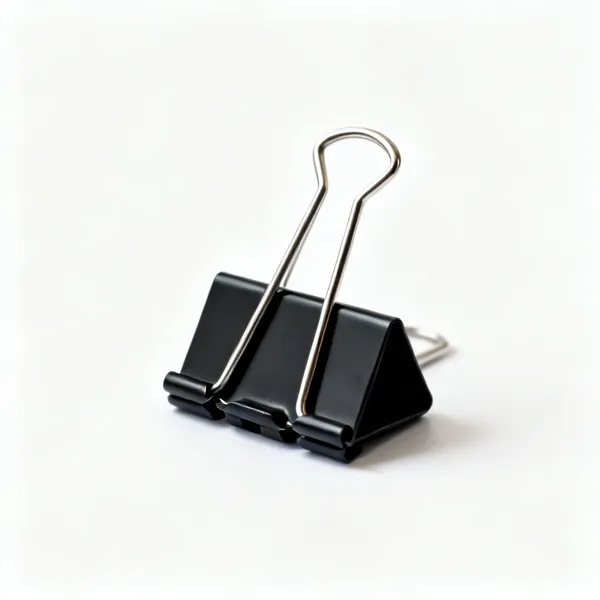
  • Black binder clipsEssential

    Binder clips

    Holds glued and stitched work while it sets, without piercing the leather the way a pin would.

  • Zips & hardware: Leather bag hardware including D rings and clasps

    Zips & hardware

    Metal zips, D rings, clasps and feet. Solid brass rather than plated, since plating wears through and looks cheap.

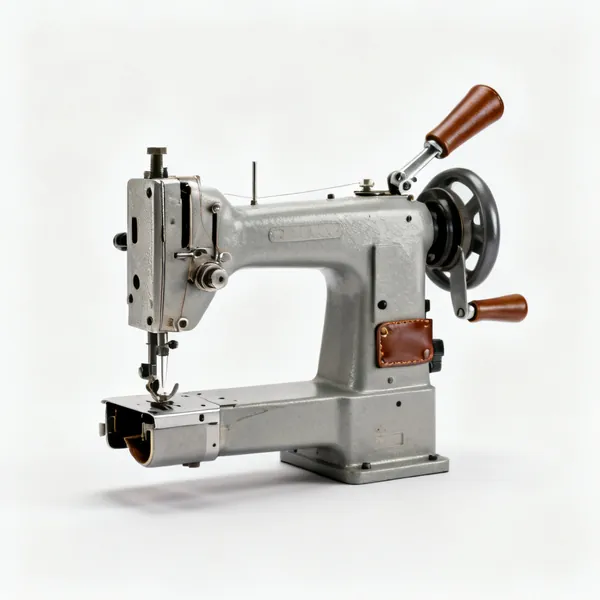
  • An industrial leather sewing machine

    Leather sewing machine

    A heavy walking foot machine for long seams and volume. Hand saddle stitching is still stronger.

Choosing leatherworking tools

Two things separate work that looks handmade from work that looks homemade: a genuinely sharp cutting edge, and finished edges. Neither costs much.

Sharpness is the whole craft

Leather does not forgive a dull blade. A sharp knife parts the fibres cleanly and leaves an edge you can burnish to a shine. A dull one drags, tears and wanders off the line, and no amount of finishing recovers that edge.

This is why leatherworkers spend so much time on strops and stones, and why a cheap knife kept genuinely sharp outperforms an expensive one that has never been touched. The blade only has to be sharpened once properly; after that a few passes on a strop before each session keeps it there.

The same applies to punches, chisels and edge tools. A blunt punch crushes a hole rather than cutting it, and a crushed hole never looks right.

Strop before every session
Ten seconds on a loaded strop restores an edge that is only slightly tired. It is maintenance, not sharpening.
Learn to sharpen once, properly
A knife set up correctly on stones stays sharp with stropping alone for a long time.
Punches and chisels need sharpening too
Nobody expects it, and a blunt punch crushes leather instead of cutting it, leaving a ragged hole.
Cut on a self healing mat or poly board
A hard surface blunts the blade on the first stroke. Cutting into something slightly giving preserves the edge.
One firm pass, not several nervous ones
Repeated light strokes give a stepped ragged edge. Commit to the cut with a sharp blade and it goes cleanly.

Saddle stitching, and why it is done by hand

Hand saddle stitching uses two needles on one thread, passing through each hole from both sides. It produces a seam that will not unravel if a stitch is cut, because each stitch is independently locked. A machine lock stitch will run if it is damaged.

That is why quality leather goods are hand stitched, and it is not nostalgia. It is also why the holes are made first, with a pricking iron or stitching chisel, rather than punched by the needle. Marking then piercing gives even spacing and a consistent angle, which is what makes a stitch line look deliberate.

Mark, pierce, then stitch
Space the holes with a pricking iron or chisel first. A needle finding its own way gives a wandering line.
Two needles, one thread, both sides
That is the saddle stitch. Each stitch locks itself, so cutting one does not unravel the seam.
Keep the same needle passing first
Consistency of which needle goes through first is what makes the stitches lie at a uniform angle.
Wax the thread
Waxed linen or braided polyester resists abrasion and grips itself. Unwaxed thread frays and works loose.
Use a stitching pony
It holds the work so both hands are free for the two needles. Trying to hold it in your lap is why beginners give up.
Groove or crease the stitch line
A shallow groove lets the thread sit below the surface, protecting it from wear and making the line crisp.

Edges, which is where the quality shows

The single most visible difference between amateur and professional leatherwork is the edges. A raw cut edge looks unfinished no matter how good the stitching is.

The sequence is: trim it true, bevel both sides to take the sharp corner off, sand it smooth through the grits, dampen it, then burnish it hard until the fibres compress and shine. On vegetable tanned leather that produces a glassy edge that needs no dye at all. Chrome tanned leather will not burnish the same way and is usually painted with edge paint instead.

It takes minutes per edge and it is the thing people notice first.

Bevel both sides
An edge beveller takes the square corner off, which is what lets the edge round over when burnished.
Sand through the grits
Coarse to fine, the same discipline as any other finishing. Skipping grits leaves scratches that show in the shine.
Damp, then burnish hard
Water and friction compress the fibres. Heat from the friction is what sets the shine.
Veg tan burnishes, chrome tan does not
Know which leather you have. Chrome tanned edges are finished with edge paint in several thin coats.
Gum tragacanth or beeswax to finish
Either seals the burnished edge so it stays glossy rather than fluffing up again with handling.

What to buy first, in order

Stage one: cutting and a first project
A round or utility knife, a steel rule, a cutting mat, a poly cutting board, a strop, a wing divider, an awl and a pair of harness needles with waxed thread.
Stage two: stitching properly
A stitching chisel or pricking iron set, a maul, a stitching pony, an edge beveller, sanding sticks and a burnisher.
Stage three: finishing and hardware
Dye and applicators, gum tragacanth or edge paint, a hole punch set, a snap setter, rivet setters and a small anvil block.
Stage four: tooling and scale
A swivel knife, stamps, a granite slab, a skiving knife or machine, a splitter and a clicker press if you make in quantity.

Mistakes that show in the finished piece

Working with a dull blade
Everything else follows from this. A dragged edge cannot be burnished and a wandering cut cannot be squared up.
Leaving edges raw
The clearest sign of an unfinished piece. Bevel, sand, burnish, and it costs minutes.
Letting the needle find its own hole
The stitch line wanders and the angles vary. Mark and pierce first, every time.
Using the wrong leather for the job
Veg tan tools, moulds and burnishes. Chrome tan is soft and drapes and does neither. They are not interchangeable.
Dyeing without testing on a scrap
Leather takes dye unevenly and every hide differs. Test the colour and the number of coats on an offcut first.
Punching holes too close to an edge
The leather tears out under load. Keep a sensible margin, and more on anything that carries weight.
Over wetting leather
Soaking rather than casing makes it go dark, stretch and dry stiff and blotchy. Damp is what you want.
Setting hardware without support underneath
A snap or rivet set on a soft surface deforms. It needs a steel block behind it to set properly.

Looking after leatherworking tools

Strop, do not grind
Grinding a leather knife reshapes the bevel and takes ages to recover. A loaded strop maintains it indefinitely.
Keep steel away from damp leather
Casing leather is wet, and tools left on it rust and then mark the next piece with an iron stain.
Sharpen stitching chisels
They are cutting tools. A blunt chisel crushes and tears the holes rather than slitting them cleanly.
Wipe dye off tools immediately
Dried dye transfers to the next piece, usually onto something pale and expensive.
Store burnishers clean
Wax and gum build up and go hard, and then the burnisher drags instead of polishing.
Oil bare steel punches
They live in a drawer for months between uses, and a rusty punch pits the hole it cuts.

Frequently asked questions

What leather working tools do I need to start?
A sharp knife, a steel rule, a cutting mat, a strop, a wing divider, an awl, two harness needles and waxed thread. Add a stitching chisel, a stitching pony, an edge beveller and a burnisher and you can make a belt or a wallet properly.
What is saddle stitching and why is it better than machine stitching?
Two needles on one thread passing through each hole from both sides, so every stitch locks independently. If one stitch is cut, the seam holds. A machine lock stitch will unravel from a single cut, which is why quality goods are hand stitched.
What is the difference between veg tan and chrome tan leather?
Vegetable tanned leather is firm, takes tooling and moulding, and burnishes to a glassy edge. Chrome tanned is softer, drapes better and will not tool or burnish the same way, so its edges are finished with edge paint instead.
What is a pricking iron and how is it different from a stitching chisel?
A pricking iron marks the position and angle of each stitch without going all the way through, and you then pierce with an awl. A stitching chisel cuts right through in one action. Chisels are faster, irons give more control.
Why do my edges look rough and fluffy?
They have not been finished. The sequence is trim true, bevel both sides, sand through the grits, dampen, then burnish hard until the fibres compress and shine. On veg tan that alone gives a glassy edge.
What is skiving?
Thinning leather, usually at an edge or a fold, so a seam or a turnover is not bulky. Done with a skiving knife, a safety skiver or a machine, and it is what makes a folded edge lie flat instead of standing proud.
What is a stitching pony?
A clamp, often one you sit on, that holds the work upright so both hands are free for the two needles. Saddle stitching essentially requires one, and trying to hold the work in your lap is why beginners struggle.
Do I need a leather sewing machine?
Not to start, and not for most hand made goods. A heavy walking foot machine is worth it for volume or long seams, but hand saddle stitching is stronger and is the expected finish on quality work.
What thread should I use for leather?
Waxed linen or braided polyester in a weight suited to the leather. The wax resists abrasion and grips itself, so a stitch stays put. Ordinary sewing thread frays and works loose within months.
How do I stop dye looking patchy?
Test on an offcut from the same hide first, apply thin even coats rather than one heavy one, and keep the applicator moving in overlapping circles. Every hide takes dye differently, so the test piece is not optional.
What is casing leather?
Dampening it so it can be tooled or moulded. Damp, not soaked: over wetting makes leather go dark, stretch, and dry stiff and blotchy. It should feel cool and slightly darker, and return to colour as you work.
Why did the rivet pull out of my strap?
Either it was set too close to the edge, or it was set without a steel block behind it so the shank deformed instead of spreading properly. Both are common, and both mean the fixing was never really holding.