Disclosure

Masonry tools: names, pictures and what each one is used for

A complete masonry tools list with a picture of every one, all 83 grouped by the job, from mixing and laying through jointing, cutting, stonework and rendering. A handful of cheap tools do almost all the work, and the skill is in the setting out and the mortar.

35 are marked essential: what a bricklayer carries to every job.

Trowels 10

The tools you hold all day. Several look similar and do different jobs, and picking the right one is most of the comfort of the trade.

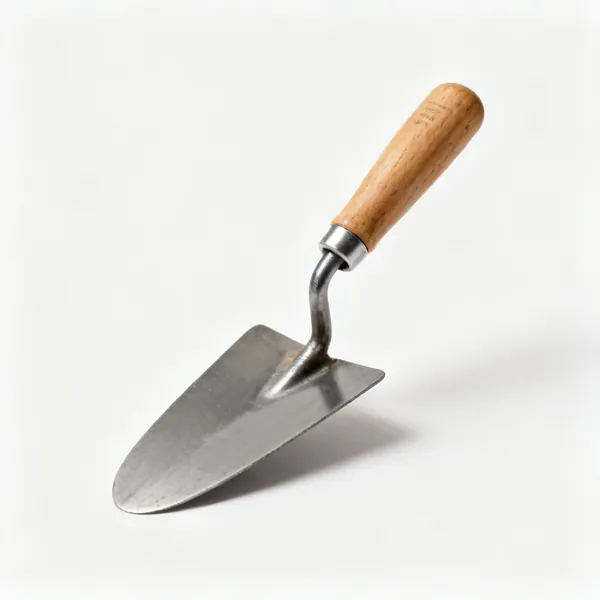
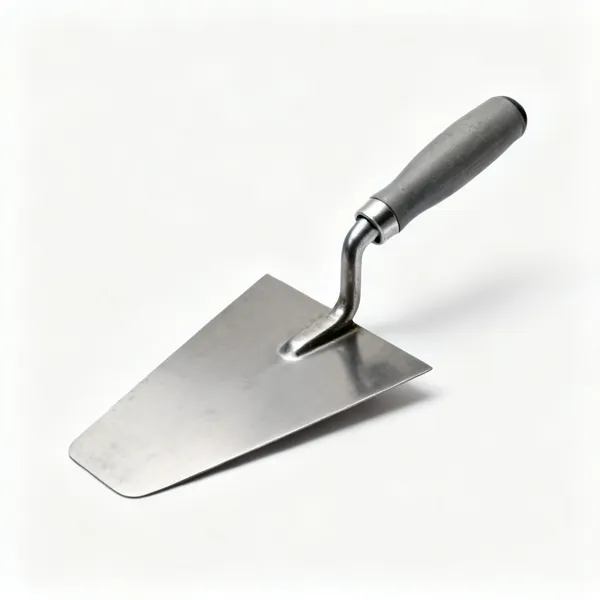
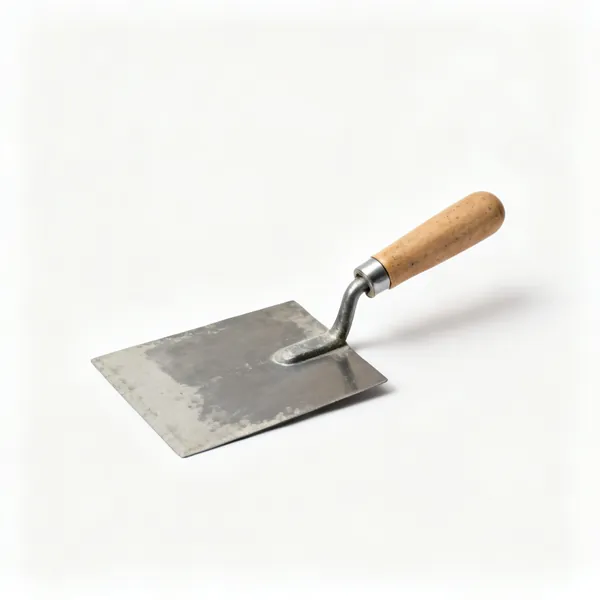
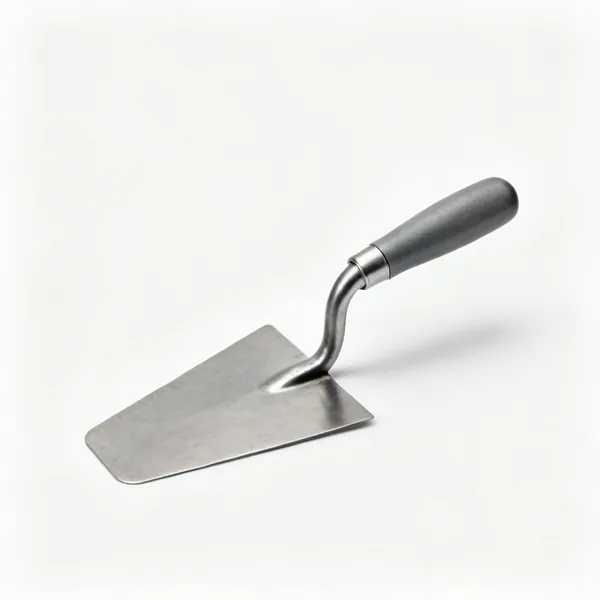
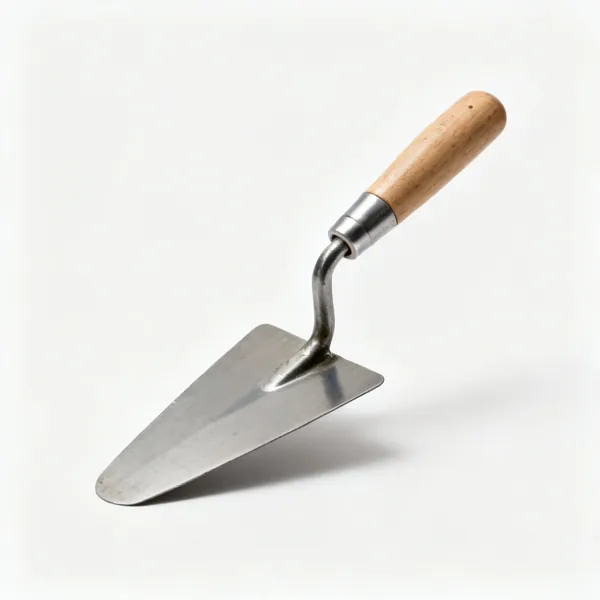
  • Brick trowel: A bricklayer's trowel with a wooden handleEssential

    Brick trowel

    Picks up, spreads and shapes mortar, and cuts a brick at a pinch. One piece forged, since a riveted tang works loose eventually.

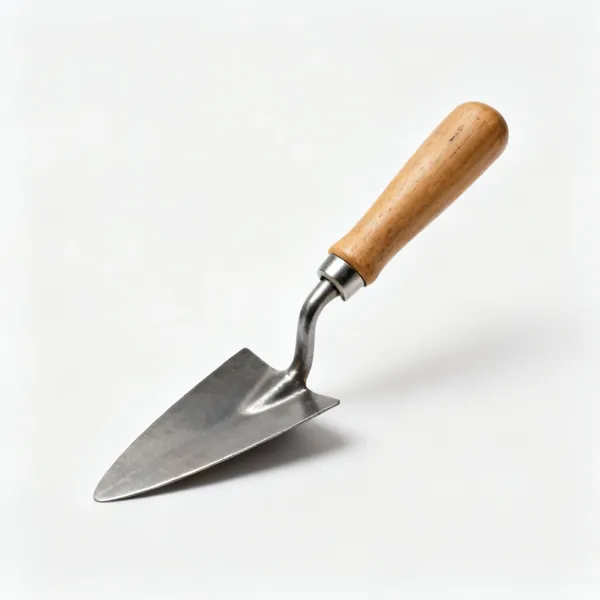
  • A small pointing trowel with a wooden handleEssential

    Pointing trowel

    Small and narrow for pressing mortar into joints and tidying them. The finishing tool, and no substitute for the big trowel.

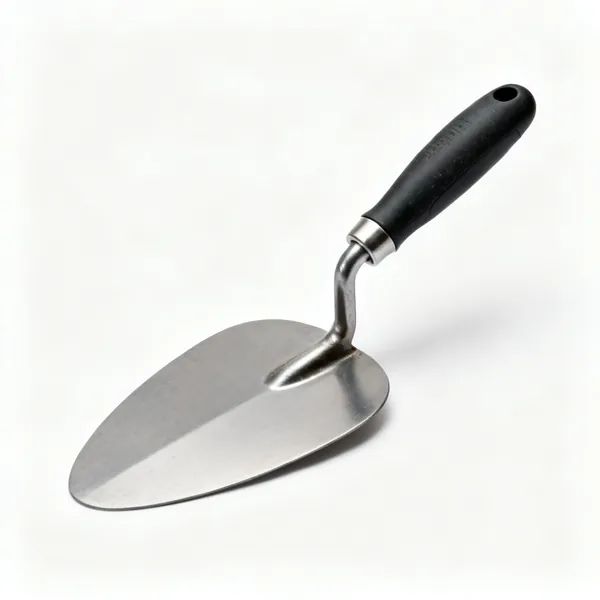
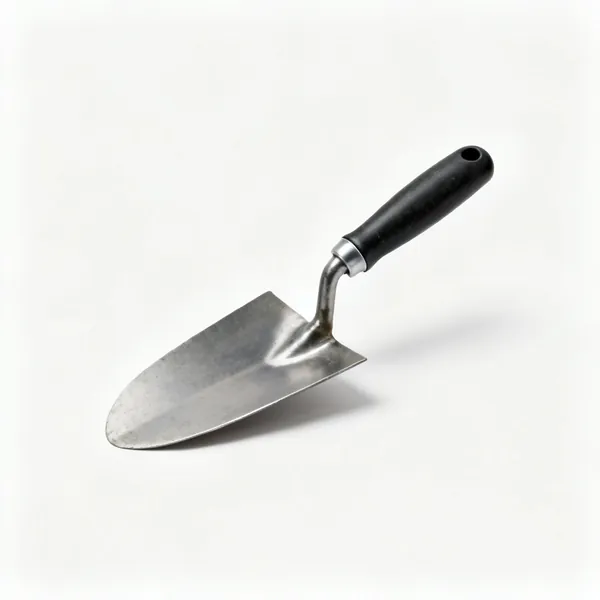
  • A rounded gauging trowel

    Gauging trowel

    A rounded blade for mixing small amounts and scooping from a bucket. Between a brick trowel and a pointer in size.

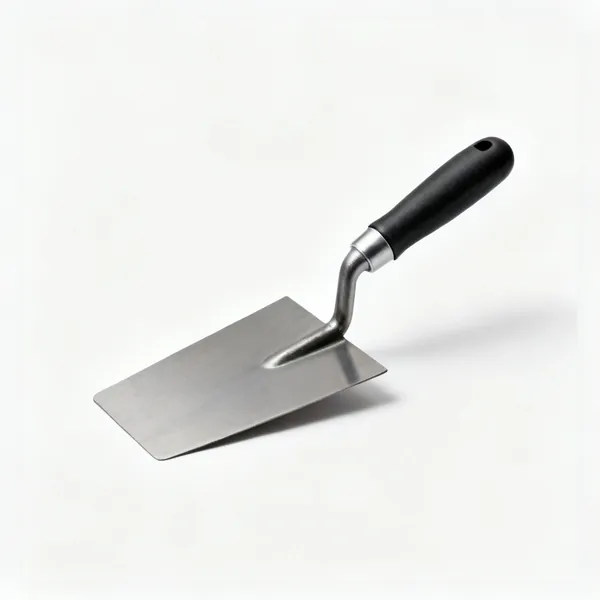
  • A narrow rectangular margin trowel

    Margin trowel

    A narrow rectangle for tight spaces, cleaning out a bed and working into a corner a wide blade cannot reach.

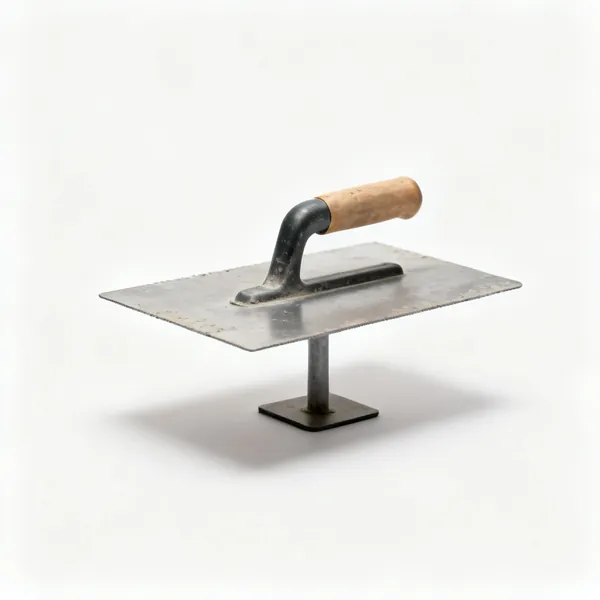
  • A large flat steel finishing trowel

    Finishing trowel

    A large flat blade for flattening and polishing render and plaster. Flexes slightly, which is what leaves a smooth face.

  • Corner trowel

    Corner trowel

    Pre bent to ninety degrees for internal and external corners in render. Getting a corner straight freehand is genuinely hard.

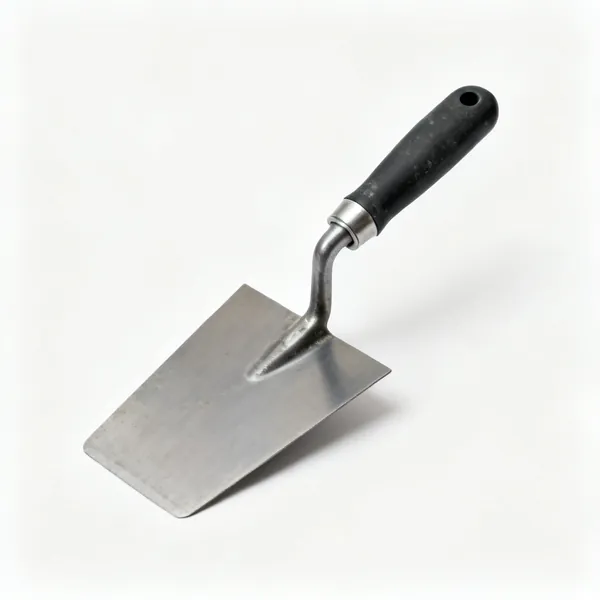
  • A short bladed bucket trowel

    Bucket trowel

    A short strong blade for scooping mortar out of a bucket without bending a good trowel. Cheap and it saves the expensive one.

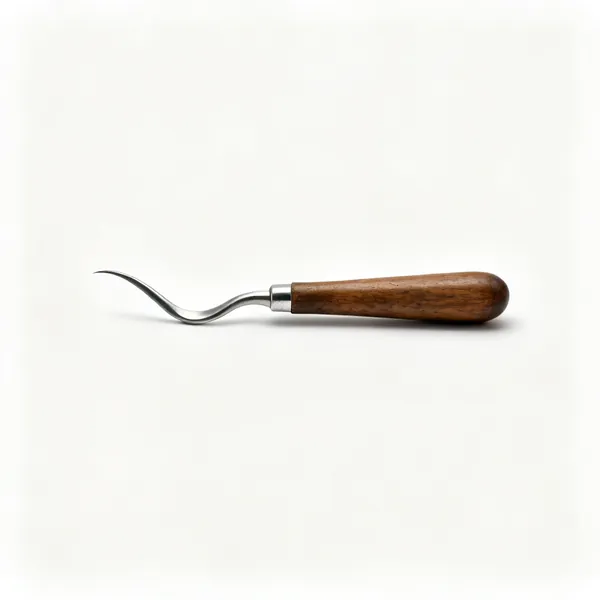
  • A frenchman pointing knife with a bent tip

    Frenchman

    A blade with a bent tip that trims squeezed out mortar to a crisp line along a straight edge. What tuck pointing is done with.

  • A plasterer's hawk board with a handleEssential

    Hawk

    A flat board with a handle under it, holding mortar close to the work. Rendering without one means walking back for every trowel full.

  • A mortar spot board on a standEssential

    Spot board

    A board on a stand holding the working mortar at waist height. On the ground, every load costs you a bend.

Laying & levelling 12

Making the wall straight, plumb and to gauge. The corners carry the accuracy and the line does the rest.

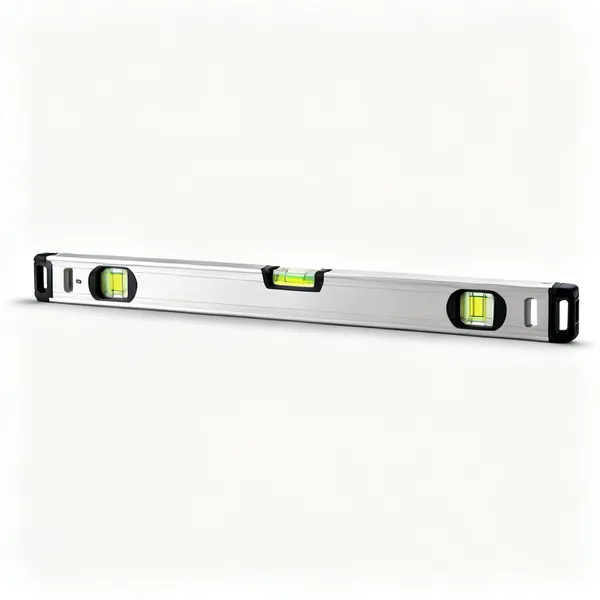
  • A long aluminium spirit level with vialsEssential

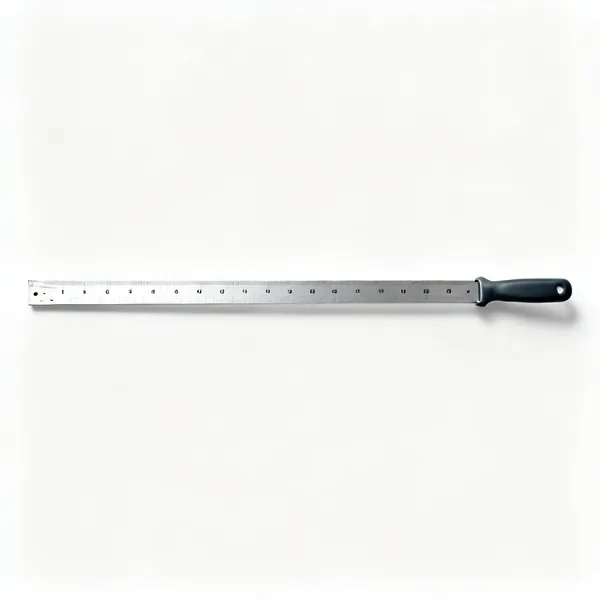
    Spirit level

    A 1.2 metre level for courses and plumb. Long is better on brickwork, and the edges must be kept clean or it lies to you.

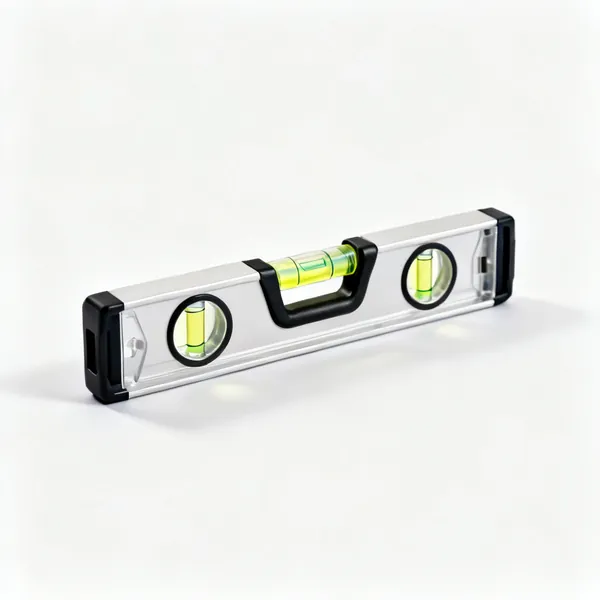
  • Boat level: A small boat spirit level

    Boat level

    A short level for a single brick and tight spots. Not accurate over a course, and it fits where the long one cannot.

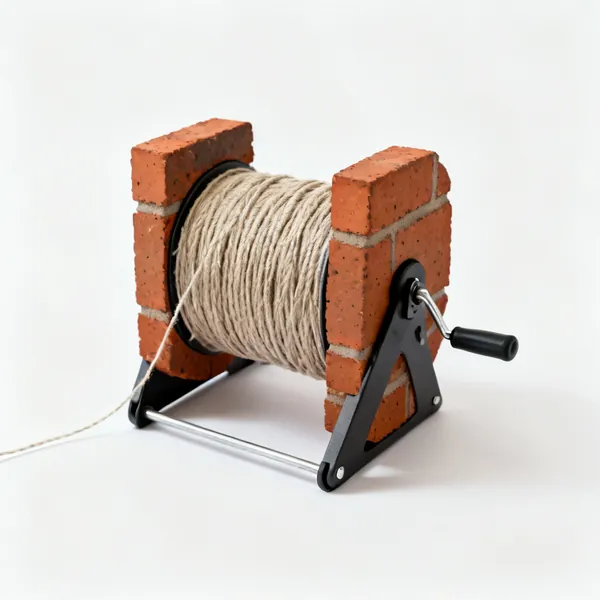
  • A brick line reel with nylon stringEssential

    Brick line

    The string every brick is laid to. Taut, clear of the face, and it is the reason a wall is straight rather than nearly straight.

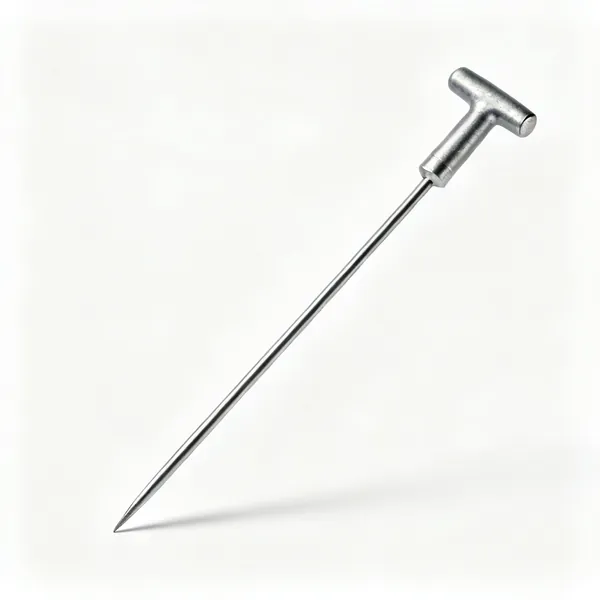
  • Steel bricklayer's line pinsEssential

    Line pins

    Steel pins driven into a joint to tension the line. Fast, and they leave a hole to be filled afterwards.

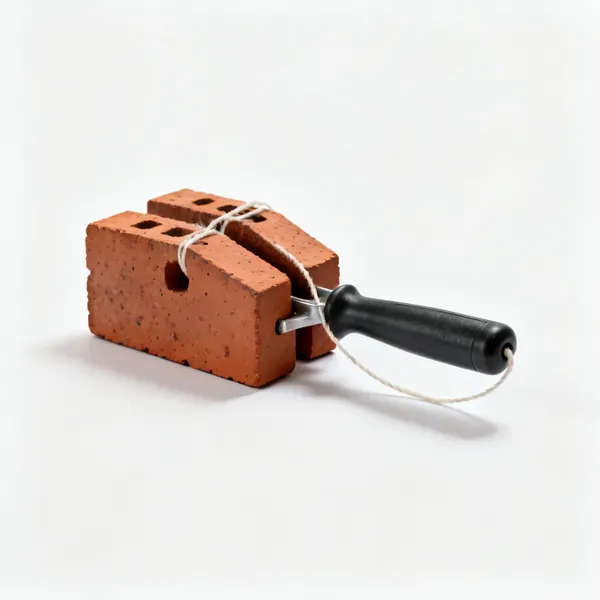
  • A pair of bricklayer's line blocks with stringEssential

    Line blocks

    Hook over the corner brick and tension the line without piercing the joint. Neater than pins and slower to set.

  • Corner profiles: An adjustable corner profile post for bricklaying

    Corner profiles

    Adjustable posts clamped to a corner carrying the line up as you build, so one person can work without raising corners first.

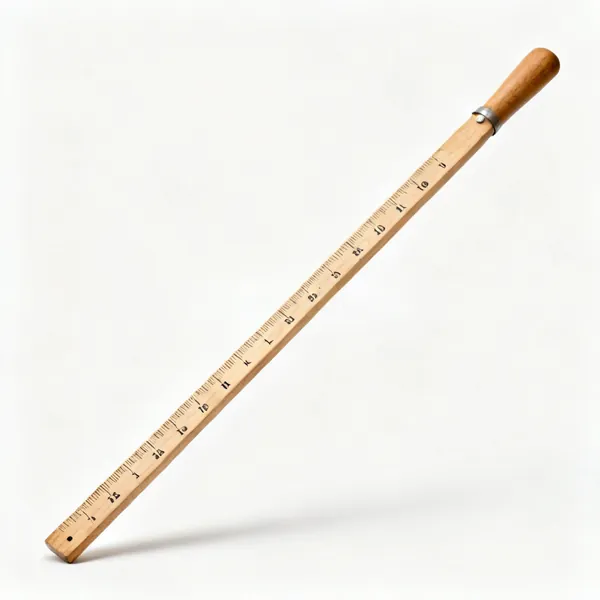
  • A marked wooden gauge rod battenEssential

    Gauge rod

    A batten marked with course heights, checked against every course. The only way to keep joints identical all the way up.

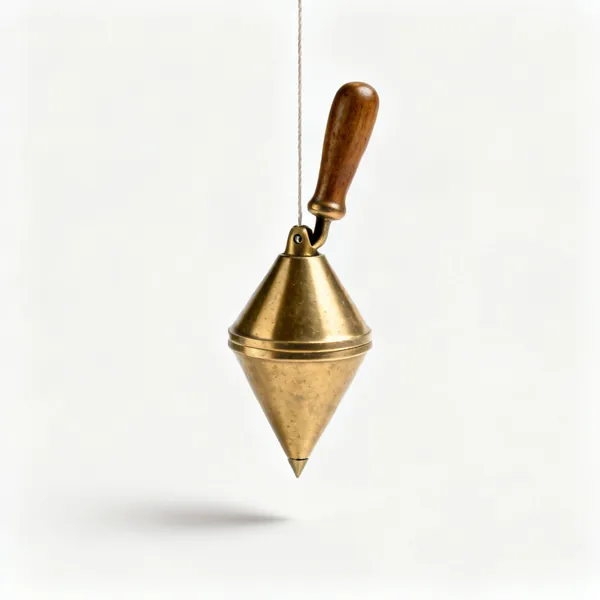
  • A brass plumb bob on a line

    Plumb bob

    A weight on a line giving true vertical over a height a level cannot span. Still the reference for a tall corner.

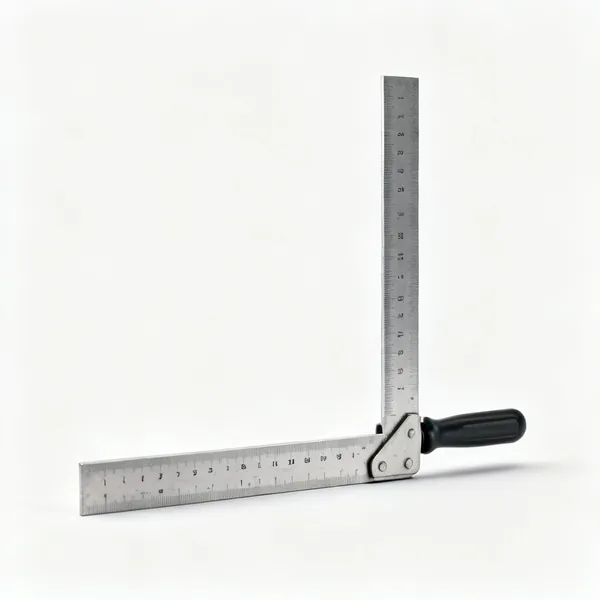
  • A large steel builder's squareEssential

    Builder's square

    A large right angle for setting corners out. Big enough that a small error is visible, unlike a small joiner's square.

  • A curved steel brick jointer toolEssential

    Brick jointer

    Compresses and shapes the mortar joint into a curve that sheds water. Compression is the point, since it seals the joint.

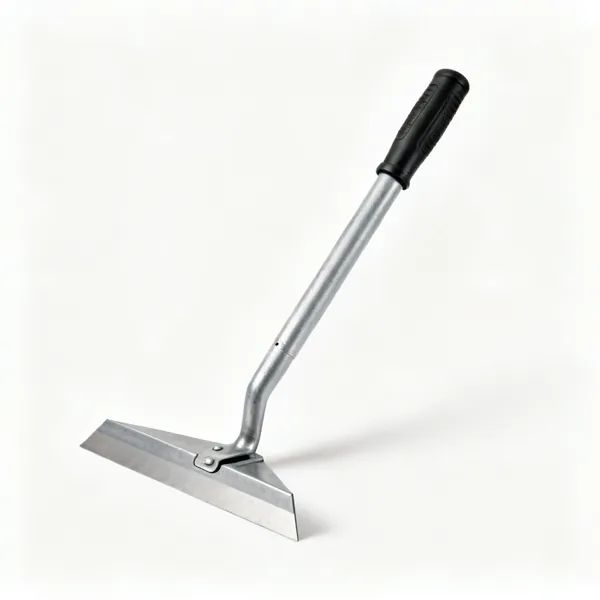
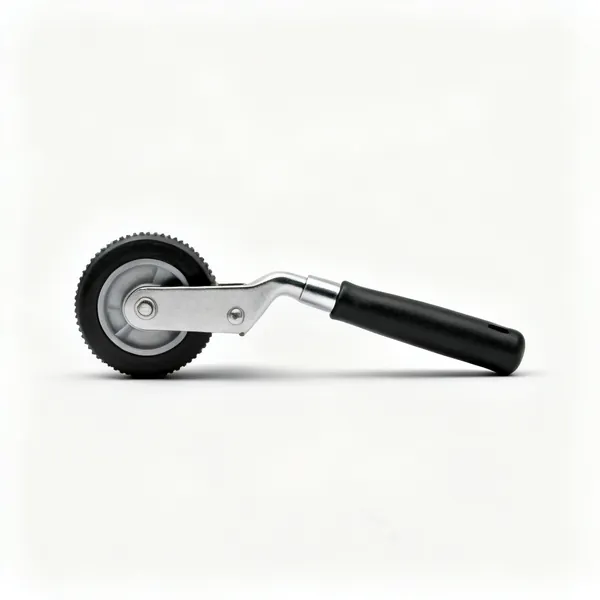
  • A joint raker tool with a wheel

    Joint raker

    Rakes the joint back to a recess, a finish that suits some bricks and holds water in others. A choice rather than a default.

  • Bucket handle jointer: A bucket handle jointing iron

    Bucket handle jointer

    A wider curve giving the traditional bucket handle profile. Different tool from a round jointer, and a different look.

Cutting & breaking 11

Splitting brick, block and stone to fit. A clean cut shows on the finished face, so this is not just brute force.

  • A wide bolster chisel with a hand guardEssential

    Bolster chisel

    A wide blade that splits a brick or block cleanly in one blow. Struck with a lump hammer, never a claw hammer.

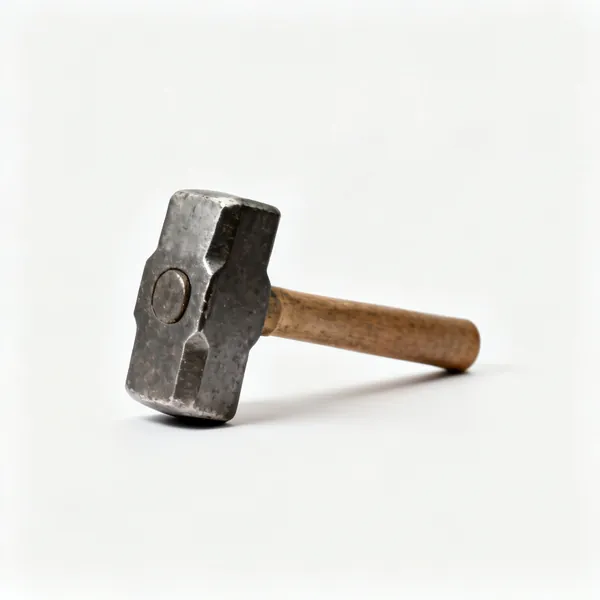
  • A lump hammer with a heavy headEssential

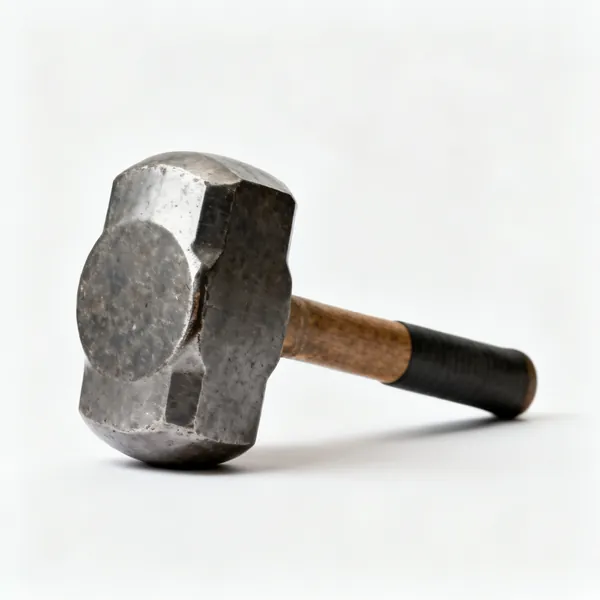
    Lump hammer

    A short heavy hammer for driving chisels and settling blocks. The mass does the work rather than the swing.

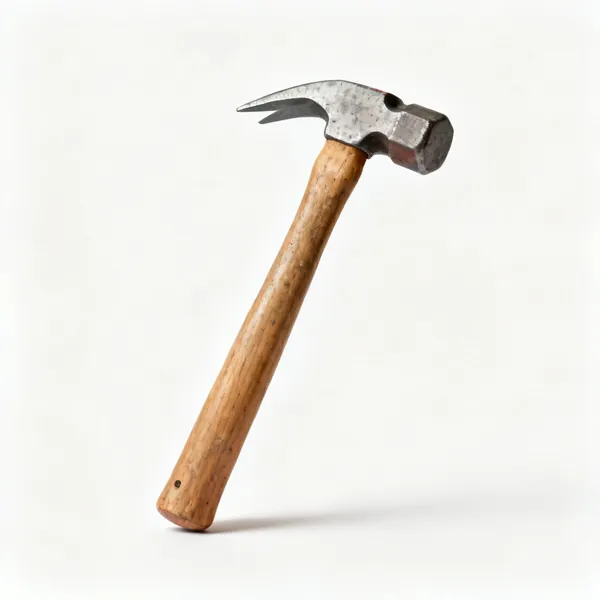
  • A brick hammer with a chisel peenEssential

    Brick hammer

    A hammer with a chisel end for trimming brick without changing tools. Fast in the hand of anyone laying all day.

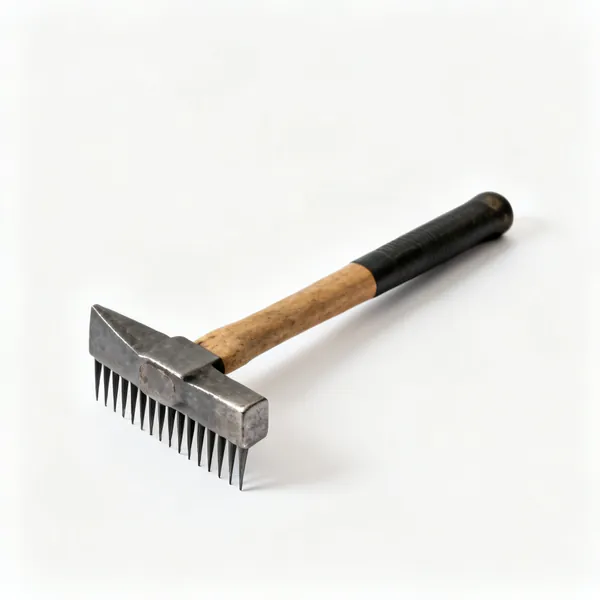
  • A scutch hammer with comb blades

    Scutch hammer

    Takes replaceable combs for dressing a cut brick face back to a clean line. Tidies what a bolster left rough.

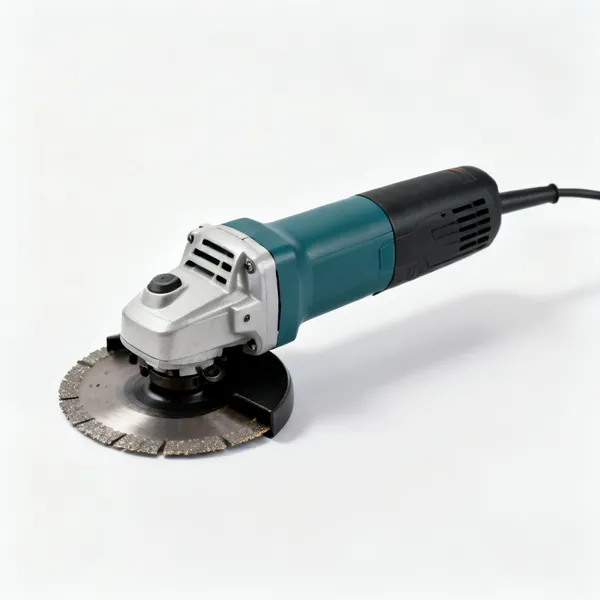
  • Angle grinderEssential

    Angle grinder

    With a diamond blade, the cleanest cut in brick and stone. Cut wet or with extraction, since dry silica dust is a genuine hazard.

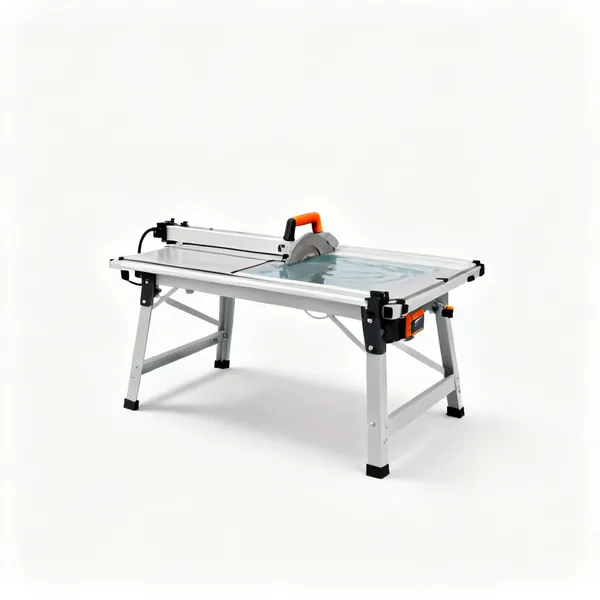
  • A water fed masonry bench saw

    Masonry bench saw

    A water fed bench saw for accurate repeat cuts in block and paving. Hired, and worth it for a whole job of cuts.

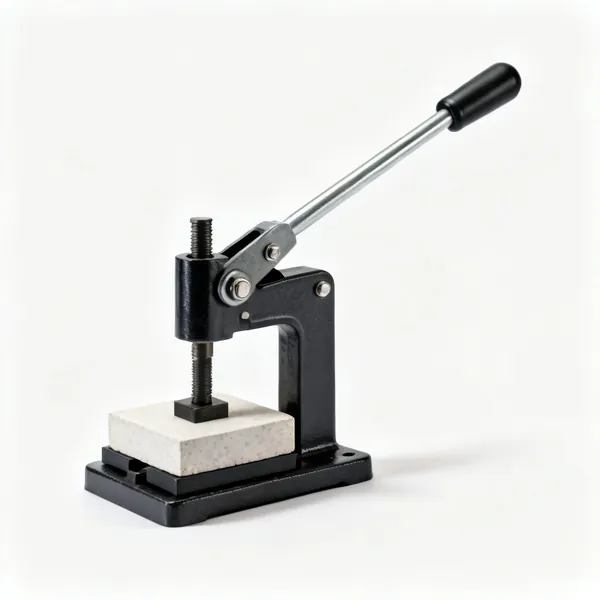
  • A manual block splitter press

    Block splitter

    A lever press that splits paving and block with no dust and no noise at all. Slower than a saw and much cleaner.

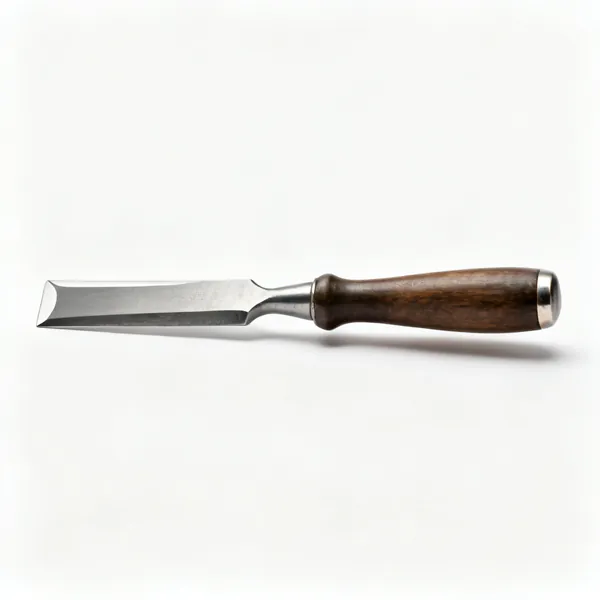
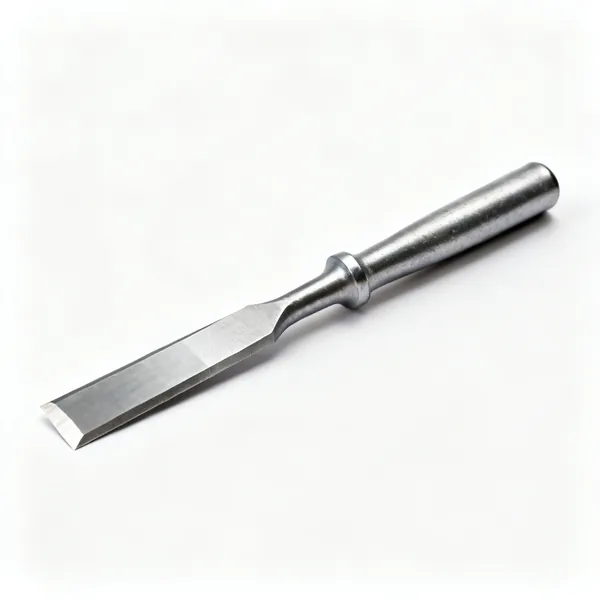
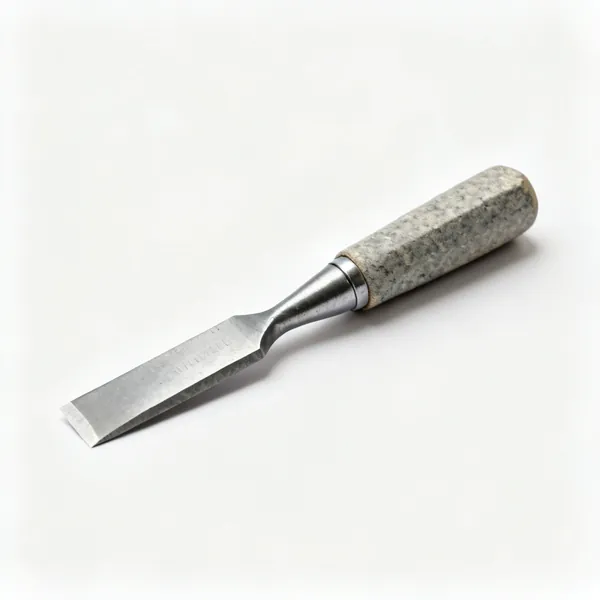
  • A narrow plugging chiselEssential

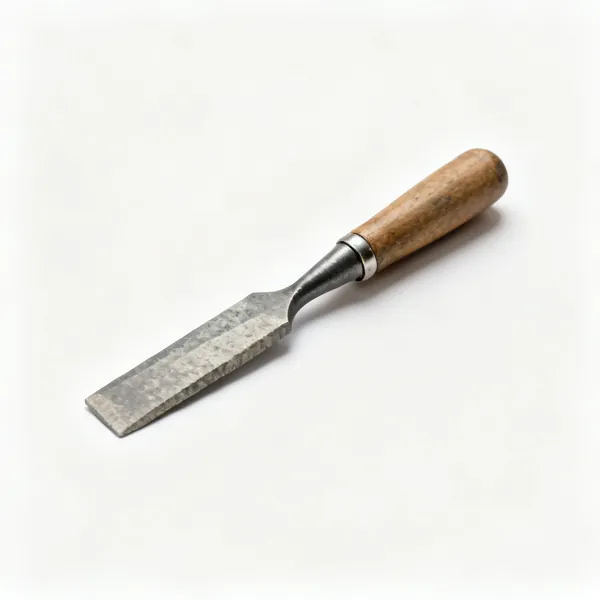
    Plugging chisel

    A narrow tapered blade for raking old mortar out of a joint before repointing, without chipping the brick either side.

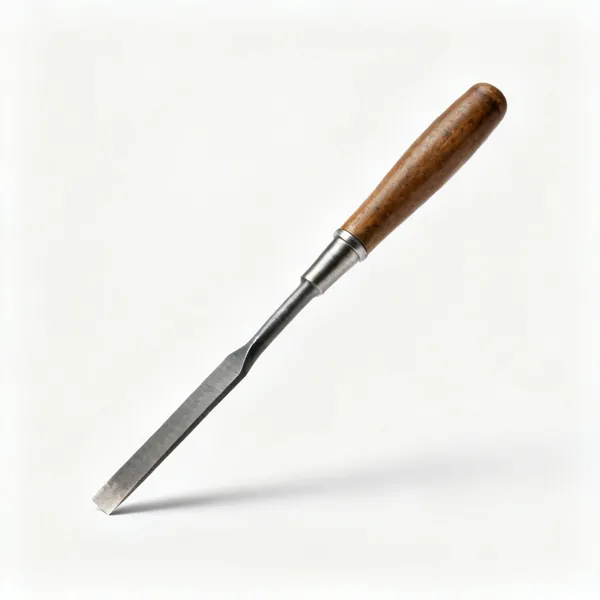
  • A steel cold chiselEssential

    Cold chisel

    General cutting and cleaning up in masonry. Dress the head before it mushrooms, since a spread head throws fragments.

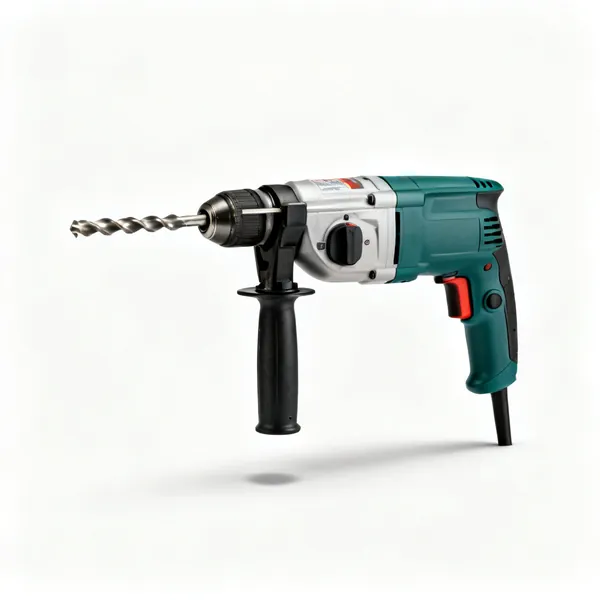
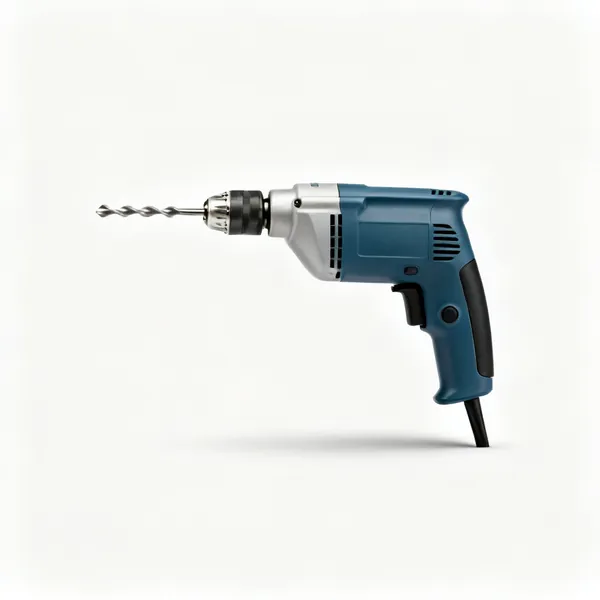
  • An SDS hammer drill with a masonry bitEssential

    SDS hammer drill

    Drills brick and concrete for fixings, ties and starter bars. The bit slides in the chuck so the hammer blow reaches the tip.

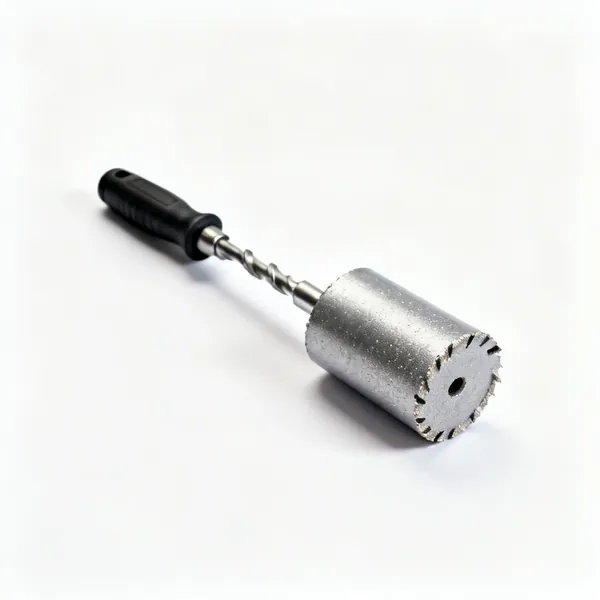
  • Core bit: A diamond core drill bit barrel

    Core bit

    Cuts a clean round hole through a wall for a vent or pipe. Water fed on anything larger than a fist.

Mixing & moving mortar 10

Consistency between batches is what stops a wall changing colour halfway up, so how you mix matters as much as what you mix.

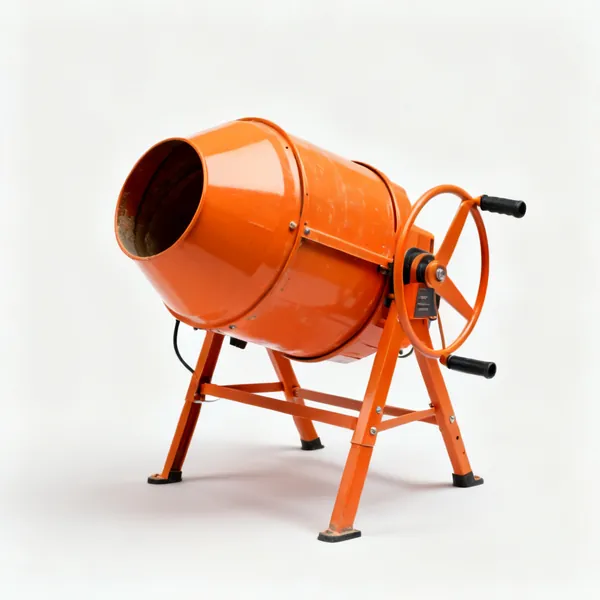
  • An orange electric cement mixerEssential

    Cement mixer

    A rotating drum giving consistent batches, which a shovel in a barrow cannot. Consistency is the reason to own one.

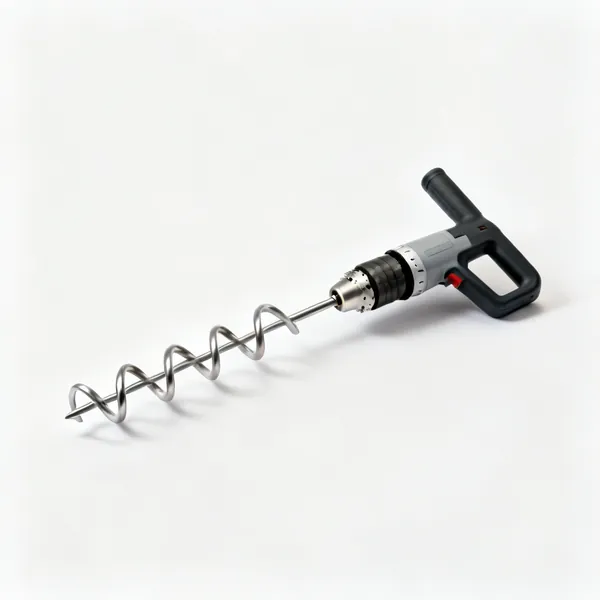
  • A spiral mixing paddle with a mixing drillEssential

    Mixing paddle

    A paddle in a slow high torque drill for a bucket of mortar or adhesive. Quicker than the mixer for small amounts.

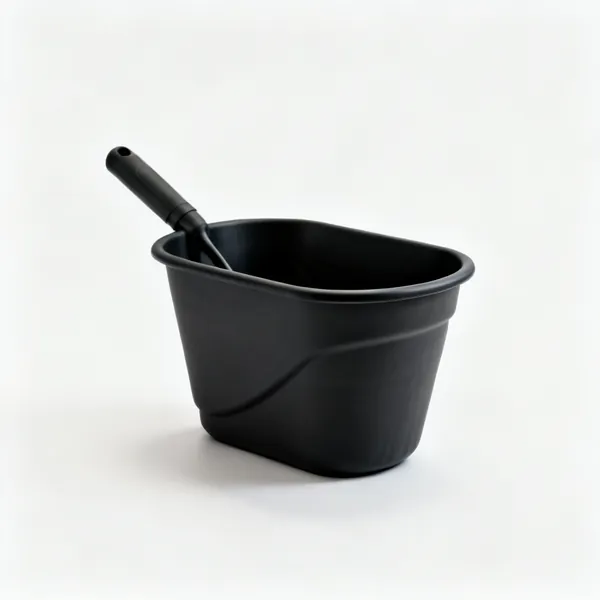
  • Mortar tub: A black flexible mortar mixing tubEssential

    Mortar tub

    A flexible tub for mixing and carrying. Flexible so set residue flexes out rather than having to be chipped off.

  • A wooden mortar gauge box

    Gauge box

    A bottomless box filled level to measure sand identically every batch. This is what stops the colour changing up the wall.

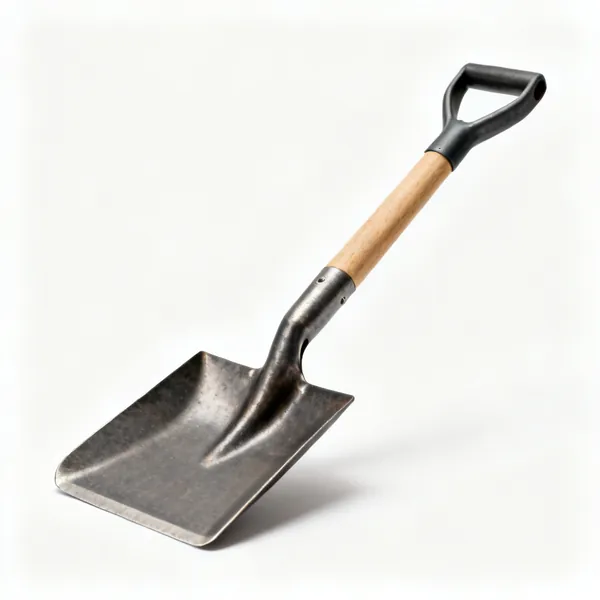
  • A square mouth shovelEssential

    Shovel

    Loading the mixer and moving sand. A square mouth clears a mixing board better than a round one.

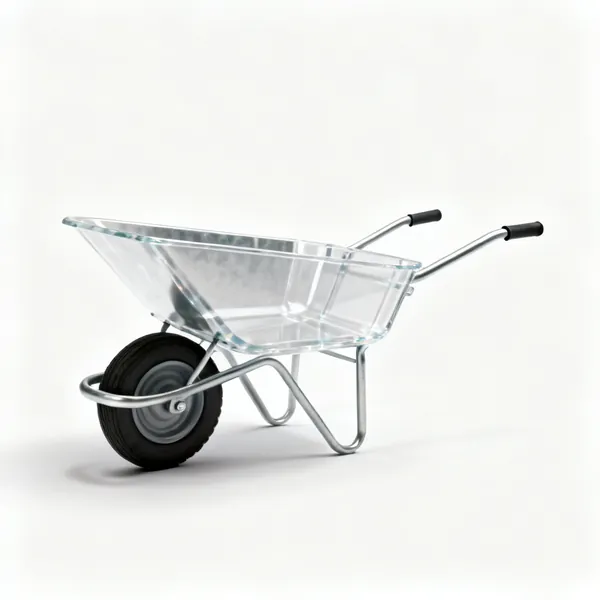
  • A builder's wheelbarrowEssential

    Wheelbarrow

    Moving mortar, sand and brick. A pneumatic tyre on rough ground, and never filled so full it cannot be steered.

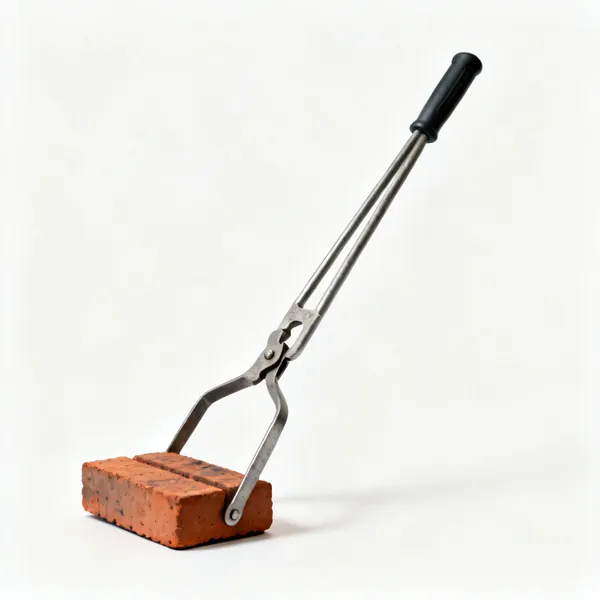
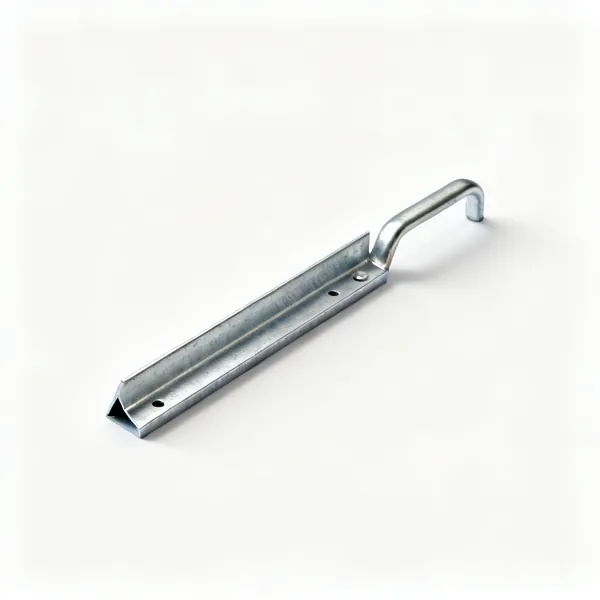
  • Brick tongs: Adjustable brick carrying tongs

    Brick tongs

    Grips a row of bricks so several move at once. Old fashioned and still faster than a barrow for short distances.

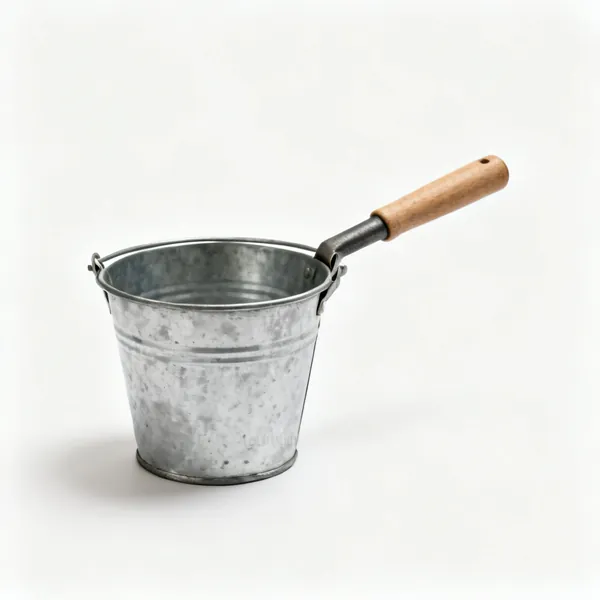
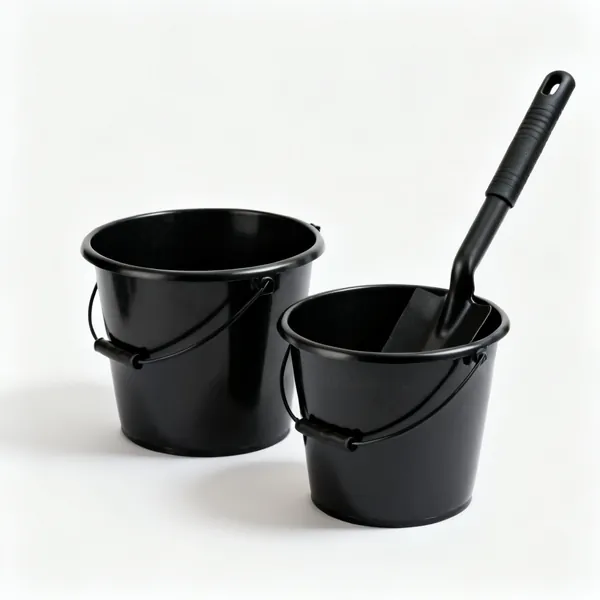
  • Two black builder's bucketsEssential

    Buckets

    Water, mortar, washing tools and measuring. Several, because the water bucket must not become the mortar bucket.

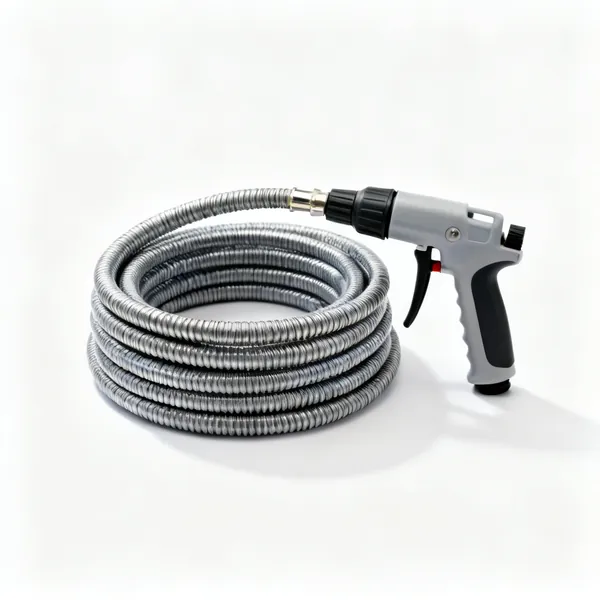
  • Water supply: A coiled hose with a spray nozzleEssential

    Water supply

    Mixing, damping bricks and washing down. Dry bricks in hot weather pull water out of the mortar before it cures.

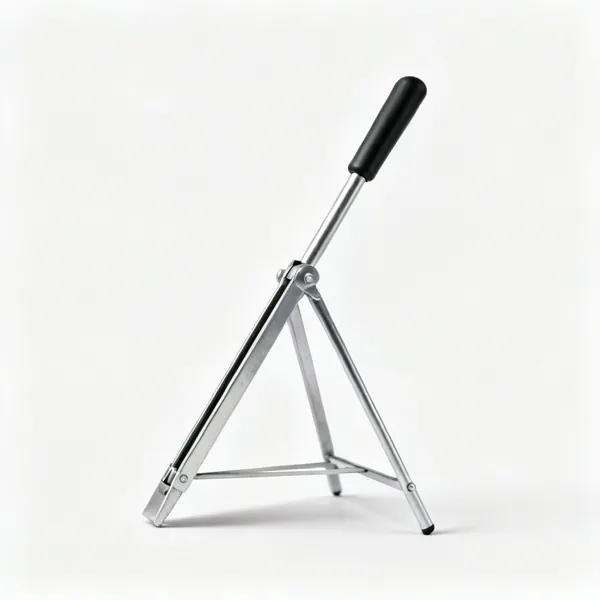
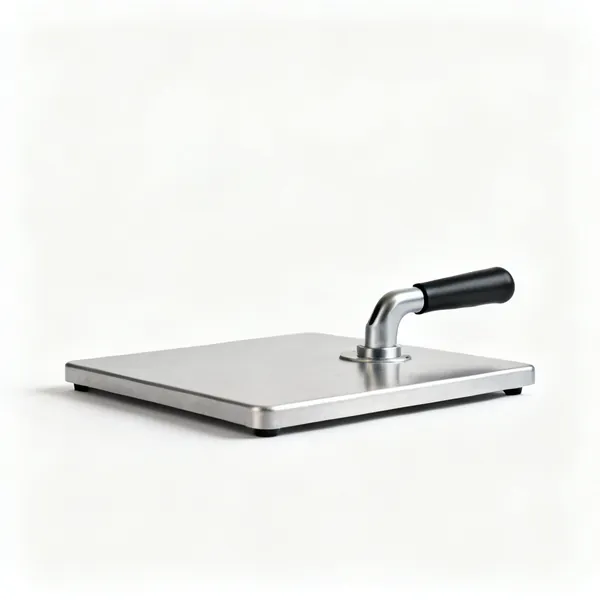
  • Mortar stand: A folding metal mortar board stand

    Mortar stand

    Holds the spot board at working height beside the wall. Every load taken from the ground costs a bend and a second.

Pointing & repair 10

Repairing and refinishing existing joints. Most of the work is removing the old mortar without damaging the brick.

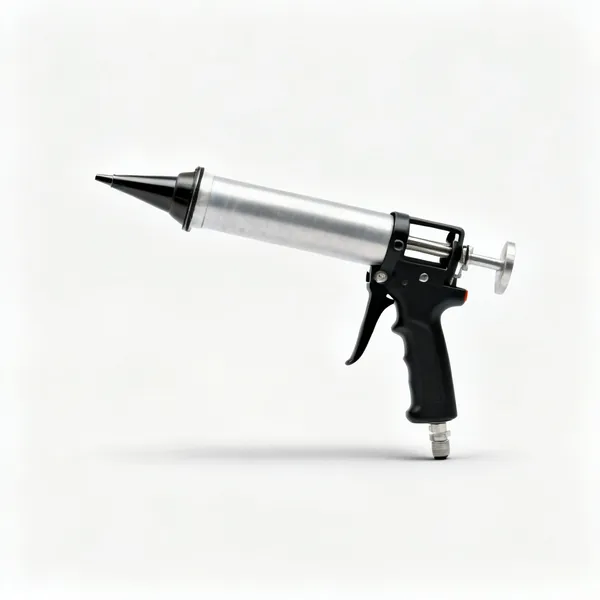
  • A mortar pointing gun with a nozzle

    Pointing gun

    Injects mortar straight into a raked joint, quicker and far less waste on the face than trowelling it in.

  • A mortar raking bar tool

    Mortar raking bar

    A hooked blade dragged along a joint to clear the old mortar. Slower than a grinder and much kinder to the brick.

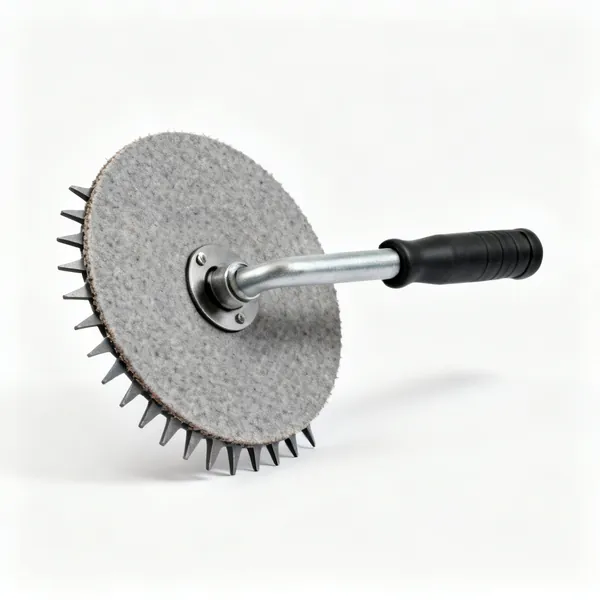
  • Mortar raking disc

    Mortar raking disc

    A grinder disc sized to a joint width for removing mortar fast. Fast and unforgiving, since it will cut brick just as happily.

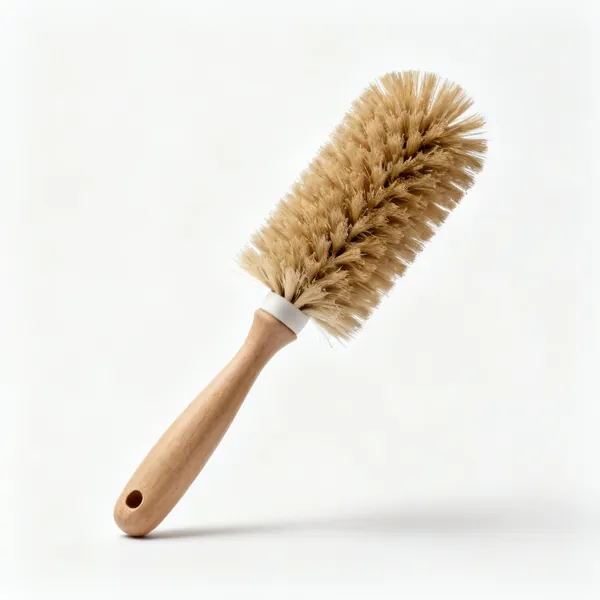
  • A stiff bristled churn brushEssential

    Churn brush

    A stiff brush for finishing a joint and brushing a wall down. Brushing off dry residue is what stops staining.

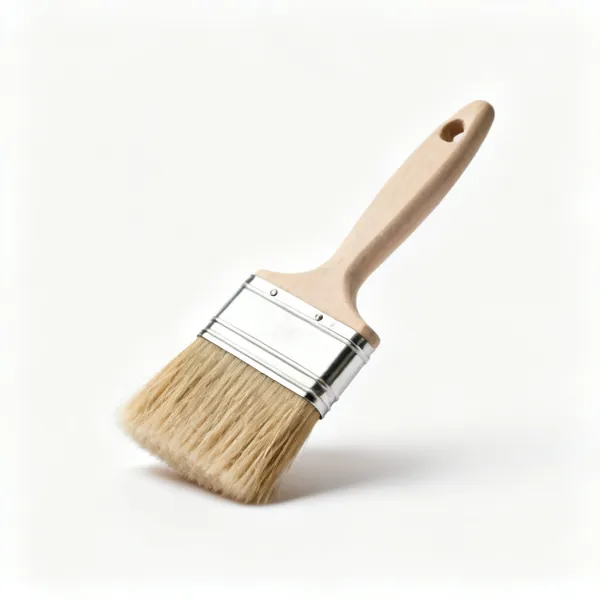
  • Soft brush: A soft bristled masonry brush

    Soft brush

    Cleans a green joint and a finished face without dragging mortar across it. Wrong brush at this stage means smears.
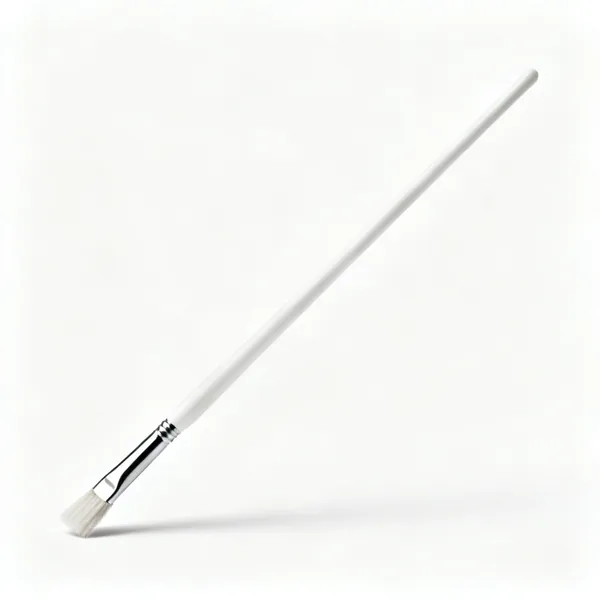
  • Acid brush: A long handled acid application brush

    Acid brush

    Applies brick cleaner to remove mortar stains and efflorescence. Protective kit on, and always tested on a hidden brick first.

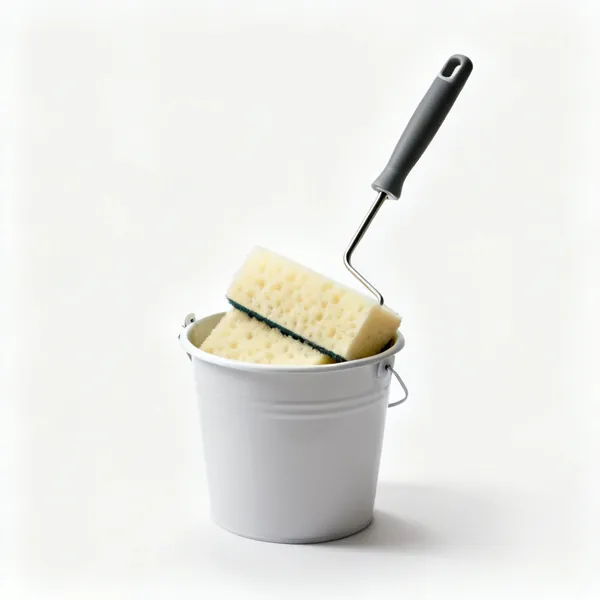
  • Large cleaning sponges in a bucket

    Sponges

    Wiping down after pointing, in clean water changed often. A dirty sponge just moves the stain around the wall.

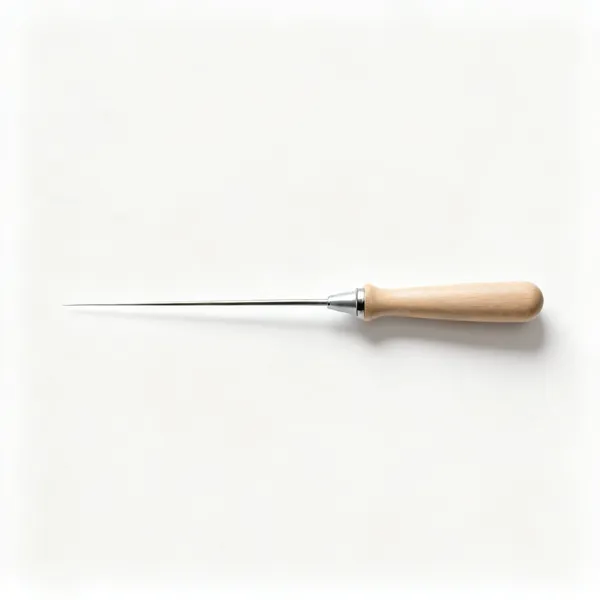
  • A thin joint filler pointing tool

    Joint filler

    A thin blade sized to the joint for pushing mortar in and compressing it. Sized tools give a consistent depth.
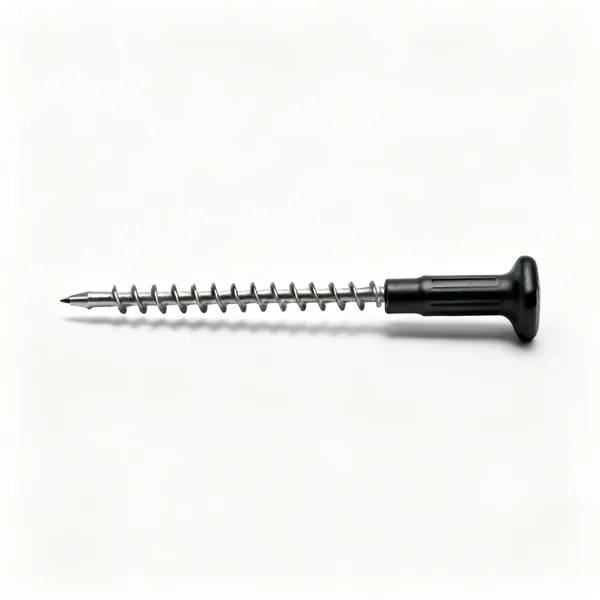
  • Helical tie tool: Helical wall tie bars with a driving tool

    Helical tie tool

    Drives spiral ties into cracked masonry to stitch it back together. Repairs a crack rather than just filling it.
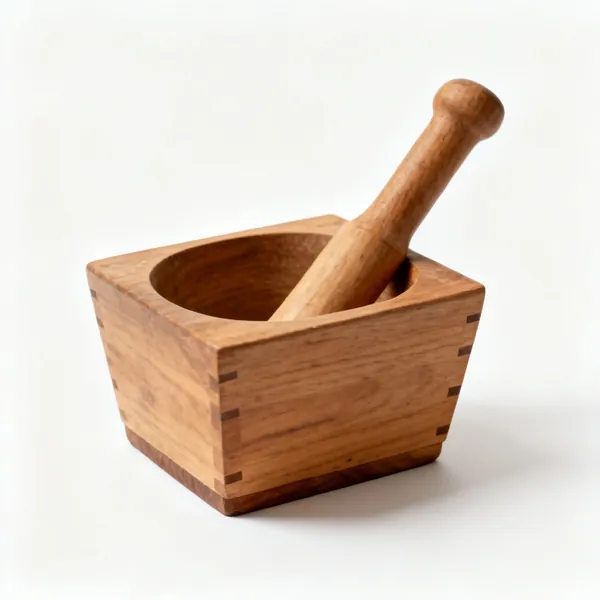
  • Crack stitching bars: Stainless steel crack stitching reinforcement bars

    Crack stitching bars

    Stainless bars bedded into raked joints across a crack, spreading the load. Structural repair rather than cosmetic.
Rendering & plastering 10

Applying a finish coat to masonry. Flatness is the whole job, and it is judged by eye in raking light.

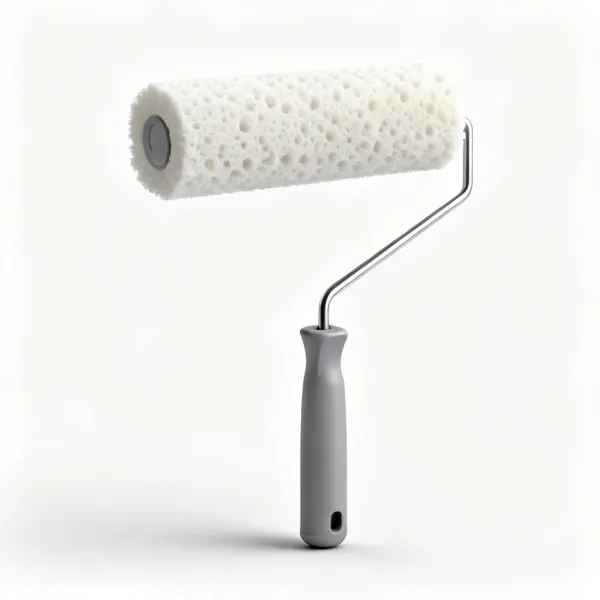
  • A plastic rendering float with a handleEssential

    Rendering float

    A flat plastic or sponge float for flattening and texturing render. Different faces give different finishes off the same coat.

  • A long aluminium darby rendering straight edge

    Darby

    A long straight edge with handles for ruling render flat across a wide area. Nothing shorter can find a hollow that size.

  • An aluminium feather edge rule

    Feather edge

    A tapered rule scraped across fresh render to cut it to the beads. This is what actually makes a wall flat.

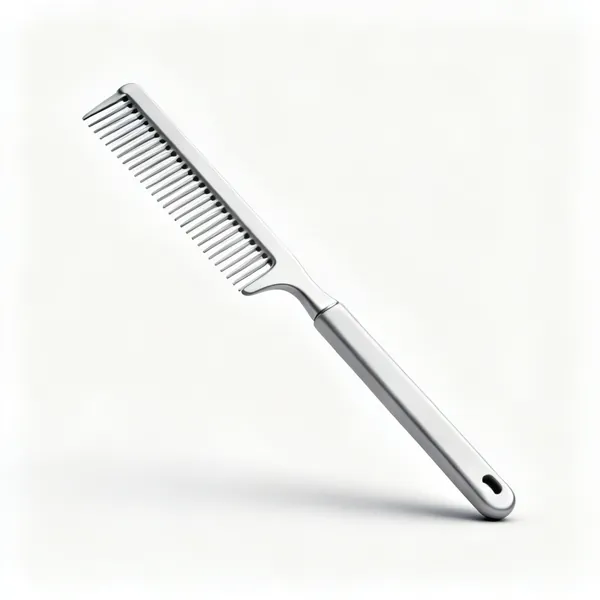
  • Render scratcher: A render scratching comb tool

    Render scratcher

    Combs a key into the first coat so the next one grips. A smooth undercoat is why render falls off in sheets.

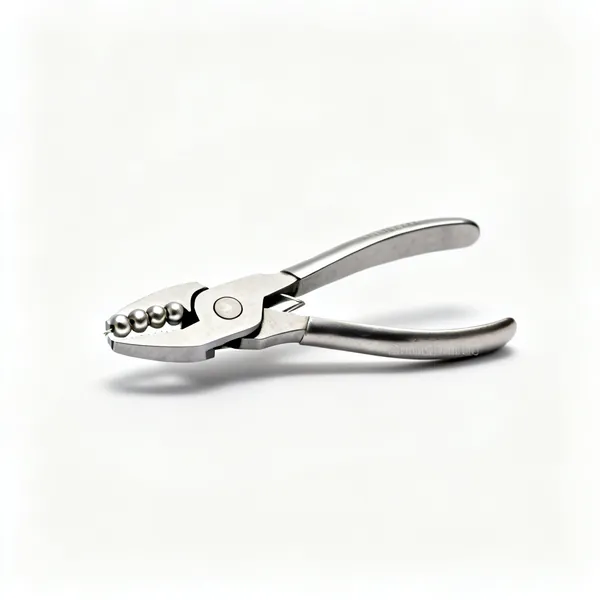
  • Bead cutter: A metal bead cutting tool with beads

    Bead cutter

    Cuts angle and stop beads square and to length. A hacksawn bead leaves a burr that shows through the finish.

  • Angle beads

    Angle beads

    Galvanised or plastic profiles giving a straight true corner and protecting it. Freehand corners are never straight.

  • Sponge float: A sponge faced rendering float

    Sponge float

    Brings a sand finish up evenly on a final coat. The texture comes from the float rather than from the mix.

  • Harling trowel: A harling throwing trowel

    Harling trowel

    Throws a wet mix onto a wall for a rough cast finish. Traditional, effective, and messy by design.

  • A long aluminium plasterer's rule

    Plasterer's rule

    A straight edge for checking flatness and ruling off between beads. Checked against itself, since a bent rule builds in a bend.

  • Render mixing drill: A heavy duty two speed mixing drill

    Render mixing drill

    A slow high torque drill that mixes a full bucket of render without burning out. A normal drill will not survive it.

Stonework 10

Working natural stone, which splits along its own lines rather than where you want. Patience and the right chisel.

  • Stone chisel: A steel stone mason's chisel

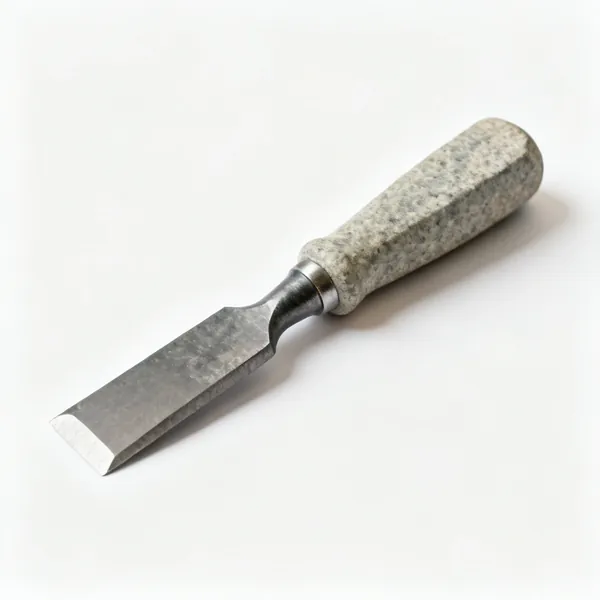
    Stone chisel

    A hardened straight edge for cutting and dressing stone. Different from a cold chisel in temper and in edge angle.

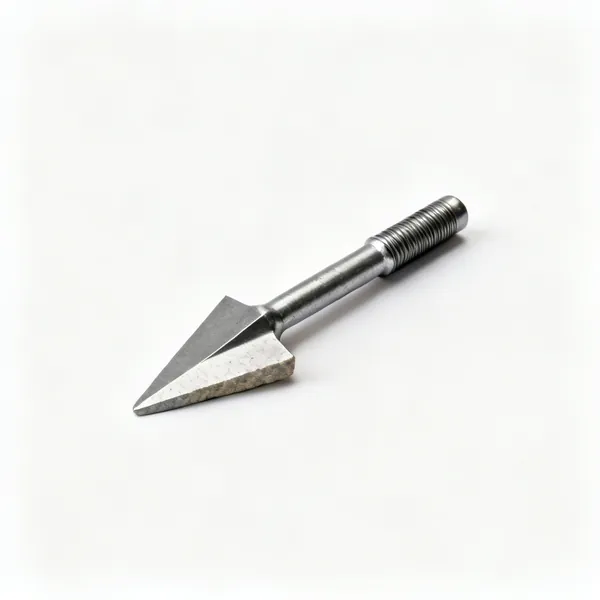
  • A stone pitching tool chisel

    Pitching tool

    A blunt heavy edge that breaks a face off a block along a marked line. The first cut in dressing rough stone.

  • Point chisel: A pointed stone carving chisel

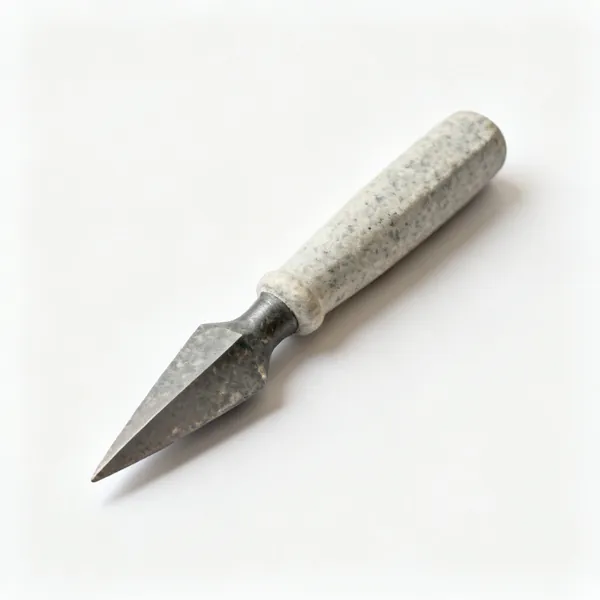
    Point chisel

    A single point that removes waste stone quickly in the roughing out stage, before any flat tool touches it.

  • A wide bull set stone chisel

    Bull set

    A wide heavy chisel struck with a mash hammer for splitting large blocks. Mass and width together do the work.

  • A heavy round faced mash hammer

    Mash hammer

    A heavy round faced hammer made for driving stone chisels. Steel on hardened steel, unlike a mallet.

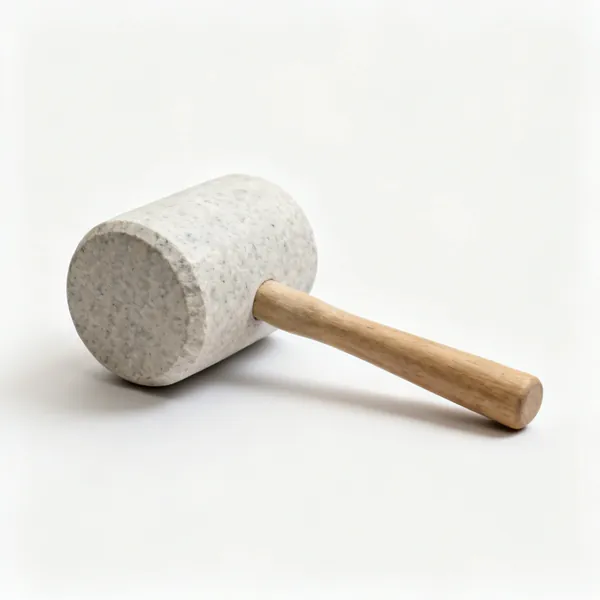
  • A round dummy mallet for stone carving

    Dummy mallet

    A soft faced mallet for fine carving cuts, giving control rather than force. What detail work is done with.

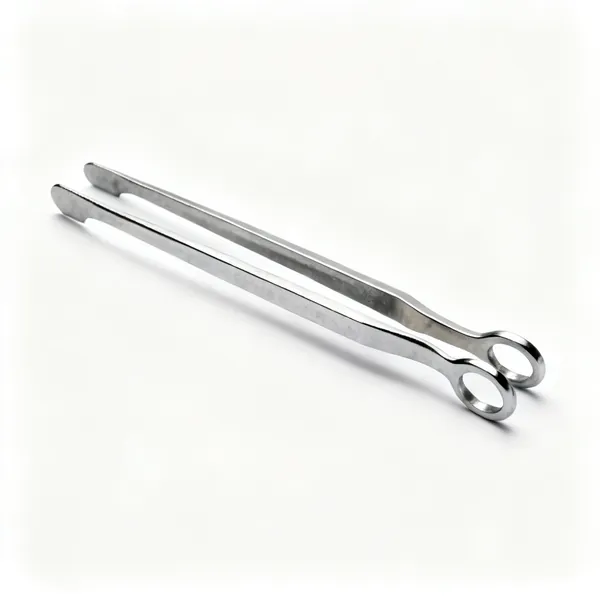
  • Stone tongs: A pair of steel stone lifting tongs

    Stone tongs

    Grips and lifts a heavy block with two people and no fingers underneath. Dropped stone breaks stone and feet.

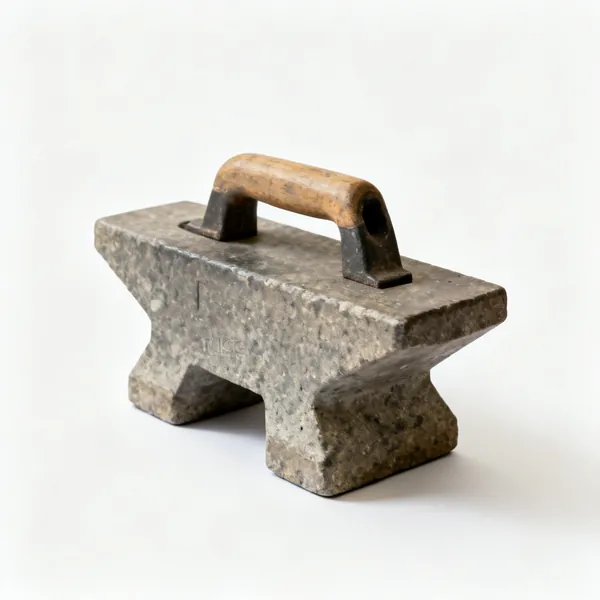
  • A heavy stone mason's banker bench

    Banker bench

    A solid low bench at working height for dressing stone on. Mass matters, since a light bench absorbs every blow.

  • Plug & feathers: Steel plug and feather stone splitting wedges

    Plug & feathers

    Wedges driven into drilled holes to split large stone along a line. How stone was quarried before machines.

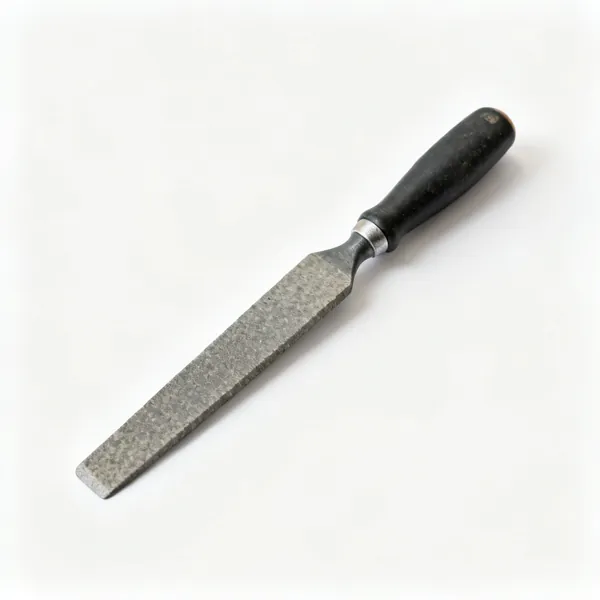
  • A coarse stone rasp file

    Stone rasp

    Files a dressed face smooth and refines a curve. The last step before polishing, and slow by nature.

Safety & site 10

Silica dust, heavy units and caustic cement. All three do lasting damage and all three are cheap to prevent.

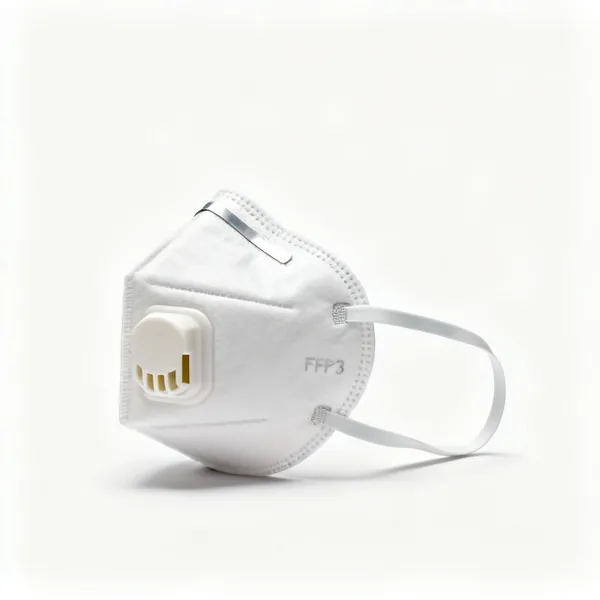
  • FFP3 dust mask: An FFP3 respirator dust maskEssential

    FFP3 dust mask

    Cutting brick and stone releases fine silica, which scars lungs permanently. Fit is the whole product, so a leak protects nothing.

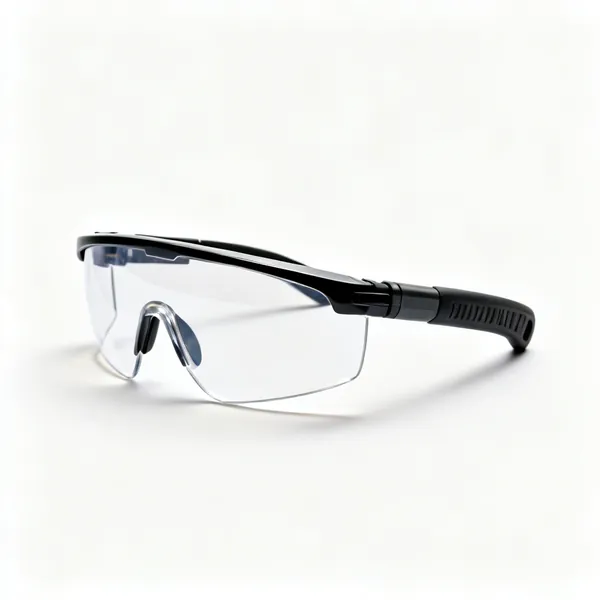
  • A pair of wraparound safety glassesEssential

    Safety glasses

    Chips fly when a bolster splits a brick and grinders throw them harder. Wraparound, since most arrive from the side.

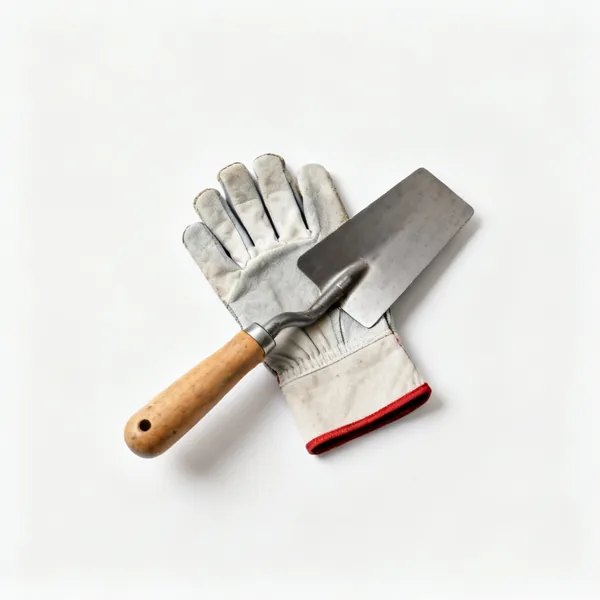
  • A pair of masonry work glovesEssential

    Work gloves

    Wet cement is caustic and burns skin over a day's contact. It is a chemical burn rather than dirt, and it is slow to heal.

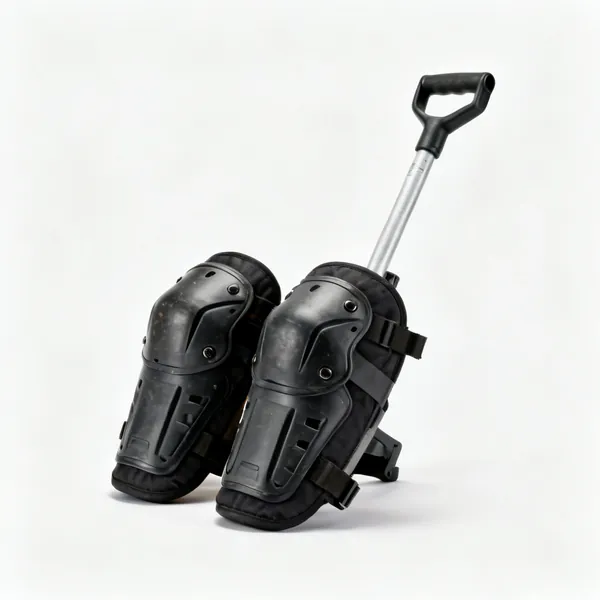
  • A pair of work knee pads

    Knee pads

    The first three courses are laid kneeling. Kneeling on grit and cement all day does damage that does not undo.

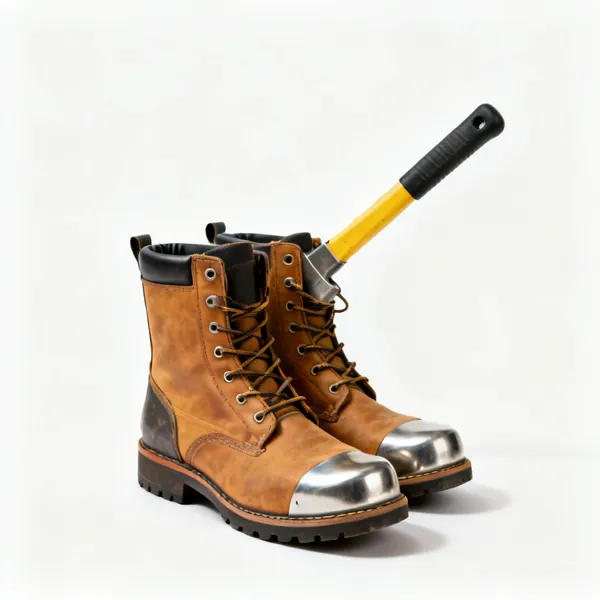
  • A pair of safety boots with steel toe capsEssential

    Safety boots

    A dropped block lands on a foot eventually, and a toe cap is the difference between a bruise and a break.

  • A pair of ear defendersEssential

    Ear defenders

    Grinders, cut off saws and breakers all pass safe noise levels in seconds. Damage is cumulative and permanent.

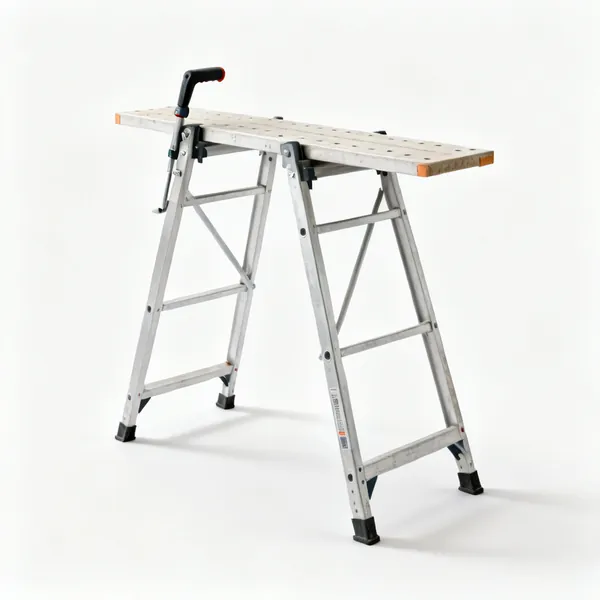
  • Trestles & boards: A pair of trestles with a scaffold boardEssential

    Trestles & boards

    A proper platform once the wall passes chest height. Laying above shoulder level from the ground is slow and bad for the wall.

  • A low aluminium hop up platform

    Hop up

    A low platform for the middle courses, where a full tower is overkill and the ground is too low.

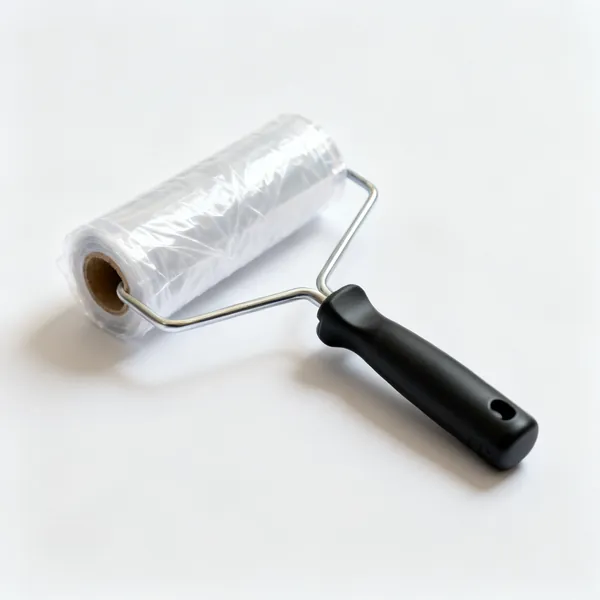
  • Frost sheeting: A roll of protective polythene sheetingEssential

    Frost sheeting

    Fresh mortar destroyed by a frost has to come down. Covering new work overnight is the whole protection.

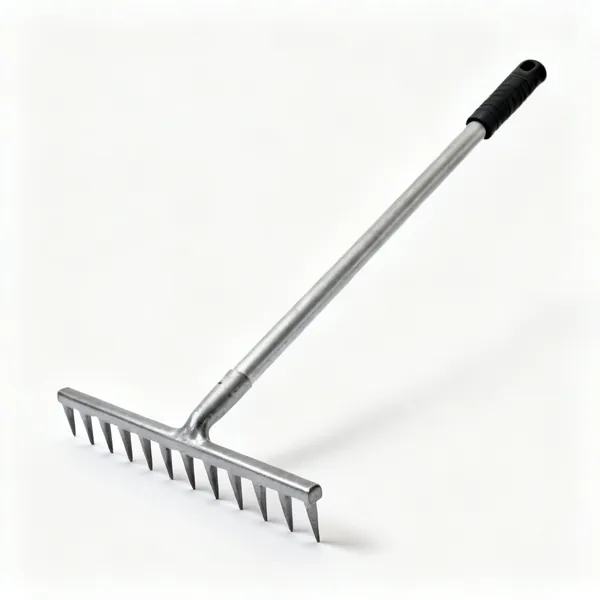
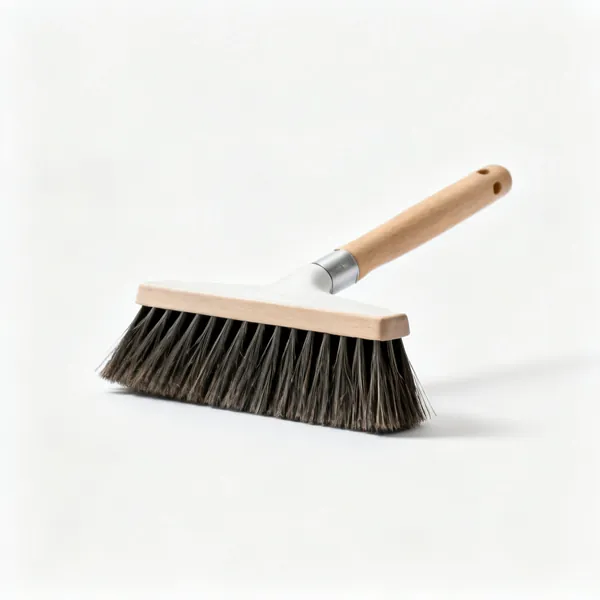
  • A stiff yard brushEssential

    Yard brush

    Sweeping mortar droppings before they set to the ground. Set mortar on a patio is a chisel job later.

Choosing masonry tools

The trowel is the tool you will hold for eight hours, so it matters more than anything else here. After that it is all about the mortar and the line.

The trowel, which is most of the decision

A bricklayer holds one tool almost continuously, and the wrong one causes wrist and elbow trouble within a season. So this is worth getting right rather than buying the cheapest on the rack.

Length is the main variable. A longer blade carries more mortar and is faster once your technique is there, and it is heavier all day. Most people are best on something in the middle, around 250 to 280 millimetres, and go longer only if they are laying full time.

The other thing is whether the blade and tang are forged in one piece. A one piece forging never works loose. A blade riveted or welded to a separate tang eventually does, and it always does it mid job.

Around 250 to 280 millimetres to start
Long enough to carry a decent load, short enough not to wear your wrist out while your technique is still forming.
One piece forged, not riveted
The joint between blade and tang is where trowels fail. A single forging has no joint to fail.
London pattern or Philadelphia
London has a narrower heel and suits brick. Philadelphia is wider and carries more, which suits block and stone.
Break a new trowel in
A new blade drags. It polishes with use, and rubbing it on a brick speeds that up. Do not judge one on the first day.
Left or right handed matters on some patterns
Blades are not always symmetrical. If it feels like it is fighting you, check which hand it was ground for.

Mortar, and why the mix decides the wall

Almost every wall that fails, fails at the mortar rather than the brick. Too strong a mix is the most common and least obvious error: cement rich mortar is harder than the brick beside it, so movement cracks the brick instead of the joint, and a cracked brick cannot be repointed.

Consistency matters as much as ratio. Mortar wants to hold its shape on the trowel and still spread, which is a texture you learn by feel. Adding water to bring back a batch that has started to go off changes the mix permanently and weakens it.

Softer than the brick, always
Mortar is the sacrificial part. It should be weaker than what it bonds so movement cracks the joint, which can be repointed.
Lime for old and soft brickwork
Cement on a Victorian wall traps moisture and spalls the faces off the bricks. Lime breathes and flexes, and it is what those walls were built with.
Batch by the same measure every time
A shovel is not a measure. Use a bucket or a gauge box, or the colour changes halfway up the wall and stays changed.
Never re temper a batch that has gone off
Adding water to stiff mortar buys workability and costs strength for good. Mix smaller batches instead.
Keep it out of the sun and off dry brick
Dry bricks in hot weather suck water out of the mortar before it can cure, so it never gains strength. Damp them down first.

The line does the thinking

Nobody lays a straight wall by eye. The line is what makes it straight, and the corners are what make the line right, which is why bricklayers build the corners first and fill between them.

Set the corners plumb and to gauge, run the line between them, and every brick in the middle simply follows. Check the plumb and the gauge as you go up rather than at the end, because an error that has been built on cannot be corrected.

Corners first, then fill between
The corners carry the accuracy. Raise them a few courses, run a line, and the middle looks after itself.
Gauge rod every course
A marked rod gives identical course heights all the way up. Measuring each joint by eye accumulates error you cannot hide.
Plumb both faces of a corner
A corner can be plumb one way and leaning the other. Check both directions, every few courses.
Line blocks over pins where you can
Blocks hook over the brick and tension the line without holes in the joint. Pins are quicker and leave a mark.
Keep the line taut and clear of the wall
A slack line sags in the middle and you will build the sag into the wall. So will a line resting on a proud brick.

What to buy first, in order

Stage one: laying
A brick trowel, a pointing trowel, a spirit level around 1.2 metres, a line and pins or blocks, a gauge rod, a brick jointer, a lump hammer, a bolster and a bucket. That is a working kit.
Stage two: cutting and mixing
A brick hammer, an angle grinder with a diamond blade, a mixing bucket and paddle or a small mixer, a shovel, a barrow and a spot board or mortar stand.
Stage three: finishing and repair
A plugging chisel, a raking bar or grinder for repointing, a churn brush, a hawk and a rendering float. Profile boards and a corner block if you build alone.
Stage four: stone and specialist
Stone chisels, a mash hammer, a pitching tool, a bull set, tongs and a banker. Buy these when the material stops being brick.

Mistakes that show forever

Mortar stronger than the brick
Movement then cracks the brick face rather than the joint. Repointing fixes a joint and nothing fixes a spalled brick.
Cement mortar on an old soft wall
It traps moisture behind the joint and blows the faces off the bricks over a few winters. Lime on anything pre war.
Smearing mortar on the face
It stains, and on some bricks the stain never comes out. Strike the joints at the right time and brush the wall down after.
Jointing too early or too late
Too wet and the joint smears and slumps. Too dry and it will not compress and crumbles out. Thumbprint firm is the test.
Building more than about a metre a day
Fresh mortar cannot carry the weight above it, and the wall slumps or the joints squeeze out. Height per day is a real limit.
Not filling the perpends
The vertical joints are structural too. A wall with hollow perpends is weak and lets water straight through.
No movement joints in long runs
Brickwork expands. Without a joint every few metres it will make its own, diagonally, through the bricks.

Looking after masonry tools

Wash everything before the mortar sets
Set mortar on a trowel has to be chipped off, and chipping ruins the edge. Two minutes in a bucket at the end of the day.
Never leave tools in the mortar tub
It sets around them overnight and pits the steel. It also rusts the tang inside the handle where you cannot see it.
Rub a trowel bright, do not grind it
A polished blade releases mortar cleanly. A ground one is rough again and drags until it re polishes.
Dress chisel heads before they mushroom
A spread head throws fragments when struck. File the burr off, and replace anything badly mushroomed.
Keep levels clean and check them
Dried mortar on the edge of a level makes it lie. Check it by reversing it against the same surface.
Store lines dry and wound
A knotted damp line is useless and it rots. Wound on the reel, in the bag, every time.

Frequently asked questions

What masonry tools do I need to start?
A brick trowel, a pointing trowel, a spirit level around 1.2 metres, a line with pins or blocks, a gauge rod, a brick jointer, a lump hammer and a bolster chisel. That is a working bricklaying kit and none of it is expensive.
What size brick trowel should I buy?
Around 250 to 280 millimetres to begin with. Longer blades carry more mortar and are faster with good technique, but they are heavier over a full day and hard on the wrist while you are still learning.
What is the difference between a brick trowel and a pointing trowel?
A brick trowel is large, for picking up and spreading mortar and cutting bricks. A pointing trowel is small and narrow, for pressing mortar into joints and tidying them. They are not interchangeable in either direction.
Why should mortar be weaker than the brick?
Mortar is the sacrificial part of a wall. Walls move, and if the mortar is softer than the brick the joint cracks, which can be repointed. If the mortar is harder, the brick face cracks or spalls instead, and that cannot be repaired.
Should I use lime or cement mortar?
Lime for old and soft brickwork, roughly anything pre war, because it breathes and flexes with the wall. Cement for modern brick and block. Cement mortar on a Victorian wall traps moisture and blows the faces off the bricks over a few winters.
How high can I build in a day?
Roughly a metre, and less in cold or wet weather. Fresh mortar cannot carry much weight, so building higher makes the lower joints squeeze out and the wall slump. It is a real physical limit rather than a guideline.
When should I joint or point the mortar?
When the mortar is thumbprint firm, meaning a thumb leaves a mark but does not sink in. Too wet and the joint smears and slumps, too dry and it will not compress and crumbles out later.
What is a gauge rod and do I need one?
A batten marked with course heights, held against the work to check every course is the same. Yes, you need one, because judging joint thickness by eye accumulates error that becomes obvious and unfixable a metre up.
What is the difference between a bolster and a plugging chisel?
A bolster is wide and used to split bricks and blocks cleanly. A plugging chisel is narrow with a tapered blade for raking old mortar out of a joint before repointing, without damaging the brick either side.
Can I cut bricks with an angle grinder?
Yes, with a diamond blade, and it gives the cleanest cut. Cut wet or with extraction, because dry cutting masonry releases fine silica dust that causes permanent lung damage. A bolster and lump hammer works for rougher cuts.
Why is the mortar on my wall two different colours?
The batches were mixed differently, almost always because the sand or cement was measured by the shovel rather than by a bucket or gauge box. It does not fade out, so the answer is to measure the same way every time.
What is a hawk used for?
A flat board with a handle underneath that holds a load of mortar or plaster close to the work, so you are not returning to the board for every trowel full. Rendering and plastering both depend on it.