Disclosure

Pottery tools: names, pictures and what each one is used for

A complete pottery tools list with a picture of every one, all 85 grouped by the job, from preparing clay and throwing through trimming, hand building, decorating, glazing and firing. Many are just a shaped piece of wood or wire with an odd name.

38 are marked essential: enough to throw or hand build, trim, decorate and glaze properly.

Clay preparation 9

Getting clay into a workable state. Skipping this stage causes problems that only show up much later.

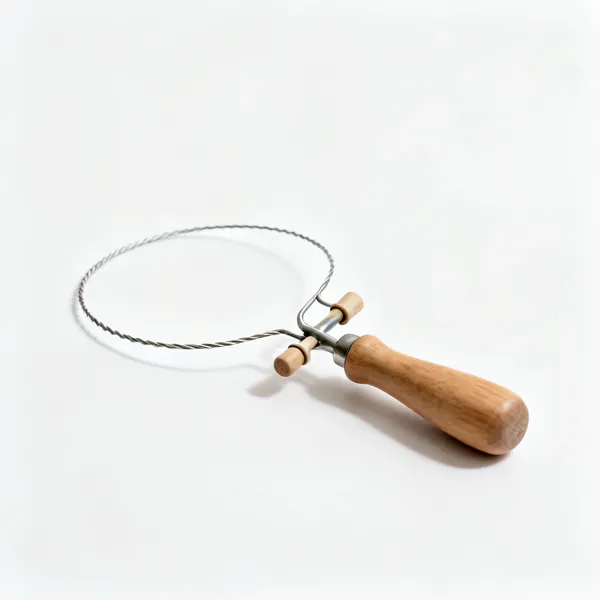
  • A pottery wire clay cutter with wooden togglesEssential

    Wire clay cutter

    A wire with two handles for slicing a block of clay and cutting a finished pot off the wheel head.

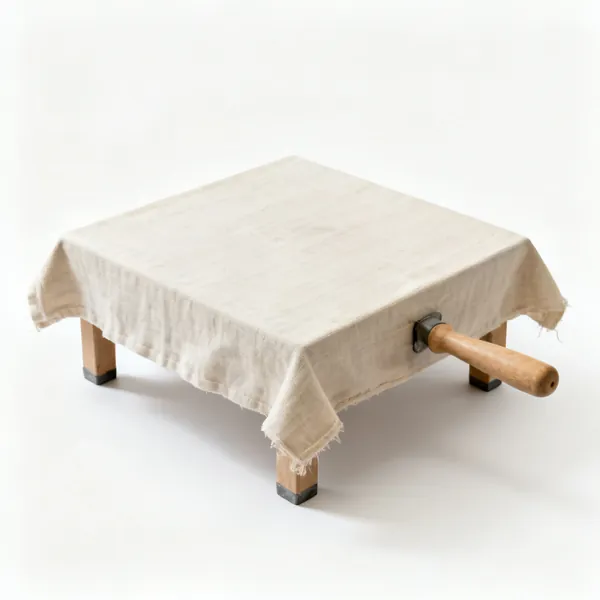
  • A canvas covered pottery wedging table

    Wedging table

    A plaster or canvas topped bench that absorbs water as you knead, so clay firms up rather than sticking.

  • Clay mixer: A pottery clay mixing machine

    Clay mixer

    Mixes dry materials and water into usable clay. Only relevant if you make your own bodies or reclaim in volume.

  • A pottery pug mill extruder machine

    Pug mill

    Extrudes de aired clay ready to use, doing the wedging mechanically. A studio scale item.

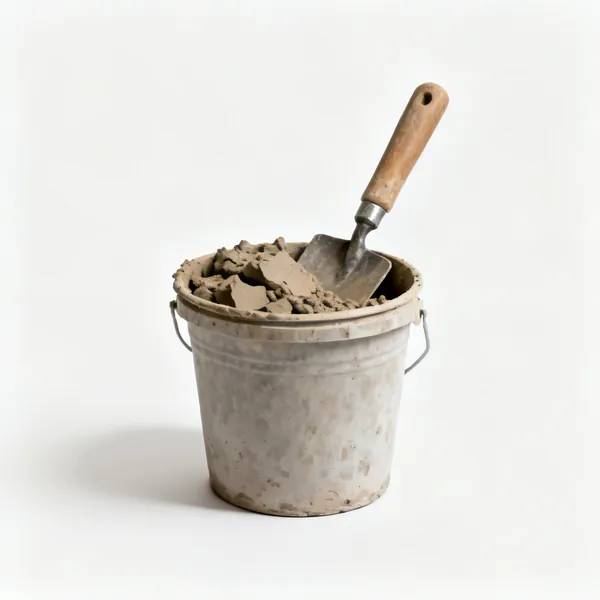
  • Reclaim buckets: Buckets of reclaimed pottery clayEssential

    Reclaim buckets

    Scraps and trimmings go here rather than in the bin. Clay is entirely reusable until it is fired.

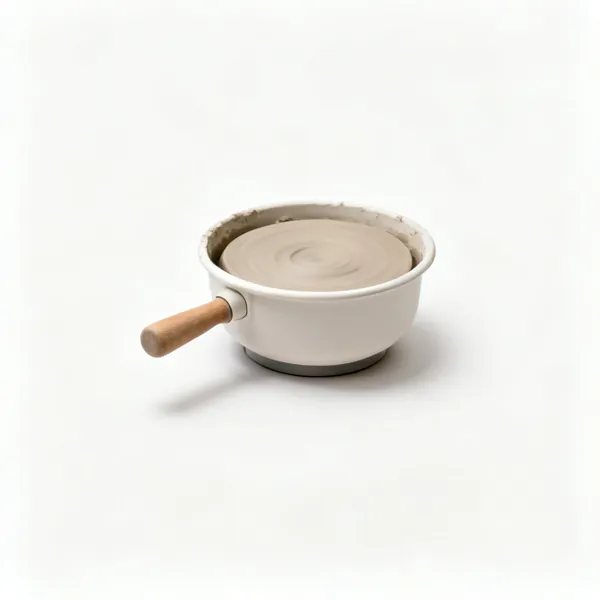
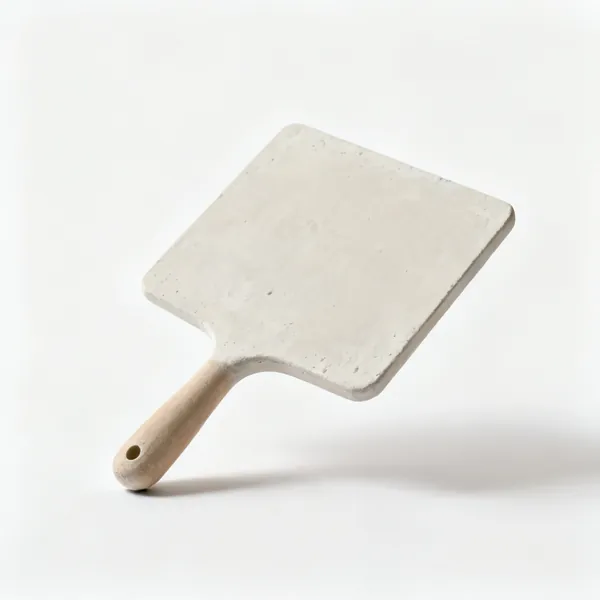
  • Plaster drying bat: A plaster pottery drying bat slab

    Plaster drying bat

    A slab of plaster that pulls water out of over wet reclaim, bringing it back to a workable state.

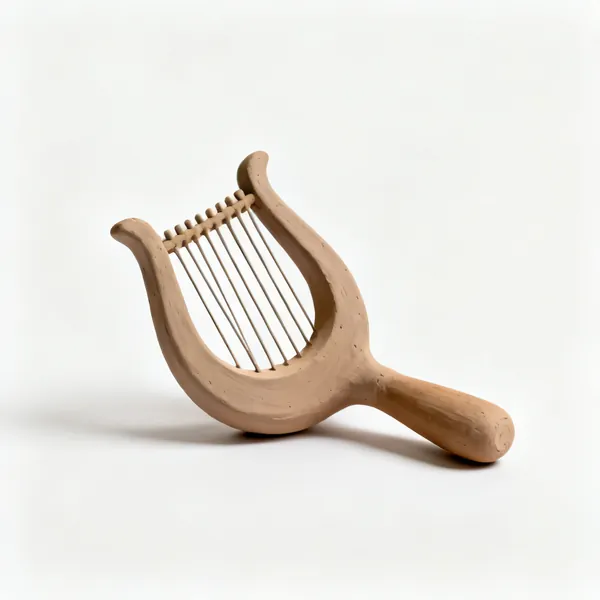
  • A pottery clay harp slab cutter

    Clay harp

    A frame with a wire that slices a block into even slabs of set thickness in one pass.

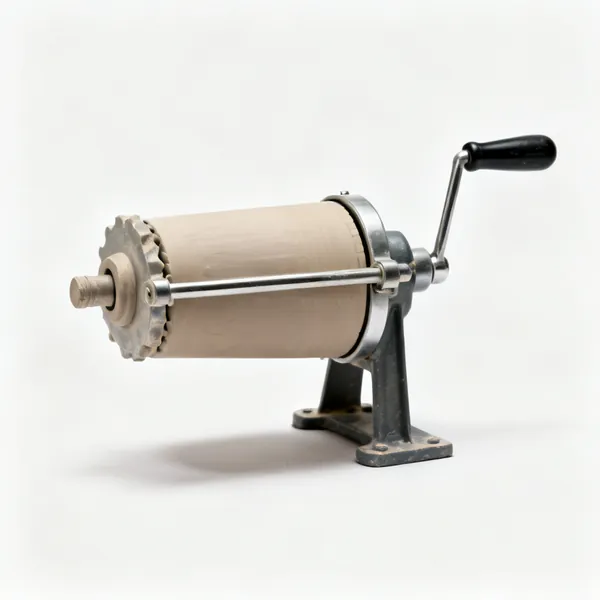
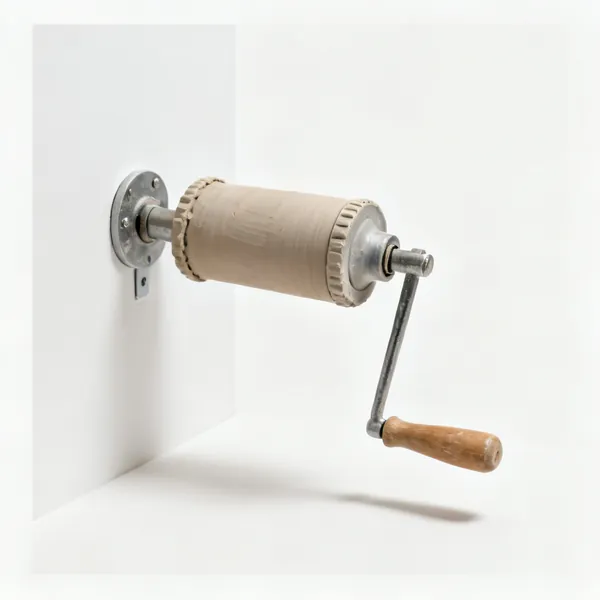
  • Hand extruder: A wall mounted pottery clay extruder

    Hand extruder

    Pushes clay through a die to make coils, handles and hollow sections quickly and identically.

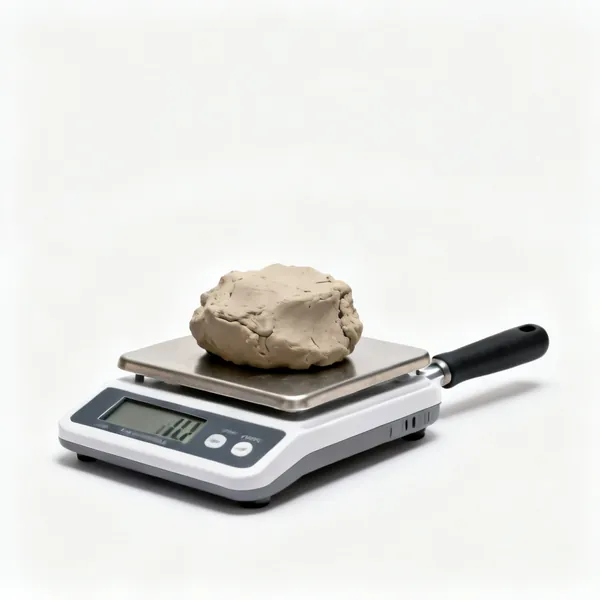
  • Digital scales with a lump of clayEssential

    Scales

    Weighing clay so a set of pots starts from the same amount, which is how they end up matching.

Throwing 12

Working on the wheel. A handful of simple tools, and most of the skill is in the hands rather than the kit.

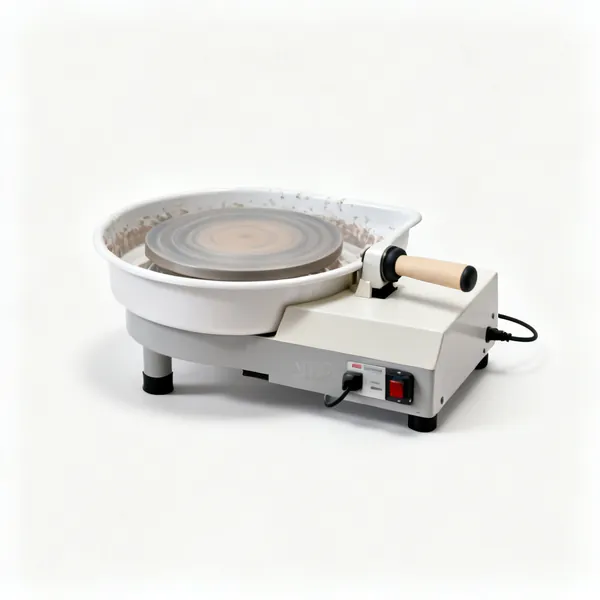
  • An electric pottery wheel with a splash pan

    Pottery wheel

    An electric or kick wheel with a variable speed head. The centre of a throwing studio and the biggest single cost.

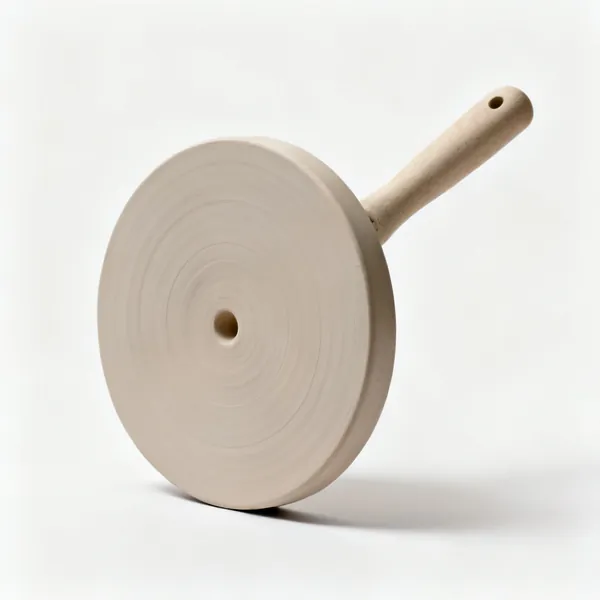
  • Round pottery wheel batsEssential

    Bats

    Removable discs on the wheel head so a pot can be lifted off without touching it. Essential for wide or soft forms.

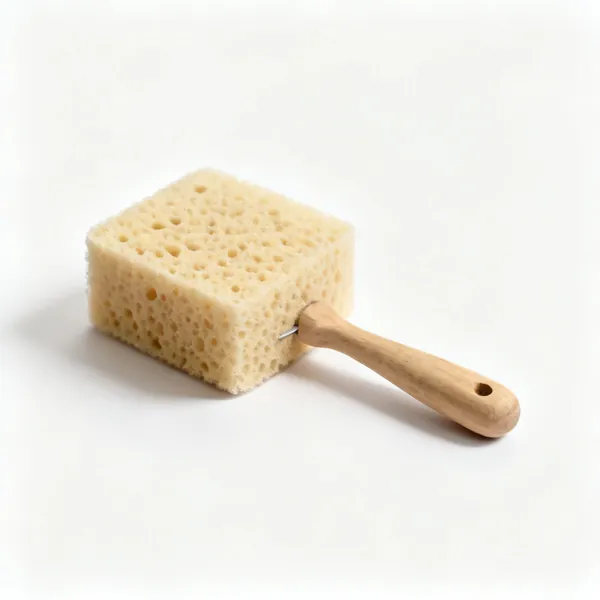
  • A small natural throwing spongeEssential

    Throwing sponge

    A small natural sponge for lubricating, removing water from inside a pot and compressing a rim.

  • Wooden rib: Wooden pottery rib toolsEssential

    Wooden rib

    A shaped wooden blade for shaping and compressing a wall while throwing. Gentler than metal on soft clay.

  • Metal rib: Flexible metal pottery ribsEssential

    Metal rib

    A thin flexible steel blade for scraping a surface smooth and refining a profile. Sharper and less forgiving than wood.

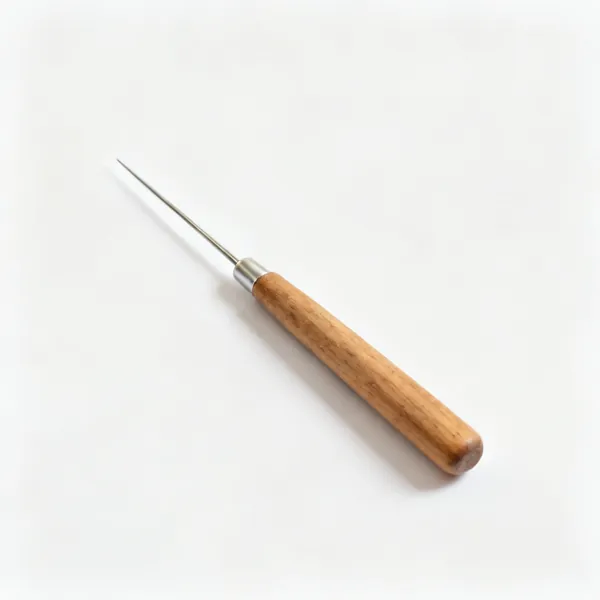
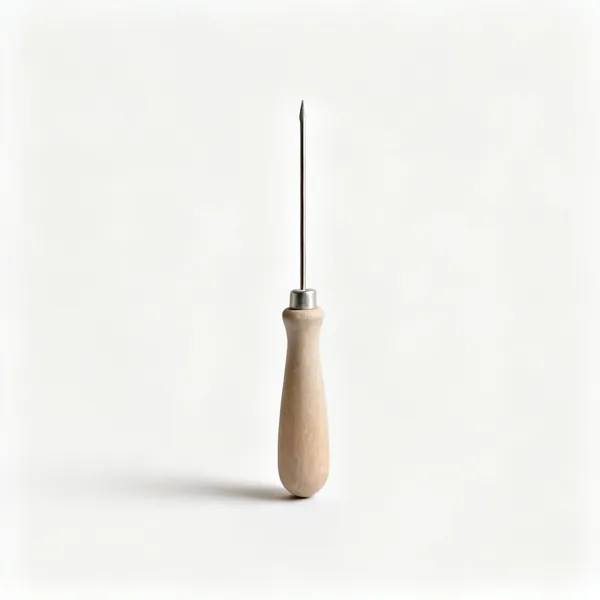
  • A pottery needle tool with a wooden handleEssential

    Needle tool

    A fine point for trimming an uneven rim, checking wall thickness and scoring a joint.

  • A piece of chamois leather for potteryEssential

    Chamois

    A soft damp leather drawn over a rim to smooth and compress it, leaving no tool mark at all.

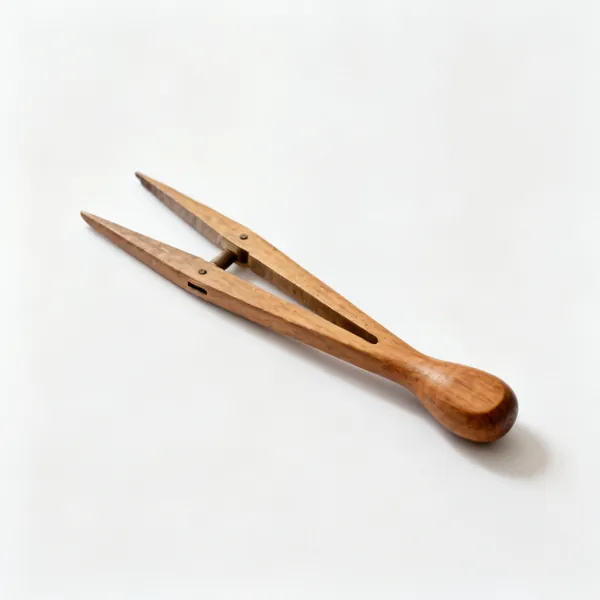
  • Wooden pottery calipersEssential

    Calipers

    Measures a diameter so a lid fits its pot. Both are measured at the same state, since clay shrinks as it dries.

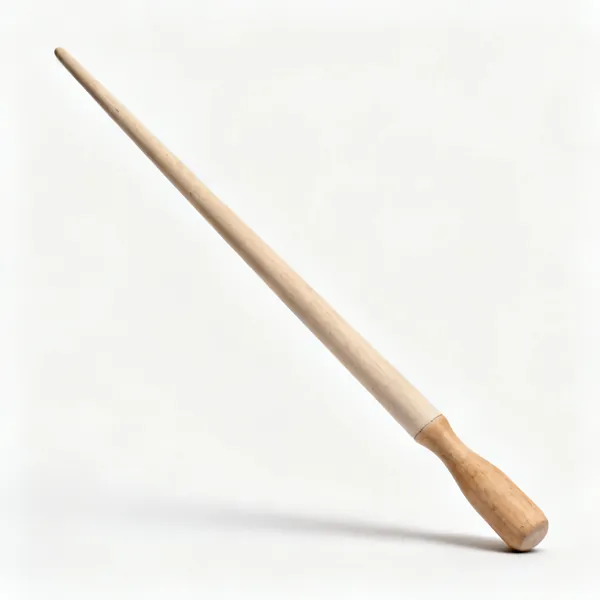
  • A long wooden pottery throwing stick

    Throwing stick

    A long shaped tool reaching inside a deep or narrow form where a hand will not fit.

  • Pottery wheel bat pins

    Bat pins

    Pins that locate a bat on the wheel head so it cannot shift while you throw.

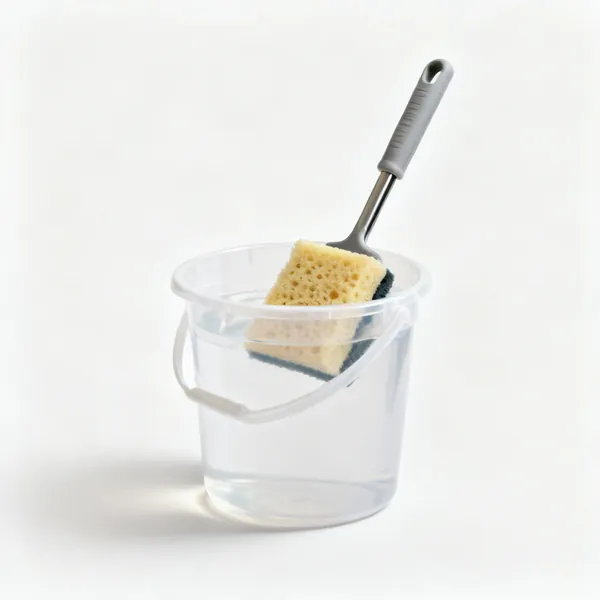
  • A plastic water bucket with a spongeEssential

    Water bucket

    Within reach of the wheel and changed often, since slip laden water stops lubricating properly.

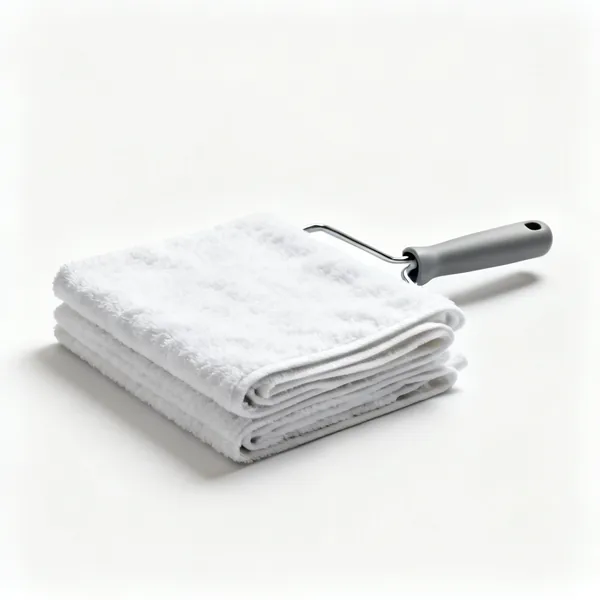
  • A stack of folded studio towelsEssential

    Towels

    More than you think. Throwing is wet work and dry hands are what let you feel what the clay is doing.

Trimming & turning 9

Refining a pot at leather hard. Cutting away what is not needed and forming the foot.

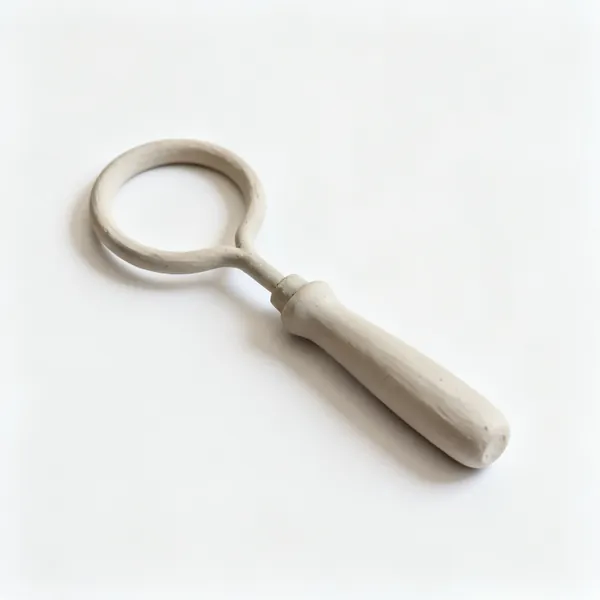
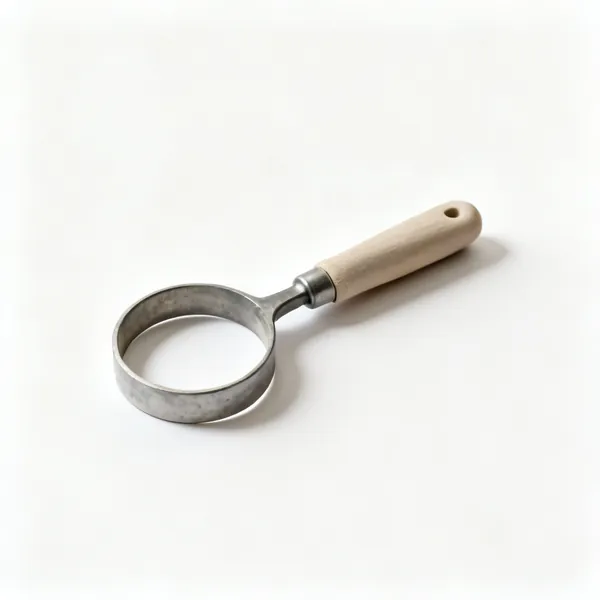
  • Loop tool: A pottery loop trimming toolEssential

    Loop tool

    A wire or steel loop that shaves leather hard clay away cleanly. The main trimming tool for a foot ring.

  • Ribbon tool: Pottery ribbon trimming toolsEssential

    Ribbon tool

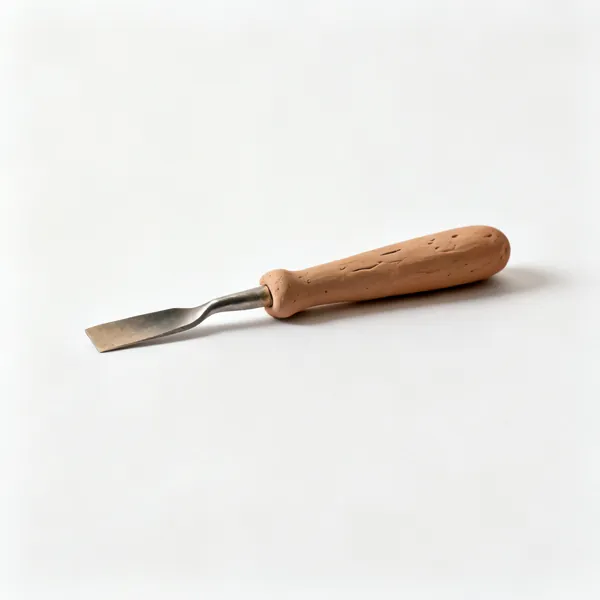
    A thin flat steel ribbon in various shapes, for hollowing and carving with more control than a loop.

  • Trimming tool set: A set of pottery trimming toolsEssential

    Trimming tool set

    An assortment of loops and profiles, since each shape suits one part of a foot or a curve.

  • A pottery trimming chuck holder

    Chuck

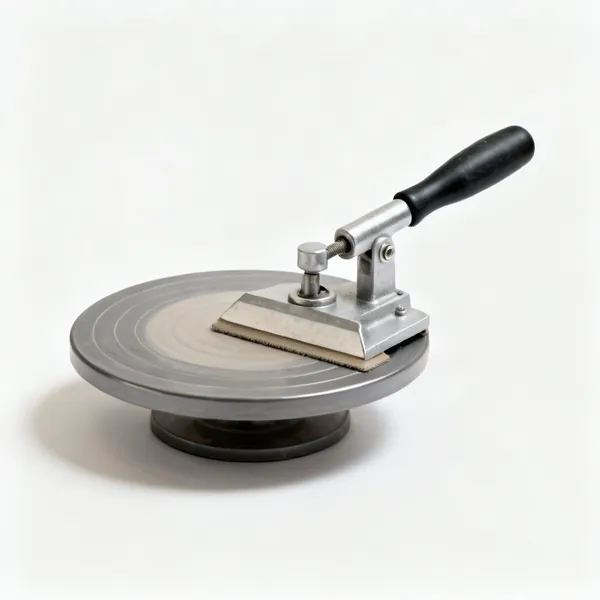
    A clay or plaster form that supports a pot upside down while its base is trimmed without marking the rim.

  • Pot holding grip: An adjustable pottery trimming holder on a wheel

    Pot holding grip

    An adjustable device that centres and holds a pot for trimming in seconds instead of tapping it into place.

  • Foot ring tool: A pottery foot ring cutting tool

    Foot ring tool

    Shaped specifically to cut a clean foot ring in one pass, giving a consistent profile across a set.

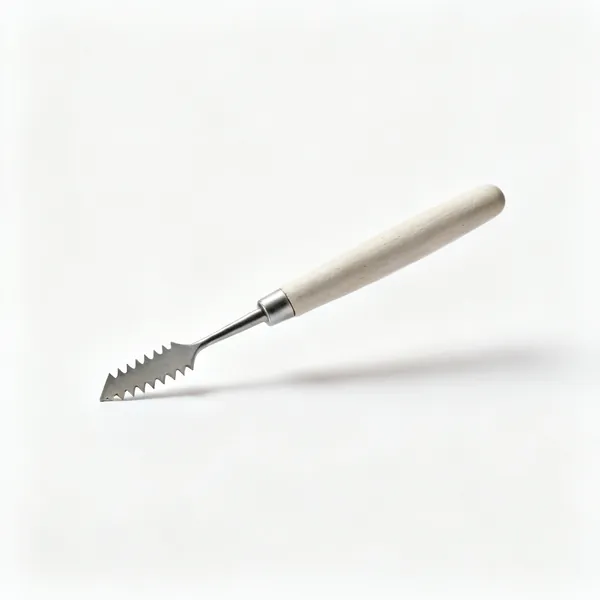
  • A pottery scoring tool with a serrated endEssential

    Scoring tool

    Roughens both faces of a joint so slip can key them together. An unscored joint separates every time.

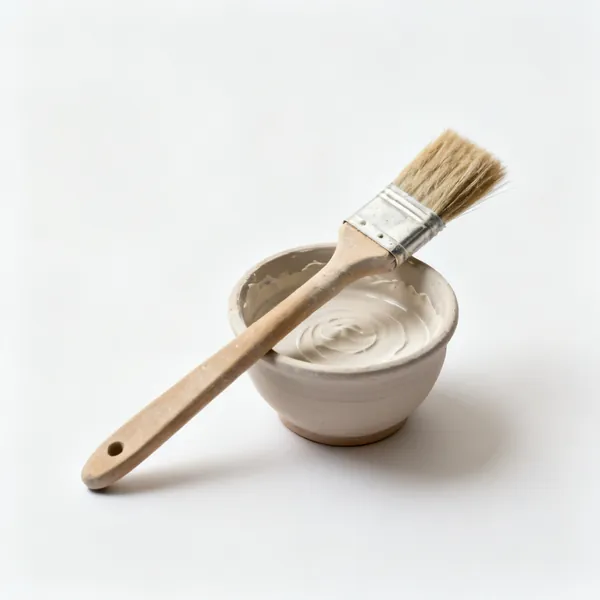
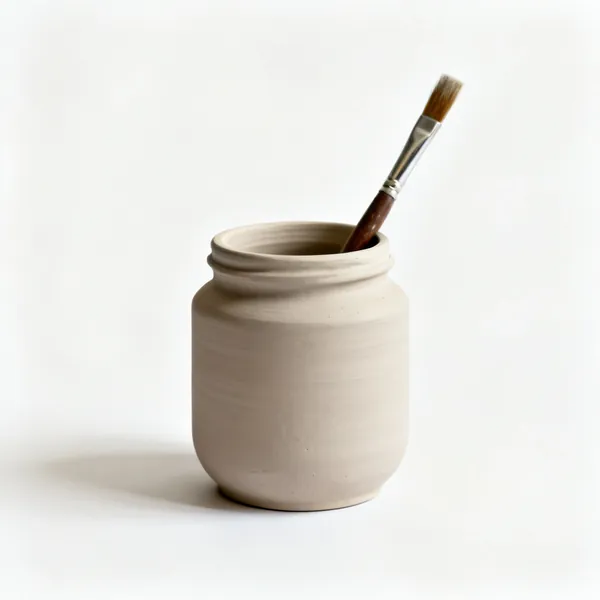
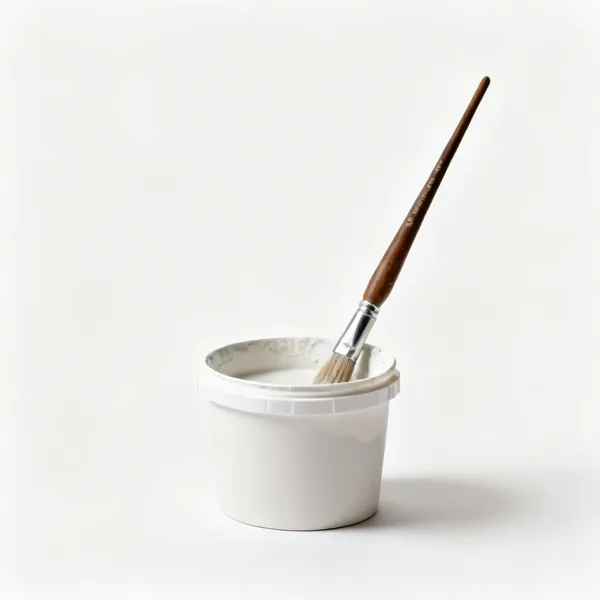
  • A pottery slip brush with a pot of slipEssential

    Slip brush

    Paints slip onto a scored joint, which is the glue in pottery. Wet on wet and pressed together firmly.

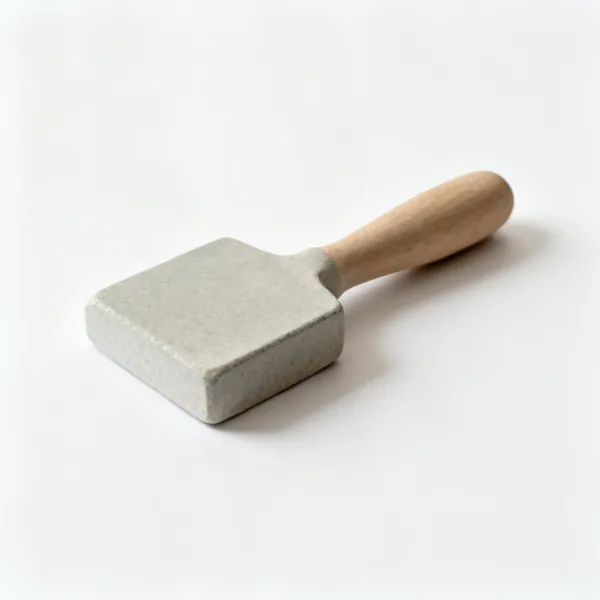
  • A smooth burnishing stone for pottery

    Burnishing stone

    A smooth pebble rubbed on leather hard clay to compress the surface to a natural sheen without glaze.

Hand building 11

Making without a wheel. Pinching, coiling and slab work, and it needs almost no equipment at all.

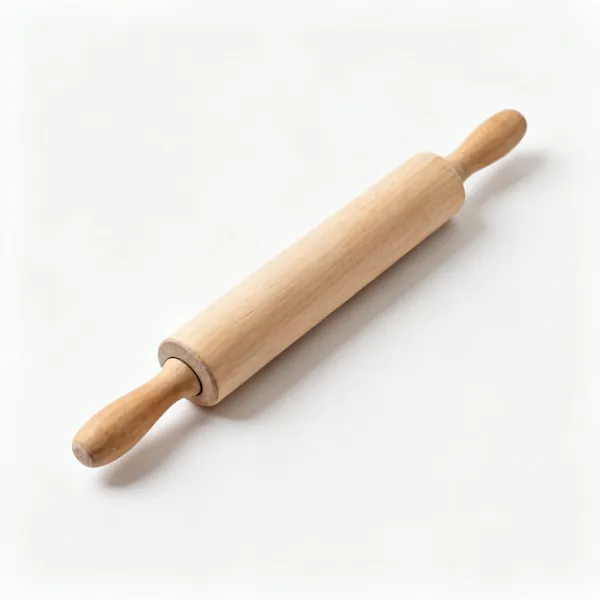
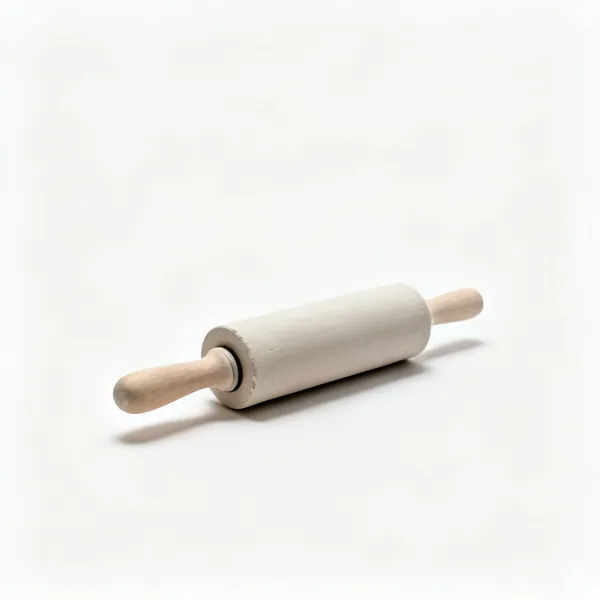
  • A wooden rolling pin for clayEssential

    Rolling pin

    Rolls a slab out evenly. Used with guide sticks, since an uneven slab cracks where it is thin.

  • Roller guides: Wooden slab roller thickness guide sticksEssential

    Roller guides

    Wooden strips either side of the clay that stop the pin below a set thickness, giving an even slab.

  • A pottery slab roller machine

    Slab roller

    A geared roller producing large even slabs quickly and identically. A studio scale investment.

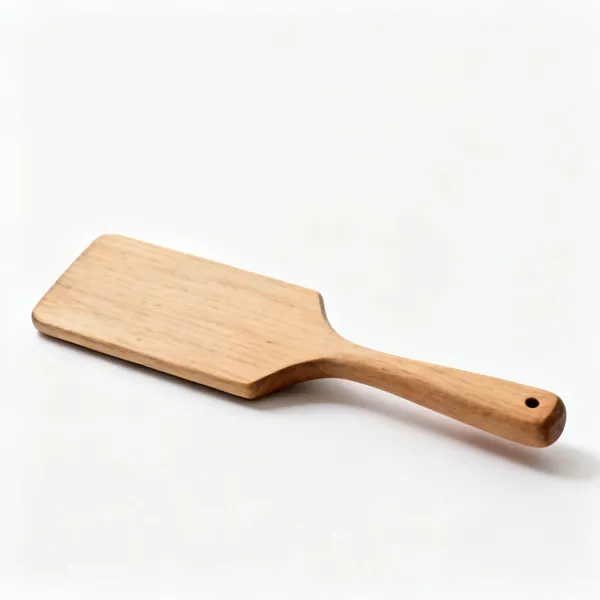
  • Wooden paddle: A wooden pottery beating paddle

    Wooden paddle

    Beats a form into shape and compresses the wall, tightening the clay after coiling or joining.

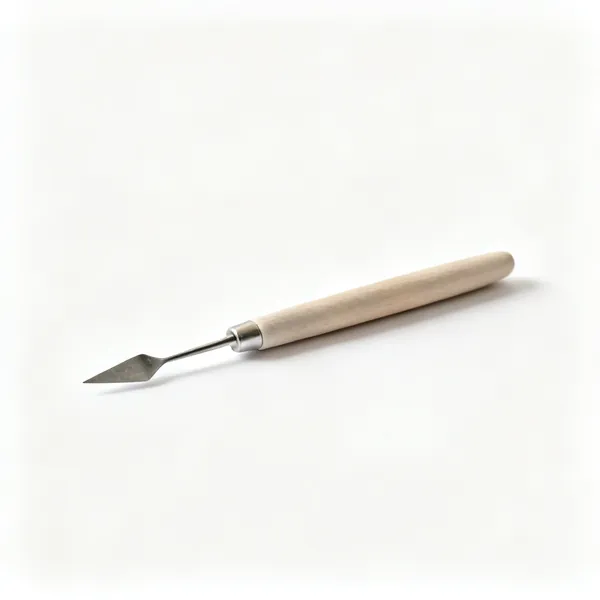
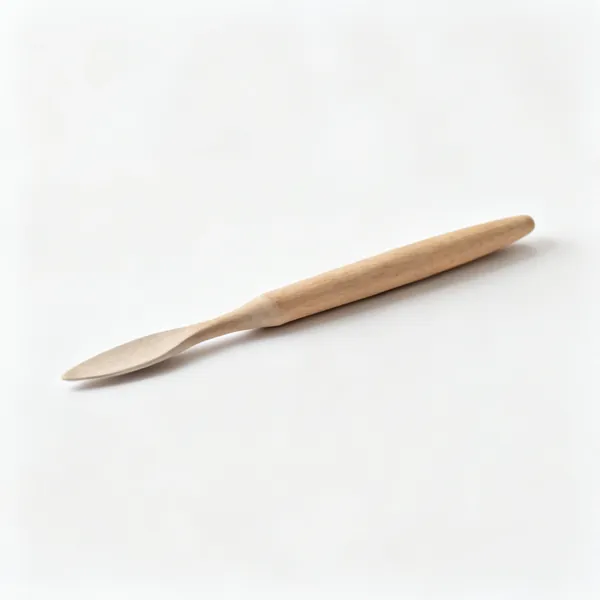
  • A set of wooden pottery modelling toolsEssential

    Modelling tools

    Wooden tools with shaped ends for blending joints, shaping detail and smoothing a surface.

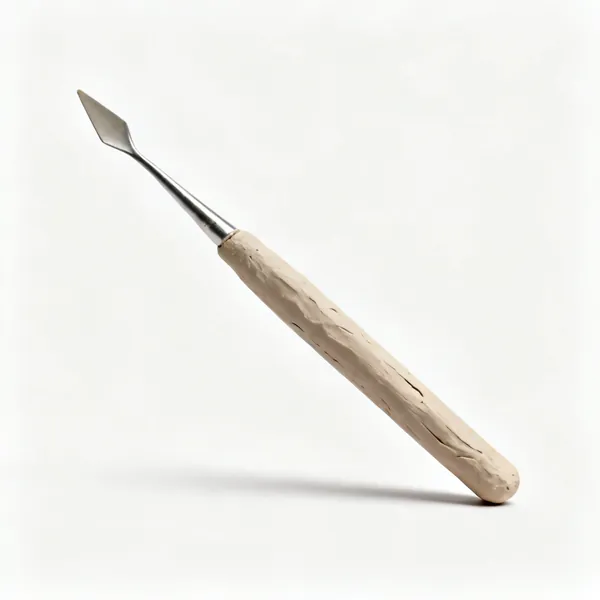
  • A set of clay sculpting tools

    Sculpting tools

    Finer shaped and wire ended tools for figurative and detail work in clay.

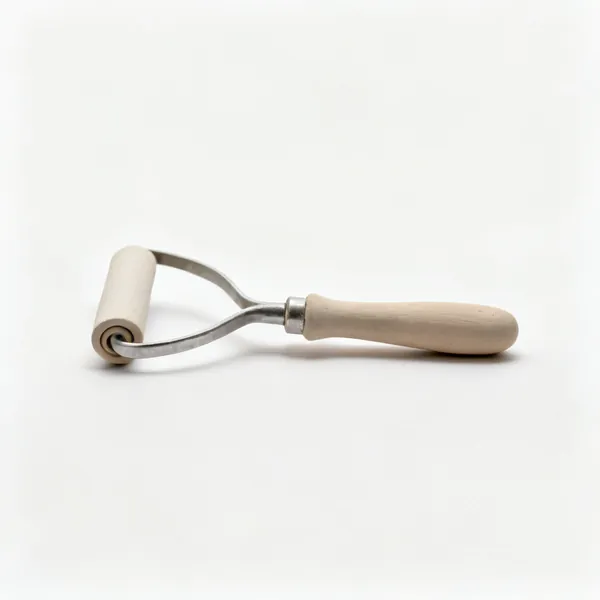
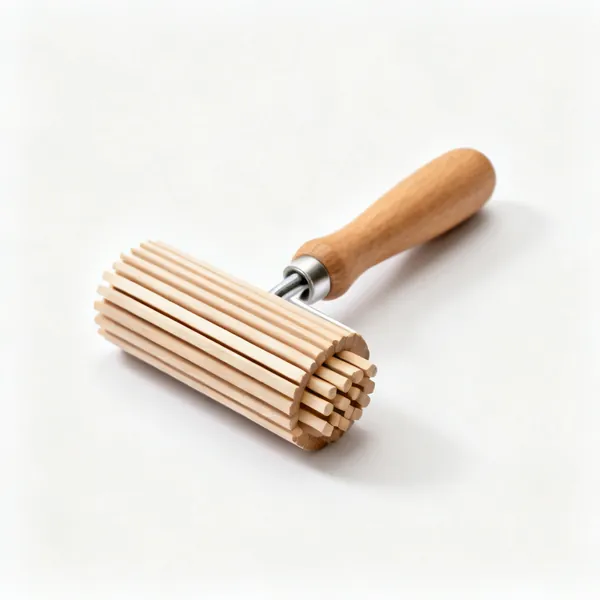
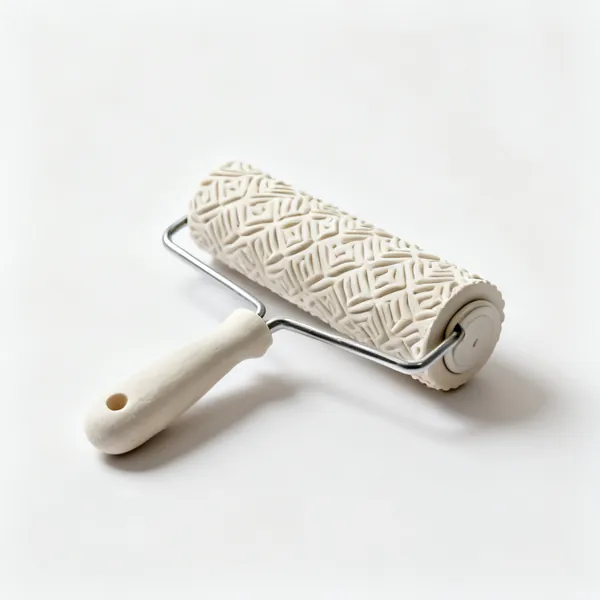
  • Patterned texture rollers for clay

    Texture rollers

    Patterned rollers that impress a repeating texture into a slab in one pass.

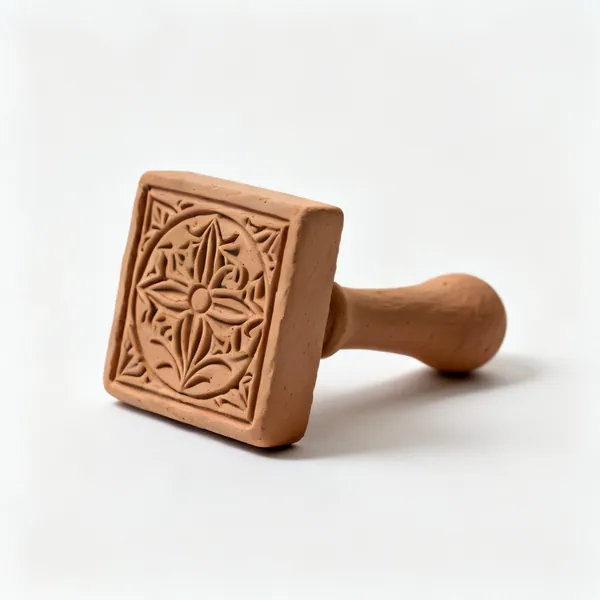
  • Clay stamps: Carved clay stamping tools

    Clay stamps

    Presses a motif or a maker's mark into soft clay. The traditional way to sign a piece.

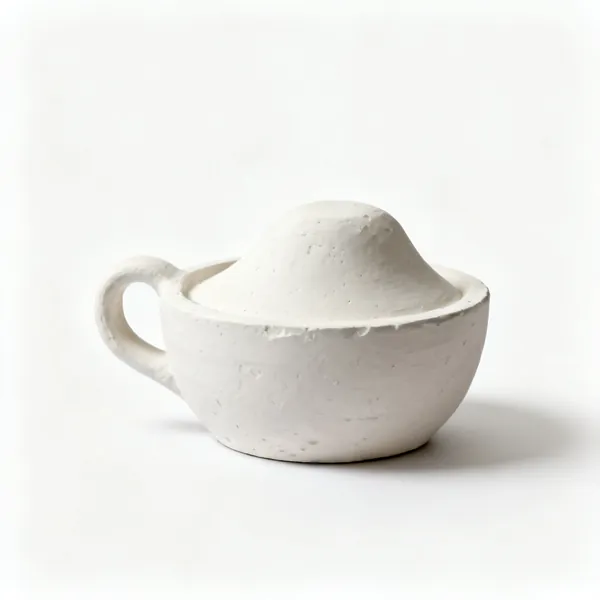
  • Hump & slump moulds: Plaster hump and slump moulds for pottery

    Hump & slump moulds

    Forms that a slab is laid over or into, producing repeatable bowls and dishes without a wheel.

  • A metal pottery banding wheel turntableEssential

    Banding wheel

    A hand turned turntable so a piece can be rotated while you work or decorate it, without lifting it.

Decorating & surface 11

Surface treatment before glazing. Slip, carving, resist and colour, mostly done at leather hard.

  • Slip trailer: A pottery slip trailing bulb with a nozzle

    Slip trailer

    A soft bulb with a fine nozzle for drawing raised lines of slip onto a surface.

  • Sgraffito tool: A sgraffito pottery carving tool

    Sgraffito tool

    Scratches through a layer of coloured slip to reveal the clay beneath, giving a fine drawn line.

  • Carving tools: A set of clay carving gouge tools

    Carving tools

    Small gouges and knives for cutting a relief pattern into leather hard clay.

  • A set of pottery decorating brushesEssential

    Decorating brushes

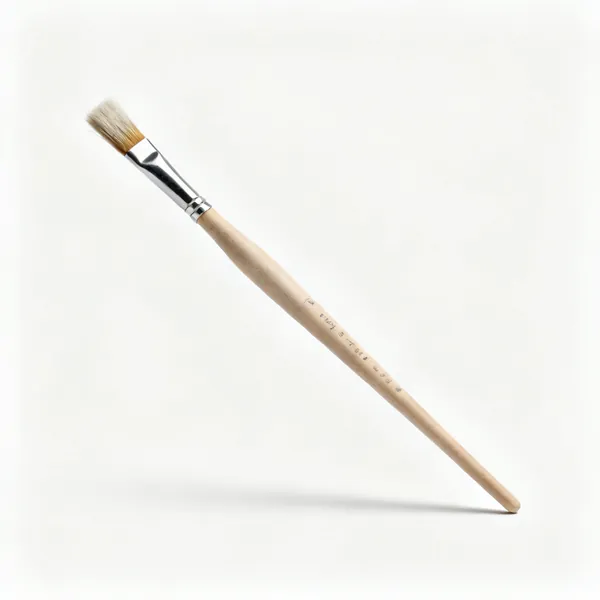
    Soft brushes for slip, underglaze and glaze. Wide flat ones for coverage, fine ones for line work.

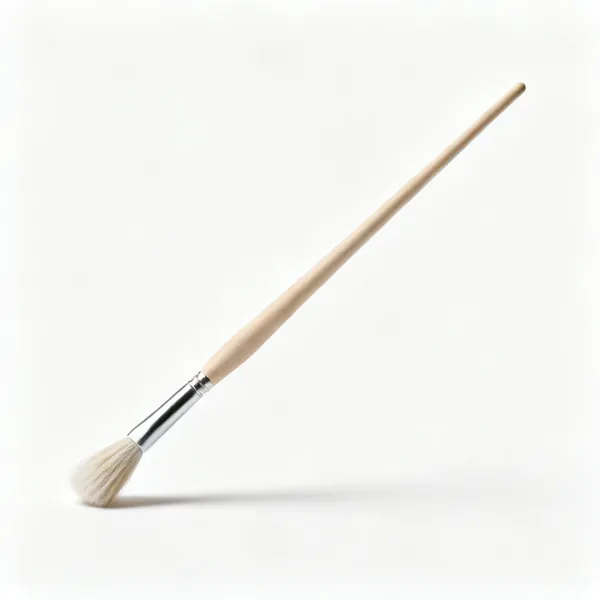
  • Hake brush: A wide flat hake pottery brush

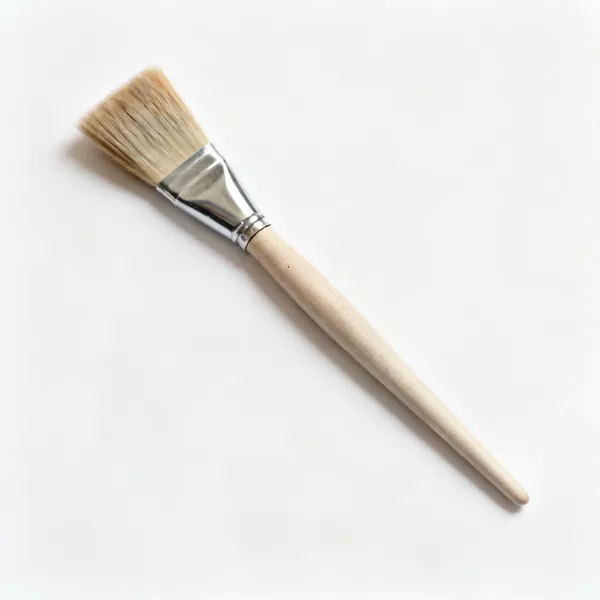
    Hake brush

    A wide soft brush that lays a broad even wash without leaving brush marks.

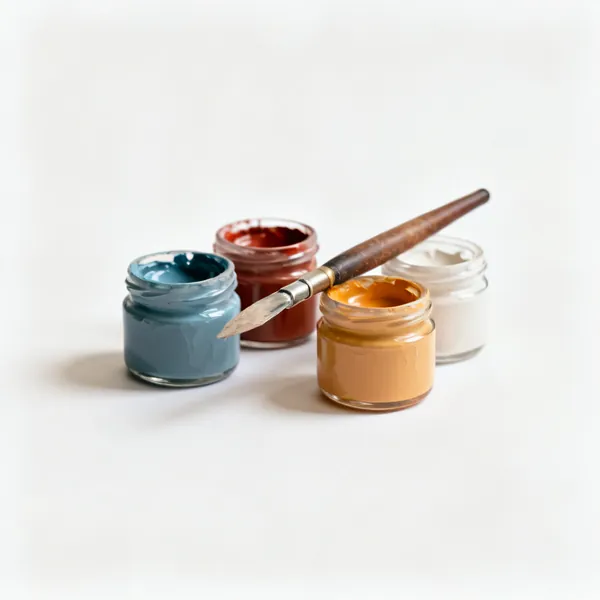
  • Pots of coloured pottery underglaze

    Underglaze

    Colour applied before glazing that stays where it is put, so it suits detailed painted decoration.

  • A jar of pottery wax resist with a brushEssential

    Wax resist

    Painted where glaze must not go, most importantly the foot. It burns away cleanly in the firing.

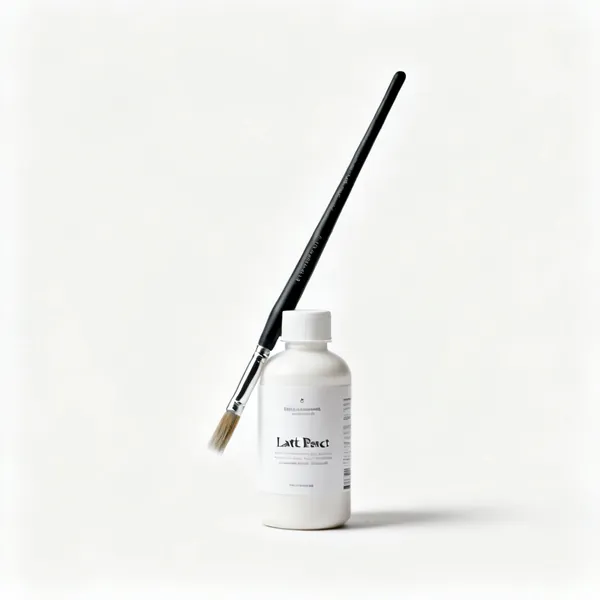
  • A bottle of latex resist with a brush

    Latex resist

    A peelable resist for sharp edged patterns, removed before firing rather than burning away.

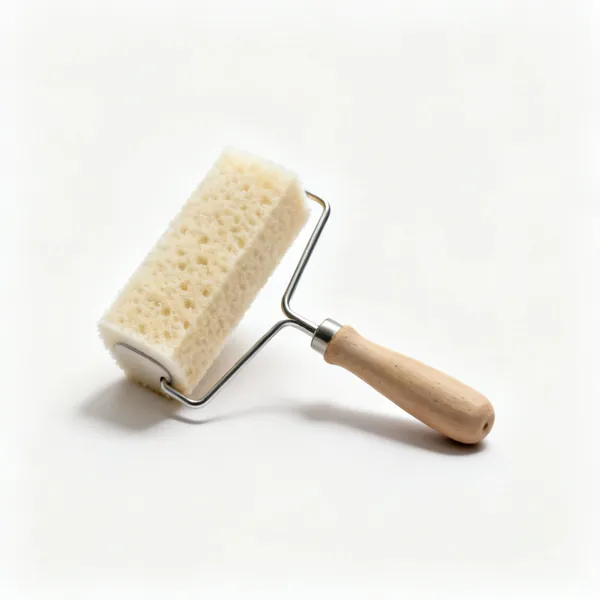
  • Sponge stamps: Cut sponge stamping shapes for pottery

    Sponge stamps

    Cut sponge shapes that print slip or glaze in a repeating pattern, quickly and consistently.

  • Slip cups & jars: Small jars of coloured pottery slip

    Slip cups & jars

    Small sealed pots keeping coloured slips mixed and to hand. Slip settles, so it needs stirring each time.

  • A long soft banding brush for pottery

    Banding brush

    A long soft brush held against a piece on a banding wheel to lay a perfectly even band of colour.

Glazing 12

Where most finished work is lost. Even thickness and a clean foot matter more than anything else here.

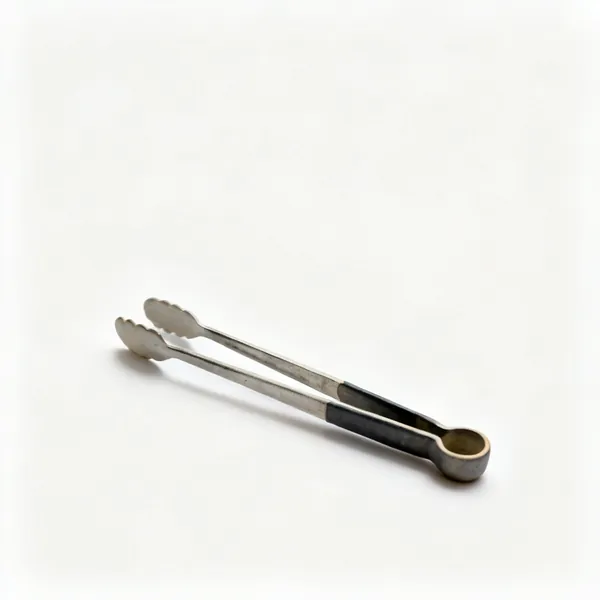
  • Glaze tongs: Pottery glaze dipping tongs

    Glaze tongs

    Holds a pot while it is dipped, leaving only two small marks to touch in afterwards.

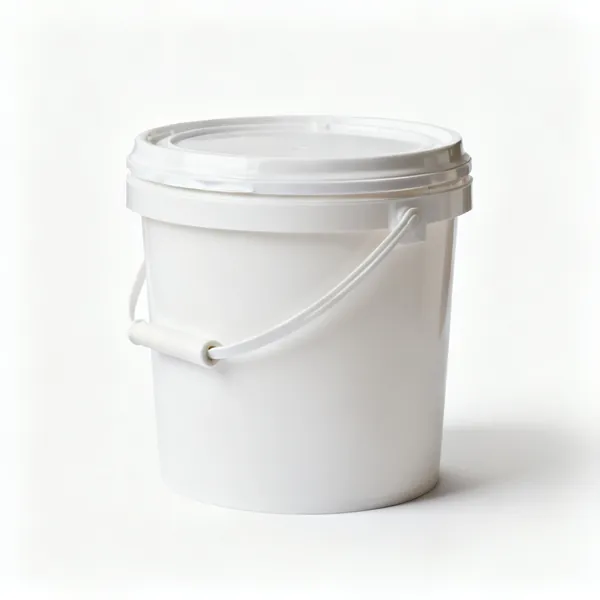
  • Glaze buckets: A white plastic bucket with a sealed lidEssential

    Glaze buckets

    Lidded buckets deep enough to dip in. Glaze settles hard, so each one needs stirring before use.

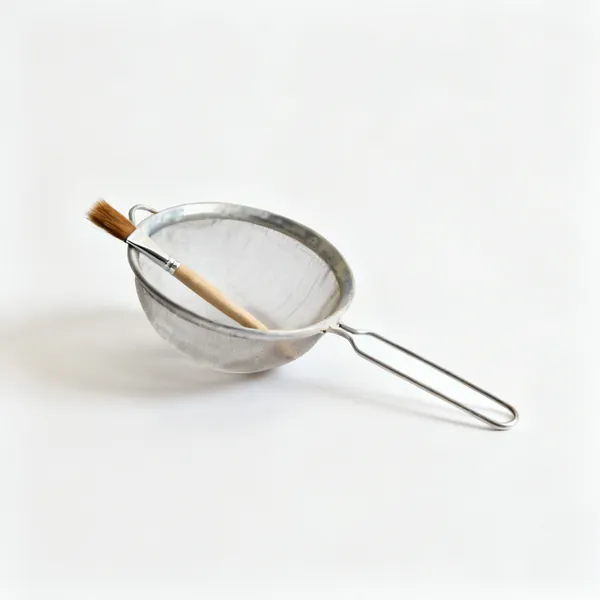
  • A pottery glaze sieve with a brushEssential

    Glaze sieve

    Removes lumps and debris from mixed glaze. A dried lump in the bucket becomes a blemish on a pot.

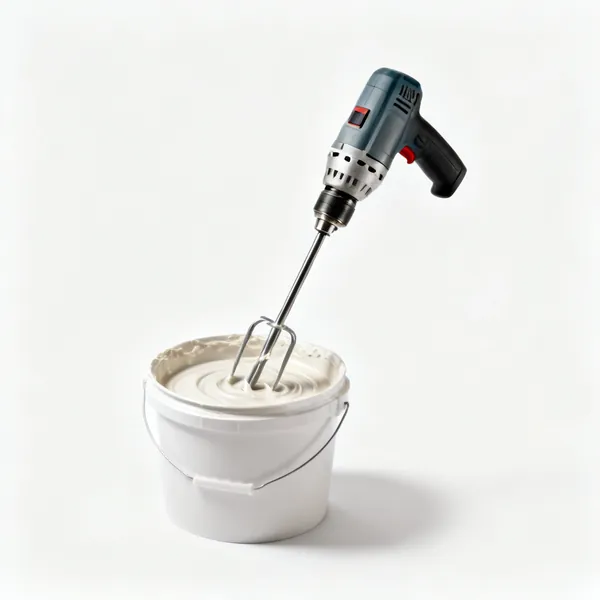
  • Glaze mixer: A drill mixing attachment in a bucket of glazeEssential

    Glaze mixer

    A drill mixer or whisk that brings settled minerals back into suspension. Stirring by hand rarely reaches the bottom.

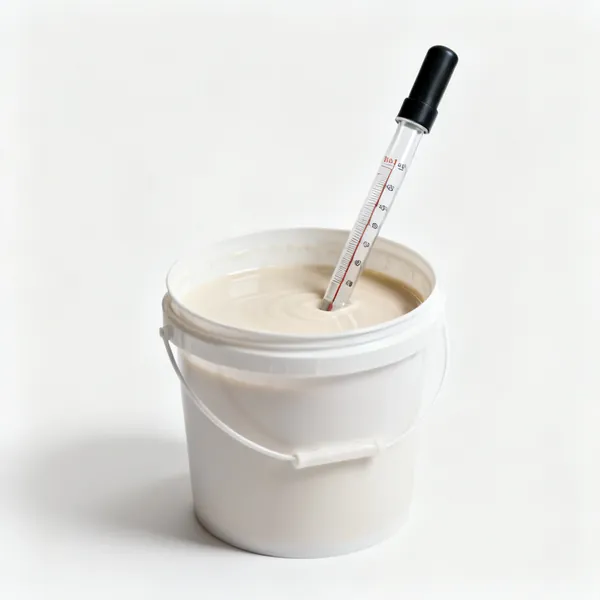
  • A hydrometer in a bucket of glaze

    Hydrometer

    Measures glaze density so a dip gives the same thickness every time, rather than varying with evaporation.

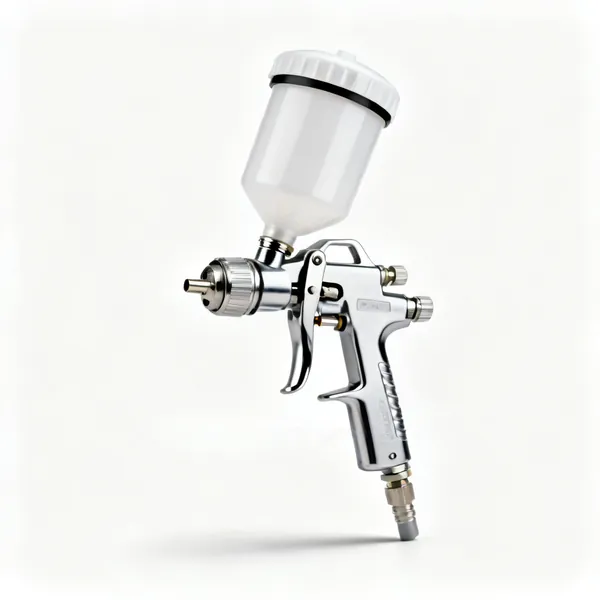
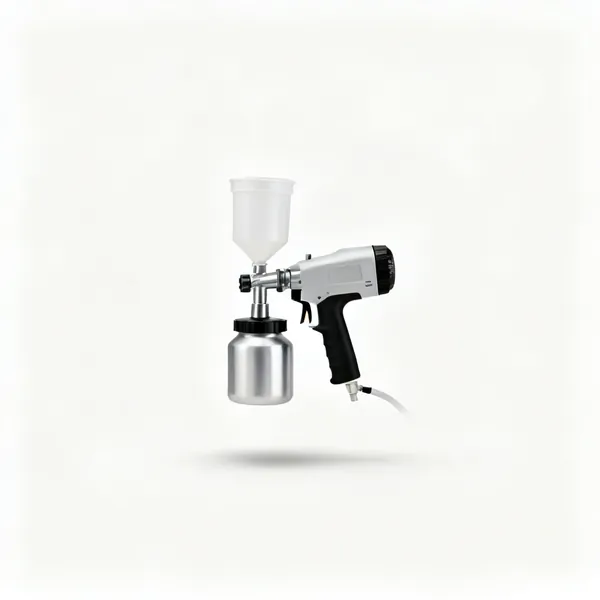
  • A glaze spray gun with a compressor

    Glaze spray gun

    Applies an even coat on a shape that cannot be dipped, and it needs a booth and proper extraction.

  • Spray booth: A glaze spraying booth with extraction

    Spray booth

    Extracts glaze mist, which contains silica and other materials you must not breathe.

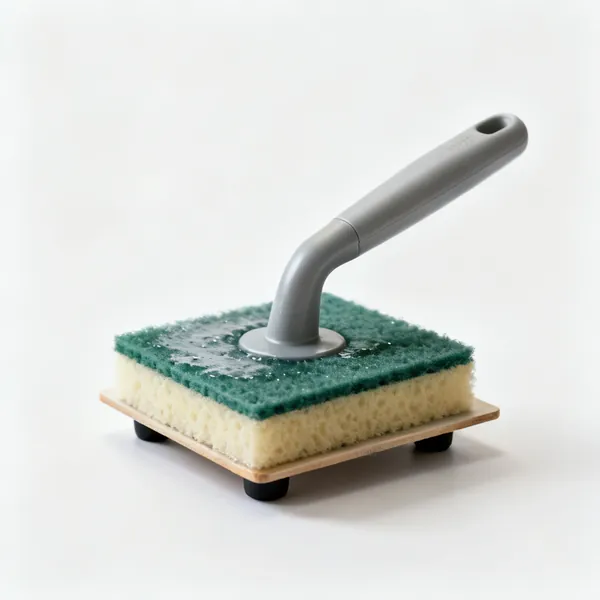
  • Foot wiping sponge: A damp sponge on a board for wiping pot feetEssential

    Foot wiping sponge

    Wipes glaze off the base. The single most important habit in glazing, since glaze on the foot ruins pot and shelf.

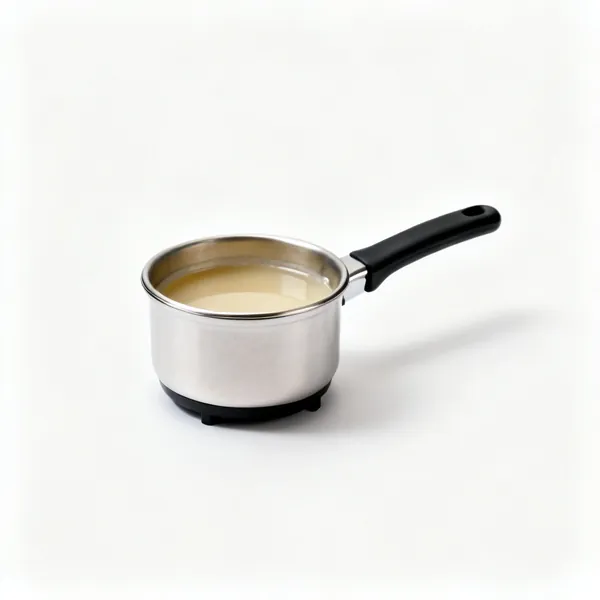
  • Wax pot: A small heated wax resist pot

    Wax pot

    Keeps hot wax resist liquid for waxing feet quickly across a whole batch.

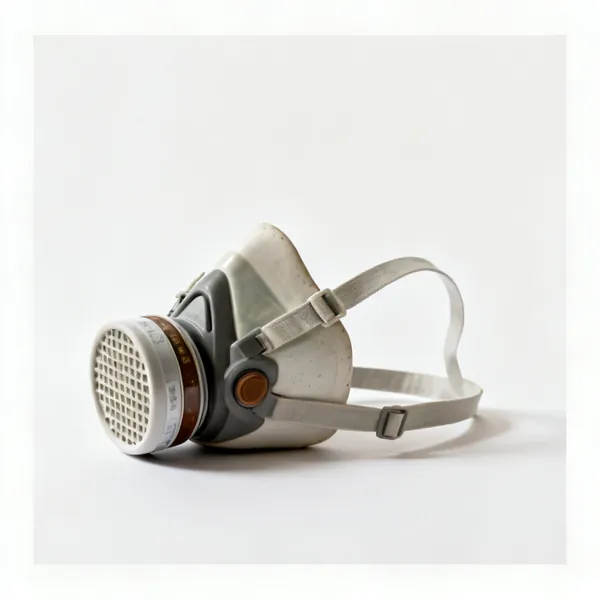
  • A respirator mask for pottery glaze materialsEssential

    Respirator

    Dry glaze materials contain silica. A fitted mask for mixing powders and for any spraying at all.

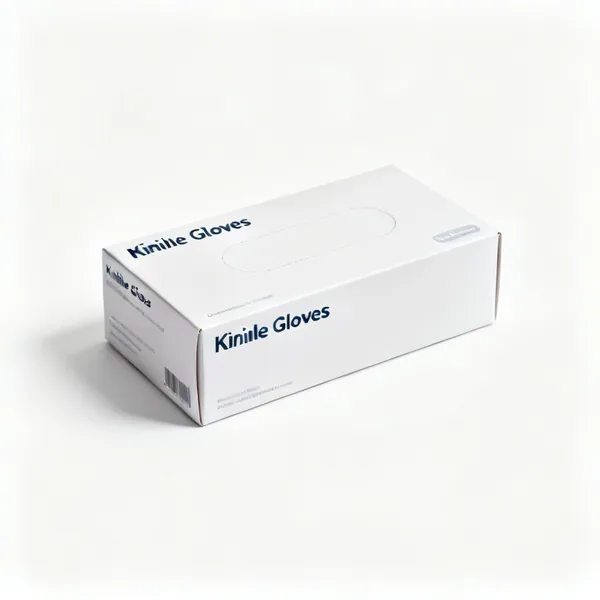
  • A box of nitrile glovesEssential

    Gloves

    Some glaze materials are toxic and skin absorbs more than people expect. Nitrile for mixing and dipping.

  • Glazed pottery test tilesEssential

    Test tiles

    Small pieces of the same clay body glazed and fired alongside, which is the only reliable guide to a result.

Firing & kiln 11

Turning clay into ceramic. The largest investment and the point at which mistakes become permanent.

  • An electric pottery kiln with a lid

    Kiln

    An electric or gas kiln reaching around a thousand degrees or more. Needs a suitable supply and real ventilation.

  • Refractory kiln shelves

    Kiln shelves

    Refractory shelves the work stands on. Kiln washed, so a glaze run damages the wash rather than the shelf.

  • Kiln props: Ceramic kiln shelf props

    Kiln props

    Posts that support shelves at set heights, so the space is packed efficiently in layers.

  • Pyrometric cones for a kiln

    Pyrometric cones

    Bend at a known heat and time combination, verifying what the pots actually experienced rather than what the dial said.

  • A tub of kiln wash with a brush

    Kiln wash

    A refractory coating brushed on shelves so anything that runs can be chipped off the wash instead of the shelf.

  • Ceramic firing stilts

    Stilts

    Small points that hold a fully glazed piece off the shelf, for low fire work where the base is glazed too.

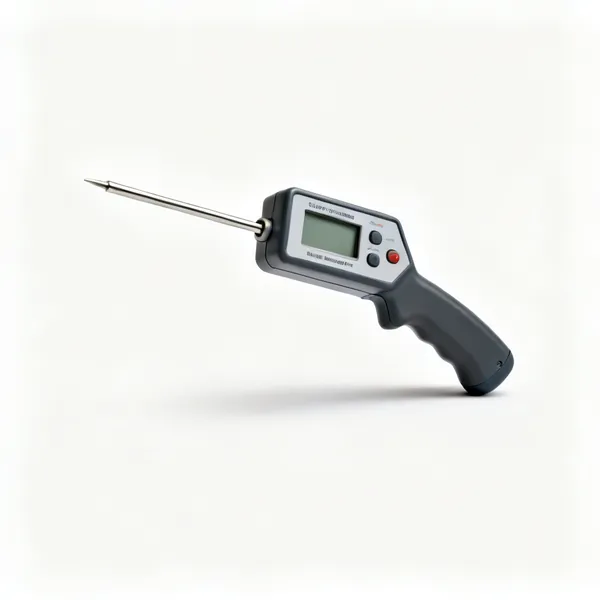
  • A digital kiln pyrometer with a probe

    Pyrometer

    Reads kiln temperature live through a thermocouple, so a firing can be followed rather than guessed at.

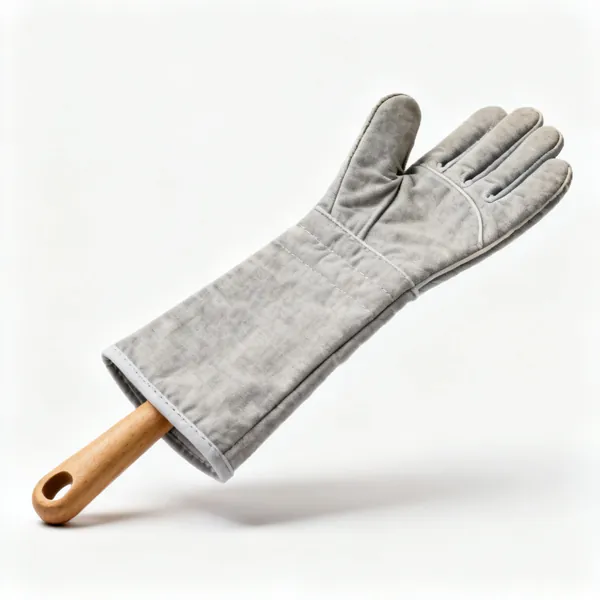
  • Heatproof gloves: A pair of long heatproof kiln gloves

    Heatproof gloves

    Long gauntlets for handling shelves and unloading while still warm. Kilns stay dangerous for hours.

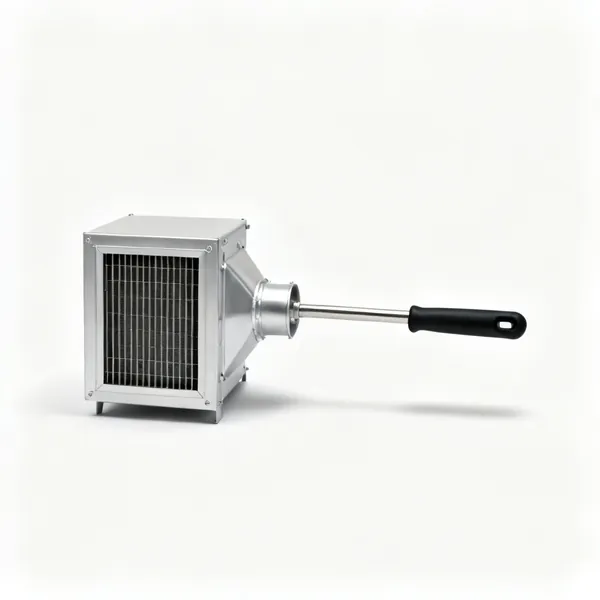
  • Kiln vent: A kiln extraction vent system

    Kiln vent

    Extracts the fumes a firing produces, which include materials you should not be breathing at all.

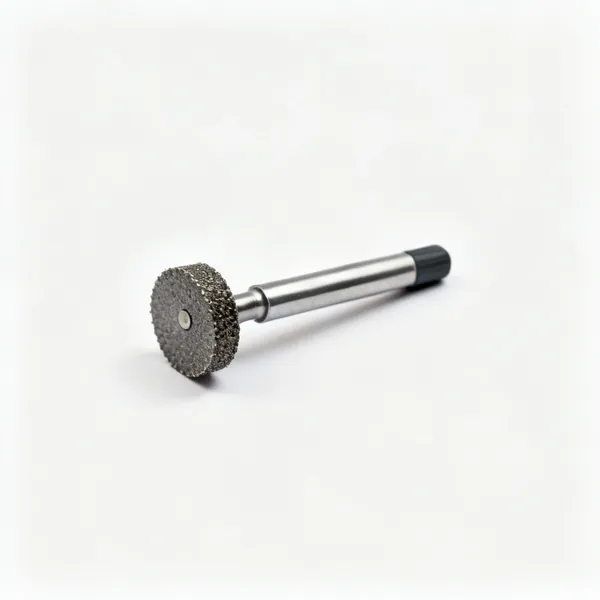
  • Dremel & grinding bit: A rotary tool with a grinding bit

    Dremel & grinding bit

    Grinds a rough foot or a small glaze run off a fired piece. Done wet, since the dust is silica.

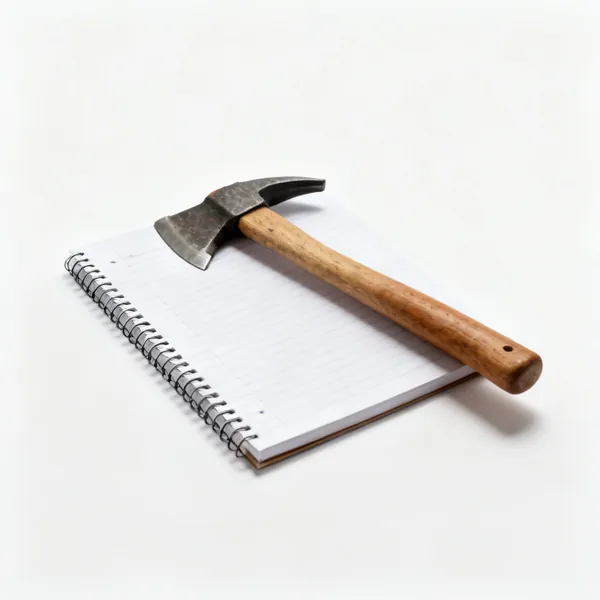
  • A notebook firing log with notes

    Firing log

    A record of what was fired, how and what happened. It turns a good result into one you can repeat.

Studio & safety 10

Silica dust is the real hazard in a pottery studio, and it is entirely manageable with water and a mop.

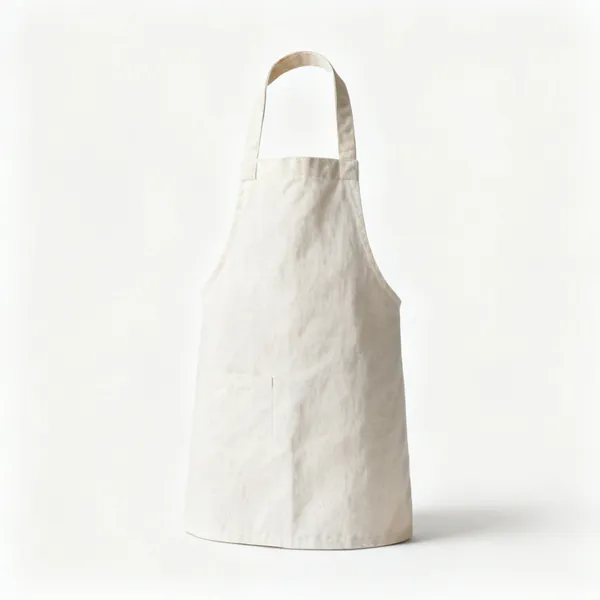
  • A canvas pottery apronEssential

    Apron

    Clay and glaze go everywhere. A washable apron, since clay dust on clothing becomes airborne when it dries.

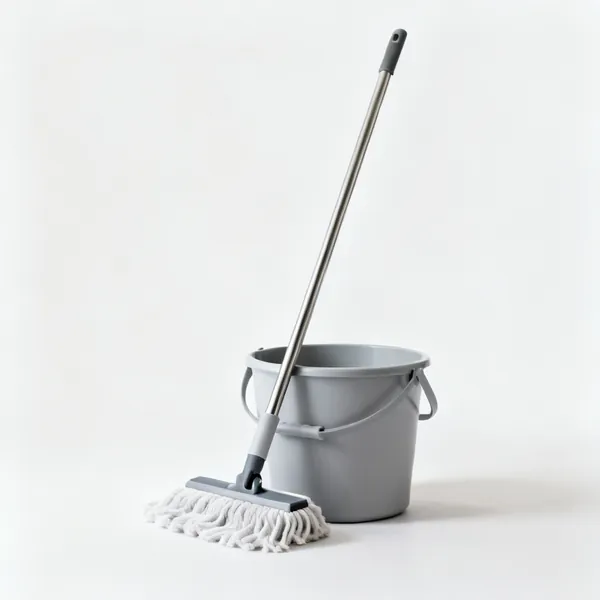
  • Mop & bucket: A mop and bucketEssential

    Mop & bucket

    The most important safety item here. Wet cleaning keeps silica dust out of the air, where sweeping puts it in.

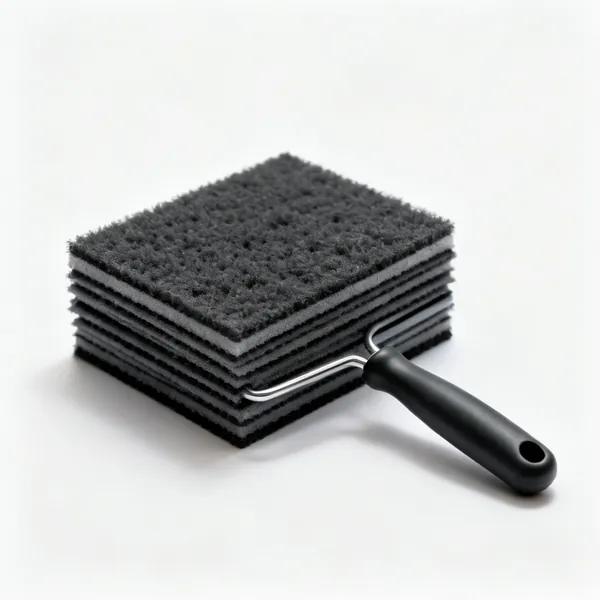
  • Studio sponges: A stack of studio cleaning spongesEssential

    Studio sponges

    Wiping surfaces down constantly is how a studio stays safe. Several, and rinsed in a settling bucket.
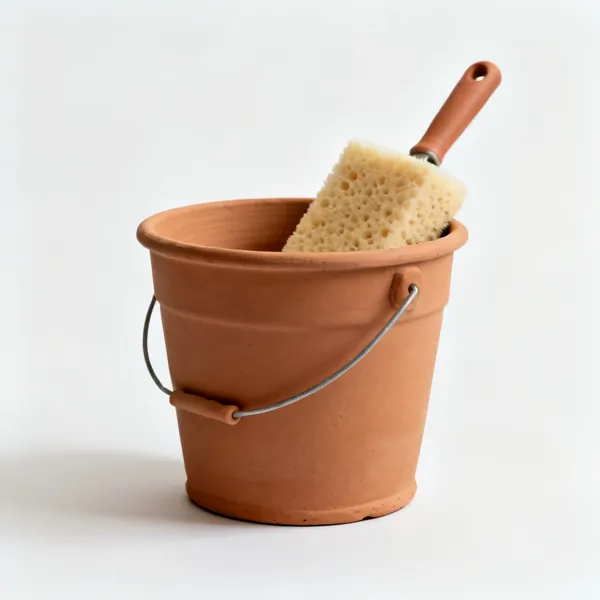
  • A clay settling bucket with a spongeEssential

    Settling bucket

    Wash water settles here rather than going down the drain, where clay sets solid in the trap.

  • Sink clay trap: A plumbing clay trap under a sink

    Sink clay trap

    A trap under the sink that catches clay before it reaches the pipework. A studio fitting that saves a plumber.

  • Damp box: A sealed damp storage box for clay work

    Damp box

    A sealed container keeping work at a chosen dryness for days, so you can return to it in the right state.
  • Plastic sheeting covering pottery workEssential

    Plastic sheeting

    Covers work loosely to slow and even out drying, which is the main defence against cracking.
  • Wooden pottery drying shelves with potsEssential

    Drying shelves

    Open shelving with airflow, out of direct sun and away from draughts. Where drying is actually controlled.

  • Wooden pottery ware boardsEssential

    Ware boards

    Flat boards that let a batch of work be moved without handling each piece individually.

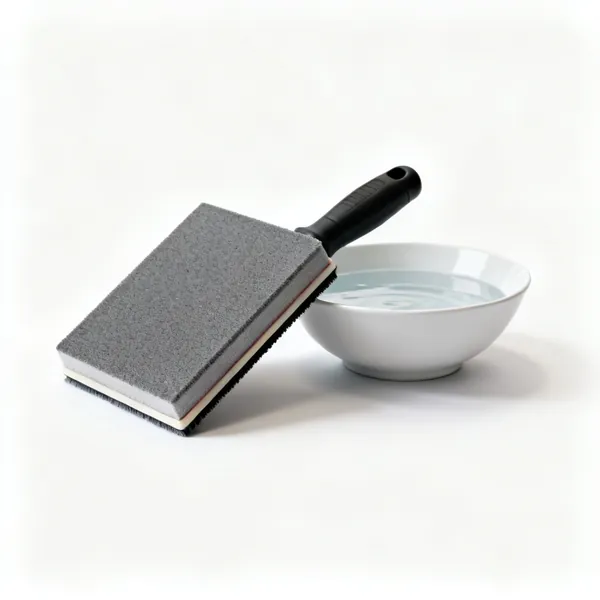
  • A wet sanding pad with a bowl of waterEssential

    Wet sanding pad

    Smooths a bone dry or fired edge under water, so no dust becomes airborne. Never dry sand clay.

Choosing pottery tools

Clay dictates the timing of everything. Most pottery tools exist because clay is only workable in a specific state, and each state has a short window.

The states of clay, which decide everything

Almost every pottery tool exists because clay passes through distinct states, and each job can only be done in one of them.

Plastic clay is soft and workable, and this is when you throw, pinch and coil. Leather hard is firm but still damp, and this is when you trim, carve, join and burnish, because the clay holds a shape without collapsing. Bone dry is fragile and can only be sanded or fired. Once fired to bisque it is porous and ready for glaze, and after the glaze firing it is finished.

The commonest beginner frustration is trying to do the right job in the wrong state: trimming plastic clay tears it, joining bone dry clay simply will not work, and glazing an unfired pot destroys it.

Throw and build in plastic clay
Soft enough to move and firm enough to stand. If it slumps it is too wet, if it cracks it is too dry.
Trim and carve at leather hard
Firm enough to hold shape, damp enough to cut cleanly. This window is short and it is the one people miss.
Join wet to wet, never dry
Score both faces, add slip, press and blend. Two pieces at different dryness will crack apart in the firing.
Dry slowly and evenly
Uneven drying is the main cause of cracking. Cover loosely with plastic and let handles and rims dry slower.
Bone dry before firing, genuinely
Any trapped water turns to steam in the kiln and the piece can break apart. Dry means dry all the way through.

Throwing, and what actually goes wrong

Throwing has a steep first few hours, and nearly all of the trouble comes from two things: the clay was not centred, and the hands were not steady.

Centring is the whole foundation. A pot that is not centred cannot be opened evenly, so one wall ends up thick and the other thin, and it will go off shape or collapse as it rises. That is worth more practice time than any shaping technique.

The other half is bracing. Hands should be locked against each other and against your body, so they move slowly and deliberately rather than following the wobble of the clay. Wet clay follows any hesitation and records it in the wall.

Centre properly before opening
Everything after this inherits the error. An off centre lump gives you one thick wall and one thin one.
Brace your hands against each other
Locked arms and elbows against your body. Unsupported hands follow the clay and record every wobble.
Keep it lubricated but not soaked
Slip lets your hands slide. Too much water weakens the wall and the pot goes soft and slumps.
Pull up in slow steady passes
Three or four unhurried pulls beat many quick ones. Each pass should thin the wall evenly all the way up.
Compress the rim
A rim left uncompressed cracks as it dries. A few seconds with a sponge or your fingers prevents it.
Wire it off and leave it alone
Overworking a finished pot is how it collapses. Stop when it is right, not when you run out of ideas.

Glazing and firing, where work is lost

More finished pottery is ruined at the glaze stage than at any other, and the mistakes are consistent.

Glaze is a suspension of ground minerals in water. It has to be stirred thoroughly because the heavy ingredients settle out, and it has to go on evenly, because thickness changes colour and can cause it to run. And no glaze can be left on the foot of a pot, or it fuses the piece to the kiln shelf and destroys both.

The other rule is dust. Dry clay and glaze powder contain silica, and breathing it causes permanent lung damage. This is why potters mop rather than sweep and never sand dry clay without extraction.

Wipe the foot completely clean
Any glaze on the base fuses the pot to the shelf. That ruins the pot and the shelf together.
Stir glaze thoroughly and sieve it
The heavy minerals settle to the bottom. Unstirred glaze gives inconsistent colour and unpredictable results.
Even thickness matters more than technique
Thin patches look washed out and thick ones run. Dip, pour or spray, and keep the coat consistent.
Never sweep dry clay dust
Silica dust causes permanent lung scarring. Mop with water, and wet sand rather than dry sanding.
Test glaze combinations on tiles first
Glazes interact and behave differently at different temperatures. A test tile costs nothing and a lost kiln load costs a lot.
Match the glaze to the firing temperature
A low fire glaze on a high fire clay body runs off entirely. They are not interchangeable.

What to buy first, in order

Stage one: hand building
A wire clay cutter, a wooden rib, a metal rib, a sponge, a modelling tool, a needle tool and a rolling pin. Very little money and enough to make things.
Stage two: throwing
Access to a wheel, bats, a throwing sponge, a trimming tool set, calipers, a chamois for rims and plenty of towels.
Stage three: decorating and glazing
Slip trailers, brushes, a banding wheel, wax resist, glaze tongs, a sieve and buckets. Plus test tiles.
Stage four: firing your own work
A kiln, shelves and props, cones, stilts, kiln wash, gloves and a proper extraction plan. The big commitment.

Mistakes that lose the pot

Glaze left on the foot
The pot fuses to the kiln shelf, and separating them destroys both. Wipe the base every single time.
Firing clay that is not bone dry
Trapped water becomes steam and the piece can break apart in the kiln, sometimes damaging its neighbours.
Joining pieces at different dryness
They shrink at different rates and the joint cracks open, either in drying or in the firing.
Trimming too late or too early
Too wet and it tears and distorts, too dry and it chips and fights the tool. Leather hard is a real window.
Not compressing the rim or the base
Uncompressed clay cracks as it dries, and a base that was not compressed can crack right across in the kiln.
Drying too fast or unevenly
Handles and rims dry faster than a thick base and pull away. Slow and covered is always safer.
Sweeping the studio
It puts silica dust into the air where you will breathe it for hours. Mop, always.
Air bubbles left in the clay
Wedge properly. A trapped pocket of air can expand in the firing and blow a hole in the piece.

Looking after pottery tools

Wash everything before the clay dries
Dried clay on a rib or a trimming tool changes its profile, and on a metal tool it holds moisture and rusts it.
Never wash clay down the sink
It settles and blocks the trap solidly. A settling bucket, and the sludge goes in the bin or gets reclaimed.
Dry wooden tools properly
Wooden ribs and paddles split if they stay wet. Wipe and stand them up rather than leaving them in a bucket.
Keep trimming tools sharp
They are cutting tools. A blunt loop tool tears leather hard clay instead of shaving it cleanly.
Sieve and lid your glazes
They dry out, settle and pick up debris. A lump of dried glaze in the bucket becomes a lump on a pot.
Kiln wash the shelves
A coat of kiln wash means a glaze run damages the wash rather than the shelf itself.

Frequently asked questions

What pottery tools do I need to start?
A wire clay cutter, a wooden rib, a metal rib, a sponge, a modelling tool and a needle tool. That is enough to hand build properly and costs very little. Add trimming tools and calipers once you are throwing.
What does leather hard mean?
Clay that is firm enough to hold its shape and handle without deforming, but still damp enough to cut cleanly. It is the state for trimming, carving, joining and burnishing, and the window is shorter than beginners expect.
What is a rib and why are there wooden and metal ones?
A shaped blade for smoothing and shaping a wall. Wooden ribs are gentler and used while throwing to shape and compress. Metal ribs are thinner and sharper, for scraping a surface smooth and refining a profile at leather hard.
Why did my pot crack while drying?
Almost always uneven or too rapid drying, or a rim or base that was not compressed. Thin parts like handles and rims dry faster than a thick base and pull away. Cover loosely with plastic and let it dry slowly.
Why must I wipe glaze off the bottom of a pot?
Because glaze melts into glass in the kiln, and any on the foot fuses the pot to the shelf. Getting them apart destroys the pot and damages the shelf, so the base is wiped clean every single time.
What is bisque firing and why fire twice?
The first firing turns clay into hard porous ceramic that can be handled and will absorb glaze evenly. Glazing raw clay is possible but risky, since the pot is fragile and the water in the glaze can make it collapse.
What are pyrometric cones?
Small shaped mixtures that soften and bend at a known combination of temperature and time, giving a truer measure of what the pots actually experienced than a thermocouple reading alone. They are how a firing is verified.
Is pottery dust actually dangerous?
Yes. Dry clay and glaze materials contain crystalline silica, and breathing the dust causes permanent lung scarring. That is why potters mop rather than sweep, wet sand rather than dry sand, and wear a fitted mask for dry materials.
Do I need a wheel to make pottery?
No. Pinching, coiling and slab building make a huge range of work and need almost no equipment. A wheel is one technique rather than the definition of pottery, and hand building tools cost a fraction of a wheel.
What is wedging and can I skip it?
Kneading clay to make it uniform and remove air pockets. You cannot skip it. Trapped air makes clay behave unpredictably on the wheel and can expand in the firing, blowing a hole in the finished piece.
Why is my glaze a different colour from the sample?
Usually thickness or temperature. Glaze colour depends heavily on how thickly it is applied and what temperature it was fired to, so the same bucket gives different results. Test tiles fired in your own kiln are the only reliable guide.
Can I fire pottery in a household oven?
No. A kitchen oven reaches a few hundred degrees, and clay needs roughly a thousand or more to become ceramic. Air dry clay exists for use without a kiln, and it never becomes waterproof or food safe.