Disclosure

Tiling tools: names, pictures and what each one is used for

A complete tiling tools list with a picture of every one, all 70 grouped by the job, from preparing and setting out through cutting, fixing, grouting and sealing. Tiling is unforgiving: what you get wrong stays visible and set in adhesive.

34 are marked essential: enough to tile a floor or a wall properly from start to finish.

Cutting tiles 10

The group where the tile material decides everything. Straight cuts, curves and holes each need a different tool.

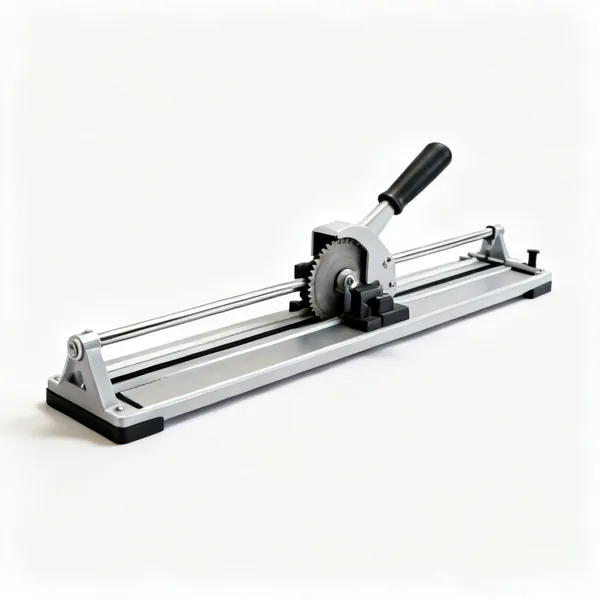
  • A manual tile cutter with a scoring wheel and railsEssential

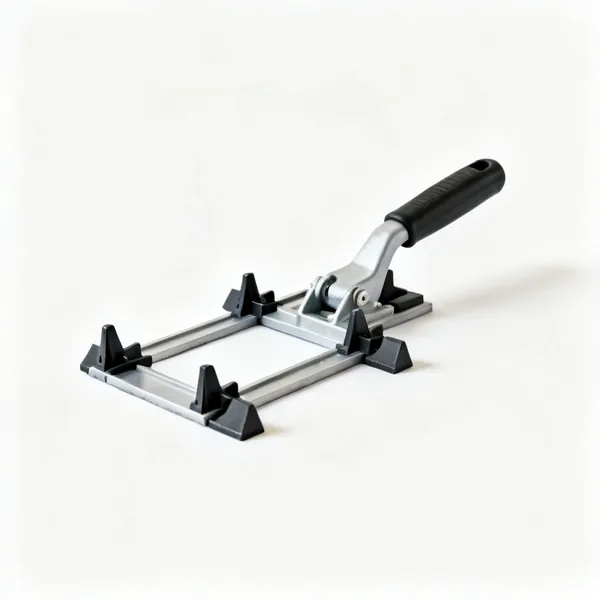
    Manual tile cutter

    Scores the glaze and snaps the tile on a carriage. Fast, dust free and straight cuts only, in ceramic and softer porcelain.

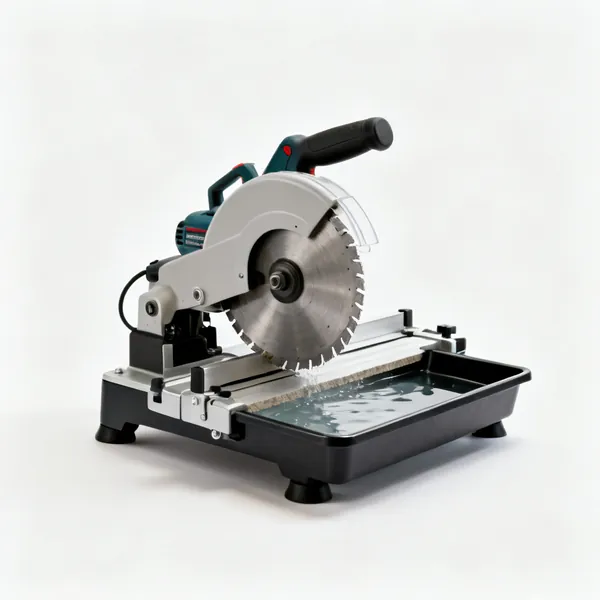
  • A wet tile saw with a diamond blade and water tray

    Wet tile saw

    A diamond blade with water cooling, cutting hard porcelain and stone plus notches and L shapes. Water holds the dust down too.

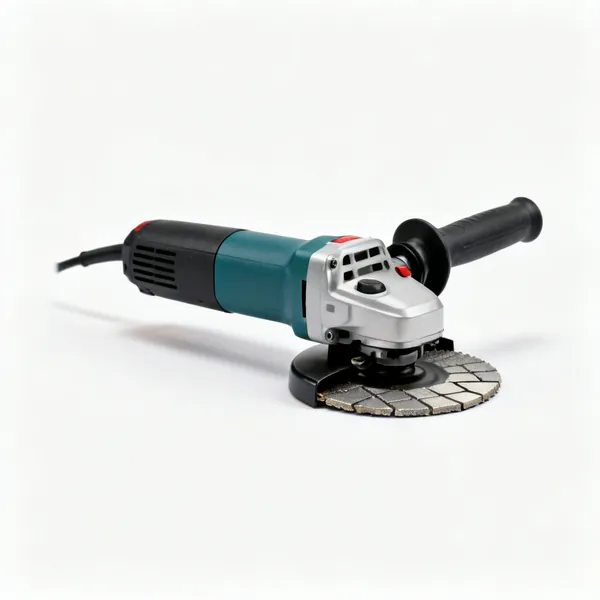
  • Angle grinder

    Angle grinder

    With a diamond blade, cuts anything anywhere, including cut outs in a fitted tile. Dusty, so extraction or a mask.

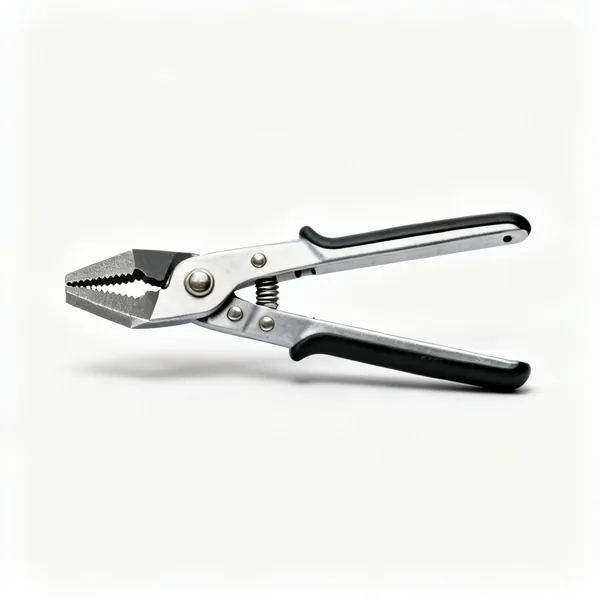
  • A pair of tile nippers with carbide jawsEssential

    Tile nippers

    Bites small pieces off for curves and awkward shapes. Small bites only, because a big one cracks the tile in half.

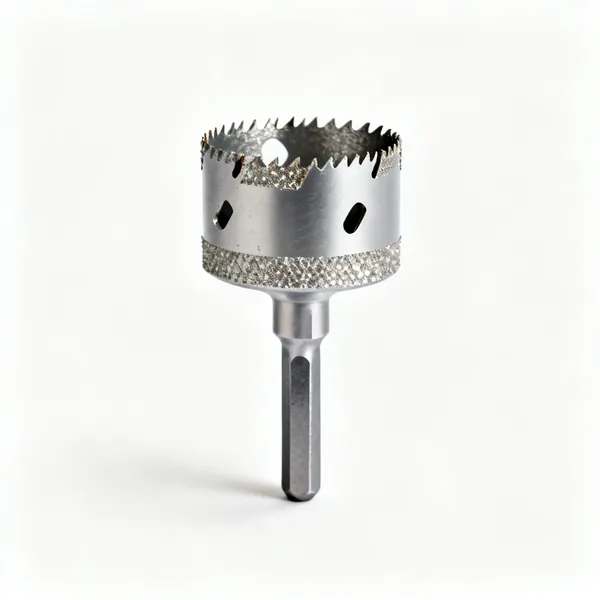
  • Diamond hole saw: A diamond tile hole saw bitEssential

    Diamond hole saw

    Cuts a clean round hole for a pipe or a shower valve. Wet and slow, started at an angle so it bites before going upright.

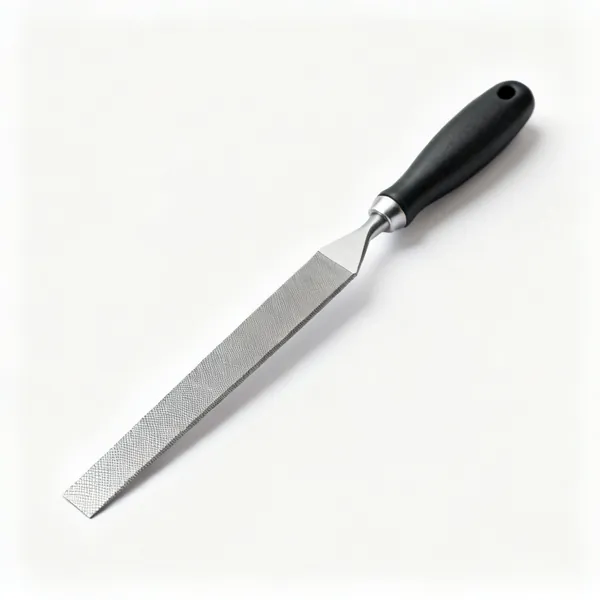
  • A diamond tile file

    Tile file

    Smooths a cut edge and eases a hole that is a millimetre tight. Saves recutting a tile you have already fitted twice.

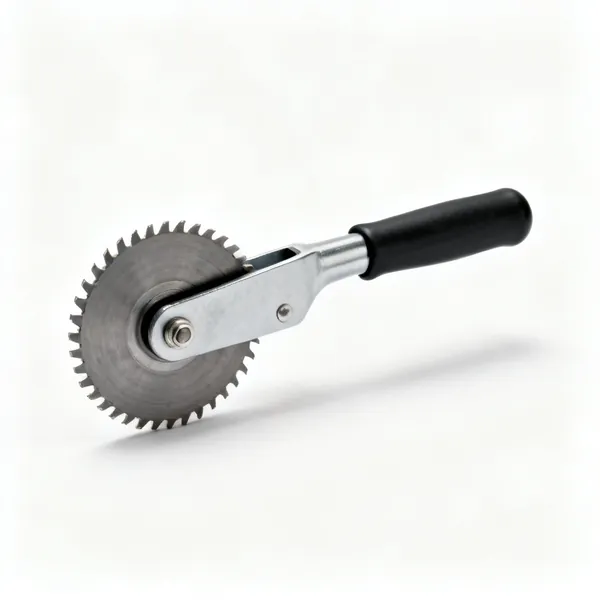
  • Spare scoring wheels: Replacement tile cutter scoring wheels

    Spare scoring wheels

    A consumable. A worn wheel skips and gives a ragged score, so the tile snaps off the line and gets blamed on the cutter.

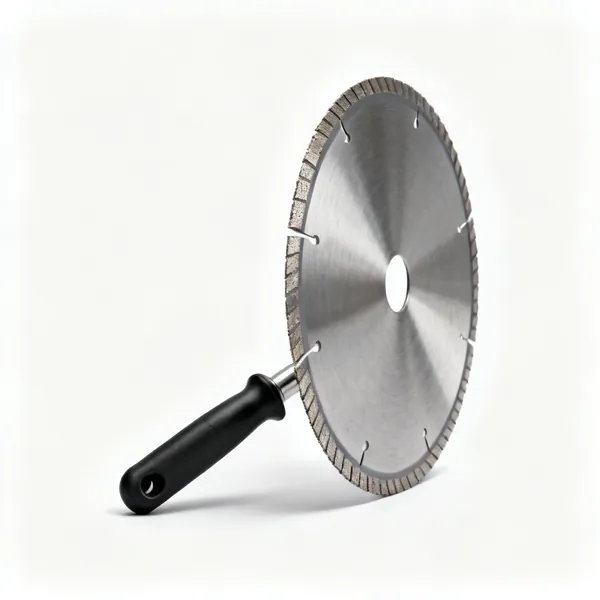
  • Glass tile blade: A continuous rim diamond blade for glass tile

    Glass tile blade

    A fine continuous rim blade for glass and glazed mosaic, which chip badly on a normal segmented blade.

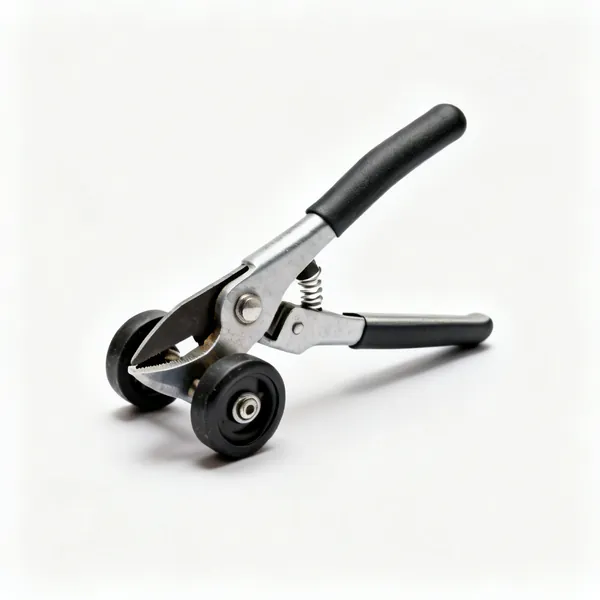
  • Mosaic cutter: Wheeled mosaic tile nippers

    Mosaic cutter

    Wheeled nippers that cut small mosaic pieces cleanly in one squeeze, where a big cutter cannot grip them.

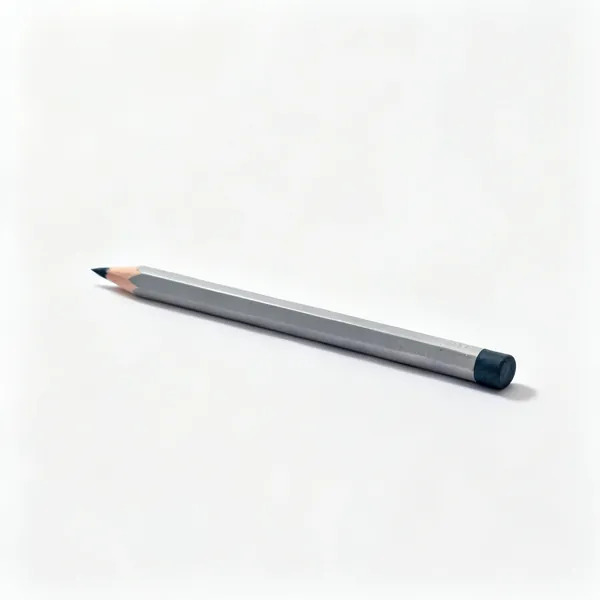
  • A chinagraph wax marking pencilEssential

    Marking pencil

    A chinagraph or wax pencil, since graphite will not show on a glaze and permanent marker bleeds under the water.

Fixing & bedding 12

Getting adhesive on and tiles flat. Coverage is the thing that decides whether a floor cracks in a year.

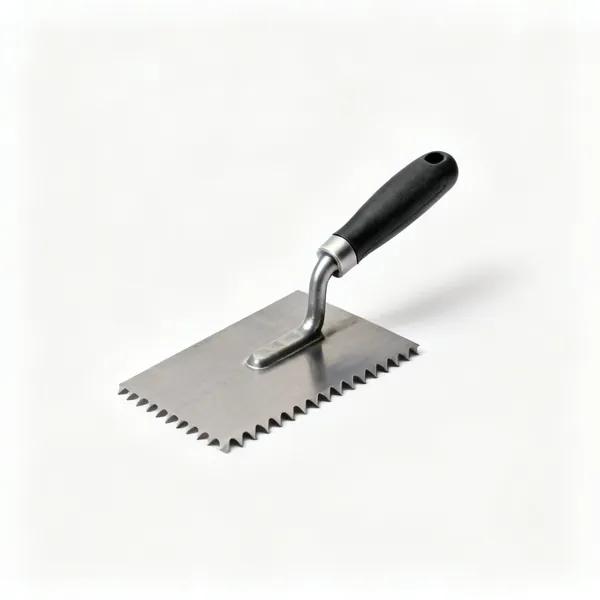
  • Notched trowel: A notched tile adhesive trowelEssential

    Notched trowel

    Combs adhesive to an even depth, and the notch size sets the bed thickness. Match the notch to the tile size.

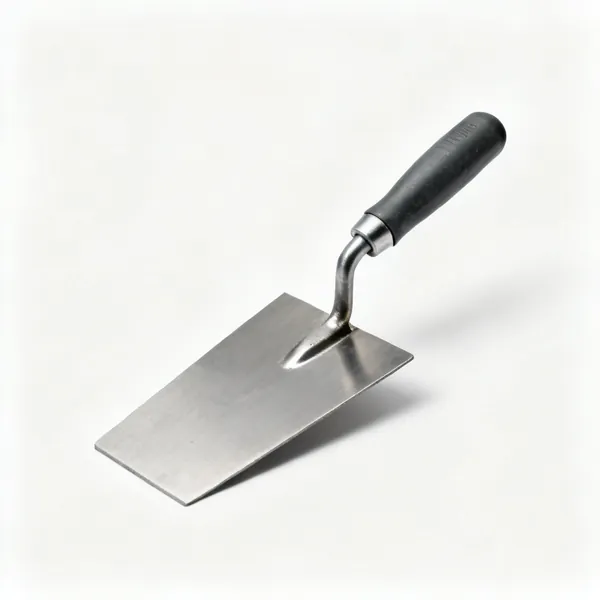
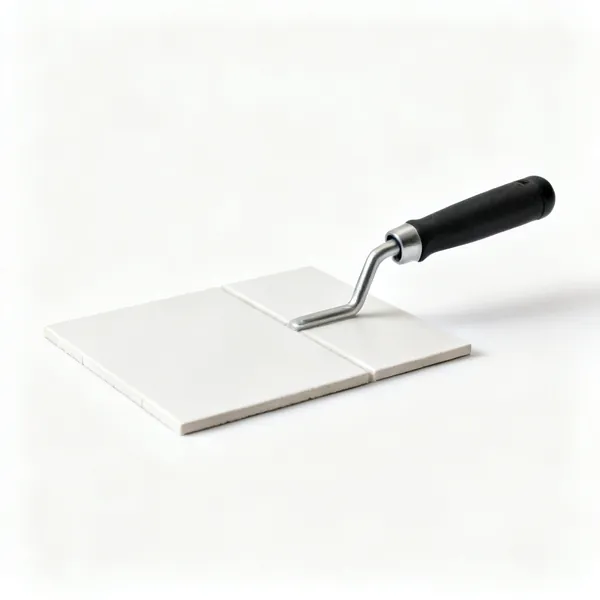
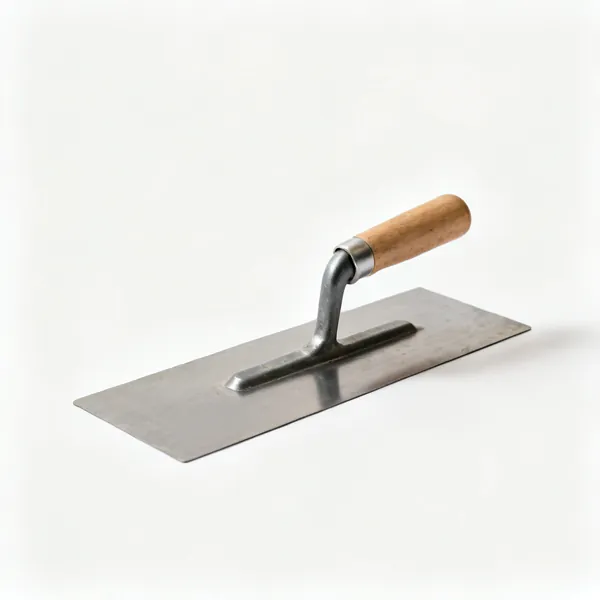
  • Flat trowel: A flat steel tiling trowelEssential

    Flat trowel

    Spreads and flattens adhesive before combing, and back butters a large tile. Used with the notched trowel, not instead of it.

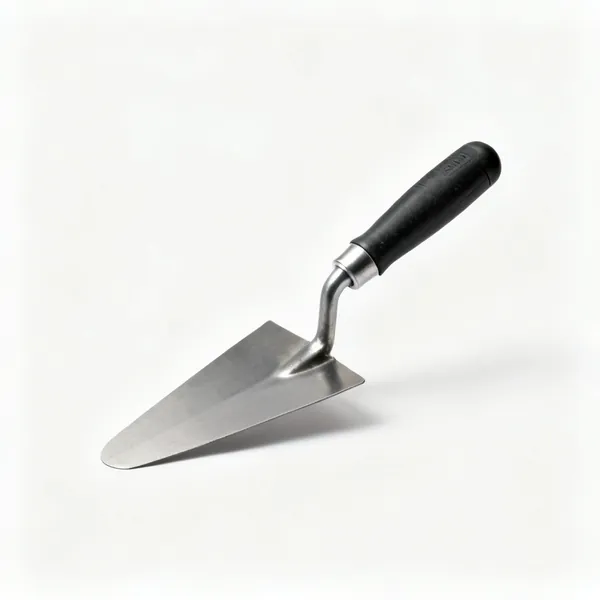
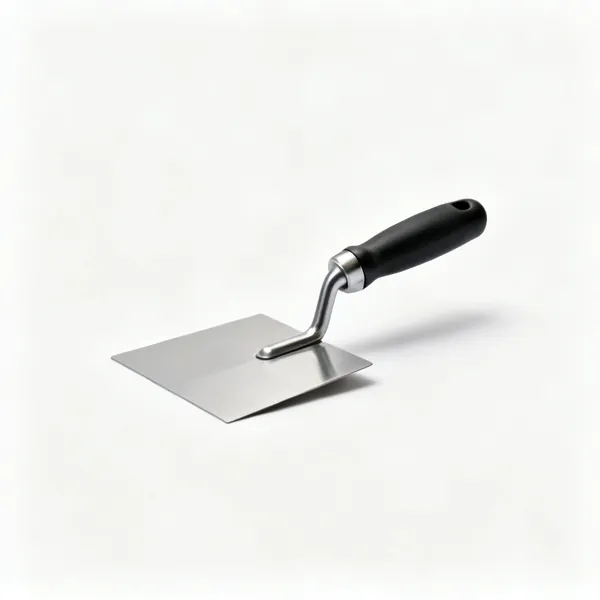
  • A narrow margin trowelEssential

    Margin trowel

    A narrow blade for scooping from the bucket, mixing small amounts and working into tight corners.

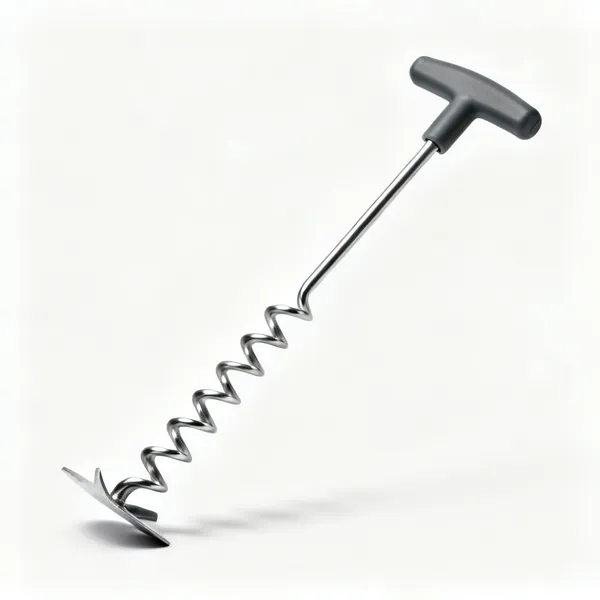
  • A spiral mixing paddle for tile adhesiveEssential

    Mixing paddle

    In a slow high torque drill, mixes adhesive lump free. Lumps in the bed become high spots you cannot press out.

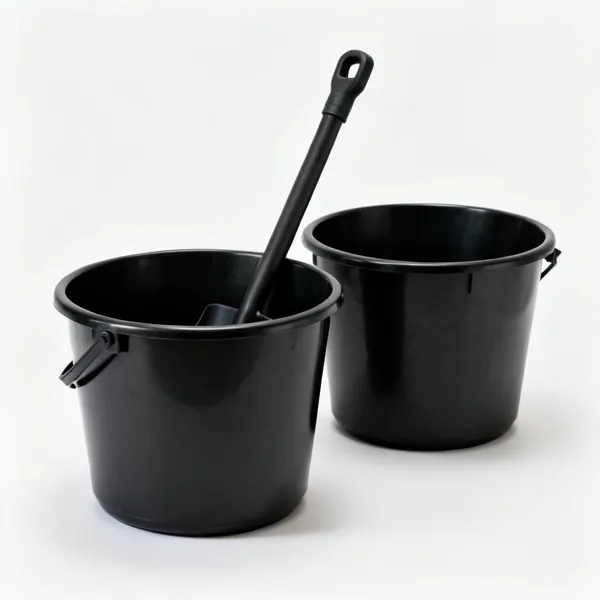
  • Two black plastic mixing bucketsEssential

    Mixing buckets

    Two of them: one for adhesive, one for clean water. Mixing in the water bucket ruins both jobs at once.

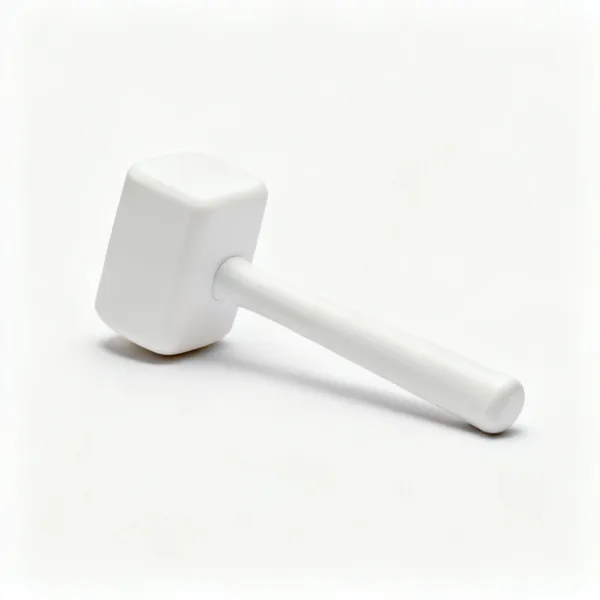
  • A white rubber malletEssential

    Rubber mallet

    Taps a tile down into the bed without cracking it. A hammer cracks tiles, and a fist does not have the reach.

  • Plastic tile spacers in various sizesEssential

    Tile spacers

    Set a consistent joint width. Cross shaped for grids, T shaped for brick bond, and taken out before the adhesive sets.

  • Tile levelling clips and wedges

    Levelling clips

    Clips and wedges holding adjacent tiles flush while the bed cures, then snapped off. The answer to lippage on large format.

  • Suction lifter: A double suction cup tile lifter

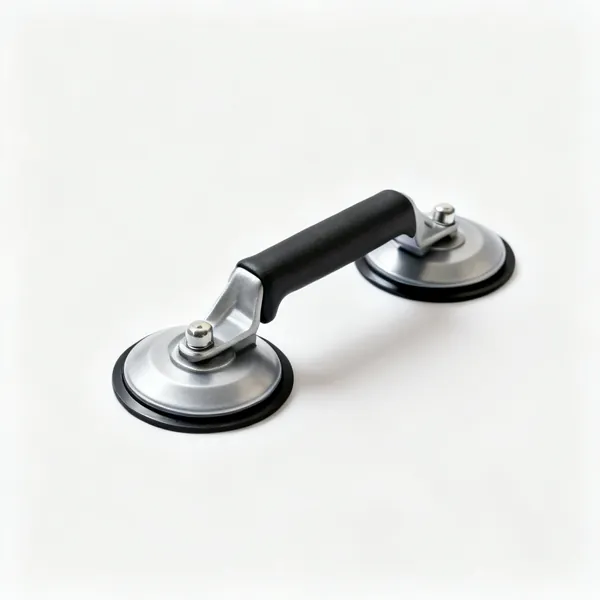
    Suction lifter

    Two cups that let you carry and place a large tile accurately. Above about 600 millimetres, hands are not enough.

  • Wall tile wedges: Plastic wall tile support wedges

    Wall tile wedges

    Hold a wall tile from slipping while the adhesive grabs. Gravity is what defeats wall tiling in the first ten minutes.

  • A timber support batten with screwsEssential

    Support batten

    A level timber screwed to the wall that the first course sits on, so it cannot slide. Removed once the bed is set.

  • Notched spreader: A plastic notched adhesive spreader

    Notched spreader

    A plastic comb for spreading tub adhesive on small wall areas, where a steel trowel is more tool than the job needs.

Setting out & levelling 9

Where the job is won. Every visible fault in a finished tiling job traces back to this group.

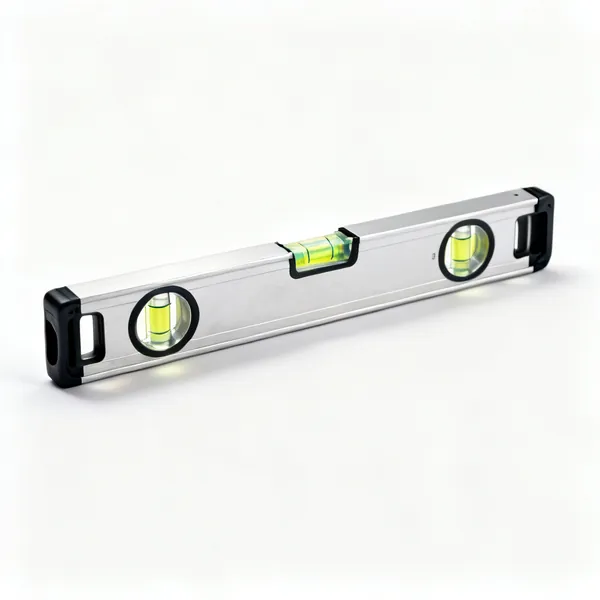
  • An aluminium spirit level with vialsEssential

    Spirit level

    Checks courses and plumb as you go. Long enough to span several tiles, since a short level cannot see a slow drift.

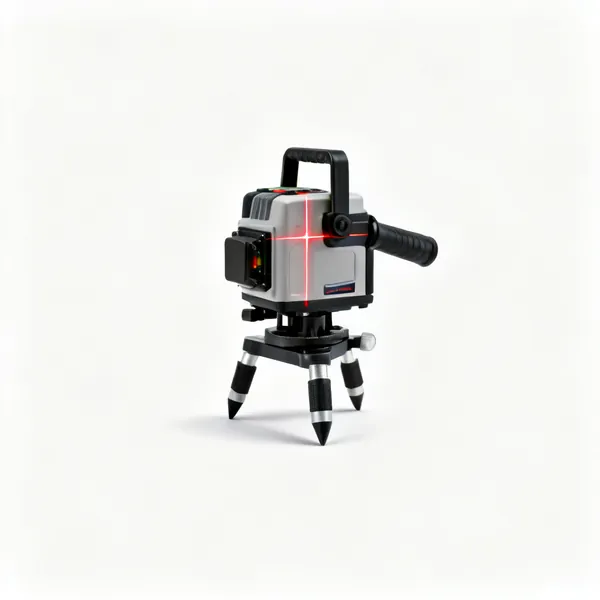
  • A cross line laser level on a stand

    Laser level

    Projects a level line right across a room to work to. Both hands stay free, which a spirit level never allows.

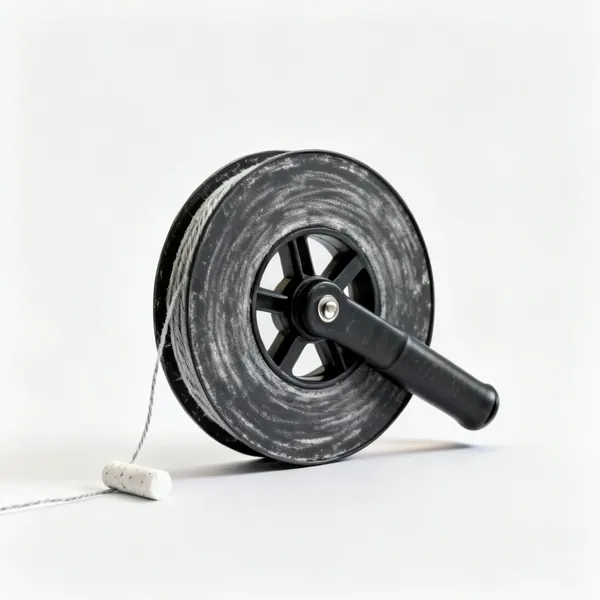
  • A chalk line reel with chalkEssential

    Chalk line

    Snaps the centre lines a floor is set out from. Two lines at right angles is the whole basis of a floor layout.

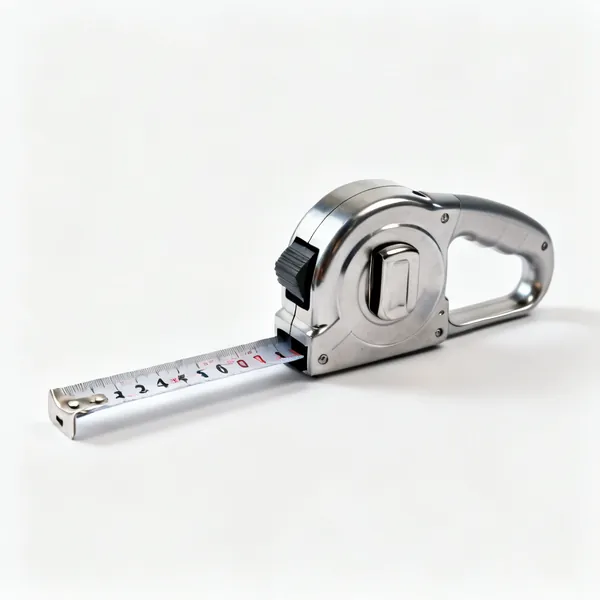
  • A steel tape measureEssential

    Tape measure

    Measuring, and dividing a room to find the centre. Half of setting out is arithmetic done with this.

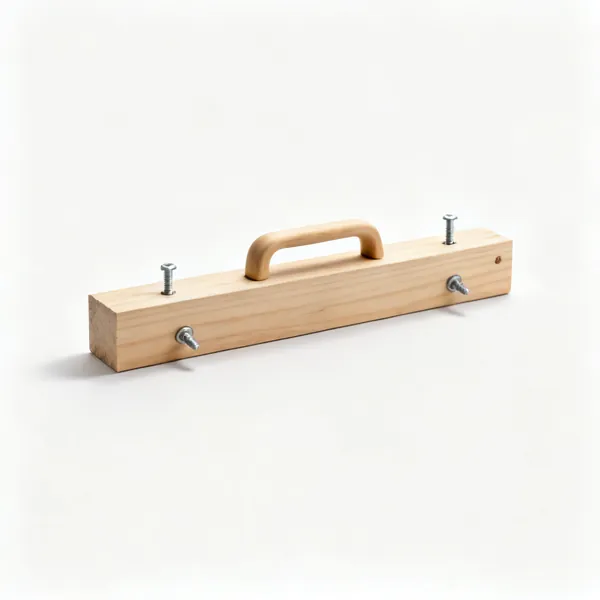
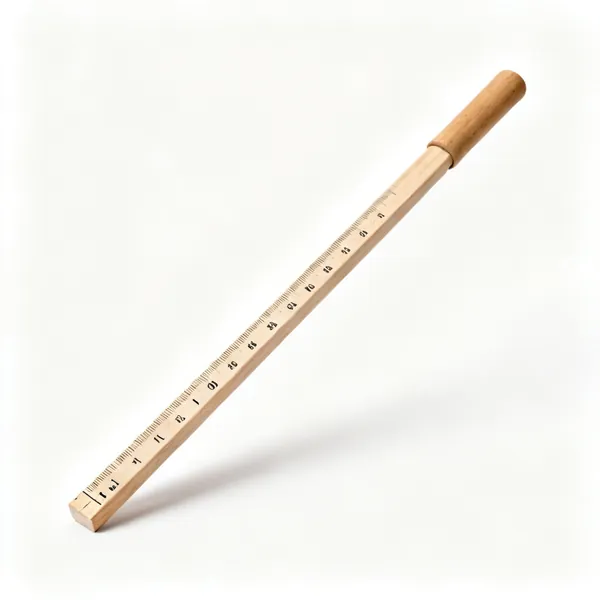
  • A marked timber tiling gauge rod

    Tiling gauge rod

    A batten marked with tile plus joint widths, held against the wall to see exactly where cuts will fall.

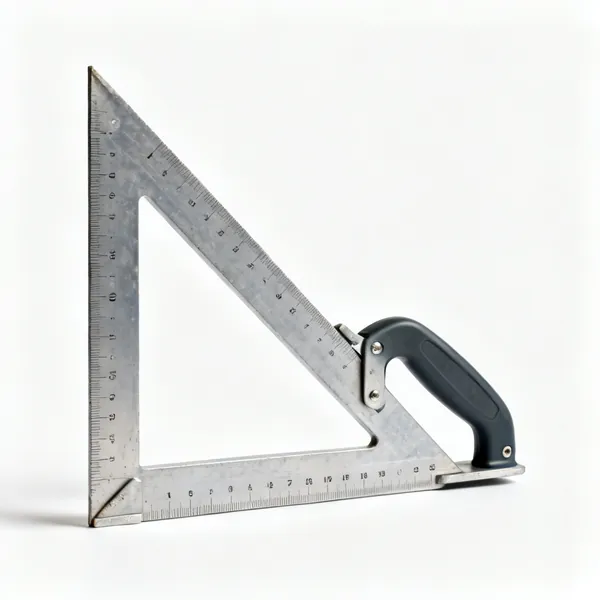
  • A large steel builder's squareEssential

    Builder's square

    Sets the two centre lines truly at right angles. Rooms are not square, so working off a wall sends grout lines wandering.

  • A plastic contour profile gauge

    Profile gauge

    Copies an awkward shape like a pipe or architrave and transfers it to the tile. Beats guessing and cutting twice.

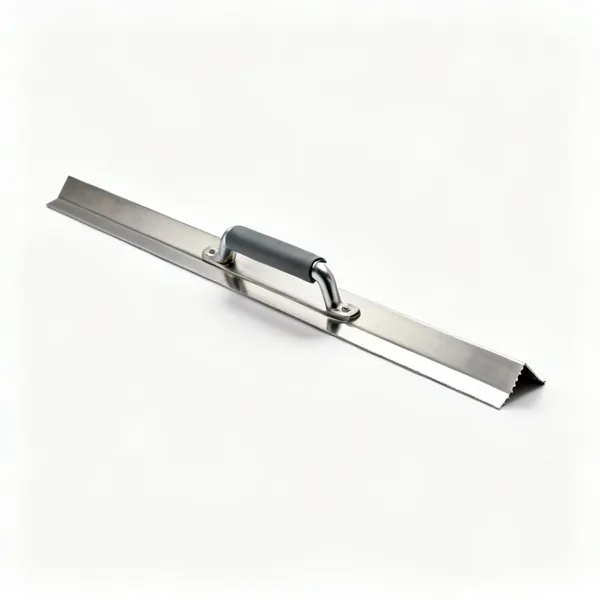
  • A long aluminium straight edgeEssential

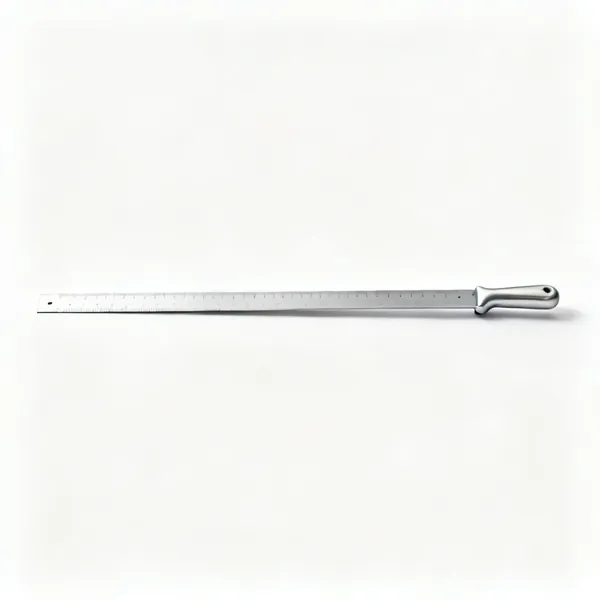
    Straight edge

    Checks a substrate for flatness before anything is fixed. Hollows and humps must be found before, not during.

  • Tile marking gauge: A tile marking and measuring gauge

    Tile marking gauge

    Transfers a cut width onto a tile quickly and repeatably, which matters on a whole row of edge cuts.

Surface preparation 11

What is behind the tile decides whether it stays there. Almost every failed tiling job failed here.

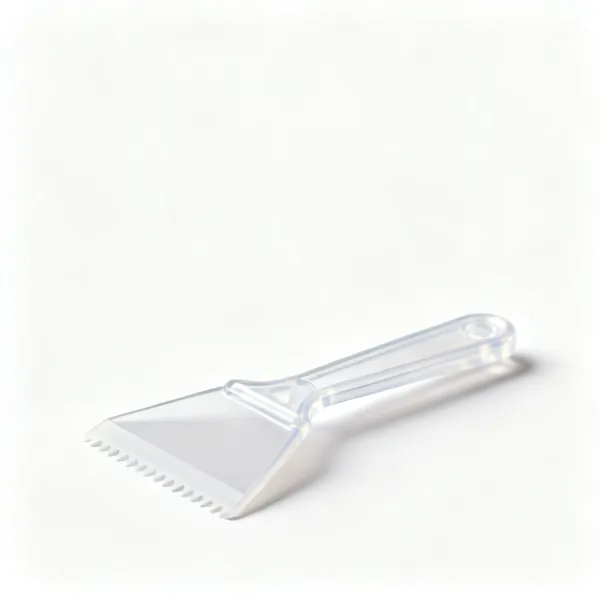
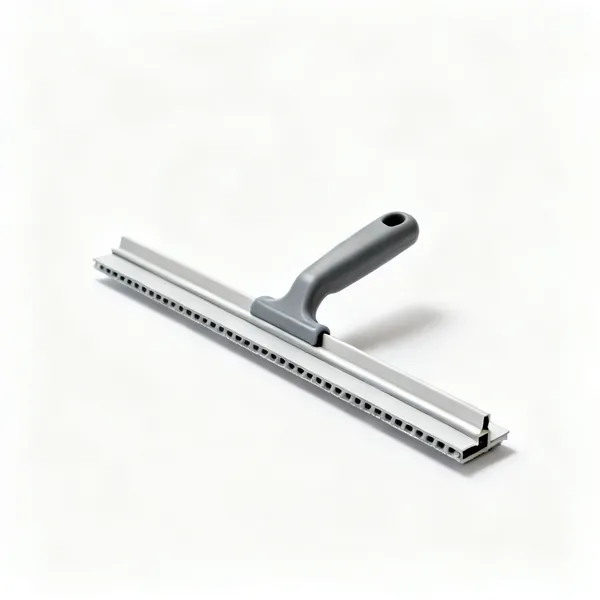
  • A long handled floor scraperEssential

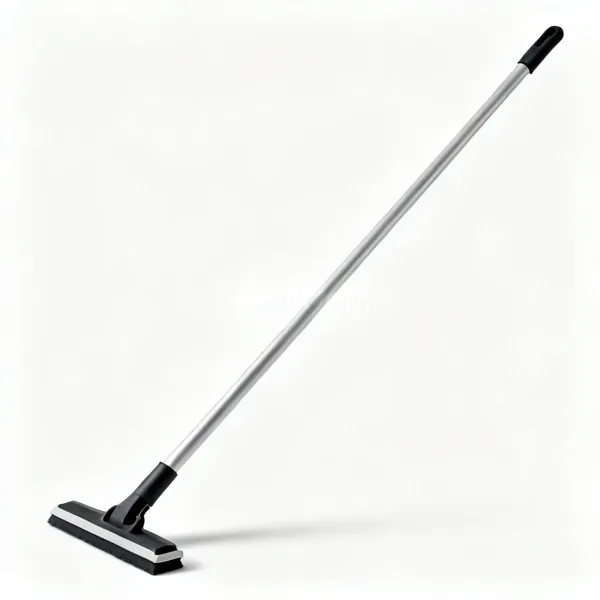
    Floor scraper

    Removes old adhesive, paint and vinyl residue back to a sound surface. New adhesive bonds to the substrate, not to old glue.

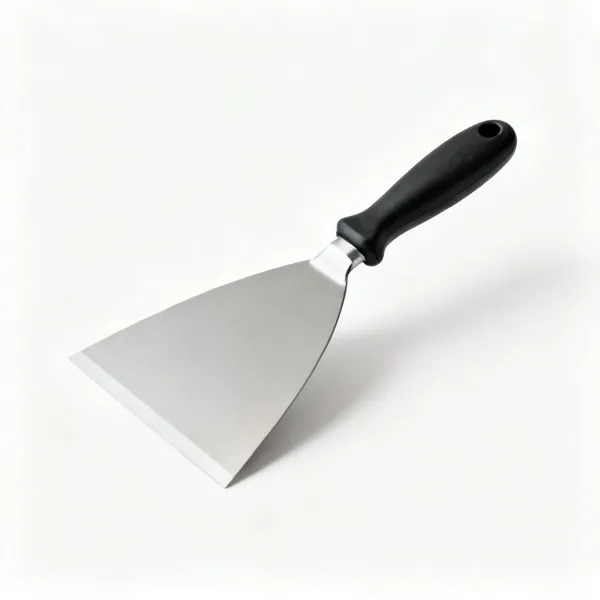
  • A wide bladed wall scraperEssential

    Wall scraper

    Takes off flaking paint, wallpaper and old adhesive nibs. A single nib holds a tile off the wall and shows.

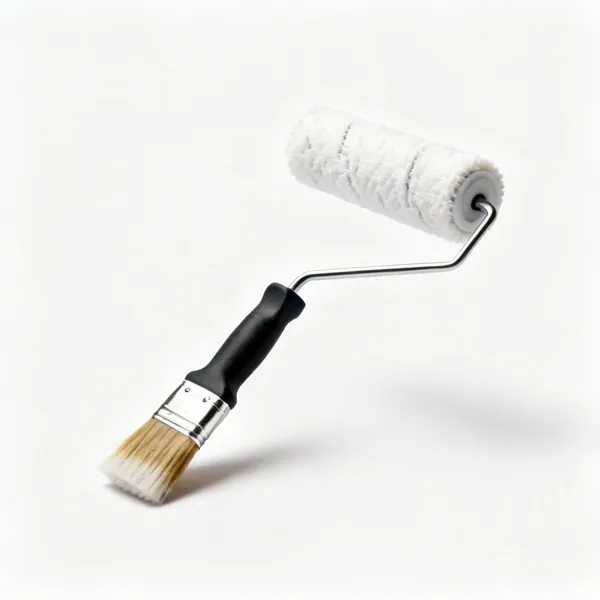
  • Primer brush & roller: A paint roller and brush with primerEssential

    Primer brush & roller

    Applies primer to absorbent surfaces so they stop sucking water out of the adhesive before it can cure.

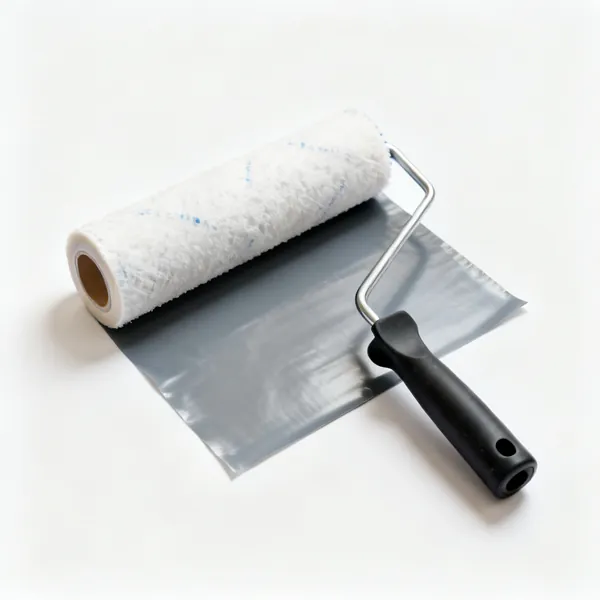
  • Tanking kit: A tanking waterproofing kit with membrane and tapeEssential

    Tanking kit

    A waterproof membrane and tapes behind tiles in a shower. Tiles and grout are not waterproof, and never were.

  • A sheet of tile backer board

    Backer board

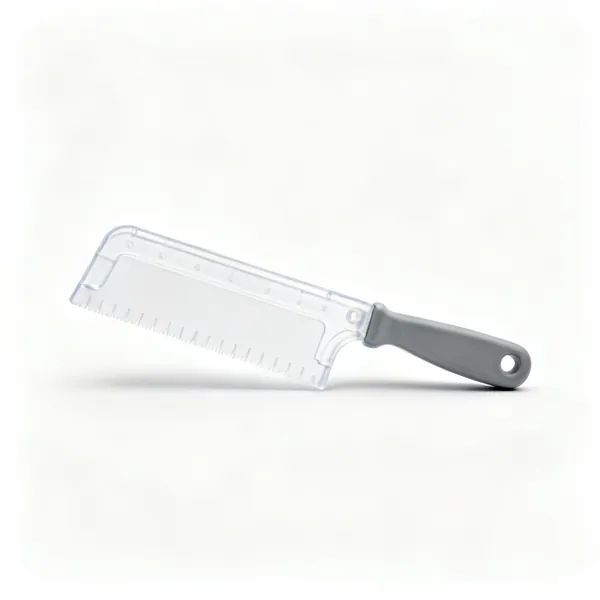
    Cement or foam board giving a stable waterproof base where plasterboard would fail. Cut with a knife or a fine saw.

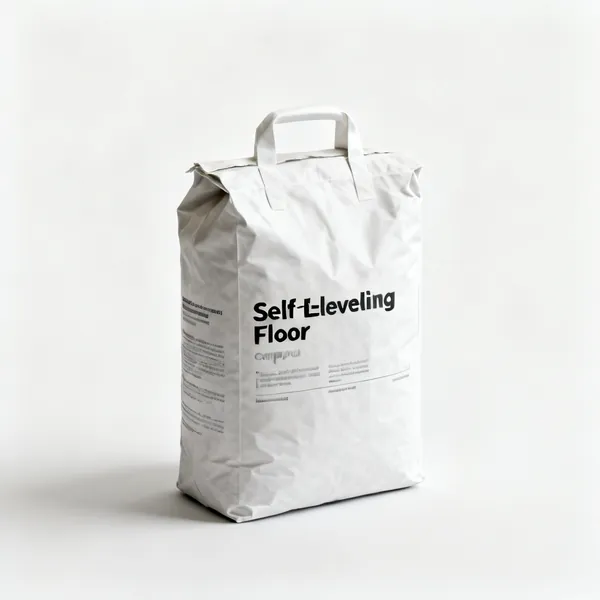
  • Self levelling compound: A bag of self levelling floor compound

    Self levelling compound

    Pours out to a flat floor where the existing one dips. Large tiles need a flatter floor than most people have.

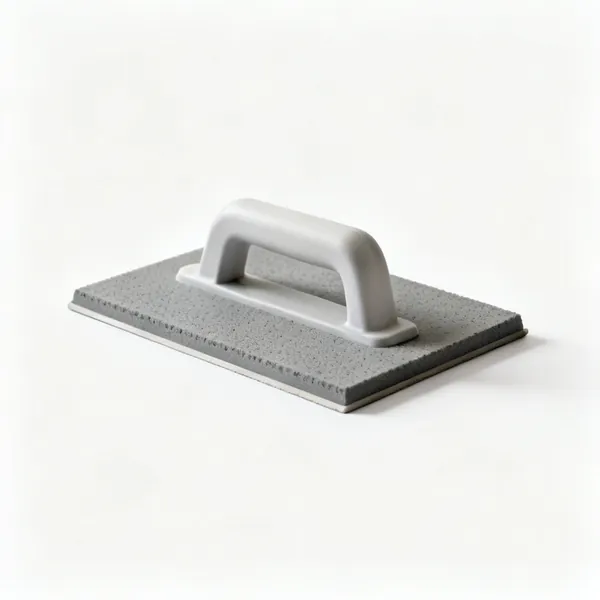
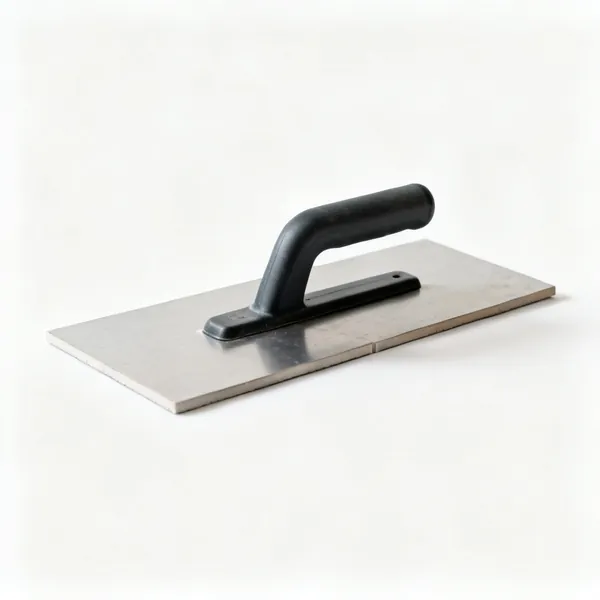
  • A wide smoothing trowel for floor compound

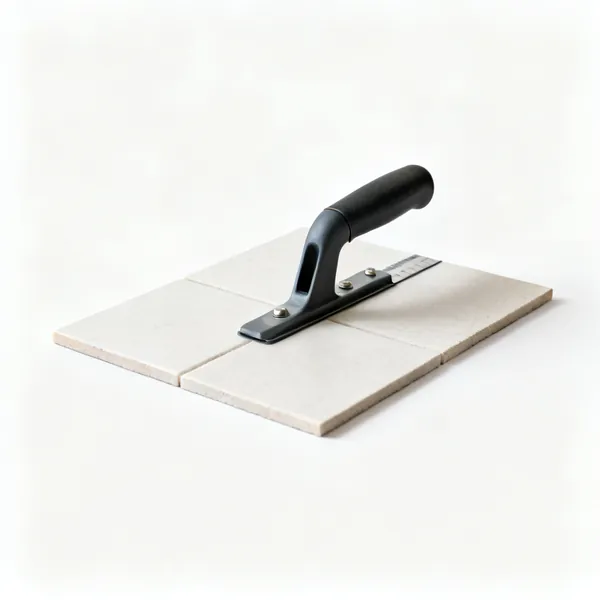
    Smoothing trowel

    Spreads levelling compound before it goes off, working fast and lightly. Overworking it leaves trowel marks that set.

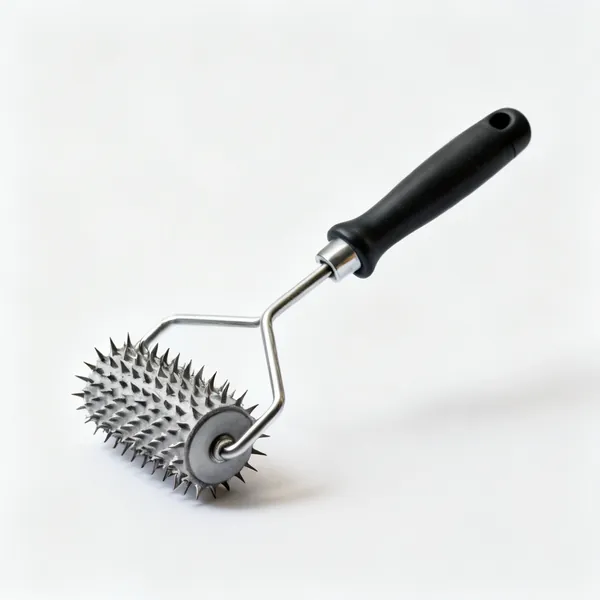
  • A spiked roller for levelling compound

    Spiked roller

    Releases air bubbles from poured levelling compound. Trapped air is a hollow that cracks under a tile.

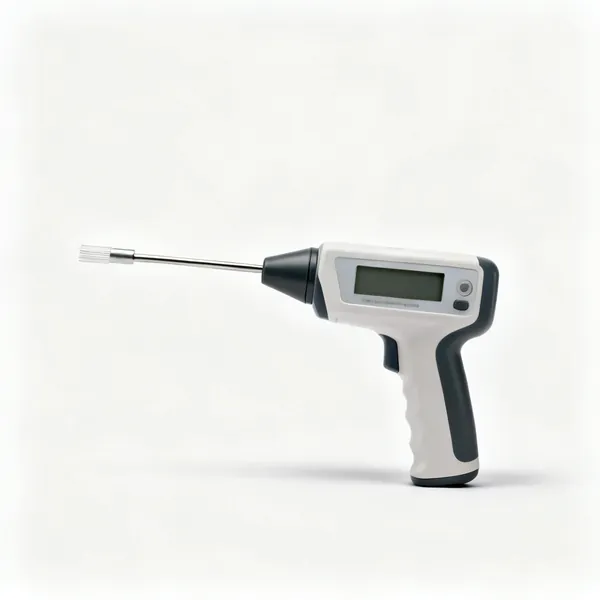
  • A handheld moisture meter

    Moisture meter

    Checks a screed is dry enough to tile. Tiling over a damp screed traps the moisture and it comes out through the grout.

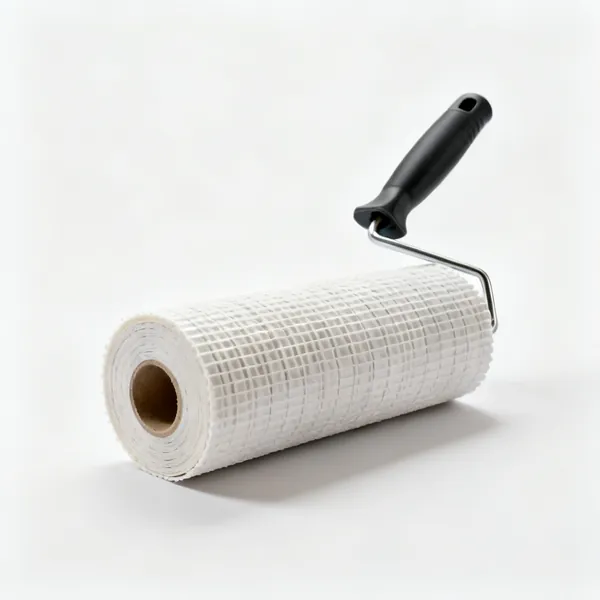
  • Decoupling matting: A roll of tile decoupling uncoupling matting

    Decoupling matting

    A layer that lets a substrate move without cracking the tiles above. The answer to a floor that flexes slightly.

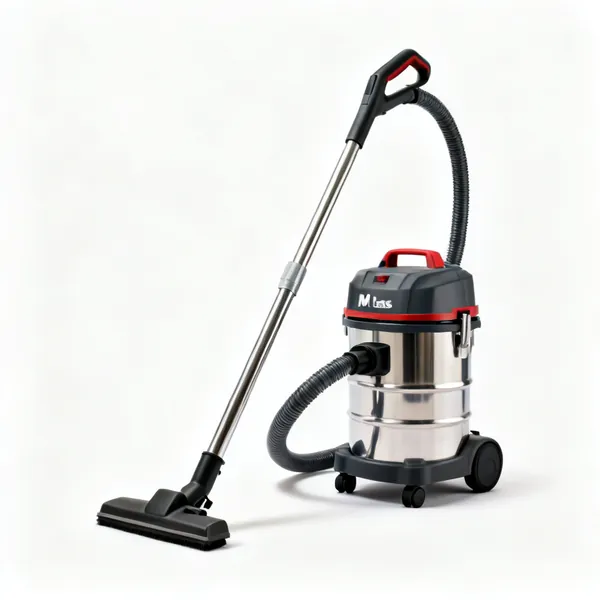
  • An M class dust extractor vacuum

    Dust extractor

    M class extraction for grinding and cutting, since tile and adhesive dust is silica. A household vacuum blows it back out.

Grouting & sealing 12

The last ten percent that everybody looks at. Done in a hurry, it undoes good tiling.

  • A rubber faced grout floatEssential

    Grout float

    A rubber faced float that packs grout into joints and scrapes the excess off diagonally. The rubber is the tool and it wears.

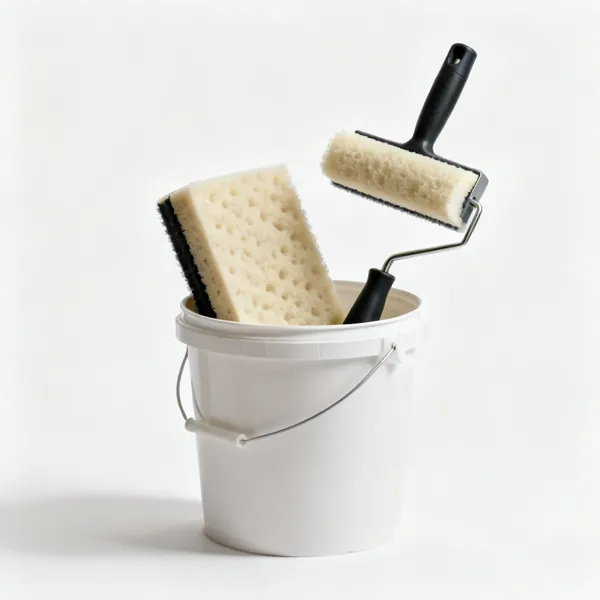
  • Grout sponges: Two large grouting sponges in a bucketEssential

    Grout sponges

    Large dense sponges for washing off in stages. Two of them, and change the water often or you just move haze around.

  • Grout finishing tool: A grout joint finishing toolEssential

    Grout finishing tool

    Compacts and shapes the joint to an even profile. Compressing it is what makes the grout dense and water resistant.

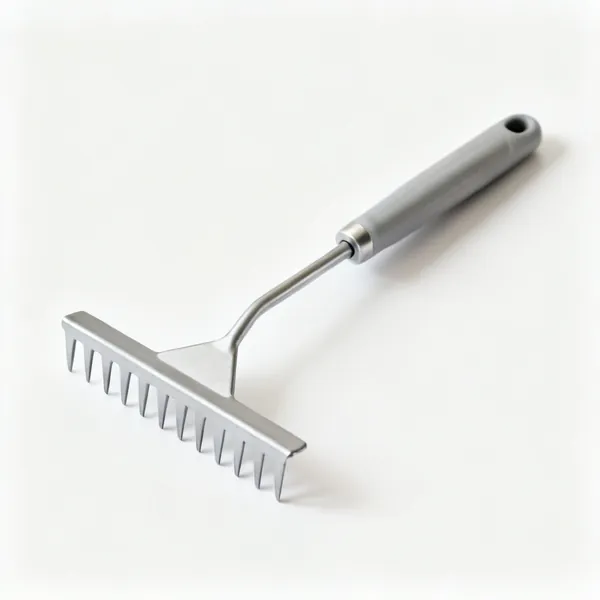
  • Grout rake: A grout removal rake tool

    Grout rake

    Scrapes failed grout out of a joint for regrouting, without chipping the tile edges either side.

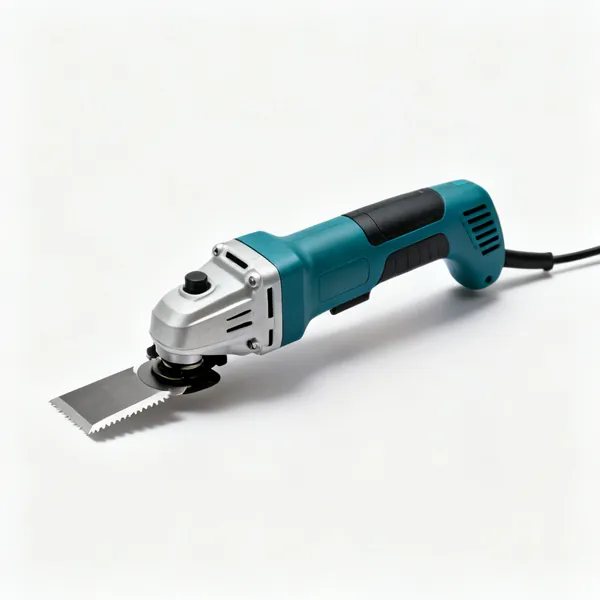
  • Oscillating grout blade: An oscillating multi tool with a grout removal blade

    Oscillating grout blade

    A carbide blade in a multi tool that cuts old grout out fast. Faster than a rake and easier to slip and mark a tile.

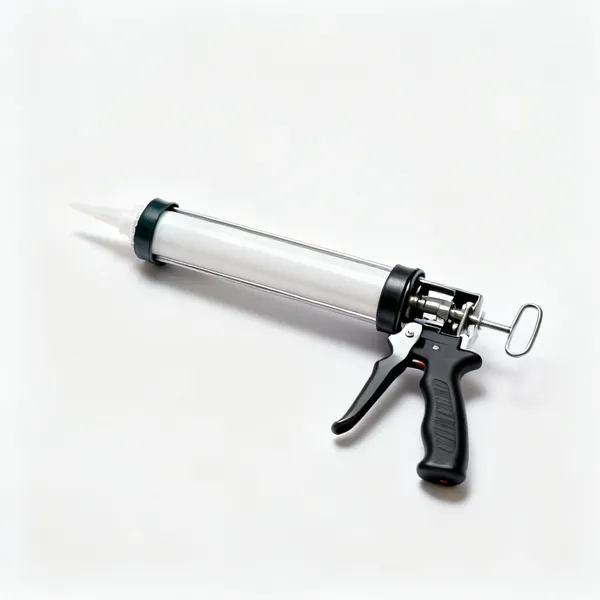
  • A cartridge sealant gun with siliconeEssential

    Sealant gun

    Applies silicone to internal corners and tile to bath junctions, where grout would crack because those joints move.

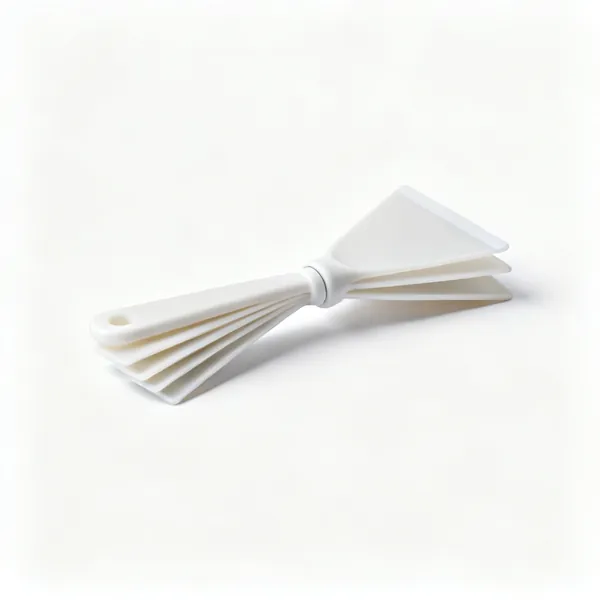
  • Silicone profiling tool: A set of silicone profiling and smoothing toolsEssential

    Silicone profiling tool

    Shapes a silicone bead to a clean concave line. A finger gives a wavy bead and silicone all over the tile.

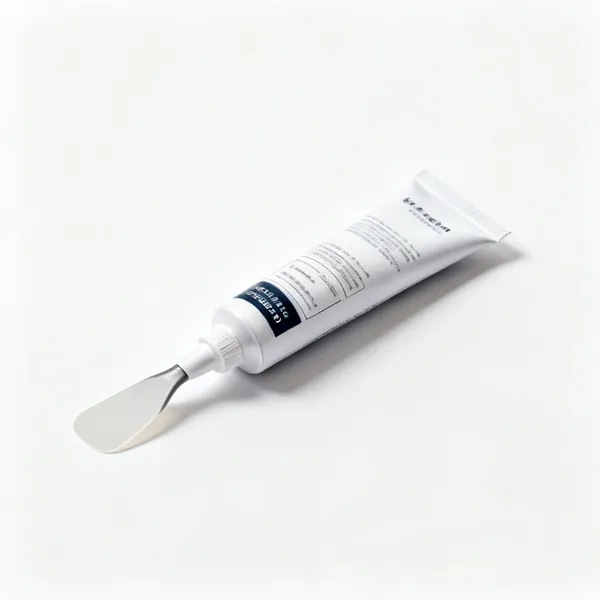
  • A tube of silicone remover gel with a scraper

    Silicone remover

    Softens old silicone so it peels rather than smears. Fresh silicone will not stick over the residue of the old.

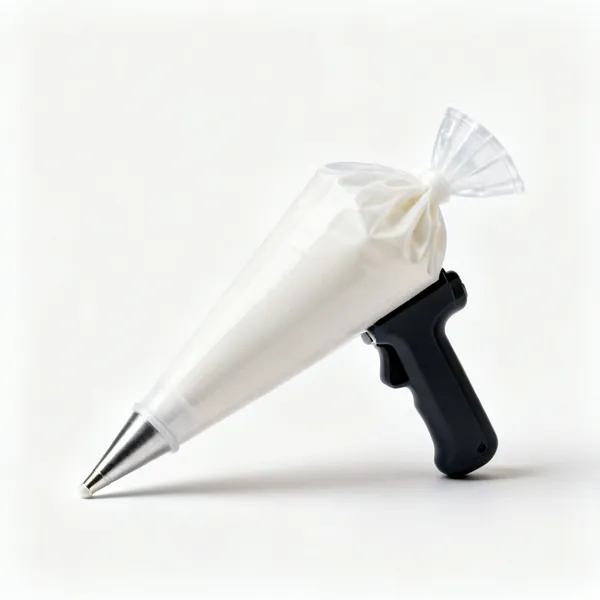
  • Grout bag: A grout piping bag with a nozzle

    Grout bag

    Pipes grout into wide joints on rustic or handmade tile, where a float would smear the porous surface badly.

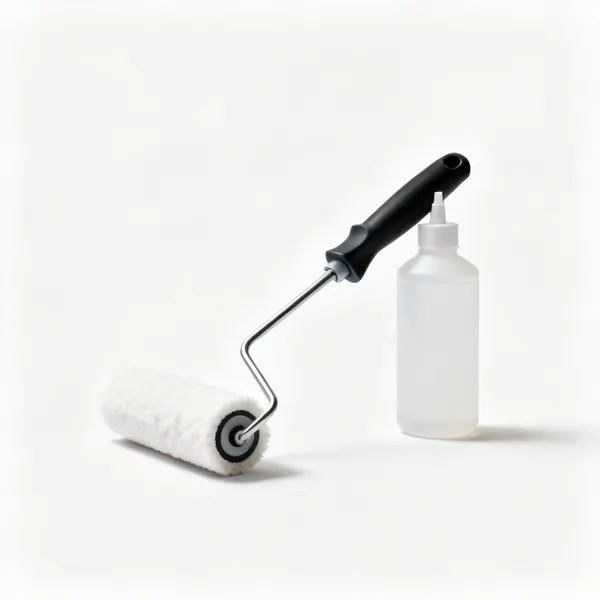
  • A sealer applicator bottle with a pad

    Sealer applicator

    Applies impregnating sealer to natural stone and grout evenly, without the streaks a brush leaves.

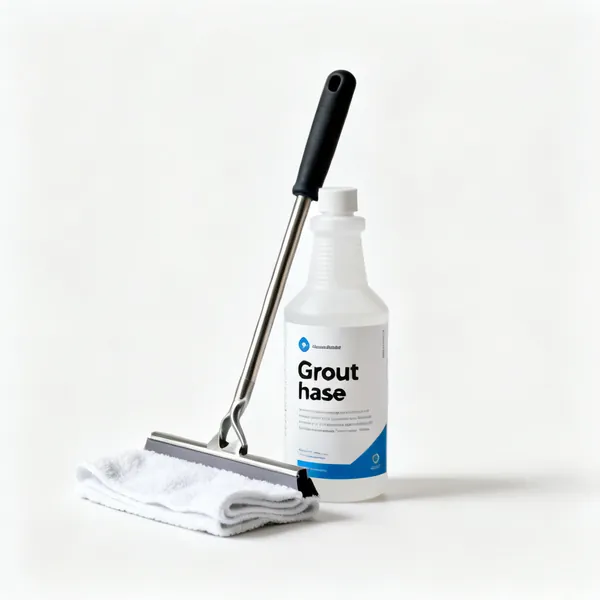
  • A bottle of grout haze remover with a cloth

    Grout haze remover

    A mild acid that lifts the cement film left after grouting. Test on one tile first, because it etches some stone.

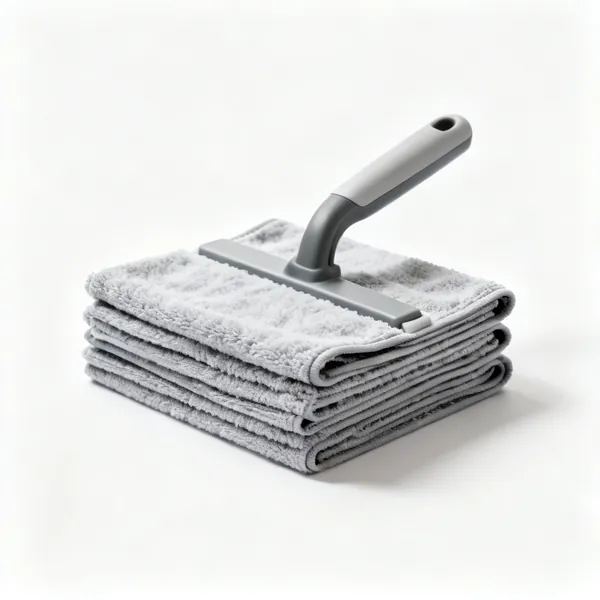
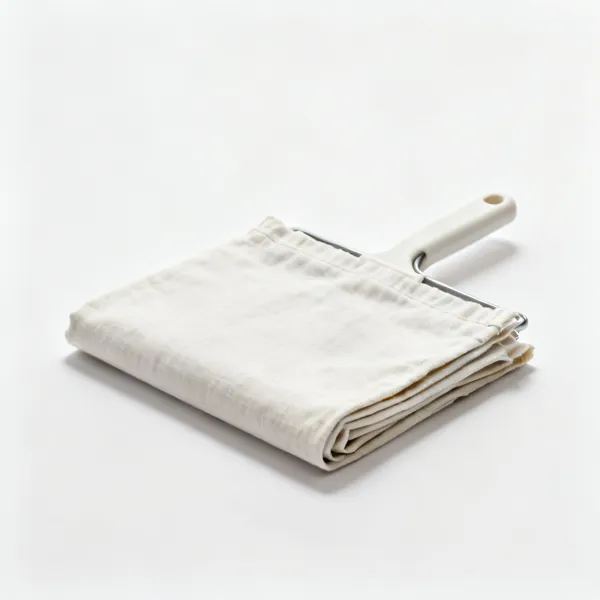
  • A stack of folded microfibre clothsEssential

    Microfibre cloths

    The final polish that takes the last haze off. Dry, clean, and several, since a grout filled cloth just redistributes it.

Trims & finishing 8

Edges, corners and transitions. An unfinished edge is the detail that makes a good tiling job look unfinished.

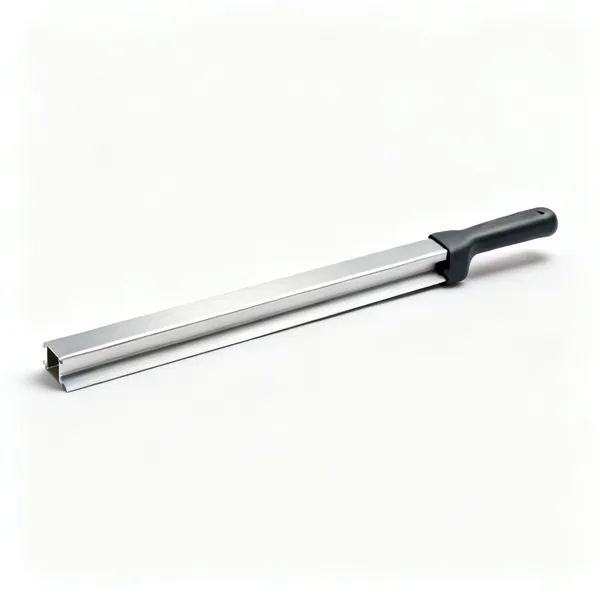
  • Tile trim: Metal tile edge trim profilesEssential

    Tile trim

    A metal or plastic profile finishing an exposed edge. The alternative is a raw glazed edge that chips and looks unfinished.

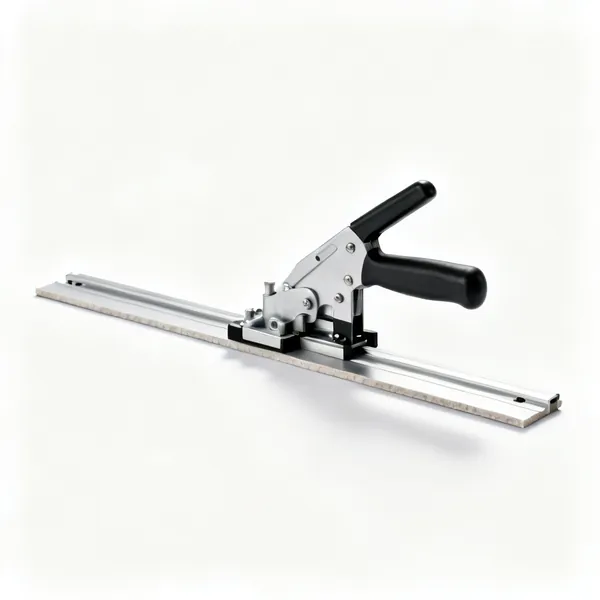
  • Trim cutter: A mitre cutter for tile trim

    Trim cutter

    Cuts trim square and mitres a corner. A hacksawn trim leaves a burr that shows and catches.

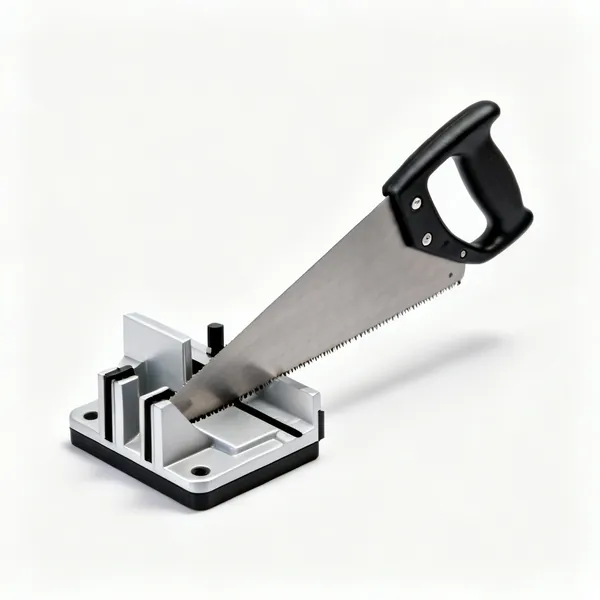
  • A mitre box with a saw

    Mitre box

    Holds trim at forty five degrees for a clean external corner mitre. Freehand mitres never quite meet.

  • Threshold strips: An aluminium threshold transition strip

    Threshold strips

    Covers the height difference where tile meets another floor at a doorway. A trip hazard otherwise, and it looks unresolved.

  • Corner profiles: A tile corner protection profile

    Corner profiles

    Protects and finishes an external corner where two tiled walls meet. Mitred tiles look better and chip forever.

  • Movement joint strip: A tile movement expansion joint strip

    Movement joint strip

    A flexible profile in a large tiled floor so thermal movement has somewhere to go instead of cracking the tiles.

  • Pipe collars: Chrome pipe collar covers

    Pipe collars

    Neatens a cut hole where a pipe comes through. Two halves that clip over, hiding a cut that is never perfect.

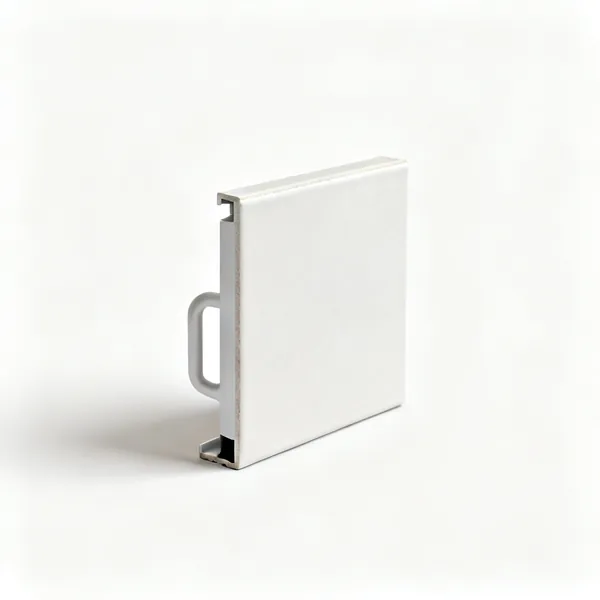
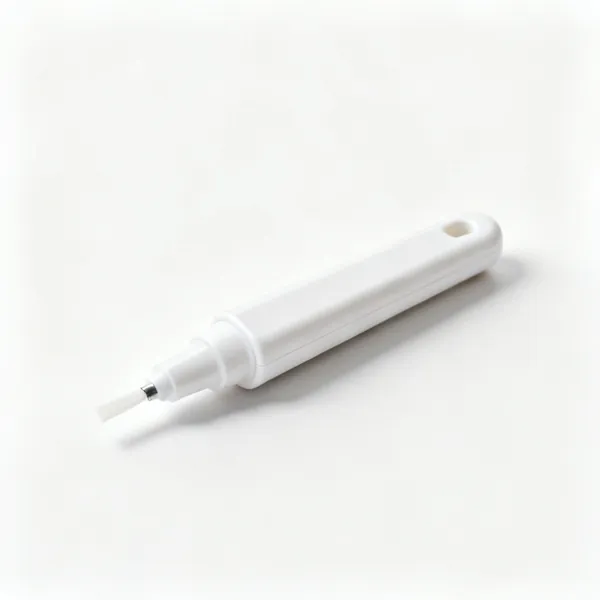
  • Grout pen: A white grout renewal pen

    Grout pen

    Recolours tired grout without regrouting. A cosmetic repair, and it buys years on a bathroom that is otherwise sound.

Safety & site protection 8

Cement burns, silica dust and long hours on the knees. All cheap to prevent and all genuinely worth preventing.

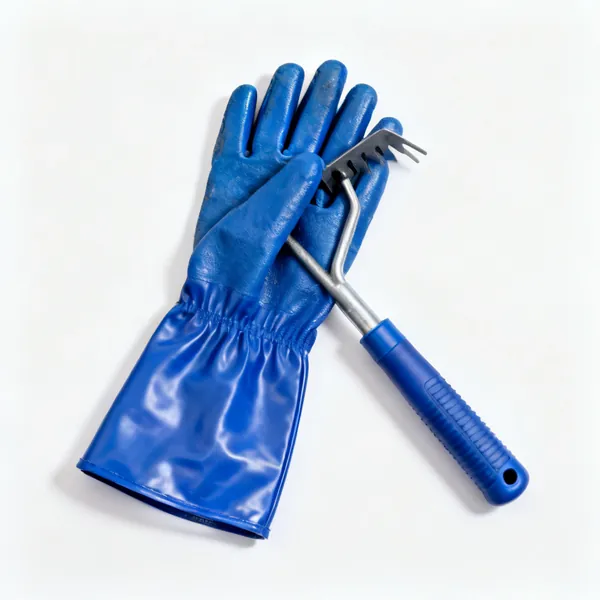
  • Waterproof gloves: A pair of blue waterproof work glovesEssential

    Waterproof gloves

    Cement adhesive and grout are caustic and cause chemical burns over a day's contact. It is not just dirt on the hands.

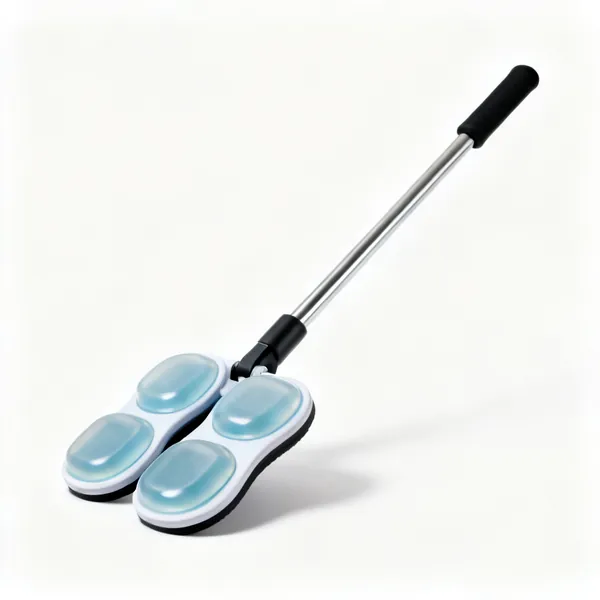
  • A pair of gel knee padsEssential

    Knee pads

    Floor tiling is done entirely on the knees, on a hard gritty surface. This is the tool tilers regret not buying.

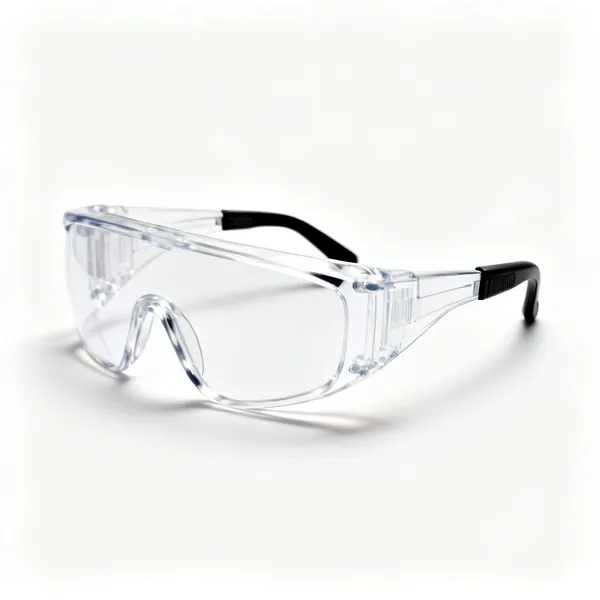
  • A pair of clear safety glassesEssential

    Safety glasses

    Tile chips when nipped and shatters when cut dry, and the fragments are glass sharp. Wraparound.

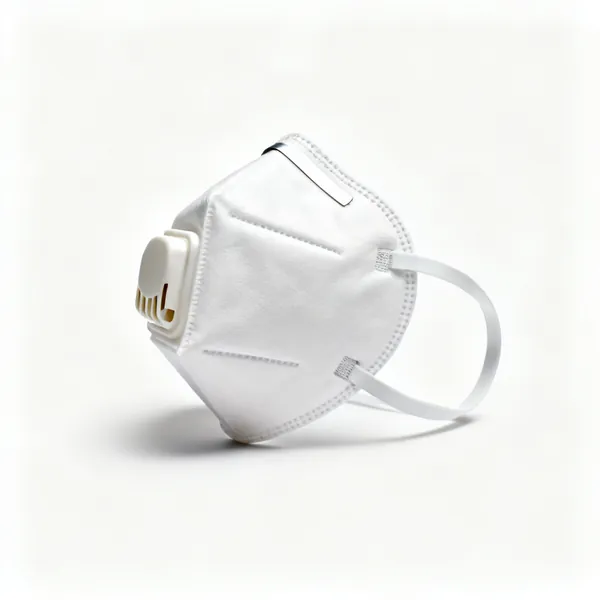
  • FFP3 dust mask: An FFP3 respirator dust maskEssential

    FFP3 dust mask

    Cutting tile and mixing powdered adhesive both release silica. Fit is the whole product, so a leak protects nothing.

  • A pair of ear defenders

    Ear defenders

    Angle grinders and wet saws in a small tiled room are extremely loud, because every surface reflects the noise back.

  • Dust sheets: A folded canvas dust sheetEssential

    Dust sheets

    Adhesive and grout splashes set hard on everything. Cleaning up afterwards always costs more than covering up first.

  • A flat kneeling board for tiling

    Kneeling board

    Spreads your weight across freshly laid tiles so you can reach past them without pushing one out of level.

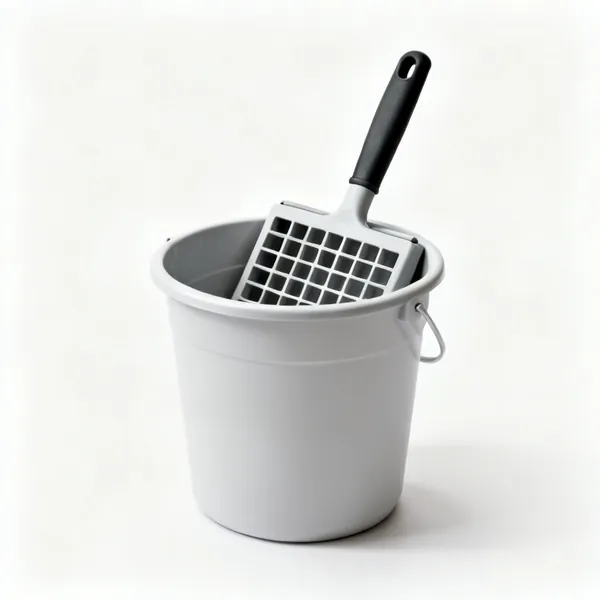
  • Slurry bucket: A bucket with a grid insert for washing toolsEssential

    Slurry bucket

    Adhesive washings set solid in a drain and block it. Let it settle, pour off the water, bin the sludge.

Choosing tiling tools

The tile decides the cutter, the substrate decides the adhesive, and the setting out decides whether it looks professional. In that order.

The tile decides the cutter

There are three ways to cut a tile and they are not interchangeable. Picking the wrong one wastes tiles, and tiles are the expensive part.

A manual score and snap cutter is fast, dust free and quiet, and it only makes straight cuts in ceramic and softer porcelain. A wet saw with a diamond blade cuts anything, including hard porcelain and natural stone, and handles L shapes and notches. Nippers and a hole saw handle curves and pipe holes.

The material that catches people out is hard glazed porcelain. A manual cutter will score it and it will snap anywhere but the line.

Manual cutter for ceramic straight cuts
Quick, clean and no water. It is the right tool for a ceramic wall and useless on anything hard or curved.
Wet saw for porcelain and stone
A diamond blade with water cools the cut and holds the dust down. Hard porcelain gives most people no other option.
Nippers for curves and small bites
Take tiny bites rather than big ones. A large bite cracks the tile across the middle every time.
Diamond hole saw for pipes
Wet, slow, and at a slight angle to start. A masonry bit shatters a glazed tile at the moment it breaks through.
Score once, firmly
A single confident score snaps clean. Going over the line twice gives two lines and it breaks along neither.
Cut face up, and mark on the glaze
Chipping happens on the exit side, so keep that hidden. Mark with a chinagraph or tape, because pencil will not show.

Setting out, which decides how it looks

The difference between an amateur and a professional tiling job is almost never the tiles or the adhesive. It is where the first tile went.

Start from the middle and work out, so the cut tiles at the edges are equal on both sides and no wall gets a sliver. Then check what the eye sees first: on a wall it is the top course and the corners, on a floor it is the doorway. Arrange the setting out so full tiles land there and the cuts hide where nobody looks.

And never assume the room is square, because it is not.

Dry lay a run before mixing anything
Lay a row loose with spacers to see where the cuts fall. Five minutes here saves the whole job.
Never leave a sliver at an edge
Anything less than about a third of a tile looks like a mistake. Shift the centre line by half a tile to balance it.
Work to a datum, not to the floor
Floors are not level. Snap a level line and hang the first course off that, then cut into the floor at the bottom.
Full tiles where the eye lands
Doorways, the top of a splashback, the outside corner. Put the cuts behind the door and under the bath.
Check the room for square first
Follow a wall and a rectangular room will still send your grout lines off. Set out from a squared centre line.
Plan the grout width before you start
It changes the whole layout arithmetic. Wide joints suit rustic and handmade tiles, narrow suits rectified porcelain.

Adhesive and substrate, where jobs actually fail

Tiles come off walls and crack on floors for two reasons: the surface underneath moved, or the adhesive never made proper contact.

Coverage is the one to watch. Ridges of adhesive with air between them means a tile supported at a few points, and on a floor that cracks the first time something heavy lands on it. The fix is to comb with the right notch size and then flatten the ridges as you bed the tile, or to back butter it as well.

The other half is the substrate. A floor that flexes will crack tiles or grout whatever adhesive you use, and plasterboard in a wet area needs tanking rather than optimism.

Aim for solid coverage, not ridges
Lift a tile early and look at the back. Air gaps under a floor tile are the crack you get in a year.
Back butter large format tiles
Anything above about 300 millimetres wants adhesive on the tile as well as the floor, or the middle stays hollow.
Match the notch to the tile size
Small notches for mosaic and small tiles, deep notches for large ones. It is the trowel that sets the bed thickness.
Prime absorbent surfaces
Bare plaster and screed suck water out of the adhesive so it never cures properly. Primer is not an optional extra step.
Fix the floor before you tile it
A springy floor cracks tiles or grout regardless of what you bed them in. Overboard or screed it first.
Tank wet areas
A shower needs a waterproof layer behind the tile. Grout and tiles are not waterproof and were never meant to be.
Mix only what you can use
Adhesive has a pot life. Once it starts to go off, adding water buys workability and loses the bond for good.

What to buy first, in order

Stage one: setting out and fixing
A notched trowel, a mixing paddle and bucket, a spirit level, a chalk line, a tape, spacers, a rubber mallet, a manual tile cutter and nippers.
Stage two: grouting and finishing
A grout float, two large sponges, a bucket, a grout finishing tool, a silicone gun and a profiling tool. Plus gloves, since cement adhesive burns skin.
Stage three: harder materials
A wet saw or an angle grinder with a diamond blade, diamond hole saws, and a levelling clip system if you are laying large format.
Stage four: speed and precision
A laser level, a tile levelling system, a suction lifter for big tiles, a mixing drill and a manual cutter with a longer bed.

Mistakes that stay visible

Starting in a corner
You end with a sliver at the far wall and a visible taper. Centre out, always.
Tiling straight onto bare plaster in a shower
Water gets through grout eventually. Without tanking, the board behind softens and the tiles come off in sheets.
Grouting too soon
The adhesive needs to cure. Grouting a wet bed traps moisture and the grout cures patchy and cracks.
Washing grout off too aggressively
Too much water washes the cement out of the joint, leaving it weak, pale and dusty. Damp sponge, light pressure, several passes.
Silicone in an internal corner replaced by grout
Internal corners and tile to bath junctions move. Grout there cracks within months, and silicone is the correct material.
Not sealing natural stone
Marble, limestone and slate are porous, and grout stains them permanently. Seal before grouting, not after.
Using the wrong trowel notch
Too shallow and coverage is poor, too deep and the tile floats and lippage appears. The trowel sets the bed.

Looking after tiling tools

Wash everything before the adhesive sets
Set adhesive on a notched trowel changes the notch depth, which changes your bed. A bucket of water at the end of the day.
Never wash adhesive down a drain
It sets in the trap and blocks it solidly. Let it settle in a bucket, pour off the water and bin the sludge.
Check the cutter wheel
A worn scoring wheel skips and gives a ragged score, so the tile breaks off line. They are replaceable and cheap.
Keep the cutter rails clean and oiled
Grit on the rails makes the carriage judder, and a juddering carriage cannot score a straight line.
Rinse a wet saw and change the water
Slurry left in the tray sets solid and wrecks the pump. Two minutes at the end of the day.
Keep grout float rubber flat
A rounded or torn edge cannot pack a joint properly. The rubber is the tool and it is a consumable.

Frequently asked questions

What tiling tools do I need to start?
A notched trowel, a bucket and mixing paddle, a spirit level, a chalk line, a tape measure, spacers, a rubber mallet, a manual tile cutter, nippers, a grout float and two large sponges. Add gloves, because cement adhesive is caustic on skin.
What is the difference between a manual tile cutter and a wet saw?
A manual cutter scores the glaze and snaps the tile, which is fast and dust free but only makes straight cuts in ceramic and softer porcelain. A wet saw uses a diamond blade and water to cut anything, including hard porcelain and stone, plus L shapes and notches.
Can I cut porcelain tiles with a manual cutter?
Softer porcelain sometimes, hard glazed porcelain usually not. It will score and then snap anywhere except the line. For hard porcelain a wet saw or an angle grinder with a diamond blade is the reliable answer.
Where should I start tiling from?
The centre, working outwards, so the cut tiles at each edge are equal. Then adjust so full tiles land where the eye goes first, meaning the doorway on a floor or the top course on a wall, and the cuts end up behind the door or under the bath.
Which notched trowel size should I use?
The notch sets the bed thickness, so match it to the tile: small notches around 6mm for small tiles and mosaic, 10mm for medium, and 12mm or more for large format. Too shallow gives poor coverage, too deep and the tile floats.
What does back buttering mean and when do I need it?
Spreading adhesive on the back of the tile as well as the substrate. You need it on anything above roughly 300 millimetres, and on any tile with a ribbed back, because otherwise the middle of the tile has no contact and stays hollow.
How long should I wait before grouting?
Follow the adhesive instructions, usually at least 24 hours and longer in cold or humid conditions. Grouting before the bed has cured traps moisture underneath, and the grout then cures patchy and cracks.
Why is my grout cracking in the corners?
Because internal corners move and grout cannot flex. Corners, and the junction where tiles meet a bath or worktop, should be silicone rather than grout. It is the wrong material in the right place.
Do I need to seal tiles before grouting?
Natural stone, yes, always. Marble, limestone, slate and travertine are porous and grout pigment stains them permanently, so seal first and again after. Glazed ceramic and porcelain need no sealing, though the grout itself can be sealed.
What is a tile levelling system?
Clips and wedges that hold neighbouring tiles at the same height while the adhesive cures, then snap off. They prevent lippage, meaning one tile edge standing proud of the next, which is the main complaint with large format tiles.
Can I tile directly onto plasterboard in a shower?
Not without waterproofing it first. Grout and tiles are not a waterproof layer, so water eventually reaches the board, which softens and lets the tiles off in sheets. Use a tanking kit or a cement backer board.
How do I cut a hole for a pipe?
A diamond hole saw, run wet and slow, started at a slight angle to get it biting before bringing it upright. A masonry bit or a percussion drill will shatter a glazed tile at the moment it breaks through.