Disclosure

Upholstery tools: names, pictures and what each one is used for

A complete upholstery tools list with a picture of every one, all 79 grouped by the stage, from stripping a chair back to its frame through webbing, springs, stuffing, covering and trimming. It is built in layers, and each has to be right before the next goes on.

32 are marked essential: enough to strip and recover a dining chair or a simple armchair.

Stripping & removal 11

Where every job starts. Taking a piece apart without damaging the frame, and learning how it was built as you go.

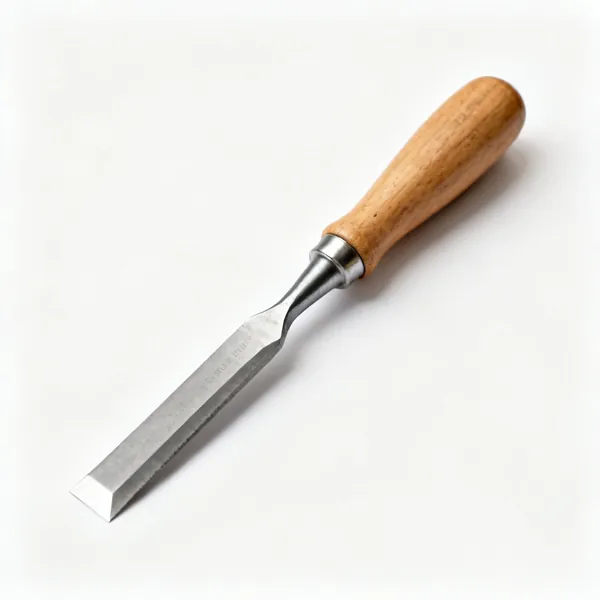
  • A steel upholstery ripping chisel with a wooden handleEssential

    Ripping chisel

    Slides under a tack head and lifts it when struck with a mallet. Kept sharp, or it levers on the frame and splits the rail.

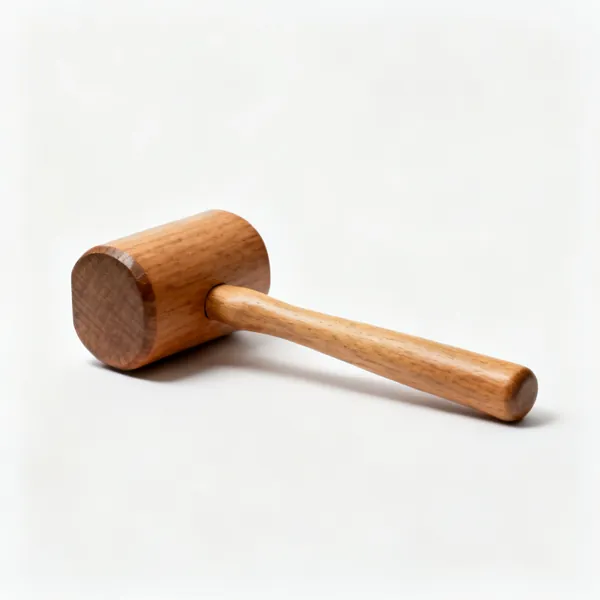
  • Wooden mallet: A wooden upholstery malletEssential

    Wooden mallet

    Drives the ripping chisel with a controlled blow. Wood rather than steel, so it does not damage the chisel handle.

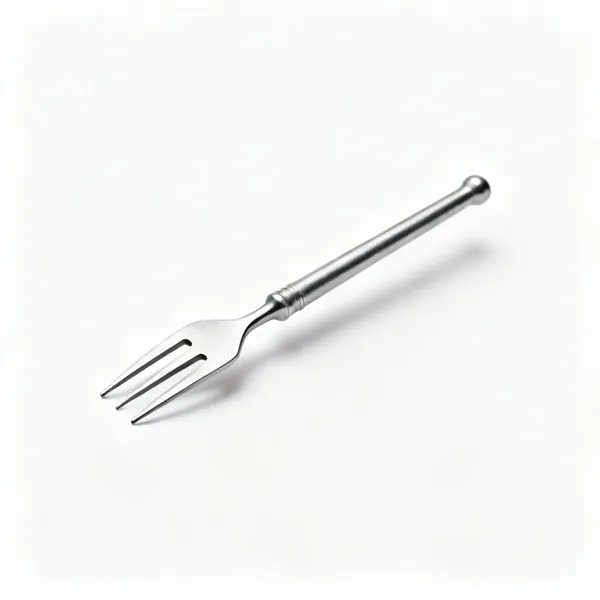
  • A forked tack lifter toolEssential

    Tack lifter

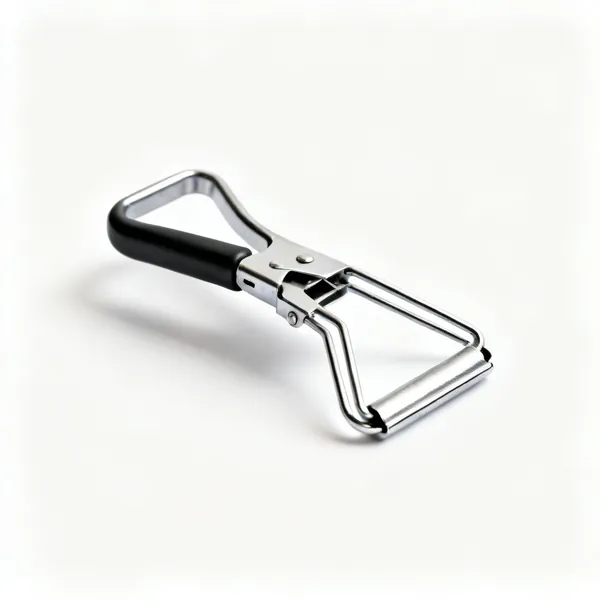
    A forked claw for individual tacks in awkward places, where the ripping chisel has no room to work.

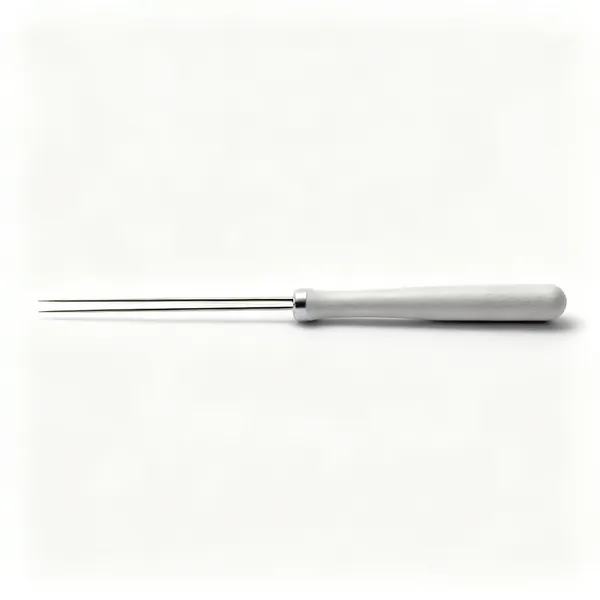
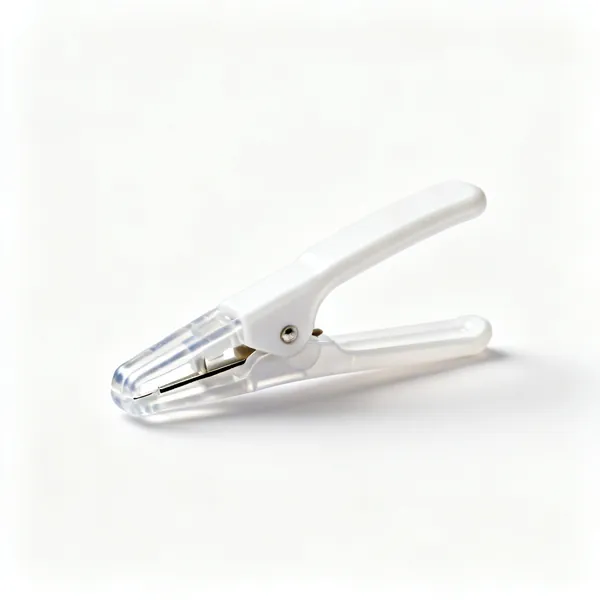
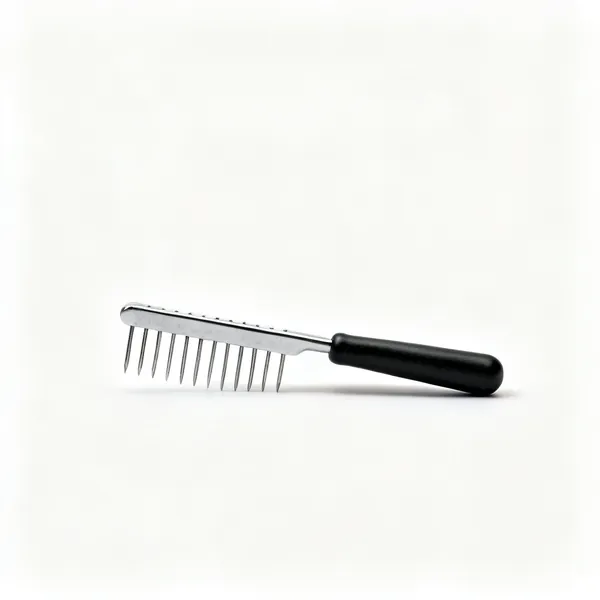
  • An upholstery staple remover toolEssential

    Staple remover

    A narrow pointed lifter that gets under a staple crown. Modern furniture is held together with hundreds of them.

  • A pair of steel upholstery pincersEssential

    Pincers

    Grips and pulls a tack, staple or nail that has lifted but not come out. The second half of every removal.

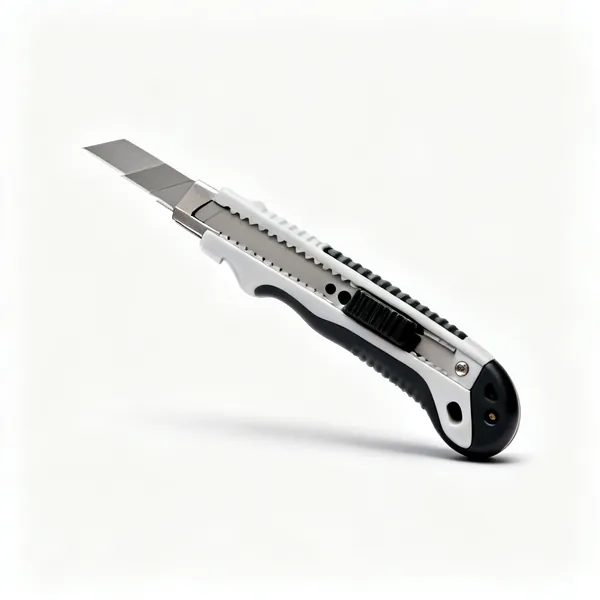
  • A retractable craft knife with bladesEssential

    Craft knife

    Cutting through old cover, twine and hessian. Blades blunt fast on dusty fabric, so change them often.

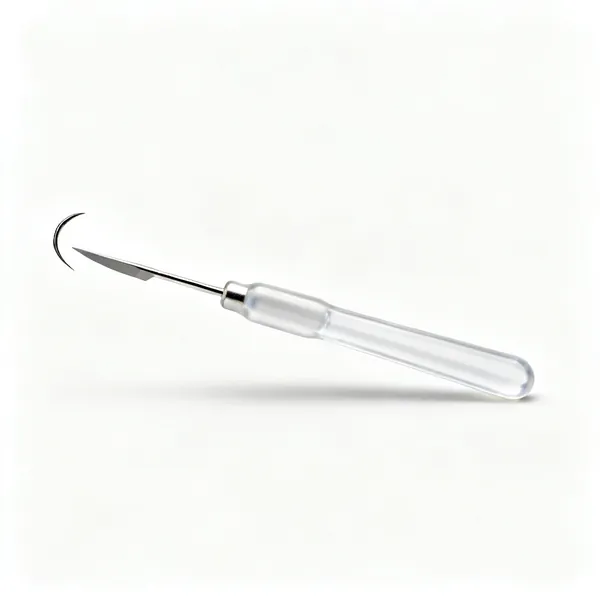
  • A seam ripper with a hooked bladeEssential

    Seam ripper

    Unpicks the old cover so it survives as a pattern. Cutting the cover off throws away the pattern that already fits.

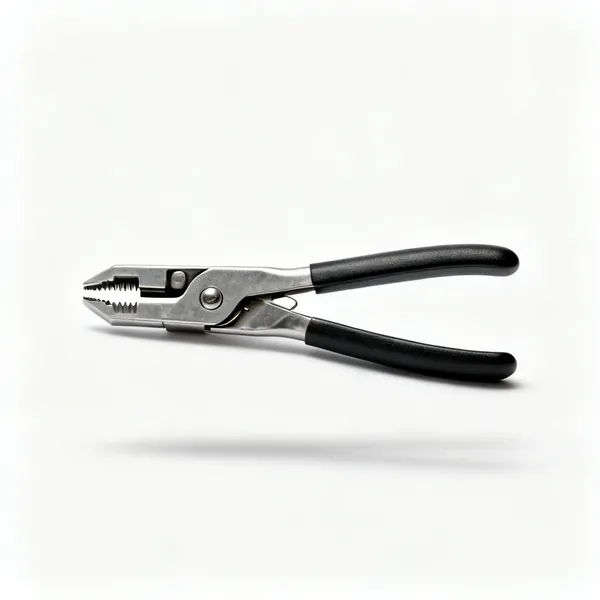
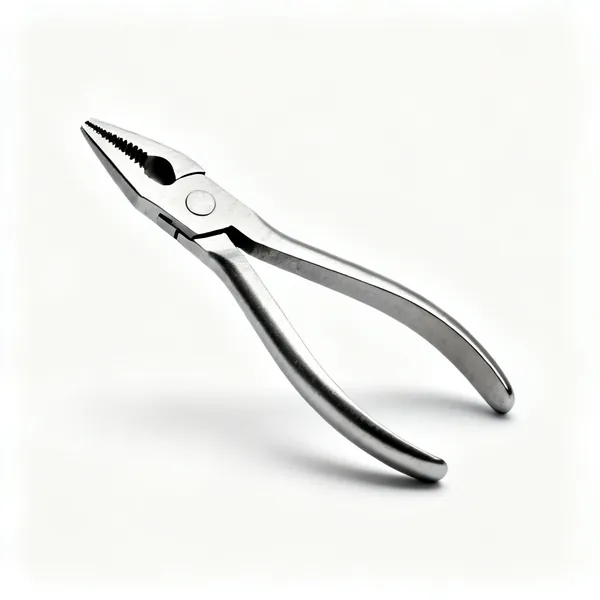
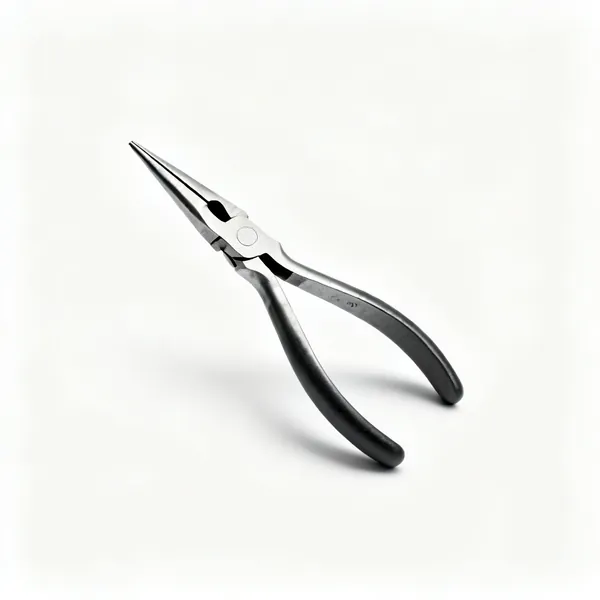
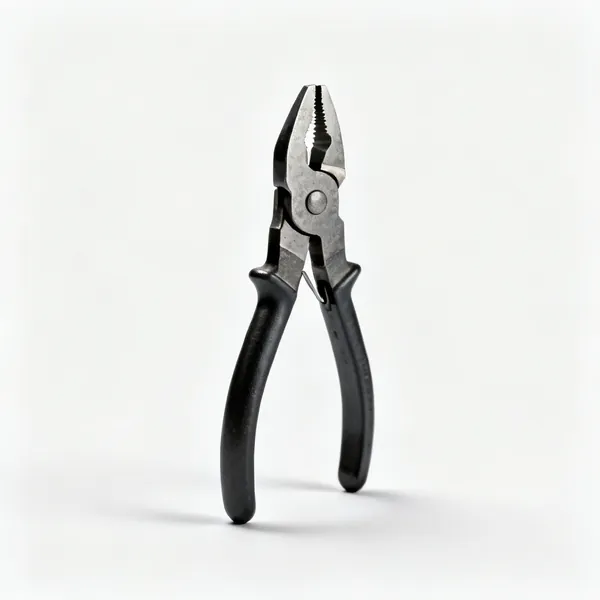
  • A pair of long nose pliers

    Long nose pliers

    Reaches into a frame to pull twine, wire and broken spring ends that fingers cannot get at.

  • A pair of heavy wire cutters

    Wire cutters

    Cuts spring wire, clips and the metal strip that holds a back cover on. Hardened jaws, and cutting only.

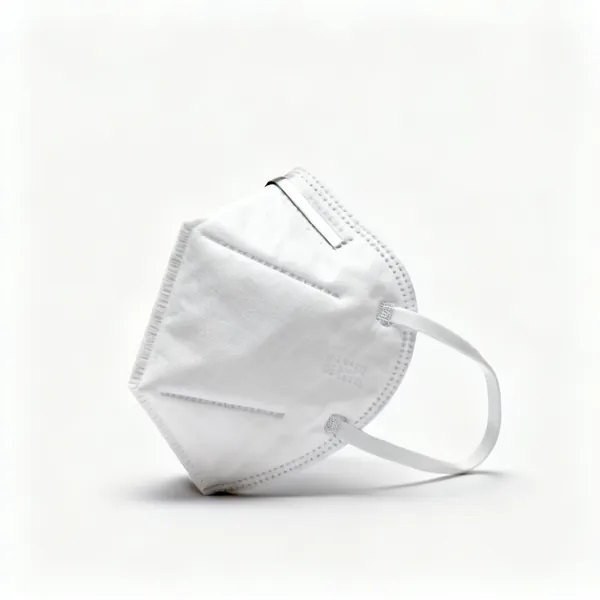
  • A folded dust mask respiratorEssential

    Dust mask

    Stripping old furniture releases decades of dust, horsehair and whatever else is in there. Not a pleasant surprise.

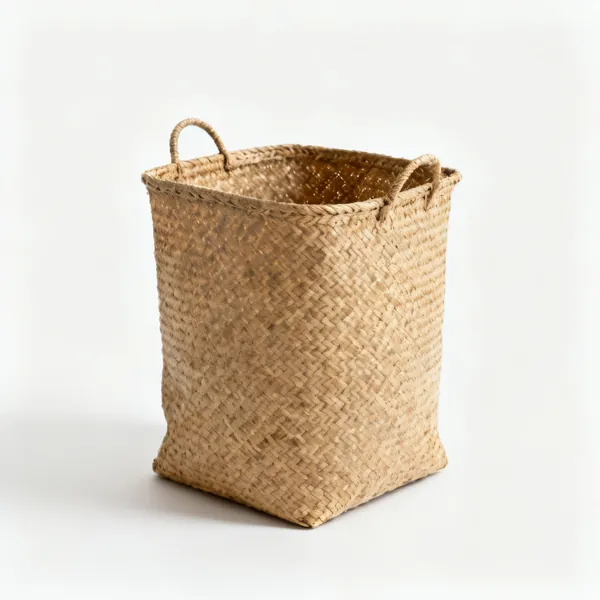
  • Rubble sacks: A woven waste sackEssential

    Rubble sacks

    Old filling is bulky, dusty and endless. Heavy sacks, and get it out of the room as it comes off.

Frames & repair 10

The bare frame is the only chance to fix the structure. Joints, rails and old tack holes all get attention here.

  • A pair of long sash cramps

    Sash cramps

    Pulls a re glued frame joint tight while it sets. A loose mortise joint is the squeak and the wobble.

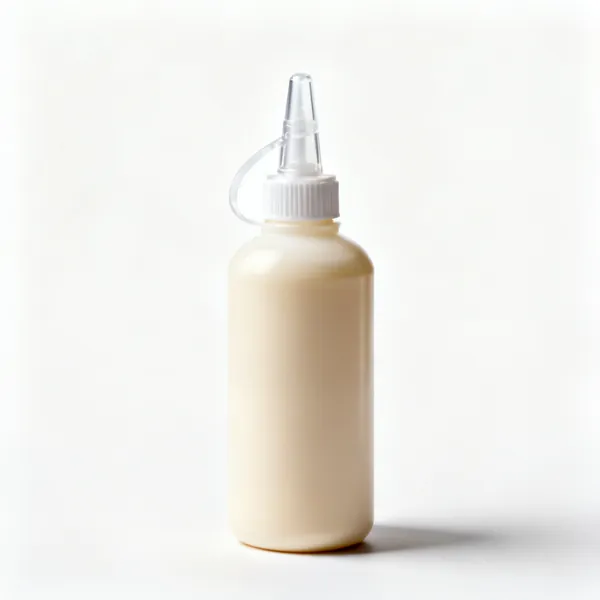
  • A bottle of wood glueEssential

    Wood glue

    PVA for re gluing joints, worked into a cleaned joint rather than smeared over an old glue line.

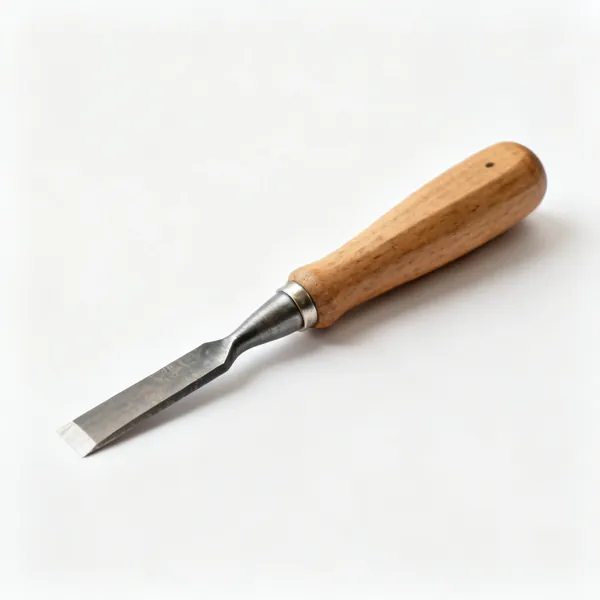
  • A set of wood chisels

    Wood chisels

    Cleans out an old joint back to bare timber, and lets in a new strip of rail where the old one is full of holes.

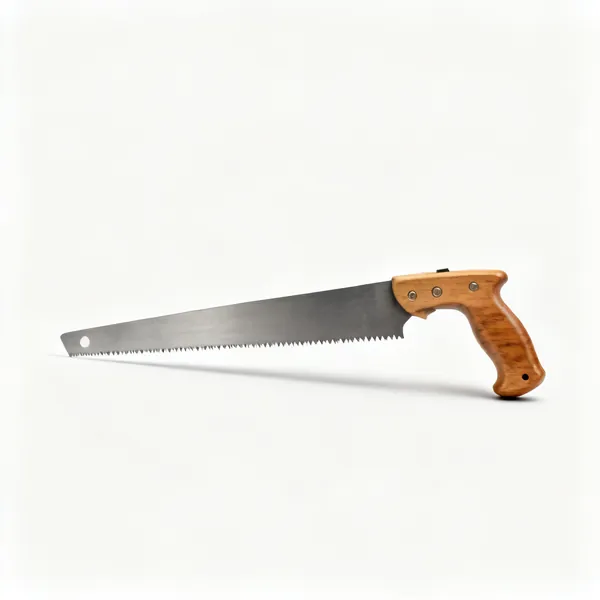
  • A tenon saw with a wooden handle

    Tenon saw

    Cuts a replacement rail or trims a repair square. Fine teeth, since frame timber is small section.

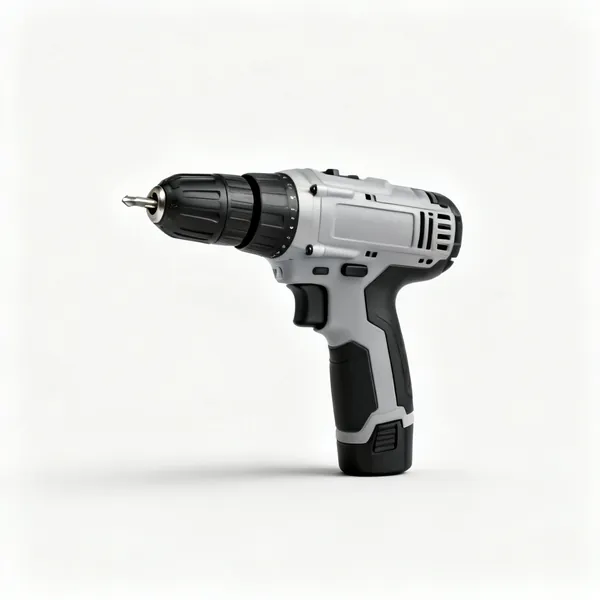
  • A cordless drill driverEssential

    Cordless drill

    Pilot holes for screws into a frame, since driving straight into old dry timber splits it.

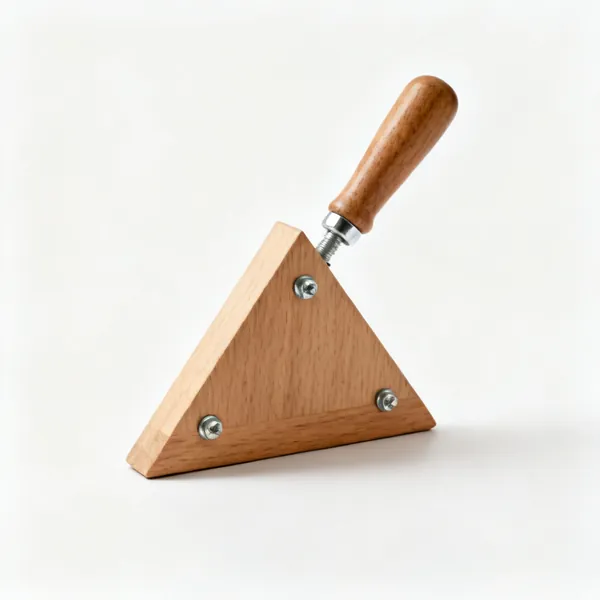
  • Corner blocks & screws: Wooden triangular corner blocks with screws

    Corner blocks & screws

    Triangular blocks glued and screwed into a frame corner to stiffen a joint that keeps working loose.

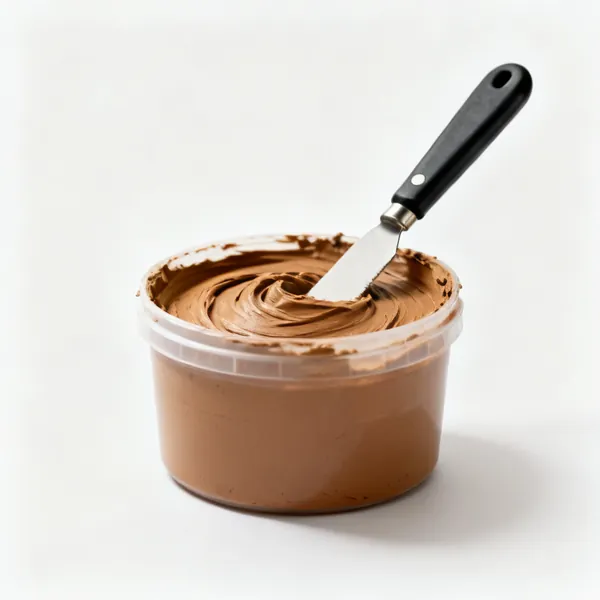
  • A tub of wood filler with a knife

    Wood filler

    Fills a rail so riddled with old tack holes that nothing grips. A new strip is better, and this works on a small area.

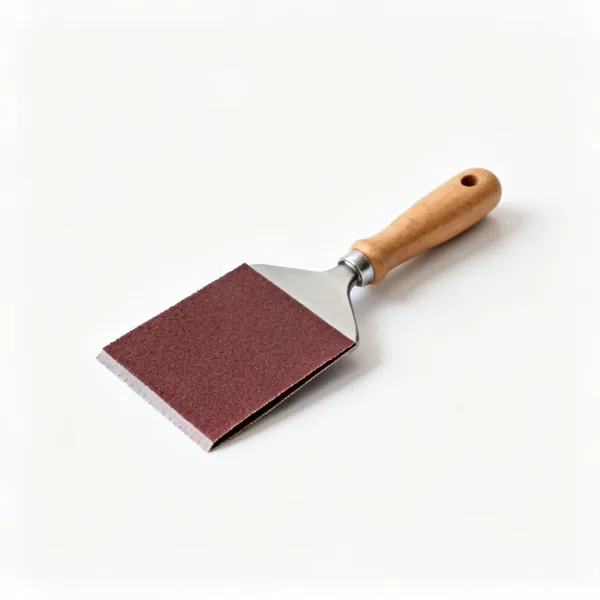
  • Sheets of sandpaperEssential

    Sandpaper

    Smooths any frame edge that will bear against fabric. A sharp edge cuts through a cover from the inside over years.
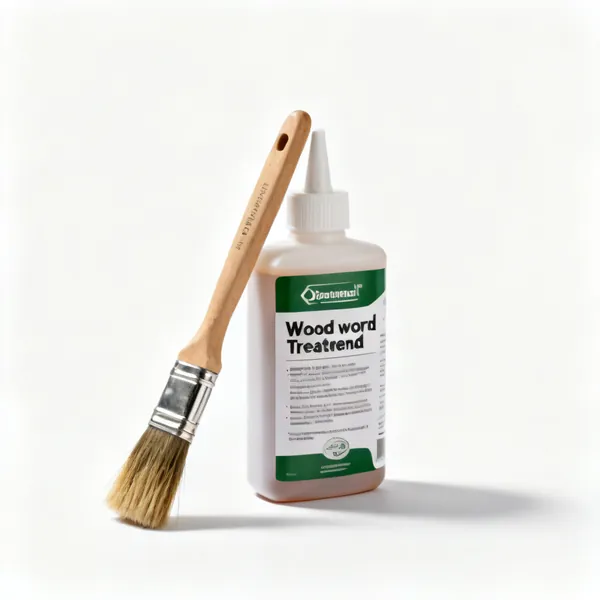
  • A bottle of woodworm treatment fluid with a brush

    Woodworm treatment

    Old frames frequently have it. Treat while the frame is bare, since you will never have this access again.

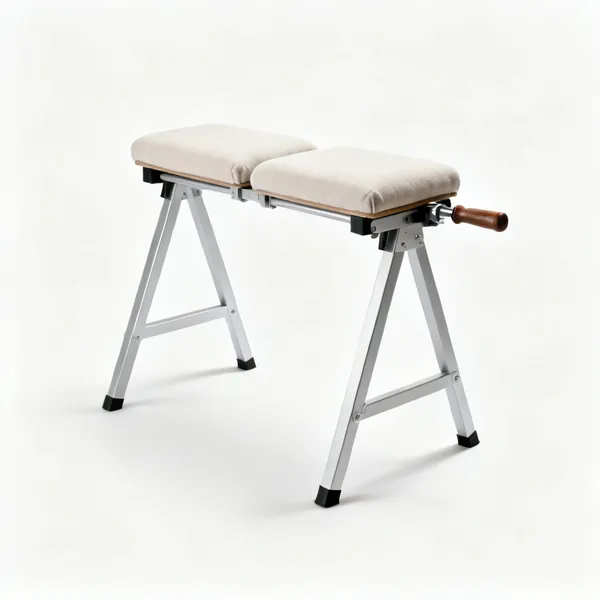
  • Trestles or stands: A pair of padded upholstery trestle standsEssential

    Trestles or stands

    Holds the piece at working height and lets it be turned. Upholstery is done from every angle including underneath.

Webbing & springs 12

The suspension of the piece. Tension here decides how the finished chair feels more than any other layer.

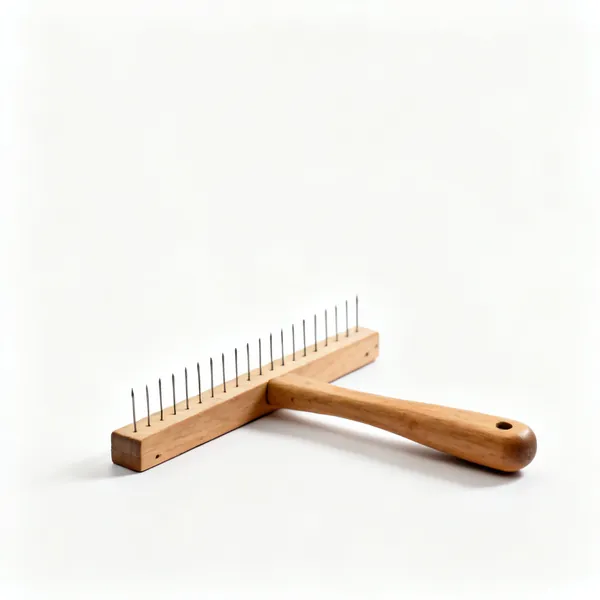
  • A wooden upholstery web stretcher with pinsEssential

    Web stretcher

    Levers webbing drum tight against the frame while you tack it. Hand tension is nowhere close, so this is not optional.

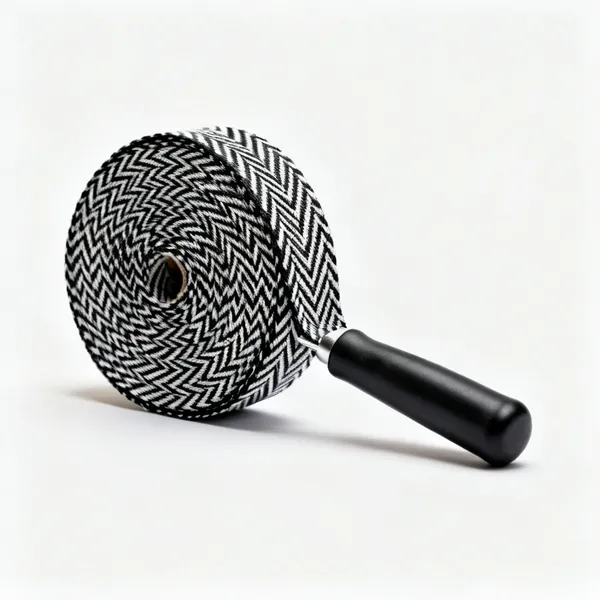
  • Jute webbing: A roll of black and white herringbone upholstery webbingEssential

    Jute webbing

    Black and white herringbone, interwoven both ways. It carries the whole load and it is the part that always fails.

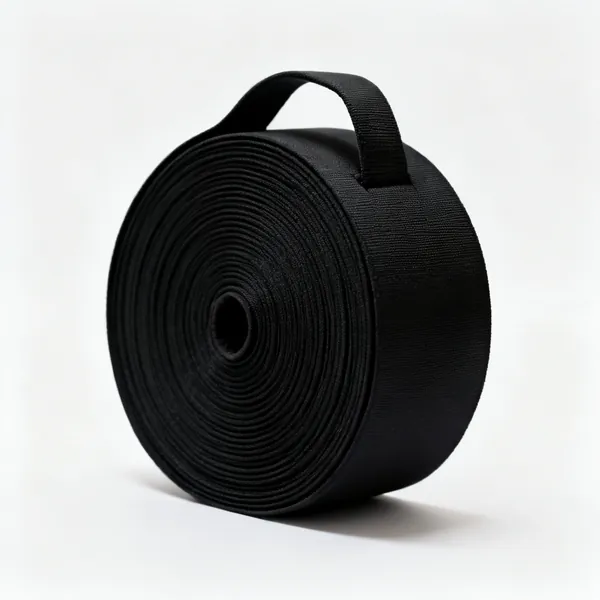
  • Elastic webbing: A roll of black elastic upholstery webbing

    Elastic webbing

    Rubber webbing that provides the give itself, used on foam seats. Fitted with slack, unlike jute.

  • Metal elastic webbing clips

    Webbing clips

    Metal clips that grip elastic webbing into a slot in the frame, instead of tacking it.

  • A magnetic upholstery tack hammerEssential

    Tack hammer

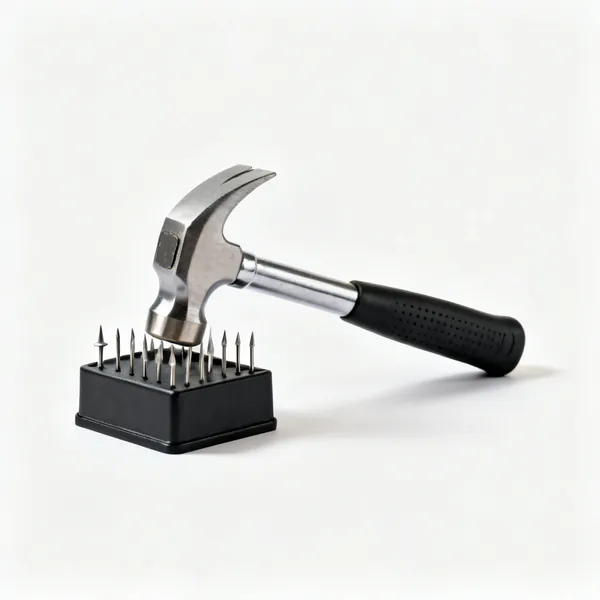
    A small hammer, usually with a magnetic face that picks a tack up and holds it while you position it one handed.

  • A tub of upholstery tacksEssential

    Upholstery tacks

    Cut steel tacks in several sizes: larger for webbing, fine for the top cover so they do not split a rail.

  • Double cone upholstery coil springs

    Coil springs

    Double cone springs for a traditional sprung seat, stitched to the webbing and lashed to each other at the top.

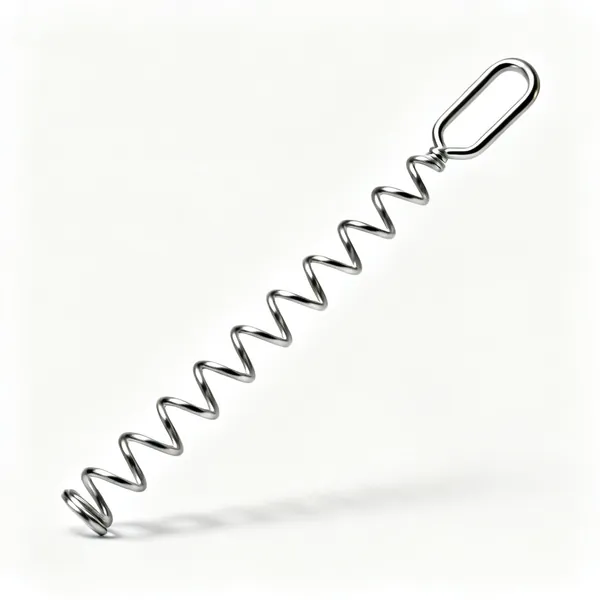
  • Serpentine springs: Serpentine zigzag upholstery springs

    Serpentine springs

    Sinuous wire springs clipped across a frame, which is how most modern sofas are sprung. Faster and lower profile.

  • Metal serpentine spring clips

    Spring clips

    Nailed to the rail to hold serpentine spring ends. The clip is what fails, usually with a bang.

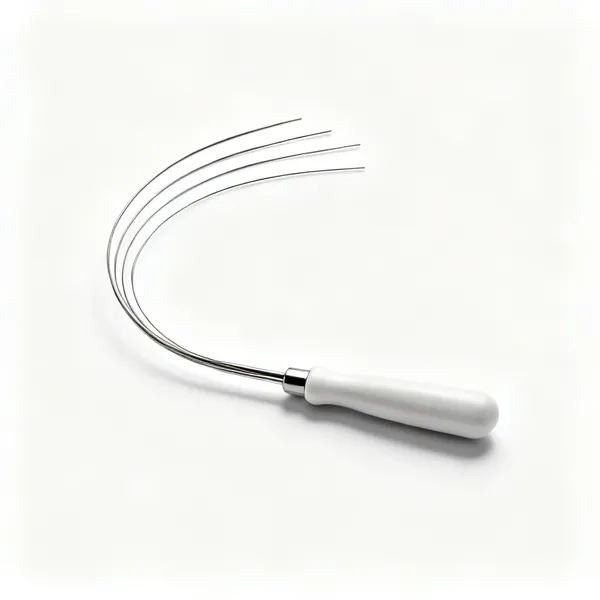
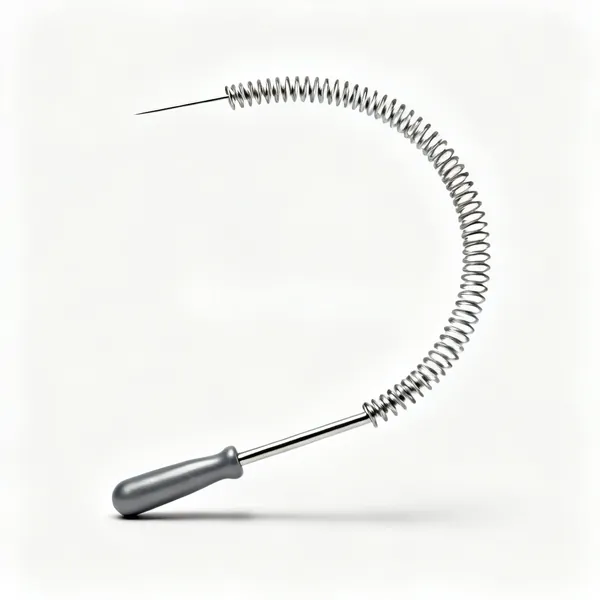
  • Spring needle: A large curved spring upholstery needle

    Spring needle

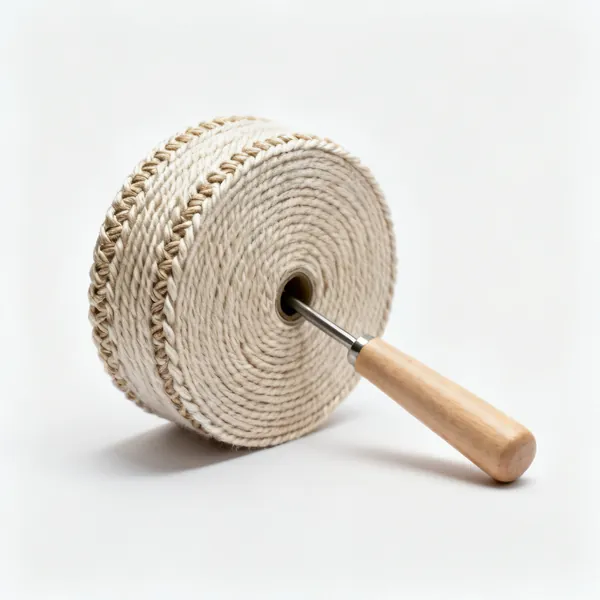
    A heavy curved needle for stitching springs down to the webbing, which stops them shifting and squeaking.

  • Laid cord: A ball of heavy laid upholstery cord

    Laid cord

    Heavy cord for lashing the tops of coil springs to each other and to the frame, setting the seat profile.

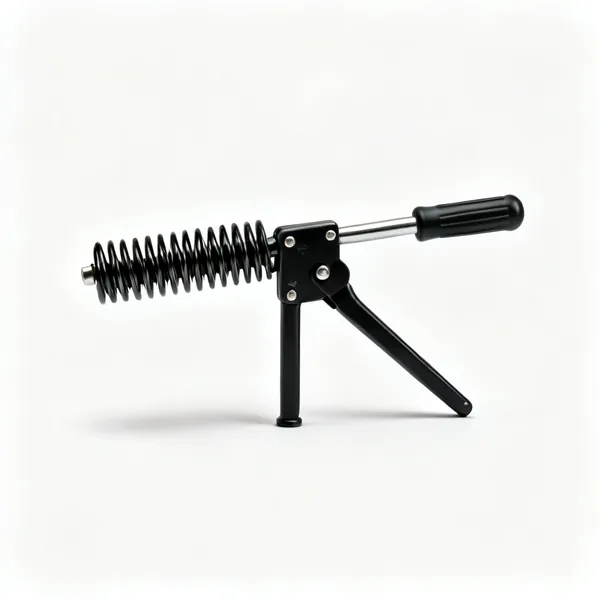
  • Spring compressor: An upholstery spring compressing tool

    Spring compressor

    Holds a coil spring compressed while it is lashed, so the seat is tensioned rather than just sitting there.

Stuffing & shaping 13

Building the shape. Traditional work uses fibre and stitched edges, modern work uses foam, and the tools differ.

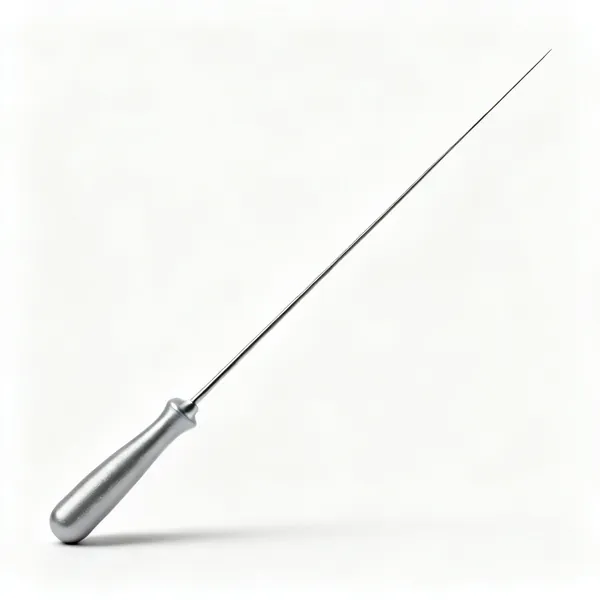
  • A long steel upholstery regulator needleEssential

    Regulator

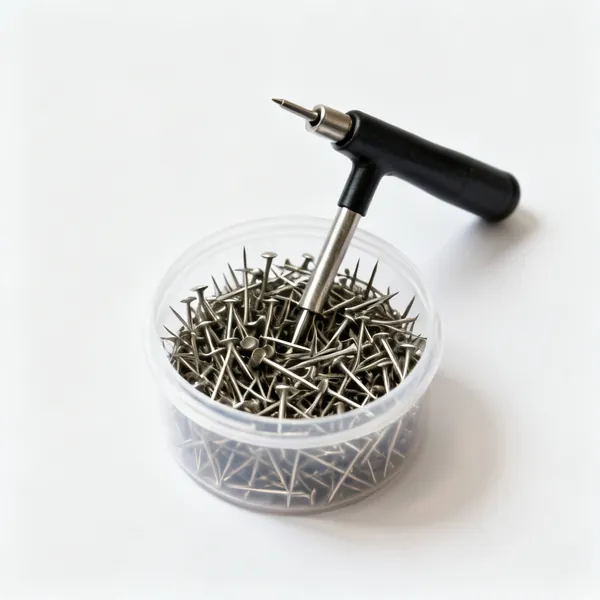
    A long needle with a flat end, pushed through the cover to move stuffing about underneath and even out lumps.

  • Double ended needle: A long double ended upholstery needle

    Double ended needle

    Long with a point at both ends, for stitching through a stuffed edge and back without turning the needle round.

  • Curved needles: Curved upholstery needles in several sizesEssential

    Curved needles

    Stitches where you can only reach one side, which in upholstery is most places. Several sizes.

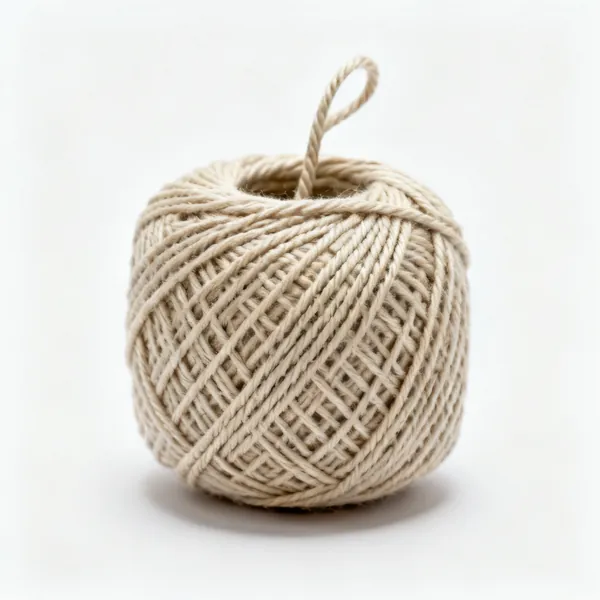
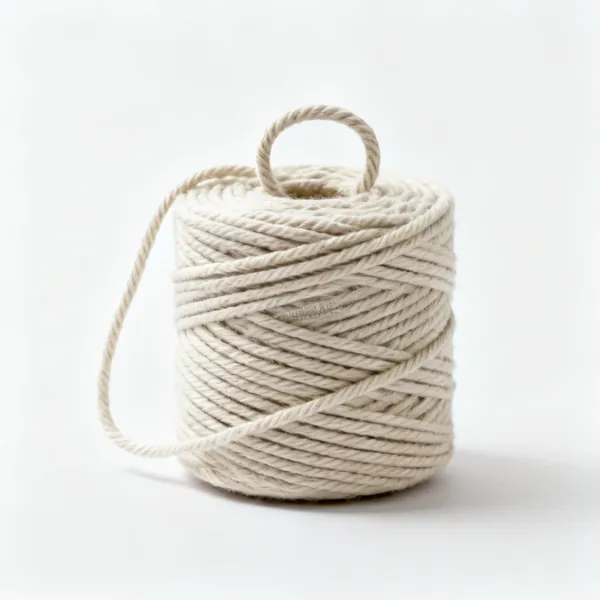
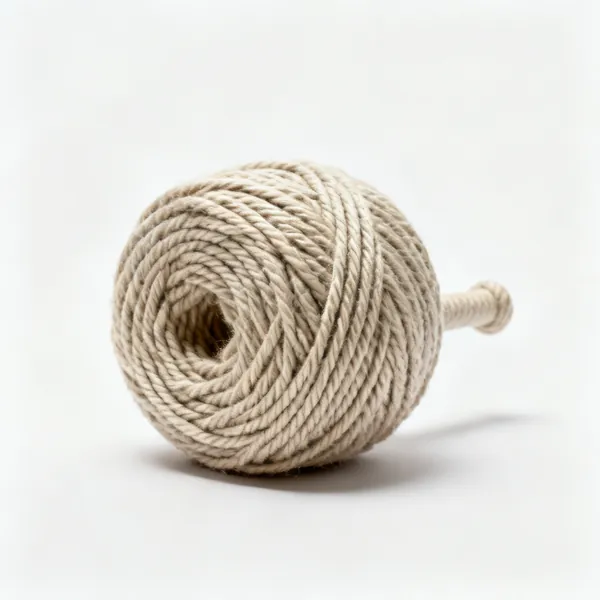
  • A ball of waxed upholstery twineEssential

    Upholstery twine

    Waxed linen twine for stitching edges, bridle ties and springs. Strong, and it does not stretch under load.

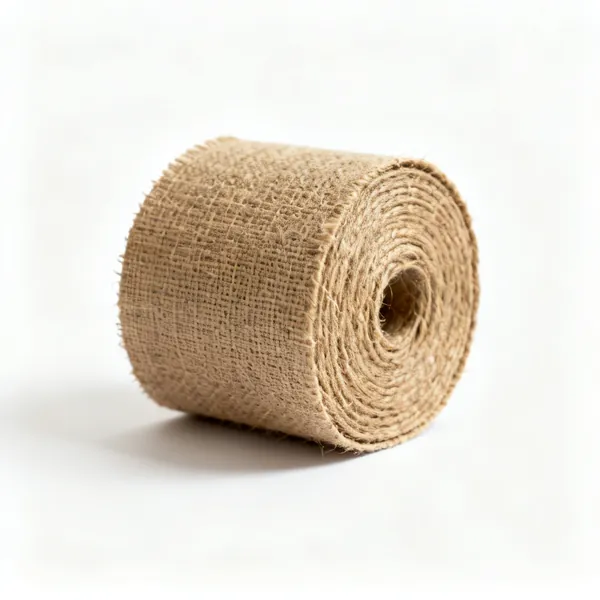
  • A roll of jute hessian upholstery fabricEssential

    Hessian

    Coarse jute cloth over the springs or webbing, holding the stuffing off the frame. The layer everything sits on.

  • A roll of fine upholstery scrim fabric

    Scrim

    A finer open weave over the first stuffing, stitched through to form a firm edge roll. Traditional construction.

  • Coir fibre or horsehair: Loose coir fibre upholstery stuffing

    Coir fibre or horsehair

    The traditional first stuffing, teased out and laid into bridle ties. Firm, and it lasts for a century.

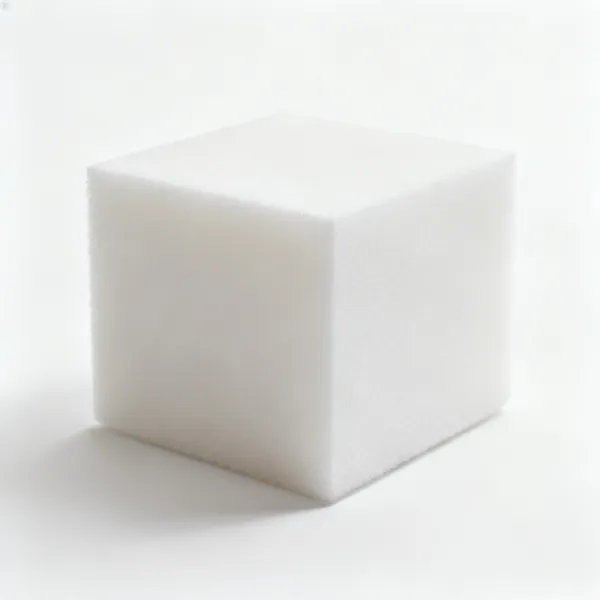
  • A block of upholstery foamEssential

    Upholstery foam

    Modern filling in various densities. Density decides how it feels and how long it lasts, and it must meet fire standards.

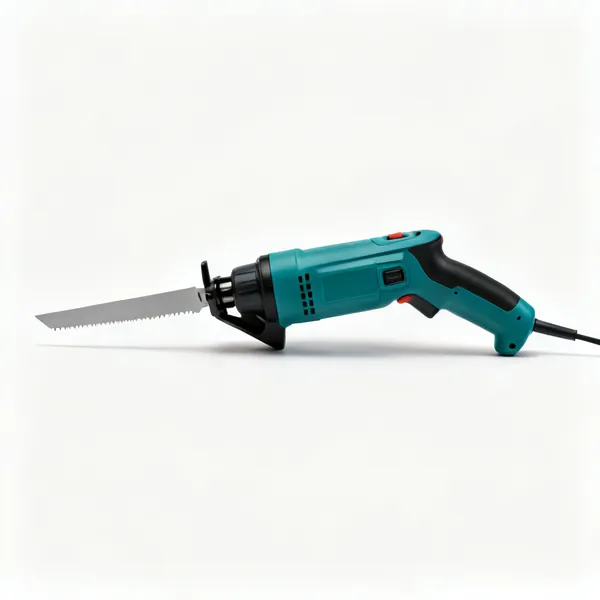
  • Foam cutter: An electric foam cutting knife

    Foam cutter

    An electric knife or bandsaw that cuts foam square. A bread knife tears it and leaves a wandering edge.

  • Polyester wadding: A roll of polyester upholstery waddingEssential

    Polyester wadding

    A soft layer over foam or fibre that softens the edges and stops the cover abrading on the filling.

  • A roll of plain calico fabricEssential

    Calico

    An under cover holding the stuffing in its final shape, so the top cover only has to look good.

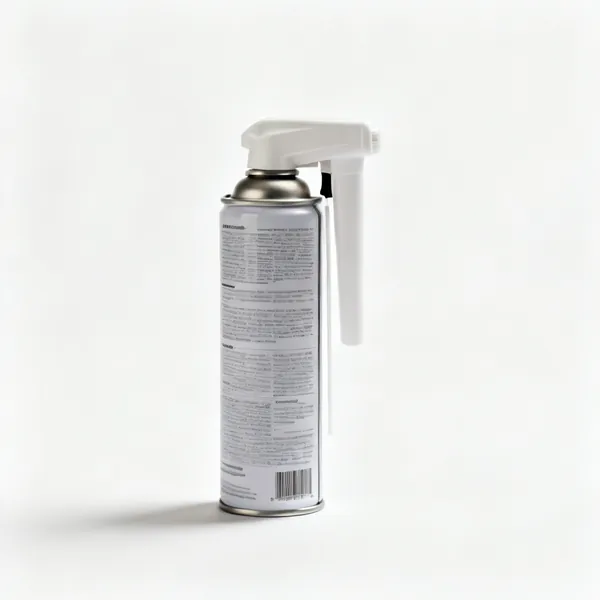
  • Foam adhesive: An aerosol can of foam spray adhesive

    Foam adhesive

    Bonds foam to foam and to the frame so it cannot shift under the cover. Solvent free, since some adhesives dissolve foam.

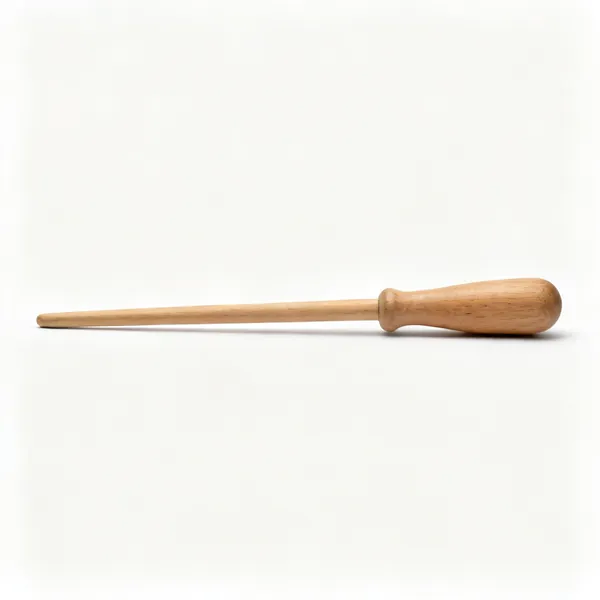
  • A wooden upholstery stuffing stick

    Stuffing stick

    Pushes filling into a corner or a back you cannot reach with a hand, without disturbing what is already there.

Cutting & covering 12

The visible layer. Working from the centre outwards on all four sides is what keeps a pattern straight.

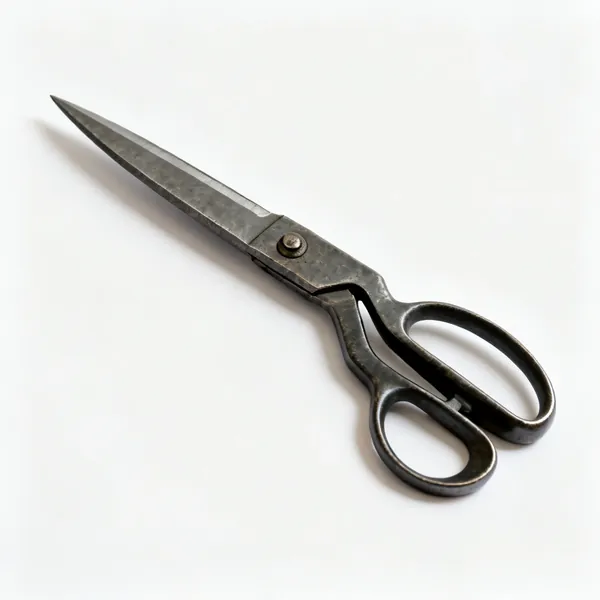
  • A pair of large heavy upholstery shearsEssential

    Upholstery shears

    Heavy long bladed shears that cut through thick fabric, hide and hessian. Fabric only, since paper blunts them.

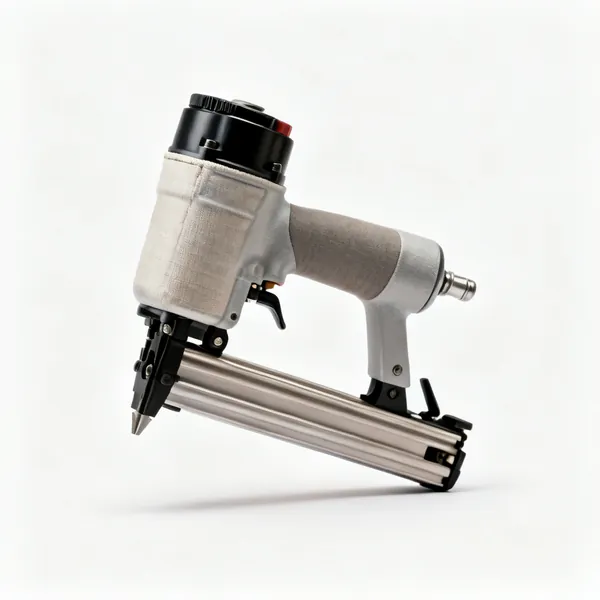
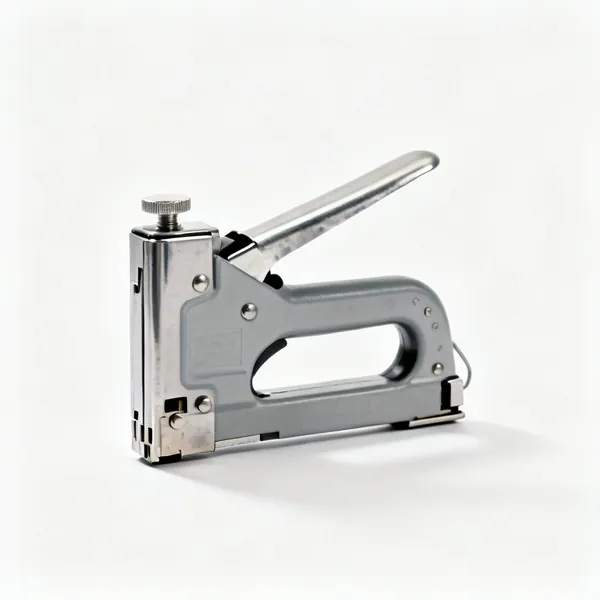
  • A pneumatic upholstery staple gunEssential

    Staple gun

    Fixes the cover to the frame several times faster than tacking. Pneumatic or electric, and a manual one for small work.

  • Manual stapler: A heavy duty hand staple gun

    Manual stapler

    Heavy duty hand stapler for jobs too small to set up a compressor. Slower and always to hand.

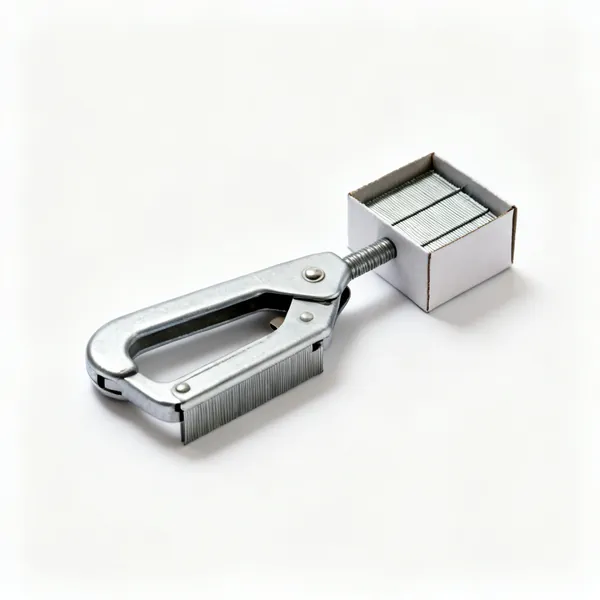
  • Boxes of upholstery staplesEssential

    Staples

    In several leg lengths for different thicknesses. Too long and it comes through, too short and it pulls out.

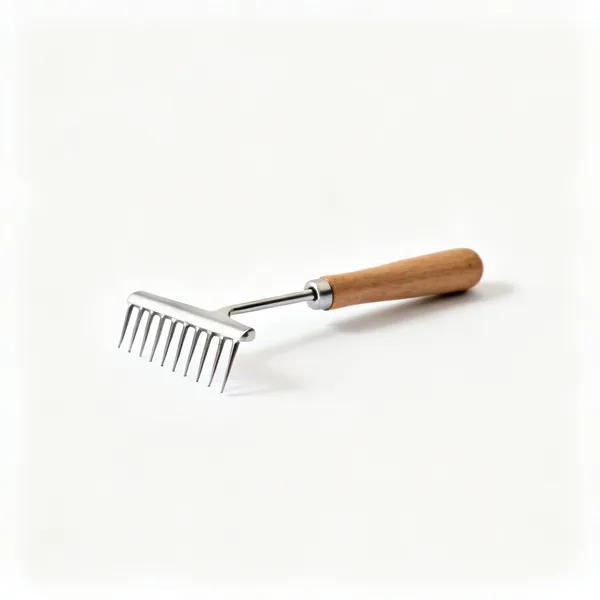
  • An upholstery hide strainer pulling tool

    Hide strainer

    Grips and pulls heavy leather or thick fabric tight where hands cannot. Leather needs real tension to sit properly.

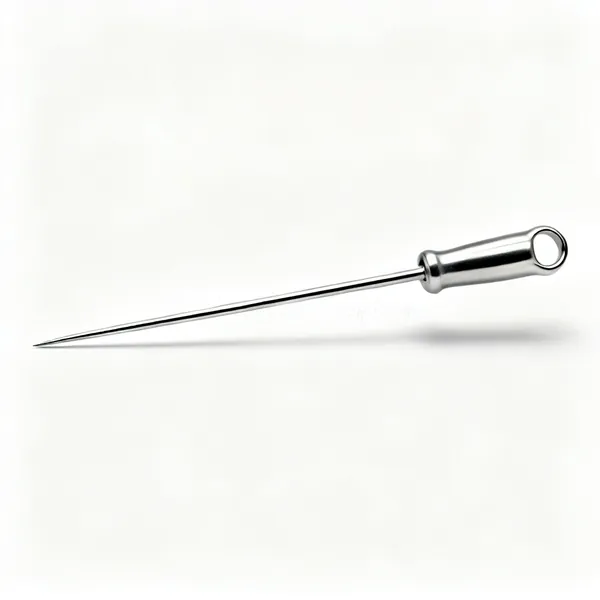
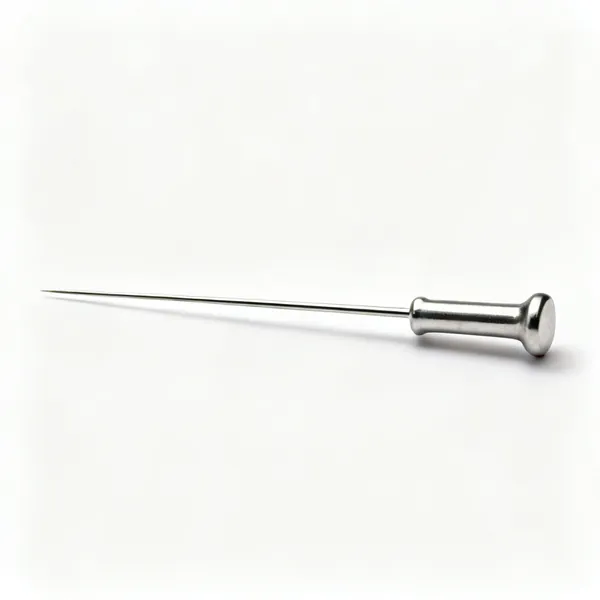
  • Steel upholstery skewersEssential

    Upholstery skewers

    Steel pins that hold a cover in position while you check the fit and tension before committing to staples.

  • Tailor's chalk blocksEssential

    Tailor's chalk

    Marks centre lines and cut lines on the reverse of fabric. Centre lines are how a pattern stays square.
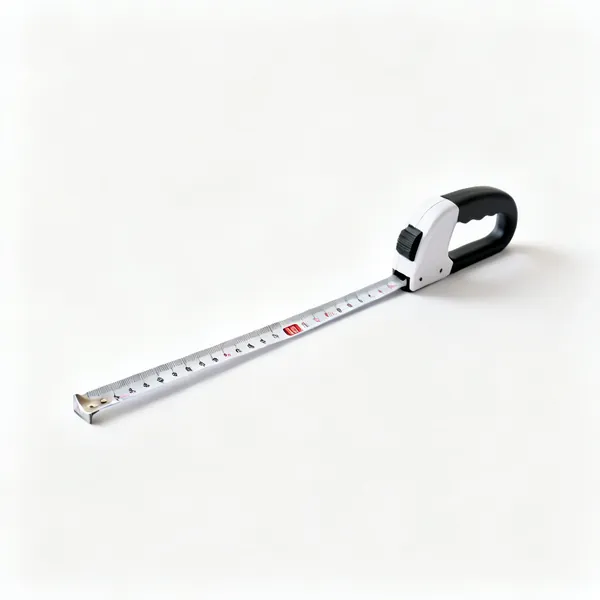
  • A flexible tape measureEssential

    Tape measure

    Flexible, for measuring over a curved stuffed shape, which a rigid rule cannot follow.

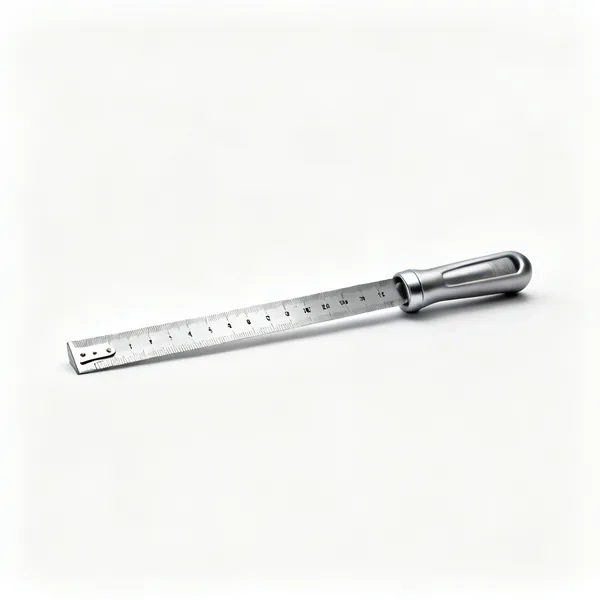
  • A metal metre ruleEssential

    Metre rule

    Marking long straight cuts on fabric and checking a pattern is square before cutting into it.

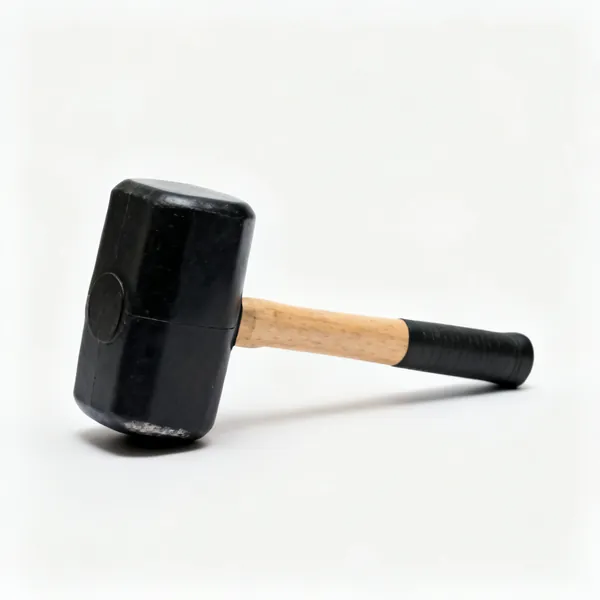
  • A rubber mallet

    Rubber mallet

    Persuades a tight cover over a frame edge and taps decorative nails without marking the head.

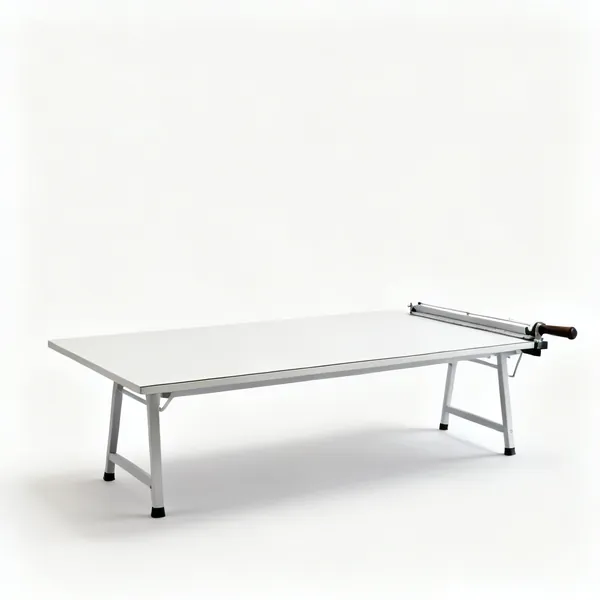
  • A large flat fabric cutting table

    Cutting table

    A large flat surface to lay fabric out on. Cutting upholstery fabric on the floor is where the errors happen.

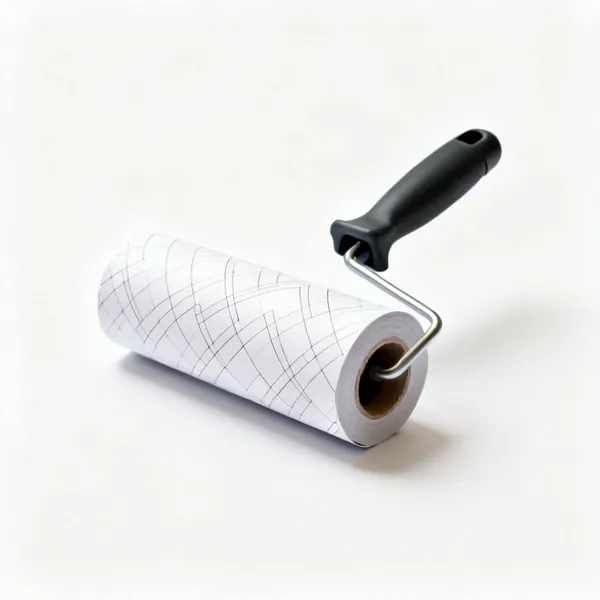
  • A roll of pattern paper

    Pattern paper

    For taking a pattern off a piece where the old cover has not survived. Make the mistakes in paper first.

Sewing & seams 10

Piping, cushions and seamed covers. Upholstery fabric needs a machine built for it, not a domestic one.

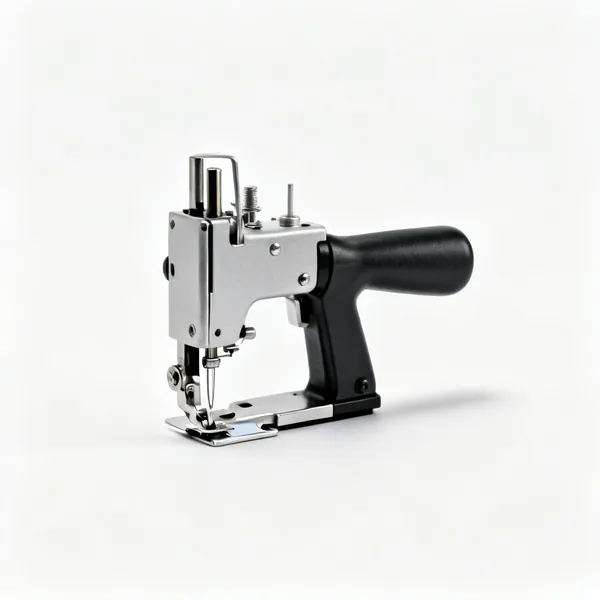
  • Walking foot machine: An industrial walking foot sewing machine

    Walking foot machine

    A heavy industrial machine that feeds thick fabric and leather reliably. A domestic machine will not survive this work.

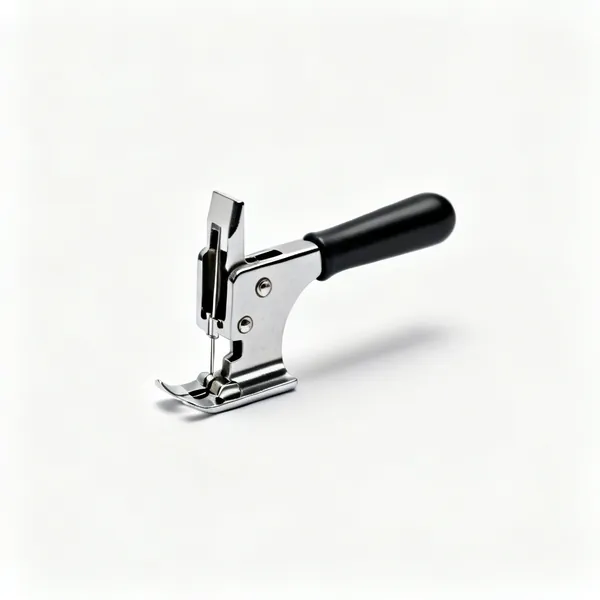
  • Piping foot: A piping sewing machine foot

    Piping foot

    A grooved foot that stitches close alongside a cord, which is what makes piping tight rather than baggy.

  • A roll of cotton piping cord

    Piping cord

    Cotton cord covered in fabric to make piping, which defines and strengthens a seam and hides the stitch line.

  • Heavy machine needles: Packets of heavy duty leather sewing machine needles

    Heavy machine needles

    Leather and heavy fabric needles in large sizes. A standard needle bends or breaks in upholstery weight material.

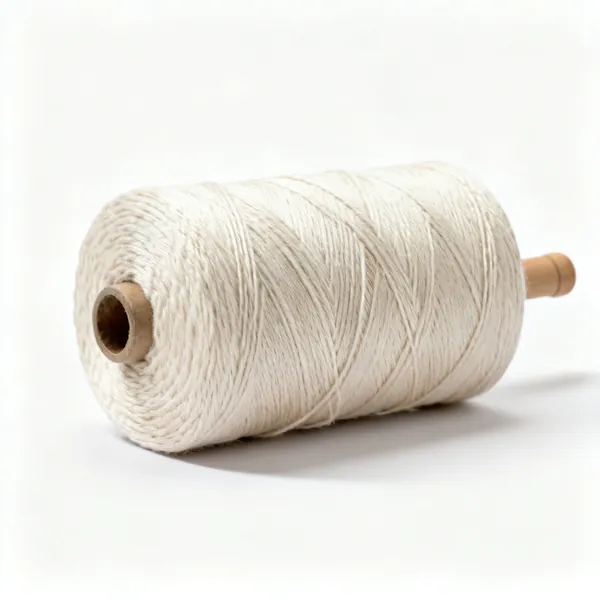
  • Bonded polyester thread: Large reels of bonded polyester upholstery thread

    Bonded polyester thread

    Strong UV resistant thread made for upholstery. Ordinary sewing thread fails at a seam under load within a year.

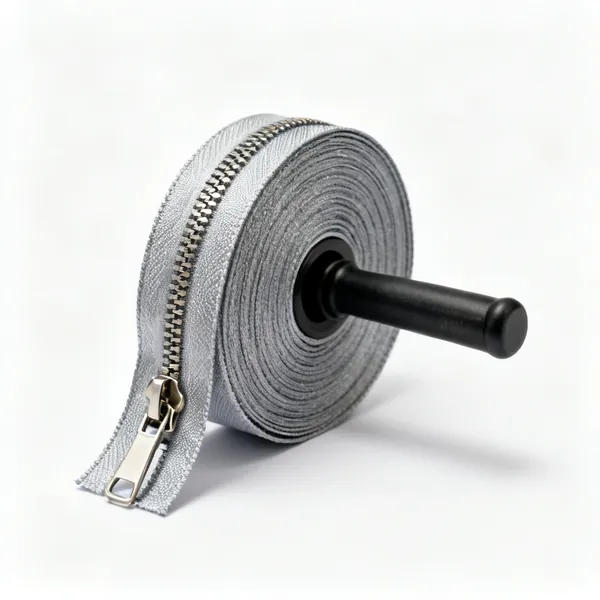
  • Zips & fasteners: A roll of continuous heavy duty zip

    Zips & fasteners

    Heavy zips for cushion covers so they can be removed and cleaned. Continuous zip on a roll for long runs.

  • Plastic sewing clips

    Sewing clips

    Holds thick layers together without piercing, where a pin leaves a permanent hole in leather or vinyl.

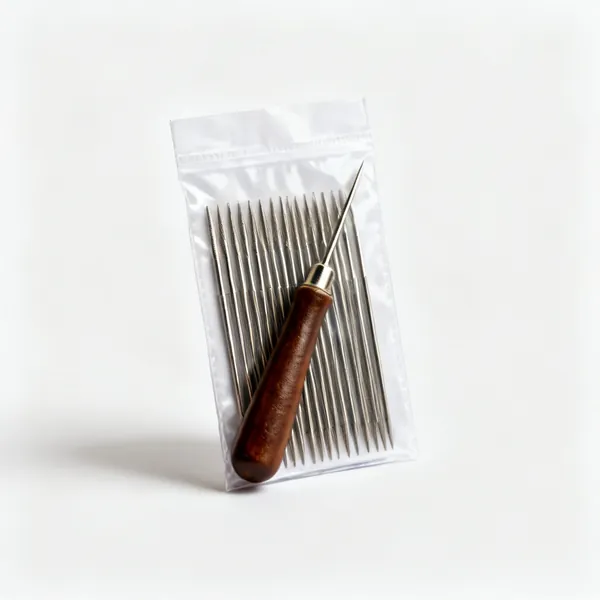
  • Leather hand needles: Leather hand sewing needles

    Leather hand needles

    Chisel pointed so they cut a slit rather than punching a round hole, keeping the leather strong along the seam.

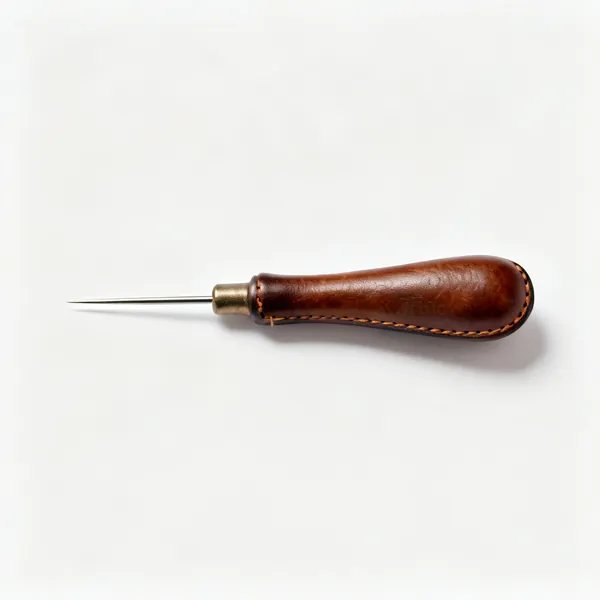
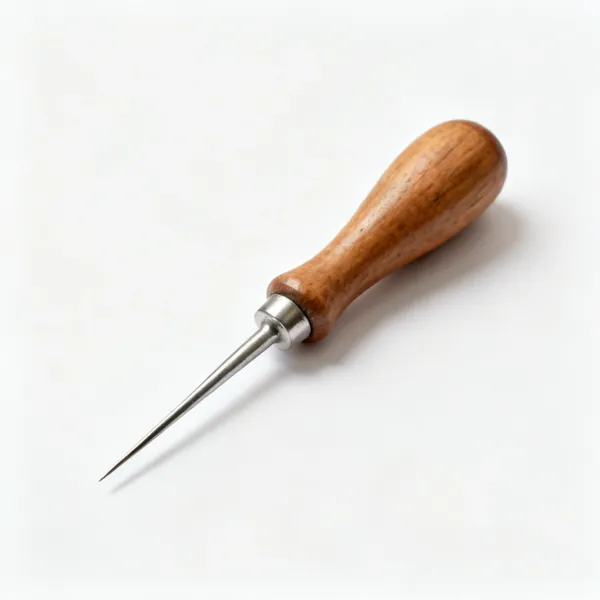
  • A stitching awl with a wooden handle

    Stitching awl

    Makes a hole in leather or heavy webbing by pushing fibres aside instead of cutting them.

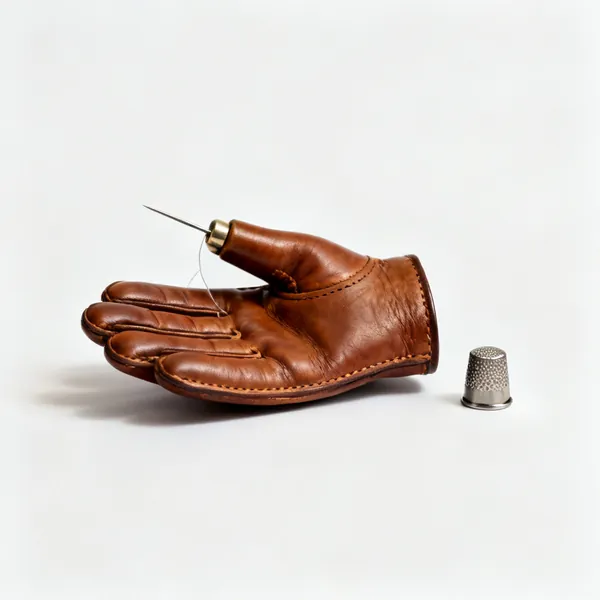
  • Thimble & palm: A leather sewing palm and thimble

    Thimble & palm

    Pushes a heavy needle through hide and hessian. A sailmaker's palm for anything genuinely thick.

Trims & finishing 11

The details that hide fixings and finish an edge. Small, decorative, and what people actually look at.

  • A very long upholstery buttoning needle

    Buttoning needle

    Very long, passing right through a deep cushion to pull a button down and tie it off at the back.

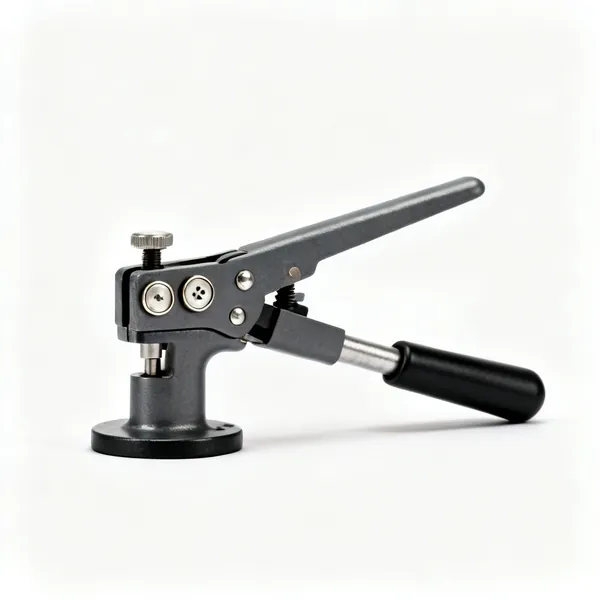
  • Button press: An upholstery button making press with buttons

    Button press

    Makes fabric covered buttons matched to the cover, which is the only way to get them in the right material.

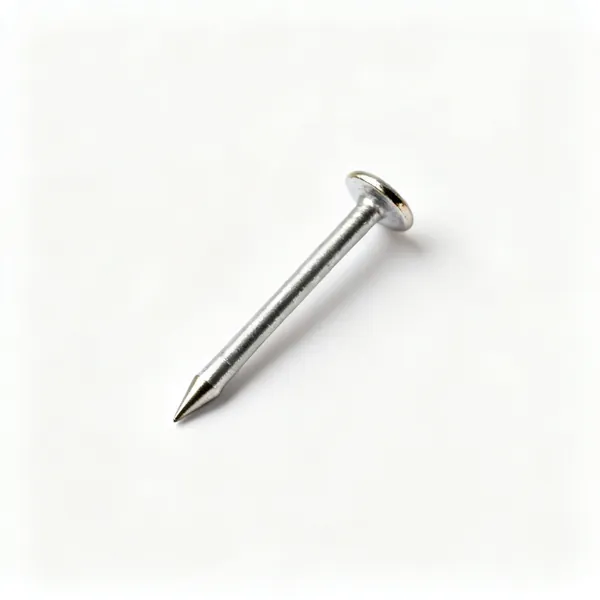
  • Decorative nails: Decorative upholstery nails

    Decorative nails

    Antique or domed nails finishing an edge and hiding the fixings. Spaced with a gauge or they look approximate.

  • An upholstery nail spacing gauge tool

    Nail spacing gauge

    Sets even spacing along a run of decorative nails. By eye, the spacing drifts and it is very visible.

  • Rolls of upholstery braid gimp trim

    Braid & gimp

    Woven trim glued or pinned over a raw edge or a line of staples. The traditional way to finish a show wood edge.

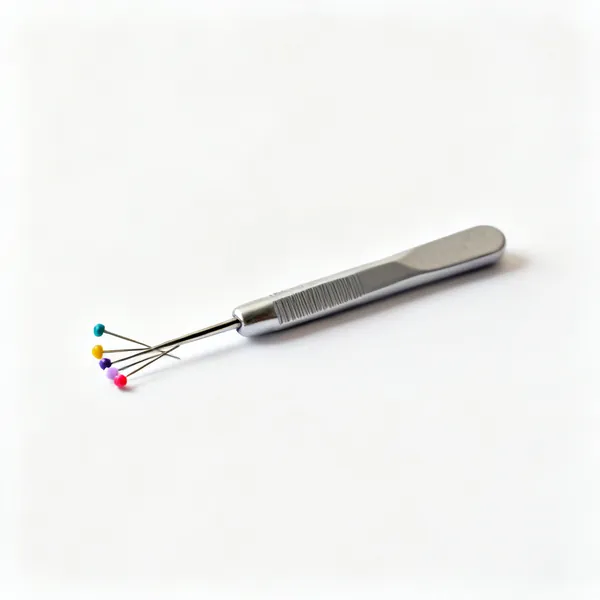
  • Small coloured gimp pins

    Gimp pins

    Tiny coloured pins that fix braid almost invisibly, matched to the trim colour.

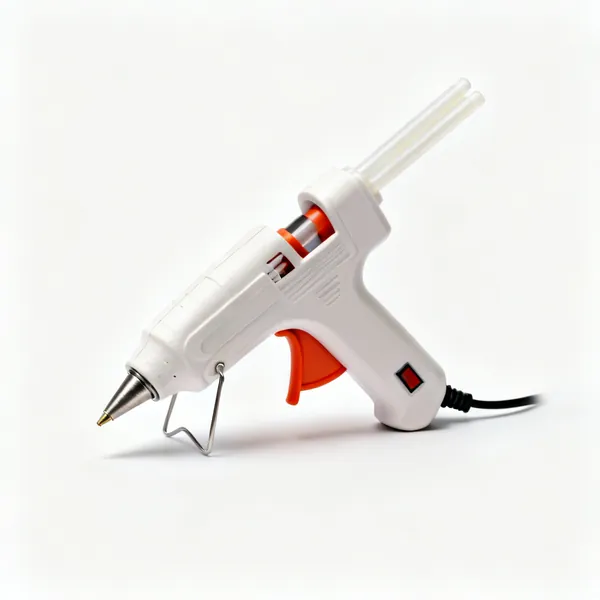
  • A hot glue gun with glue sticks

    Glue gun

    Fixes braid and trim without pins. Used sparingly, since too much shows through the braid as hard lumps.

  • A roll of card back tack strip

    Back tack strip

    A card or plastic strip giving a straight crisp line where a cover turns, instead of a wavy stapled edge.

  • Bottom cambric: A roll of black cambric dust cover fabricEssential

    Bottom cambric

    Black cloth stapled underneath, hiding the webbing and keeping dust in. The last thing fitted on almost every piece.

  • Castors & glides: Furniture castors and glides

    Castors & glides

    Replaced while the piece is upside down for the cambric. The obvious moment, and easily forgotten until it is the wrong moment.
  • A handheld fabric steamer

    Fabric steamer

    Relaxes creases and shrinks a slightly baggy cover tight. The finishing touch that makes a recover look professional.

Choosing upholstery tools

Start with the stripping and fixing tools, because the first job is always taking something apart and finding out how it was made.

Upholstery is layers, and the order is fixed

A traditionally upholstered chair is built up in a specific sequence, and every layer depends on the one under it. Frame, webbing, springs, hessian, stuffing, scrim, wadding, calico, then the top cover.

Modern foam construction shortens that considerably, but the principle holds: a sagging seat is almost never a cover problem. It is the webbing underneath having stretched or snapped. Recovering a chair with tired webbing gives you a beautiful chair that sags again within a year.

So the useful discipline is to strip far enough to see what is actually wrong, then rebuild from that layer up rather than covering over it.

Strip until you find the real fault
A sag is webbing, a lump is stuffing, a squeak is the frame. None of them are the cover, and none can be fixed from the outside.
Photograph everything as you take it apart
The chair is the pattern and the instructions. Photograph each layer before removing it and you have both.
Keep the old cover as a template
Unpick it carefully rather than cutting it off. Every piece, labelled, is a pattern that already fits.
Webbing before anything else
It carries the whole load. Renew it whenever you strip a seat, because it is cheap and it is the part that always goes.
Check the frame joints
Loose mortise joints need re gluing and cramping while the frame is bare. It is the only chance you will get.

Webbing and tension, which is the whole seat

The seat of a chair is a tensioned platform, not a cushion. Get the tension right and the seat feels supportive for decades. Get it loose and everything above it sags into the gap.

This is what a web stretcher is for, and it is the tool people try hardest to improvise. Pulling webbing by hand gets nowhere near the tension needed. The stretcher gives you leverage against the frame so you can pull it drum tight and tack it while it is held.

Interwoven rather than parallel, too. Webbing woven in both directions supports across the whole seat, while parallel strips let the middle drop.

Use a web stretcher, always
Hand tension is nowhere close. This is the single tool that most decides whether the finished chair is any good.
Interweave in both directions
Woven webbing supports the whole area. Parallel strips let the centre drop between them within months.
Tack, fold and tack again
Three tacks, fold the end back over, then two more through the double thickness. A single row pulls through.
English webbing for traditional work
Black and white herringbone jute is what a sprung seat needs. Elastic webbing suits foam seats and behaves differently.
Do not stretch elastic webbing tight
It is meant to have give. Tensioning it like jute removes the suspension it was chosen for.

Tacks or staples, and when each is right

Traditional upholstery is tacked, modern upholstery is stapled, and both are correct in their place.

Tacks hold better in old dry timber, can be removed and repositioned easily, and are what a period piece should have. They are also slower and need a hammer and a free hand. Staples are much faster, hold well in sound timber, and are almost impossible to remove neatly.

The important practical point is that both destroy the frame if you keep going back to the same spot. An old chair rail can be so full of old tack holes that nothing holds, and then it needs a new strip of timber let in before any covering happens.

Tacks for period and for old timber
They grip dry old wood better, come out cleanly, and are correct on anything being restored rather than recovered.
Staples for speed on sound frames
A pneumatic or electric stapler is several times faster and perfectly sound in good timber.
Slip tack first, then commit
Drive tacks halfway so the cover can be adjusted, check the tension and the pattern, then drive them home.
Move along the rail, do not reuse holes
A rail full of old holes holds nothing. Space new fixings between the old ones or let in fresh timber.
Watch for the grain splitting
Tacks and staples close together along the grain split a rail. Stagger them slightly rather than driving a straight line.

What to buy first, in order

Stage one: stripping
A ripping chisel, a mallet, a tack lifter, pincers, a staple remover, a craft knife and dust protection. Almost every job starts here.
Stage two: rebuilding the base
A web stretcher, webbing, tacks, a tack hammer, hessian, a curved needle and twine. This is where a chair regains its support.
Stage three: covering
Upholstery shears, a staple gun, a regulator, skewers, a hide strainer and a rubber mallet. Plus a good tape and tailor's chalk.
Stage four: traditional and decorative
Spring needles, a buttoning needle, a double ended needle, a stuffing regulator, cording tools and a piping foot for the machine.

Mistakes that show or fail early

Recovering over tired webbing
The chair looks perfect and sags within a year. Webbing is cheap and it is the only chance to renew it.
Cutting the old cover off
That cover is a pattern that already fits. Unpick it, label the pieces, and the hardest part of the job is done.
Not photographing the layers
By the time you need to know how the back was fixed, it is in a bin bag. Photograph everything as it comes apart.
Parallel webbing instead of woven
The middle of the seat drops between the strips. Interweave, always, in both directions.
Fixing into old tack holes
There is nothing left to grip. Space new fixings between the old ones or let in a new strip of timber.
Pulling the cover tight in one direction only
It distorts the pattern and puckers at the corners. Work from the centre out on all four sides, alternately.
Skipping the calico layer
Calico holds the stuffing in shape so the top cover only has to look good. Without it, every lump telegraphs through.
Ignoring fire regulations
Upholstery filling and covers sold for domestic use have to meet flammability rules. It matters if you sell what you make.

Looking after upholstery tools

Keep the ripping chisel sharp
A sharp chisel slides under a tack and lifts it. A blunt one levers against the frame and breaks the rail.
Never use upholstery shears on anything else
Leather, hessian and heavy fabric blunt them quickly enough already. Paper finishes them off.
Oil the web stretcher jaws
The pins and the cam do the work. Seized or rounded, it slips under load and the tension goes.
Keep needles rust free and straight
A bent spring needle will not follow its curve and a rusty one drags through hessian and tears it.
Empty the stapler and check the driver
A bent driver blade half sets every staple, which then has to be removed one at a time.
Store magnetic hammers away from small steel
The magnetic face picks up everything in the drawer and stops picking up tacks, which is its whole job.

Frequently asked questions

What upholstery tools do I need to start?
A ripping chisel and mallet, a tack lifter, pincers, a staple remover, upholstery shears, a web stretcher, a tack hammer and a staple gun. Almost every job begins with stripping, so the removal tools come before the covering ones.
What is a web stretcher and can I manage without one?
A lever that pulls webbing drum tight against the frame while you tack it. You cannot manage without one, because hand tension is nowhere near enough and the webbing is what carries the whole seat.
Why is my chair seat sagging even though the cover is fine?
The webbing underneath has stretched or snapped. It carries the load, and the cover only sits on top of it. Recovering the chair without renewing the webbing produces a chair that looks new and sags again within a year.
Should I use tacks or staples?
Tacks for period pieces and for old dry timber, since they grip better in worn wood and come out cleanly. Staples for speed on sound frames. Both are correct in their place, and both destroy a rail if you keep fixing into the same spot.
What is a ripping chisel for?
Removing old tacks and staples by sliding under the head and lifting. It is driven with a mallet and it must be kept sharp, because a blunt one levers against the frame and breaks the rail rather than lifting the tack.
What is a regulator used for?
A long steel needle with a flattened end, pushed through the cover to move stuffing around underneath without taking anything apart. It is how you even out lumps and sharpen up an edge after covering.
Do I need a sewing machine for upholstery?
For piping, cushions and any seamed cover, yes, and it needs to be a heavy duty machine with a walking foot. A domestic machine will not feed heavy fabric or leather reliably and will not survive the work.
What is calico for and can I skip it?
Calico is an under cover that holds the stuffing in its final shape, so the top cover only has to look good rather than do structural work. Skipping it means every lump and hollow in the filling telegraphs through the finished cover.
How do I get the pattern right on a recover?
Unpick the old cover rather than cutting it off, label every piece, and use them as patterns. They already fit. Then work each new piece from the centre outwards on all four sides so the pattern stays square.
What is the difference between jute and elastic webbing?
Jute herringbone webbing is tensioned drum tight and provides a firm platform, which is what traditional and sprung seats need. Elastic webbing is meant to have give and provides the suspension itself, which suits foam seats.
What sort of needle do I need for upholstery?
Several. A curved needle for stitching where you can only reach one side, a long double ended needle for stitching through a stuffed edge, and a spring needle for lashing springs. Straight sewing needles are little use here.
Are there rules about upholstery foam and fabric?
Yes. Fillings and covers for domestic furniture have to meet flammability regulations, and this matters particularly if you sell what you make. Buy materials described as meeting the relevant standard rather than generic foam and fabric.