Stripped screws can be very frustrating. They stop us from finishing our work. Many people don’t know how to remove them. This guide will show you easy ways to take out stripped screws. The steps are simple and do not need special tools. You can fix this problem yourself.
What Is a Stripped Screw?
A stripped screw has a damaged head. The screwdriver cannot fit well. This happens when the screw turns too much or is forced. The metal around the screw head gets worn out. So, the screwdriver slips and can’t grip the screw. This makes it hard to remove.
Why Do Screws Get Stripped?
Using the wrong screwdriver size
Applying too much pressure or force
Old or rusted screws
Cheap or soft metal screws
Turning the screw the wrong way
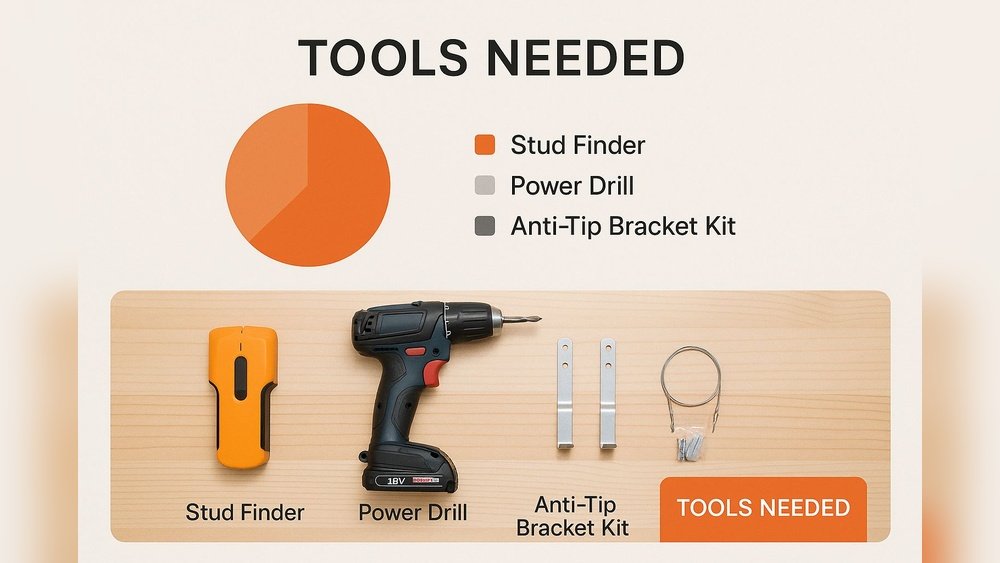
Tools You May Need
Before starting, gather some common tools. Most are easy to find at home or a hardware store.
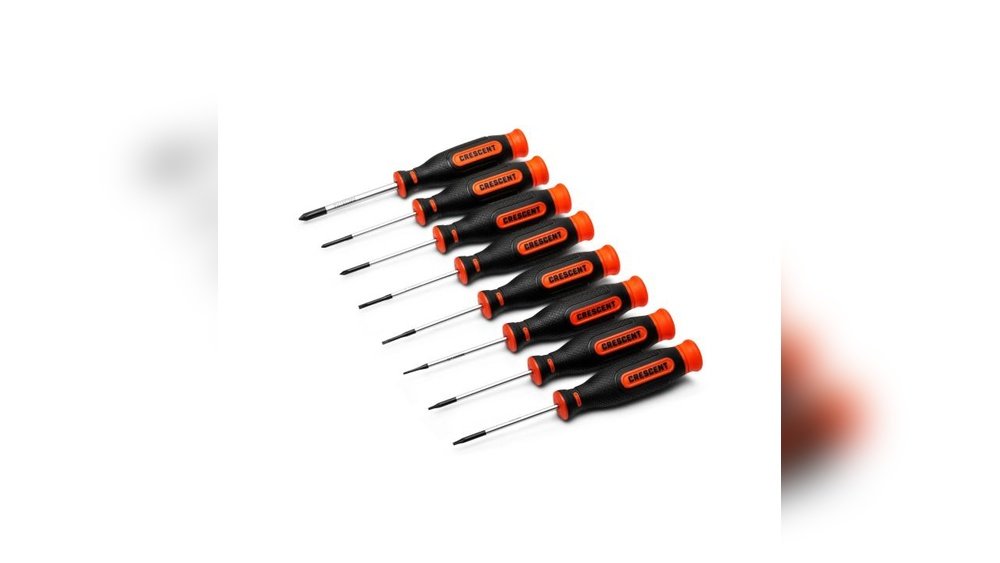
Screwdriver set (flat and Phillips)
Wide rubber band
Duct tape
Locking pliers (like Vise-Grip)
Drill with screw extractor bits
Dremel tool with cutting wheel (optional)
Hammer
Small flat screwdriver
Step 1: Use a Rubber Band for Extra Grip
This is the easiest way. It works well if the screw is only a little stripped.
Place a wide rubber band over the screw head.
Press the screwdriver firmly into the rubber band and screw head.
Turn the screwdriver slowly counter-clockwise.
The rubber band fills the gaps and gives extra grip.
If it turns, keep going until the screw comes out.
If this does not work, try using duct tape instead of a rubber band.
Step 2: Try Duct Tape for Better Grip
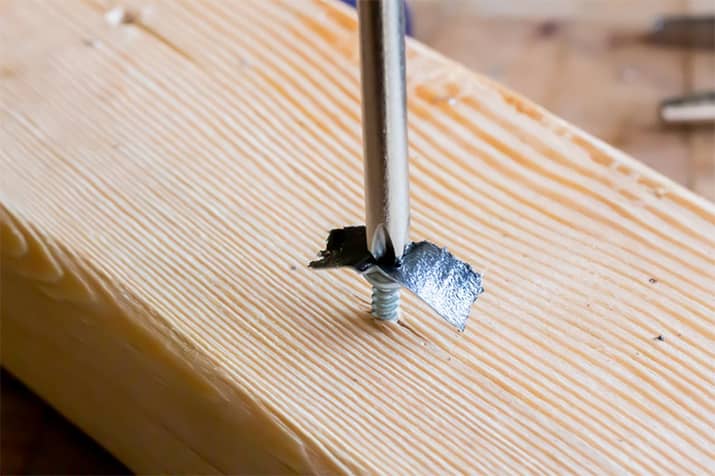
Duct tape is sticky and strong. It can help hold the screwdriver in place.
Cut a small piece of duct tape.
Stick it on the screw head, covering the whole top.
Press your screwdriver down hard onto the tape and screw.
Turn the screwdriver slowly to remove the screw.
This method is good when the rubber band is too thin or weak.
Step 3: Use Locking Pliers to Grab the Screw
If the screw head is sticking out, use locking pliers. They can grab tightly and turn the screw.
Open the locking pliers wide enough to fit the screw head.
Clamp the pliers tightly onto the screw.
Lock the pliers so they do not move.
Turn the pliers counter-clockwise to unscrew.
Locking pliers work well when screw heads are damaged badly.
Step 4: Use a Screw Extractor Bit with a Drill
This method needs a drill and special bits called screw extractors. They bite into the screw and help pull it out.
Choose the right size screw extractor bit for your screw.
Attach it to your drill.
Set the drill to turn backward (reverse).
Place the extractor bit on the screw head.
Slowly drill in reverse, letting the bit bite into the screw.
The screw should start to turn and come out.
Be patient and keep the drill steady. This method works for very stuck screws.
Step 5: Cut a New Slot with a Dremel Tool
If you have a Dremel tool, you can make a new groove on the screw head. Then, use a flat screwdriver to remove it.
Wear safety glasses before using the Dremel.
Attach a cutting wheel to the Dremel.
Cut a straight line across the screw head.
Use a flat screwdriver in the new slot.
Turn the screwdriver slowly to remove the screw.
This method works well when the original screw slot is too damaged.
Step 6: Heat the Screw to Loosen It
Sometimes, heating the screw helps loosen rust or glue. Use a small torch or a soldering iron carefully.
Heat the screw head for a few seconds.
Let it cool slightly so you can touch it.
Try turning the screw with a screwdriver.
Warning: Be careful with heat near flammable materials.
Credit: kitchencabinetkings.com
:strip_icc()/BHG-home-improvement-advice-expert-advice-how-to-remove-stripped-screw-hero-4e5488246e9d4240ba33c56d02f6b41d.jpg)