Safety Tips for Stud Finder: Essential Guide for Safe Use
When it comes to home projects, using a stud finder can save you time and frustration. But are you sure you’re using it safely and effectively?
You might think it’s as simple as turning it on and scanning your wall, but without the right safety tips, you risk hitting electrical wires, damaging your walls, or getting inaccurate readings. You’ll discover essential safety tips that will help you confidently locate studs and avoid common mistakes.
Keep reading to protect yourself and get the job done right every time.
Credit: thefurnaceoutlet.com
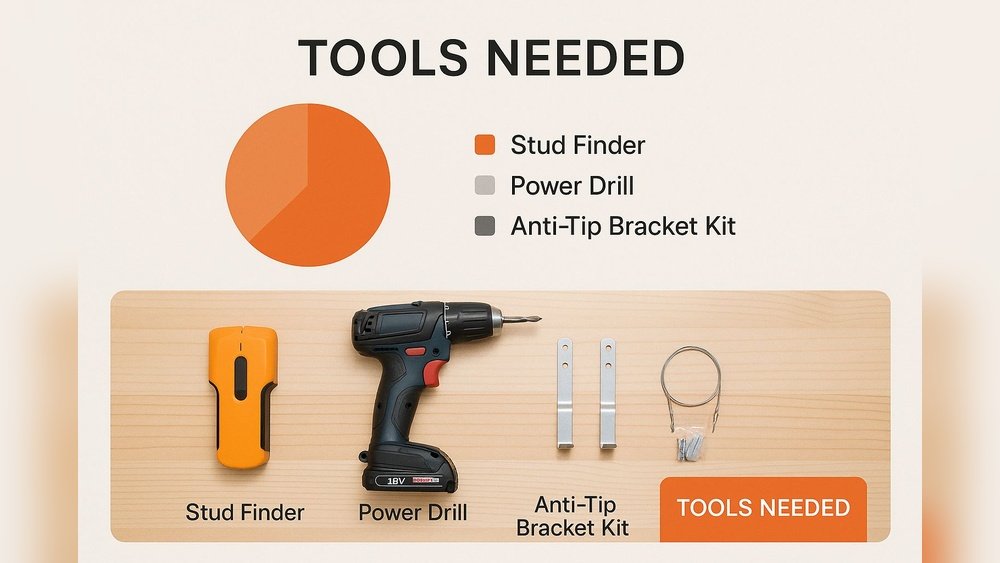
Choosing The Right Stud Finder
Stud finders come in different types like magnetic and electronic. Magnetic ones detect nails or screws in studs. Electronic types sense changes in wall density. Each type has its advantages. Magnetic finders are simple and do not need batteries. Electronic finders can be more accurate and show stud edges.
Important features include detection depth and display clarity. Some finders beep or light up to show studs. Others have LCD screens for clear reading. Choose a stud finder with easy controls and clear signals. This helps avoid mistakes and saves time.
| Feature | Why It Matters |
|---|---|
| Detection Depth | Allows finding studs behind thick walls |
| Display Type | Makes reading results easier and faster |
| Calibration | Ensures accurate stud detection |
Battery life is key for electronic stud finders. Check if it uses common batteries like AA or AAA. Rechargeable batteries save money but may need charging time. Always have spare batteries ready to avoid interruptions during work.
Credit: thefurnaceoutlet.com
Preparing For Safe Use
Clear the work area by removing any furniture or objects near the wall. This prevents tripping and gives space to use the stud finder safely. Keep the floor free of clutter to avoid accidents.
Turn off power sources before starting. Switch off the main breaker or the specific circuit you will work on. This reduces the risk of electric shock if you accidentally drill into wires.
Check what type of wall you have. Drywall, plaster, or concrete walls need different handling. Knowing the material helps in setting the stud finder correctly and avoiding damage.
Using The Stud Finder Correctly
Start by calibrating the stud finder on a wall section without studs. This ensures accurate readings. Hold the device flat and press the calibration button until it signals ready.
Use slow, steady movements when scanning the wall. Move horizontally at chest height for best results. Avoid quick or jerky motions to prevent errors.
Once the device signals a stud, mark the edges on both sides. This confirms the stud’s width and exact location. Studs usually measure about 1.5 inches wide.
If the device shows a wide stud, it might be sensing pipes or wires. Always double-check with another scan or a small nail test.
Keep away from metal objects and electrical wires while scanning. These can cause false readings and risks. Move furniture or scan from different angles to avoid interference.
Avoiding Common Mistakes
False positives happen when the stud finder shows a stud but it is not there. This can be caused by pipes, wires, or metal objects inside the wall. To avoid this, scan the area multiple times and from different angles. Always mark the edges of the stud to be sure.
Interference from nearby objects like metal furniture or electrical wiring can confuse the stud finder. Move such objects away or try scanning a different spot. Keeping the device steady and flat on the wall helps reduce errors.
Unusual readings might look like random spikes or wide stud areas. These often mean the device is picking up something other than wood studs. Double-check by measuring with a tape or using a second method to confirm the stud’s location.
Safety Precautions When Drilling
Measure the stud depth before drilling to avoid damage. Most studs are about 1.5 inches thick. Use the stud finder to mark edges and find the center. Stop drilling once you reach the safe depth.
Electrical wires often run near studs. Always turn off power in the area before drilling. Scan multiple times with the stud finder to detect wires. Avoid drilling where wires or pipes are detected.
Wear safety goggles to protect your eyes from dust and debris. Use work gloves to keep hands safe from sharp objects. A dust mask can prevent inhaling particles. Always keep your work area clean and well-lit.

Credit: www.ebay.com
Maintaining Your Stud Finder
Regular calibration keeps your stud finder accurate. Check calibration before each use by testing on a known surface. This avoids false readings and wasted time.
Store the device in a dry, cool place. Avoid extreme heat or moisture, which can damage sensors. Keep it in its original case if possible to protect it from dust and impacts.
Battery maintenance is essential for consistent performance. Replace batteries regularly, especially before big projects. Remove batteries if the tool won’t be used for a long time to prevent leakage and corrosion.
Additional Tips For Accuracy
Perform multiple scans across the wall to confirm stud locations. This helps avoid mistakes caused by false signals.
Mark the edges of the stud instead of just the center. This shows the exact width and helps in better placement of nails or screws.
Use different methods together, like a stud finder plus tapping or visual checks. Combining methods increases accuracy and reduces risks.
Frequently Asked Questions
What Are Common Stud Finder Mistakes?
Common stud finder mistakes include failing to calibrate, not confirming both stud edges, and misreading wide areas as studs.
How To Effectively Use A Stud Finder?
Calibrate the stud finder before use. Move it slowly along the wall horizontally. Mark edges where it signals. Confirm stud width by scanning twice. Avoid metal objects nearby to reduce interference. Turn off power before drilling near studs for safety.
What Can Interfere With A Stud Finder?
Metal objects, electrical wiring, pipes, thick wallpaper, and uneven surfaces can interfere with a stud finder’s accuracy.
How Far Can You Safely Drill Into A Stud?
You can safely drill up to two-thirds the width of a stud, typically about 1. 5 inches deep. Avoid drilling too deep to prevent hitting electrical wires or plumbing inside the wall. Always use a stud finder and check for hidden hazards before drilling.
Conclusion
Using a stud finder safely protects you and your home from damage. Always check the device’s calibration before use. Move slowly to find the edges of each stud. Watch out for electrical wires and pipes inside walls. Turn off power to avoid accidents when drilling.
Follow these simple steps for secure and accurate results. Staying cautious makes your project easier and safer. Keep these safety tips in mind every time you work. Safety first ensures success with your stud finder tasks.