Disclosure

Drywall tools: names, pictures and what each one is used for

A complete drywall tools list with a picture of every one, all 73 grouped by the job, from framing and hanging boards through taping, jointing, sanding and repair. It is a trade of wide flat blades that look alike, so each line says which stage its tool belongs to.

41 are marked essential: enough to board, tape and finish a room to a paintable standard.

Cutting & shaping board 11

Board is scored and snapped rather than sawn wherever possible, which is faster and makes far less dust.

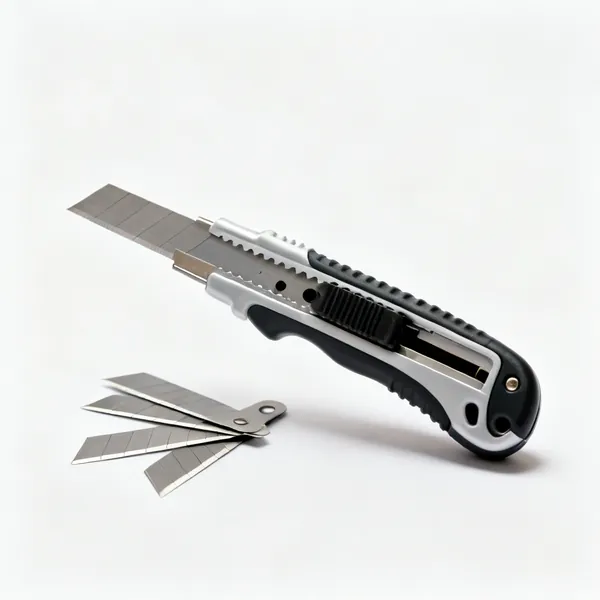
  • A retractable utility knife with spare bladesEssential

    Utility knife

    Scores the paper face so the board snaps along the line. The main cutting tool, and blades blunt within a few boards.

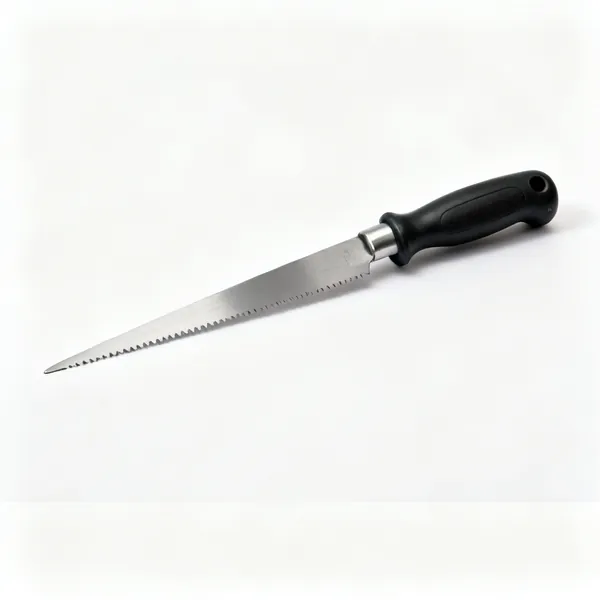
  • Drywall saw: A pointed drywall jab sawEssential

    Drywall saw

    A pointed coarse blade that stabs straight into a board to cut an opening, without needing a drilled start hole.

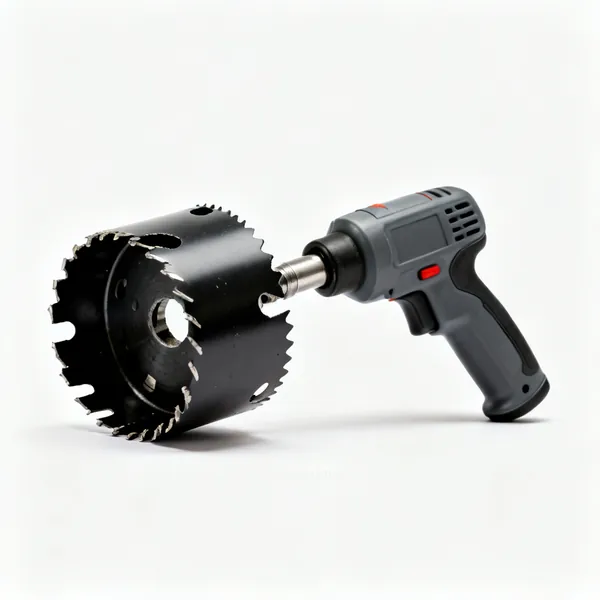
  • A hole saw set for drywall

    Hole saw

    Cuts clean round holes for downlights and speakers. Neater than a jab saw and it keeps the offcut in one piece.

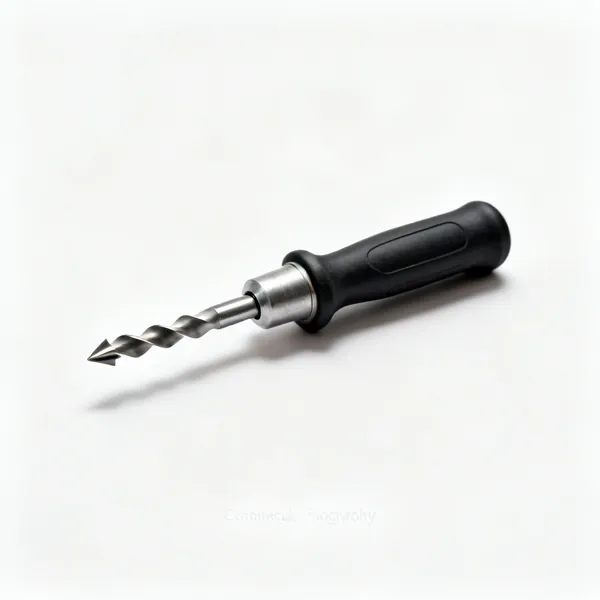
  • Rotary cut out tool: A rotary drywall cut out tool with a bit

    Rotary cut out tool

    Follows the edge of a fitted box or pipe from behind, cutting the board exactly to the obstruction. Very fast on a lot of sockets.

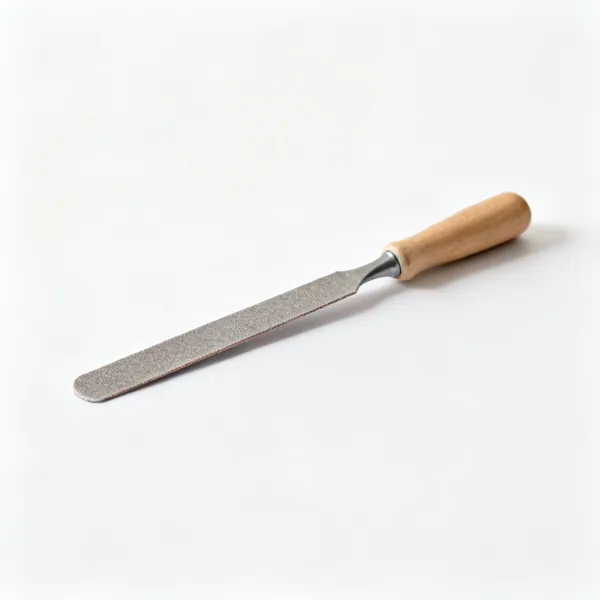
  • A drywall rasp with a handleEssential

    Drywall rasp

    Trims a cut edge back a couple of millimetres so a board fits without forcing it. Forcing a board cracks the corner.

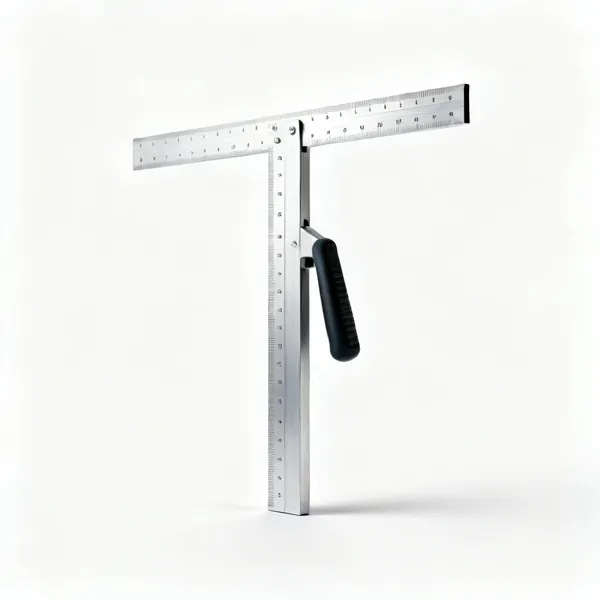
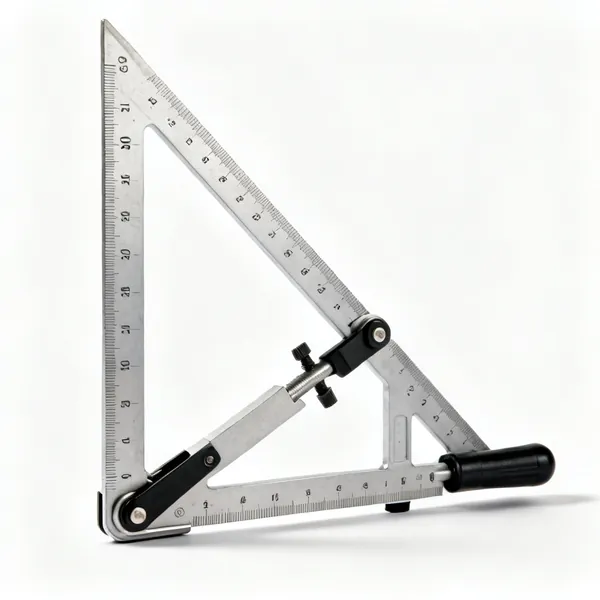
  • An aluminium drywall T squareEssential

    Drywall T square

    A 1.2 metre square that hooks the board edge, giving a straight square cut across the full width in one pass.

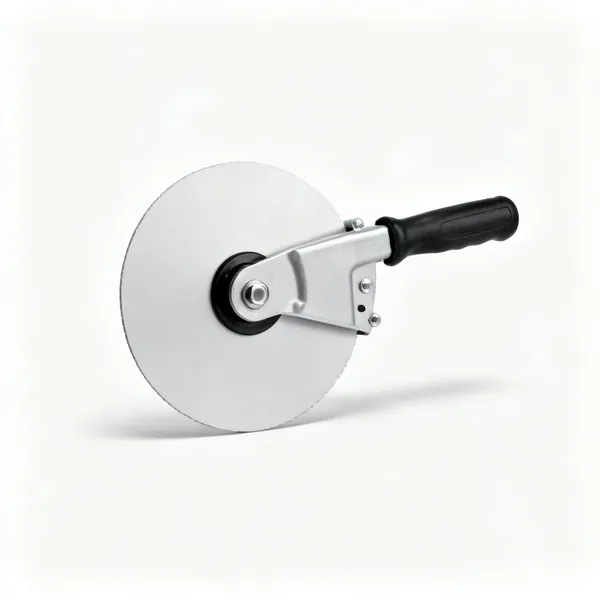
  • An adjustable drywall circle cutter

    Circle cutter

    Scores a circle of any radius for a light or vent. Adjustable, unlike a hole saw, so any diameter is available.

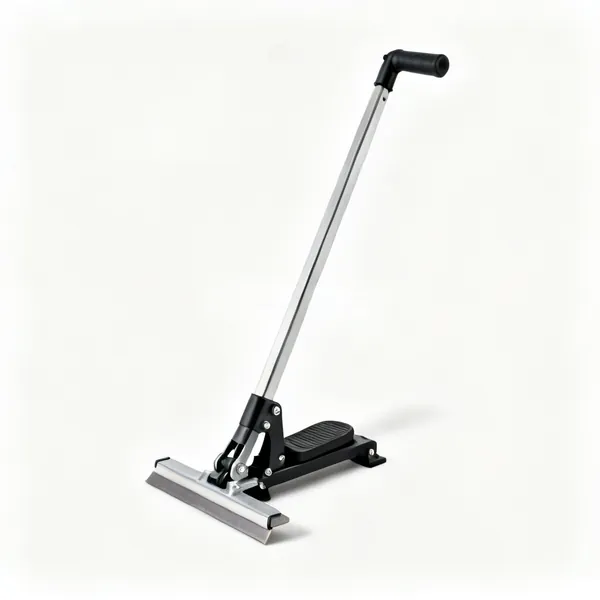
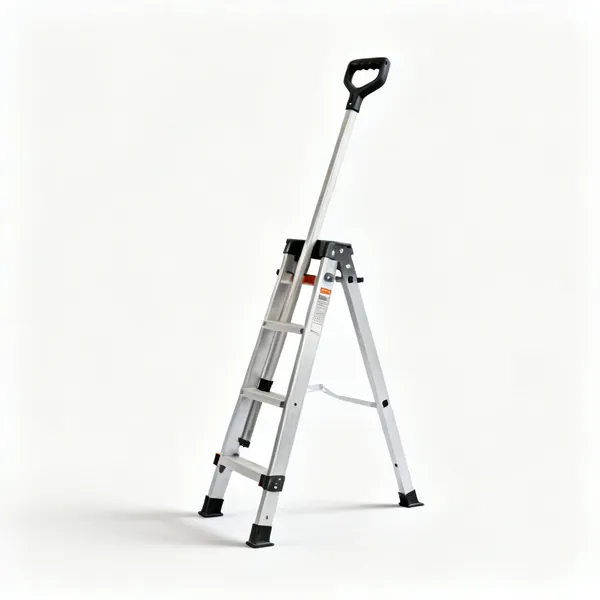
  • Board lifter: A foot operated drywall panel lifterEssential

    Board lifter

    A foot operated lever that raises a board the last few millimetres tight to the one above, leaving both hands free to fix it.

  • Panel carrier: A drywall panel carrying handle

    Panel carrier

    A hook and handle that lets one person carry a sheet upright. Boards are awkward rather than heavy, and awkward damages corners.

  • A drywall panel lift hoist with a cradle

    Panel lift

    A cradle that winds a board up to a ceiling and holds it there. Turns a two person struggle into one person's job.

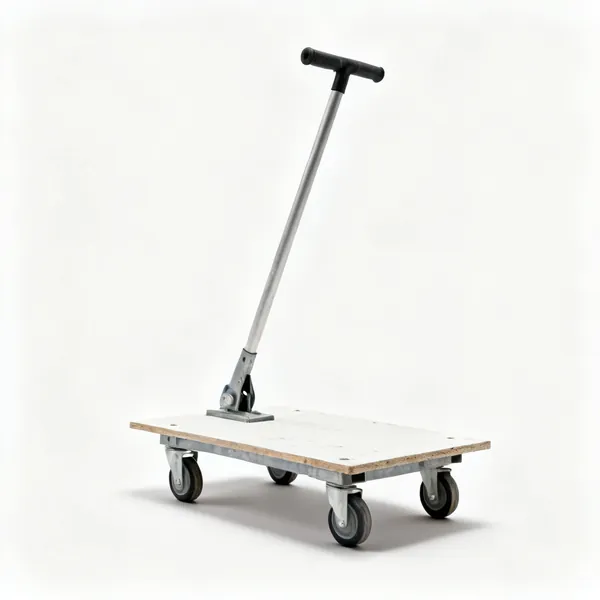
  • A plasterboard trolley on castors

    Board trolley

    Moves sheets upright on castors through a building. Carrying boards flat through doorways is how corners get broken.

Framing & fixing 11

Getting boards onto studs at the right depth. Overdriving is the fault that undoes everything else here.

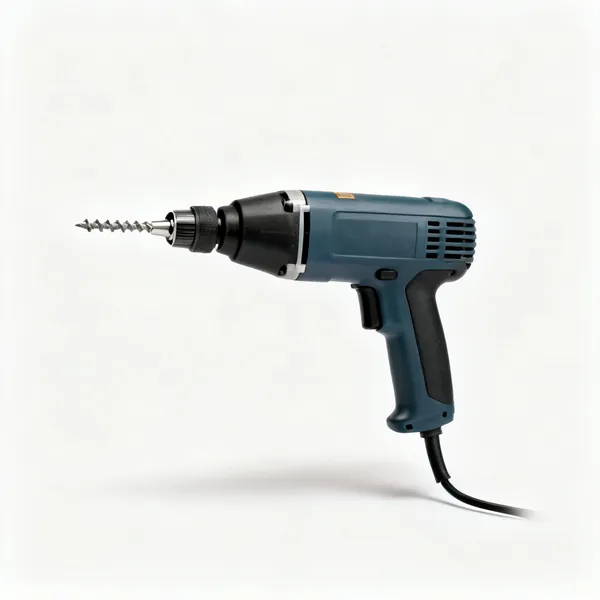
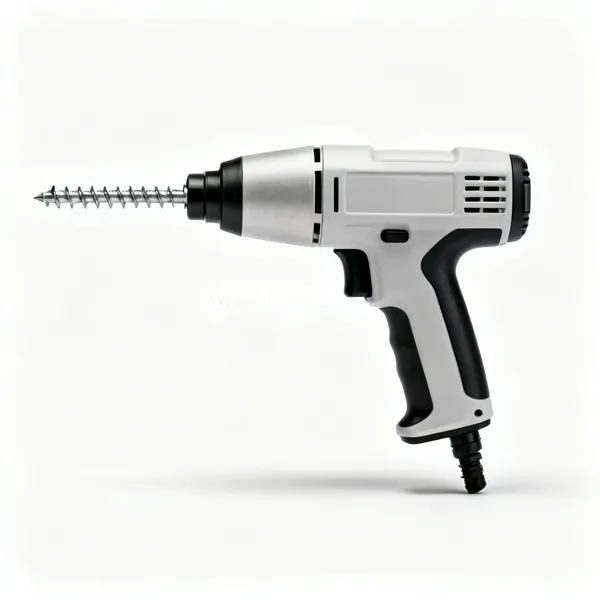
  • A corded drywall screwgun with a depth noseEssential

    Drywall screwgun

    A depth sensitive clutch that stops at the dimple, so screws never tear the paper. Consistency is what a normal drill cannot give.

  • Depth setter bit: A drywall depth setter driver bitEssential

    Depth setter bit

    A collar on a driver bit that sets screw depth in an ordinary drill. The cheap version of a screwgun and it works.

  • Collated screwgun: A collated drywall screwgun with a screw strip

    Collated screwgun

    Feeds screws from a strip so you never handle one. On a whole house it saves hours and a lot of dropped screws.

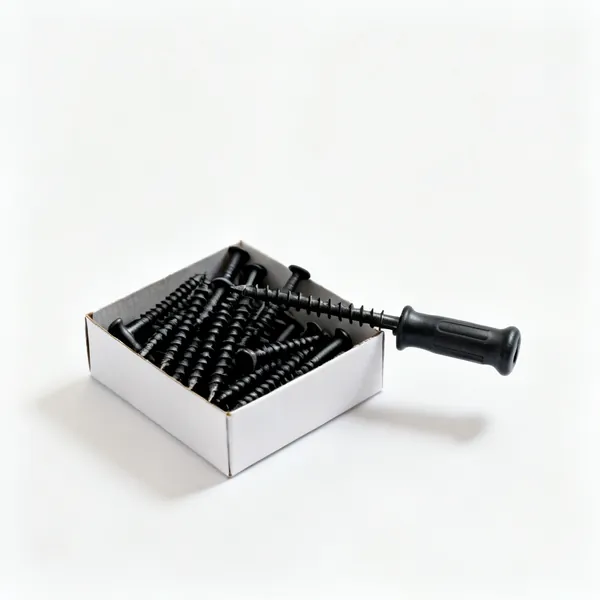
  • A box of black drywall screwsEssential

    Drywall screws

    Bugle heads that pull flush without tearing paper. Coarse thread for timber, fine for metal stud, and not interchangeable.

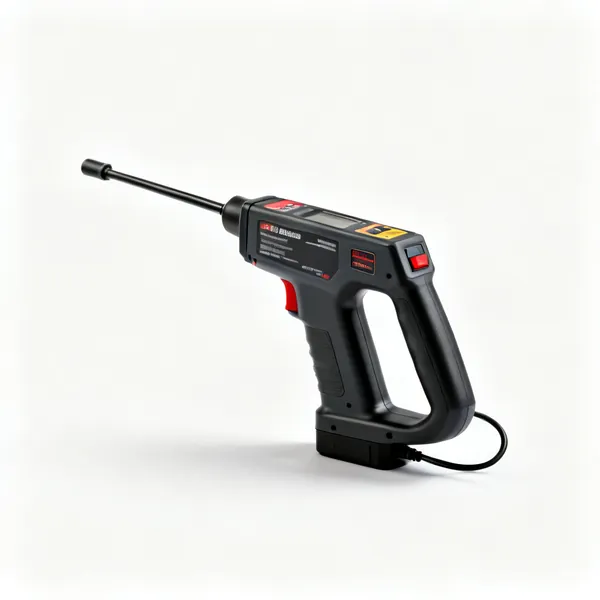
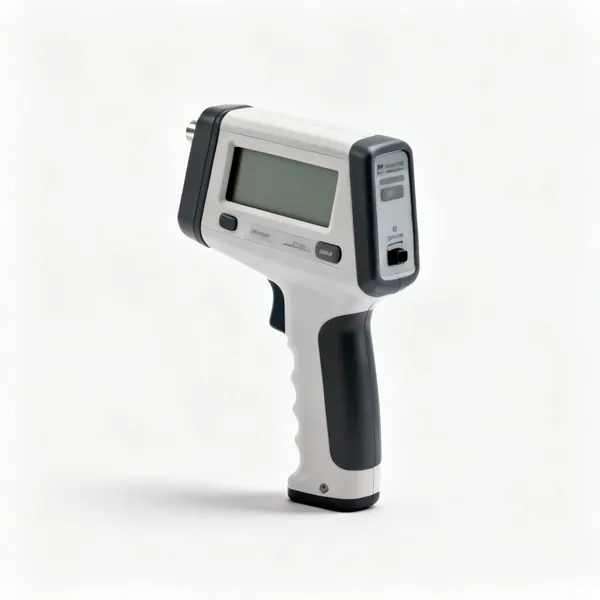
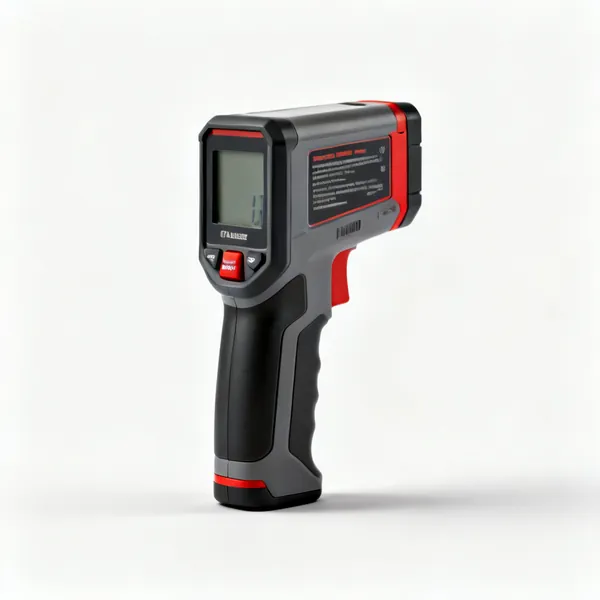
  • Stud detector: A handheld stud and cable detectorEssential

    Stud detector

    Finds studs, noggins and, on the better ones, live cables and pipes behind the board. Cheap insurance before any screw goes in.

  • Metal stud snips: A pair of metal stud cutting snips

    Metal stud snips

    Cuts steel track and stud cleanly. A grinder throws sparks and leaves a burred edge that cuts hands later.

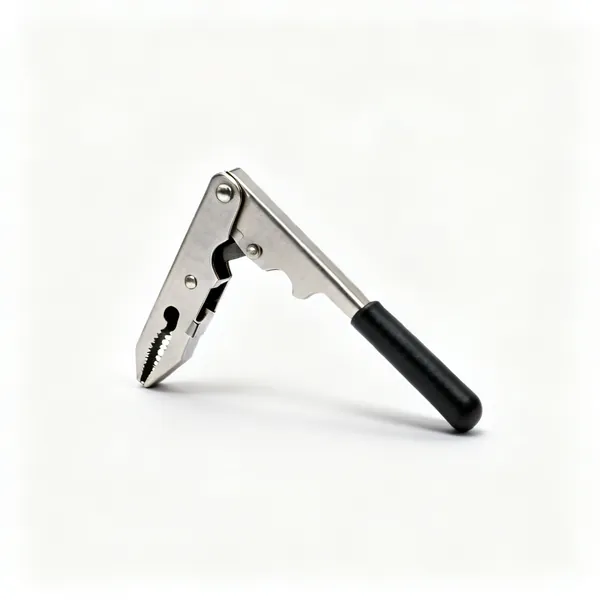
  • Stud crimper: A metal stud crimping tool

    Stud crimper

    Joins metal stud to track by punching a crimp, so no screw head sits proud under the board face.

  • A cross line laser level

    Laser level

    Sets out track lines on floor and ceiling in one go, which is how a stud wall ends up plumb rather than nearly plumb.

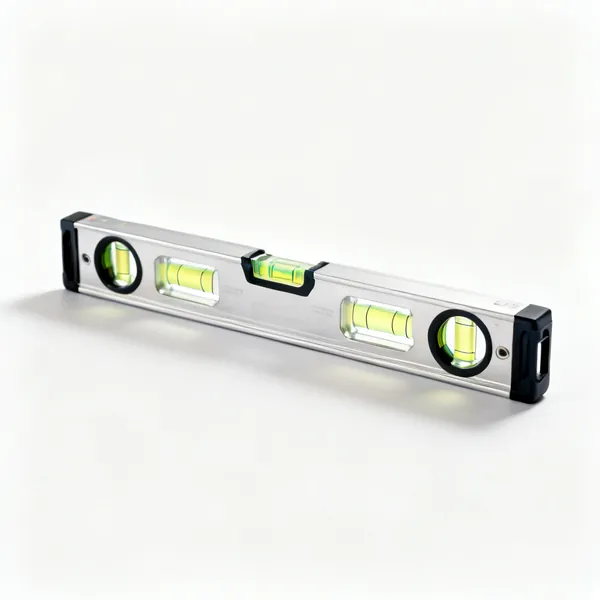
  • An aluminium spirit levelEssential

    Spirit level

    Checks studs plumb and track straight. A leaning stud shows as a bowed wall once the board is on and it cannot be fixed then.

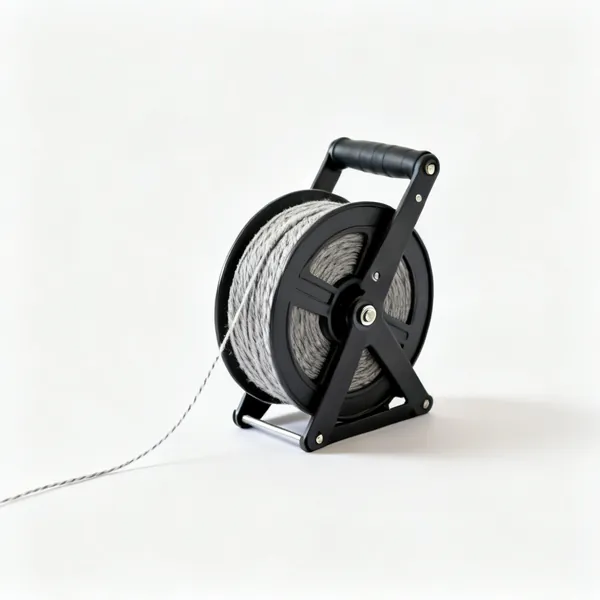
  • A chalk line reelEssential

    Chalk line

    Snaps stud centre lines on the board face so screws land on timber rather than in fresh air.

  • Drywall adhesive gun: A cartridge adhesive gun with drywall adhesive

    Drywall adhesive gun

    Dot and dab adhesive for fixing board direct to masonry, with no framing at all. A different method entirely.

Taping & jointing 14

Where the finish is decided. The progression of knife widths is the entire technique, coat by coat.

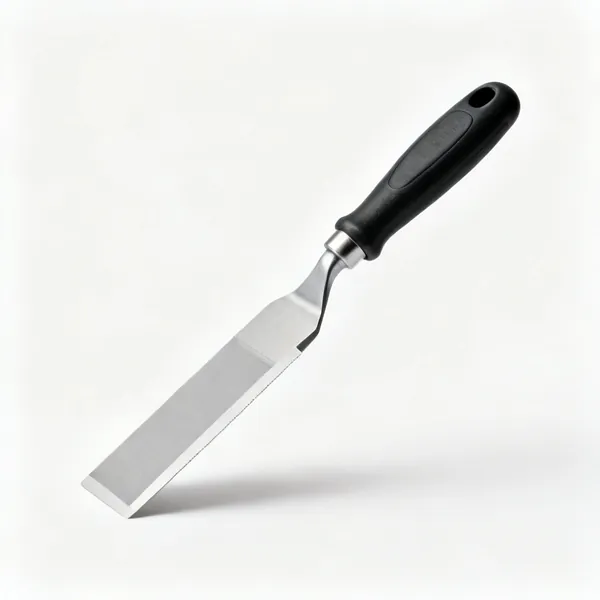
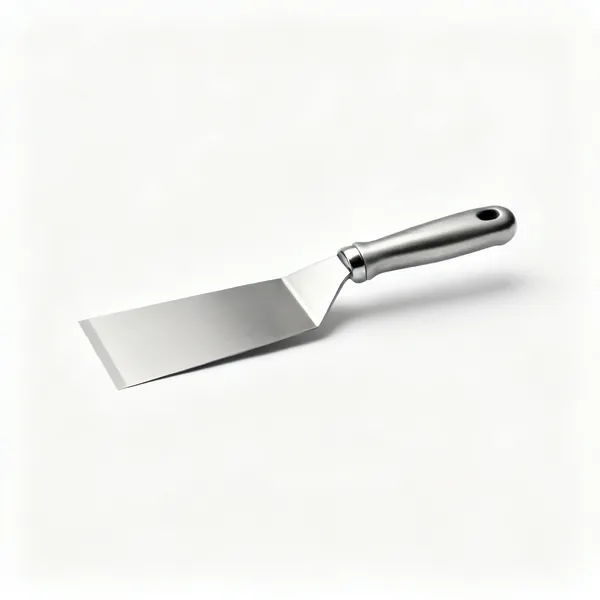
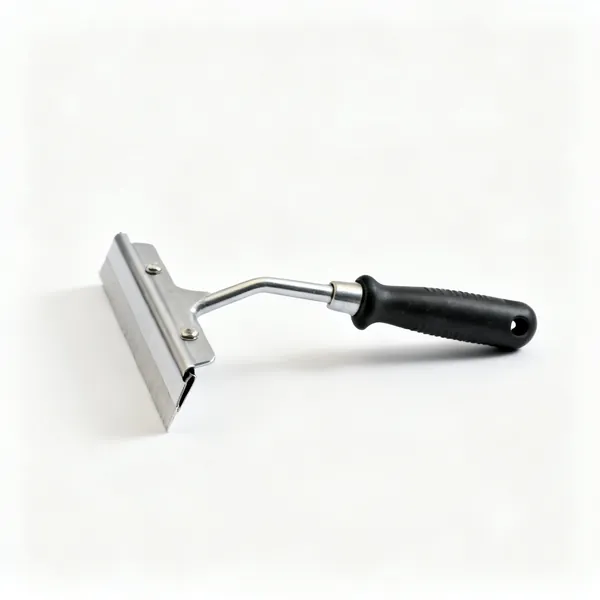
  • 150mm taping knife: A 150mm stainless steel taping knifeEssential

    150mm taping knife

    Embeds the tape in the first coat and fills screw dimples. The narrowest of the set and the one used most.

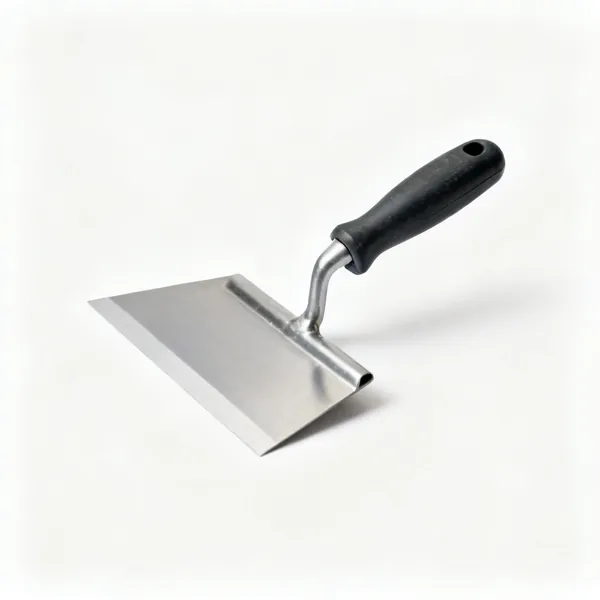
  • 200mm taping knife: A 200mm stainless steel taping knifeEssential

    200mm taping knife

    The second coat, spreading the joint wider than the tape. Each coat has to exceed the one below it.

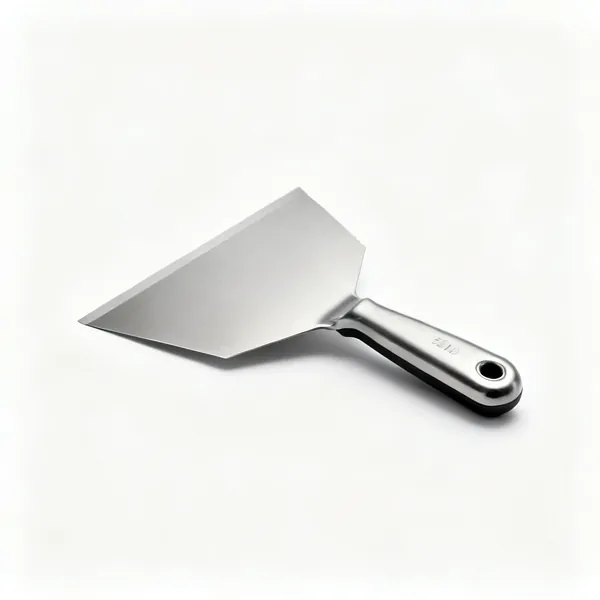
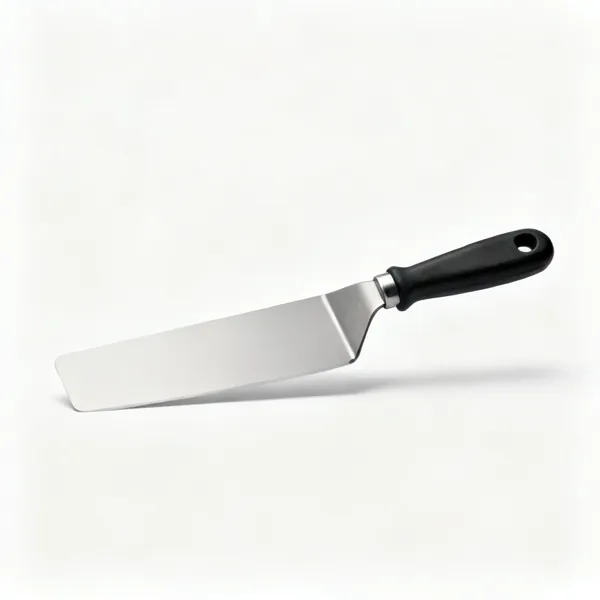
  • 300mm taping knife: A 300mm wide stainless steel taping knifeEssential

    300mm taping knife

    The finishing coat, feathering the edges out until they vanish into the board. Nothing narrower can do this.

  • A stainless steel drywall mud panEssential

    Mud pan

    A stainless trough holding compound with a straight edge to load and clean the knife against. The knife is loaded from this, not the tub.

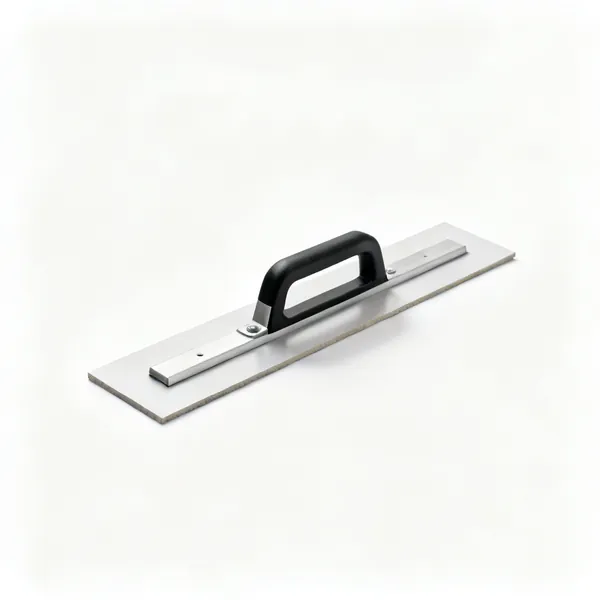
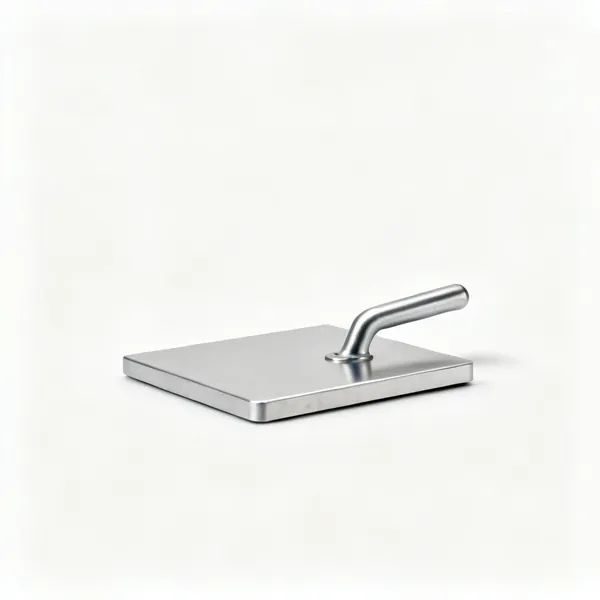
  • A plasterer's hawk board

    Hawk

    A flat board carrying compound close to the work. Some tapers prefer it to a pan, and it suits skimming better.

  • Paper joint tape: A roll of paper drywall joint tapeEssential

    Paper joint tape

    The reinforcement in a flat joint, bedded into wet compound. Stronger than mesh and it needs care to avoid air behind it.

  • Self adhesive mesh tape: A roll of self adhesive mesh drywall tape

    Self adhesive mesh tape

    Sticks straight to the board, so it is easier for beginners and slightly weaker. Fine on small repairs.

  • A drywall taping banjo tool

    Taping banjo

    Feeds tape already coated with compound. Much faster than hand bedding once you have the knack.

  • Internal corner trowel: An internal corner drywall trowelEssential

    Internal corner trowel

    Two blades at ninety degrees that finish both sides of an internal corner in one pass, which is very hard freehand.

  • Corner roller: A drywall corner tape roller

    Corner roller

    Presses tape firmly into an internal corner before the corner trowel wipes it. Removes the air that causes bubbles.

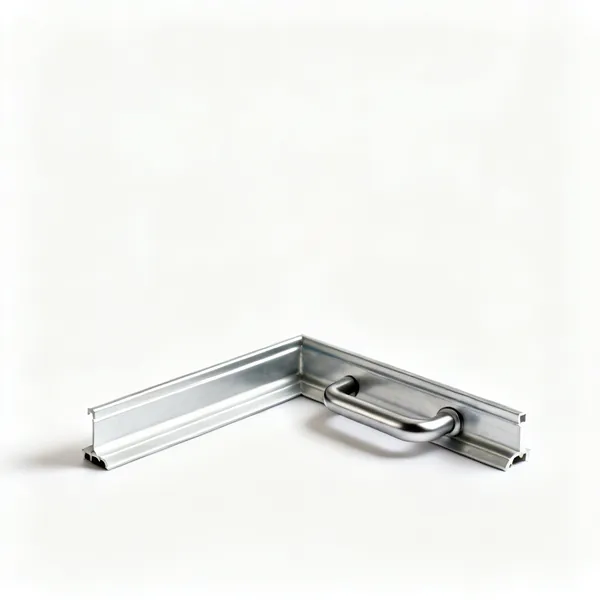
  • Metal drywall corner bead profilesEssential

    Corner bead

    A metal or paper faced profile giving a straight protected external corner. Freehand corners are never straight.

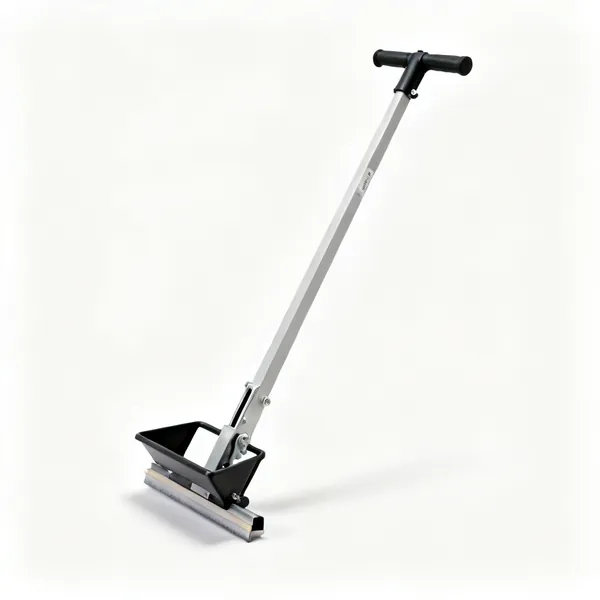
  • Bead crimper: A corner bead crimping tool

    Bead crimper

    Fixes metal corner bead by punching it into the board, with no screws or nails to show through the finish.

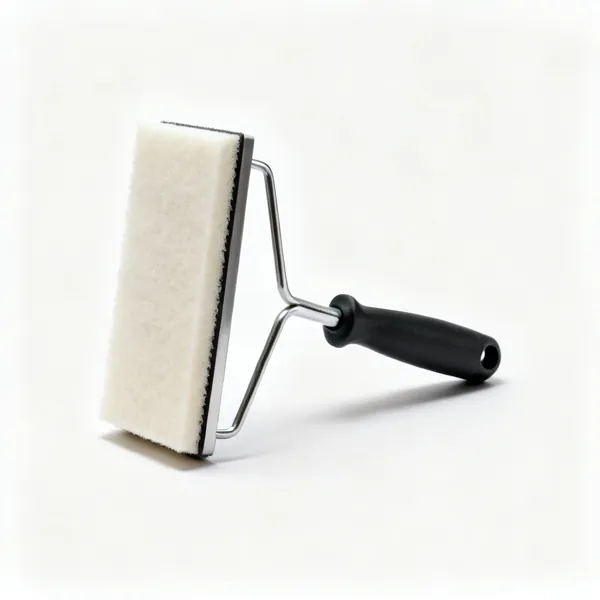
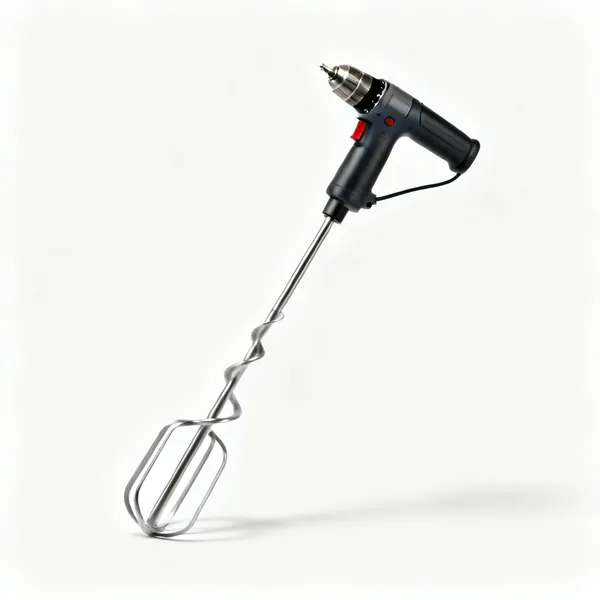
  • A mixing paddle with a drillEssential

    Mixing paddle

    Mixes powder compound smooth, or loosens ready mixed to a workable consistency. Lumps drag lines through a finish coat.

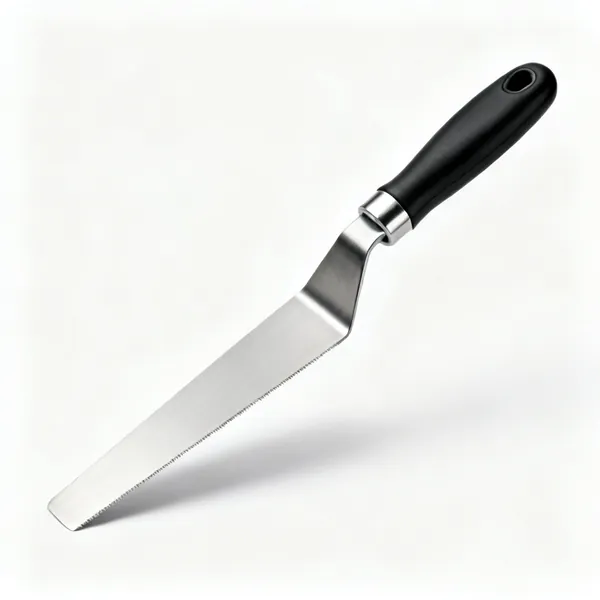
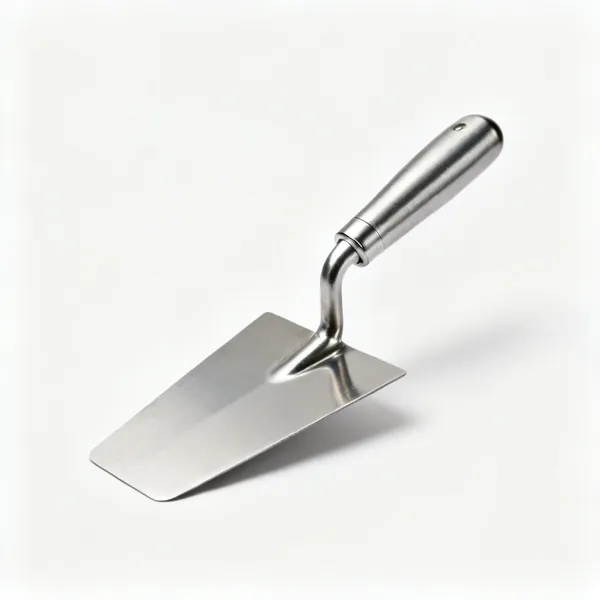
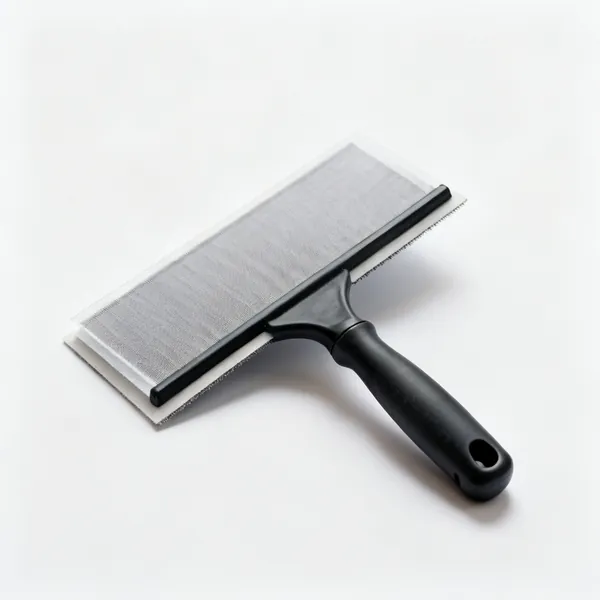
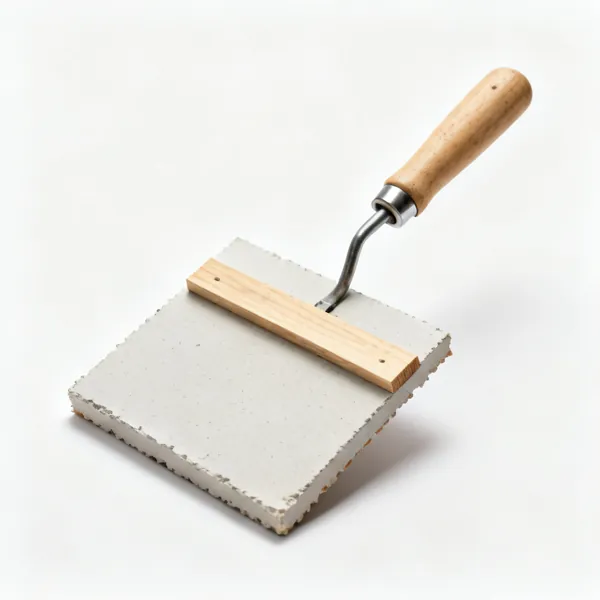
  • A stainless steel plastering skimming trowel

    Skimming trowel

    A large flexible blade for skimming a whole surface rather than a joint. Different shape and a different job.
Sanding & finishing 11

The dustiest part of building work. Two ways to control it, and both are better than a hand sander and an open door.

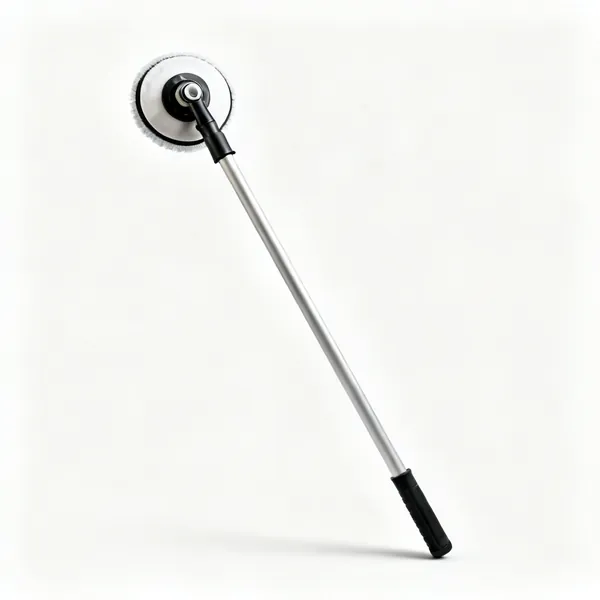
  • A drywall pole sander with a swivel headEssential

    Pole sander

    A swivelling head on a pole for ceilings and high walls, reaching everything without a ladder for every patch.

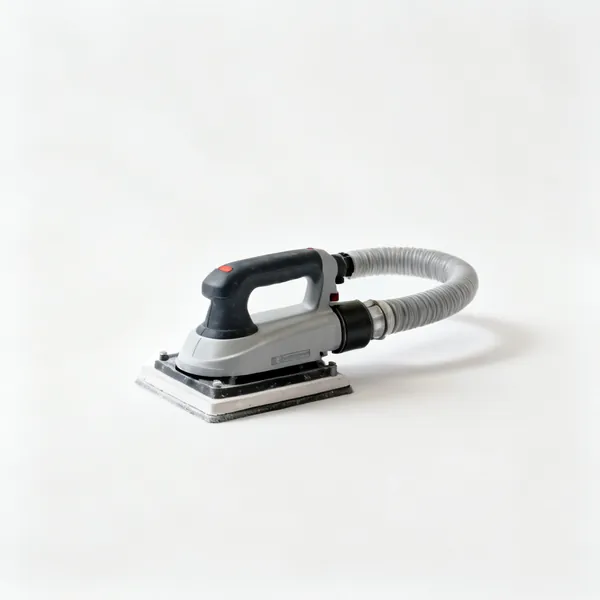
  • Vacuum sander: A vacuum assisted drywall sander with a hose

    Vacuum sander

    A sanding head connected to an extractor, catching most of the dust at source. Transforms working in an occupied house.

  • A drywall hand sanding block with paperEssential

    Hand sanding block

    A clamp block for detail sanding around sockets and in corners. What you finish the awkward bits with.

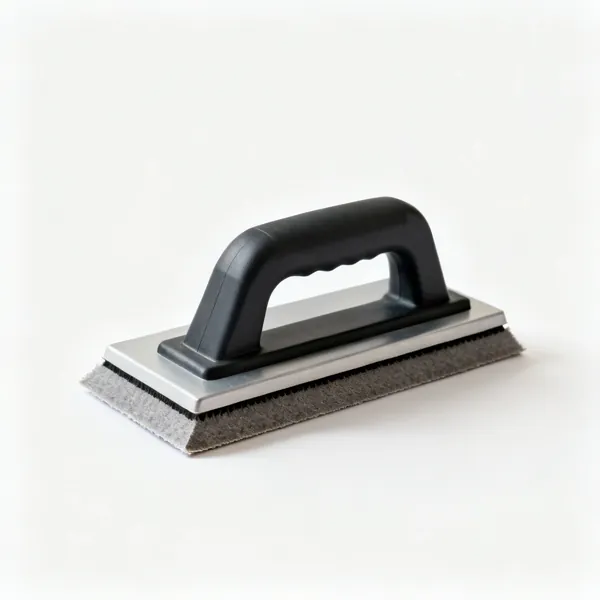
  • A drywall sanding spongeEssential

    Sanding sponge

    Damp sanding with no airborne dust at all. Slower than dry sanding and the right choice in a lived in house.

  • Sanding screens: Drywall sanding screen sheetsEssential

    Sanding screens

    Open mesh abrasive that does not clog with compound the way paper does, so it lasts far longer.

  • Sheets of drywall sanding paperEssential

    Sanding paper

    Around 120 grit for knocking ridges back and 150 to 180 for finishing. Coarser than that scores the board face.

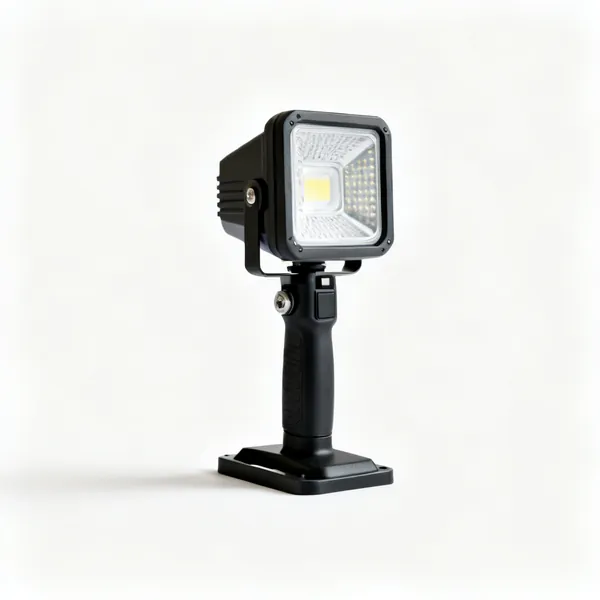
  • Raking work light: An LED work light on a standEssential

    Raking work light

    A light placed low and shining along the wall reveals every ridge. Overhead light hides exactly what paint will show.

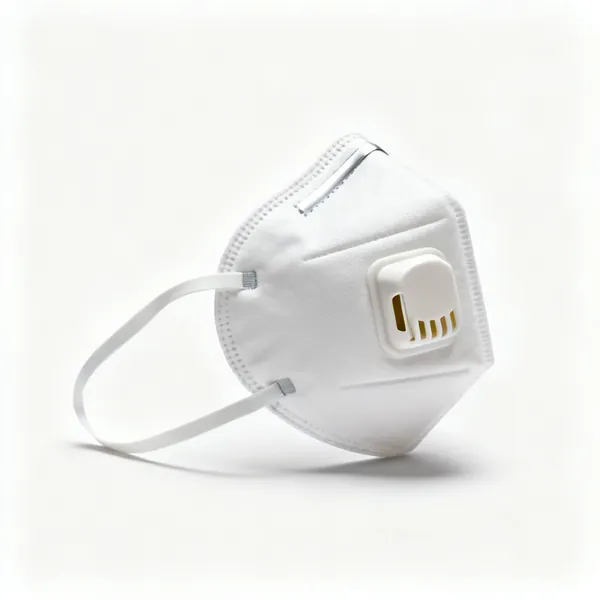
  • FFP3 dust mask: An FFP3 respirator dust maskEssential

    FFP3 dust mask

    Compound dust is a fine respirable powder. A paper nuisance mask does nothing useful here, and fit is the whole product.

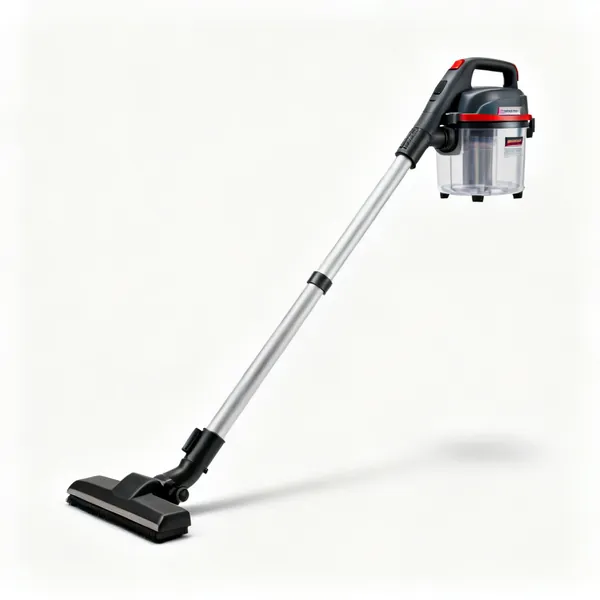
  • An M class dust extractor vacuum

    Dust extractor

    M class extraction paired with a sanding head. A household vacuum passes the fine fraction straight back into the room.

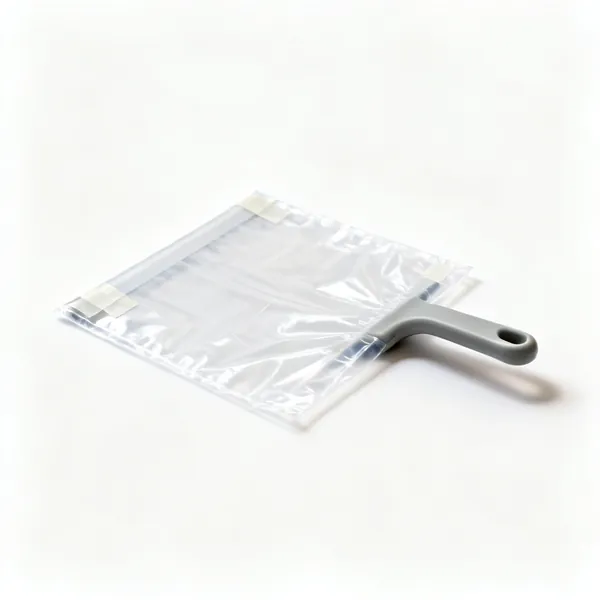
  • Dust barrier & tape: A plastic dust barrier sheet with tapeEssential

    Dust barrier & tape

    Seals the doorway and the vents. Compound dust travels through gaps that barely pass air, and it reaches everything.

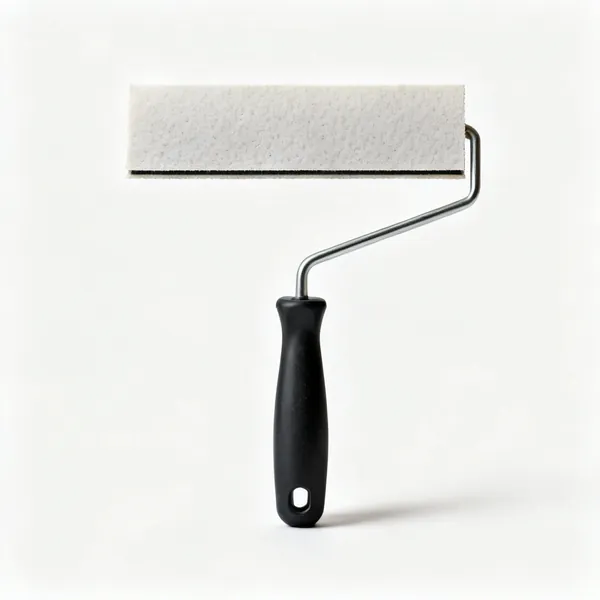
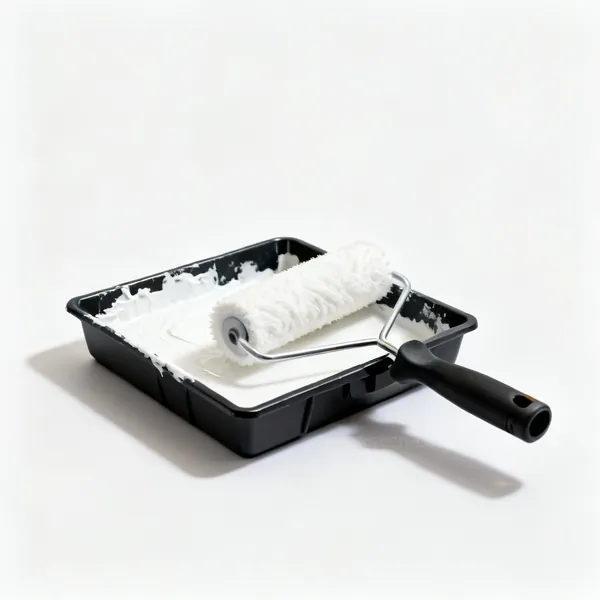
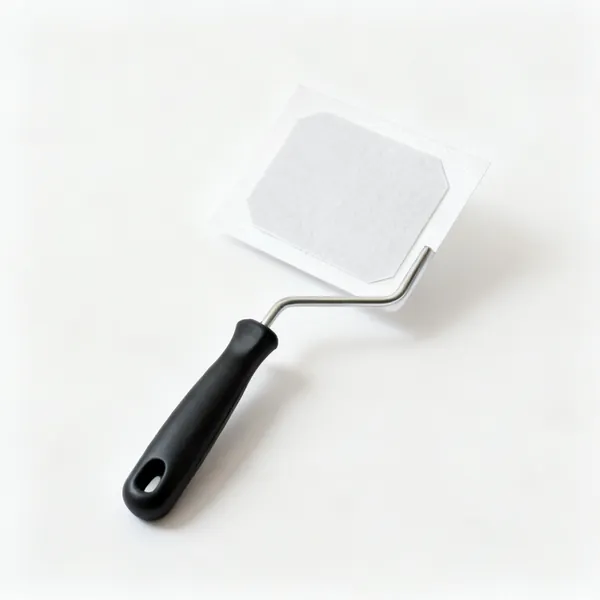
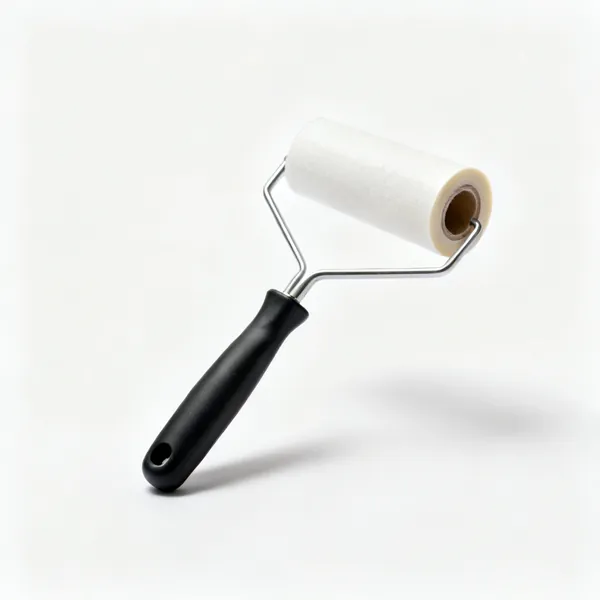
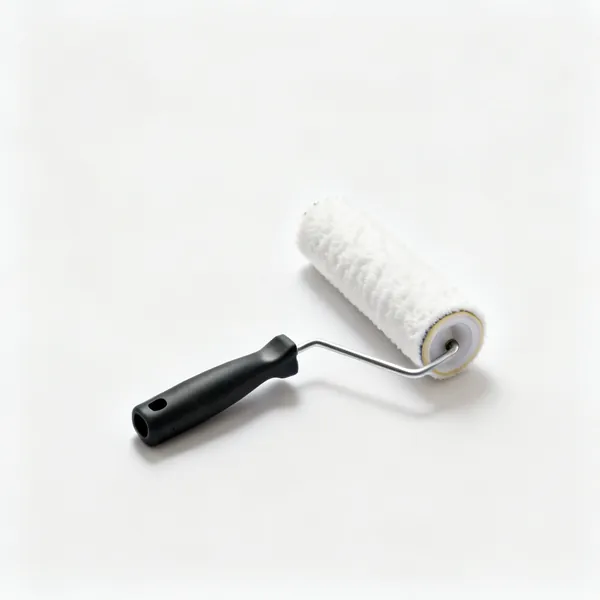
  • Mist coat roller: A paint roller and tray with white paintEssential

    Mist coat roller

    A diluted first coat over new board and compound, which absorb differently. Without it every joint shows as a shadow.

Repair & patching 9

Most drywall work is a repair rather than a new wall. Small holes, big holes and cracks each want a different approach.

  • Self adhesive patch: A self adhesive drywall repair patchEssential

    Self adhesive patch

    A mesh backed metal plate that spans a small hole so it can be filled in one go. The fastest fix for a doorknob hole.

  • A flexible filling knifeEssential

    Filling knife

    A narrow flexible blade for small fills and nail holes. Flex is what lets it follow the surface and leave nothing proud.

  • Board offcuts & battens: A piece of plasterboard offcut with a timber batten

    Board offcuts & battens

    For a larger hole: a batten behind, a cut piece of board screwed to it, then taped as a normal joint. A patch, done properly.
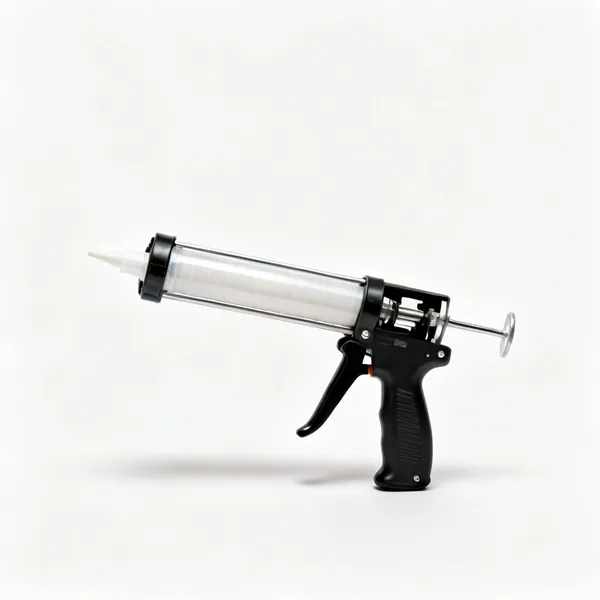
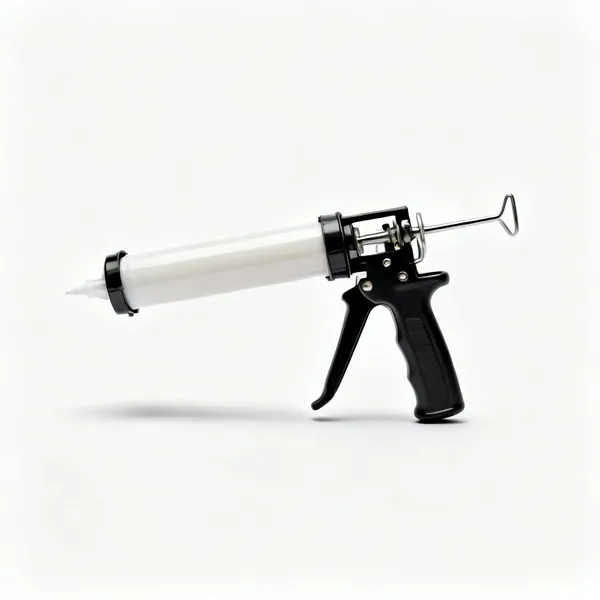
  • Caulk gun: A cartridge caulking gunEssential

    Caulk gun

    Flexible caulk into the joint between board and skirting or coving, which moves and would crack filler.

  • Flexible crack tape: A roll of flexible crack repair tape

    Flexible crack tape

    Reinforces a recurring crack so it does not simply reopen. Filling a live crack without reinforcement never lasts.

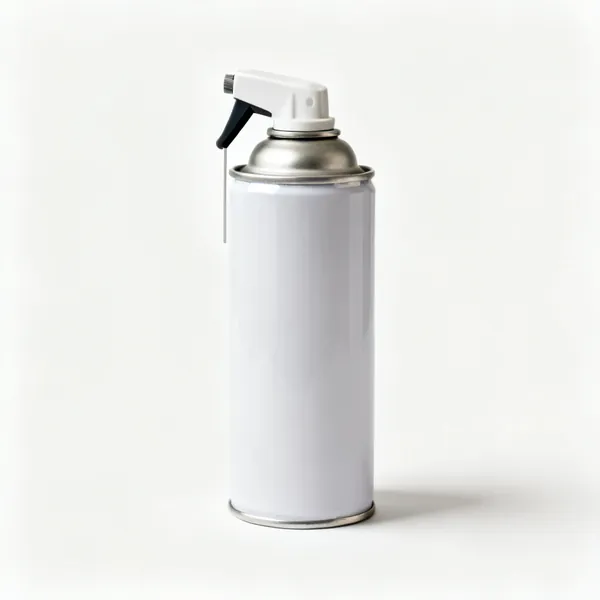
  • An aerosol can of stain blocking primer

    Stain block

    Seals water stains, nicotine and marker so they do not bleed through the new paint. Emulsion alone will not cover them.

  • Narrow detail sanding sticks

    Detail sanding sticks

    Narrow abrasive sticks for sanding a repair inside a tight space, like beside a pipe or behind a radiator.

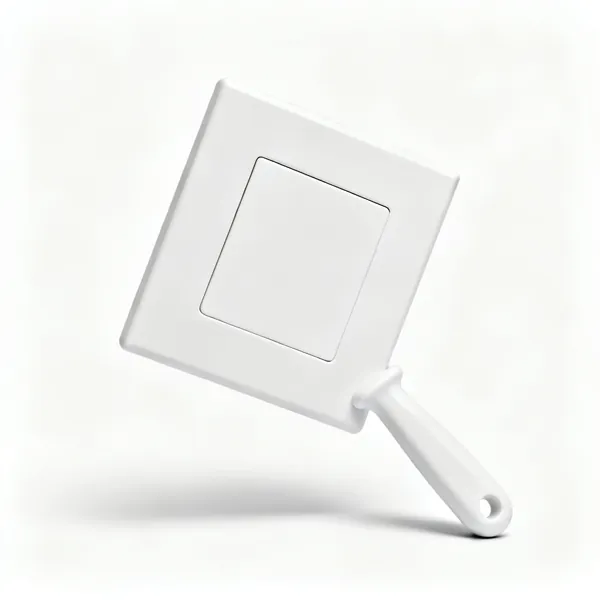
  • Socket cover plates: A white blank socket cover plate

    Socket cover plates

    Covers an old socket or switch opening neatly rather than patching it. Sometimes the honest answer to a redundant hole.

  • A handheld moisture meter

    Moisture meter

    Checks a stain is dry before repairing it. Patching over an active leak means doing the whole job twice.

Measuring & marking 7

Boards are large and rooms are not square. Measuring well here saves a lot of cut boards.

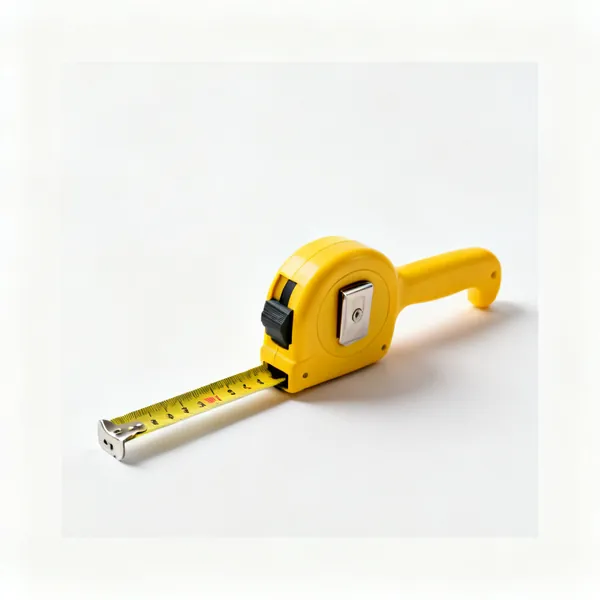
  • A yellow tape measureEssential

    Tape measure

    Eight metres with a wide stiff blade that stands out unsupported, which is what lets you measure a ceiling alone.

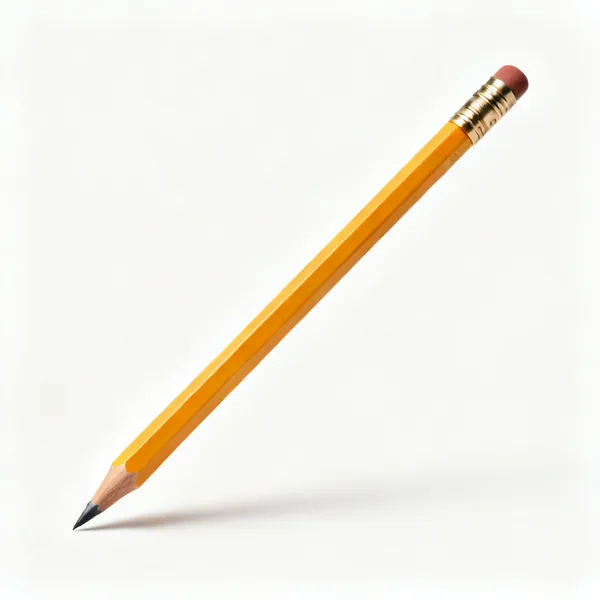
  • Flat carpenter's pencilsEssential

    Carpenter's pencils

    Soft lead that marks board paper without tearing it. Flat, so it does not roll off the stack.

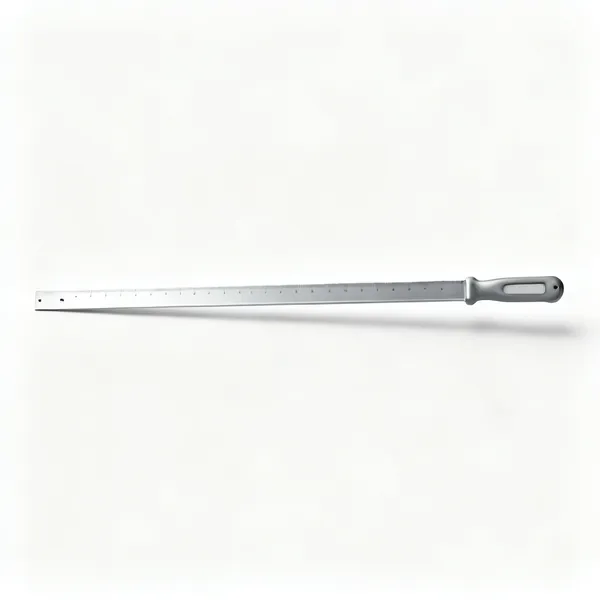
  • A long aluminium straight edgeEssential

    Straight edge

    Checks a taped joint for flatness and guides a long cut. Held against the wall, it shows the hollow your eye missed.

  • A combination square

    Combination square

    Marks square lines and a set distance from an edge, for socket cut outs and repeated measurements.

  • A plastic contour profile gauge

    Profile gauge

    Copies an awkward shape such as a pipe cluster and transfers it to the board, so the cut fits first time.

  • Laser measure: A handheld laser distance measure

    Laser measure

    Reads room dimensions in seconds, including a ceiling height you would otherwise need a ladder to measure.

  • Socket locators: Magnetic socket box locator markers

    Socket locators

    Magnets or markers that show exactly where a box sits behind the board, so the cut out lands first time.

Access & site protection 10

Ceilings mean working overhead, and compound goes everywhere. Both are worth setting up for properly.

  • A pair of drywall stilts

    Drywall stilts

    Strap on stilts letting a taper work a ceiling continuously without a platform. Genuinely skilled to use and very fast.

  • Trestles & staging: A pair of trestles with a staging boardEssential

    Trestles & staging

    Adjustable legs and a board for a long low platform at ceiling height. What most ceiling work is actually done from.

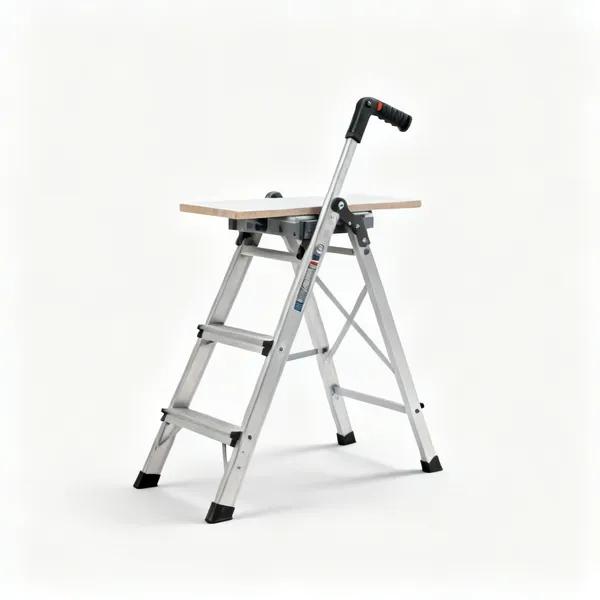
  • A low aluminium hop up platformEssential

    Hop up

    A low stable platform giving the last few hundred millimetres of reach. Used constantly, and safer than a chair.

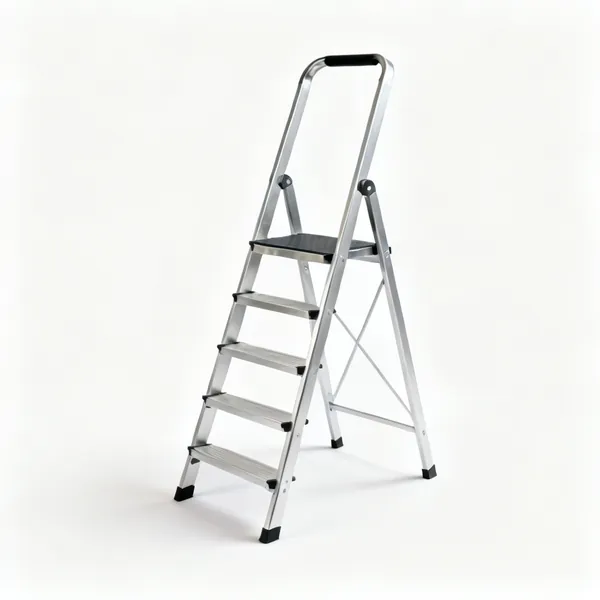
  • An aluminium platform step ladderEssential

    Step ladder

    General access and detail work at height. A platform step lets you work with both hands, which a ladder does not.

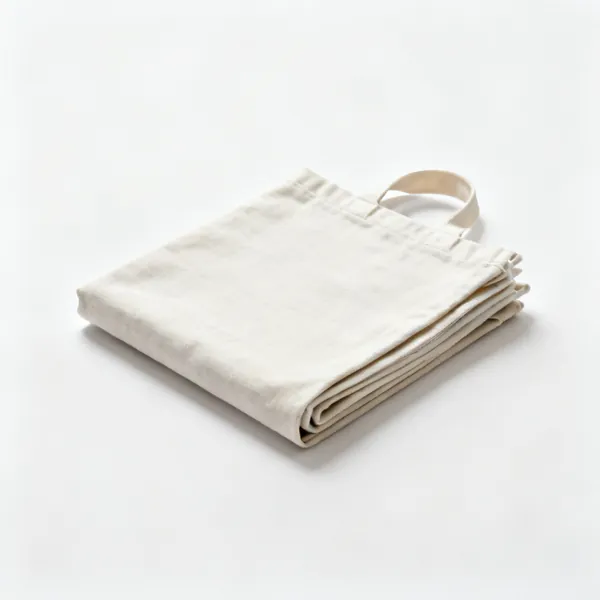
  • Dust sheets: A folded canvas dust sheetEssential

    Dust sheets

    Compound splashes and dust settle on everything. Cleaning up afterwards always costs more than covering up first.

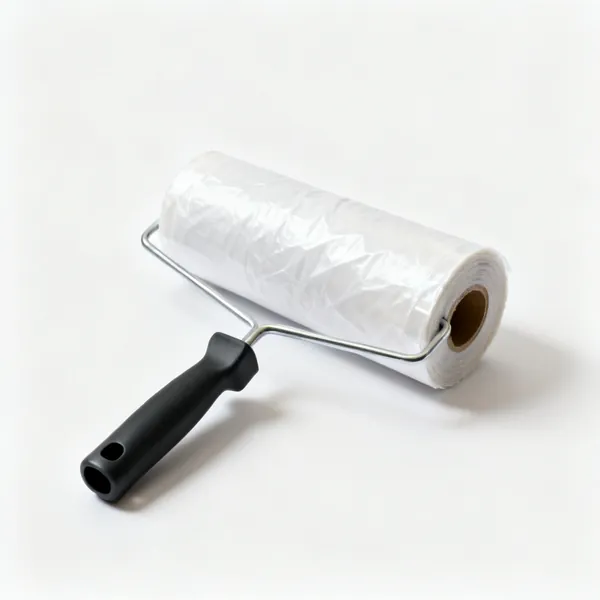
  • A roll of floor protection sheetingEssential

    Floor protection

    Board or heavy sheeting, since dropped compound sets hard and stilts and boards mark a finished floor.

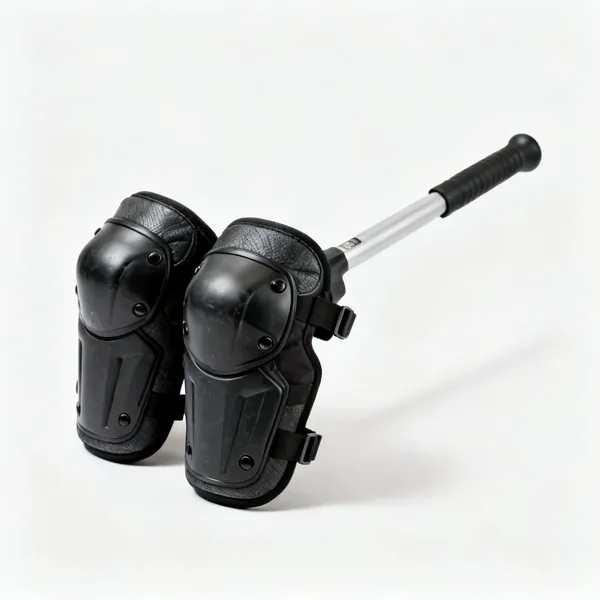
  • A pair of work knee padsEssential

    Knee pads

    The bottom metre of every wall is done kneeling, and the boards are being cut on the floor too.

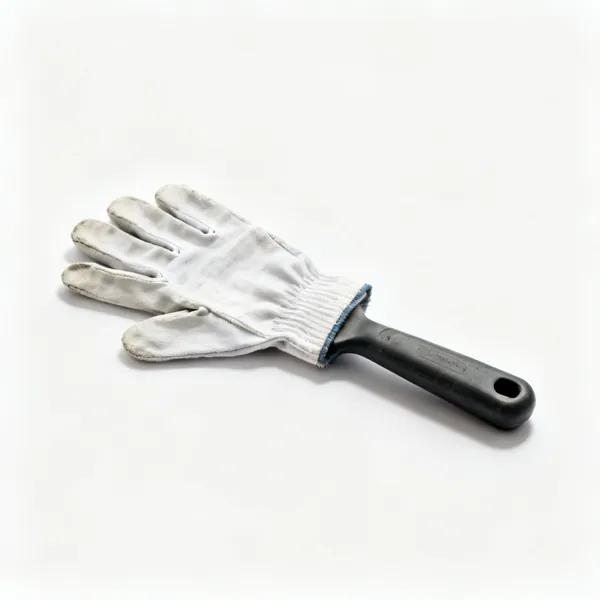
  • A pair of thin work gloves

    Work gloves

    Board edges are abrasive and compound dries skin badly. Thin gloves, since taping needs feel in the fingers.

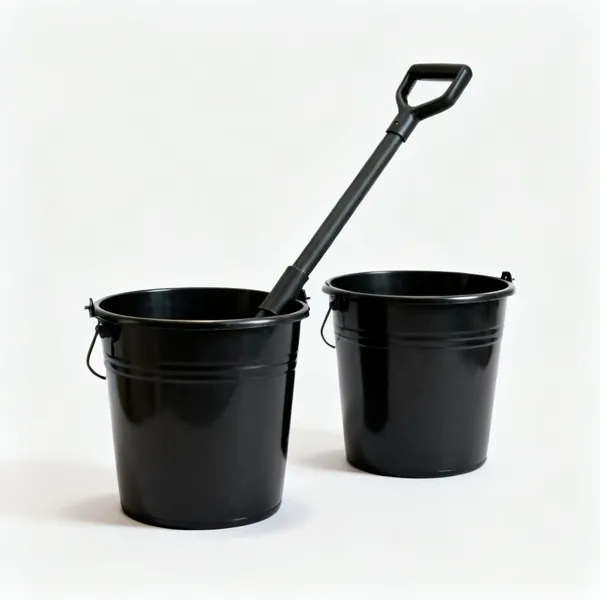
  • Two black plastic bucketsEssential

    Buckets

    Mixing, washing knives and settling out the washings. Compound sets solid in a drain, so it never goes down the sink.

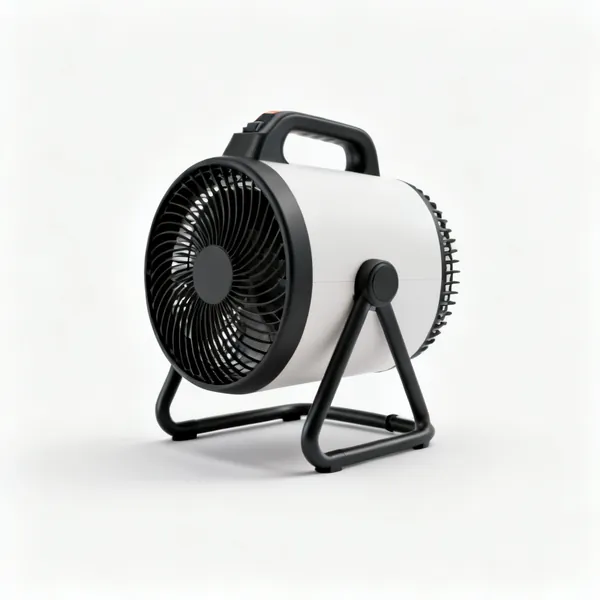
  • Drying heater: An electric fan heater for drying

    Drying heater

    Warms and moves air so coats dry between passes. In a cold room, compound stays wet for days and the job stalls.

Choosing drywall tools

The finish is decided by the taping, and the taping is decided by knife width. Everything else is handling large heavy sheets without damaging them.

Why there are so many knives, and what each is for

The single most confusing thing about drywall tools is that you appear to need five taping knives that all look the same. You do, and the reason is simple: each coat is wider than the last.

The point of taping is to make a joint invisible, and you cannot do that by filling a narrow line. You do it by spreading the joint so wide and so thin that the eye cannot detect the transition. So the first coat embeds the tape with a narrow knife, the second widens it, and the third feathers the edges out beyond that.

A 150 millimetre knife cannot feather a joint out to 300 millimetres. That is the whole explanation.

Narrow for embedding, wide for feathering
Roughly 125mm to bed the tape, 200mm for the second coat, 250 to 300mm for the third. Each coat wider than the last.
Three thin coats, never one thick one
Thick compound cracks as it shrinks and takes days to dry. Thin coats dry fast and sand to nothing.
Feather the edges, do not build a ridge
The edge of each coat should disappear into the board. A hard edge shows under paint forever, especially in side light.
A trowel is not a taping knife
A flat trowel is for skimming a whole wall. A taping knife is for a joint. They are different shapes for different jobs.
Check the blade is straight
A bent or nicked blade leaves a line in every pass. The blade is the tool, so treat it as a consumable.

Hanging boards, and the mistakes that cause cracks

Cracks in a finished ceiling or wall usually come from how the boards were hung rather than how they were taped. Two things cause most of them: joints landing in the wrong place, and boards fixed too tightly.

Joints should be staggered like brickwork and never line up with the corner of a door or window opening, because that is exactly where movement concentrates. And a board wants to be fixed firmly but not crushed: an overdriven screw tears the paper face, which is the part carrying the strength, so the fixing then does nothing.

Stagger the joints
Never a continuous joint across a ceiling, and never one aligned with a door or window corner. That is where cracks start.
Screw to the depth of a dimple, no further
The head should sit just below the surface without tearing the paper. Torn paper means the screw is holding nothing.
Boards horizontal on walls, perpendicular to joists on ceilings
It puts the long edges, which are tapered and designed to be taped, where the joints need to be.
Leave a small gap at the floor
A board standing in a puddle wicks water up. Ten millimetres off the floor, hidden by the skirting.
Cut tight to the ceiling, loose at the bottom
The top joint is visible and the bottom one is covered. Push the board up tight and let the gap fall where nobody sees it.
Use the right board
Moisture resistant in bathrooms, fire rated where required, and acoustic where sound matters. They are not interchangeable.

The dust, which is worse than people think

Sanding joint compound produces enormous quantities of very fine dust, and it gets everywhere in the building including inside electronics and through closed doors.

There are two answers, and they are both worth using. A sanding system connected to a vacuum captures most of it at source. Wet sanding with a sponge produces none at all, is slower, and is the sensible choice in an occupied house. Either beats a hand sander and an open door, which is how a whole home ends up coated.

Vacuum assisted sanding at source
A pole sander connected to an extractor catches most of the dust before it leaves the wall.
Wet sanding in an occupied house
A damp sponge knocks the ridges back with no airborne dust. Slower, and a great deal less cleaning up.
Seal the room, not just the doorway
Tape the door edges and cover the vents. Compound dust travels through gaps that air barely moves through.
A mask, and the right one
The dust is a fine respirable powder. An FFP3 that actually fits, rather than a paper nuisance mask.
Sand less by finishing better
Every ridge you feather out with a knife is a ridge you do not sand. Good taping is a dust reduction strategy.

What to buy first, in order

Stage one: hanging
A drywall saw, a utility knife with plenty of blades, a rasp, a T square, a tape, a screwgun or drill with a depth setter, and a board lifter.
Stage two: taping and jointing
Taping knives in roughly 125, 200 and 250 millimetres, a mud pan, a corner trowel, jointing tape and compound, and a mixing paddle.
Stage three: sanding and finishing
A pole sander with vacuum connection, sanding sponges, a work light for raking light, and a dust mask that fits.
Stage four: speed and scale
A panel lift for ceilings, a banjo or automatic taper, a corner roller and flusher, and a screwgun with a collated attachment.

Mistakes that show under paint

One thick coat instead of three thin ones
It cracks as it shrinks, takes days to dry, and leaves a mound that no amount of sanding flattens properly.
Not feathering the edges
A hard edge on a coat becomes a visible line under paint, and it is most obvious in light raking along the wall.
Overdriving screws
It tears the paper face, which is what carries the strength. The fixing then holds nothing and the board eventually moves.
Joints aligned with a door corner
The most reliable way to produce a crack. Movement concentrates at openings, so joints must be offset from them.
Skipping the tape
Compound alone in a joint cracks. The tape is the reinforcement, and the compound only holds and hides it.
Sanding into the paper
Once you sand through the face paper it fluffs up and absorbs paint differently, showing as a patch. Seal it or refill it.
Painting without a mist coat
Fresh compound and board face absorb at different rates. Without a diluted first coat, every joint shows through as a shadow.
No light while finishing
Ridges are invisible under overhead light and obvious under a light raking along the wall. Check as you go, not after painting.

Looking after drywall tools

Wash knives immediately
Dried compound on a blade edge leaves a line in every subsequent pass. Thirty seconds under a tap is the whole maintenance.
Never let compound dry in the pan
Set lumps break off into the fresh mud and drag through your finish coat. Wash it out between sessions.
Keep blades straight and unnicked
The blade is the tool. A nick puts a groove in every joint, and it cannot be filed out to true flat.
Do not wash compound down the drain
It settles and sets in the trap. Let it settle in a bucket, pour the water off and bin the sludge.
Store corner tools protected
A corner trowel out of true makes internal corners impossible. It only needs one drop.
Change knife blades often
A drywall utility knife blade blunts within a few boards, and a blunt blade tears the paper instead of cutting it.

Frequently asked questions

What drywall tools do I need to start?
A drywall saw, a utility knife with plenty of blades, a rasp, a T square, a screwgun or drill with a depth setter, taping knives in roughly 125, 200 and 250 millimetres, a mud pan, a corner trowel, tape and compound, and a pole sander.
Why do I need several taping knives?
Because each coat is wider than the last. Taping makes a joint invisible by spreading it so wide and thin that the eye cannot detect the transition, so you bed the tape with a narrow knife then widen and feather with progressively wider ones.
What size taping knives should I buy?
Roughly 125 millimetres to embed the tape, 200 for the second coat and 250 to 300 to feather the third. Three is enough to finish a room properly, and a 150 millimetre knife alone cannot feather a joint wide enough.
What is the difference between a taping knife and a drywall trowel?
A taping knife is a flat blade for working along a joint, coat by coat. A curved drywall trowel is for skimming a whole surface and holds a slight crown that leaves compound in the middle of a joint. They are not substitutes.
How many coats of joint compound do I need?
Three. The first embeds the tape, the second widens the joint, the third feathers the edges out. Three thin coats dry faster, crack less and sand more easily than one thick one, which cracks as it shrinks.
How deep should drywall screws go?
Just below the surface, leaving a shallow dimple, without tearing the paper face. The paper carries the strength, so an overdriven screw that has broken through it is holding nothing at all.
Should drywall be hung horizontally or vertically?
Horizontally on walls in most cases, and perpendicular to the joists on ceilings. That puts the long tapered edges, which are designed to be taped, where the joints fall, and it staggers the joints naturally.
Why does my drywall keep cracking at the same spot?
Almost certainly a joint aligned with the corner of a door or window opening, which is where building movement concentrates. Joints must be offset from openings and staggered like brickwork rather than running continuously.
How do I avoid drywall dust everywhere?
Use a pole sander connected to a vacuum, which catches most of it at source, or wet sand with a damp sponge, which produces none. Seal the door edges and cover the vents, because the dust is fine enough to travel through very small gaps.
Can I use filler instead of joint compound?
Not for joints. General filler is harder, shrinks differently and is very difficult to sand over a wide feathered area. Joint compound is formulated to be spread thin, sanded easily and to move slightly with the board.
Do I have to use tape, or can I just fill the joint?
You have to use tape. The tape is the reinforcement that stops the joint cracking as the building moves, and the compound only bonds it and hides it. A filled joint without tape will crack, usually within the first year.
Why do my joints show through the paint?
Either the edges were not feathered out, so there is a visible ridge, or the wall was painted without a diluted mist coat first. Fresh compound and board paper absorb paint at different rates, which shows as a shadow along every joint.