Disclosure

Tools for tape and jointing

Taping knives, trowels, hawks, banjos and sanding gear, all 31 grouped by the job, from bedding the tape through sanding and the board fixing underneath. What hides a joint is the width of the taper rather than the thickness of the compound.

22 are marked essential: a first set that can do a room properly.

Part of the full drywall tools list, 73 tools in 7 groups.

Knives and trowels 7

One per coat, each wider than the last. The width of the blade is what sets the width of the taper.

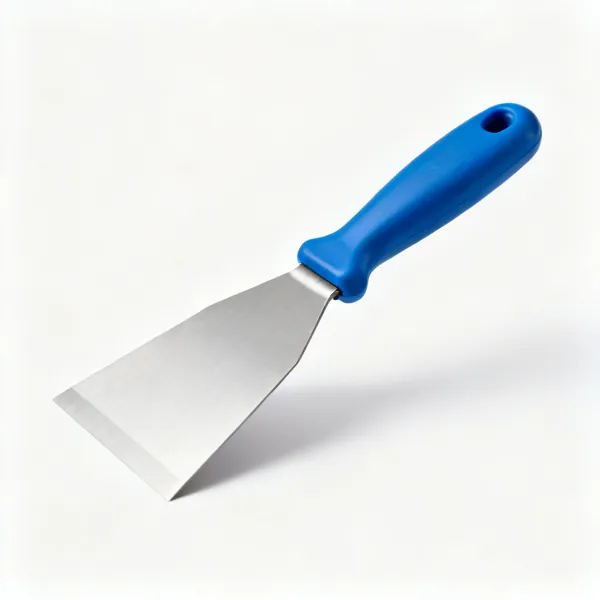
  • 150mm taping knife: A 150mm wide stainless steel taping knife with a blue moulded handleEssential

    150mm taping knife

    The bedding coat knife, narrow enough to press tape into wet compound and squeeze the excess out from under it. Also the knife for filling screw heads and small patches.

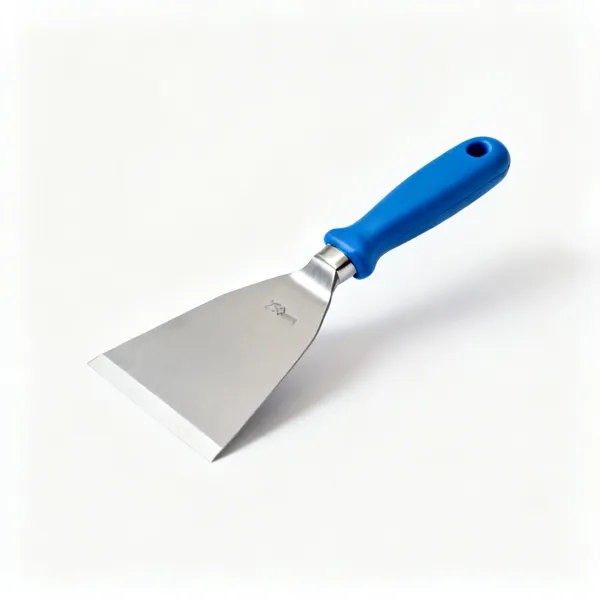
  • 250mm taping knife: A 250mm wide stainless steel taping knife with a blue moulded handleEssential

    250mm taping knife

    The second coat knife, covering the tape and starting the taper. A slight flex in the blade is what lets it ride the compound out rather than scraping it back off.

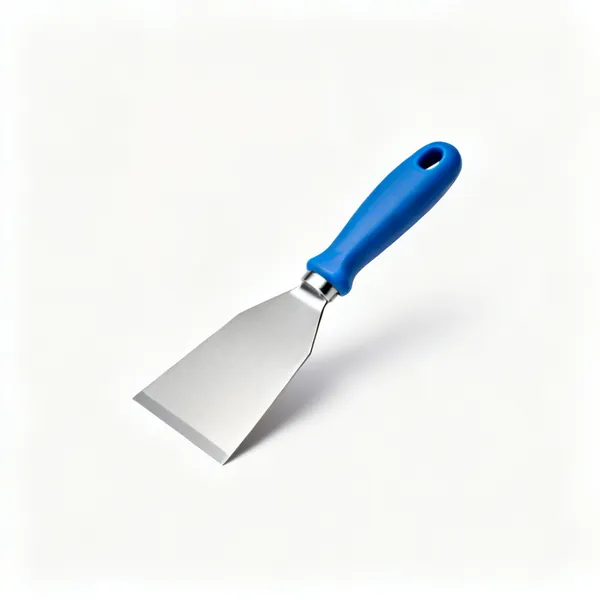
  • 300mm taping knife: A 300mm wide stainless steel taping knife with a blue moulded handleEssential

    300mm taping knife

    The finishing coat knife, laying a thin wide film that feathers to nothing at the edges. This is the coat that decides whether the joint is visible under a light on the wall.

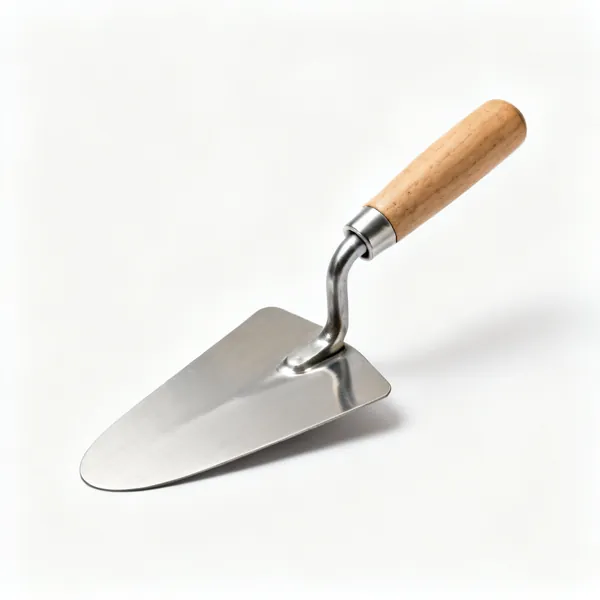
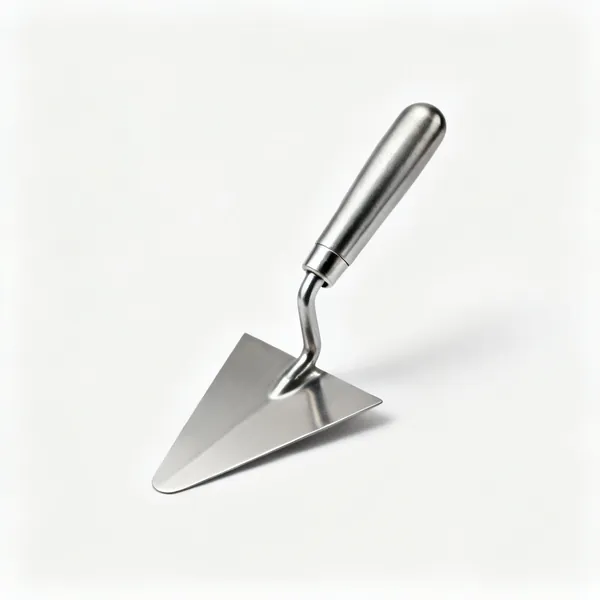
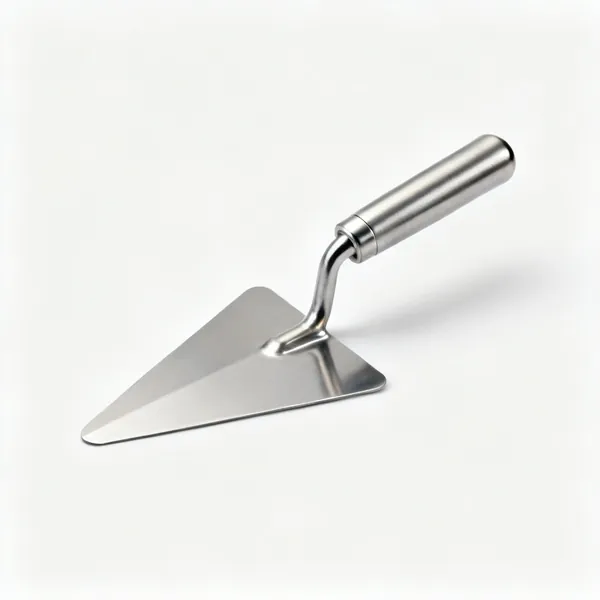
  • A stainless steel jointing trowel with a slightly curved blade and a wooden handle

    Jointing trowel

    A curved blade that lays a slightly crowned coat which sands back flat. The curve is deliberate: it leaves the compound proud in the middle so shrinkage still ends up level.

  • Internal corner trowelEssential

    Internal corner trowel

    A 90 degree blade that finishes both faces of an internal corner in one pass. Used on the finishing coat once the angle is established, not for bedding the tape.

  • External corner trowel

    External corner trowel

    An outward angled blade for coating over an external bead. It keeps both faces even and stops the bead's nose being buried on one side and exposed on the other.

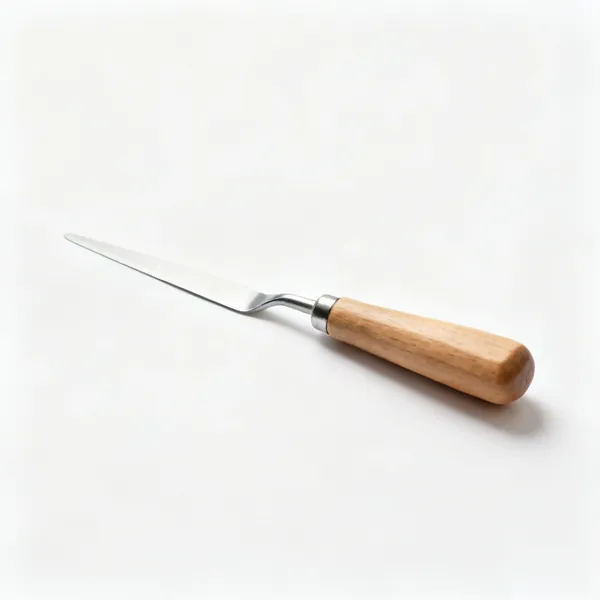
  • A small flexible filling knife with a thin steel blade and a wooden handleEssential

    Filling knife

    A small flexible blade for screw heads, dents and the last touch ups. Flexible enough to follow the slight dish of a screw head rather than bridging across it.

Holding and applying compound 8

Getting compound from the tub to the wall efficiently. This is where the speed of the job is decided.

  • A stainless steel drywall mud pan, a long narrow trough with a wiping edgeEssential

    Mud pan

    A narrow steel trough sized to a taping knife, with a hardened edge for wiping the blade clean. Holding it in one hand and working from it is the standard method.

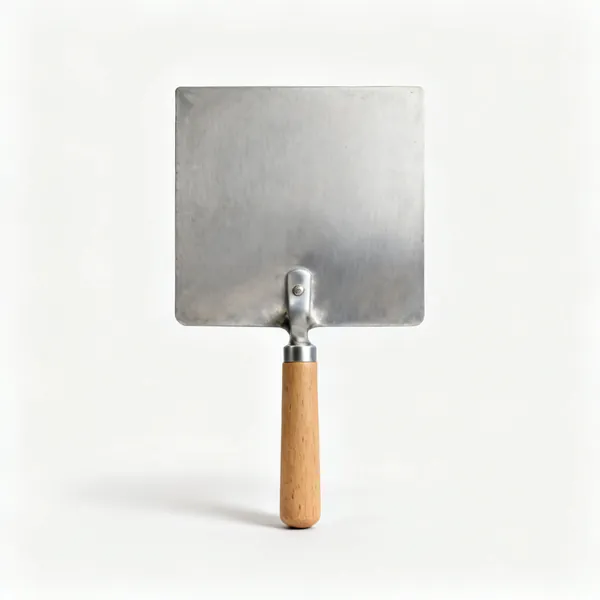
  • A square aluminium plasterers hawk with a vertical wooden handle underneath

    Hawk

    A square plate on a vertical handle that carries a larger amount of compound. Preferred by plasterers over a pan, and it takes practice to keep the load balanced on it.

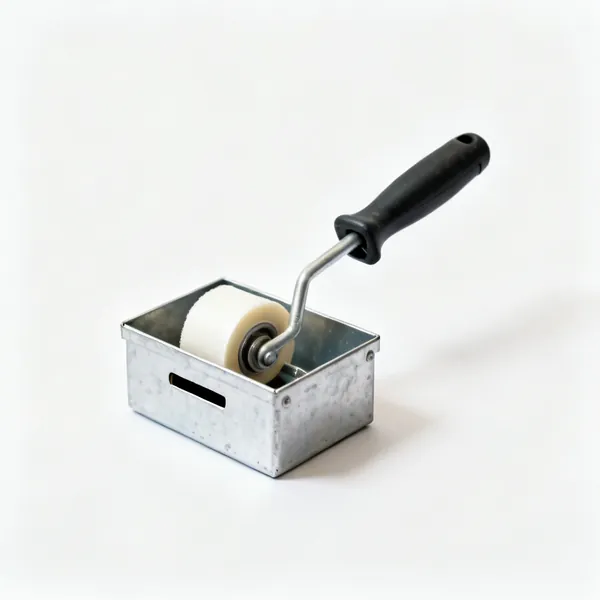
  • A drywall taping banjo, a flat metal box with a tape reel and a slot outlet

    Taping banjo

    A reservoir that coats paper tape with compound as it is drawn out, so tape comes out ready to apply. It roughly halves the time of the bedding coat on a whole room.

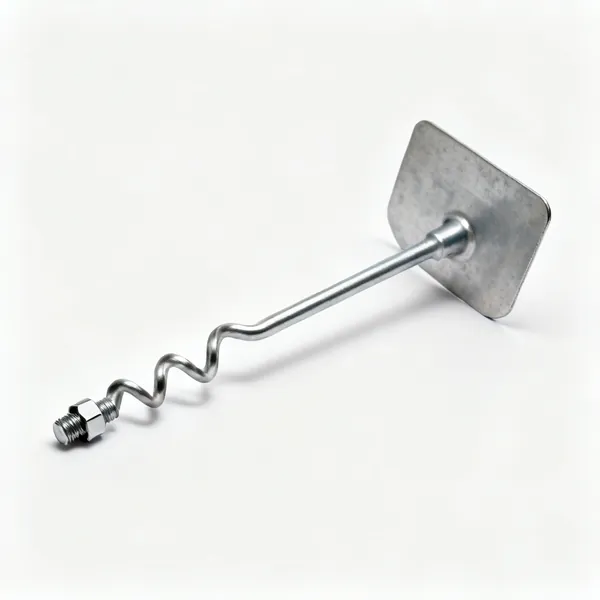
  • A steel drywall mixing paddle with a spiral head and a hex shankEssential

    Mixing paddle

    A drill mounted paddle for mixing powder compound smooth and for loosening ready mixed. Lumps in the mix draw a line through every coat you then apply with it.

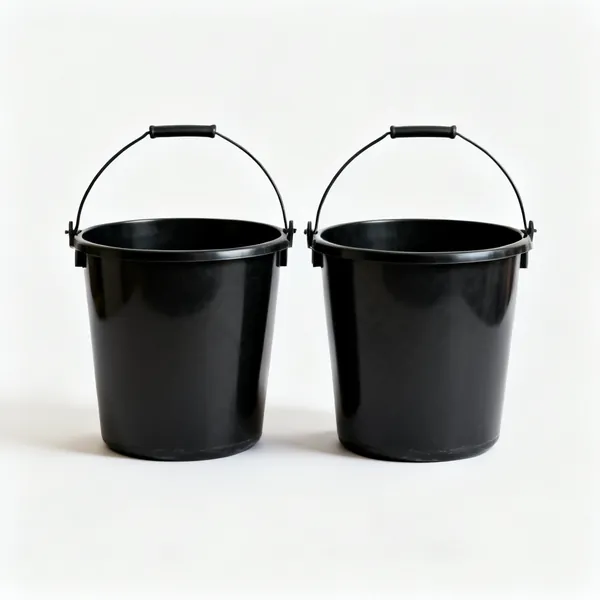
  • Mixing buckets: Two black plastic builders buckets side by sideEssential

    Mixing buckets

    Two, one for mixing and one of clean water for washing tools. Compound that has begun to set contaminates a fresh batch and the whole batch then cures badly.

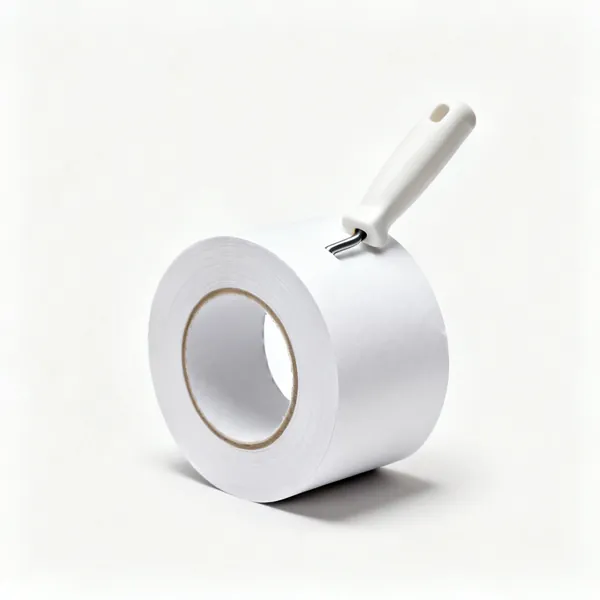
  • Paper jointing tape: A single compact roll of white paper drywall jointing tape, fully woundEssential

    Paper jointing tape

    Non stretch paper creased down the centre, bedded into wet compound. The absence of stretch is what resists the joint cracking as the building moves and dries.

  • Self adhesive mesh tape: A roll of white self adhesive fibreglass mesh drywall tape

    Self adhesive mesh tape

    Sticks straight to dry board, which is much easier than bedding paper. Weaker and thicker, so it suits patches and repairs rather than a whole room of joints.

  • Angle beadEssential

    Angle bead

    A metal or paper faced angle that gives an external corner a straight true line and lets it take knocks. Tape alone on an external corner does not survive normal use.

Sanding and finishing 8

Less is better. Heavy sanding means the coats went on too thick, and sanding into the board face cannot be undone.

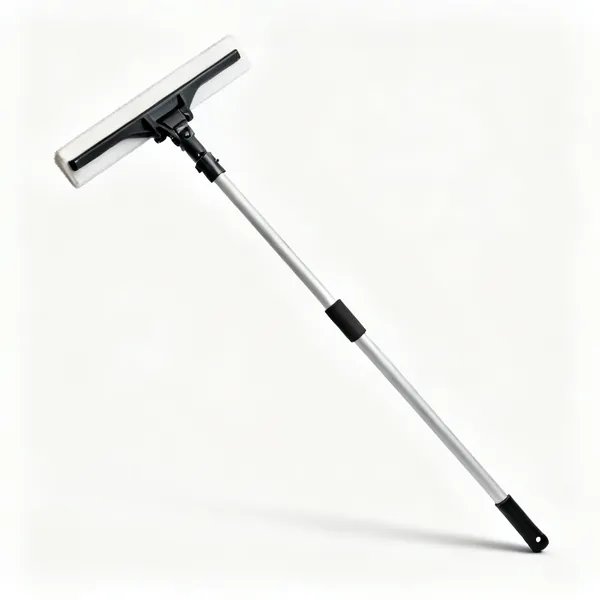
  • A drywall pole sander with a swivelling rectangular pad on a long handleEssential

    Pole sander

    A swivelling pad on a long handle for walls and ceilings from the floor. The swivel is what keeps the pad flat, since a pad tipped on its edge digs a groove immediately.

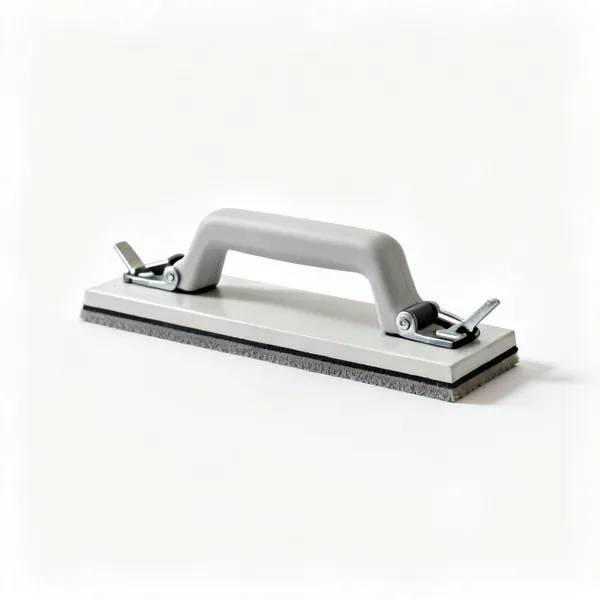
  • A rectangular drywall hand sanding block with clamps at each endEssential

    Hand sanding block

    A clamped block for corners, small areas and anything needing control. Used flat, because a corner of the block leaves a dig that then needs filling again.

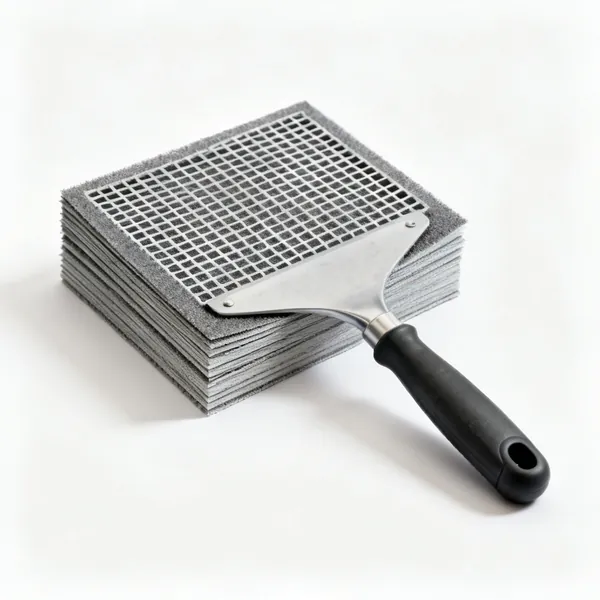
  • A stack of drywall sanding mesh sheets with an open grid abrasive surfaceEssential

    Sanding mesh

    Open mesh abrasive that does not clog the way paper does on compound. It lasts several times longer per sheet, which on a whole room is a real difference.

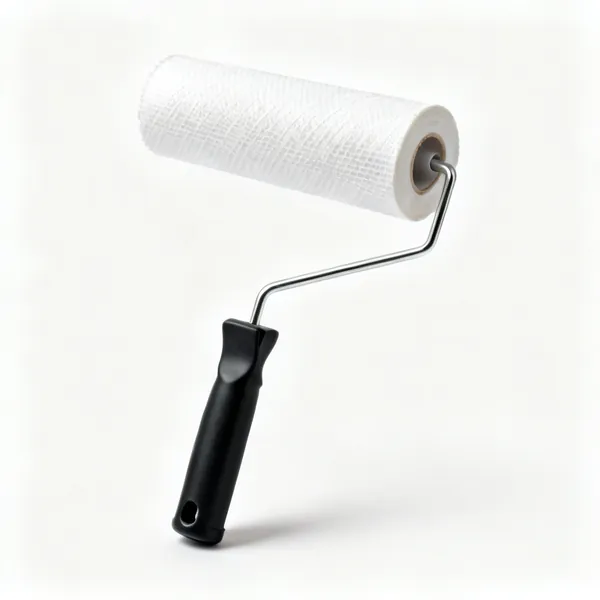
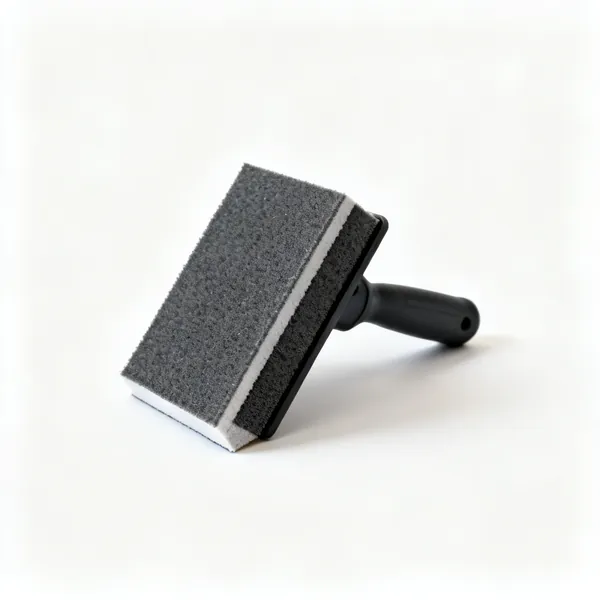
  • Sanding sponge

    Sanding sponge

    A flexible abrasive block with an angled edge for internal corners. It follows the angle without cutting into either face, which a rigid block cannot do.

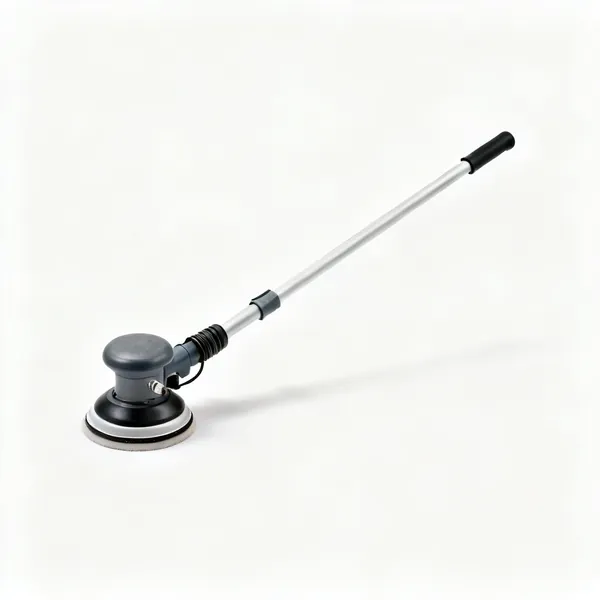
  • A drywall vacuum sander with a round head, hose connection and long handle

    Vacuum sander

    A pole sander connected to extraction, which collects most of the dust at source. Compound dust is very fine and travels through a whole house, so this is worth hiring.

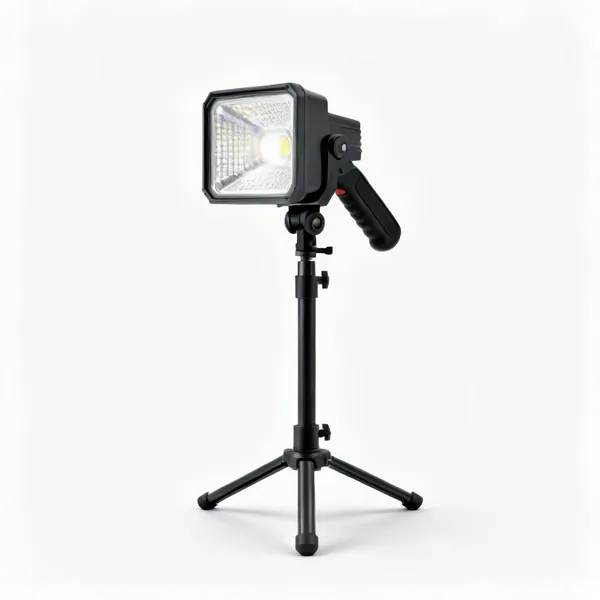
  • Raking work light: A portable LED work light on a low stand with an adjustable headEssential

    Raking work light

    A light set close and flat to the wall so it throws a shadow off anything proud. It is the only reliable way to see what is left, and it finds what daylight hides.

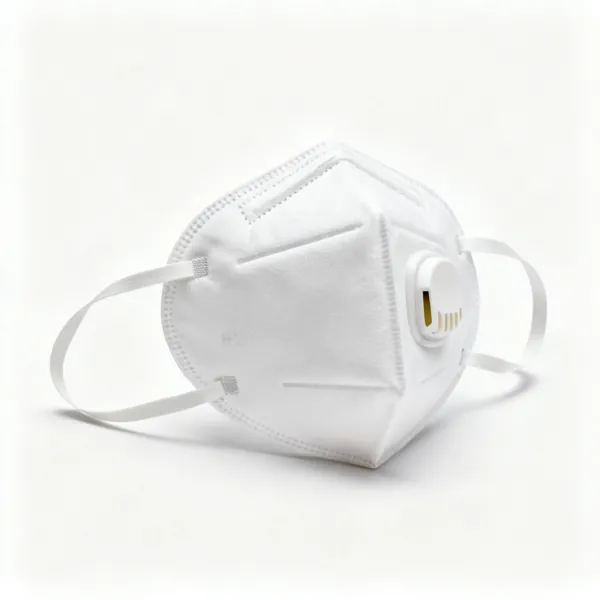
  • A white FFP2 respirator dust mask with two straps and a nose clipEssential

    Dust mask

    Compound dust is extremely fine and it stays airborne for a long time. An FFP2 or better, and it belongs on for the whole sanding session rather than for the dusty part.

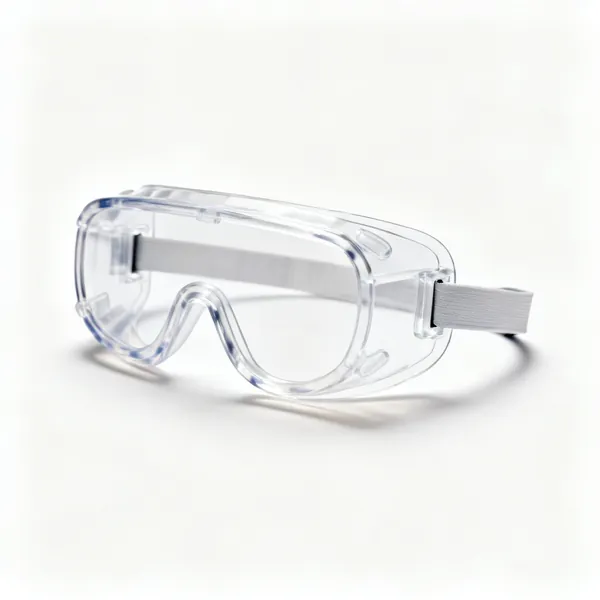
  • A pair of clear sealed safety goggles with an elastic strapEssential

    Safety goggles

    Sanding a ceiling puts everything you remove directly above your face. Sealed goggles rather than glasses, because fine dust goes round the sides of open frames.

Board fixing and preparation 8

Jointing can only be as good as the boarding under it. A proud screw or a wide gap shows through every coat.

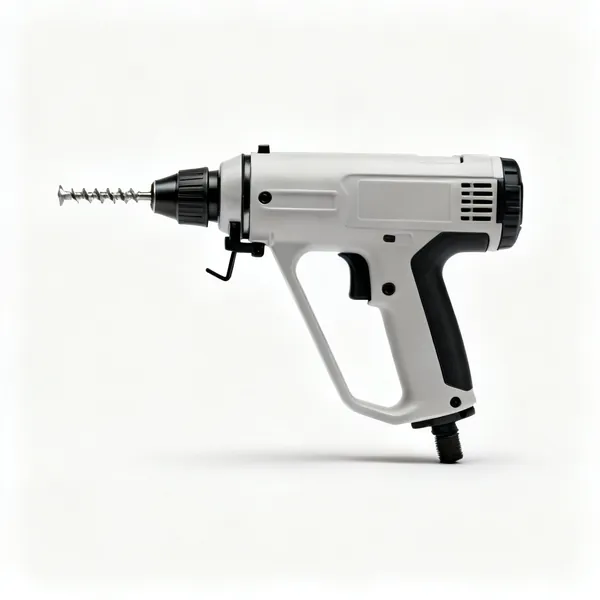
  • Drywall screwdriver: A drywall screw gun with a depth stop nose cone and a pistol gripEssential

    Drywall screwdriver

    A depth stop nose that sets every screw just below the surface and no deeper. A proud screw catches the knife and a screw driven through the paper holds nothing.

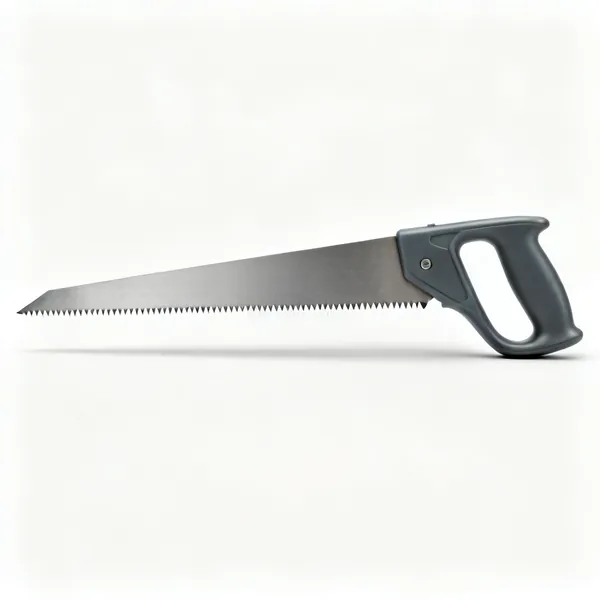
  • A plasterboard saw with a pointed coarse toothed blade and a moulded handleEssential

    Plasterboard saw

    A pointed coarse toothed saw that plunges into a board to cut an opening. The point is what lets it start without a drilled hole, which is most of what it is for.

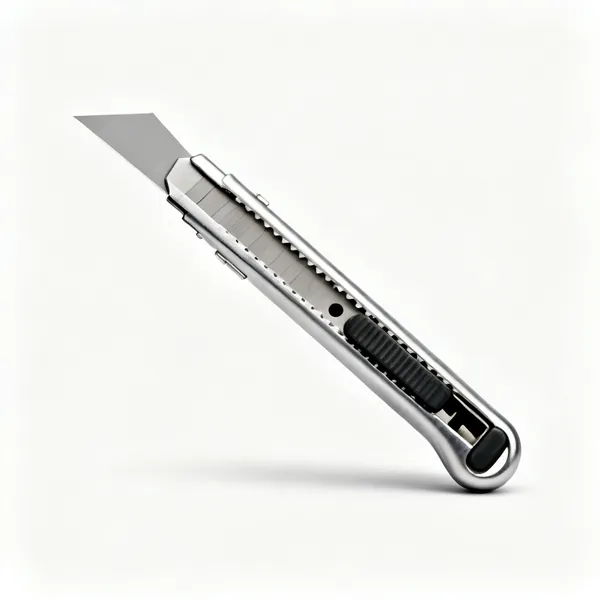
  • A metal bodied utility knife with a retractable trapezoid bladeEssential

    Utility knife

    Scores the paper face so the board snaps along the line, then cuts the back paper. Sharp blades only, because a dragging blade tears the face and leaves a ragged edge to fill.

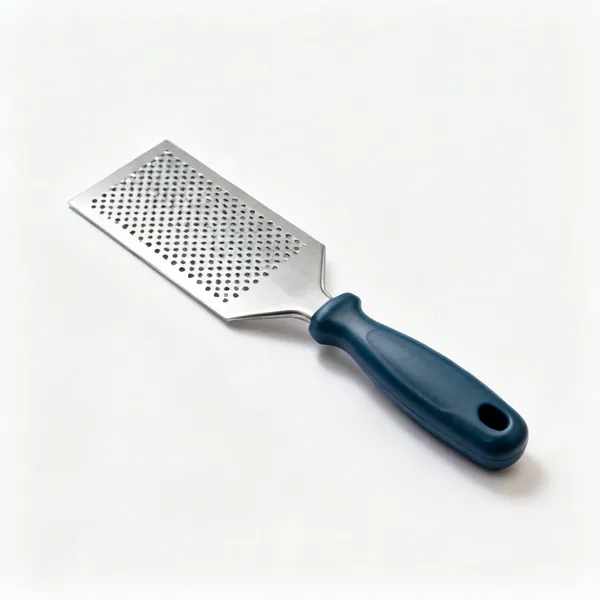
  • A drywall board rasp with a perforated steel plate and a moulded handle

    Board rasp

    A coarse plane that trims a cut board edge back to a line. Easier than recutting when a board is a few millimetres oversize, which is most of the time.

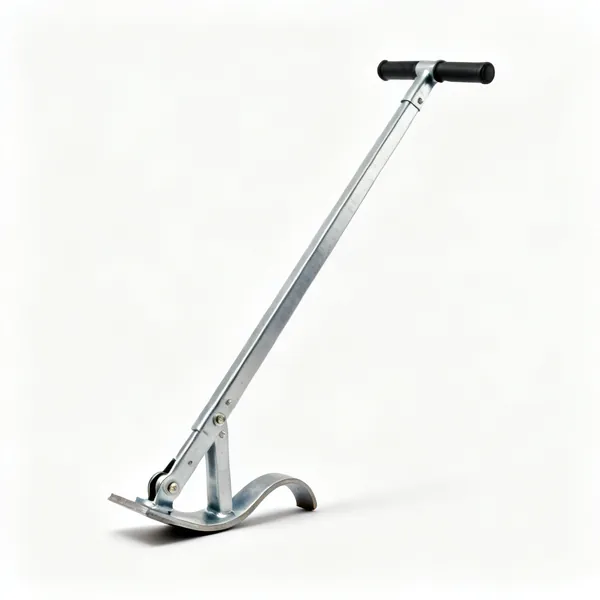
  • A metal drywall board lifter lever with a curved rocking foot

    Board lifter

    A rocking lever that jacks a board up tight to the one above while you fix it. It closes the gap at the top, and a tight top joint is much easier to finish.

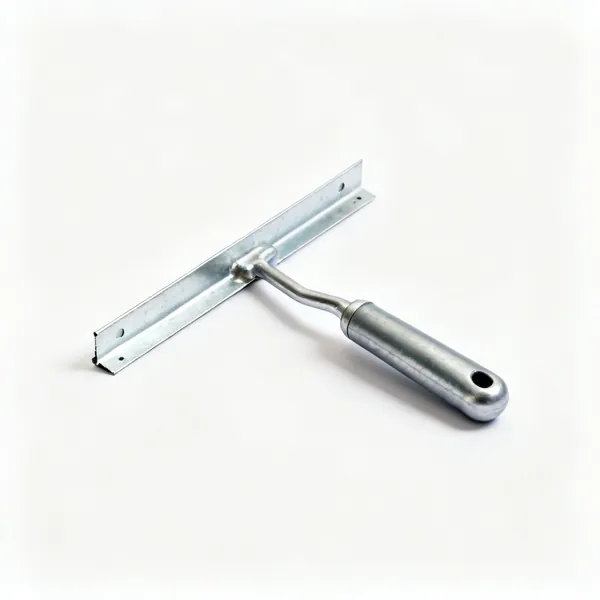
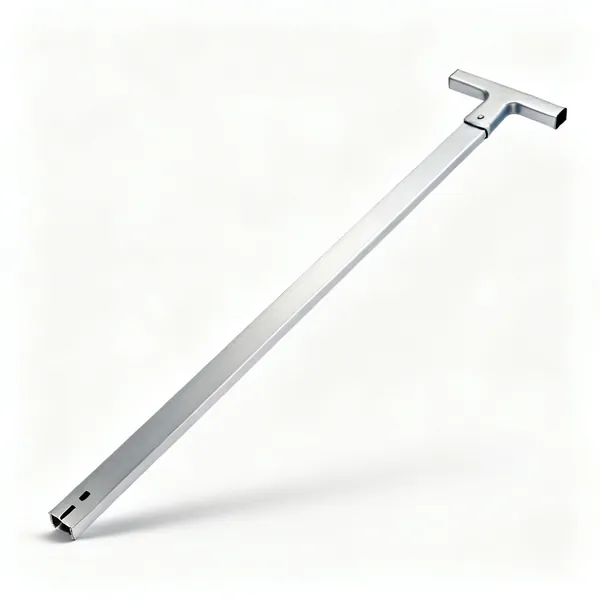
  • A long aluminium straight edge with a T section profileEssential

    Aluminium straight edge

    Checks a wall for flatness before you start and guides a long cut. It tells you whether a hollow needs filling as part of the jointing or ignoring as within tolerance.

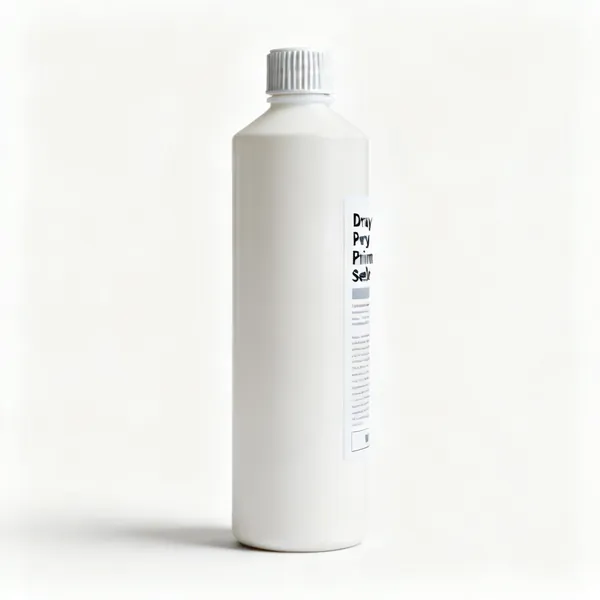
  • A tall narrow plastic bottle of white drywall primer sealer with a screw cap and a printed labelEssential

    Drywall primer

    Seals the compound and the board face so they absorb paint at the same rate. Without it every joint shows as a different sheen even when it is perfectly flat.

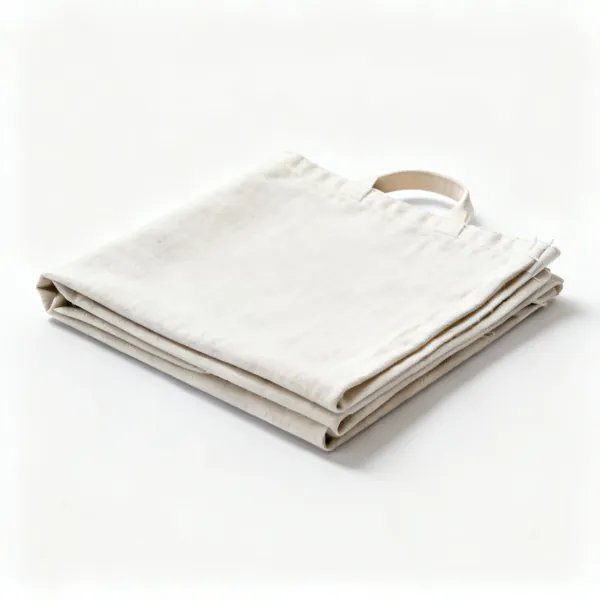
  • Dust sheets: A folded canvas dust sheetEssential

    Dust sheets

    Floor and doorways, because compound dust travels further than any other trade's. Sealing the doorway with a sheet is what keeps it out of the rest of the house.

How tape and jointing works

Three coats, each wider than the last, each sanded lightly. The width is what hides the joint, not the thickness.

Three coats, each wider than the last

The first coat beds the tape into compound over the joint, using a narrow knife. The second coat, once dry, goes on wider with a bigger knife and covers the tape. The third is wider again, thin, and is what feathers the edge out to nothing.

The instinct is to build thickness and then sand it flat, and that is the wrong approach entirely. What hides a joint is width, because a gentle taper over 400mm is invisible while a thick ridge over 100mm shows under any light.

Coat one, 150mm knife
Bed the tape. Enough compound under it to fill, and squeeze the excess out from under the tape.
Coat two, 250mm knife
Cover the tape completely and start the taper. Once the first coat is fully dry, not before.
Coat three, 300mm or wider
Thin, wide, feathered to nothing at the edges. This is the coat that makes it invisible.
Width, not thickness
A taper over 400mm cannot be seen. A ridge over 100mm shows under every light in the room.

Paper tape or mesh

Paper tape is stronger and it is what a flat joint wants, because it has no stretch and it resists the joint cracking as the building moves. It must be bedded into wet compound, which is the step people find awkward.

Self adhesive mesh is easier because it sticks straight to the board, and it is weaker and slightly thicker. It suits patches and small repairs. For internal corners, paper tape with a crease down the middle is the only sensible option.

Paper for flat joints
No stretch, so it resists cracking. Bedded into wet compound rather than stuck to dry board.
Mesh for patches
Self adhesive and easier, weaker and thicker. Fine for repairs, not for a whole room.
Paper for internal corners
Creased down the centre. Mesh cannot form a crisp internal angle at all.
Metal or paper faced bead for external corners
An external corner takes knocks, and tape alone will not survive them.

Setting compound and air drying compound

Air drying compound, sold ready mixed, dries by evaporation. It sands beautifully and it is slow, sometimes overnight between coats in a cold room. Setting compound is mixed from powder and chemically sets in a stated time, so several coats can go on in a day.

The usual approach is setting compound for the bedding coat where strength matters and speed helps, then ready mixed for the finishing coats where sanding easily matters more. Never mix new material into a batch that has started to go off.

Ready mixed for finishing
Sands easily and gives the best final surface. Slow to dry, especially in a cold room.
Setting compound for bedding
Mixed from powder, sets chemically in a stated time, so a room can be coated in a day.
Never retemper setting compound
Adding water to a batch that has begun to set gives a weak coat that will crack.
Clean tools between coats
A dried lump on a knife edge draws a line through every subsequent coat you apply.

Sanding, and doing less of it

Good jointing needs very little sanding, and heavy sanding is a sign the coats were applied too thick. Sanding through into the paper face of the board raises a fuzz that shows through paint permanently, and it cannot be fixed by sanding more.

Use a fine mesh or 120 to 150 grit on a pole sander, work with a raking light across the wall so the shadows show what is left, and stop when it feels flat under your hand rather than when it looks flat.

Less sanding means better jointing
If you are sanding hard, the coats went on too thick. Fix the application, not the surface.
Never sand into the paper
It raises a fuzz that shows through paint and cannot be sanded out, only sealed and refilled.
Raking light
A lamp held flat to the wall throws a shadow off anything proud. It is the only reliable check.
Feel it
Run a flat hand over the joint. Your hand finds a ridge your eye will not, under any light.
Mask and extraction
Joint compound dust is very fine and it travels through a whole house. A vacuum sander is worth hiring.

Corners are where it goes wrong

An internal corner is two tapers meeting at right angles, and the temptation is to work both sides at once. Doing one side, letting it dry and then doing the other gives a much crisper angle, because the knife has a firm edge to run against.

External corners need a bead. A metal or paper faced angle bead sets a straight true line and takes knocks that would destroy tape alone, and it is bedded in and then coated the same three times as a flat joint.

One side at a time
Let it dry before doing the other. Two wet sides pull each other out and lose the angle.
Corner trowel for consistency
A 90 degree blade does both faces at once on the finishing coat, once the angle is established.
Bead every external corner
It gives a straight line and survives being knocked, which tape on its own will not.
Check the corner is actually square
Many are not. A bead follows the wall, so the taper is what corrects the eye.

Frequently asked questions

What tools do I need for tape and jointing?
A 150mm and a 250mm taping knife, a jointing trowel, a mud pan or hawk, paper tape, a mixing paddle and bucket, a pole sander with fine mesh, and a corner trowel. That set will do a room properly, and everything else on the list makes it faster rather than better.
How many coats does a plasterboard joint need?
Three. The first beds the tape, the second covers it and starts the taper, and the third is thin and wide and feathers the edge to nothing. Each coat is wider than the last, because width is what hides a joint rather than thickness.
What is the difference between paper tape and mesh tape?
Paper tape has no stretch, so it resists cracking as the building moves, and it must be bedded into wet compound. Self adhesive mesh sticks straight to the board, which is easier, but it is weaker and thicker. Use paper for whole rooms and internal corners, mesh for patches.
Should I use setting compound or ready mixed?
Setting compound for the bedding coat, because it is stronger and sets in a stated time so you can carry on the same day. Ready mixed air drying compound for the finishing coats, because it sands far more easily and gives a better final surface.
Why can I see my joints after painting?
Almost always because the coats were too narrow, so there is a visible ridge rather than an invisible taper. It can also be sanding through into the paper face, which raises a fuzz, or paint sheen differences from not sealing the compound before painting.
How do I get a crisp internal corner?
Do one side, let it dry completely, then do the other. Two wet sides pull each other out of shape. Use creased paper tape rather than mesh, and once the angle is established a 90 degree corner trowel finishes both faces at once.
How much sanding should tape and jointing need?
Very little. Heavy sanding means the coats went on too thick, and the fix is thinner wider coats rather than more sanding. Sanding into the board's paper face raises a fuzz that shows through paint and cannot be sanded away.
Is tape and jointing the same as skimming?
No. Skimming covers the entire wall with a thin plaster coat. Tape and jointing treats only the joints and screw heads, feathering them out so the board face itself is the finished surface. Jointing is less skilled and less messy, and it needs the board face to be undamaged.