Disclosure

Tools for fencing

A fence fails at the posts, and it nearly always fails at ground level where the timber is alternately wet and dry. Depth, drainage and what the post sits in decide how long the fence lasts far more than the panels do. All 38 tools here are grouped as setting out, digging, setting posts and fixing the fence to them.

22 are marked essential: enough to set a line, dig and set posts, and hang a run of panels.

Part of the full landscaping tools list, 92 tools in 8 groups.

Setting out 8

The line, the spacing and what is under it. All decided before a hole is dug.

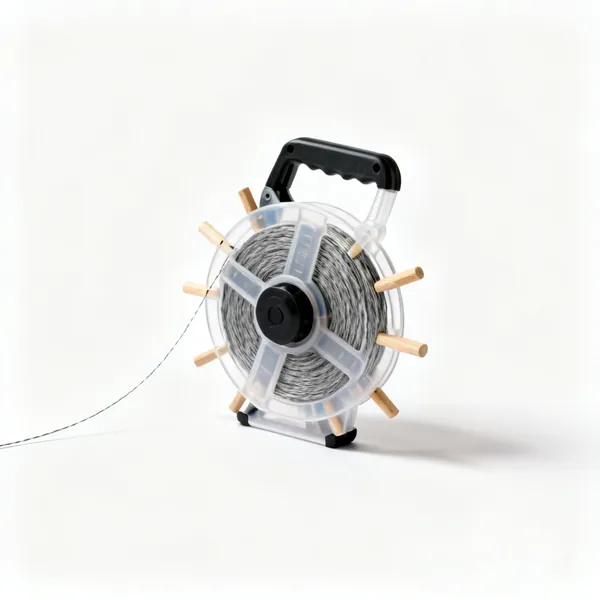
  • String line and pegs: A builder's string line on a plastic winder with several wooden pegsEssential

    String line and pegs

    A taut line between the two end posts, which every intermediate post is set to. Pulled tighter than feels necessary, since sag reads as a curve.

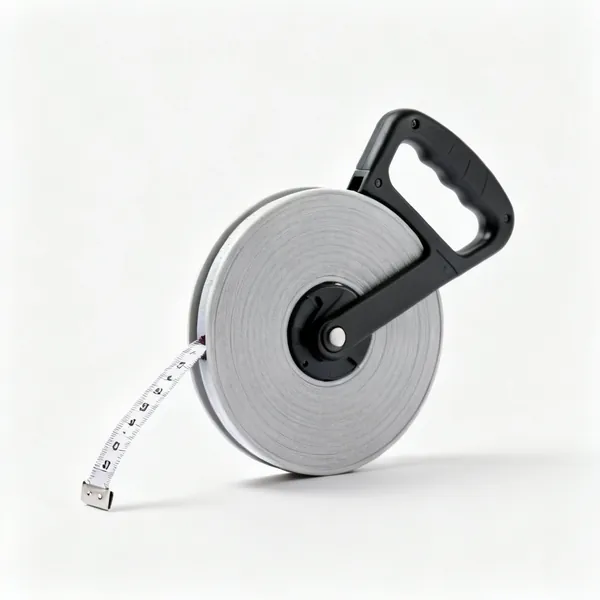
  • Long tape: An open reel 30 metre fibreglass measuring tape with a winding handleEssential

    Long tape

    A 30 metre open reel for setting out the run and marking post positions from one reference, so errors do not accumulate along the line.

  • An inverted marking spray paint can with a coloured cap

    Marking spray

    Marks post positions on the ground so they survive being walked over, unlike a peg that gets kicked out at the moment you need it.

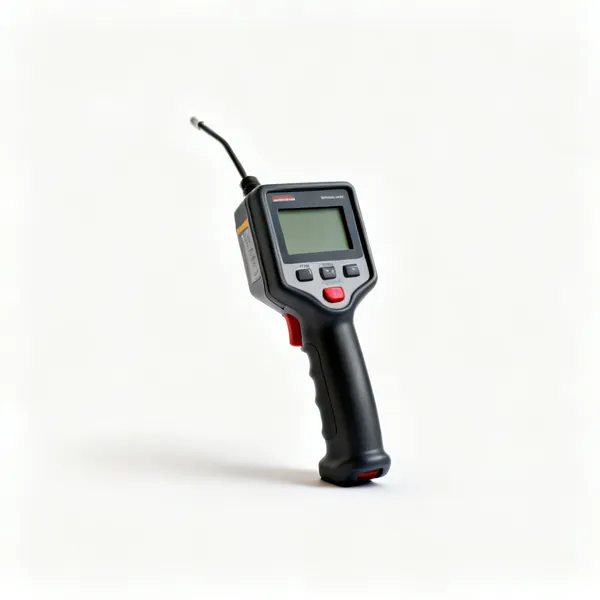
  • Cable detector: A handheld cable and pipe detector with an LCD displayEssential

    Cable detector

    Swept along the fence line before digging. Boundaries are where services run, and a 600mm hole reaches a shallow main comfortably.

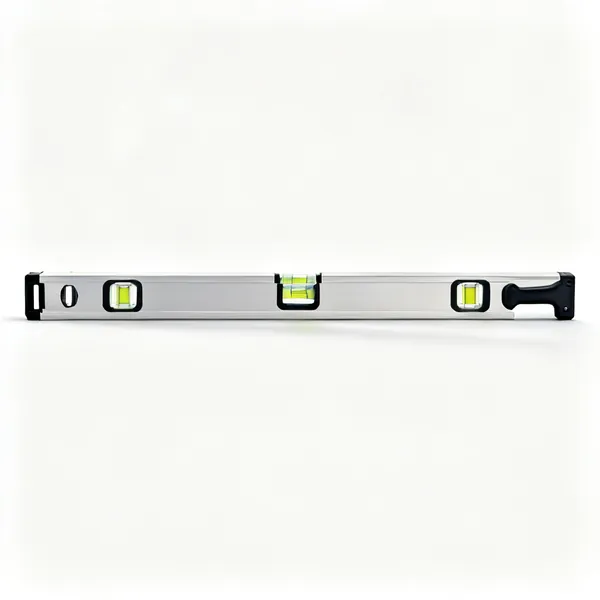
  • Long spirit level: A long 1800mm aluminium spirit level with three bubble vialsEssential

    Long spirit level

    For checking the run and the rails, and for setting the top of each post to the same height. A fence that steps is very visible from a distance.

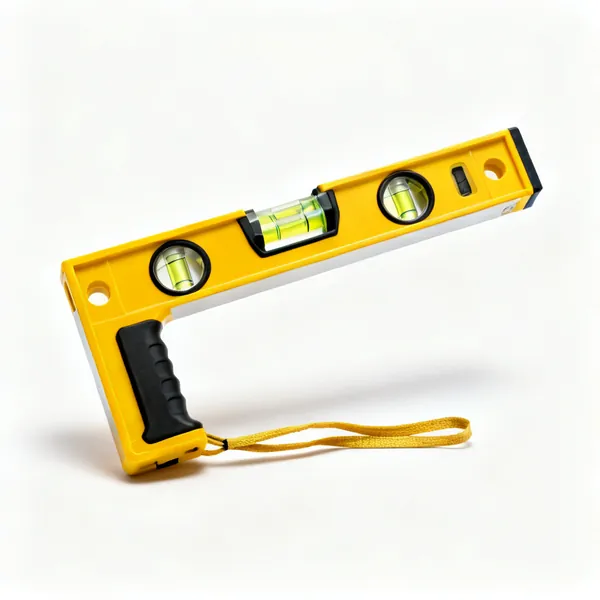
  • A yellow plastic post level with an L shape, three vials and an elastic strapEssential

    Post level

    Wraps two faces of a post and reads plumb both ways at once, held by a strap. That is the difference between plumb one way and actually plumb.

  • A self levelling cross line laser level projecting a horizontal line

    Laser level

    Projects a level line along the run so post tops can be set consistently on sloping ground, which a spirit level makes very slow.

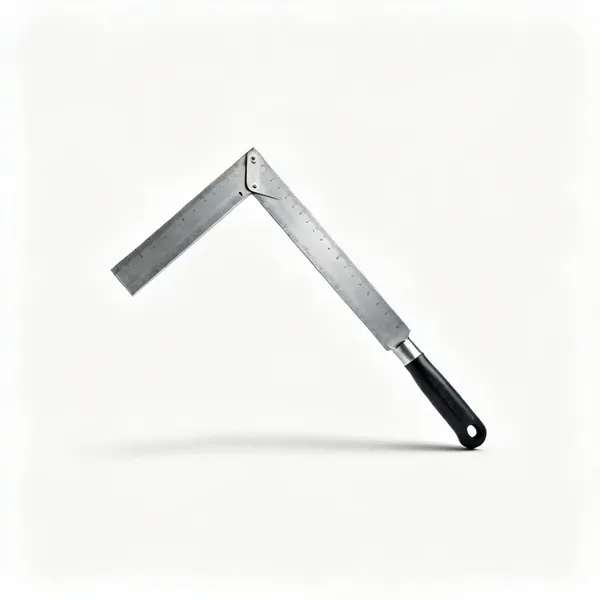
  • Builder's square: A large flat steel framing square in an L shape

    Builder's square

    For turning a corner at ninety degrees, or the 3 4 5 method with a tape, which works at any scale and needs no extra tool.

Digging post holes 9

Narrow, straight sided holes to depth. A spade makes a crater and wastes concrete.

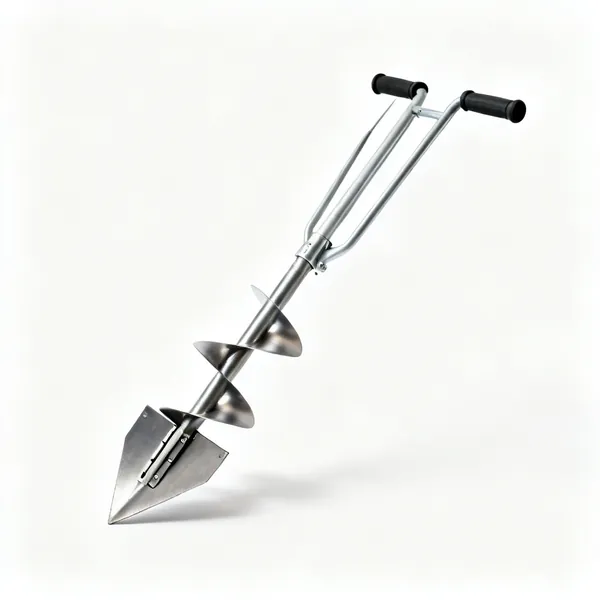
  • A two handled post hole digger with hinged steel bladesEssential

    Post hole digger

    Two hinged blades that lift a plug of soil out, keeping the hole narrow and the sides straight. Far better than a spade, which digs a cone.

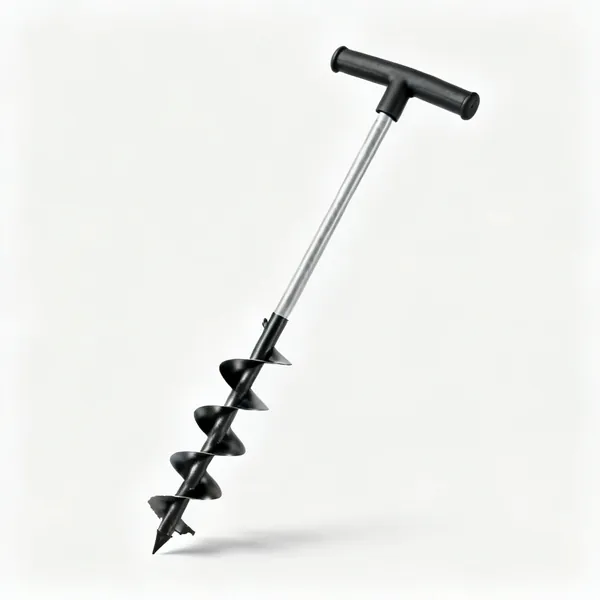
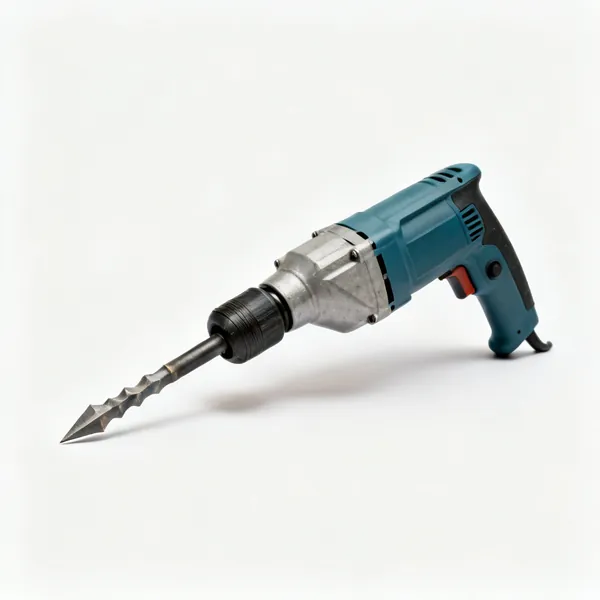
  • A hand earth auger with a helical drill bit and a T handle

    Earth auger

    A screw boring a clean vertical hole. Hand augers work in soft ground; powered ones are fast and will twist a wrist if the bit catches a root.

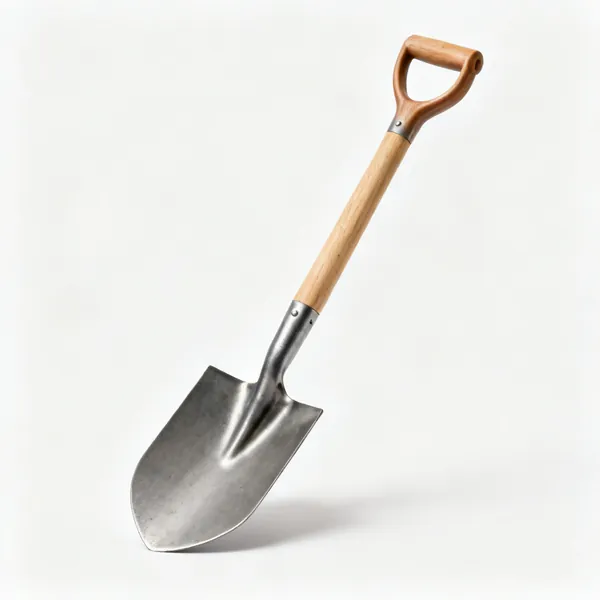
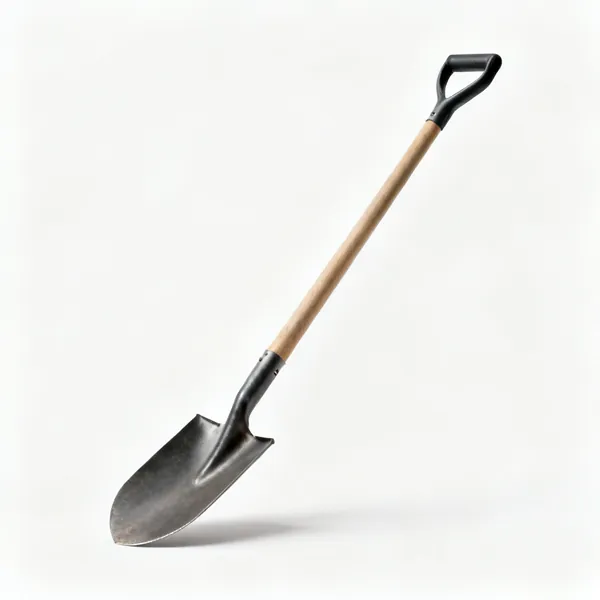
  • A steel digging spade with a flat blade and a wooden shaft with a D gripEssential

    Digging spade

    For starting the hole through turf and topsoil and for backfilling. A narrow trenching spade suits post holes better than a general spade.

  • A long handled narrow shuv holer scoop digging tool

    Shuv holer

    A single narrow scoop for clearing loose soil from the bottom of a deep hole, which a clamshell digger cannot reach the last of.

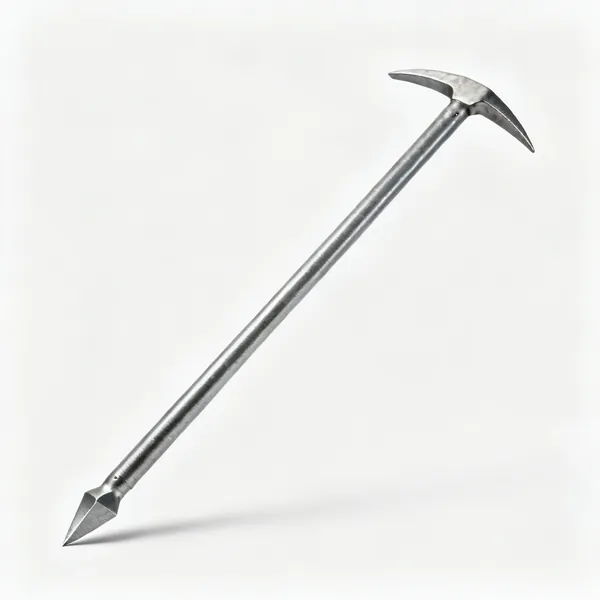
  • A long steel crowbar with a pointed end and a chisel endEssential

    Crowbar

    Breaks up stone, roots and compacted ground at the bottom of a hole, and levers out anything the digger cannot lift.

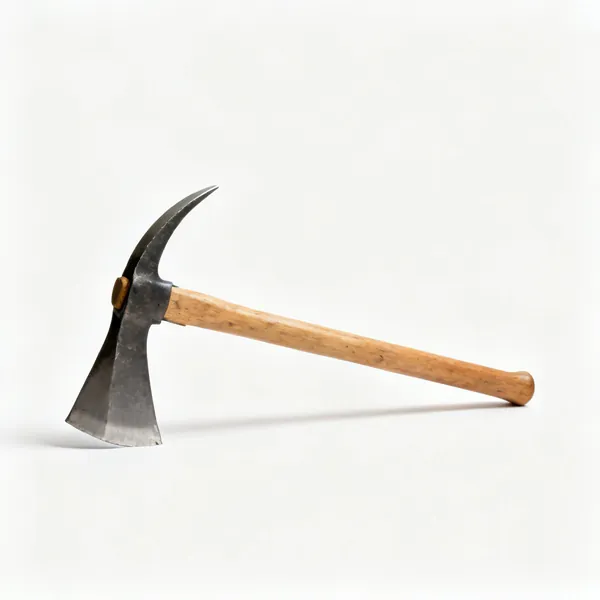
  • A mattock with a wide adze blade and a pick end on a wooden handle

    Mattock

    For root bound ground where a spade bounces off. The adze blade cuts roots and the pick end breaks up stone in the same tool.

  • A large electric demolition breaker hammer with a pointed chisel

    Breaker

    For a post going through concrete, tarmac or a very stony subsoil. Not used until the line has been swept and the top has been opened by hand.

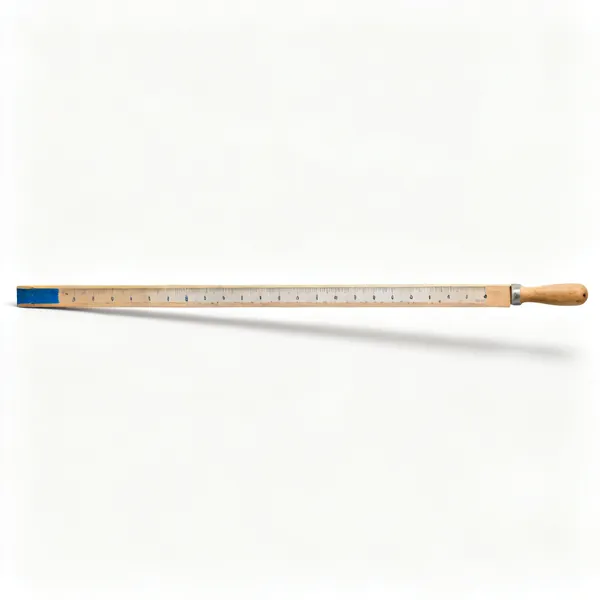
  • Depth gauge stick: A long wooden batten with painted depth marks along itEssential

    Depth gauge stick

    A batten marked at the target depth, so every hole is the same and none is quietly shallower than the rest. The cheapest tool here.

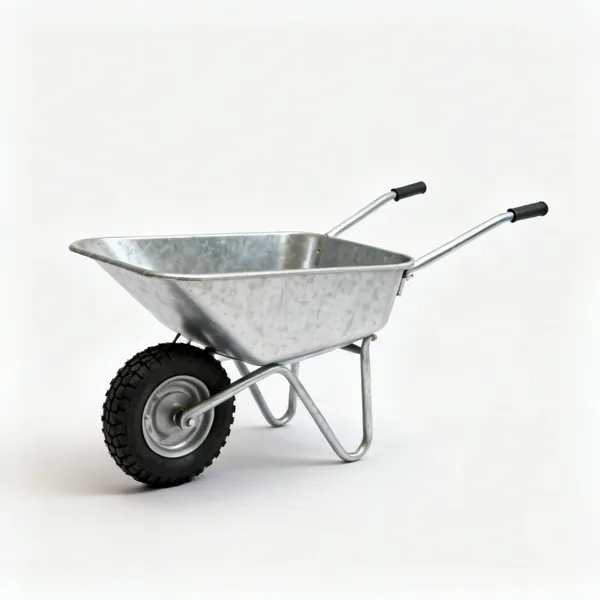
  • A metal builder's wheelbarrow with a pneumatic tyreEssential

    Wheelbarrow

    Spoil away from the holes and concrete to them. A post hole produces more spoil than the finished hole suggests, since it comes out loose.

Setting the posts 10

Plumb, to the line, to the same height, and with the water able to drain away.

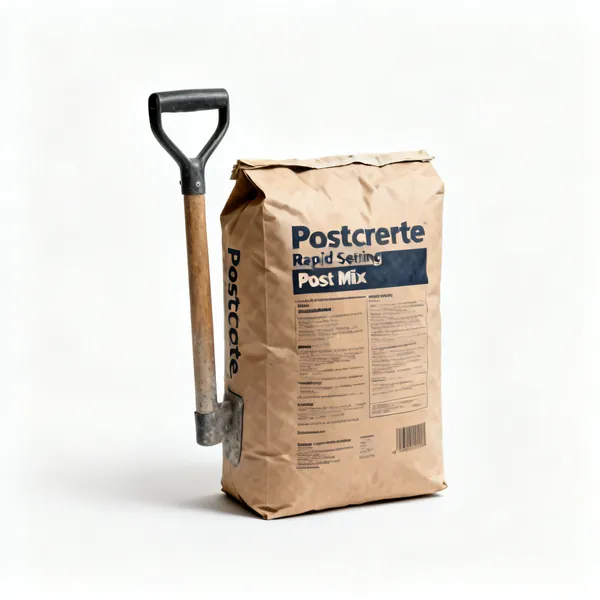
  • A paper bag of postcrete rapid setting post mixEssential

    Postcrete

    Water in first, then the dry mix, setting in minutes. Fast and convenient, and drainage in the bottom of the hole still matters.

  • Concrete: A paper bag of cement standing beside a small heap of ballast aggregate, both centred with clear space at every edge

    Concrete

    Mixed properly and placed around the post, finished proud and sloped away. Slower to set and cheaper per post over a long run.

  • A small pile of clean drainage gravelEssential

    Gravel

    150mm in the bottom of the hole so water drains away from the post end rather than standing against it. Pennies, and it extends the life of the post.

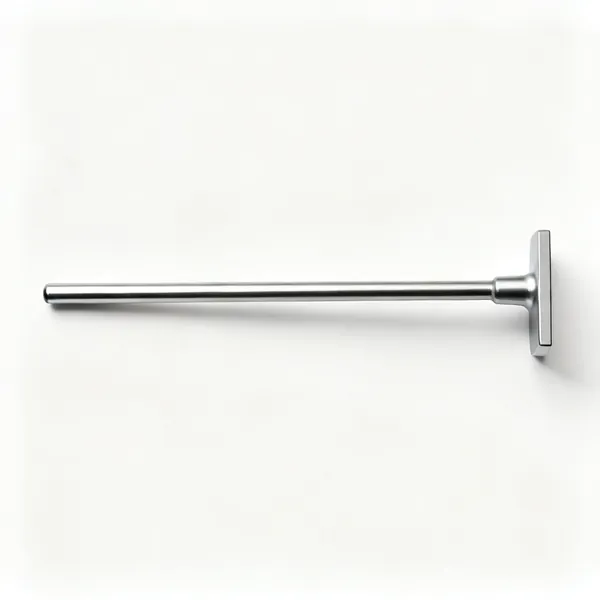
  • A long steel tamping bar with a flat endEssential

    Tamping bar

    Compacts gravel and backfill around a post so it is held rather than loosely surrounded. Also the tool that settles a hardcore base.

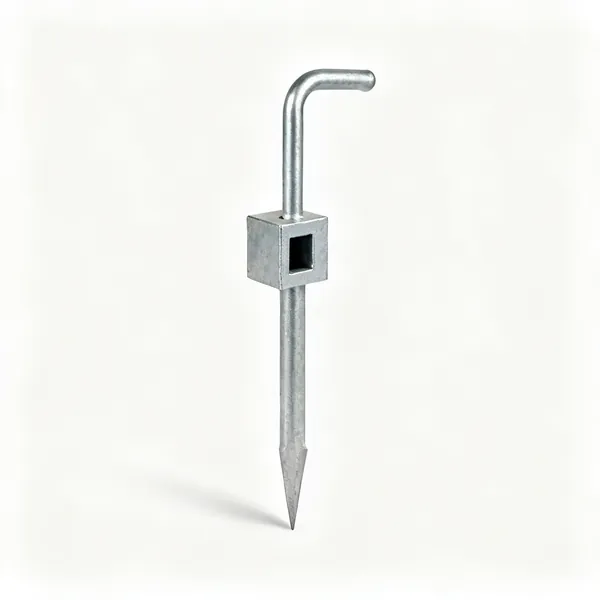
  • A galvanised steel fence post spike with a square socket

    Post spike

    A steel spike driven into firm ground with a socket for the post, so the timber never touches the soil. Not for soft or made up ground.

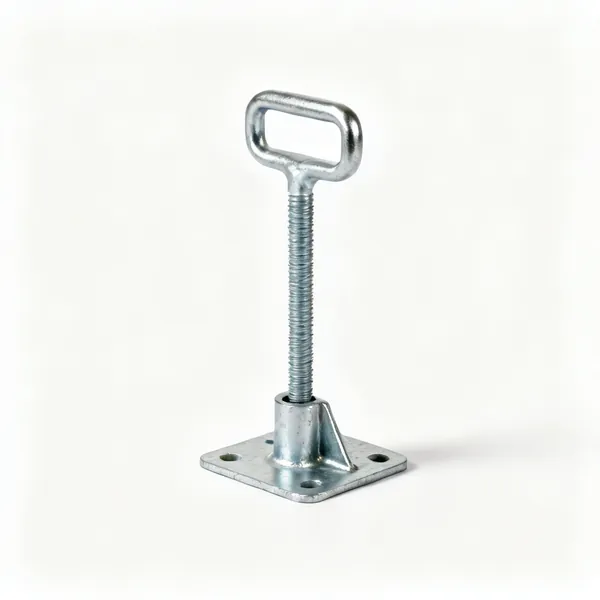
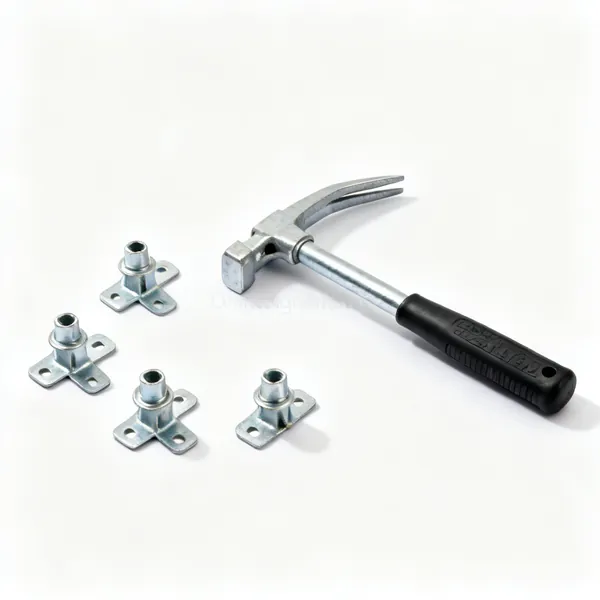
  • Bolt down shoe: A galvanised bolt down fence post support shoe with a base plate

    Bolt down shoe

    A plate bolted to concrete or paving with a socket for the post. The only way to fence off a hard surface without breaking it up.

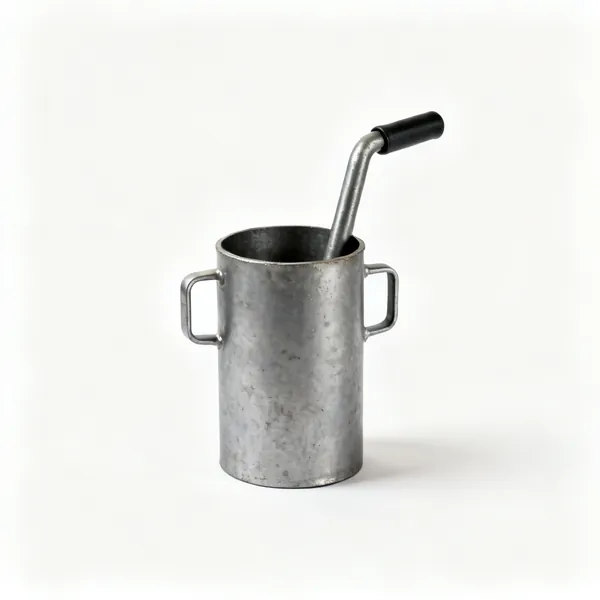
  • A heavy steel post driver sleeve with two side handles

    Post driver

    A weighted sleeve dropped over a spike or a round post and driven by hand. Keeps the blow square, which a sledgehammer does not.

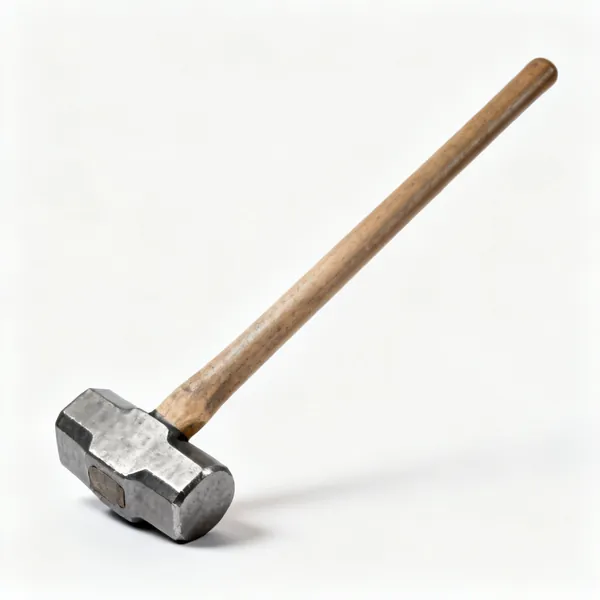
  • A long handled sledgehammer with a heavy double faced steel head

    Sledgehammer

    For driving a spike where a driver is not available, struck onto a driving cap rather than onto the spike itself, which would deform it.

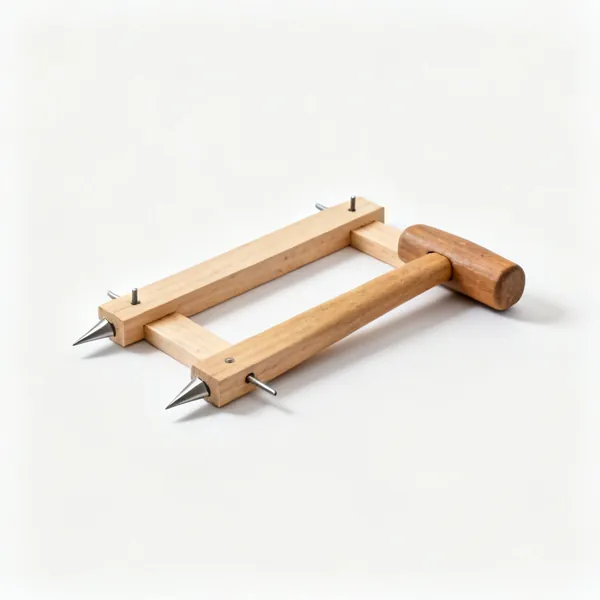
  • Temporary braces: Two wooden bracing battens with a pointed peg endEssential

    Temporary braces

    Battens screwed to the post and pegged to the ground, holding it plumb while the concrete goes off. Postcrete is fast and it is not instant.

  • Water bucket: A heavy duty black plastic builder's bucketEssential

    Water bucket

    Postcrete needs the water in the hole before the mix goes in, in the right quantity. Guessing gives a weak or unset collar.

Fixing the fence 11

Cutting, fixing and treating, plus the details that decide how long the timber lasts.

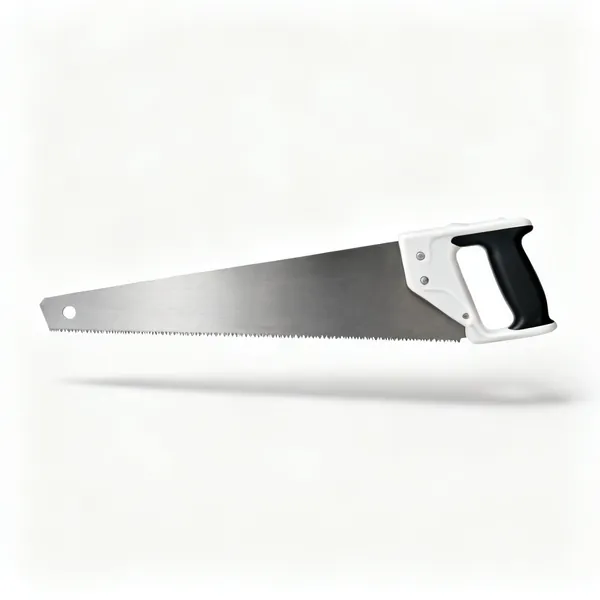
  • A hardpoint panel handsaw with a plastic handle and a wide steel bladeEssential

    Handsaw

    For cutting post tops level and trimming rails. Every cut end gets preservative, because the cut exposes untreated heartwood.

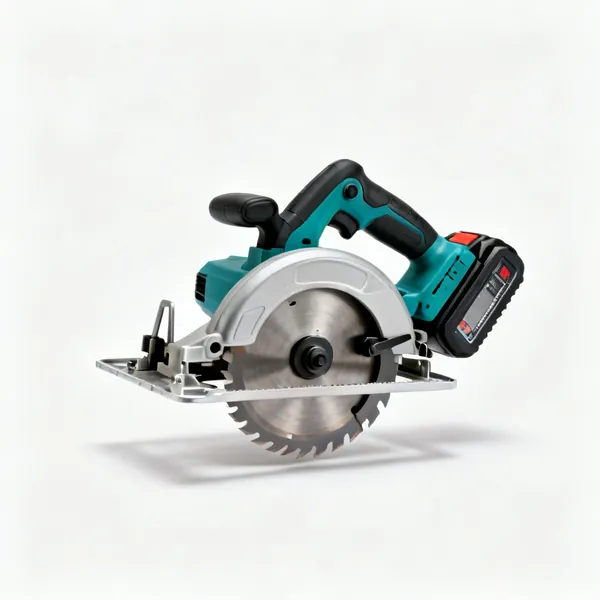
  • A cordless circular saw with a blade guard, a base plate and a battery

    Circular saw

    Faster and squarer on post tops and on cutting panels down. Cordless, since a fence line rarely has a socket near it.

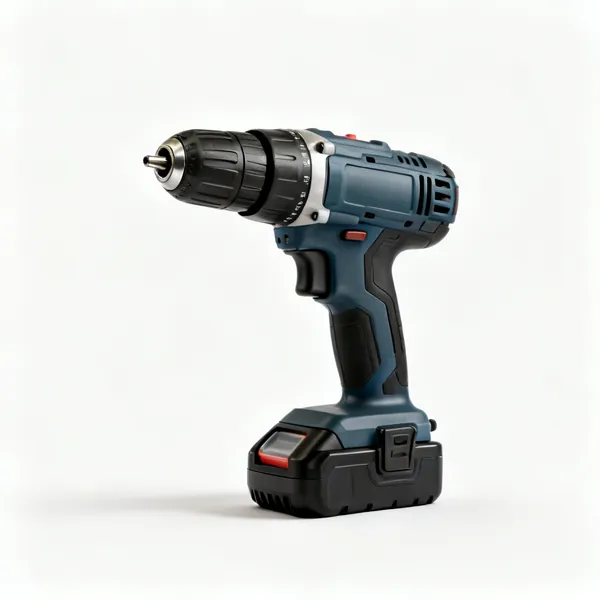
  • Cordless drill driver: A cordless combi drill with a keyless chuck and a batteryEssential

    Cordless drill driver

    Pilot drilling and driving screws into treated timber, which is denser and wetter than it looks. Pilot holes near an end stop it splitting.

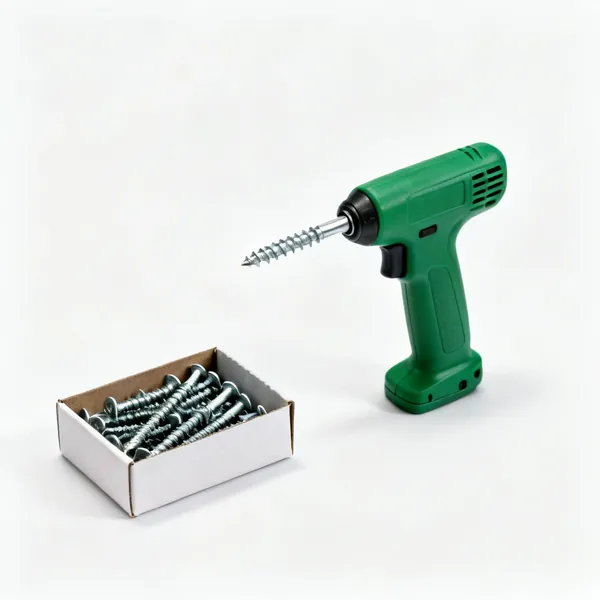
  • Exterior screws: A box of green coated exterior wood screwsEssential

    Exterior screws

    Stainless or coated for exterior use, since ordinary steel screws in treated timber corrode and stain. The treatment chemistry attacks plain steel.

  • Panel clips: Several galvanised fence panel fixing clips

    Panel clips

    Brackets holding a panel to a post, so it can be lifted out later without cutting anything. Also faster than nailing a panel in place.

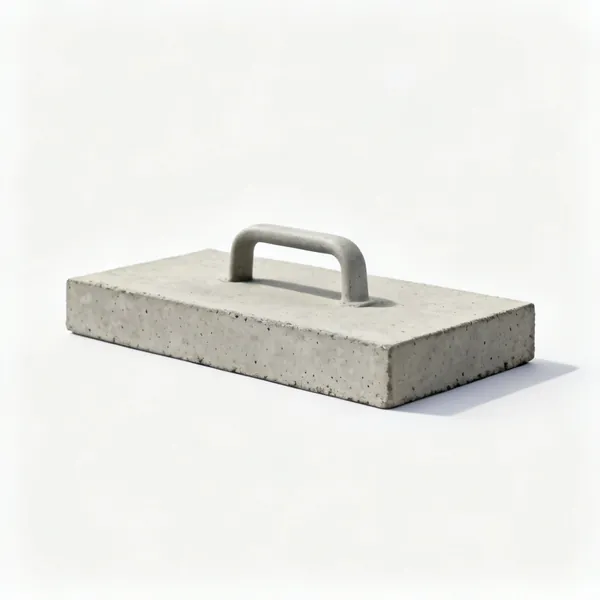
  • Gravel boards: A concrete gravel board section for a fence baseEssential

    Gravel boards

    A board at the bottom taking the ground contact so the panel does not. Replaceable, which is the entire point of having one.

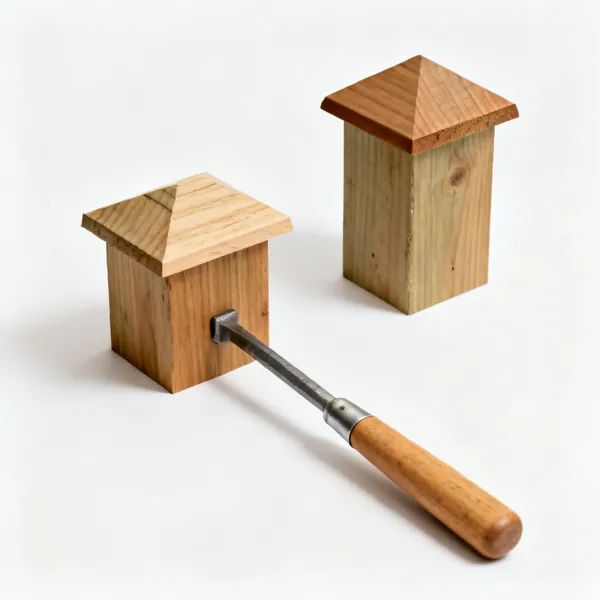
  • Two wooden fence post caps with sloped tops

    Post caps

    Shed water off the end grain at the top, which is where a post absorbs water fastest. Cheap, and they visibly extend post life.

  • A tin of timber preservative with a brush beside itEssential

    Timber preservative

    Brushed onto every cut end before it goes in the ground or takes the weather. A cut end is untreated timber whatever the label said.

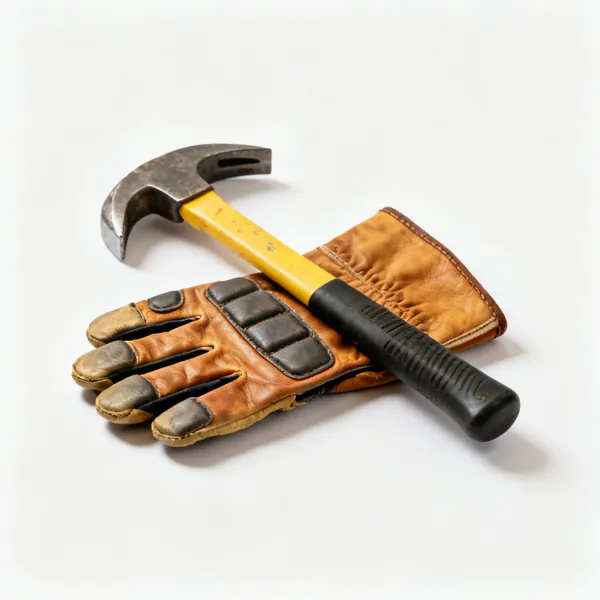
  • Work gloves: A pair of leather palmed rigger gloves with reinforced knucklesEssential

    Work gloves

    Treated timber splinters badly and the preservative chemicals are worth keeping off skin. Also for handling gravel and concrete.

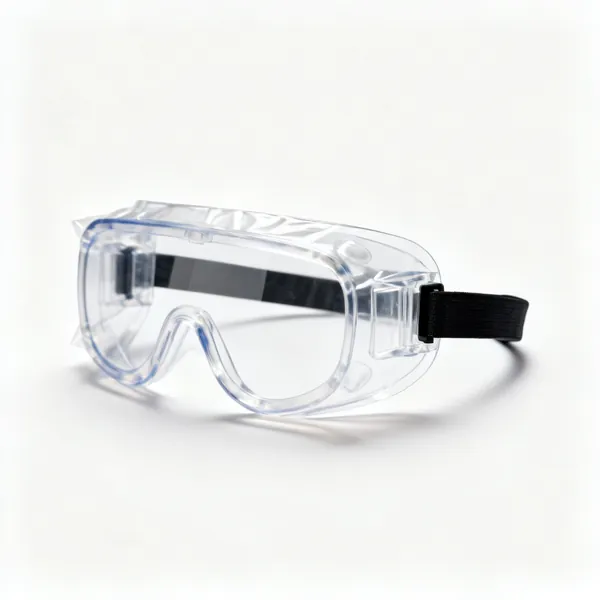
  • A pair of sealed clear safety goggles with a headband

    Safety goggles

    Dry postcrete raises an alkaline dust as it is poured, and breaking stone in a hole sends chips upward toward your face.

  • Safety boots: A pair of brown leather safety work boots with steel toecapsEssential

    Safety boots

    A spade blade on a foot, a dropped post and protruding nails in old fence panels are all routine on this job.

Choosing fencing tools

The list above is what exists. This is how to decide which of it you actually need, what separates a tool worth keeping from one that ends up at the back of a drawer.

Whose boundary is it

Before anything is dug, establish where the boundary is and who owns the fence. The title deeds and the Land Registry plan show the general line, and a T mark on a plan indicates which side has responsibility for that boundary.

The practical point is that posts and their concrete need to sit on your side of the line, and a fence built over a boundary can be required to come down. A conversation with the neighbour before the first hole is dug prevents nearly every fencing dispute there is.

Check the deeds
The Land Registry plan and any T marks showing which side owns which boundary.
Posts on your side
Including the concrete. A post centred on the line is a post partly on their land.
Talk to the neighbour first
Before digging. It prevents nearly every fencing dispute that arises.
Height limits apply
Generally 2 metres, or 1 metre next to a highway, before planning permission.
Post depth and spacing

A post goes in to roughly a quarter to a third of its above ground height, so a 1.8 metre fence needs about 600mm in the ground and a 2.4 metre post. Shortening that is the commonest reason a fence leans within a few years.

Spacing is set by the panel: 1.83 metre panels need posts at 1.83 metre centres plus the post width, which is why measuring from the same reference each time matters. Errors accumulate and arrive as a panel that will not fit at the end of the run.

A quarter to a third
Of the above ground height. A 1.8 metre fence wants about 600mm in the ground.
Deeper in exposed positions
Wind load is what pushes a fence over, and it acts on the whole panel area.
Spacing by panel width
Plus the post thickness. Measure from the same reference, not post to post.
Set the ends first
Then a line between them, then the intermediate posts to that line.

Concrete, postcrete or nothing

Postcrete is the fast option: pour water in, add the mix, and it sets in minutes. Convenient, and it can trap water around the post if it forms a collar with no drainage, which accelerates rot at exactly the point where the post fails.

The alternative is gravel in the bottom for drainage with concrete above, finished proud and sloped away so water runs off rather than pooling. Or a metal post spike or bolt down shoe, which keeps the timber out of the ground entirely.

Gravel in the bottom
So water drains away from the post end rather than sitting against it.
Finish concrete proud and sloped
Water runs off. A dished top holds a puddle against the post permanently.
Postcrete is fast, not better
It sets in minutes and it can form a water trapping collar. Drainage still matters.
Metal spikes keep timber clear
A spike or bolt down shoe means the post never touches the ground at all.

Where a post actually rots

Not at the bottom, but at ground level, where the timber cycles between wet and dry and has oxygen available. That is the zone where fungal decay works fastest, and it is why a post snaps at the surface with sound timber above and below.

So use pressure treated timber with a use class rated for ground contact, treat any cut end with preservative because the cut exposes untreated heartwood, and keep the concrete or soil sloped away rather than banked up against the post.

It rots at ground level
Wet, dry and oxygen together. That is why posts snap at the surface.
Use class matters
Ground contact rated timber, not general treated. The treatment depth differs.
Treat every cut end
Cutting exposes untreated heartwood. Preservative on the cut, before it goes in.
Slope soil away
Soil banked against a post holds moisture in the exact failure zone.

What is under the fence line

Fence lines follow boundaries, and boundaries are where service runs, drains and soakaways often sit. A 600mm hole is deep enough to reach a shallow water main, a gas service or a drain, and post holes are dug with force rather than care.

So sweep the line with a detector, check for inspection covers and meter positions, and dig the first few centimetres carefully. Where a service is found, a post can usually be moved a little without affecting the fence at all.

Sweep the line first
A cable detector along the whole run before any hole is started.
600mm reaches things
Shallow water mains, gas services and drains all sit at that depth or above.
Look for covers and meters
They tell you where the runs go. A meter at the boundary means a service crosses it.
Move the post
A post shifted 200mm changes nothing about the fence and avoids the service.

Frequently asked questions

What tools do I need to put up a fence?
A post hole digger or auger, a spade, a post level, a string line, a tamping bar, a spirit level, a saw and a cordless drill. Add a cable detector for the line, postcrete or concrete, and gravel for drainage in the bottom of each hole.
How deep should fence posts go?
Roughly a quarter to a third of the above ground height, so a 1.8 metre fence needs about 600mm in the ground and therefore a 2.4 metre post. Deeper in exposed positions, since wind load on the panel area is what pushes a fence over.
How far apart should fence posts be?
Set by the panel width plus the post thickness, so 1.83 metre panels need posts at that spacing plus the post. Set the two end posts first, run a line between them, and position the intermediate posts to that line rather than measuring post to post.
Is postcrete better than concrete for fence posts?
It is faster rather than better. Postcrete sets in minutes, which is genuinely useful, and it can form a collar that traps water against the post. Either way, put gravel in the bottom for drainage and finish the top proud and sloped away.
Why do fence posts rot at the bottom?
They rot at ground level rather than at the bottom, because that zone cycles between wet and dry with oxygen available, which is where fungal decay works fastest. That is why a post snaps at the surface with sound timber above and below it.
Do I need to treat cut fence posts?
Yes. Pressure treatment penetrates from the outside, so cutting a post exposes untreated heartwood at the cut. An end cut buried in the ground without preservative is a direct route for decay into the middle of the post.
How high can I build a fence without planning permission?
Generally 2 metres, or 1 metre where it adjoins a highway used by vehicles, though there are exceptions for listed buildings, conservation areas and covenants. Check with the local authority if the fence is anywhere near those limits.
Whose fence is it and who repairs it?
The title deeds and Land Registry plan show the boundary, and a T mark on a plan indicates which side has responsibility for it. Posts and their concrete must sit on your own side of the line, and a fence over a boundary can be required to come down.