Disclosure

Concrete tools: names, pictures and what each one is used for

A complete concrete tools list with a picture of every one, all 78 grouped by the job, from setting out and formwork through mixing, placing, compacting, finishing, cutting and curing. Concrete works to a clock you do not control, so everything has to be ready before the water goes in.

44 are marked essential: enough to form, mix, place, compact and finish a slab properly.

Formwork & setting out 15

Building the mould and the fall before anything is mixed. Errors here become permanent the moment concrete arrives.

  • Formwork timber: Timber formwork boards for a concrete slabEssential

    Formwork timber

    Boards forming the edge of the pour, set to level and fall. Straight, since every bow shows in the finished edge.

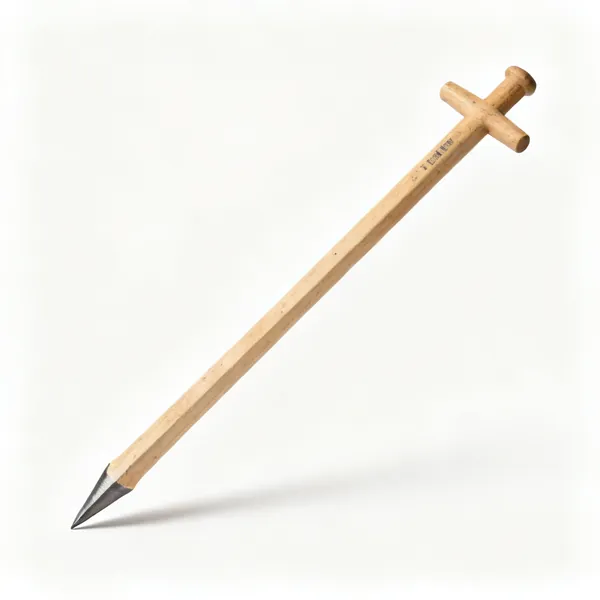
  • Timber stakes: Pointed timber formwork stakesEssential

    Timber stakes

    Driven at close centres to brace the formwork, and below the top edge so the tamping beam can pass over.

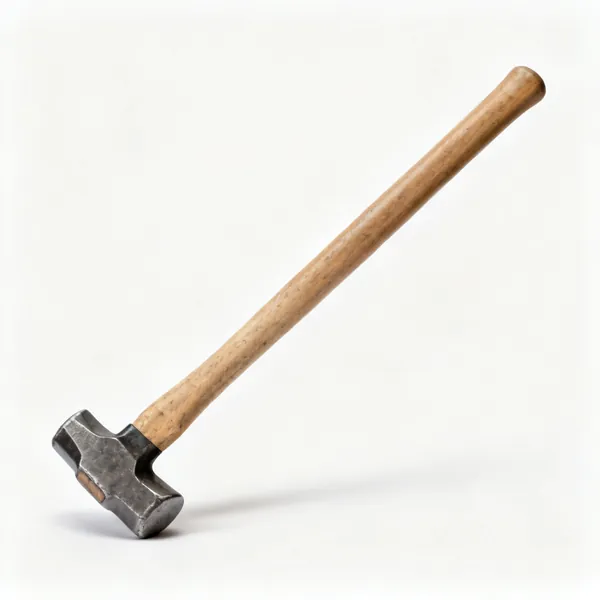
  • A long handled sledgehammerEssential

    Sledgehammer

    Drives stakes and breaks out old concrete. All the force comes from the swing rather than from strength.

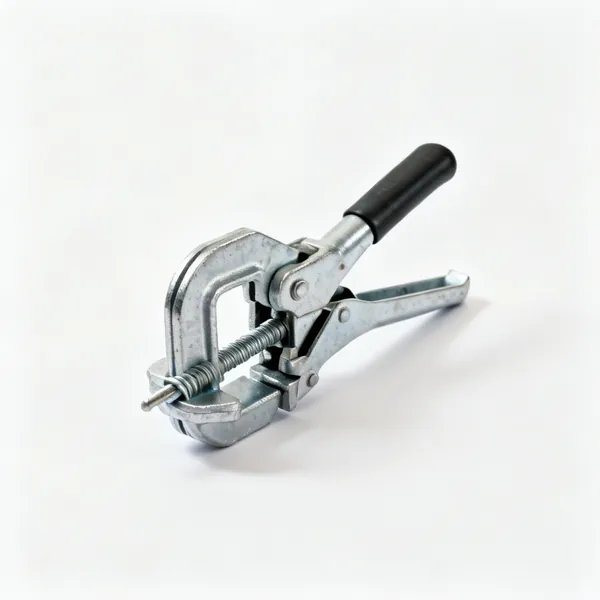
  • Form clamps & ties: Steel formwork clamps and ties

    Form clamps & ties

    Hold opposing shutters at a fixed spacing against the outward push of wet concrete on a wall pour.

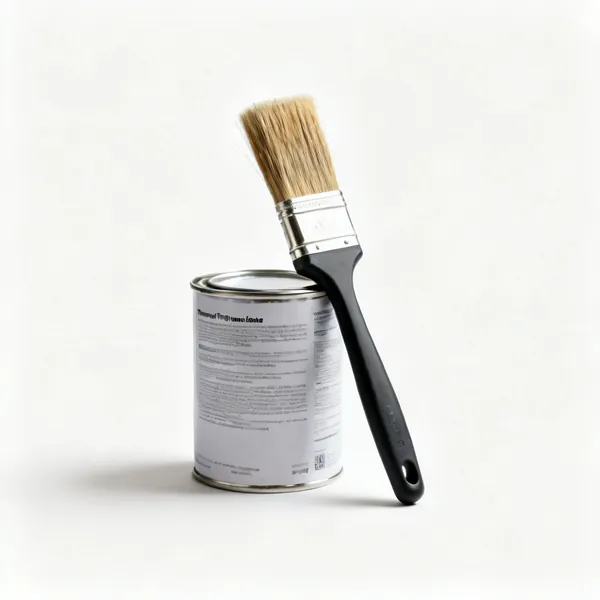
  • A can of concrete formwork release agent with a brushEssential

    Release agent

    Oil or emulsion so formwork strikes cleanly. Unoiled shutters bond and take the slab edge off with them.

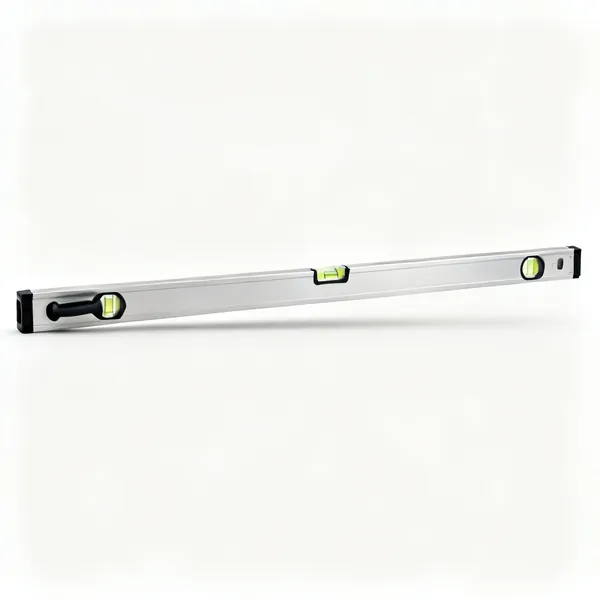
  • Long spirit level: A long aluminium spirit levelEssential

    Long spirit level

    Sets the formwork level and the fall. Long enough to span the form, since a short one cannot see a slow dip.

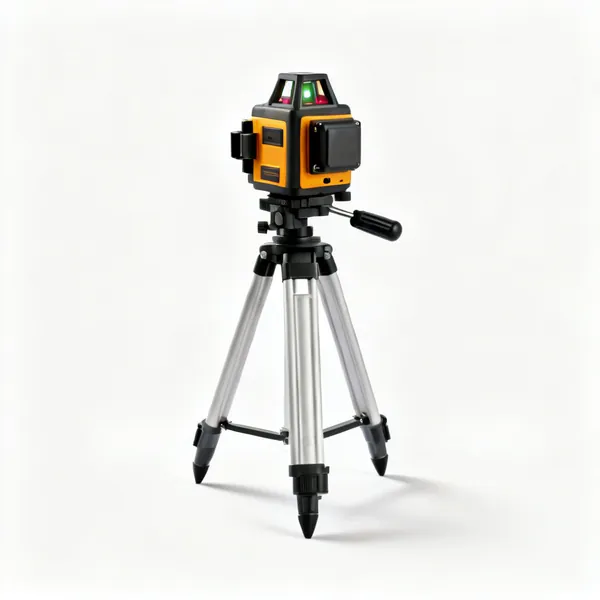
  • A rotary laser level on a tripod

    Laser level

    Gives one datum plane across a whole pour, so every height is measured from the same reference.

  • String line & pegs: A string line reel with pegsEssential

    String line & pegs

    Marks the edge line and the top of the pour, and it beats any straight edge over distance.

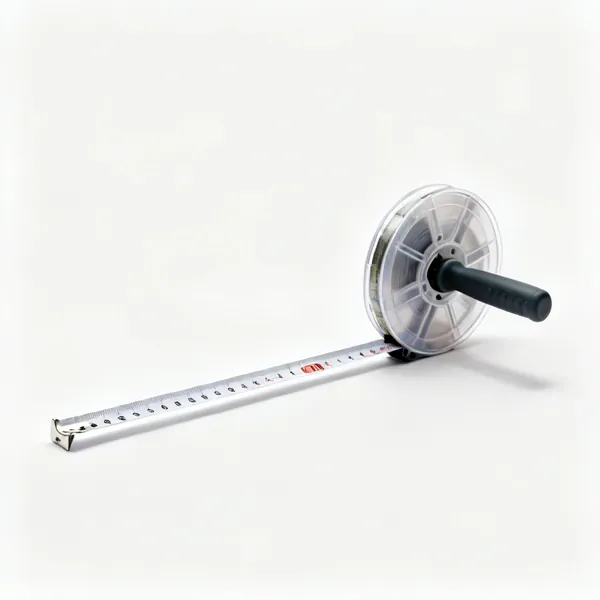
  • An open reel long tape measureEssential

    Long tape measure

    Setting out and checking diagonals, which is the only reliable way to confirm a rectangle is square.

  • Reinforcement mesh & bar: Steel reinforcement mesh sheetsEssential

    Reinforcement mesh & bar

    Carries the tension concrete cannot. Only works in the correct position, which means supported off the base.

  • Mesh chairs & spacers: Plastic reinforcement mesh chairs and spacersEssential

    Mesh chairs & spacers

    Hold reinforcement at the right height in the slab. Mesh on the ground contributes almost nothing.

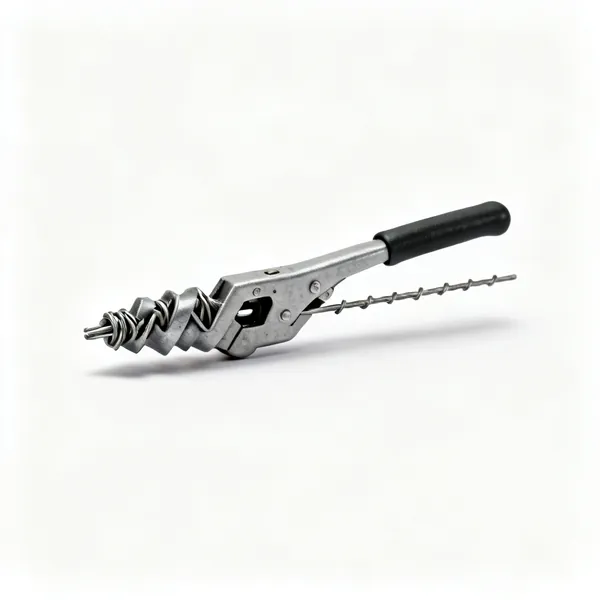
  • Rebar tying tool: A rebar wire twisting tying tool

    Rebar tying tool

    Twists wire ties fast to hold bars in position. By hand it is slow and it hurts within twenty ties.

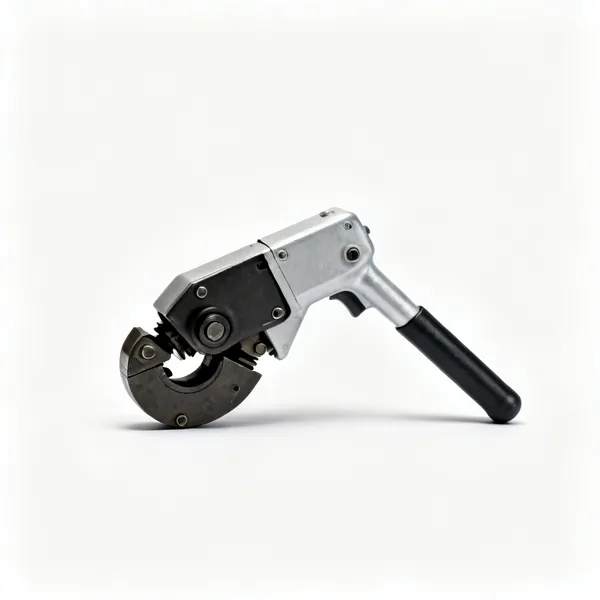
  • Rebar cutter & bender: A manual rebar cutter and bender

    Rebar cutter & bender

    Cuts and bends reinforcement bar to shape cold. A grinder does it slowly and with a shower of sparks.

  • A roll of damp proof membraneEssential

    Damp proof membrane

    A plastic layer under a slab stopping ground moisture rising through it. Lapped and taped, not just laid.

  • Rigid floor insulation boards

    Insulation boards

    Rigid boards under a floor slab. Fitted tight, since gaps become cold bridges you cannot reach afterwards.

Mixing & moving 11

Getting consistent concrete to where it is needed inside the working time. Volume and hands are the constraints.

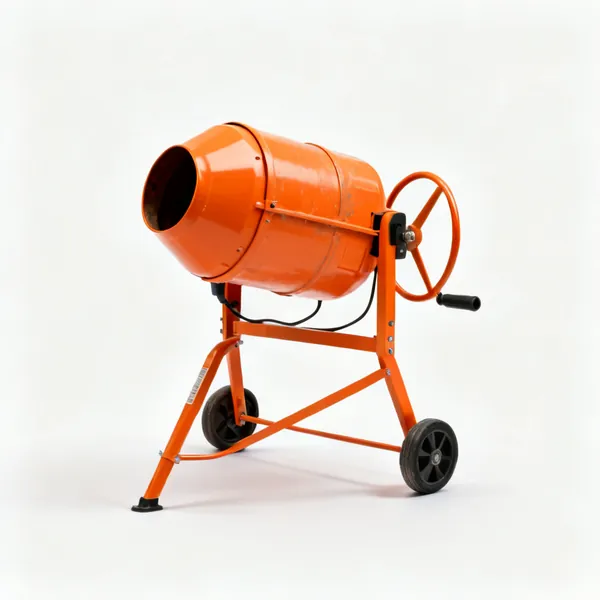
  • An orange electric cement mixerEssential

    Cement mixer

    A rotating drum giving consistent batches, which a shovel in a barrow cannot. Consistency is why it matters.

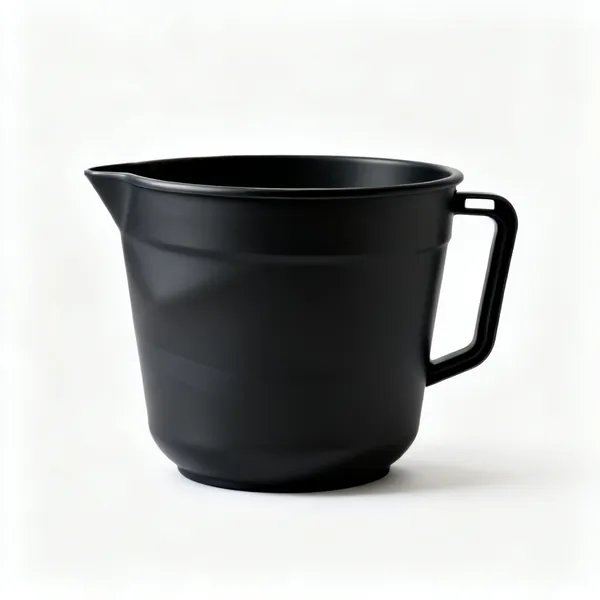
  • A large black flexible mixing tubEssential

    Mixing tub

    A flexible tub for hand mixing small amounts. Flexible so set residue flexes out rather than chipping off.

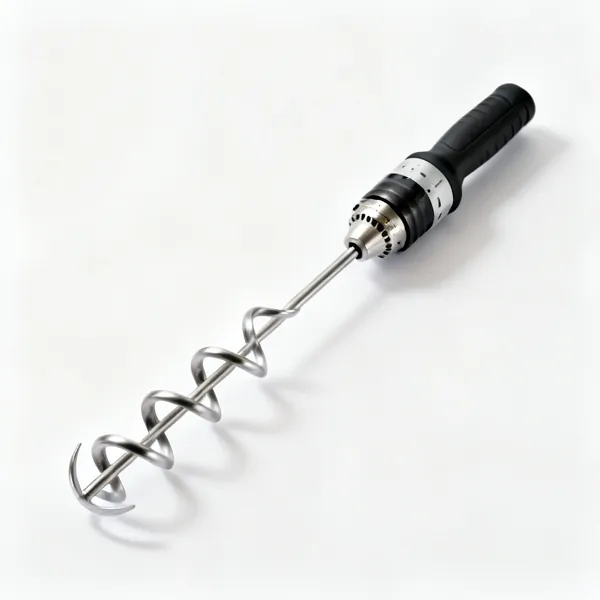
  • Mixing paddle & drill: A spiral mixing paddle in a mixing drillEssential

    Mixing paddle & drill

    A paddle in a slow high torque drill for a bucket at a time. Faster than the mixer on small quantities.

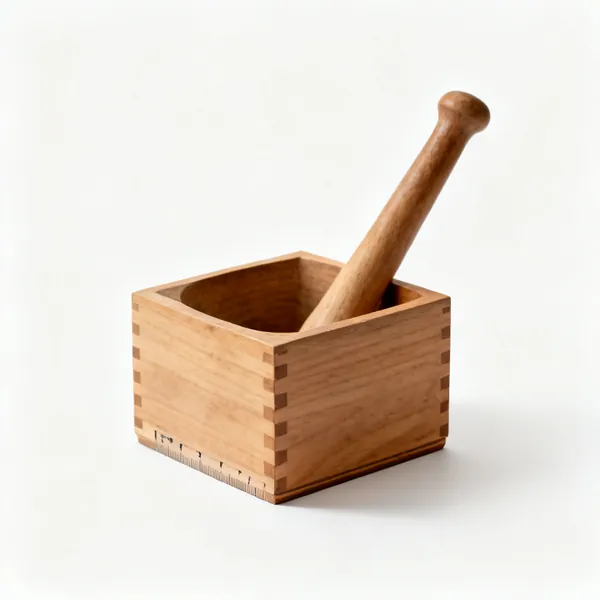
  • Gauge box: A wooden mortar gauge measuring box

    Gauge box

    A bottomless box filled level to measure aggregate identically every batch. A shovel is not a measure.

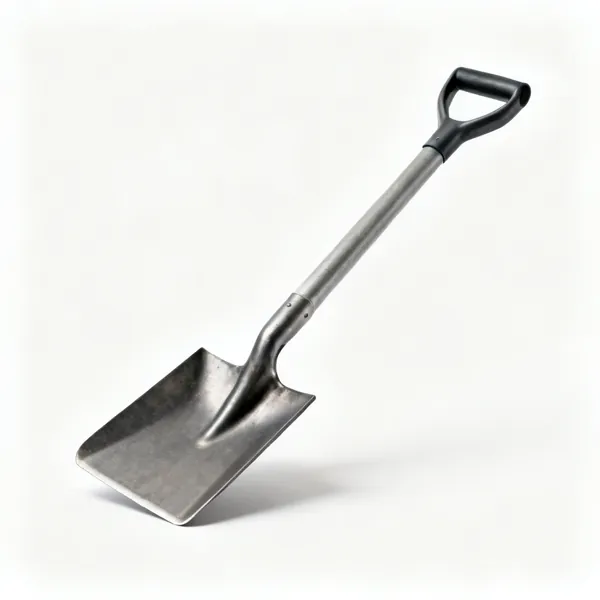
  • A square mouth shovelEssential

    Shovel

    Loading the mixer and moving material. A square mouth clears a board better, a round mouth digs.

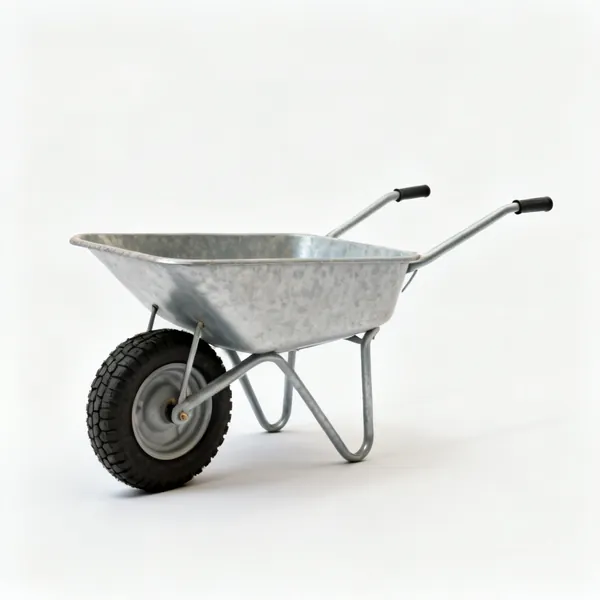
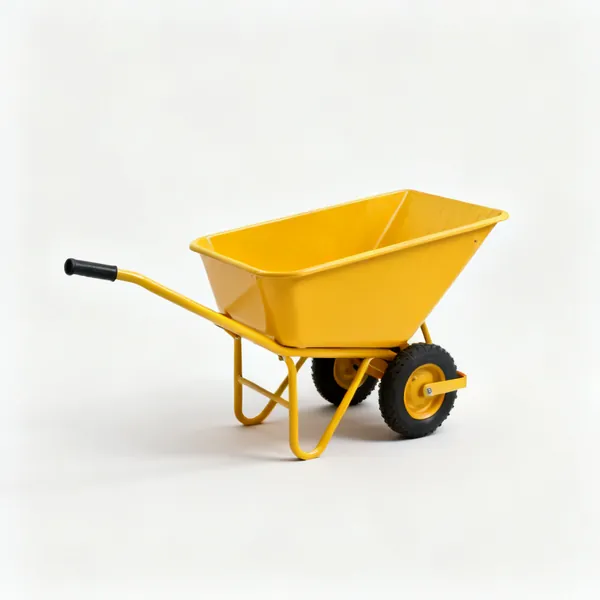
  • A builder's wheelbarrow with a pneumatic tyreEssential

    Wheelbarrow

    Moving concrete to the pour. A pneumatic tyre, and never filled so full it cannot be steered on a plank.

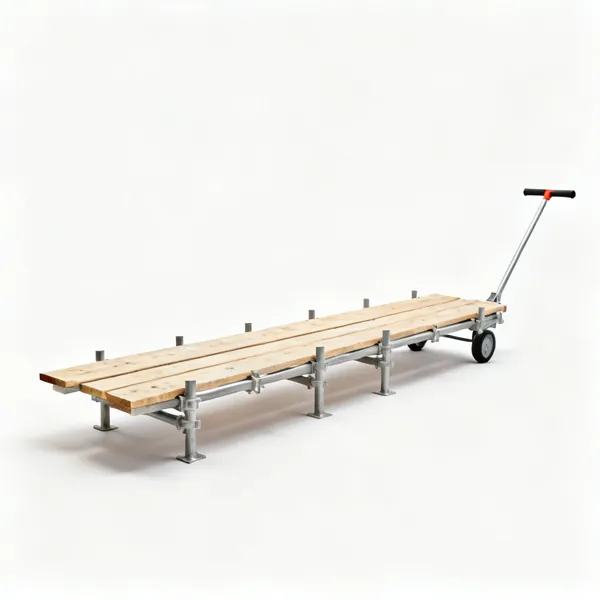
  • Barrow run boards: Scaffold boards laid as a barrow run

    Barrow run boards

    Scaffold boards giving a firm route across soft ground or over reinforcement, so barrows can actually reach the pour.

  • A yellow site dumper with a tipping skip

    Site dumper

    Moves volume where a barrow cannot keep pace. On anything above a few cubic metres it earns its day rate.

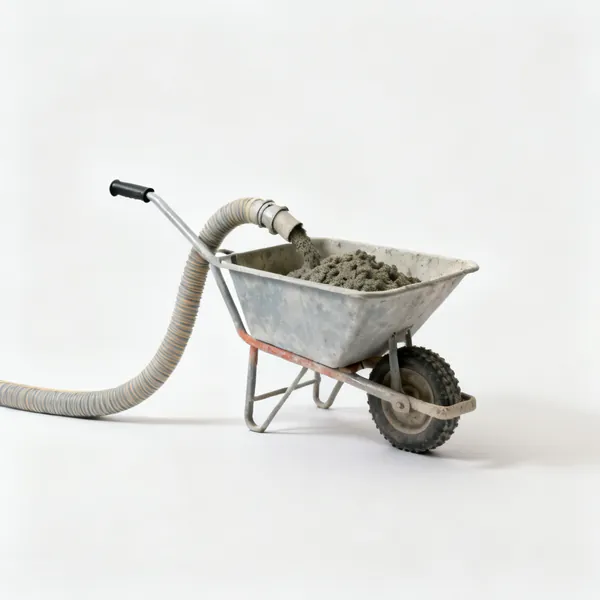
  • A concrete pump hose and hopper

    Concrete pump

    Places concrete through a hose into a position no barrow can reach, and it places a large pour fast.

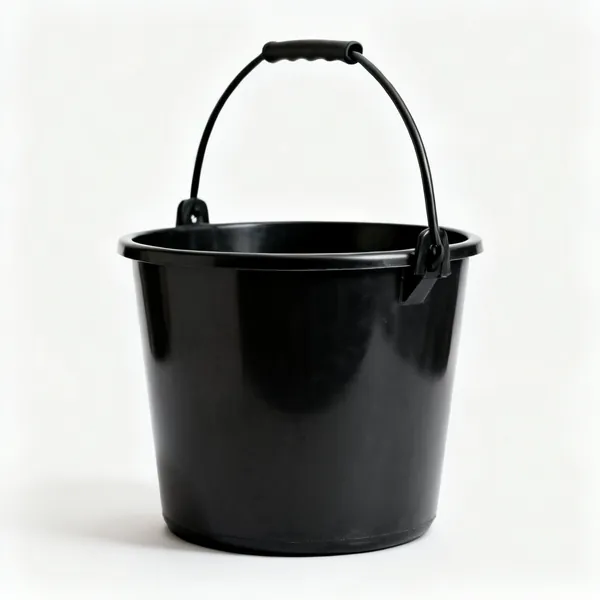
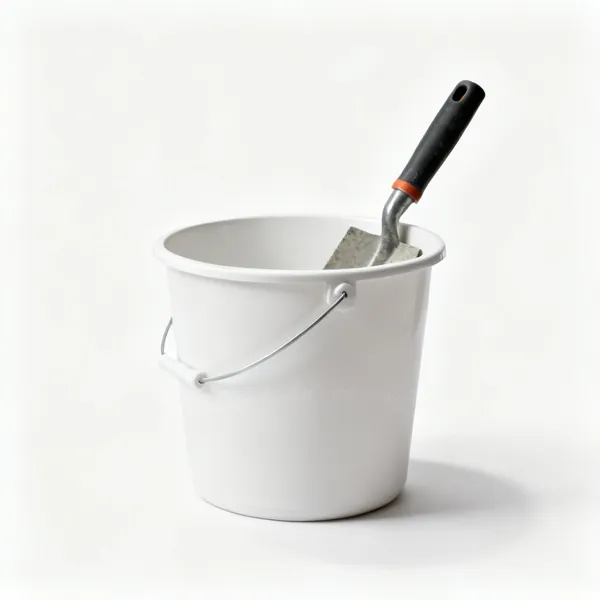
  • Black builder's bucketsEssential

    Buckets

    Water, measuring, and washing tools. Several, because the water bucket must not become the mixing bucket.

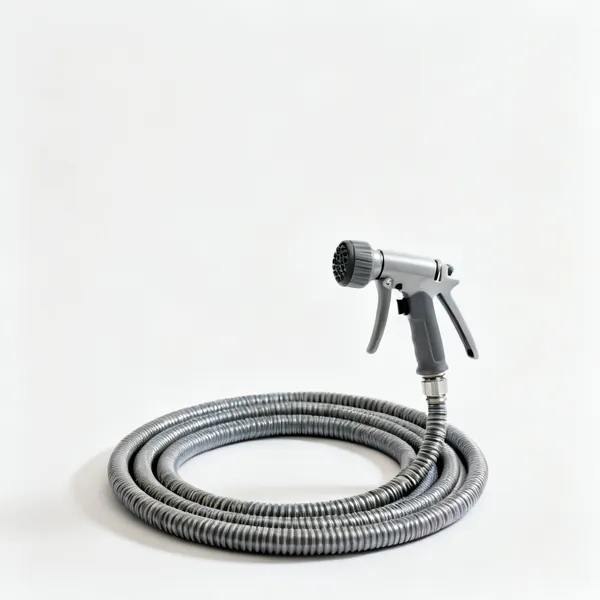
  • Water supply: A coiled hose with a spray nozzleEssential

    Water supply

    For mixing, damping the base and washing down. A hose to hand rather than trips with a bucket.

Placing & compacting 9

Getting concrete level and driving the air out. This is what makes a slab strong rather than merely flat.

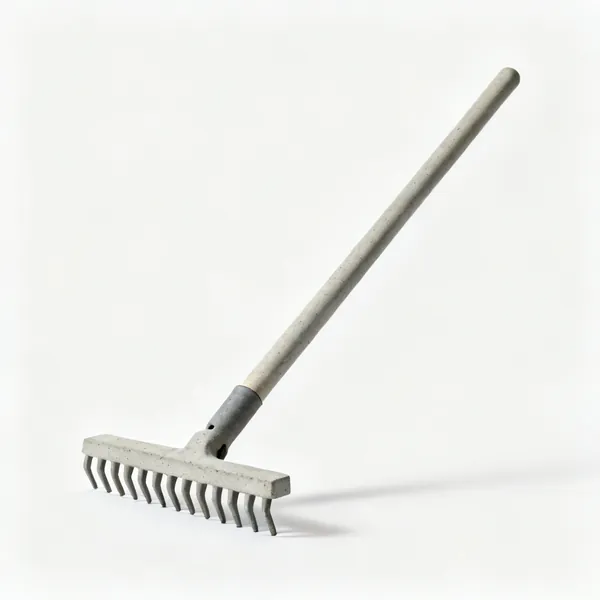
  • Concrete rake: A concrete placing rake with a hooked bladeEssential

    Concrete rake

    A heavy blade with a hook for pulling and spreading wet concrete to rough level. A shovel is slow and uneven.

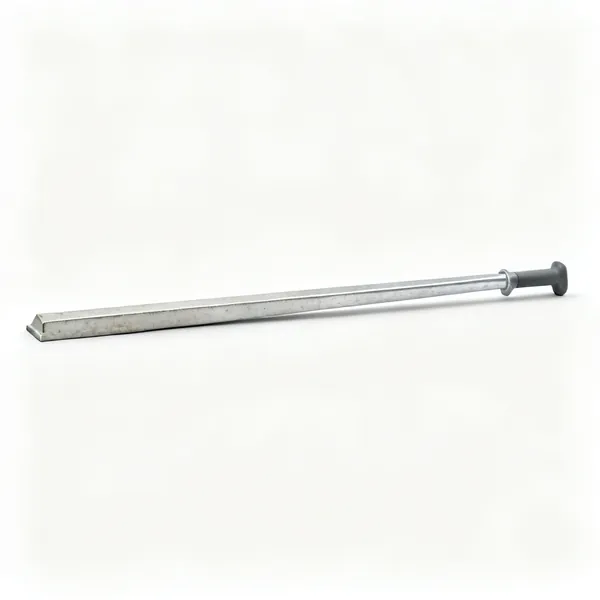
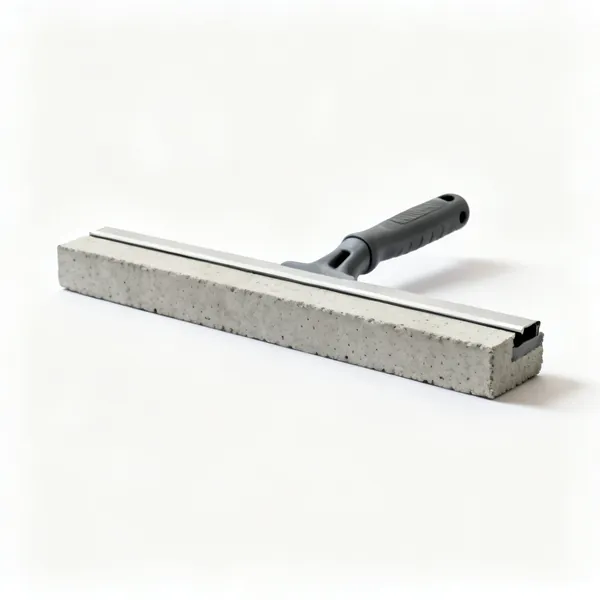
  • A long aluminium concrete tamping beamEssential

    Tamping beam

    A straight edge dropped across the pour to compact it and strike it to level. The core of a sound slab.

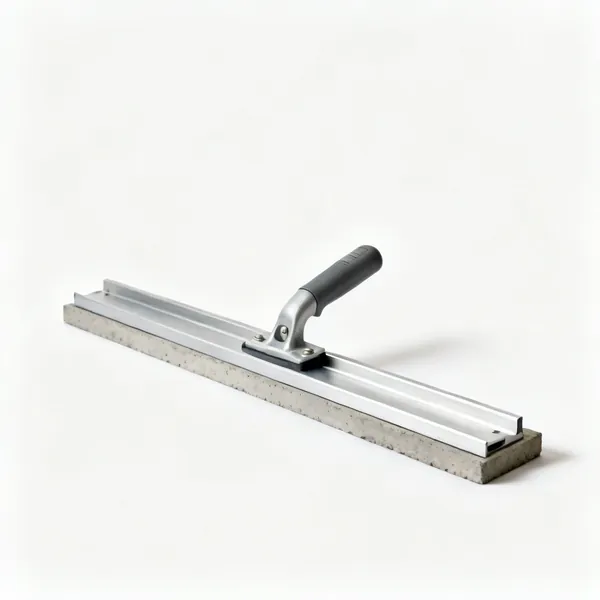
  • Aluminium screed rails on a concrete base

    Screed rails

    Rails set to level that a beam runs on, giving an even surface across an area wider than the formwork.

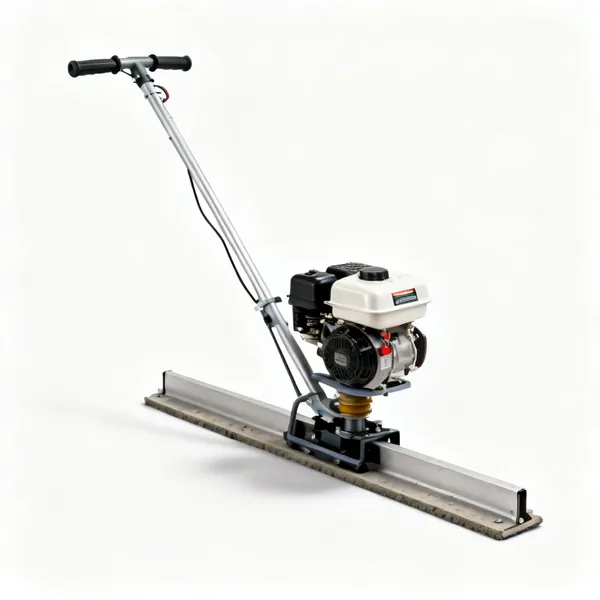
  • Vibrating screed: A petrol vibrating concrete screed beam

    Vibrating screed

    A powered beam that compacts and levels in one pass, far more consistently than hand tamping over a large slab.

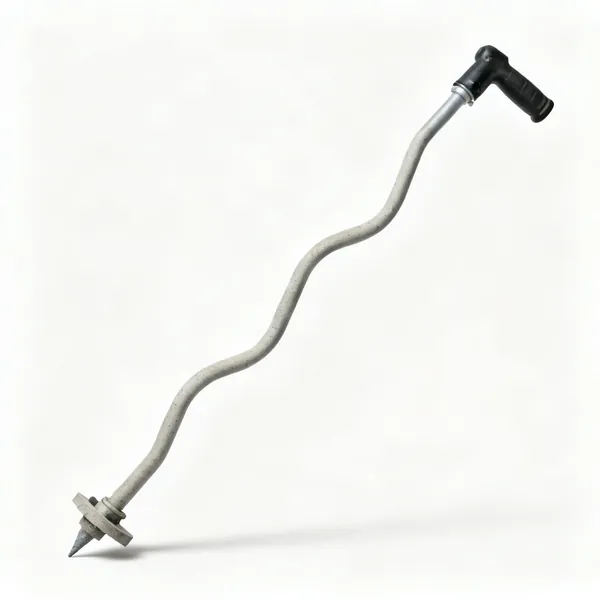
  • A concrete poker vibrator with a flexible shaft

    Poker vibrator

    A vibrating shaft plunged into a deep pour to release trapped air, where tamping cannot reach the bottom.
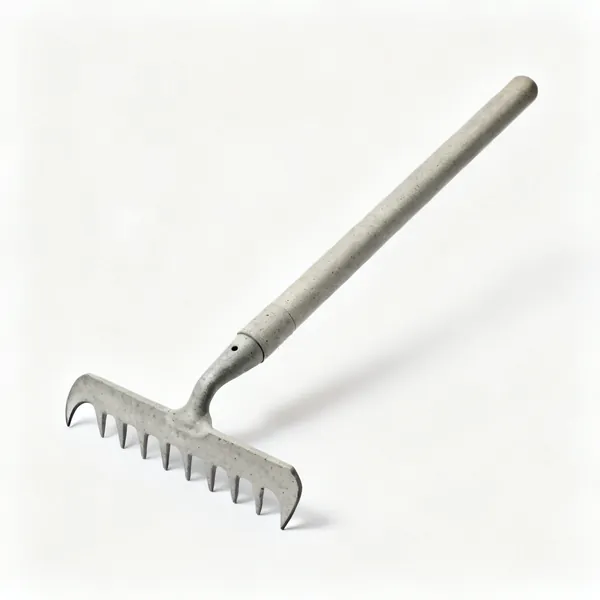
  • Come along rake: A concrete come along placing rake

    Come along rake

    A flat blade for pulling concrete across a slab without segregating the mix, which a garden rake does.

  • Kneeler boards: Kneeling boards on a fresh concrete slab

    Kneeler boards

    Spread your weight on a fresh slab so you can reach the middle to finish it without leaving marks.

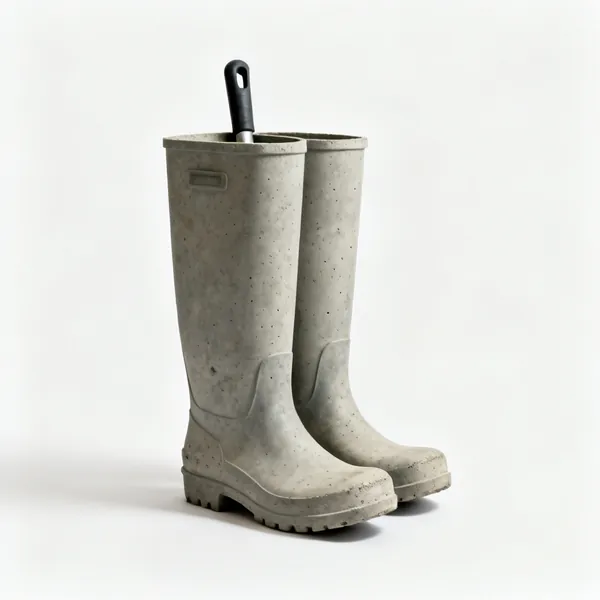
  • A pair of tall waterproof concrete bootsEssential

    Concrete boots

    Waterproof with a toe cap. Wet concrete is caustic and will burn skin through an ordinary boot over hours.

  • Waterproof gloves: A pair of long waterproof concrete glovesEssential

    Waterproof gloves

    Long gauntlets, since wet concrete causes chemical burns that people only notice the following morning.

Finishing the surface 12

The visible result, done in a fixed order and against the clock. Waiting for the bleed water is the hard part.

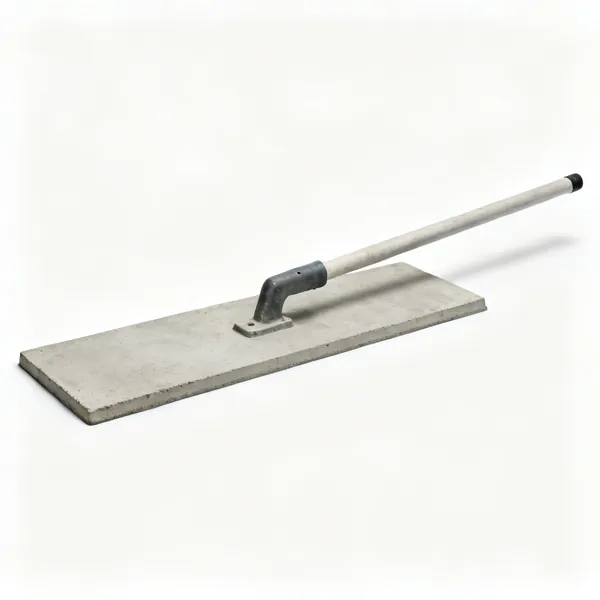
  • A wide concrete bull float on a long handle

    Bull float

    A wide float on a long handle, smoothing a slab from the edge without walking on it. Reaches the middle.

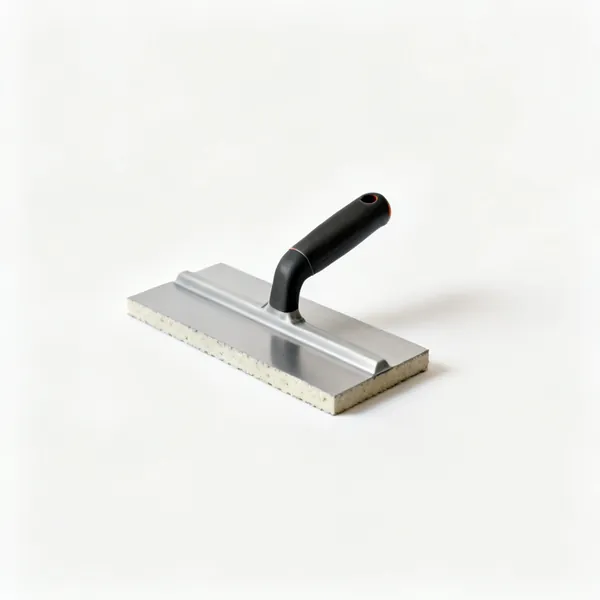
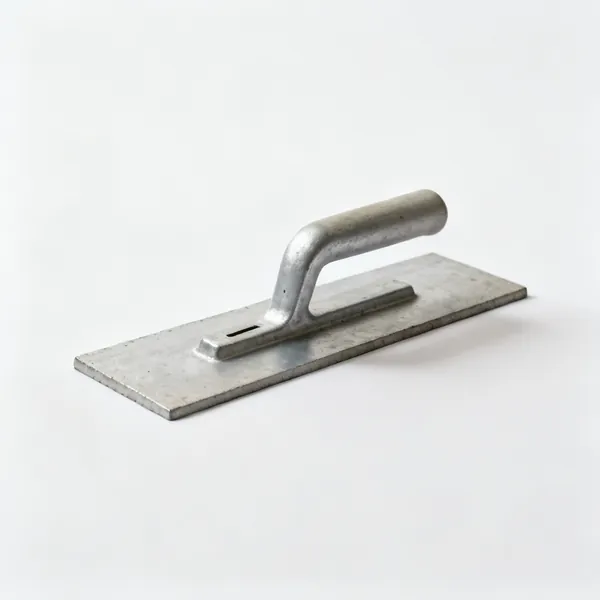
  • Steel float: A rectangular steel concrete finishing floatEssential

    Steel float

    Closes and smooths the surface after tamping. Used too early it seals bleed water in and weakens it.

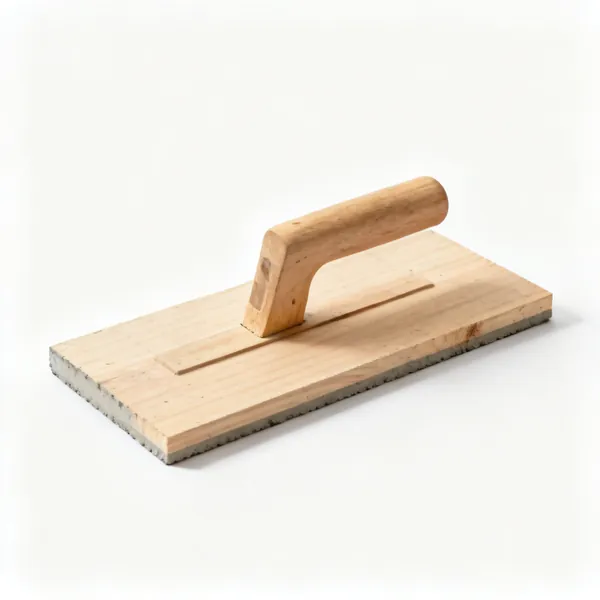
  • Wood float: A wooden concrete float with a handleEssential

    Wood float

    Leaves a slightly open textured surface with grip. The right choice on any outdoor slab that gets walked on wet.

  • Magnesium float: A magnesium concrete float

    Magnesium float

    Lighter than steel and it opens the surface rather than sealing it, so it suits an early first pass.

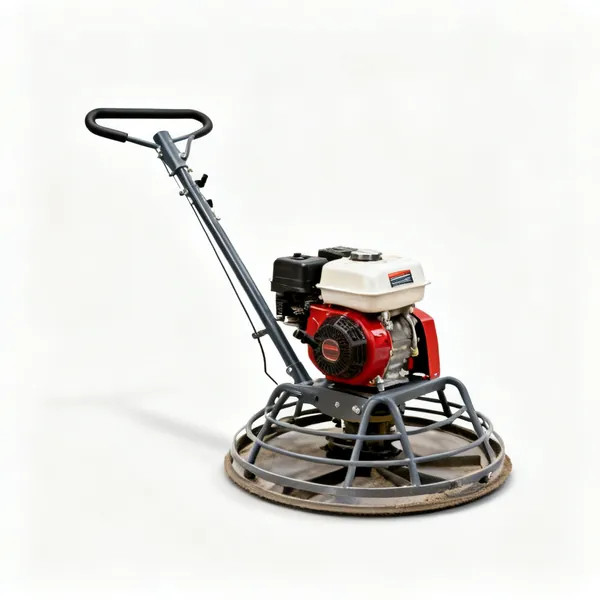
  • A walk behind power float machine

    Power float

    A spinning disc that polishes a large slab hard and smooth. Hired, and the difference between a floor and a good floor.

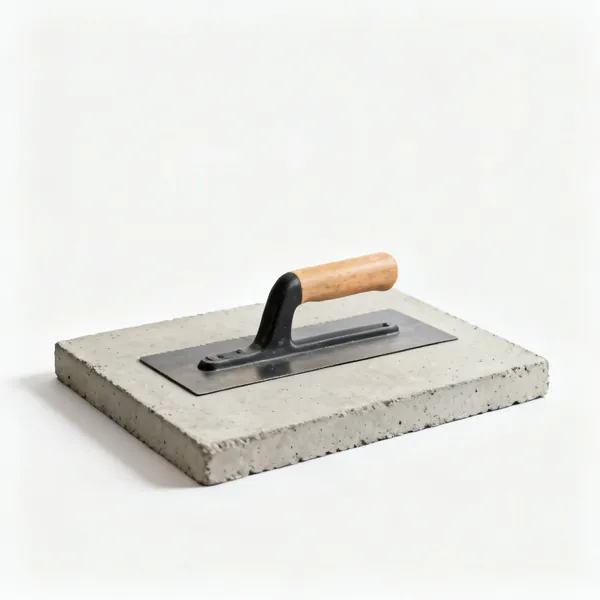
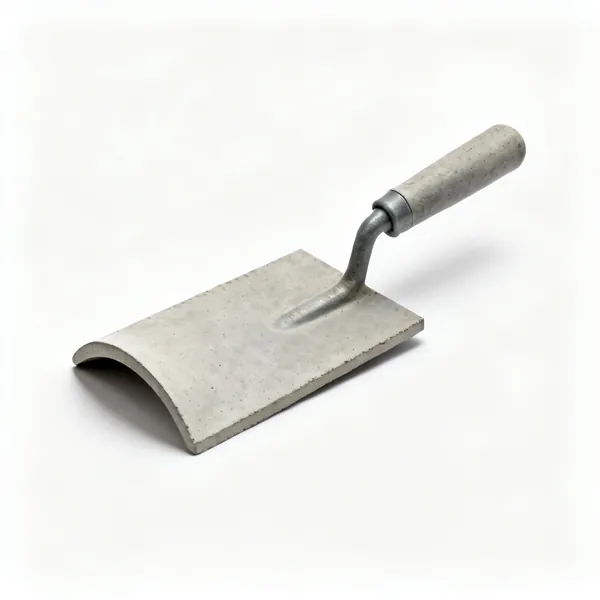
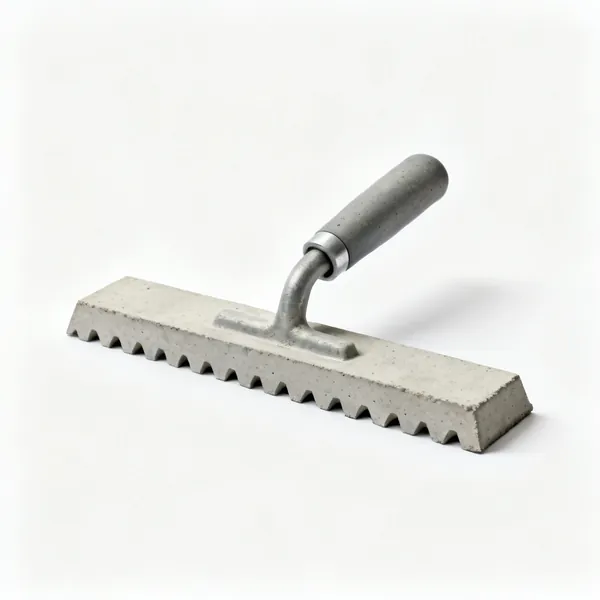
  • A concrete edging trowel with a curved lipEssential

    Edging trowel

    Rounds the slab edge so it does not chip. Five minutes that decides whether it still looks new in ten years.

  • Jointing tool: A concrete jointing groover toolEssential

    Jointing tool

    Cuts control joints so shrinkage cracks happen along a line you chose rather than across the middle.

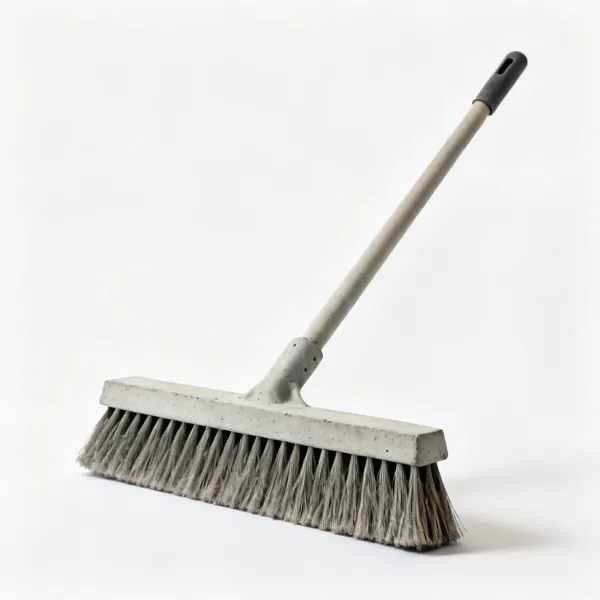
  • A wide soft concrete finishing broomEssential

    Finishing broom

    Drawn across a floated surface for a non slip texture. The standard outdoor finish, and it must be done in time.

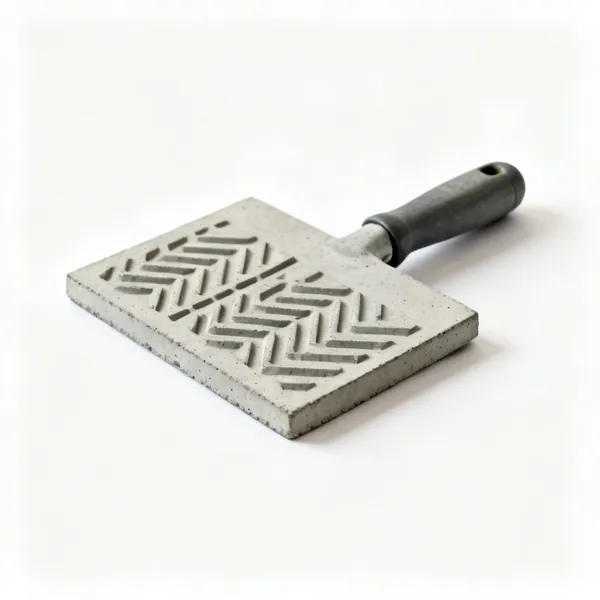
  • Stamping mats: Concrete stamping pattern mats

    Stamping mats

    Pressed into a floated surface to imprint a stone or brick pattern. Timing is everything and there is one attempt.

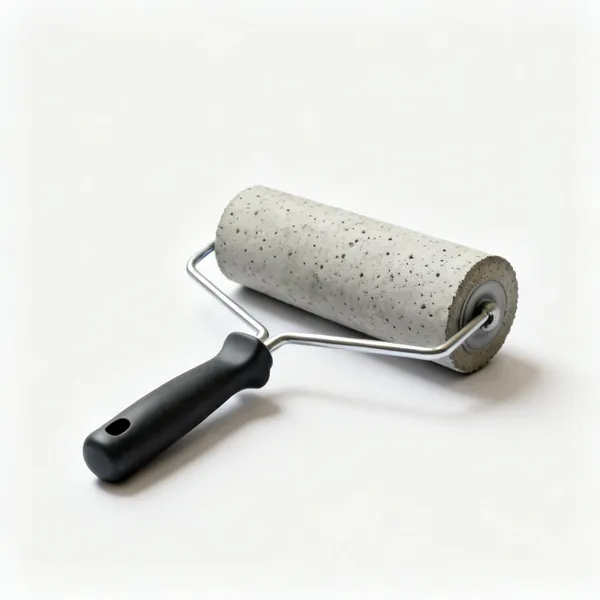
  • A patterned concrete texture roller

    Texture roller

    Rolls a repeating pattern into fresh concrete, more forgiving than a stamp on a small area.

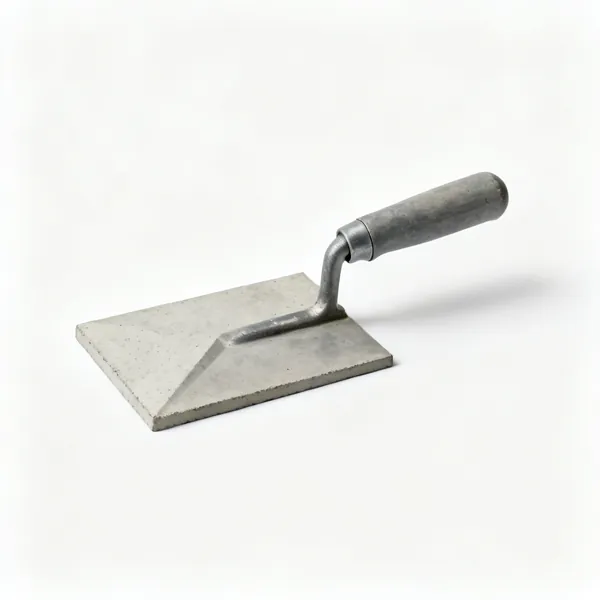
  • Inside corner trowel: A concrete inside corner finishing trowel

    Inside corner trowel

    Finishes the internal angle where a slab meets a wall or a step, which a flat float cannot reach into.

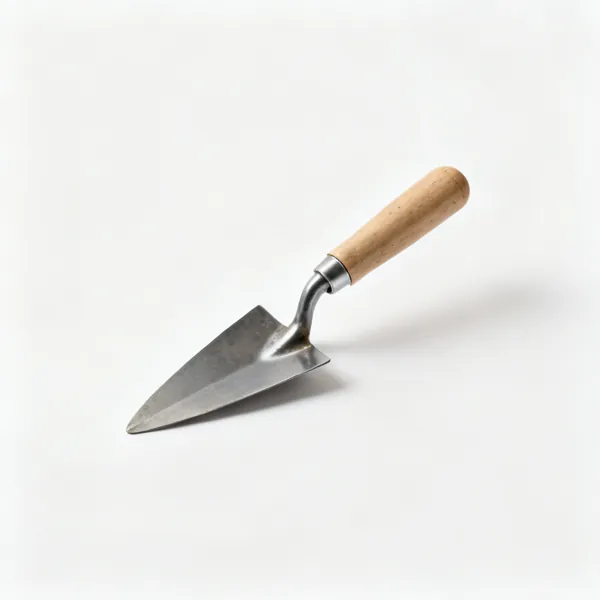
  • A small pointing trowelEssential

    Pointing trowel

    Detail work at edges, around penetrations and where a float will not fit. The last tool on any pour.

Cutting & breaking 12

Working cured concrete. Everything here makes silica dust, which is why water and extraction appear throughout.

  • A walk behind concrete floor saw

    Floor saw

    A wheeled saw cutting a straight deep line in a slab, with water suppression. Hired, and it beats a grinder by far.

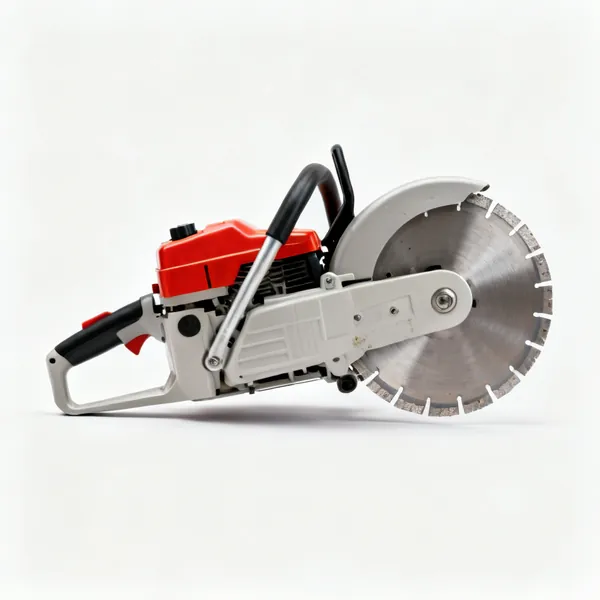
  • A petrol disc cutter with a diamond bladeEssential

    Disc cutter

    A petrol or cordless saw with a diamond blade for deep cuts. Run wet, since the dust is crystalline silica.

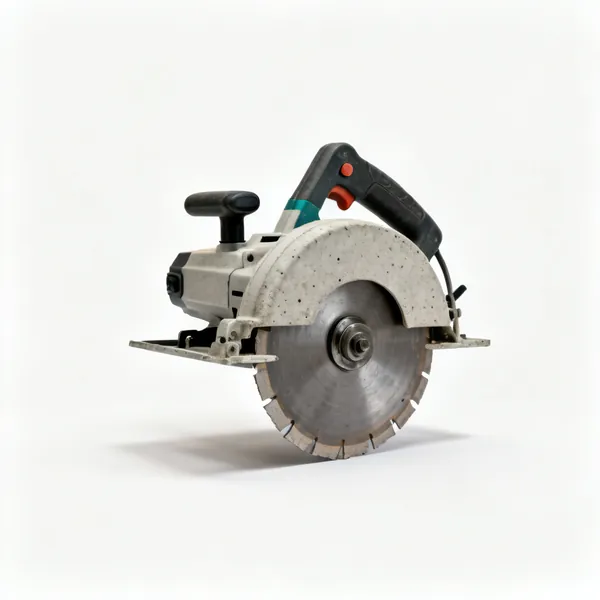
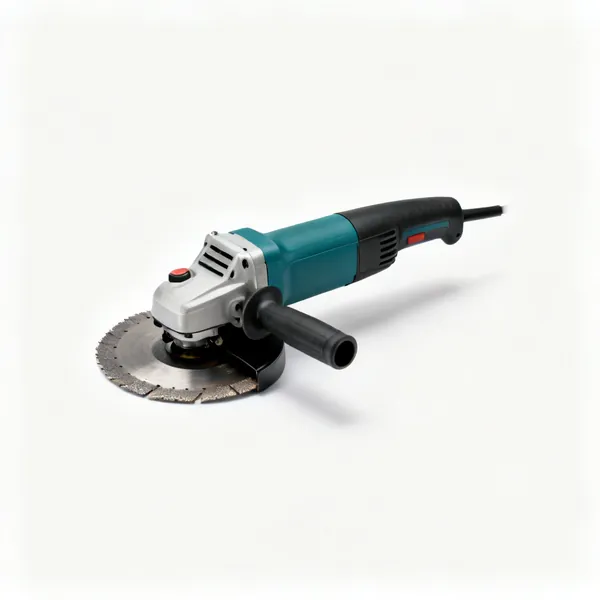
  • Angle grinderEssential

    Angle grinder

    Smaller cuts and chasing, with a diamond blade and extraction. The most useful and least forgiving tool here.

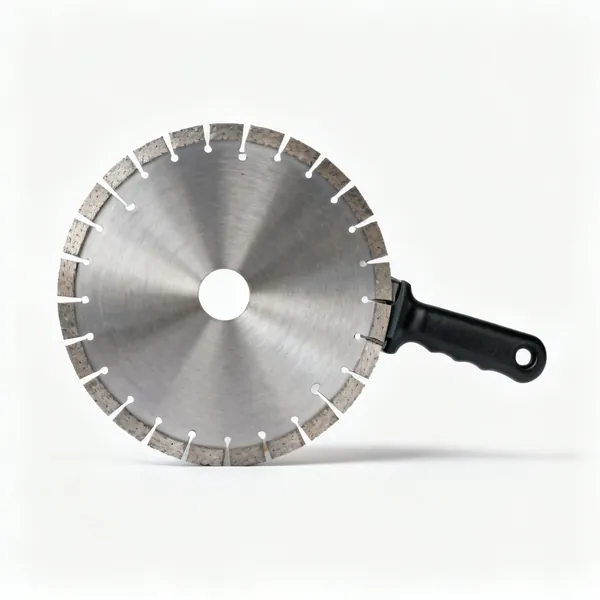
  • Diamond blades: Diamond cutting blades for concreteEssential

    Diamond blades

    Blades with diamond grit that grind through concrete. Bonds differ for concrete, stone and tile, and glaze if wrong.

  • A heavy electric demolition breaker with a chisel

    Demolition breaker

    Breaks up slabs, footings and screed. Electric indoors, hydraulic for anything serious, and hired either way.

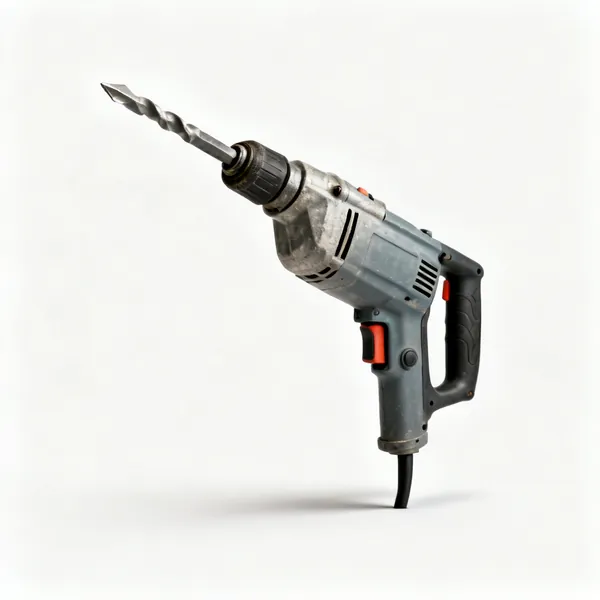
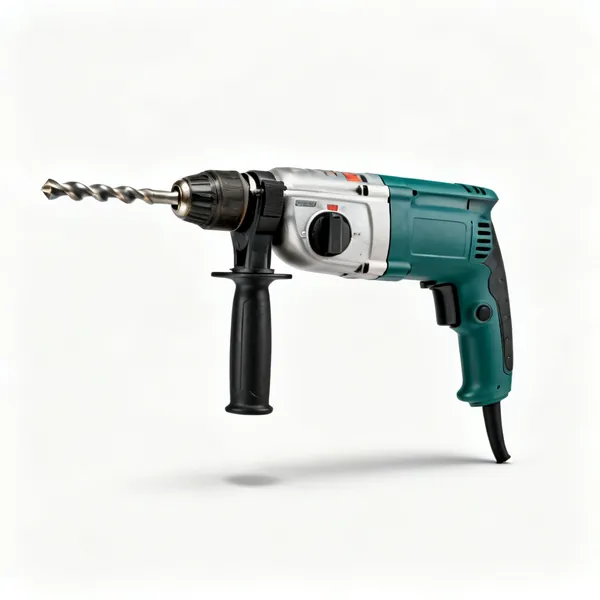
  • An SDS hammer drill with a masonry bitEssential

    SDS hammer drill

    Drills concrete for fixings and starter bars. The bit slides in the chuck so the hammer blow reaches the tip.

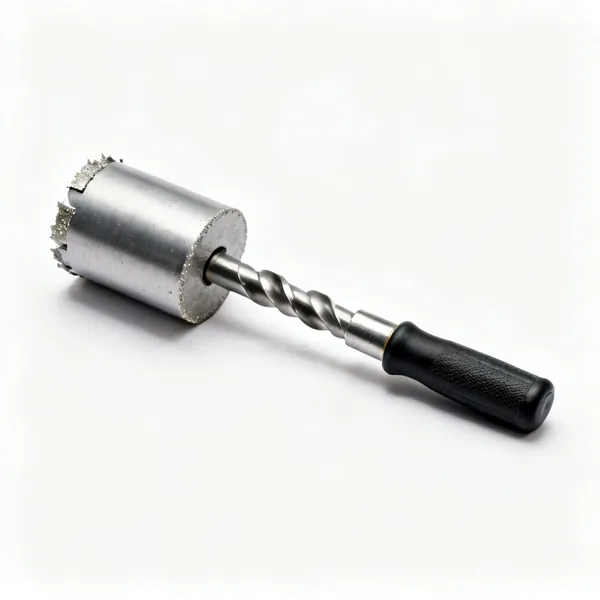
  • A diamond core drill with a barrel bit

    Core drill

    Cuts a clean round hole through a slab or wall for pipes and vents. Water fed, and hired for anything large.

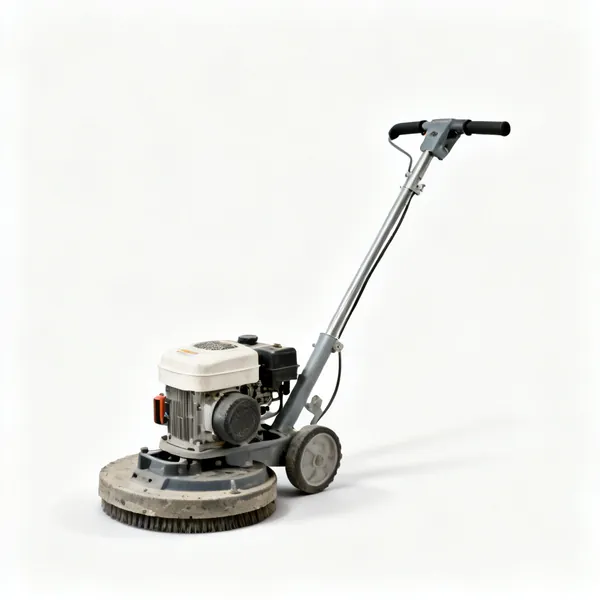
  • Concrete grinder: A concrete floor grinder machine

    Concrete grinder

    Takes high spots and old adhesive off a slab, and prepares a surface for a coating. Needs real dust extraction.

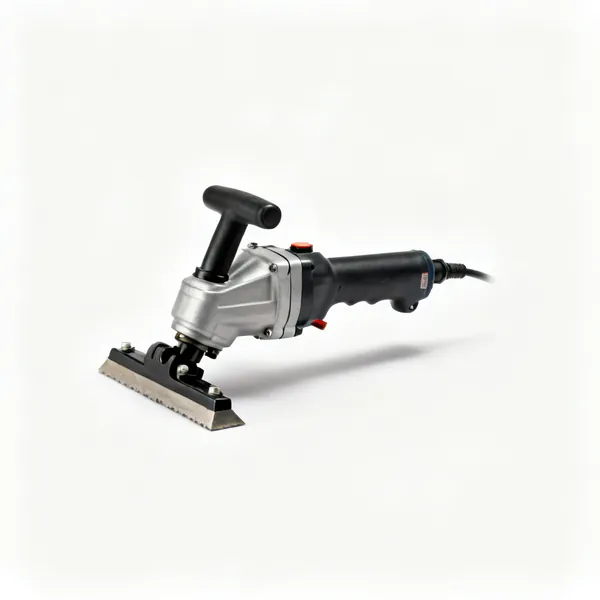
  • A pneumatic concrete scabbler tool

    Scabbler

    Roughens a cured surface so a new layer bonds to it. A smooth old slab will not bond to new concrete.

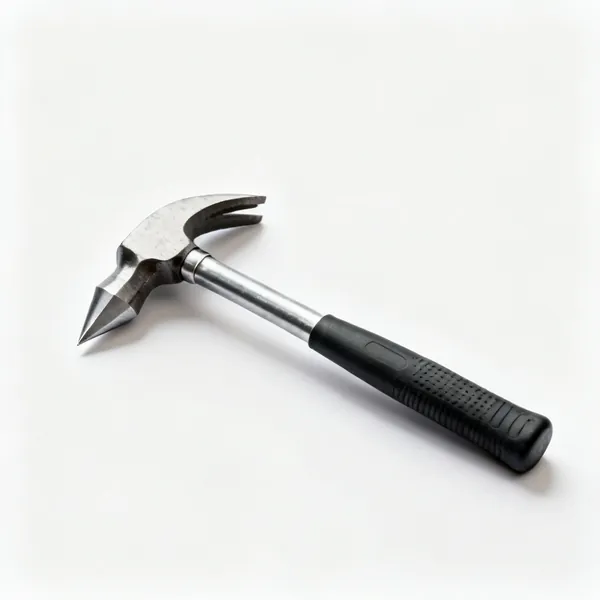
  • A chipping hammer with a pointed endEssential

    Chipping hammer

    Cleaning up an edge and removing small areas by hand, where a breaker is far too much.

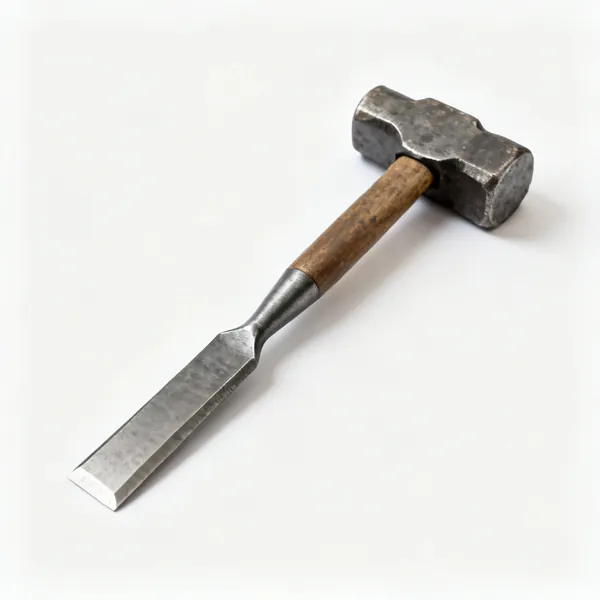
  • Bolster & lump hammer: A bolster chisel and a lump hammerEssential

    Bolster & lump hammer

    Splitting and trimming by hand. Struck with a lump hammer, never with a claw hammer.

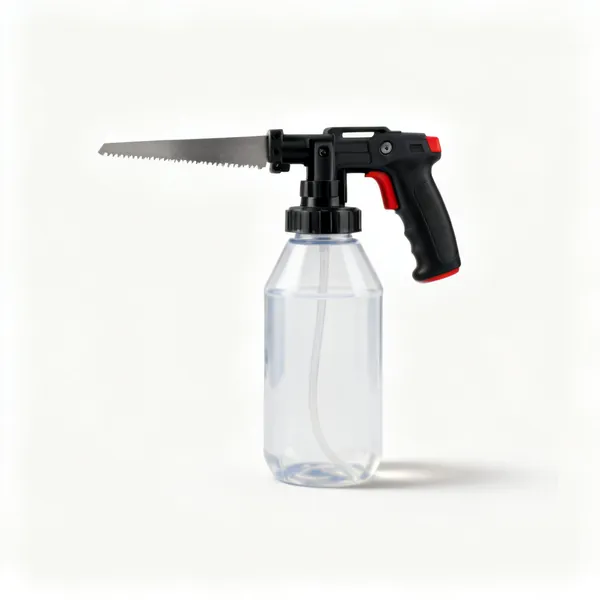
  • Water suppression kit: A water suppression bottle kit for a cutting sawEssential

    Water suppression kit

    Feeds water to the blade so silica dust never becomes airborne. The most important item in this group.

Curing & protection 9

The cheapest stage and the one most often skipped. Strength comes from keeping the water in.

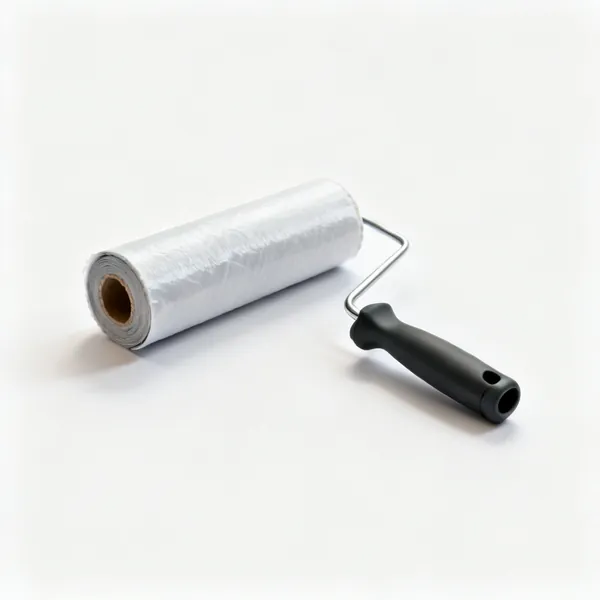
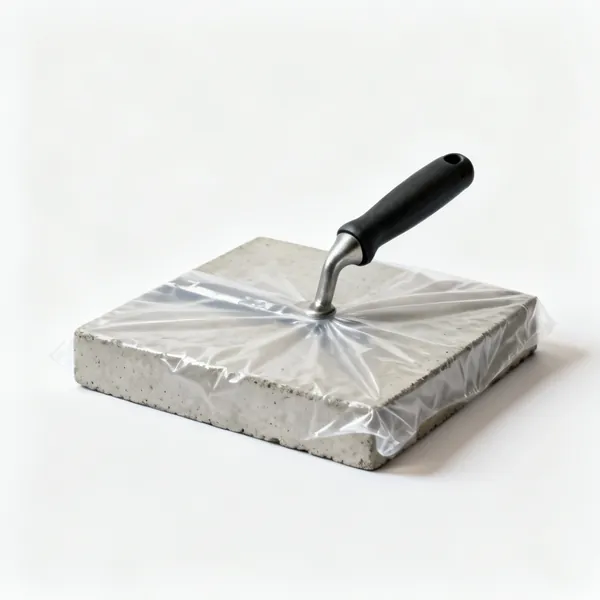
  • Polythene sheeting covering a concrete slabEssential

    Polythene sheeting

    Covers a fresh slab to hold moisture in and rain out. The simplest and most effective curing method there is.

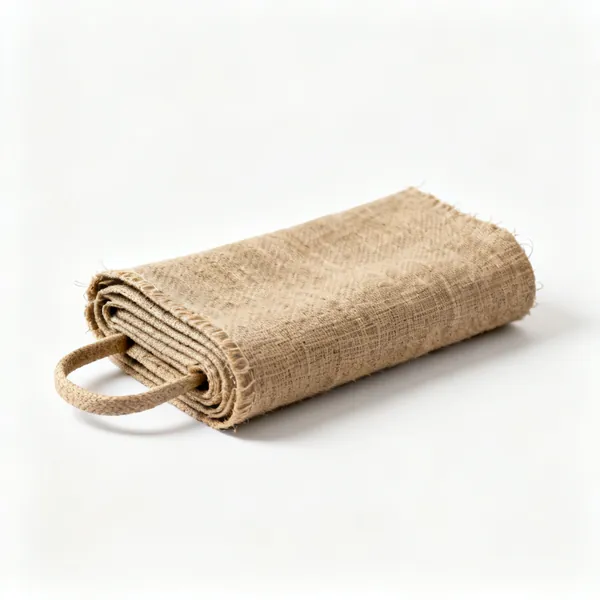
  • Damp hessian: A folded roll of hessian sheeting

    Damp hessian

    Laid damp over a slab and kept wet, curing it steadily. Traditional, effective and it needs attention.

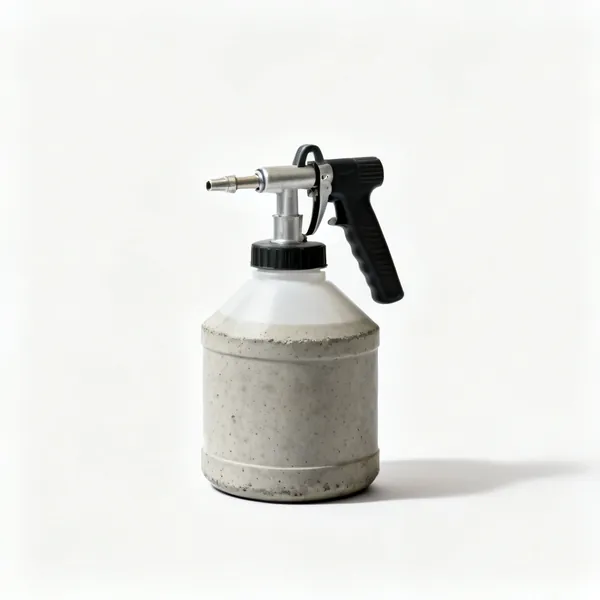
  • A container of concrete curing compound with a sprayer

    Curing compound

    Sprayed on to seal the surface and hold moisture in, where covering a large slab is impractical.

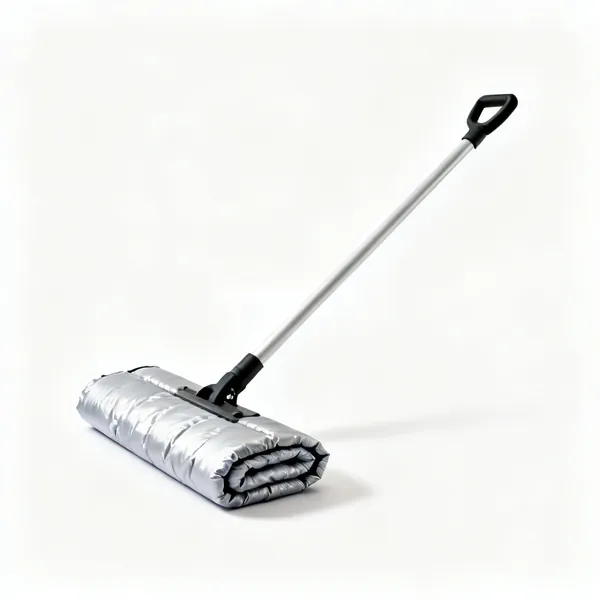
  • Frost blanket: An insulated concrete frost protection blanket

    Frost blanket

    Insulates a fresh pour against frost. Concrete frozen before it gains strength is destroyed rather than delayed.

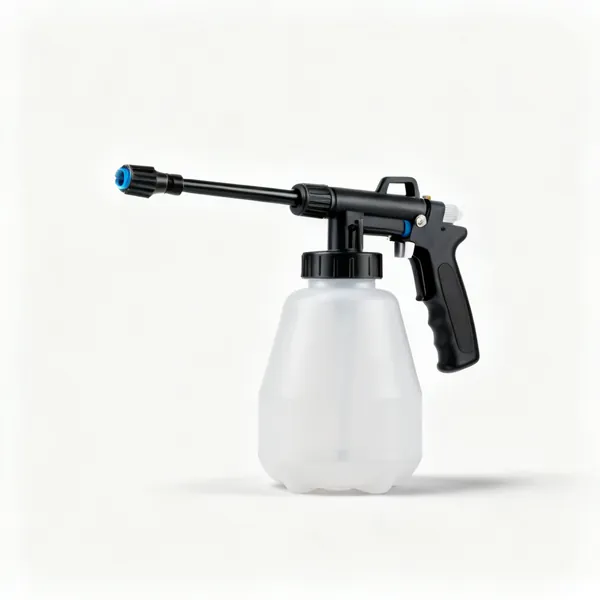
  • A pump pressure water sprayerEssential

    Water sprayer

    Mists a curing slab to keep it damp. Not a hose, which can wash the surface out in the first day.

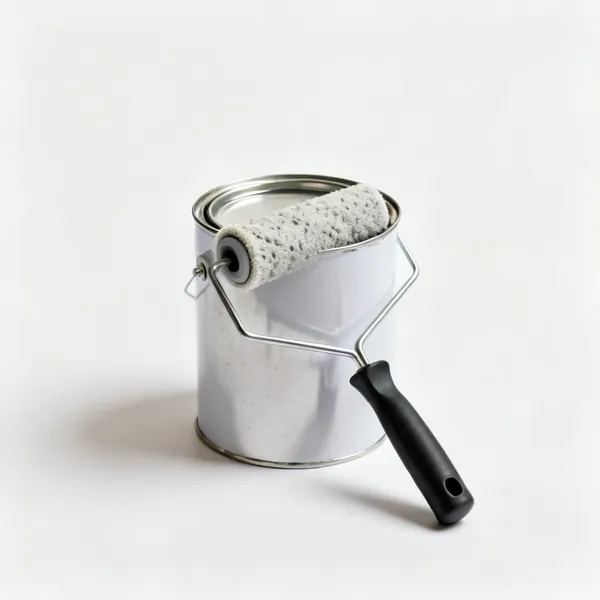
  • A tin of concrete sealer with a roller

    Concrete sealer

    Applied after curing to resist water, salt and staining. On a drive or garage floor it doubles the life.

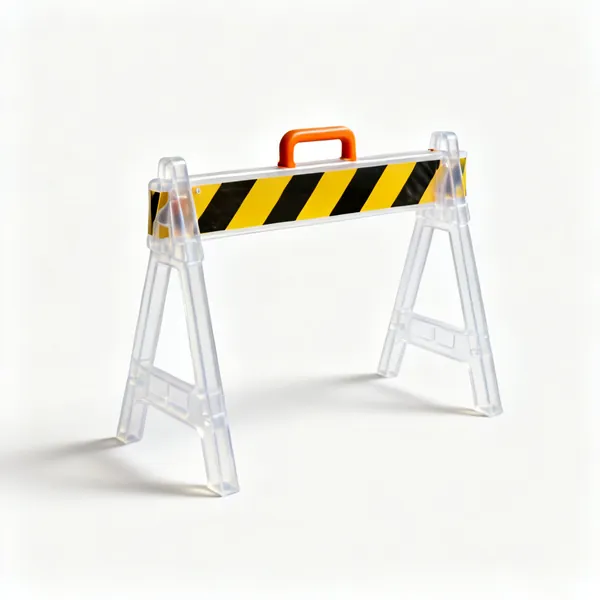
  • Barriers & tape: Plastic site barriers and hazard tapeEssential

    Barriers & tape

    Keeps people, pets and vehicles off a fresh slab. A footprint in green concrete is permanent.

  • Expansion joint strip: A concrete expansion joint foam strip

    Expansion joint strip

    A compressible strip where a slab meets a wall or another slab, so thermal movement has somewhere to go.

  • Concrete thermometer: A concrete temperature probe thermometer

    Concrete thermometer

    Reads the temperature of the pour, which decides both working time and whether it is safe to pour at all.

Safety & clearing up 10

Caustic wet concrete, silica dust from cured concrete, and a lot of weight. All three are entirely manageable.

  • A pair of wraparound safety glassesEssential

    Safety glasses

    Splash while mixing and fragments while cutting. Wraparound, since a splash arrives from any direction.

  • FFP3 dust mask: An FFP3 respirator dust maskEssential

    FFP3 dust mask

    Cement powder while mixing and silica while cutting. Fit is the whole product, so a leak protects nothing.

  • A pair of ear defendersEssential

    Ear defenders

    Mixers, breakers and cut off saws all pass safe noise levels quickly, and the damage is permanent.

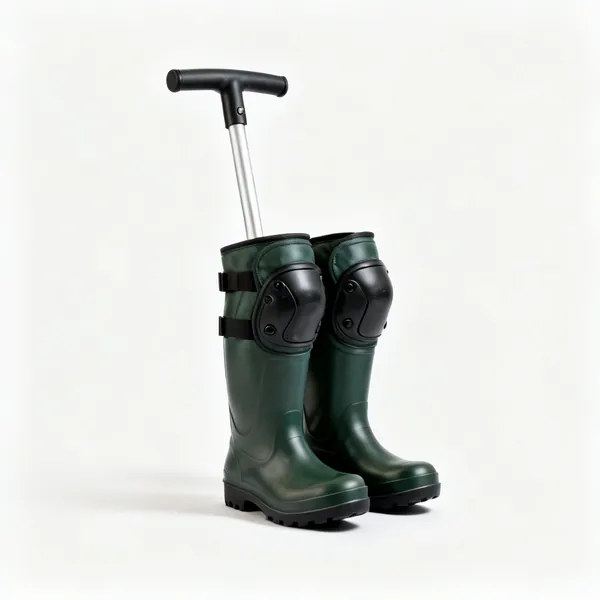
  • A pair of waterproof knee padsEssential

    Knee pads

    Finishing a slab is done kneeling on boards over wet caustic concrete for hours at a time.

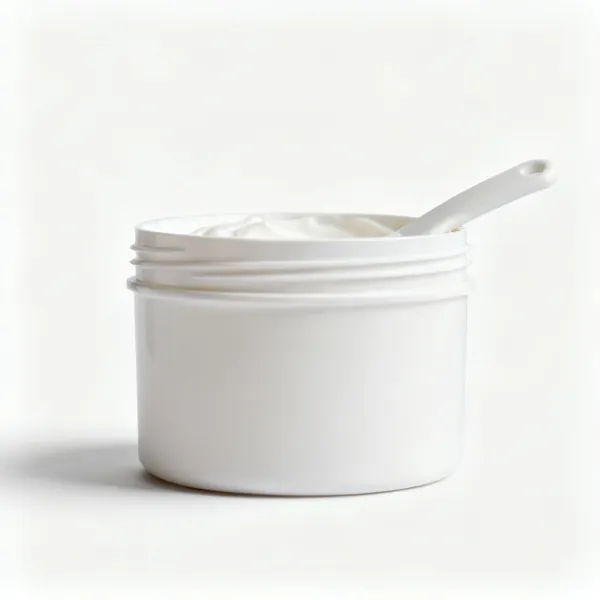
  • Barrier cream & wash: A tub of skin barrier cream

    Barrier cream & wash

    Reduces what skin absorbs, and a wash off point means a splash is dealt with immediately rather than later.

  • Planks & props: Timber planks and adjustable props

    Planks & props

    A firm route for barrows and support for formwork. Concrete work generates a lot of temporary timber.

  • Settling bucket: A bucket for washing concrete toolsEssential

    Settling bucket

    Tool washings settle here rather than going down a drain, where concrete sets solid in the trap.

  • A stiff bristled yard brushEssential

    Yard brush

    Sweeping spillage before it sets. Set concrete on a path or a drive is a chisel job later.

  • Hose & jet wash: A pressure washer with a hose

    Hose & jet wash

    Cleaning down at the end of the day. Fresh spatter comes off with water and cured spatter does not.

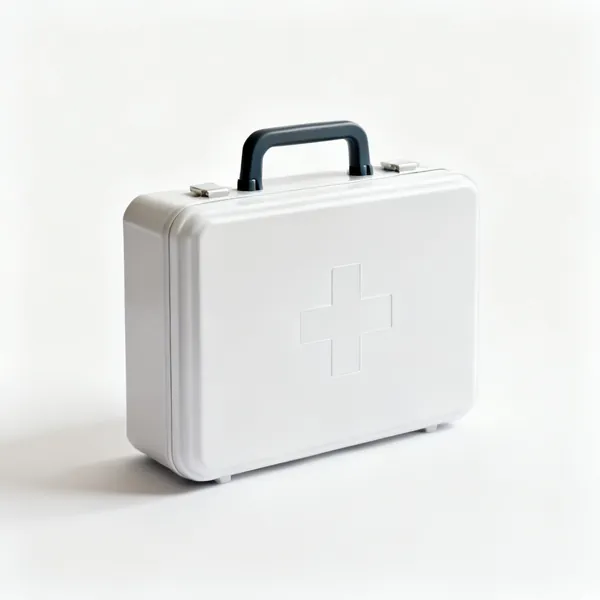
  • A first aid kit boxEssential

    First aid kit

    Stocked for chemical burns and crush injuries rather than just cuts, since that is what this work produces.

Choosing concrete tools

The whole discipline is preparation. Every tool laid out before the first mix, because once it is going off you cannot pause to find a float.

The clock starts when the water goes in

Concrete is the only material here that sets whether or not you are ready. Everything has to be laid out, braced and planned before the first mix, because a pour cannot be paused.

In practice that means the formwork is finished and braced, the reinforcement is supported off the base, the tamping beam is cut to length, the floats are within reach, there is a plan for rain, and there are enough hands and barrows to move the volume before it stiffens.

Most bad pours are not mix problems. They are a compactor that arrived after the concrete went off, or two people trying to place what four could have handled.

Everything laid out before the first mix
Rake, tamp, float, edger and jointer all within reach. Once it is going off you cannot go looking.
Work out the volume and the time
Concrete stiffens in a couple of hours, faster in heat. Enough hands and barrows to place it inside that.
Have a plan for rain
Rain on a fresh surface ruins the finish permanently. Sheeting and a way to fix it down, ready before you start.
Do not add water to make it workable
Extra water buys easy spreading and costs strength for good. If it is too stiff, the mix was wrong.
Never re temper a batch that has started to go off
Adding water to stiffening concrete permanently weakens it. Mix smaller batches instead.
Stop pouring in time to finish
Finishing takes as long as placing. A slab placed at dusk gets finished in the dark or not at all.

Formwork holds far more force than people expect

Wet concrete is heavy and it pushes hard, outwards and downwards. A shutter that looks solid empty can bow or blow out when full, and a blown shutter mid pour is close to unrecoverable.

So brace it for more than feels necessary. Stakes at close centres, struts against the ground, and ties across anything tall. The rule of thumb is that if you are wondering whether it needs another stake, it does.

The other half is release. Formwork that has not been oiled or lined bonds to the concrete and has to be broken off, taking the edge of the slab with it.

Brace for more force than looks necessary
Wet concrete pushes hard. A shutter that flexes when full gives you a bulge you cannot cut off.
Stakes at close centres, below the top edge
Driven below the form top so the tamping beam can pass over without hitting them.
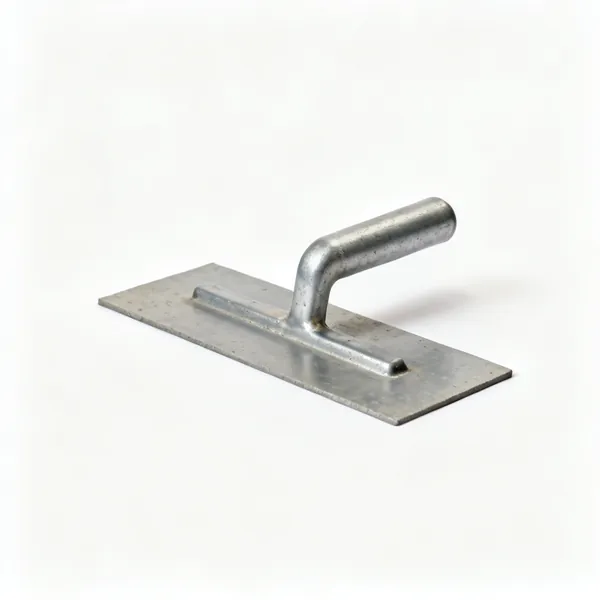
Set the fall into the formwork
Build the slope in now. Trying to correct it in a few millimetres of finish never works.
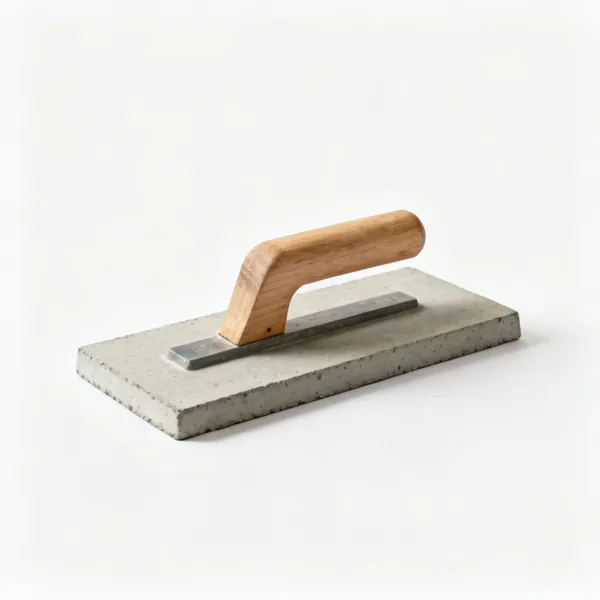
Release agent or a liner, every time
Unoiled formwork bonds to the concrete and takes the slab edge with it when you strike it.
Support reinforcement off the base
Mesh lying on the ground does nothing. Chairs or spacers hold it where it can actually work in tension.
Check the diagonals before you mix
A rectangle is only square if both diagonals match. Once concrete is in, the shape is permanent.

Compacting and finishing, in the right order

The sequence is fixed and doing it out of order causes specific, visible faults. Place and rake to rough level, tamp to compact and strike off, let the surface water disappear, then float, then edge and joint, then final finish.

Tamping is what drives the air out and brings the paste up. Floating closes the surface. Doing them in the wrong order, or floating while there is still water sitting on top, brings that water into the surface and leaves a weak dusty layer that wears away.

So the hardest part is waiting. The bleed water has to go before you float, and that timing is judged rather than measured.

Tamp first, float second
Tamping compacts and levels. Floating closes. Reversing them traps air and weakens the surface.
Wait for the bleed water to go
Floating standing water into the surface leaves a weak dusty layer that dusts and wears off within a year.
Edge before you joint
Rounding the edge stops it chipping. Five minutes now for a slab that still looks new in ten years.
Cut control joints where you choose
Concrete shrinks and cracks. A jointing tool decides where, rather than leaving it to chance across the middle.
Wood float for grip, steel for smooth
Steel closes the surface hard and slippery. A wood float leaves texture, which is right outdoors.
Do not overwork it
Repeated floating brings fines to the top and weakens the surface. Stop when it is right.

Curing is not drying

This is the most misunderstood part, and it costs strength invisibly. Concrete does not dry to gain strength, it reacts with water chemically over days and weeks. If it loses that water too early, the reaction stops and the strength never arrives.

So the aim is to keep it damp and at a steady temperature for as long as you reasonably can, ideally a week. Sun and wind in the first day are the enemy, and they cause the surface crazing and cracking people blame on the mix.

Frost is the other risk. Concrete that freezes before it has gained strength is permanently damaged and has to come out.

Keep it damp, do not let it dry
Strength comes from a reaction with water. Losing that water early stops the reaction permanently.
Cover it against sun and wind
Both pull water out of the surface fast, which causes the crazing and cracking blamed on a bad mix.
A week if you can, three days minimum
Most of the early strength gain happens in that window. It is free and it is routinely skipped.
Protect from frost
Concrete frozen before it gains strength is destroyed rather than delayed. Insulate or do not pour.
Do not load it early
It reaches most of its strength over weeks, not days. Driving on a slab too soon cracks it.
Strike formwork later than you want to
Edges and arrises are fragile early. Removing shutters too soon breaks the edge you just formed.

Mistakes that cannot be undone

Adding water to make it easier to work
The most common and most damaging error. It buys a few minutes and costs permanent strength.
Formwork not braced enough
It bows or blows out mid pour, and there is no way to correct the shape once concrete is in it.
Floating while bleed water is still on top
It works that water in and leaves a weak surface that dusts and wears off within a year.
Mesh laid straight on the ground
Reinforcement only works in the right position. Lying on the base it contributes almost nothing.
No control joints
The slab shrinks and cracks anyway, in a random line across the middle instead of where you chose.
Letting it dry instead of curing it
Strength comes from a reaction with water, not from drying. A covered slab is a stronger slab.
Pouring in frost or extreme heat
Frost destroys it and heat sets it before you can finish. Both are reasons to wait for another day.
Cutting cured concrete dry
It produces vast quantities of silica dust. Water suppression or extraction, without exception.
Skin contact with wet concrete
It is caustic and causes chemical burns over a few hours, which people discover the following morning.

Looking after concrete tools

Wash everything before it sets
Set concrete on a float or a mixer drum has to be chipped off, and chipping damages both.
Never wash it down a drain
It settles and sets solid in the trap. Let it settle in a bucket, pour off the water and bin the sludge.
Hose the mixer out with gravel
A shovel of gravel and water spun in the drum scours the residue off far better than water alone.
Keep steel floats bright
A pitted or rusty float drags and leaves marks. They polish with use, so protect that surface.
Oil formwork before storing
It keeps the timber usable for the next pour and stops residual concrete bonding to it.
Rinse tools in a settling bucket
One bucket for washing, decanted and binned. It saves the drains and keeps the site tidy.

Frequently asked questions

What tools do I need to lay concrete?
Formwork timber and stakes, a mixer or mixing tub, a shovel, a barrow, a rake, a tamping beam, a steel float, a wood float, an edging trowel, a jointing tool, a brush and sheeting for curing. Plus boots, gloves and eye protection.
What is a tamping beam and do I need one?
A straight edge dropped repeatedly across a wet pour to compact it and strike it to level. Yes, you need one, because tamping is what drives out the air and makes the slab strong rather than merely flat.
What is the difference between a steel float and a wood float?
A steel float closes the surface to a hard smooth finish, which is right indoors but slippery when wet. A wood float leaves a slightly open textured surface with grip, which is the correct choice on any outdoor slab.
Should I add water to make concrete easier to work?
No. Extra water makes it spread more easily and permanently reduces its strength, and it also causes surface dusting. If a mix is too stiff to place, the proportions were wrong rather than the pour being difficult.
When should I float a concrete slab?
After tamping, and only once the bleed water on the surface has disappeared. Floating while water is still standing works it into the surface and leaves a weak dusty layer that wears off within a year.
Why does concrete need control joints?
Because it shrinks as it cures and will crack. A jointing tool or a saw cut creates a deliberate weak line so the crack happens there, in a straight line you chose, rather than randomly across the middle of the slab.
What is the difference between curing and drying?
Curing is a chemical reaction with water that develops strength over days and weeks. Drying is water leaving. If concrete dries too early the reaction stops and the strength never arrives, so keeping it damp actually makes it stronger.
How long should concrete cure before I use it?
Keep it damp and covered for at least three days and ideally seven, and expect to wait considerably longer before driving on it. Most of the early strength develops in that first week, which is why covering it matters.
Can I pour concrete in cold weather?
Not in frost. Concrete that freezes before it has gained strength is permanently damaged and has to be broken out. In merely cold conditions it sets much more slowly, so it needs protecting and longer before it is loaded.
Is wet concrete dangerous to skin?
Yes. It is strongly alkaline and causes chemical burns over a few hours of contact, which people typically notice the next morning. Waterproof gloves and boots, and wash any splash off immediately rather than later.
How do I cut cured concrete?
A disc cutter or angle grinder with a diamond blade for small cuts, or a hired floor saw for anything long or deep. Always with water suppression or extraction, because dry cutting concrete releases enormous quantities of silica dust.
What is a poker vibrator for?
A vibrating shaft plunged into a deep pour to release trapped air, used in foundations, columns and anything thick. Tamping only compacts the top, so in a deep section a poker is the only way to compact the bottom.