Disclosure

Tools for screeding

A screed is only as flat as the rails it was struck off, so the levelling happens before any material is mixed. Once it is down there is no adjustment: a low spot is a bag of levelling compound and a high spot is a grinder. All 34 tools here are grouped as setting the level, laying, finishing and curing, which is the order and the priority.

19 are marked essential: enough to set a datum, strike it flat and let it cure properly.

Part of the full concrete tools list, 78 tools in 7 groups.

Setting the level 8

Everything that decides how flat the floor will be happens here, before any material arrives.

  • A yellow rotary laser level on a tripod with a spinning headEssential

    Rotary laser level

    Sweeps a level plane across the whole room, read with a detector on a staff. One reference everywhere, which is what a datum needs.

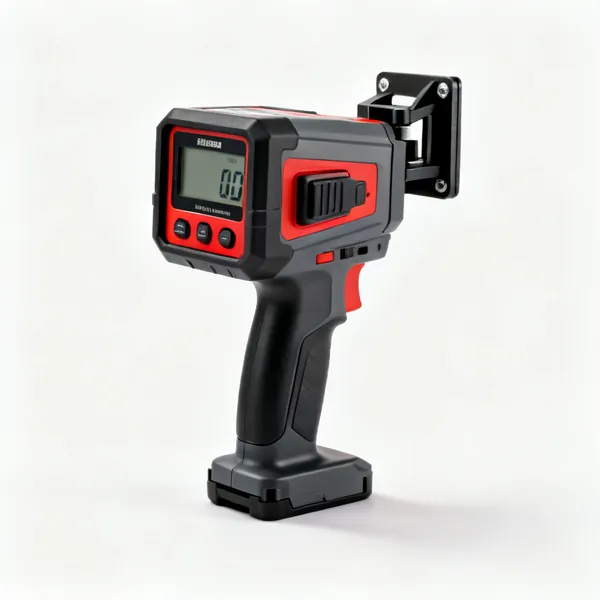
  • Laser detector: A handheld laser level detector receiver with a display and a mounting clamp

    Laser detector

    Beeps on the plane and shows an offset, so a height can be read at any point rather than only where the beam is visible on a wall.

  • A coil of clear plastic water level tubing partly filled with coloured water

    Water level

    Clear tube finding its own level at both ends regardless of what is between. Works round corners and through doorways, and costs very little.

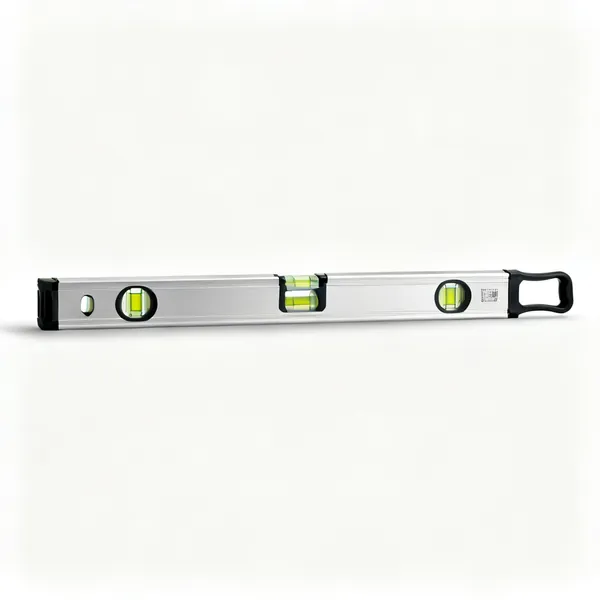
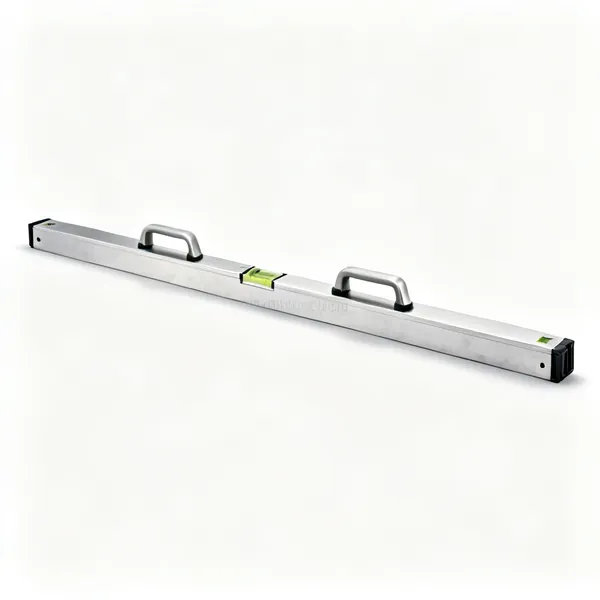
  • Long spirit level: A long 1800mm aluminium spirit level with three bubble vialsEssential

    Long spirit level

    A 1.8 metre level for checking rails and finished screed. This is what confirms the rails are actually flat before anything is struck off them.

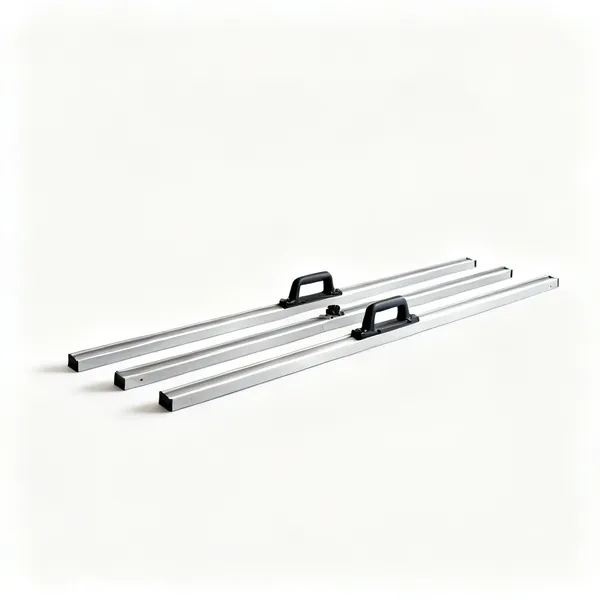
  • Screed rails: Three aluminium screed rail sections laid parallelEssential

    Screed rails

    Alloy sections set to the datum that the rule runs on. Set them accurately and the floor is accurate, since the screed can only follow them.

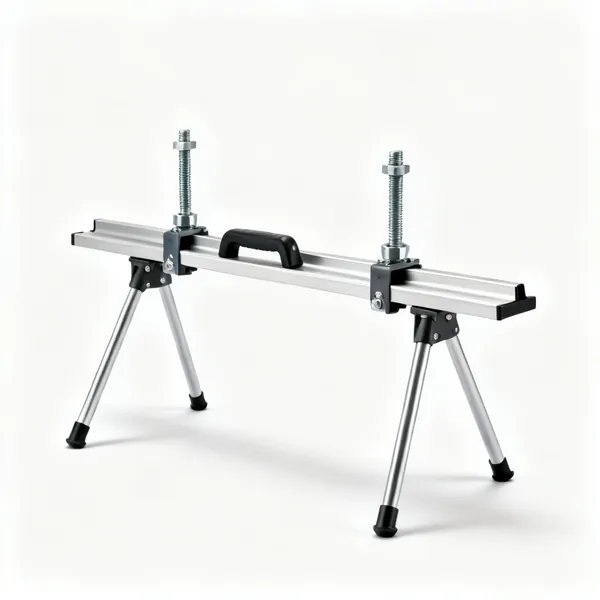
  • Adjustable rail tripods: Two adjustable threaded screed rail support tripods

    Adjustable rail tripods

    Threaded feet supporting rails at a set height and adjusted by a nut, which is faster and more accurate than bedding rails in mortar dabs.

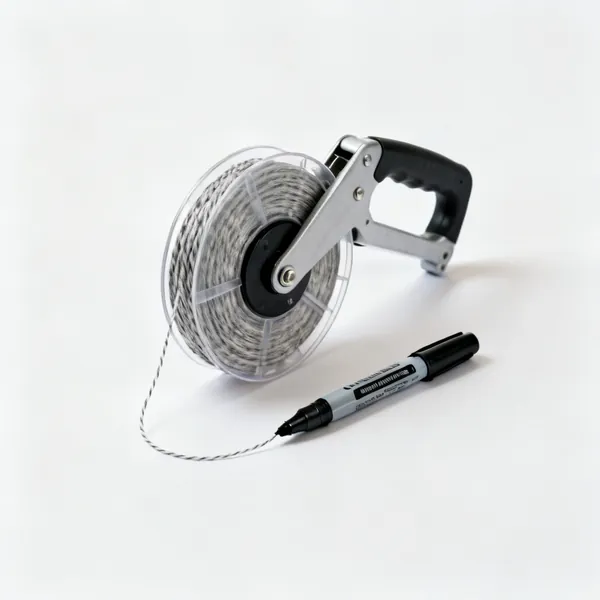
  • Marker and chalk line: A chalk line reel and a black permanent markerEssential

    Marker and chalk line

    The datum marked on every wall and snapped along it, so it survives the day and everyone works to the same line rather than to a memory.

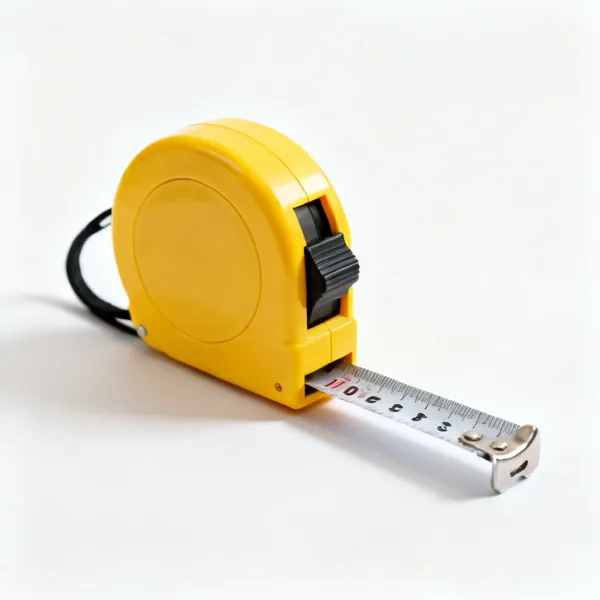
  • A retractable steel tape measure with a yellow case, blade partly extendedEssential

    Tape measure

    Checking depth at the low point against the minimum thickness for the construction. If it is thinner, the datum has to move up.

Laying and compacting 8

Place, compact, then strike off. Doing those in the wrong order is what makes a screed fail.

  • A long aluminium box section screed rule with two handlesEssential

    Screed rule

    A straight alloy box section worked along the rails with a sawing motion, cutting the screed to level. Straightness is everything, so it lives on a wall.

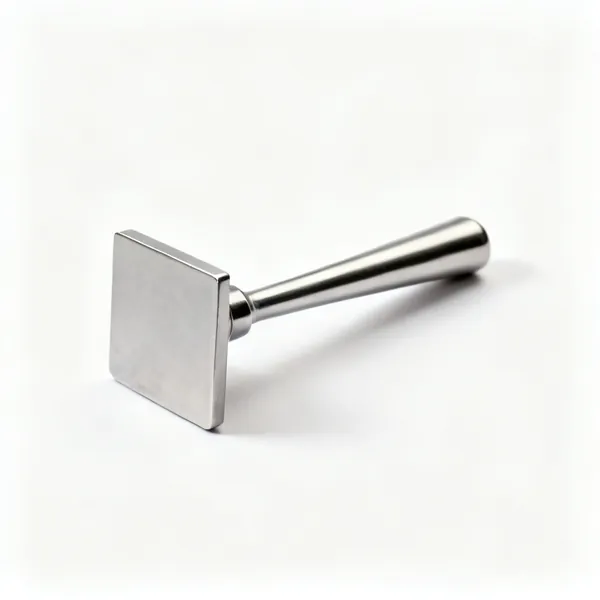
  • A steel hand tamper with a flat square plate and a long handleEssential

    Tamper

    Compacts semi dry screed before it is struck off. Uncompacted screed is porous and weak, which is the commonest screed failure there is.

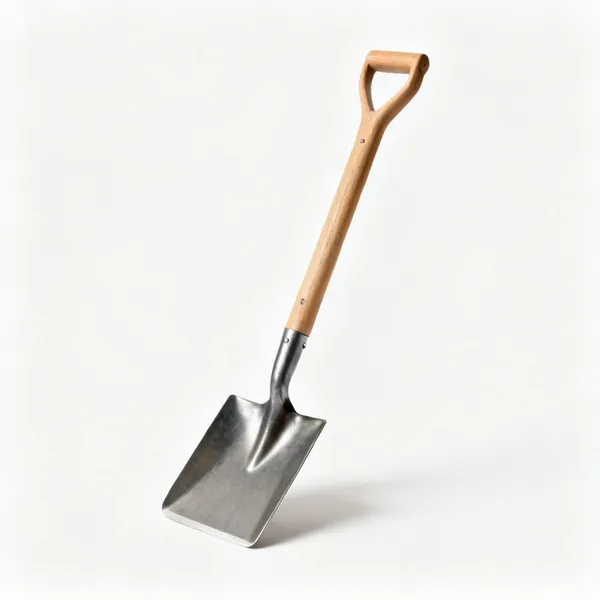
  • A square mouth steel shovel with a wooden handleEssential

    Shovel

    Placing material in heaps ahead of the compaction. A flat square shovel, since a round mouth one does not work concrete around a bay edge.

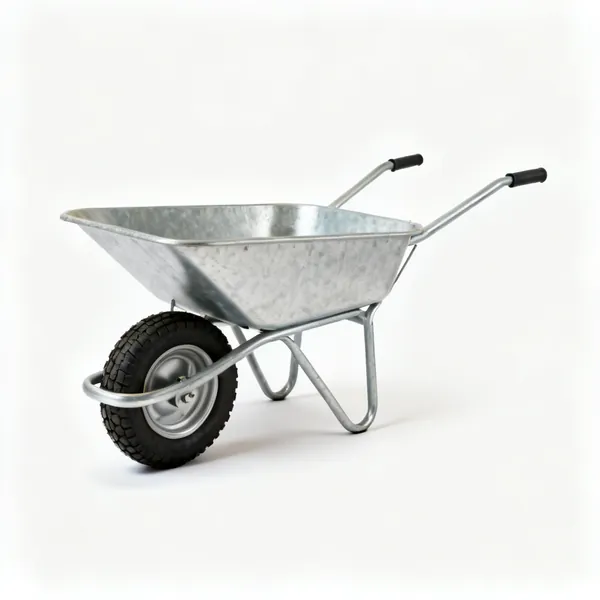
  • A metal builder's wheelbarrow with a pneumatic tyreEssential

    Wheelbarrow

    Screed stiffens from mixing, so it has to reach the bay quickly. Also the reason bays are sized to what can be moved and finished in time.

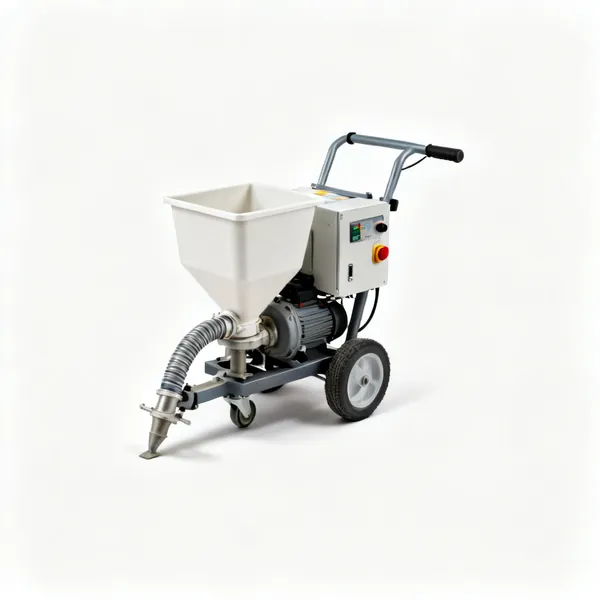
  • A screed pump machine with a hopper, hose connection and control panel

    Screed pump

    Delivers flowing screed through a hose, which is how a large area goes down in hours. Hired with an operator rather than owned.

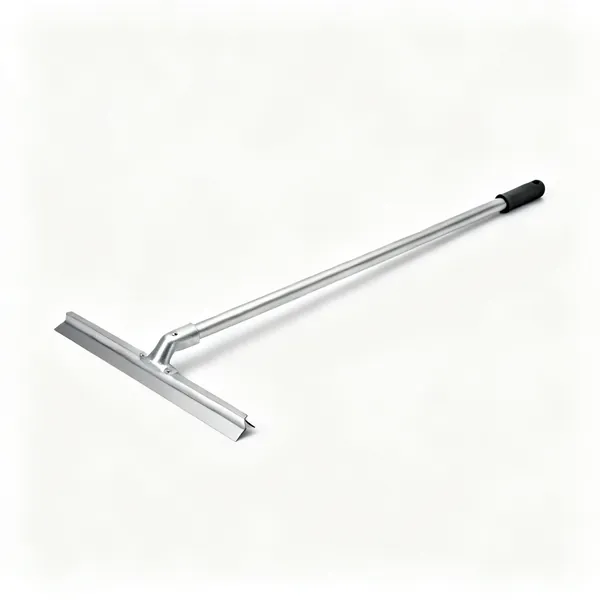
  • A T shaped aluminium screed dappling bar with a long handle

    Dappling bar

    A T shaped bar worked across flowing screed to release air and even the surface. Flowing screed self levels and it still needs this.

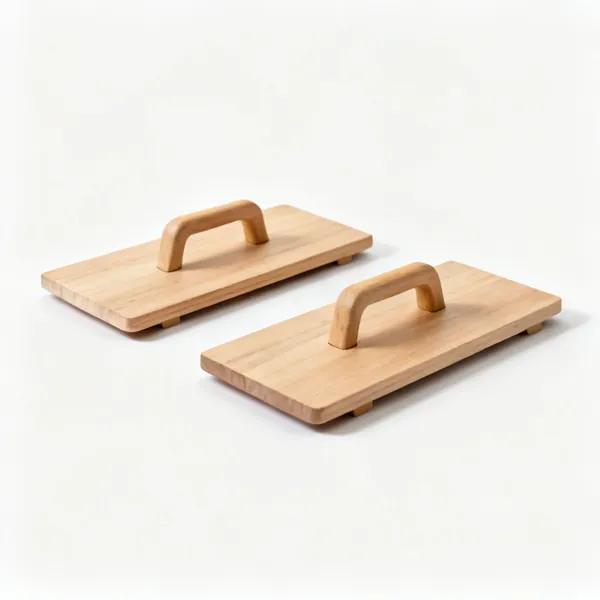
  • Two flat wooden knee boards with handlesEssential

    Knee boards

    Boards to kneel on so weight spreads and you are not indenting the screed you just levelled. Two, moved alternately as you work backward.

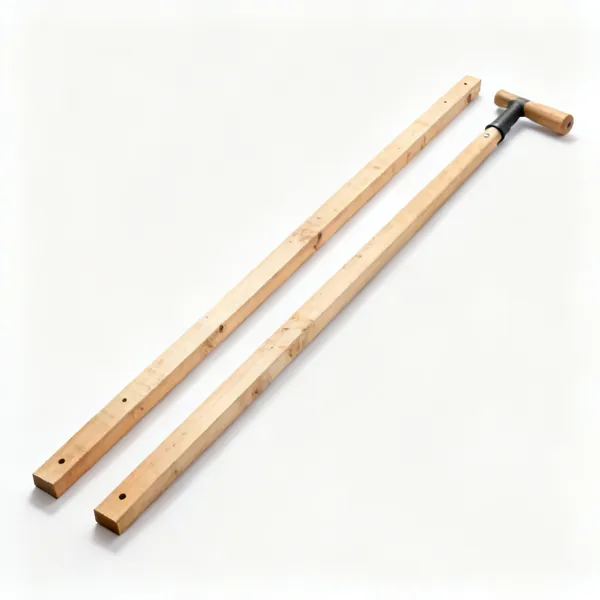
  • Bay formers: Two long timber bay forming battens

    Bay formers

    Timber or alloy dividing a floor into bays that can each be compacted and finished before the material stiffens. Also control joints.

Floating and finishing 8

Timed by feel rather than the clock, and matched to what the floor covering needs.

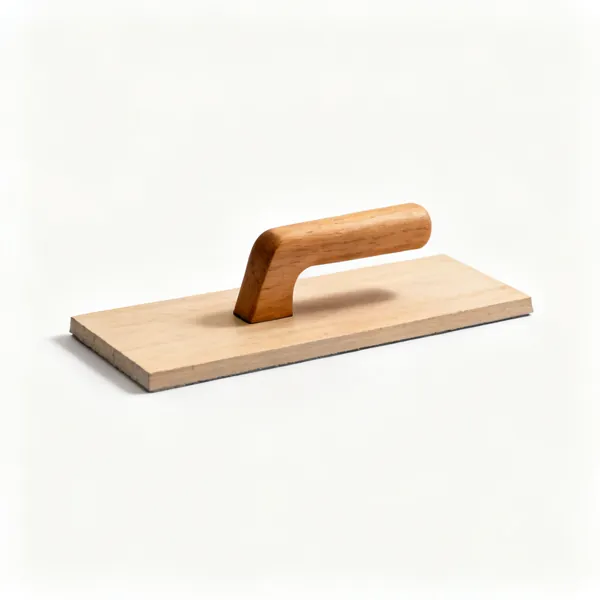
  • Wooden float: A rectangular wooden hand float with a wooden handleEssential

    Wooden float

    Closes the surface with a slightly open texture, which is what tile adhesive keys into. The first float and often the only one needed.

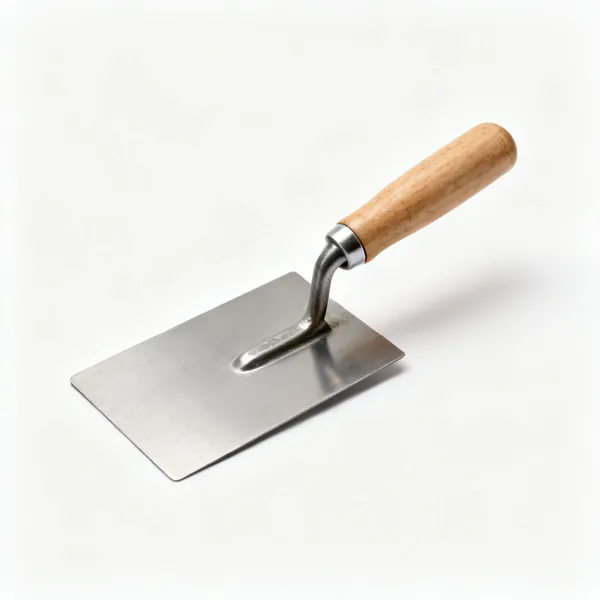
  • A rectangular steel finishing trowel with a wooden handle

    Steel finishing trowel

    Polishes the surface smooth for vinyl and resin, where any texture telegraphs through. Used after the wooden float and not instead of it.

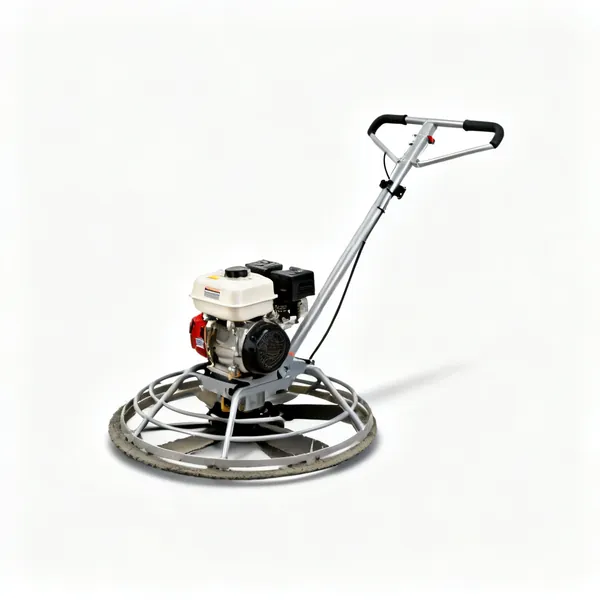
  • A petrol powered concrete power float with rotating blades and a handle

    Power float

    A rotating blade machine that finishes a large area quickly and consistently. Overkill in a room, and the only realistic option over a warehouse.

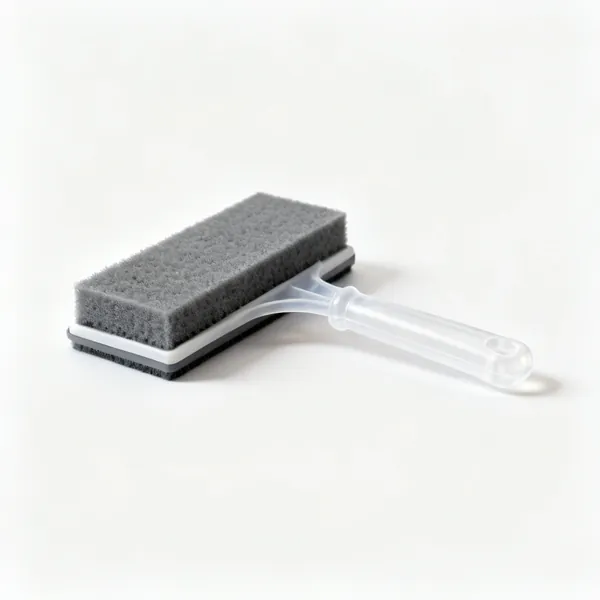
  • Sponge float: A rectangular sponge faced float with a plastic handle

    Sponge float

    Produces an even lightly textured finish and lifts a little of the surface, which is useful where a grippier floor is wanted.

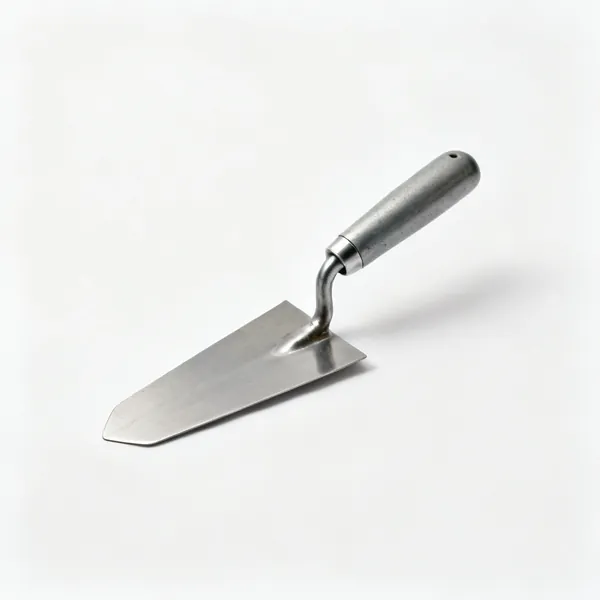
  • A narrow steel edging trowel with a turned up edge and a handle

    Edging trowel

    A narrow float that reaches the last 50mm at a wall, where a full float cannot get without riding up the skirting line.

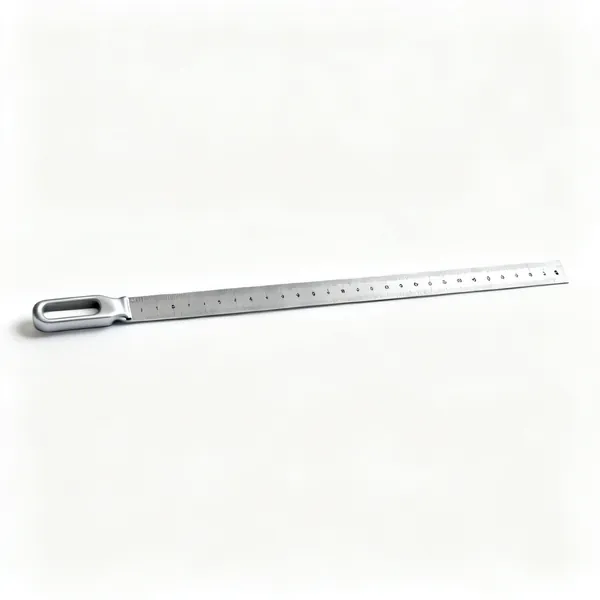
  • Checking straightedge: A long aluminium straightedge rule lying flatEssential

    Checking straightedge

    Laid across the finished surface in several directions to find high and low spots while there is still time to correct them.

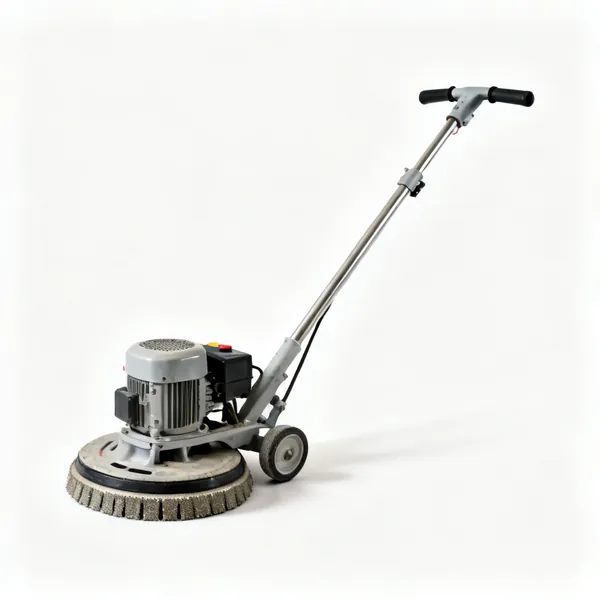
  • A concrete floor grinder with a rotating diamond head and a handle

    Floor grinder

    Takes down a high spot in cured screed, which is the only remedy once it has set. Dusty enough to need M class extraction.

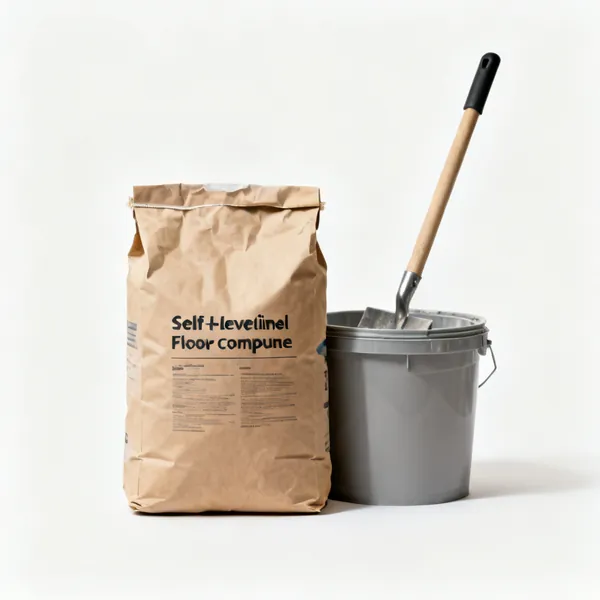
  • Levelling compound: A paper bag of self levelling floor compound powder beside a mixing bucket

    Levelling compound

    Corrects a low spot or a slightly uneven surface, within its depth range. The remedy that exists because screeding flat by hand is genuinely hard.

Preparation and curing 10

What goes under it, and what covers it afterwards. Both decide whether it lasts.

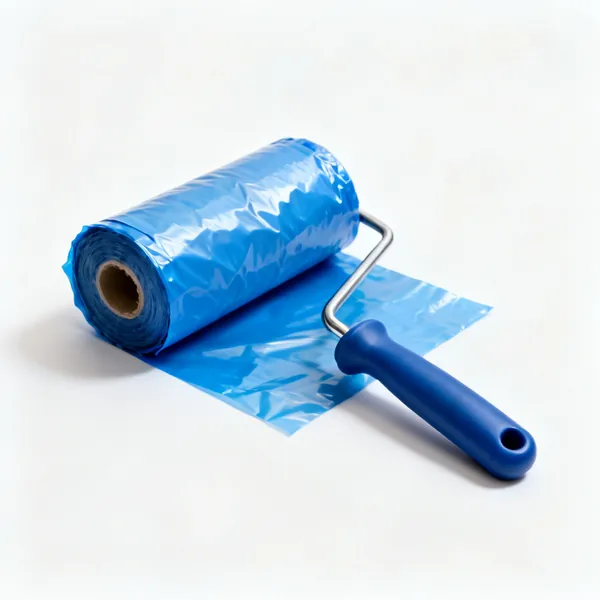
  • A roll of blue damp proof membrane polythene partly unrolledEssential

    Damp proof membrane

    Polythene under an unbonded screed, lapped and taped, so ground moisture cannot rise into it and then into a floor covering.

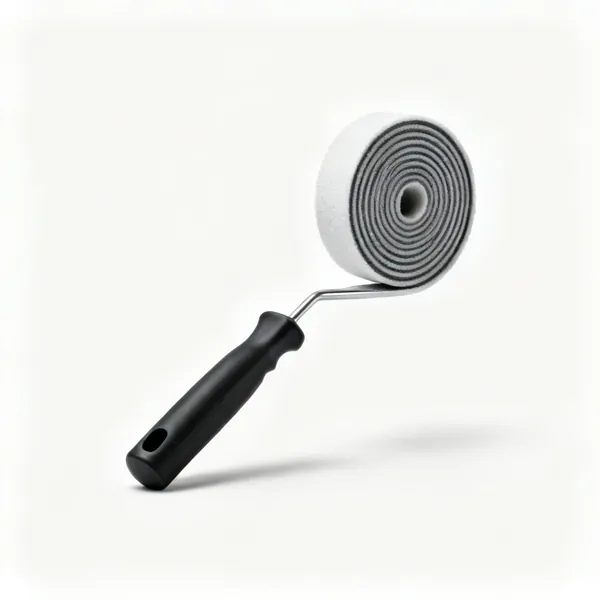
  • A roll of foam perimeter edge insulation strip

    Edge insulation strip

    A foam strip round the perimeter so a floating screed can expand without pushing against the walls, which is what cracks it at the edges.

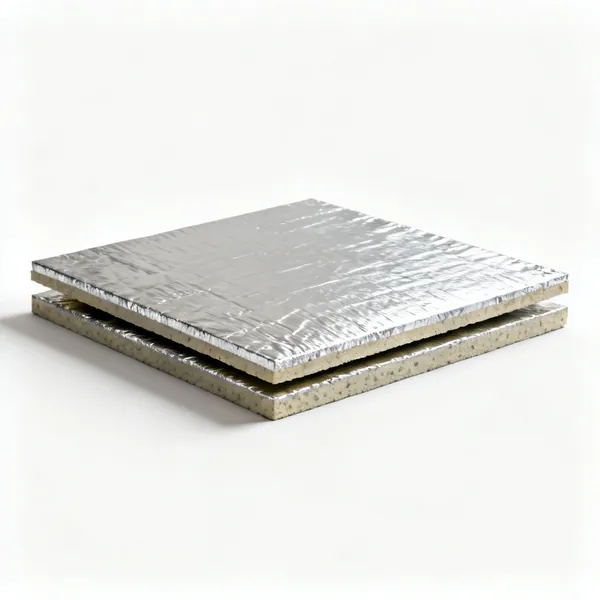
  • Two rigid foil faced floor insulation boards stacked

    Floor insulation

    Rigid boards under a floating screed, which then needs the full floating thickness above them. Also what underfloor heating pipes are fixed to.

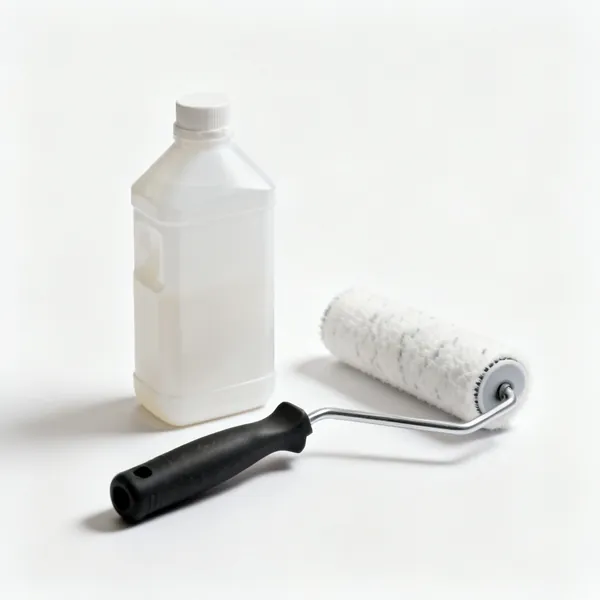
  • A plastic bottle of floor screed primer beside a rollerEssential

    Screed primer

    Seals the substrate so it does not drink water out of the screed, which is what makes a bonded screed fail at the interface.

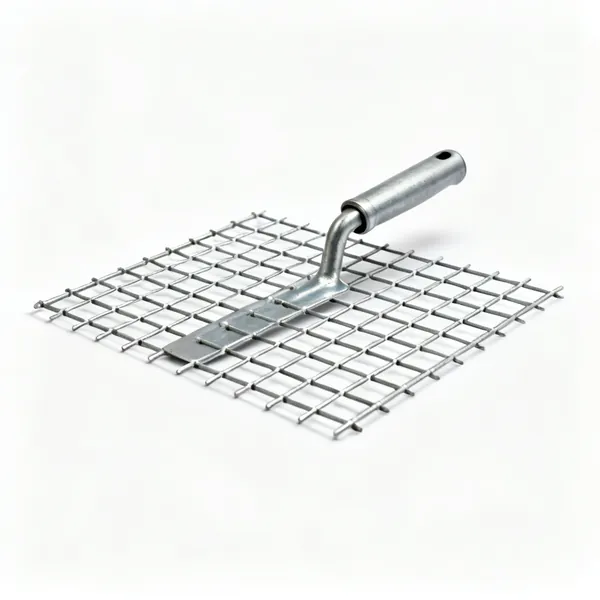
  • A section of light steel reinforcing mesh sheet

    Reinforcing mesh

    Light steel or fibre mesh controlling shrinkage cracking in a larger bay. Positioned within the screed rather than sitting on the substrate.

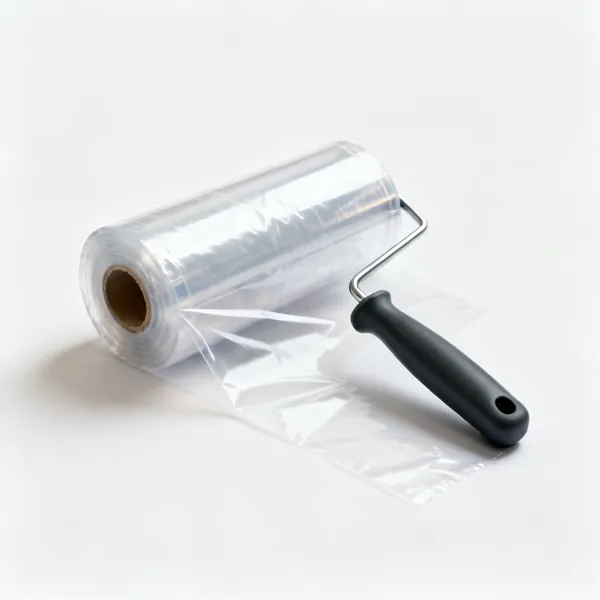
  • Curing polythene: A roll of clear polythene sheeting partly unrolledEssential

    Curing polythene

    Laid over the finished screed for several days so it cures without drying too fast, which is what causes crazing and edge curling.

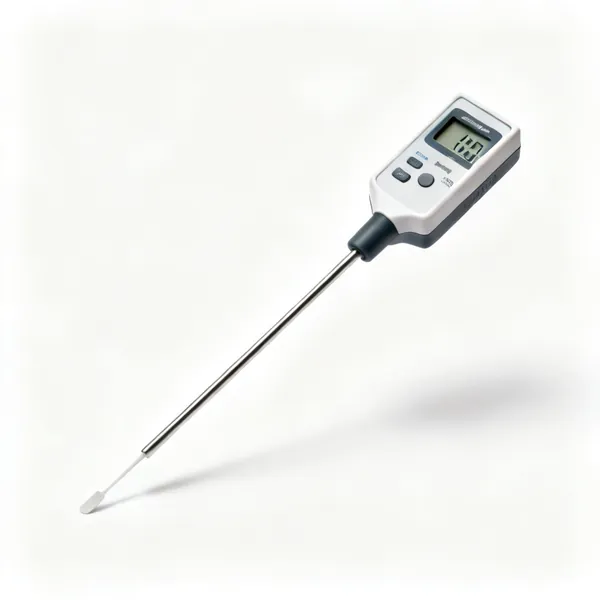
  • Floor hygrometer: A floor moisture hygrometer test box with a digital displayEssential

    Floor hygrometer

    Measures moisture in the screed depth rather than at the surface. The only reliable check before laying a covering, and much cheaper than relaying one.

  • Waterproof knee pads: A pair of waterproof rubber work knee pads with strapsEssential

    Waterproof knee pads

    Screeding is done kneeling in an alkaline material, which burns skin through fabric. Waterproof pads rather than the fabric kind.

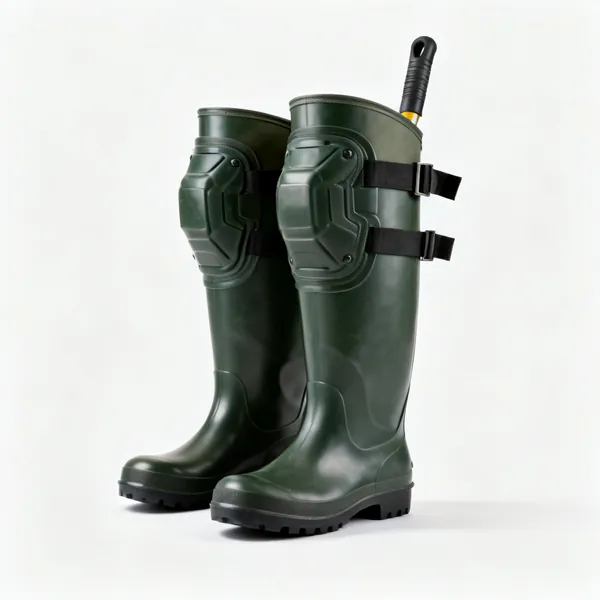
  • Safety wellingtons: A pair of green safety wellington boots with steel toecapsEssential

    Safety wellingtons

    You stand in it. Steel toe, steel midsole and waterproof, because wet cement soaks through a leather boot and burns feet.

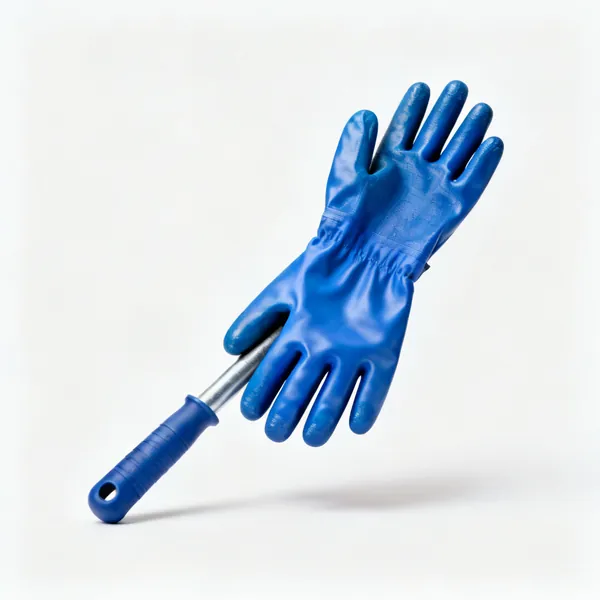
  • Waterproof gloves: A pair of blue nitrile coated waterproof gauntlet work glovesEssential

    Waterproof gloves

    Floating a screed means hands in alkaline material for hours, which is exactly how cement dermatitis and burns develop.

Choosing screeding tools

The list above is what exists. This is how to decide which of it you actually need, what separates a tool worth keeping from one that ends up at the back of a drawer.

Setting the level before anything is mixed

Mark a datum on every wall at the finished screed level, taken from one reference with a laser or a water level rather than measured up from the floor. The existing floor is not level, which is why you are screeding it.

Then set rails or dabs to that datum. The screed is struck off those, so the flatness of the finished floor is entirely the flatness of the rails. Time spent here is the only time that improves the result.

One reference, marked everywhere
A laser plane or water level round every wall. Never measure up from the existing floor.
Allow for the finish
Datum is finished screed level, which is floor covering thickness below finished floor.
Rails set the flatness
The screed is only as flat as what it is struck off. Check them with a long level.
Check depth at the low point
Screed has a minimum thickness. If the low point is thinner than that, the datum is wrong.

Sand cement, flowing or a floating floor

Traditional sand cement screed is laid semi dry and compacted, then struck off and floated. It is cheap, it takes days per room and weeks to dry, and it is entirely dependent on the skill of the person floating it.

Flowing anhydrite screed is pumped, self levels, and goes down in hours over a large area. It costs more, needs the room sealed and primed properly, and it cannot be used where it will get wet. The choice is usually made by area and by timescale.

Sand cement is cheap and slow
Semi dry, compacted, floated by hand. Days per room and the result is skill dependent.
Flowing screed is fast and flat
Pumped and self levelling over a large area in hours. More expensive and less forgiving of prep.
Anhydrite dislikes water
Not for a bathroom or anywhere it may be wetted. Cementitious flowing screed exists for that.
Bonded, unbonded or floating
Bonded to the slab, on a membrane, or on insulation. Each has a different minimum thickness.

Compaction is what stops it failing

A semi dry screed is placed in a heap, compacted with a tamper or by treading it in, then struck off. Uncompacted screed is porous, weak, and it breaks up under a floor covering, which is the commonest screed failure there is.

The test is that a compacted screed does not indent under a heel and the surface closes under a float rather than crumbling. If a float brings up loose sand, it was not compacted enough.

Compact before striking off
Heap, compact, then rule to level. Ruling loose material gives a porous screed.
It should not indent
A heel mark in fresh compacted screed means it needs more compaction.
Loose sand under the float
That is undercompacted screed. It will break up under a floor covering later.
Work in bays
Bays you can compact and finish before the material stiffens. Not the whole floor.

Floating to the right finish

How smooth it needs to be depends on what goes on it. Tile wants a slightly open textured surface for adhesive to key to. Vinyl and resin want it genuinely smooth, because every mark telegraphs through a thin covering.

Timing matters more than technique. Float too early and you bring water and fines to the surface, which leaves a weak dusty layer. Float too late and it will not close at all. The window is felt rather than timed.

Match the finish to the covering
Tile wants texture to key into. Vinyl and resin want it genuinely smooth.
Too early brings fines up
A weak dusty surface layer that then fails under adhesive.
Too late will not close
The window is judged by feel and it is shorter than people expect.
Do not overwork it
Repeated floating draws fines to the surface and produces the same weak layer.

Curing and drying are different things

Curing is the chemical reaction gaining strength, which needs moisture retained for several days. Drying is water leaving so a floor covering can be laid, which takes far longer and is measured rather than guessed.

The rule of thumb is a day per millimetre of thickness for the first 50mm and longer beyond that, in good conditions. Laying vinyl or timber over a screed that has not dried traps moisture and the covering fails, so a hygrometer test is the only reliable answer.

Cover to cure
Polythene for several days so it does not dry too fast and craze or crack.
Drying is much longer
Roughly a day per millimetre to 50mm, longer beyond. Not the same as curing.
Test, do not guess
A hygrometer reading before laying anything. A dry surface tells you nothing about the depth.
No heat to rush it
Forcing drying cracks it and curls the edges. Underfloor heating has a slow commissioning cycle.

Frequently asked questions

What tools do I need for screeding?
A laser level or water level for the datum, screed rails or a dab and rail system, a straight alloy screed rule, a wooden float and a steel trowel, a tamper for compaction, and polythene for curing. Plus knee boards and knee pads, since it is all done kneeling.
How do you set a level for screeding?
Mark a datum at finished screed level on every wall from a single reference using a laser or water level, never measured up from the existing floor. Then set rails or mortar dabs to that datum, since the screed is only as flat as what it is struck off.
What is the difference between sand cement and flowing screed?
Sand cement is laid semi dry, compacted and floated by hand, which is cheap, slow and dependent on the skill of whoever finishes it. Flowing anhydrite screed is pumped and self levels over a large area in hours, costs more, and cannot be used where it may get wet.
How thick should a screed be?
It depends on the construction. Bonded to a slab can be around 25 to 40mm, unbonded on a membrane needs about 50mm, and floating over insulation typically 65 to 75mm. If the lowest point of your datum is thinner than the minimum, the datum is wrong.
Why is my screed crumbling?
Almost always undercompacted. A semi dry screed has to be compacted before it is struck off, and material simply ruled to level stays porous and weak. If a float brings up loose sand, that is the sign, and it will break up under a floor covering.
How long does screed take to dry?
Roughly a day per millimetre of thickness for the first 50mm and longer beyond that, in good conditions, which makes a 75mm screed a couple of months. Curing, which is strength gain, takes only a few days, so the two should not be confused.
Can I lay flooring on a screed that feels dry?
No. The surface dries long before the depth does, and laying vinyl, resin or timber over a screed still holding moisture traps it and the covering fails. A hygrometer test is the only reliable check, and it is much cheaper than relaying the floor.
How do you finish a screed for tiling?
Leave it slightly open textured with a wooden float rather than polishing it with steel, so the adhesive has something to key into. A steel trowelled glassy surface is what vinyl and resin want, and it reduces the bond available to tile adhesive.