How to Use Digital Level: Master Precision in Measurement
If you’ve ever struggled with getting the perfect angle or ensuring a surface is truly level, a digital level can change the way you work. Using this handy tool is simpler than you might think, and it delivers accuracy that traditional bubble levels just can’t match.
Whether you’re a DIY enthusiast, a carpenter, or just tackling home projects, knowing how to use a digital level will save you time, reduce errors, and boost your confidence in every measurement. Ready to discover the key steps to master this smart device and make your projects flawless?
Keep reading, and you’ll learn how to get precise results quickly and effortlessly.
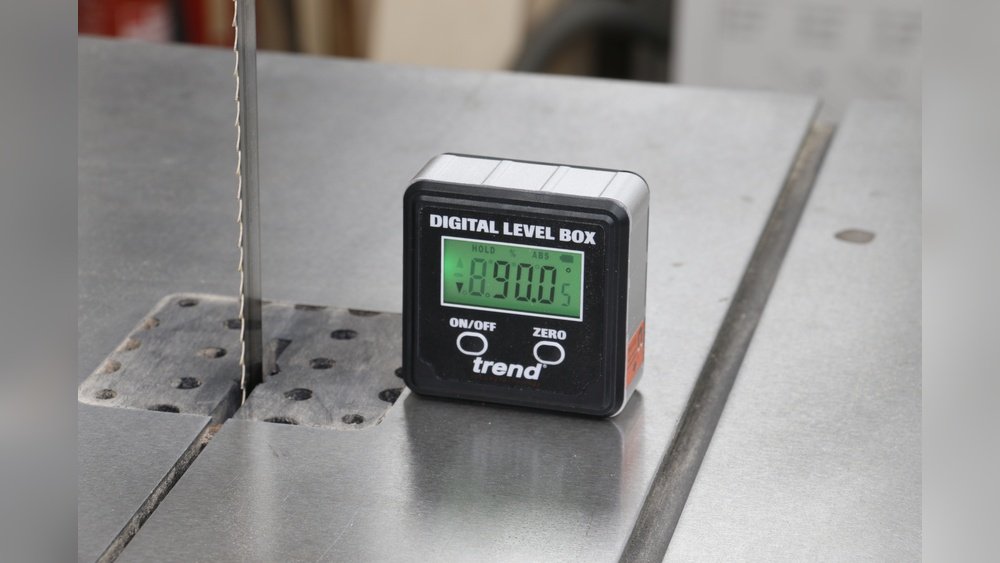
Credit: www.trend-usa.com
Digital Level Basics
Digital levels come in different types, such as handheld, inclinometers, and laser digital levels. Handheld digital levels are easy to carry and good for small tasks. Inclinometers measure angles precisely, useful for slopes and tilts. Laser digital levels project a laser beam to check long distances and large areas. Each type has unique features for specific uses.
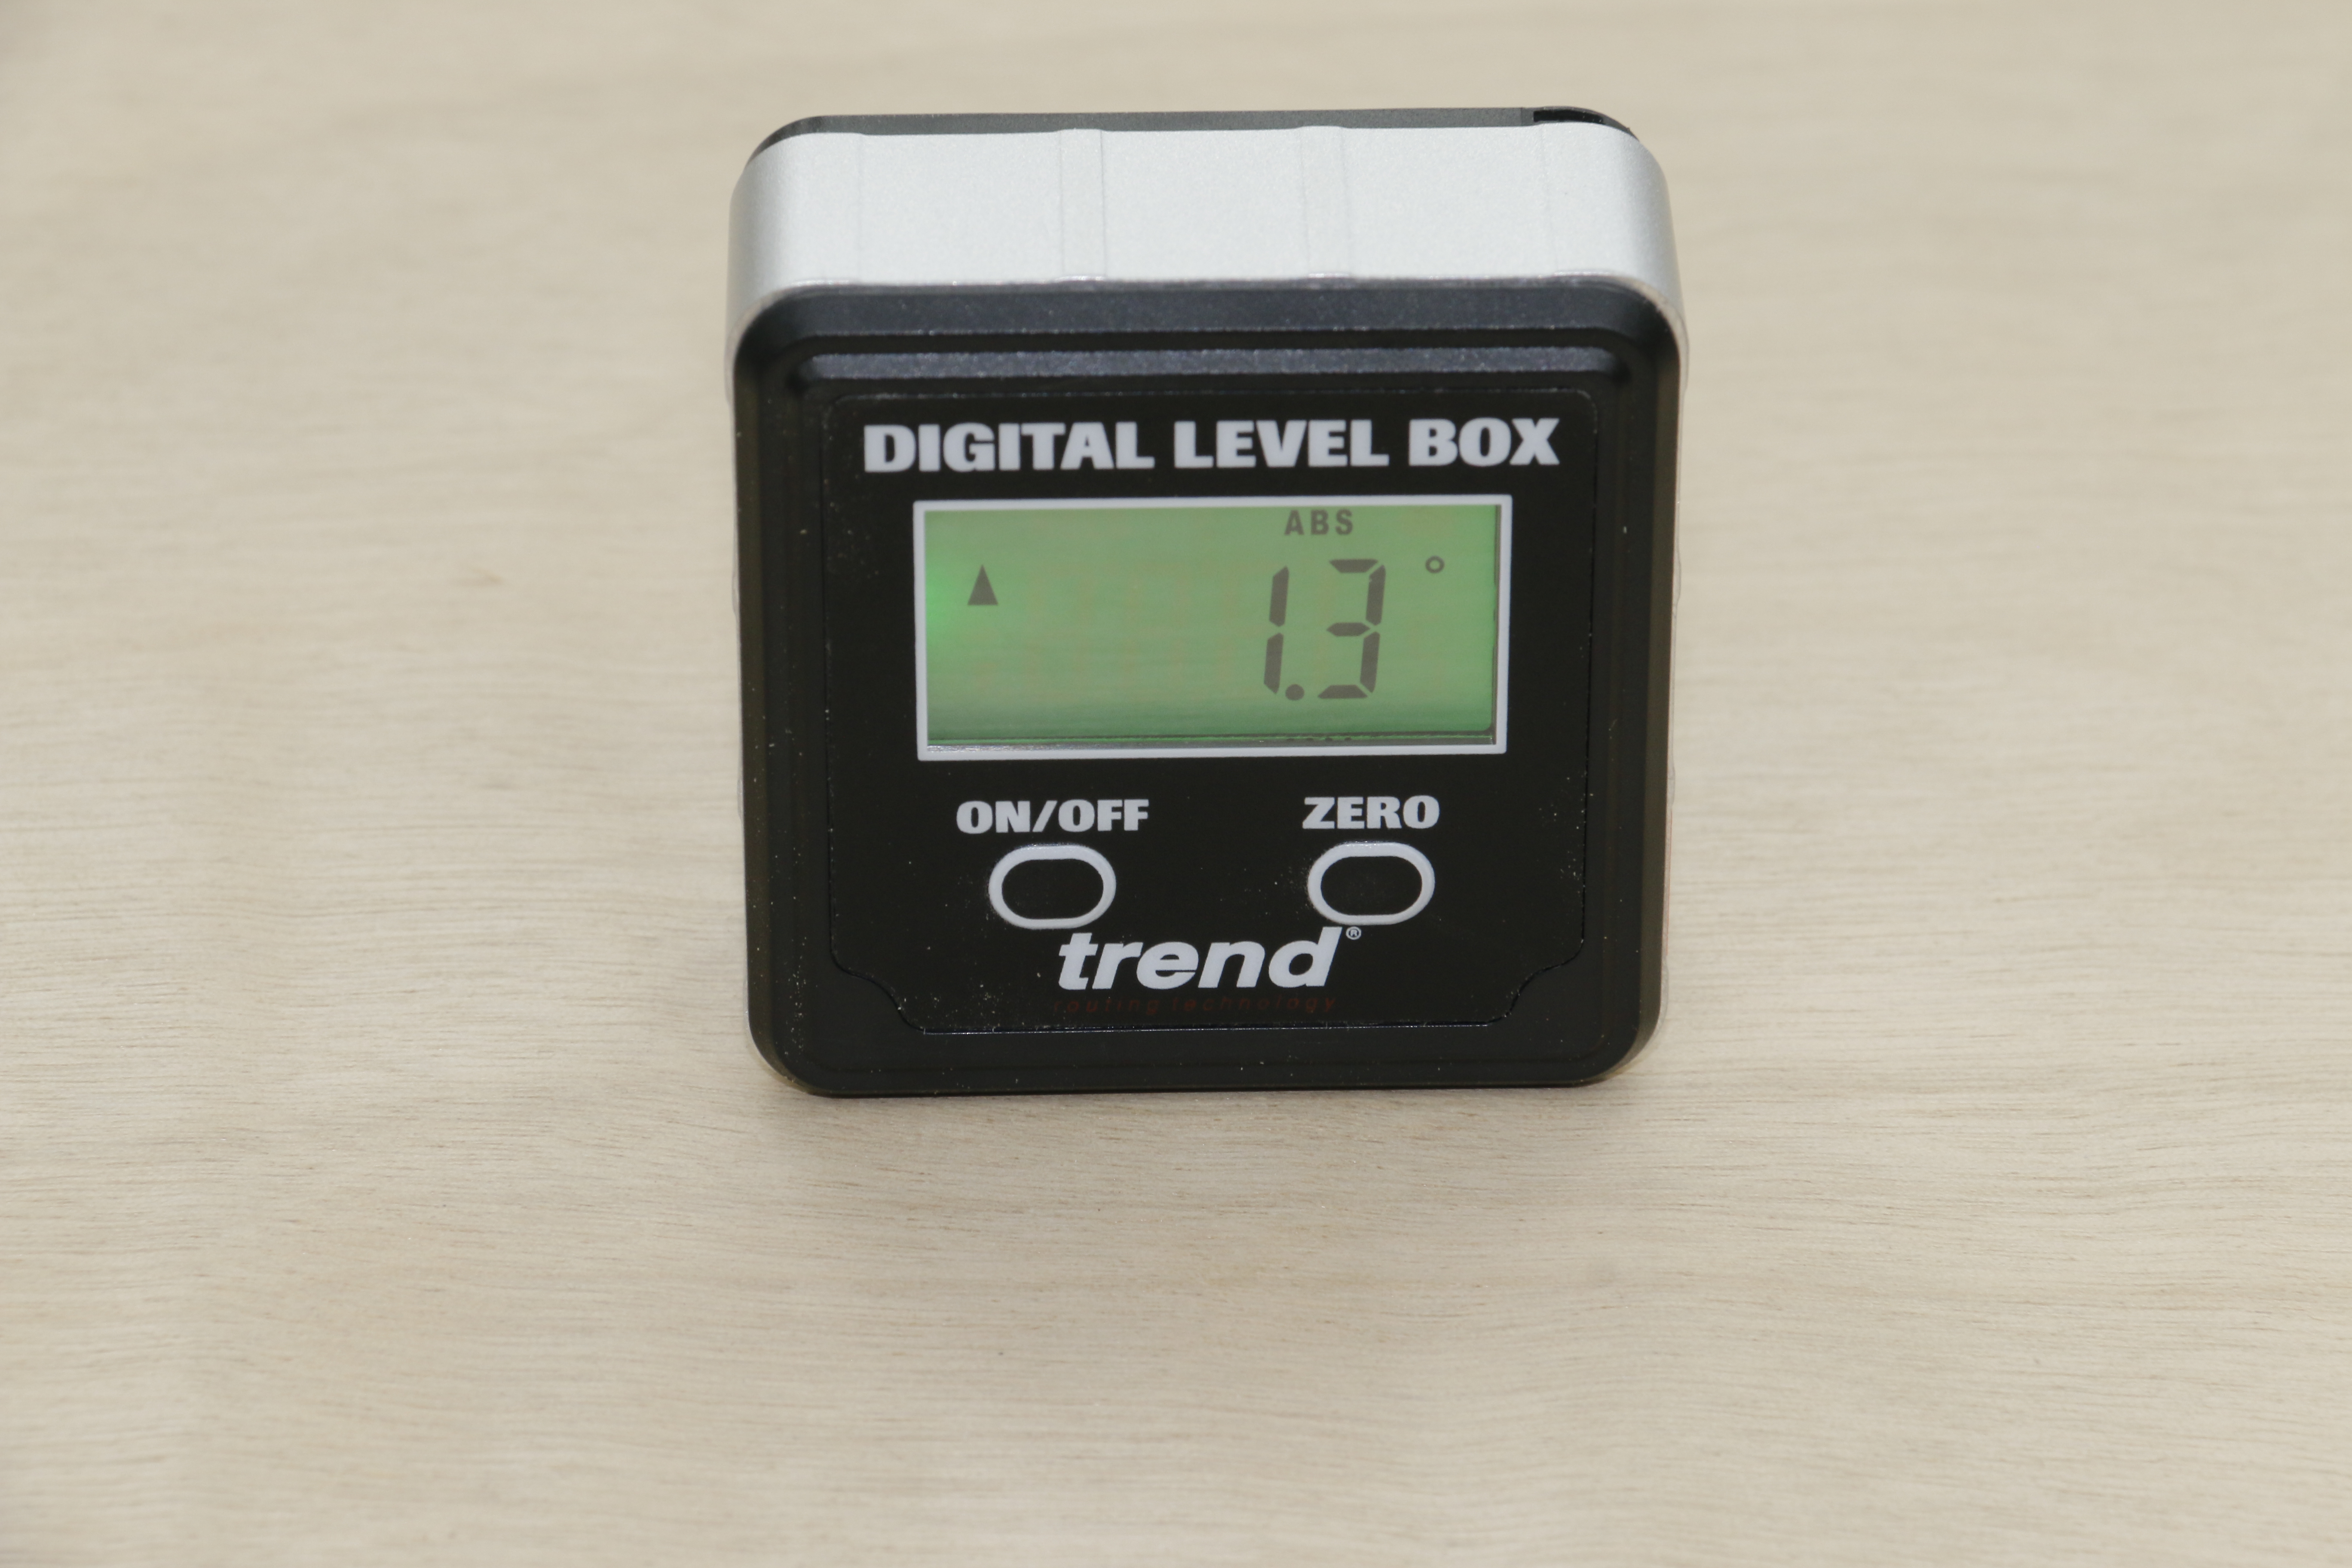
Key features to know include a digital display that shows exact angle or level readings. Many have a backlight for use in dark places. The hold function lets users freeze a reading to check it later. Some models offer a zero or relative mode to measure angles compared to a set point. Always check if the level has an auto-calibration option for better accuracy.

Credit: www.youtube.com
Setting Up The Device
Start by cleaning the device and the surface to remove dust and dirt. A clean sensor ensures accurate readings.
Next, power on the digital level. Wait a few seconds for it to auto-calibrate. Some models need manual calibration by placing it on a flat surface and flipping it over.
Calibration helps the device measure angles correctly. Without it, readings may be off.
Taking Accurate Measurements
Place the digital level firmly on the surface to get accurate readings. Make sure it is stable and not moving. Align the tool so the sensor touches the area you want to measure.
Reading angles is simple. The digital display shows the exact degree or slope. Check the screen carefully to note the number. This helps in tasks like installing shelves or checking roof pitch.
The hold function freezes the current reading on the screen. It is useful when you need to record a number without keeping the level in place. The backlight helps to see the display clearly in dark or shaded places.
Advanced Measurement Techniques
Zeroing for Relative Angles means setting the digital level to zero on a reference surface. This allows you to measure angles relative to that surface easily. Place the level on the starting point and press the zero button. Now, any tilt or angle change will show the difference from that zero point.
Checking Multiple Points ensures accuracy over large areas. Move the digital level to different spots and note the readings. This helps find uneven surfaces or slopes. Record each measurement and compare to see where adjustments are needed.
Measuring Complex Surfaces requires patience and steady hands. Place the level carefully on curves or irregular shapes. Hold it still until the reading stabilizes. Use small steps to cover the entire surface and note each angle. This method helps map out surface details accurately.
Maintenance Tips
Keep the digital level clean by wiping it with a soft, dry cloth. Avoid using water or harsh chemicals, which can damage the device. Store the level in a protective case to prevent dust and moisture buildup.
Check the accuracy regularly by comparing readings with a known flat surface. Perform these checks before starting important projects to ensure reliable results. Calibration may be needed if the readings are off.
Common Applications
Carpentry and woodworking benefit greatly from digital levels. They help check if surfaces are straight or angled correctly. This tool ensures wood pieces fit well together. Precise measurements reduce mistakes and save time.
For flooring and tiling, digital levels make sure floors are even. Uneven floors can cause tiles to crack or look bad. Using a digital level helps get a flat surface every time. It also speeds up the installation process.
Cabinet installation needs exact leveling for a neat look. A digital level helps align cabinets perfectly on walls. It stops cabinets from tilting or looking crooked. This improves both function and appearance.
Troubleshooting Common Issues
Calibration errors often happen if the digital level is not placed on a perfectly flat surface. Reset the device on a known flat area and follow the manual steps to recalibrate. Avoid moving the level during calibration to get accurate results.
Display problems like a blank or flickering screen may mean the device needs a reset or the battery is low. Clean the screen gently and check for any visible damage. Sometimes, turning the device off and on can fix minor display issues.
Battery replacement is essential when the device powers off unexpectedly or the screen dims. Use the correct battery type as stated in the manual. Always turn off the level before removing the battery to avoid errors or damage.

Credit: www.youtube.com
Frequently Asked Questions
How To Operate A Digital Scale?
Turn on the digital scale and wait for it to calibrate. Place the item on the scale. Read the displayed weight. Use the tare function to subtract container weight if needed. Keep the scale clean for accurate measurements.
How To Read An Electronic Level?
Place the electronic level on the surface. Read the digital display for angle or level measurement. Use buttons for zeroing or holding values. Ensure the device is calibrated and clean for accurate readings.
Are Digital Levels Easy To Read?
Digital levels feature clear, easy-to-read displays showing precise angle or slope measurements. Their backlight improves visibility in low light. These user-friendly tools offer quick, accurate readings, making them ideal for various leveling tasks.
How To Use A Level Step By Step?
Place the level on a clean, flat surface. Check if the bubble centers in the vial. Adjust the surface until the bubble is centered. For digital levels, turn on, calibrate if needed, then read the digital display. Use hold or zero functions for precise measurements.
Conclusion
Using a digital level makes measuring angles and surfaces simple. Clean the device and surface before use for best results. Turn it on and let it calibrate properly. Take your measurements carefully, using features like hold or backlight if needed.
Regular maintenance keeps your level accurate and reliable. With practice, you will find it easy to get precise readings every time. A digital level saves time and reduces guesswork in your projects. Give it a try to improve your measuring tasks today.