Disclosure

Tools for wallpapering

Wallpapering is two jobs joined together: getting the old paper off and the wall sound, then hanging the new one plumb and without bubbles. Most failures trace back to the first job rather than the second. All 35 tools here are grouped as stripping, preparing, pasting, hanging and trimming, in the order the work runs.

25 are marked essential: enough to strip a room, prepare it and hang paper without borrowing anything.

Part of the full painting tools list, 60 tools in 9 groups.

Stripping the old paper 8

Score, soak, scrape. Most of the total effort in a papering job lives here.

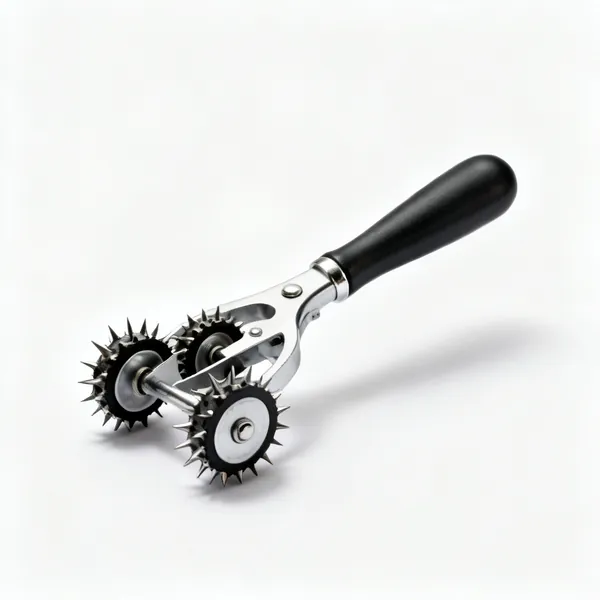
  • Orbital scorer: An orbital wallpaper scorer with three spiked wheels and a round handleEssential

    Orbital scorer

    Spiked wheels that perforate the paper face so water can reach the paste. On vinyl or painted paper nothing else makes soaking work at all.

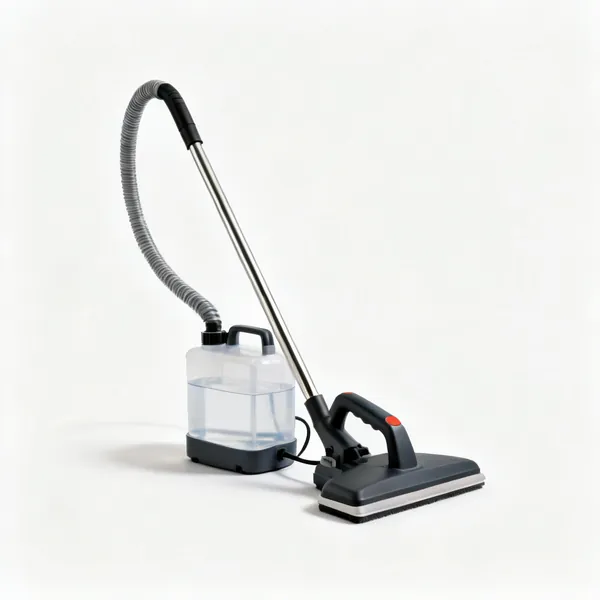
  • A wallpaper steamer with a water tank, hose and flat steam plate

    Wallpaper steamer

    A tank and a plate that drives steam through the paper into the paste. Faster on thick or layered paper, and it will lift weak plaster if held still.

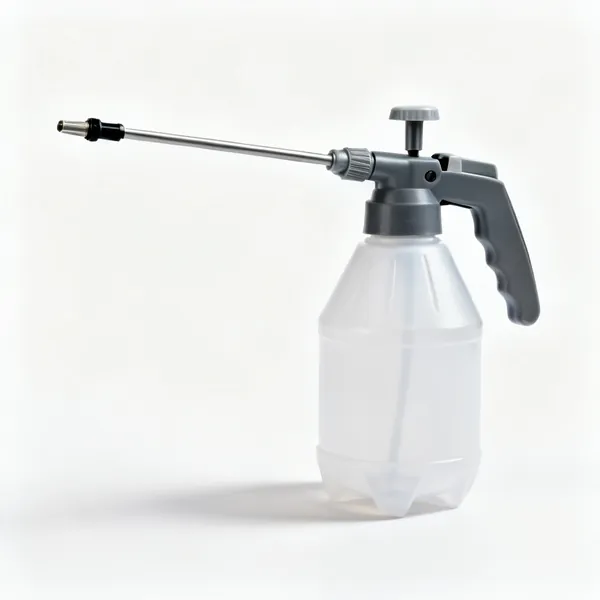
  • Pump sprayer: A plastic pump action garden sprayer with a lance and triggerEssential

    Pump sprayer

    Applies warm water and stripper evenly and quickly over a whole wall, which a sponge does slowly. Two applications ten minutes apart works better than one.

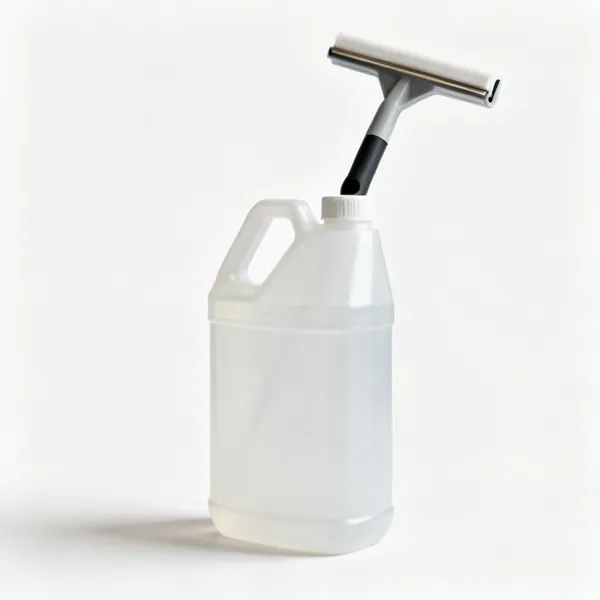
  • A plastic bottle of wallpaper stripper concentrate

    Wallpaper stripper

    A surfactant that helps water penetrate and soften paste. Warm water alone works on ordinary paper and this earns its place on stubborn old paste.

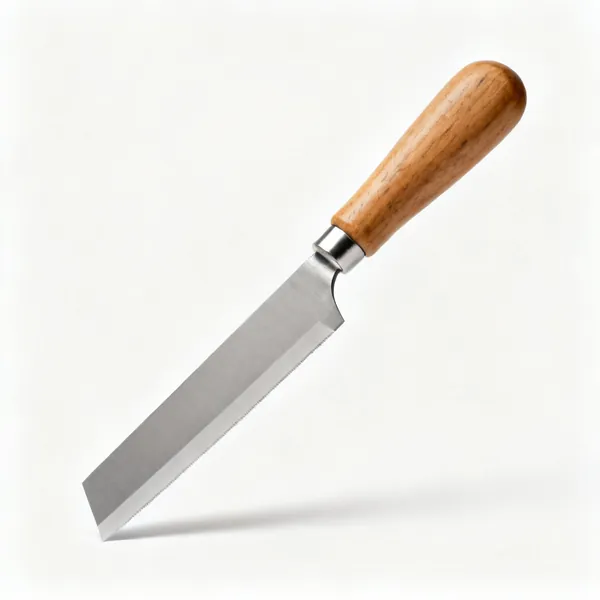
  • A wide stiff bladed stripping knife with a wooden handleEssential

    Stripping knife

    A stiff wide blade for lifting soaked paper. Stiff rather than flexible, and held at a shallow angle so the corner does not dig into the plaster.

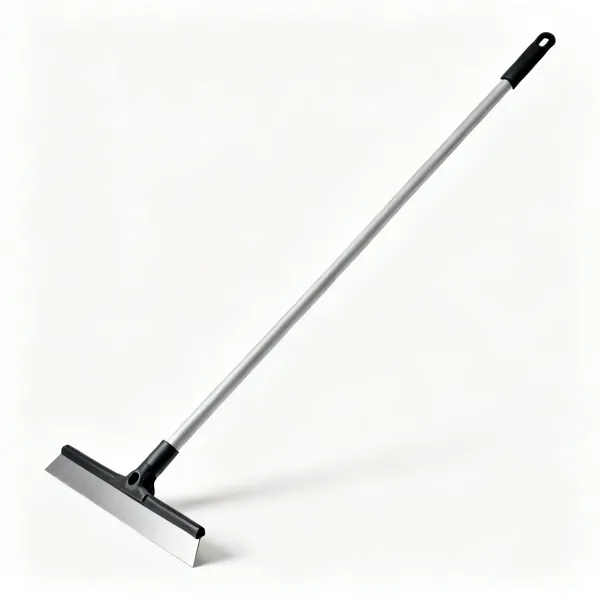
  • Long handled scraper: A long handled floor scraper with a wide flat blade

    Long handled scraper

    The same blade on a pole, so a whole wall can be stripped without a ladder and with both arms rather than one wrist doing the work.

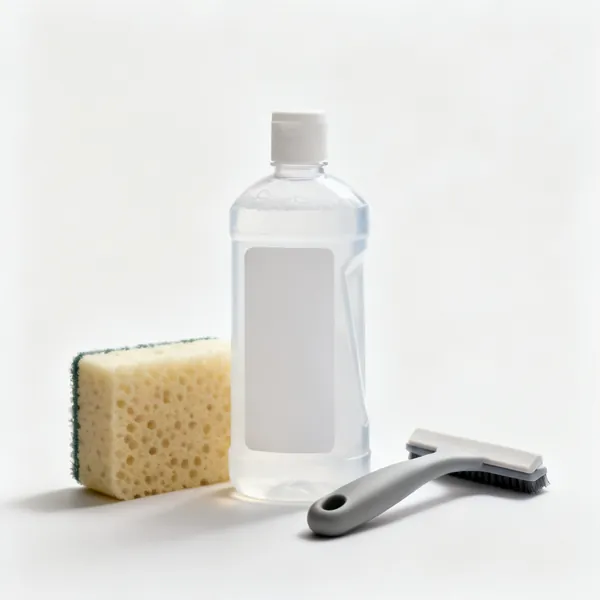
  • A plastic bottle of sugar soap concentrate beside a spongeEssential

    Sugar soap

    Washes residual paste off the wall, which otherwise dries as ridges that show through the new paper. The step most often skipped.

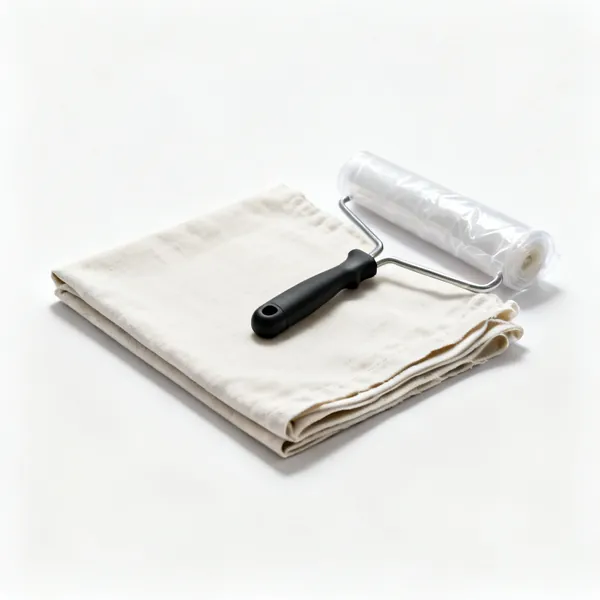
  • Dust sheets: A folded canvas dust sheet with a rolled plastic sheet beside itEssential

    Dust sheets

    Stripping produces wet paper and paste on the floor, which then gets walked through the house. Plastic under cotton, since this job is genuinely wet.

Preparing the wall 8

Paper follows the wall exactly, so every lump and hole is a decision made now.

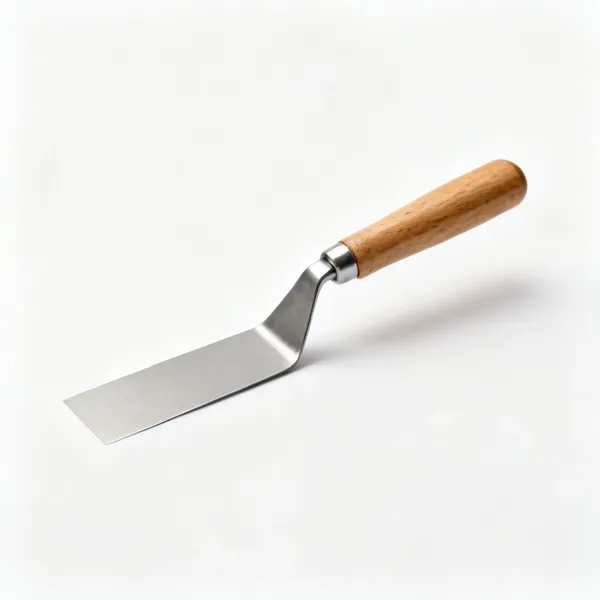
  • A flexible steel filling knife with a wooden handleEssential

    Filling knife

    A flexible blade to press filler into a crack and scrape it flush. Flexible unlike a stripping knife, which is why both are on this list.

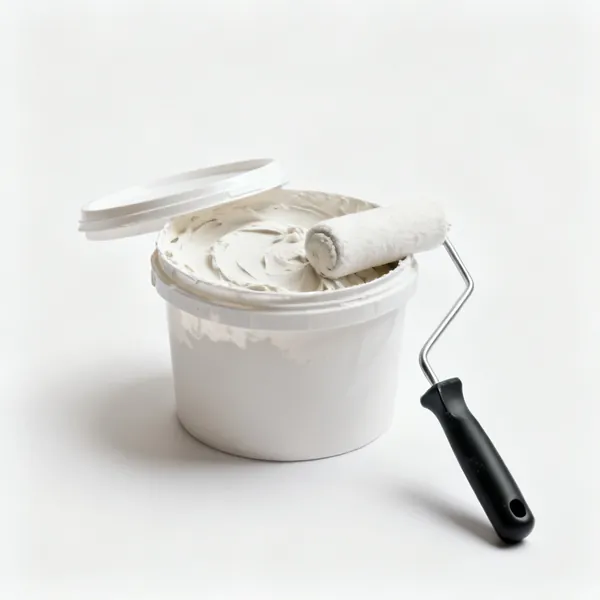
  • A tub of ready mixed wall filler with the lid offEssential

    Wall filler

    Fills holes and cracks left by stripping. Slightly proud and then sanded flat, since filler shrinks a little as it dries and a hollow shows as a dip.

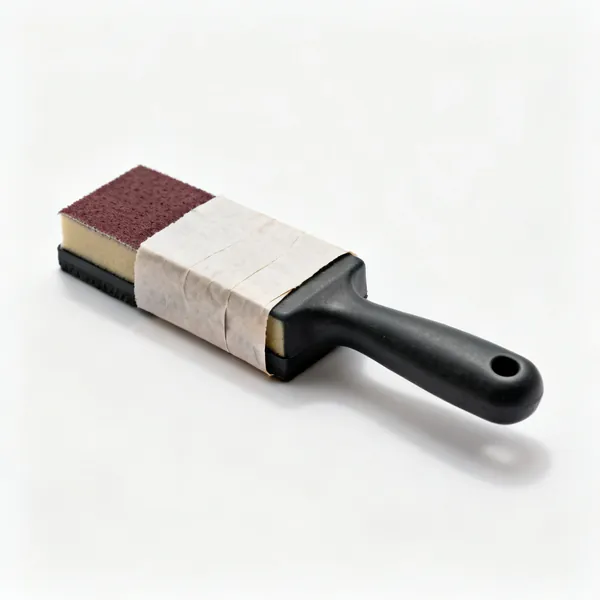
  • A rubber sanding block with abrasive paper wrapped around itEssential

    Sanding block

    Flattens filler and knocks off nibs of old paste. A ridge under wallpaper catches light and is visible from across the room.

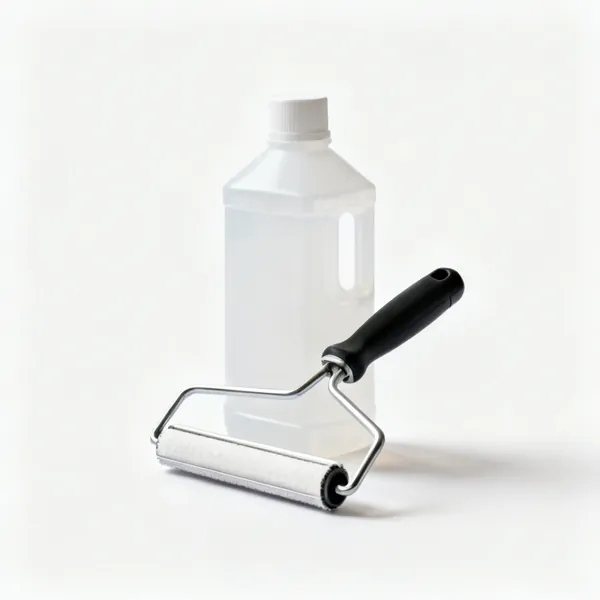
  • Wall size: A plastic bottle of wallpaper size solutionEssential

    Wall size

    Seals a porous wall so paste stays wet long enough to slide paper into position. Diluted paste does the same job and both are worth doing.

  • A roll of plain white lining paper partly unrolled

    Lining paper

    Hung horizontally under the finish paper on a poor wall. It hides a great deal of unevenness and gives an even absorbency to paste onto.

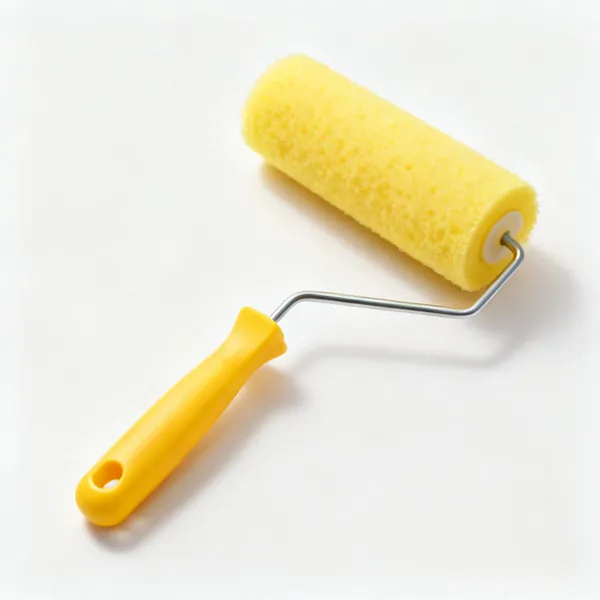
  • Large sponge: A large yellow decorating spongeEssential

    Large sponge

    Washing the wall, then wiping paste off the face of hung paper before it dries. Paste left on a finish paper dries shiny and cannot be removed.

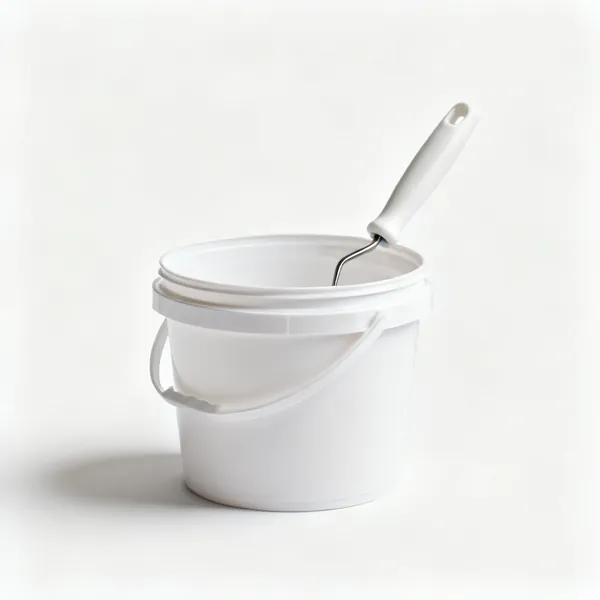
  • Two plastic decorating buckets, one inside the otherEssential

    Buckets

    Two: one for clean water and one for what comes off the wall. Mixing them means wiping paste onto paper with pasty water.

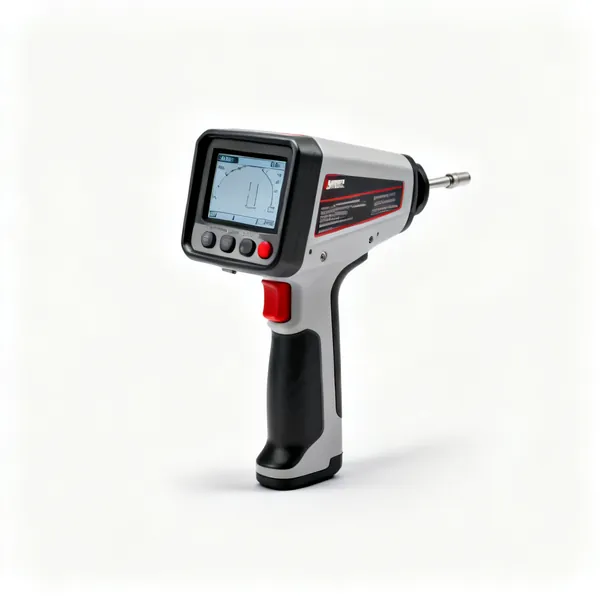
  • Cable detector: A handheld cable and pipe detector with a display

    Cable detector

    Before filling, scraping hard or knocking anything in. Stripping exposes old cable buried shallow, which is exactly when it gets damaged.

Pasting 8

Even coverage, right to the edges, and every length treated the same.

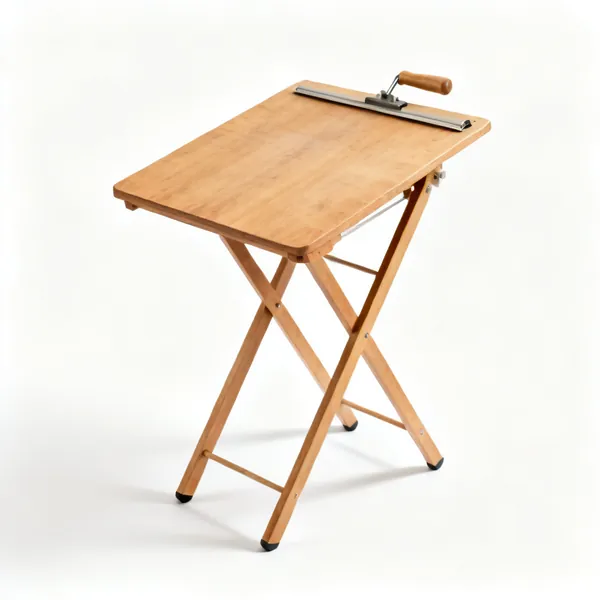
  • A folding wooden pasting table set up with legs extendedEssential

    Pasting table

    A long folding table narrower than a roll, so paste can go right to the edge without getting under the paper. That narrowness is the design.

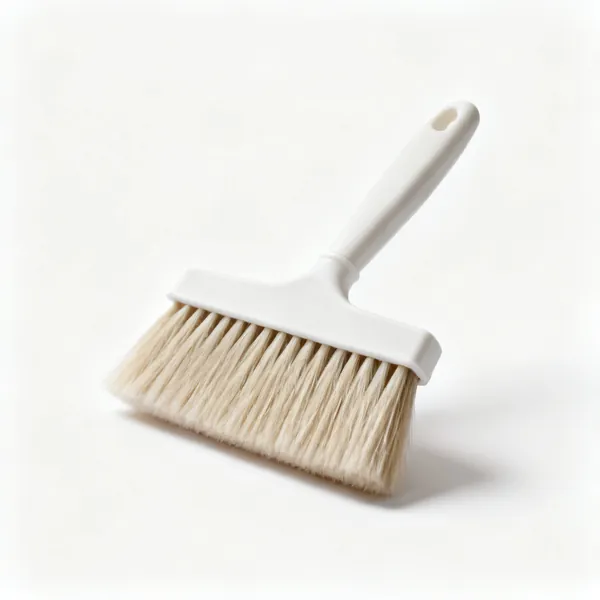
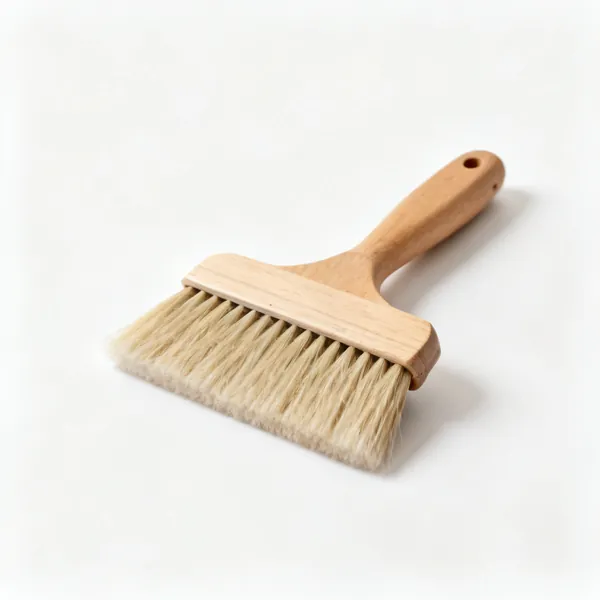
  • A wide flat wallpaper paste brush with long soft bristlesEssential

    Paste brush

    A wide soft brush that lays paste evenly and reaches the edges. Better control than a roller on traditional paper, and slower.

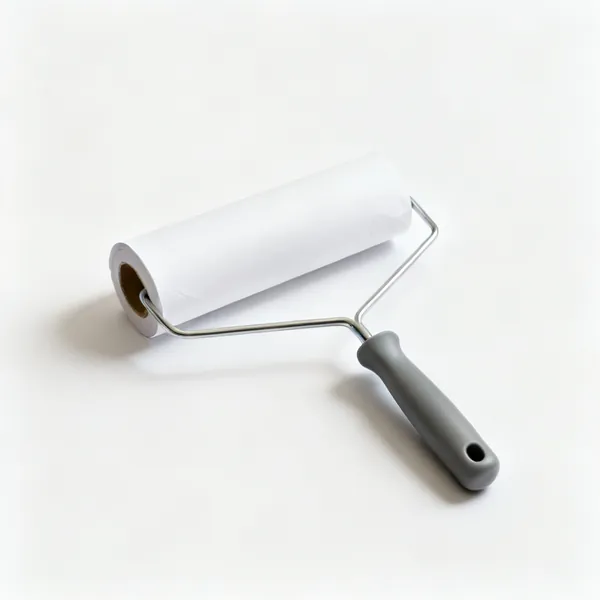
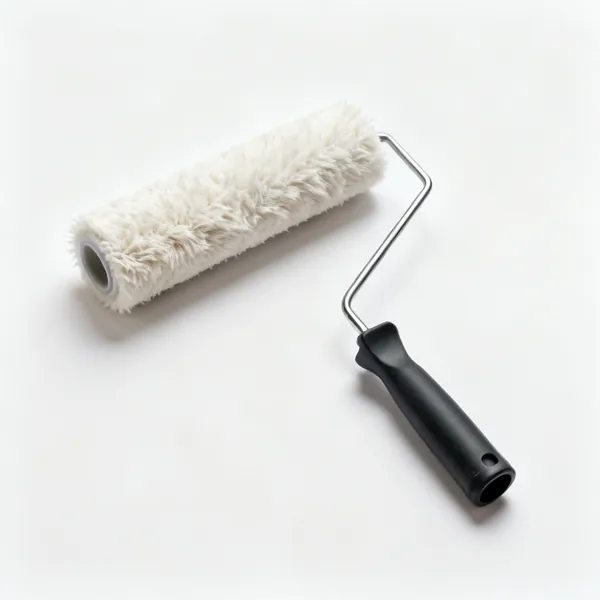
  • Paste roller

    Paste roller

    Faster than a brush and the standard tool for paste the wall papers, where it goes onto the wall rather than the paper.

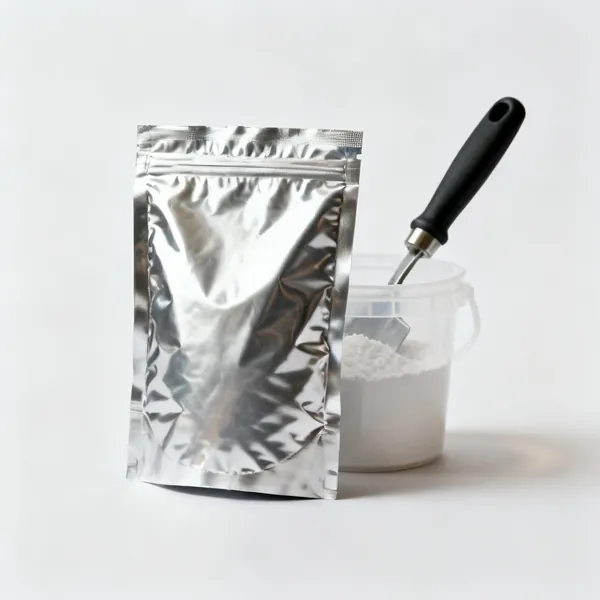
  • A foil sachet of wallpaper paste powder standing against a small plastic mixing bucket, centred with clear space at every edgeEssential

    Wallpaper paste

    Mixed to the strength the paper needs, which differs between lining, standard and heavy vinyl. Ready mixed tub paste for heavy papers.

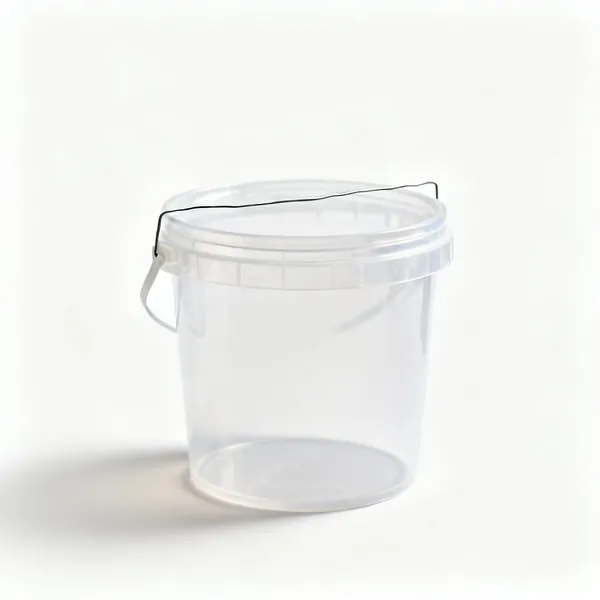
  • A plastic paste bucket with a wire stretched across the top

    Paste bucket

    With a wire across the top to wipe the brush on. Keeps the outside clean, which matters because everything you touch afterwards is paper.

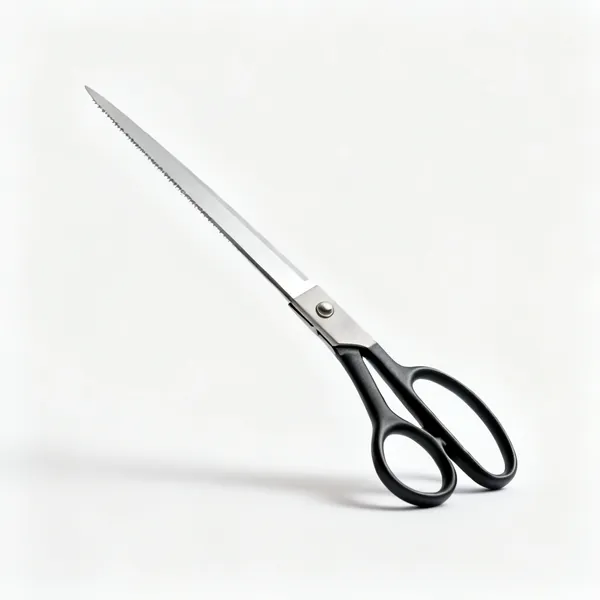
  • A pair of long bladed paperhanging scissorsEssential

    Paperhanging scissors

    Long bladed for cutting a length square and for trimming at an awkward corner where a knife cannot reach. Kept dry, since paste blunts the pivot.

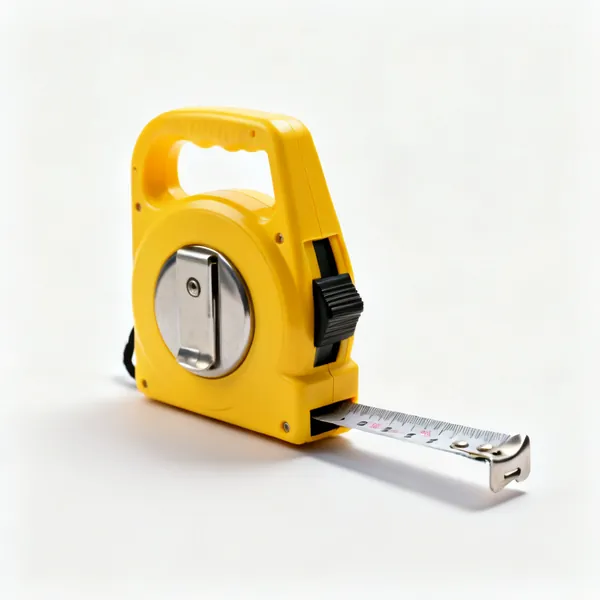
  • A retractable steel tape measure with a yellow case, blade partly extendedEssential

    Tape measure

    Lengths cut with 100mm spare at each end for trimming, and the pattern repeat allowed for on every drop. Under measuring wastes a whole length.

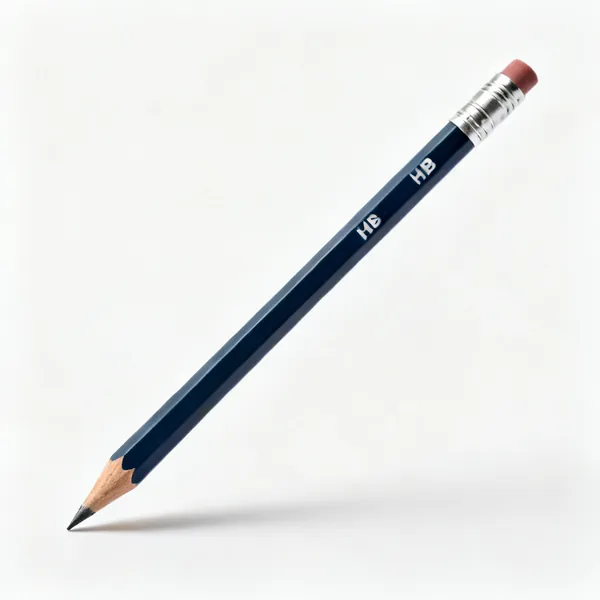
  • A sharpened HB pencil laid diagonallyEssential

    Pencil

    Marking the plumb line and the cut positions. Soft, so it does not score the paper face, and light, since the line may not be covered.

Hanging and trimming 11

Plumb the first drop, brush out from the centre, butt the seams and trim sharp.

  • A wide soft bristled wallpaper smoothing brush with a wooden handleEssential

    Smoothing brush

    A wide soft brush that beds the paper and drives air out from the centre toward the edges. Soft, because a stiff brush marks a delicate face.

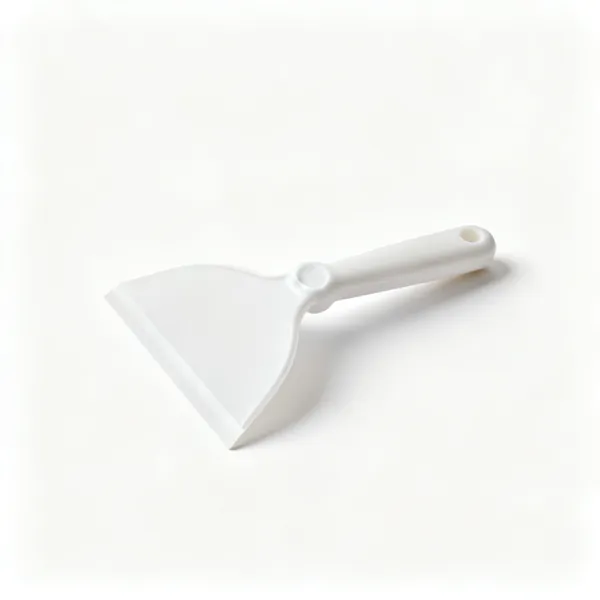
  • A flexible plastic wallpaper smoothing blade with a rounded edge

    Smoothing blade

    A flexible plastic spreader for vinyl and non woven paper, which takes more pressure than a brush gives. Not for a delicate printed face.

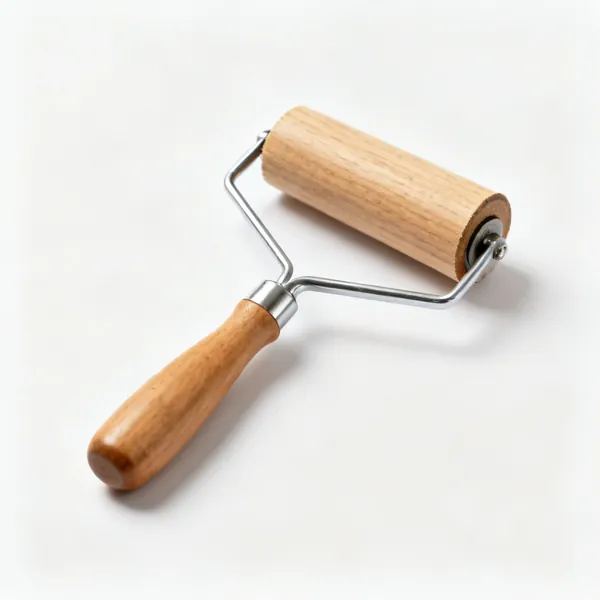
  • Seam rollerEssential

    Seam roller

    A small hard roller run lightly along a butted seam. Lightly, since pressing paste out of a seam is exactly what makes it lift later.

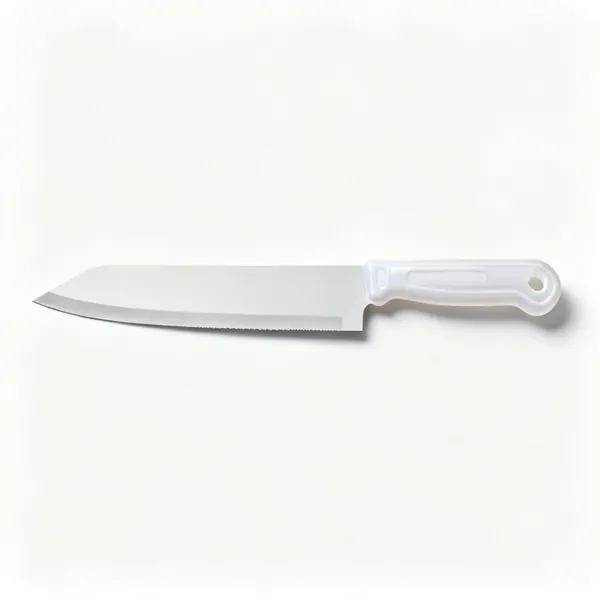
  • A wide stiff bladed broad knife with a plastic handleEssential

    Broad knife

    Held against the ceiling or skirting as a straight edge for the blade to cut along. Held still while your knife hand repositions along it.
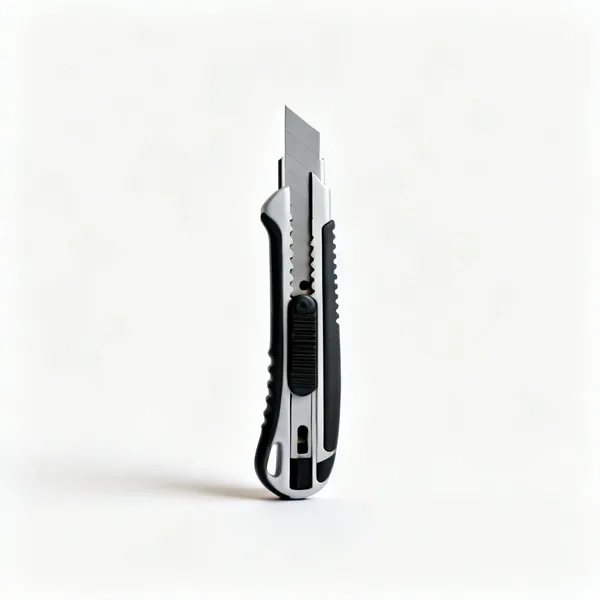
  • A retractable snap off blade trimming knifeEssential

    Trimming knife

    A snap off blade knife, and the blade changed every few cuts. A dull blade drags and tears wet paper rather than cutting it cleanly.

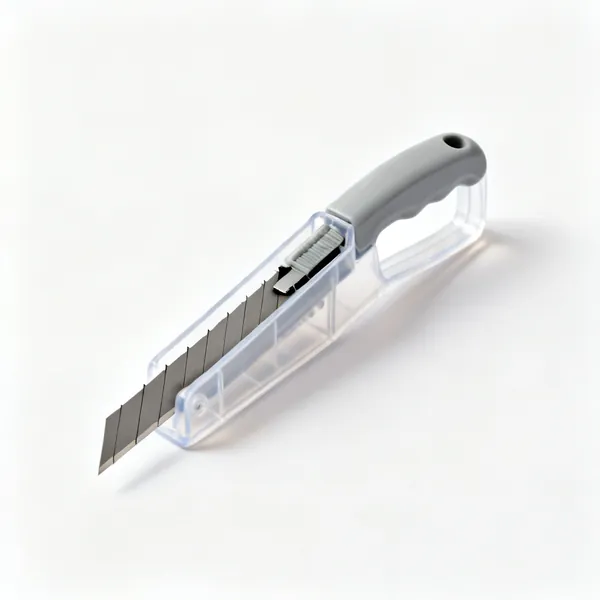
  • Spare blades: A plastic dispenser of snap off knife blade stripsEssential

    Spare blades

    Snapped off rather than sharpened, several times per room. The single cheapest thing that improves how the finished job looks.

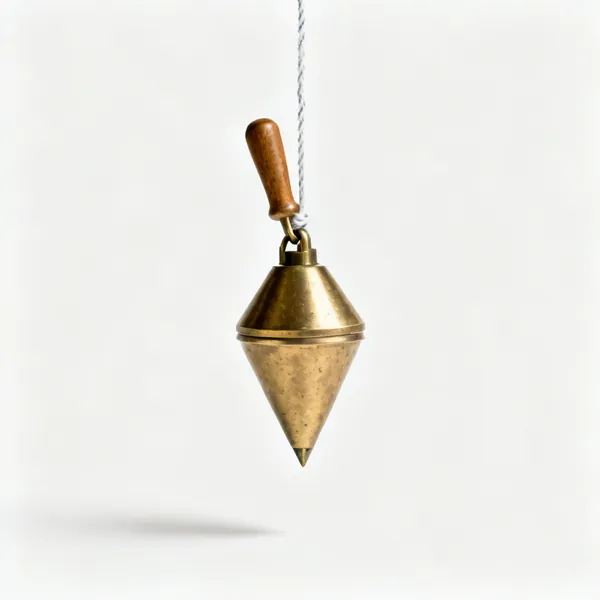
  • Plumb line: A brass plumb bob hanging from a chalked string lineEssential

    Plumb line

    A chalked line and a bob, which cannot be miscalibrated. The first drop must go to this rather than to a corner, because no corner is plumb.

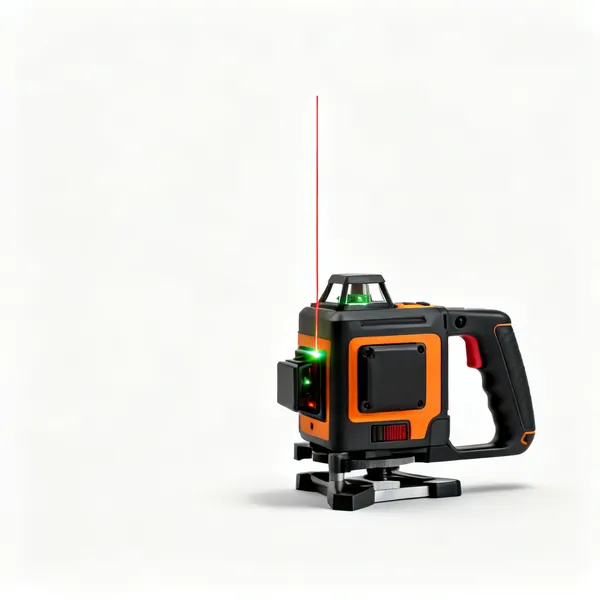
  • A self levelling cross line laser level projecting a vertical line

    Laser level

    Projects a plumb line onto the wall, so it can be seen and checked while the paper is being positioned rather than only before.

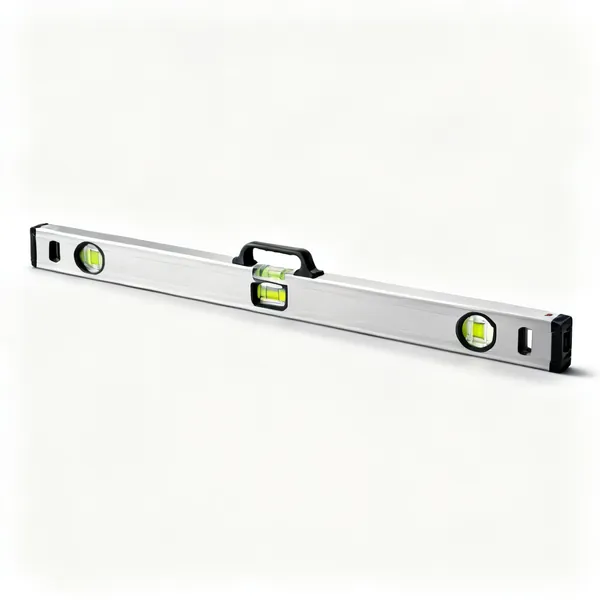
  • A long aluminium spirit level with three bubble vialsEssential

    Spirit level

    Checks plumb every few drops, since errors accumulate quietly around a room. Catching drift at the fourth drop is far cheaper than at the tenth.

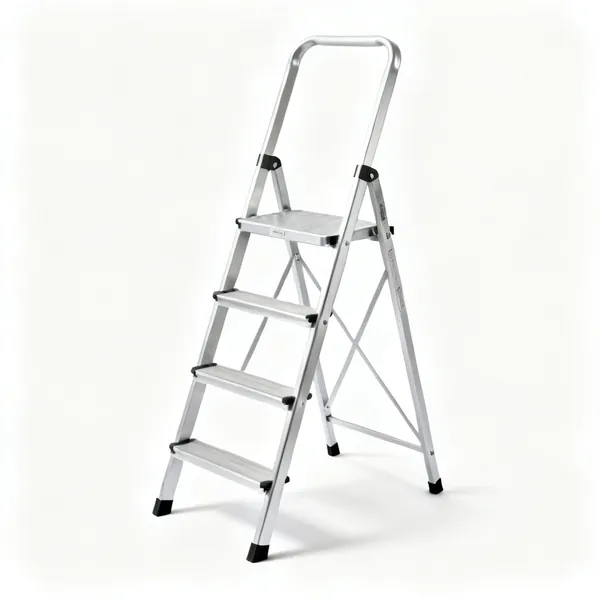
  • A folding aluminium step ladder with a platform top stepEssential

    Step ladder

    A platform step with somewhere to rest a folded length. Papering means carrying a wet folded drop up a ladder, so stability matters more than height.

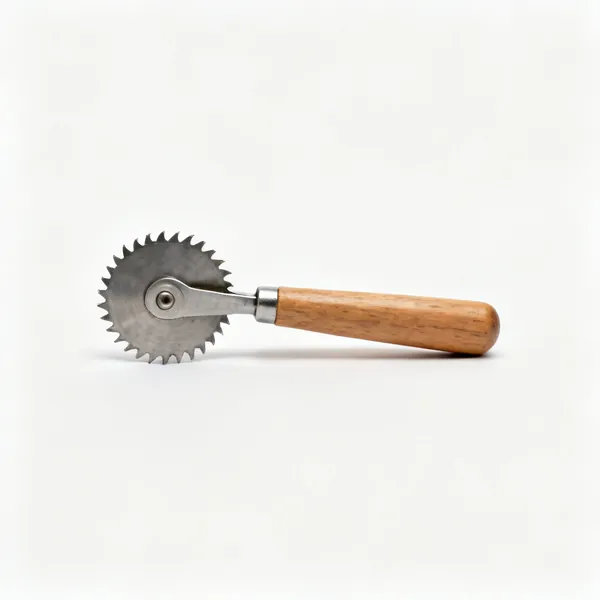
  • A small toothed casing wheel tool with a wooden handle

    Casing wheel

    A small toothed wheel that creases the paper exactly along an architrave or a skirting, giving a line to cut to in an awkward corner.

Choosing wallpapering tools

The list above is what exists. This is how to decide which of it you actually need, what separates a tool worth keeping from one that ends up at the back of a drawer.

Getting the old paper off

Water has to reach the paste, which means breaking through the face of the paper first. On vinyl or painted paper, scoring it with an orbital scorer or perforator is what makes soaking work at all, and skipping that step is why people conclude soaking does not work.

A steamer is faster than soaking on thick or multiple layers, and it also loosens plaster on a weak wall. Move it steadily rather than holding it in one spot, and on lath and plaster or old skim be prepared to lose some surface.

Score first
Water cannot reach paste through a vinyl or painted face. Perforate, then soak.
Soak, wait, soak again
Two applications ten minutes apart beats one heavy one. The paste needs time.
A steamer is faster and riskier
Keep it moving. Held still on old plaster it will lift the surface with the paper.
Get every scrap off
A patch of old backing paper shows as a lump through the new paper permanently.

The wall decides the result

New paper follows the wall underneath it exactly. Any lump, hole or ridge of old paste shows through, and a wall that is dusty or previously gloss painted will not hold paste at all.

So the sequence is strip, wash off all residual paste, fill and sand, then size or apply a coat of diluted paste. Sizing seals a porous wall so the paste stays wet long enough to slide the paper into place, which is what makes butt joints possible.

Wash off old paste
Residual paste dries as ridges that show through. Sugar soap and a sponge.
Fill and sand
Paper shows every lump. This is the step that separates a good job from a passable one.
Size the wall
Diluted paste or a proper size, so the wall does not drink the paste before you can slide the paper.
Lining paper for bad walls
Hung horizontally under the finish paper. It hides a great deal and is cheap.

Soaking time and paste on wall

Traditional paper absorbs paste and expands, which takes the soaking time stated on the roll, usually a few minutes. Every length must soak for the same time, because a length that expanded less will not match the pattern of one that expanded more.

Non woven and most modern papers are paste the wall instead: the paper does not expand, so there is no soaking and no folding. Read the roll rather than assuming, since the two methods are not interchangeable.

Same time every length
Different soaking times means different expansion, and then the pattern will not match.
Fold paste to paste
Book the length loosely so it stays wet and is easy to carry up a ladder.
Paste the wall papers
Non woven does not expand. No soaking, no folding, and paste goes on the wall.
Read the roll label
It states the method, the soaking time and the pattern repeat. All three matter.

The first drop sets the whole room

Every subsequent length references the one before it, so an error in the first drop accumulates around the room and arrives back as a visibly leaning pattern. Corners are never plumb, so the first line has to come from a level or a laser rather than from a wall.

Start at the most visible wall, not at a corner, and work outward in both directions. The unavoidable mismatch then ends up in the least noticeable corner rather than beside the door everyone looks at.

Plumb the first line
From a level or a laser, not from a corner. No corner in any house is plumb.
Start at the focal wall
Work outward both ways so the mismatch lands somewhere nobody looks.
Check every few drops
Errors accumulate quietly. Checking plumb at the fourth drop is cheaper than at the tenth.
Plan around the window
A pattern that arrives awkwardly at a window is what the eye finds first.

Bubbles, seams and trimming

Bubbles are trapped air or paste, brushed out from the centre toward the edges while the paper is still wet. Many small bubbles in traditional paper are the paper still expanding and will disappear as it dries, so waiting is the correct action.

Seams are butted, not overlapped, and rolled lightly rather than pressed hard, because squeezing paste out of a seam is what makes it lift later. Trim with a sharp blade against a broad knife, changing the blade far more often than seems necessary.

Brush out from the centre
Toward the nearest edge, so air has somewhere to go rather than being moved around.
Small bubbles may vanish
In traditional paper they are expansion. Give it a few hours before intervening.
Butt seams, roll lightly
Never overlap, and never press paste out of a seam. That is what makes it lift.
Change the blade often
A dull blade drags and tears wet paper. Every few cuts, not every few rooms.

Frequently asked questions

What tools do I need for wallpapering?
A pasting table, paste brush or roller, a smoothing brush, a seam roller, a broad knife, a sharp trimming knife, a plumb line or level, scissors and a sponge. For stripping first, add a scorer, a scraper and either a spray bottle or a steamer.
What is the best way to remove old wallpaper?
Score the surface first with an orbital scorer, since water cannot reach the paste through a vinyl or painted face. Then soak with warm water and stripper, wait ten minutes, soak again and scrape. A steamer is faster on thick or multiple layers.
Do I need a wallpaper steamer?
Not always. Soaking works well on ordinary paper once it has been scored. A steamer is worth it for several layers, thick vinyl or woodchip. It also risks lifting old plaster, so keep it moving and expect some surface damage on lath and plaster.
Why does my wallpaper keep bubbling?
Either trapped air, which brushes out from the centre toward the edges while wet, or the paper still expanding, in which case many small bubbles will disappear as it dries. The third cause is a wall that drank the paste, which sizing prevents.
How long should wallpaper soak before hanging?
Whatever the roll label says, usually a few minutes, and crucially the same time for every length. Different soaking times give different expansion, and then the pattern will not match at the seams. Non woven paste the wall papers do not soak at all.
Where should you start when wallpapering a room?
At the most visible wall, working outward in both directions, with the first length hung to a plumb line rather than to a corner. No corner is plumb, and every subsequent drop references the previous one, so an error in the first accumulates around the room.
Should wallpaper seams overlap?
No, they should butt together. Overlapping shows as a ridge and it will lift. Roll the seam lightly with a seam roller rather than pressing hard, because squeezing paste out of a seam is exactly what makes it lift a few weeks later.
How do you cut wallpaper neatly?
Hold a broad knife firmly along the line and run a very sharp blade against it, keeping the knife in place while you reposition your hand. Change the blade every few cuts, since a dull blade drags and tears wet paper rather than cutting it.