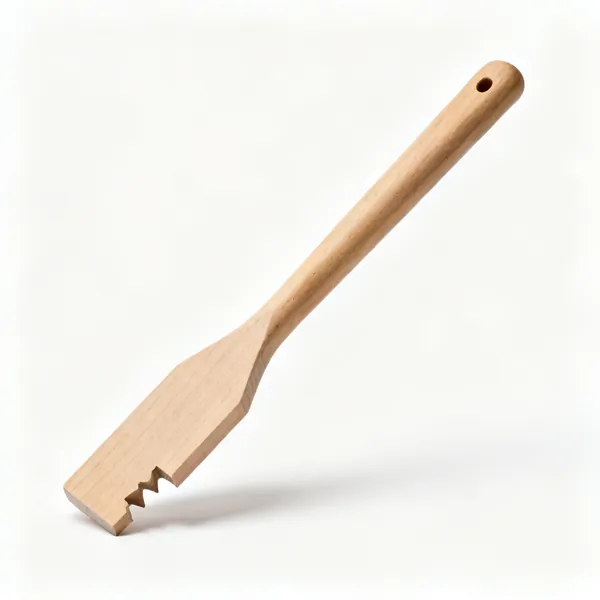
Disclosure

Woodworking tools: every type, with pictures and uses

A complete woodworking tools list with a picture of each one, all 87 grouped by job, so hand planes sit with hand planes and the machines that do the same work sit together. This is the workshop side; for site and structural work, that is carpentry tools.

31 are marked essential: a workshop that can cut, shape, join and finish.

Hand planes 10

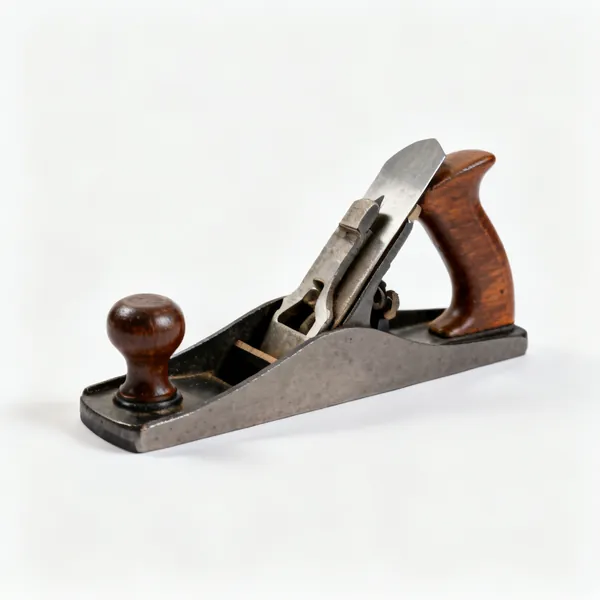
Cutting a shaving off a surface. Sole length is the main difference: a long plane bridges hollows and makes a board straight, a short one follows the surface and smooths it.

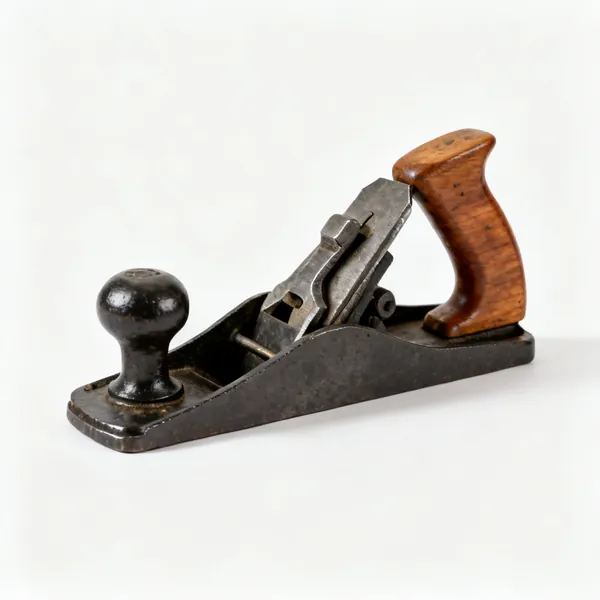
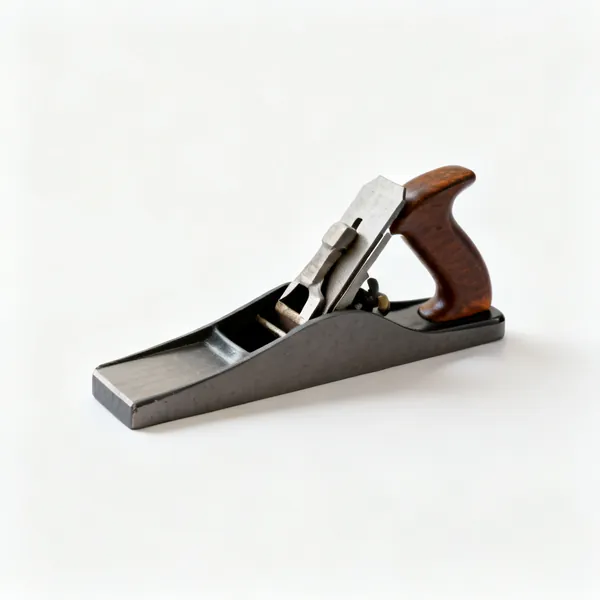
  • Smoothing plane: A smoothing hand plane with a cast iron body and wooden tote handleEssential

    Smoothing plane

    A short bench plane used last, taking whisper thin shavings to leave a surface ready for finish. Short enough to follow the board rather than fight it.

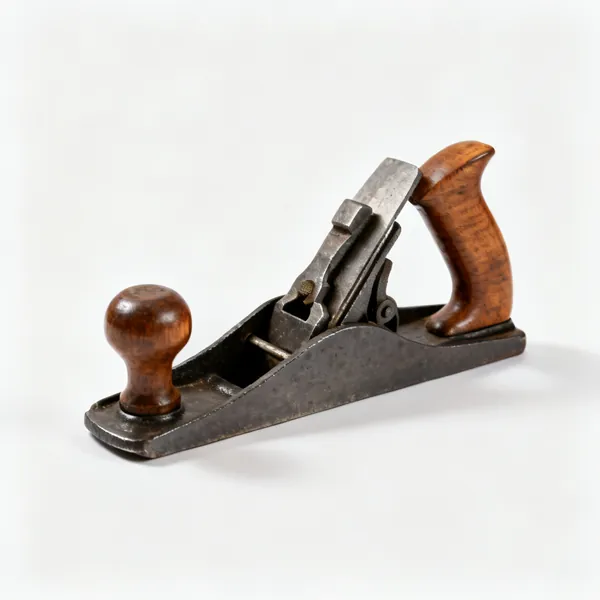
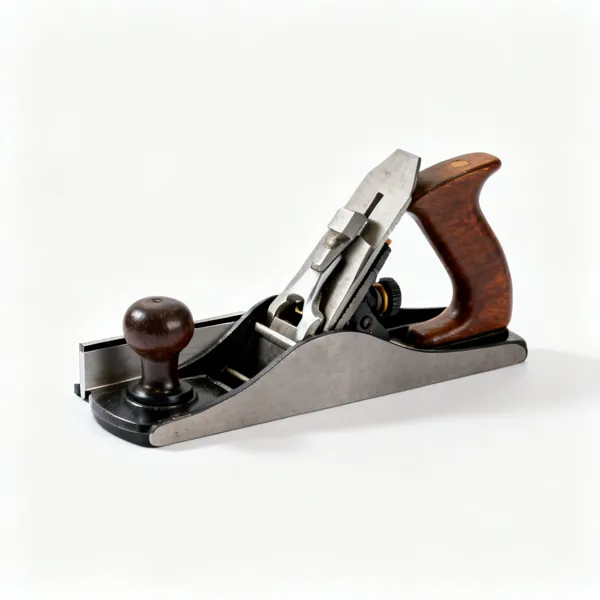
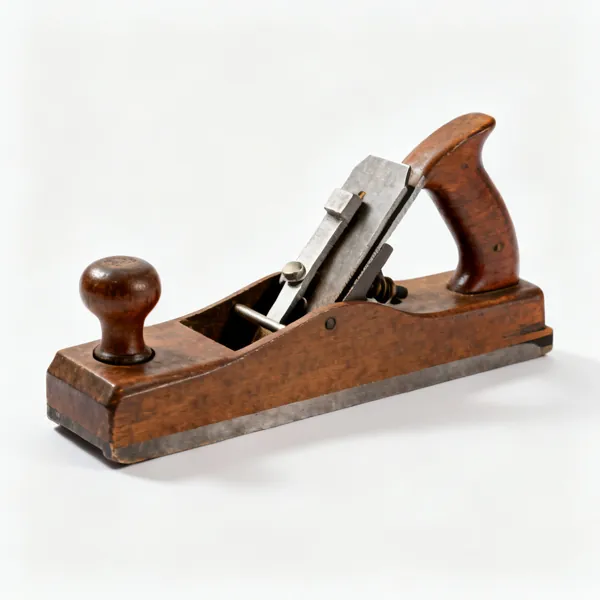
  • A jack plane with a medium length cast iron sole and two wooden handlesEssential

    Jack plane

    The general purpose bench plane, long enough to straighten and short enough to handle. If you own one bench plane this is it, and it will do most of the work of the others.

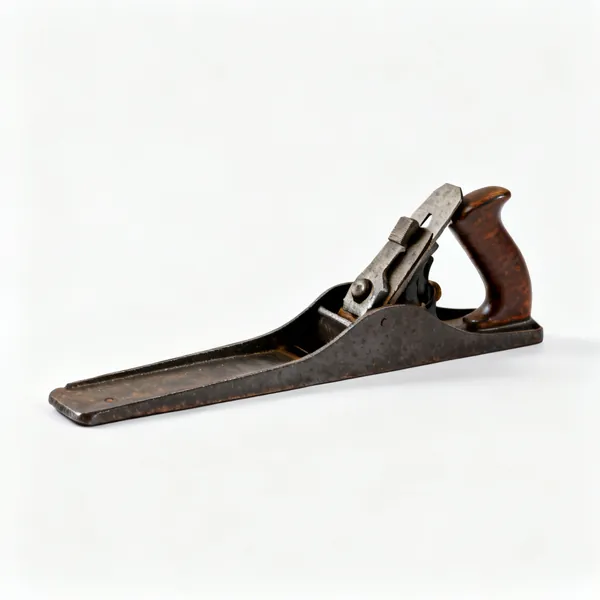
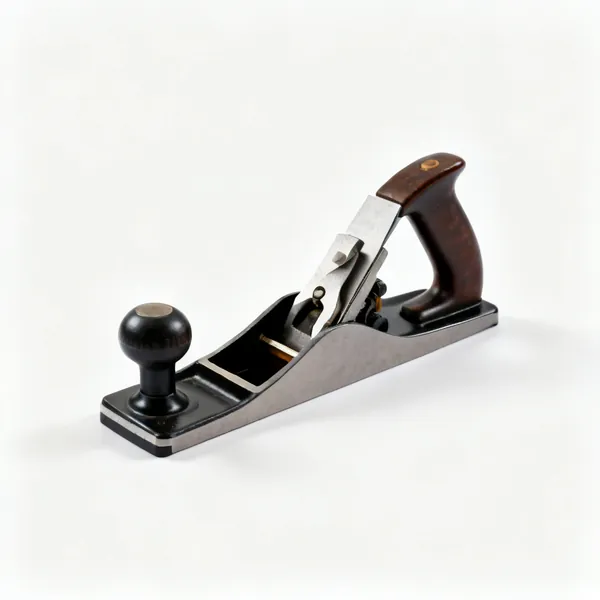
  • A long jointer plane with an extended cast iron sole

    Jointer plane

    The longest bench plane. Its length is what makes an edge truly straight, because it rides the high spots and cannot dip into the hollows a short plane follows.

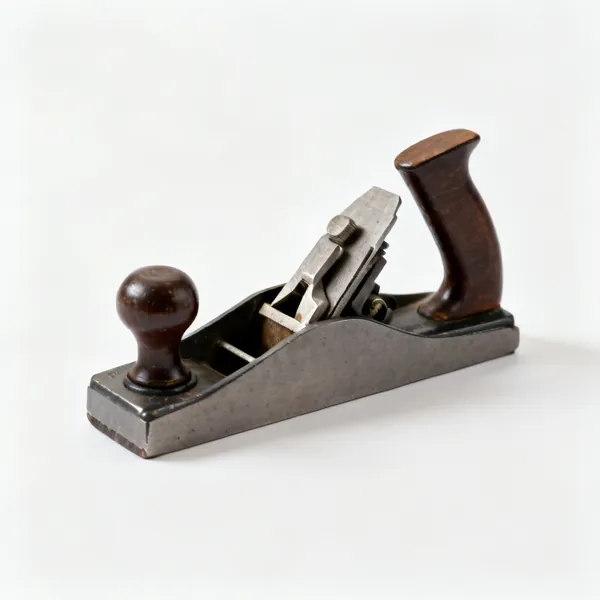
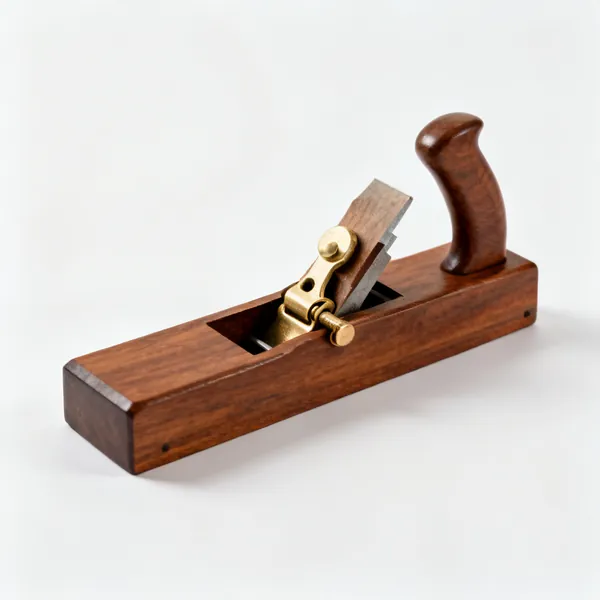
  • A small block plane with a low profile body and adjustable mouthEssential

    Block plane

    Held in one hand, with the blade bevel up and set at a low angle so it slices end grain instead of crushing it. The plane you reach for most because it fits anywhere.

  • A shoulder plane with a narrow body and full-width blade

    Shoulder plane

    The blade runs the full width of the body, so it cuts right into a corner. For trimming the shoulders and cheeks of a tenon until the joint closes cleanly.

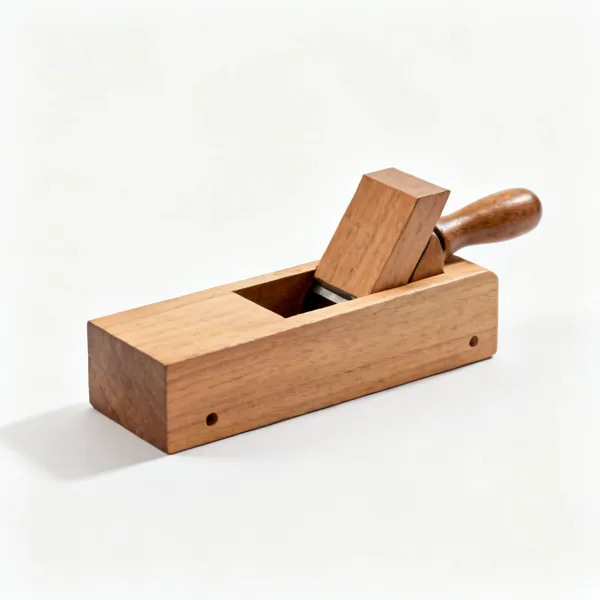
  • A rebate plane with a side fence and depth stop

    Rebate plane

    Cuts a step along the edge of a board, with a fence and depth stop to keep it consistent. What a router does with a bit, done quietly and with no dust.

  • A router plane with an L-shaped blade and open throat

    Router plane

    A blade set at a fixed depth below a flat sole, so it levels the bottom of a recess to exactly that depth. The only easy way to get a hinge mortise perfectly flat.

  • A scrub plane with a narrow body and heavily cambered blade

    Scrub plane

    A heavily curved blade taking deep coarse shavings, for removing a lot of material fast before the finer planes get involved. The hand tool answer to a thicknesser.

  • A spokeshave with a flat blade and two side handles

    Spokeshave

    A short soled blade with a handle each side, pulled or pushed along a curve. For chair legs, shaped edges and anything a flat plane cannot follow.

  • A plough plane with a fence, depth stop and narrow iron

    Plough plane

    Cuts a groove of set width and depth along the grain, for drawer bottoms and panel grooves. Interchangeable irons give the widths.

Chisels & carving tools 7

Removing wood with a pushed or struck edge. Bevel angle and blade shape decide the job, and all of them need to be sharp enough to shave with.

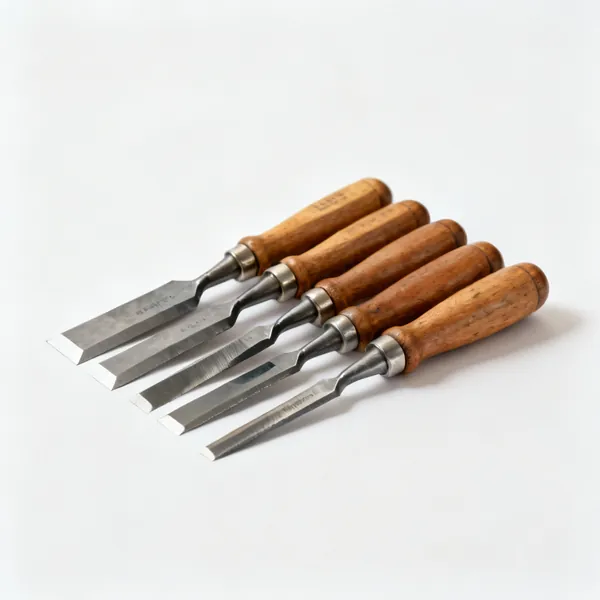
  • A set of bevel edge bench chisels with wooden handlesEssential

    Bench chisels

    The everyday set, bevelled along the edges so they reach into a dovetail. Four sizes covers most work. Hit them with a wooden mallet, never a steel hammer.
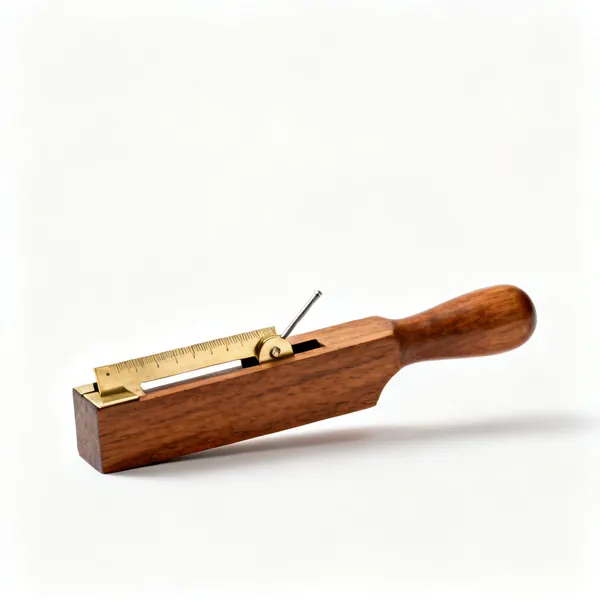
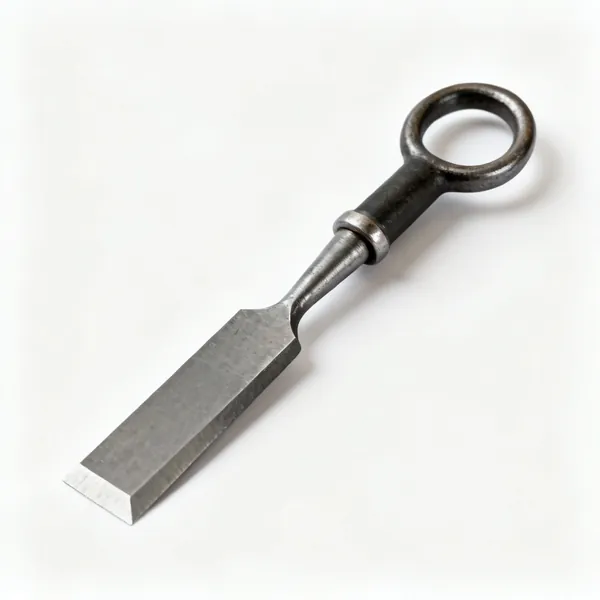
  • A heavy mortise chisel with a thick square blade and hooped handle

    Mortise chisel

    Thick, square sided and built to be struck hard and levered. It clears deep waste from a mortise without twisting, which a bench chisel would.

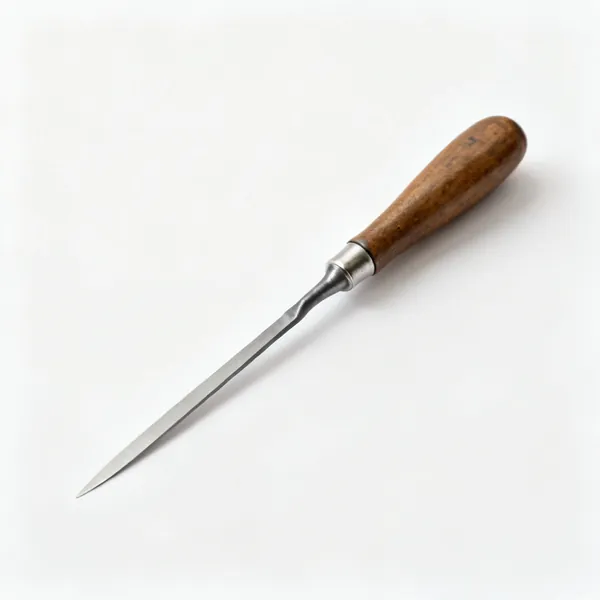
  • A long thin paring chisel with a slender blade

    Paring chisel

    Long, thin and pushed by hand only, never struck. For shaving a joint to a precise fit where control matters more than force.

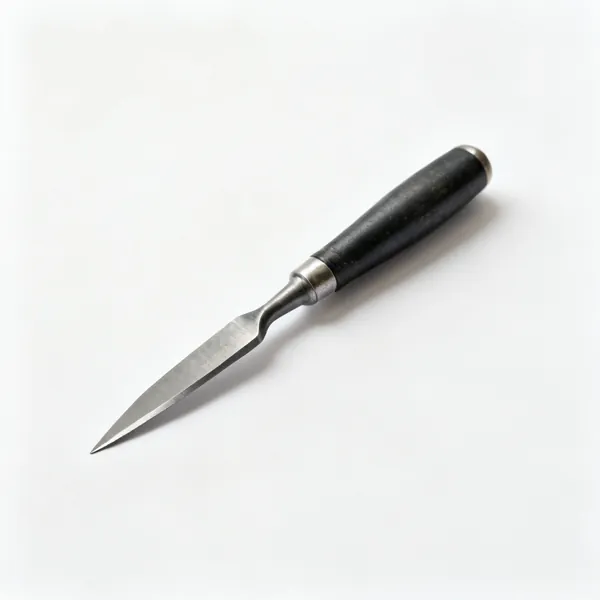
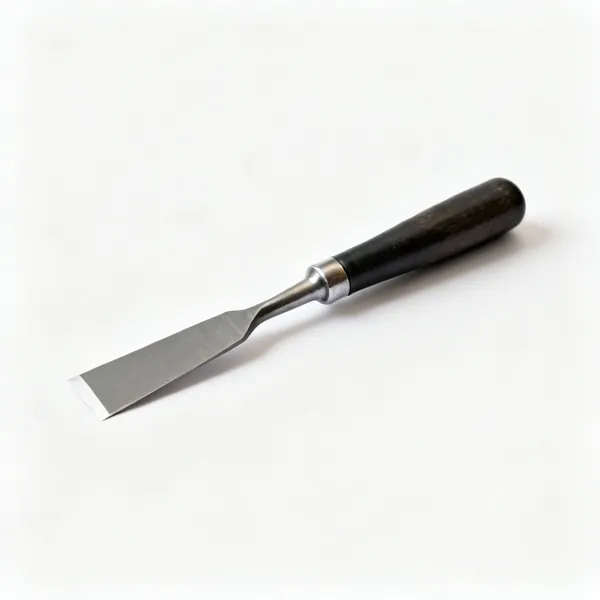
  • Skew chisel

    Skew chisel

    The edge is angled, so the point can reach into a corner a square edge cannot. Cleans out the acute corners of dovetails and housings.

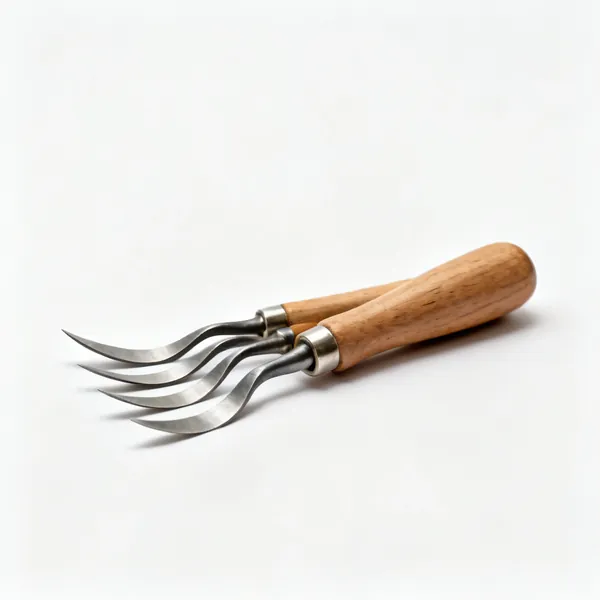
  • A set of woodcarving gouges with varied curved blades

    Carving gouges

    Curved edges in a range of sweeps, for cutting hollows and shaping. The sweep number describes how deep the curve is, and it decides the cut you can make.

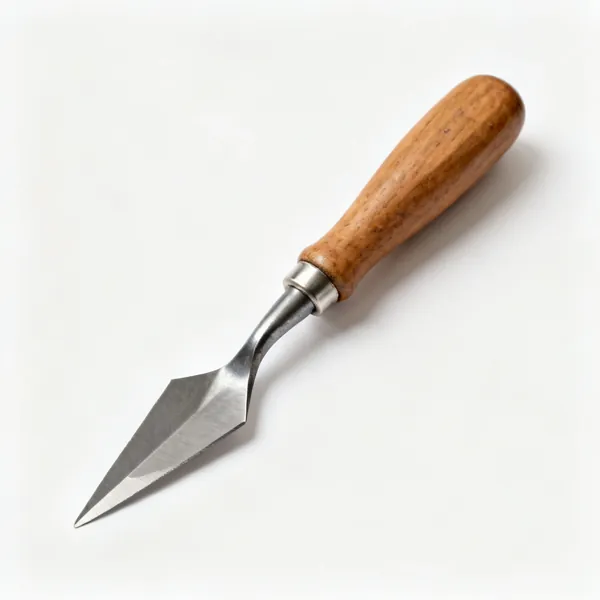
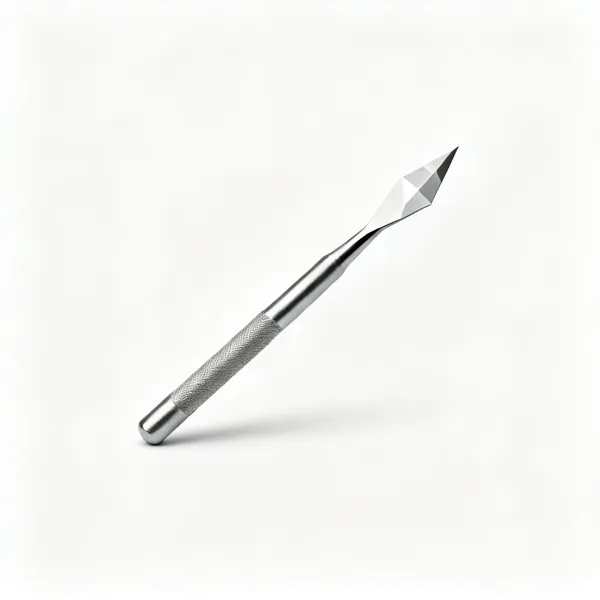
  • V parting tool: A V-shaped parting carving tool with a wooden handle

    V parting tool

    Cuts a crisp V groove, used to outline a carving before wasting away the background. Difficult to sharpen and hard to substitute.

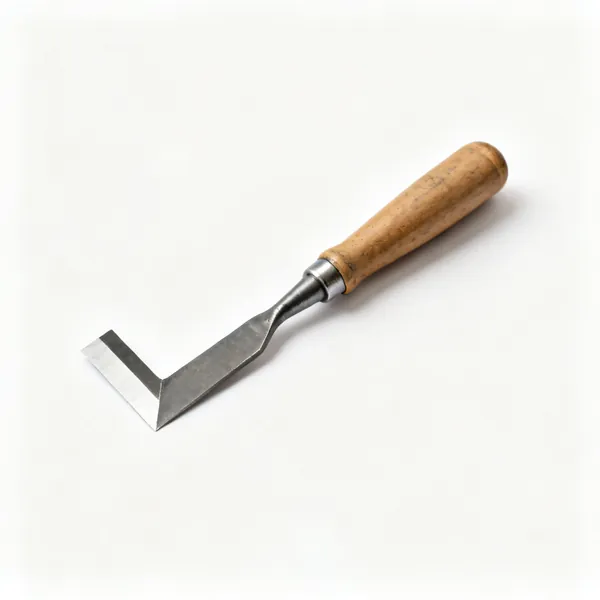
  • A corner chisel with an L-shaped cutting edge

    Corner chisel

    An L shaped edge that cleans both faces of an internal corner in one strike, squaring up a mortise or a hinge recess in seconds.

Sharpening equipment 6

The most important group on the page. Everything with an edge above depends on these, and they are cheap relative to what they make possible.

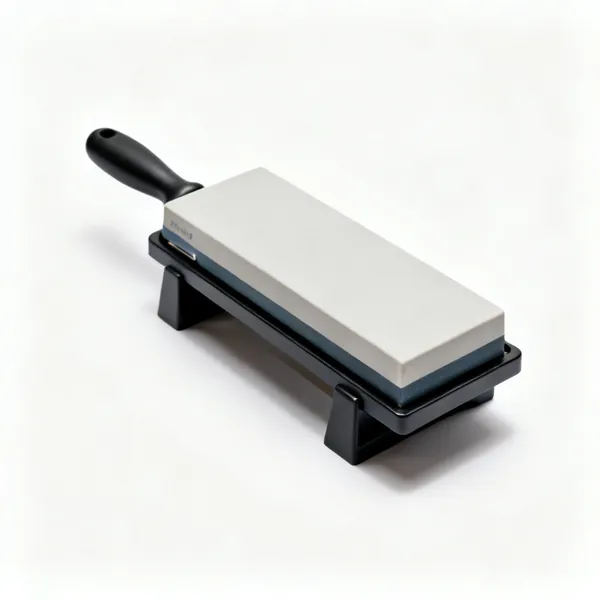
  • A rectangular waterstone sharpening block on a holderEssential

    Waterstone

    Soaked in water and used in grits from coarse to fine. Cuts fast and leaves a keen edge, at the cost of needing flattening itself from time to time.

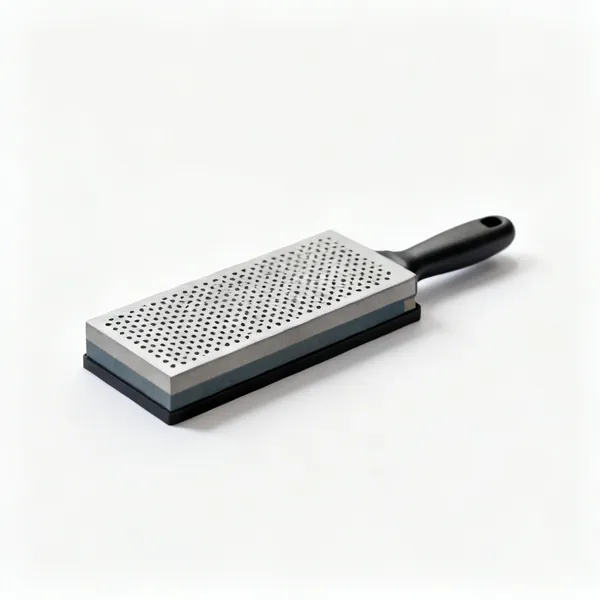
  • Diamond plate: A rectangular diamond sharpening plate with a perforated surfaceEssential

    Diamond plate

    Industrial diamond bonded to a steel plate. Stays flat forever, cuts hardened steel, and works with just water. The low maintenance choice.

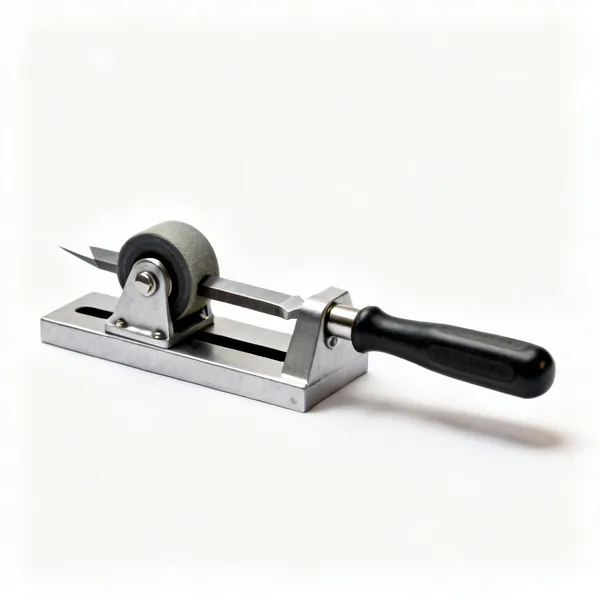
  • A metal honing guide clamp with a roller wheel holding a chiselEssential

    Honing guide

    Clamps the blade at a fixed angle so every sharpening repeats the last. Removes the one part of the skill that takes real practice.

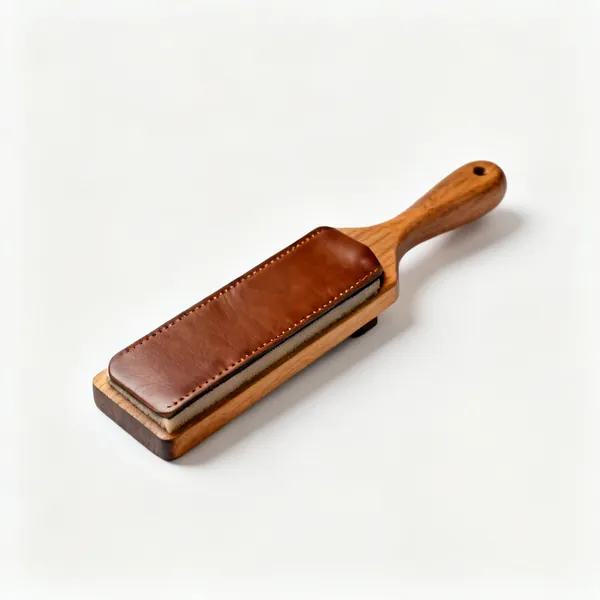
  • A leather strop on a wooden paddle

    Leather strop

    Leather with fine abrasive compound, used last to remove the burr and polish the edge. Takes an already sharp tool to genuinely shaving sharp.

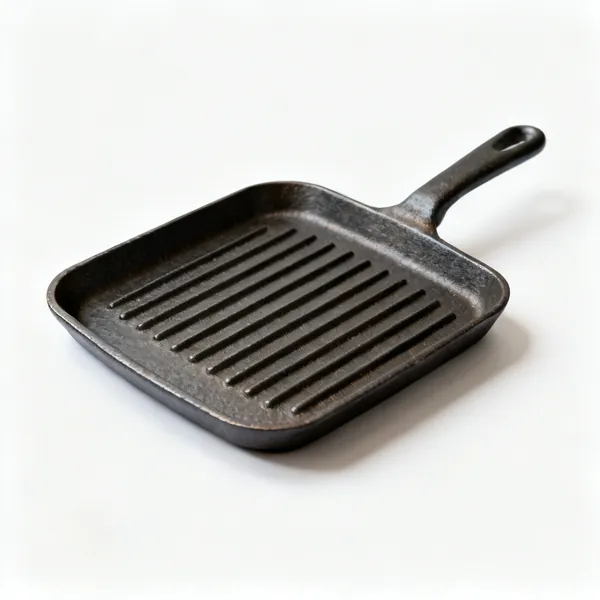
  • A flat cast iron lapping plate with grooves

    Lapping plate

    A dead flat plate with loose abrasive, for flattening waterstones and the backs of blades. Everything else depends on something being truly flat.

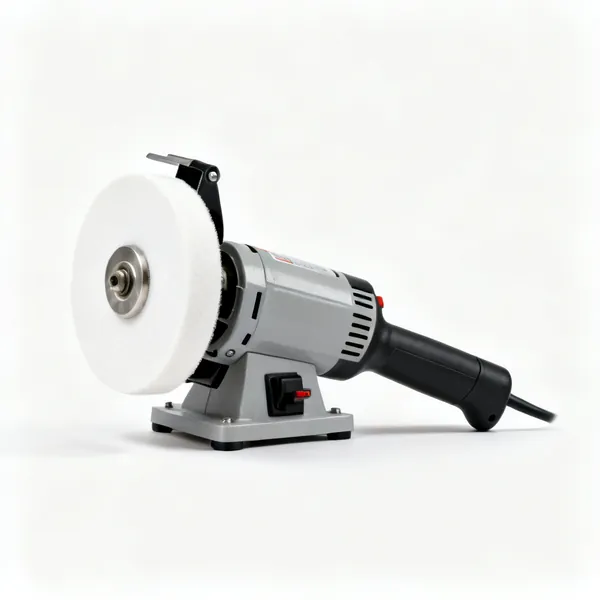
  • Slow speed grinder: A slow speed bench grinder with a white grinding wheel

    Slow speed grinder

    Reshapes a badly damaged bevel without overheating the steel. Speed is the point: a fast dry grinder turns the edge blue and ruins its hardness permanently.

Hand saws 8

Joinery saws, where the cut is part of the finished work. Tooth count and set decide how fine the cut is, and a stiffened back is what keeps it straight.
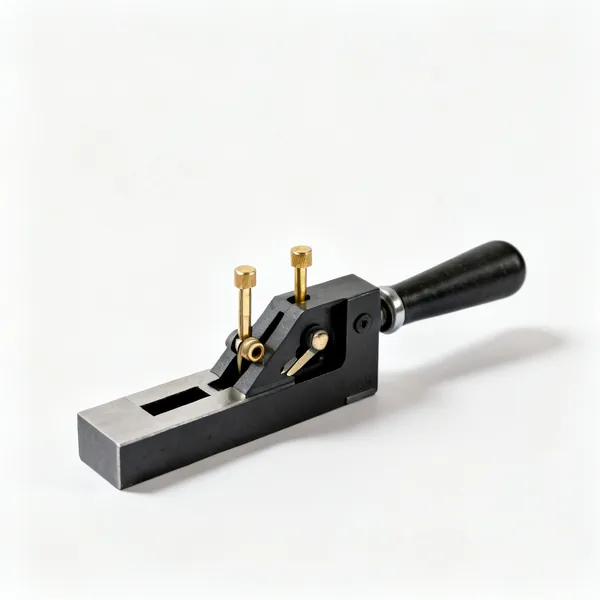
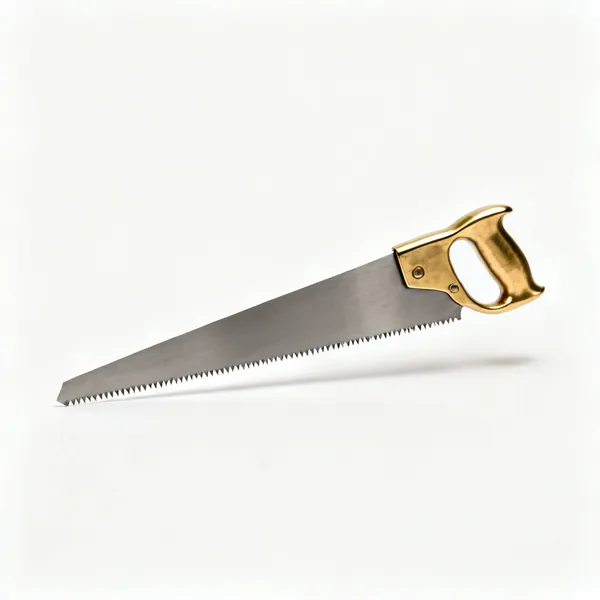
  • A dovetail saw with a brass back and a fine-toothed bladeEssential

    Dovetail saw

    Fine teeth, a thin blade and a stiff back, for cutting joints where the saw line will be visible. Small enough to steer accurately by hand.

  • A tenon saw with a reinforced brass back and wooden handleEssential

    Tenon saw

    Bigger than a dovetail saw with the same stiffened back, for cutting tenon cheeks and shoulders and general accurate crosscutting on a bench hook.

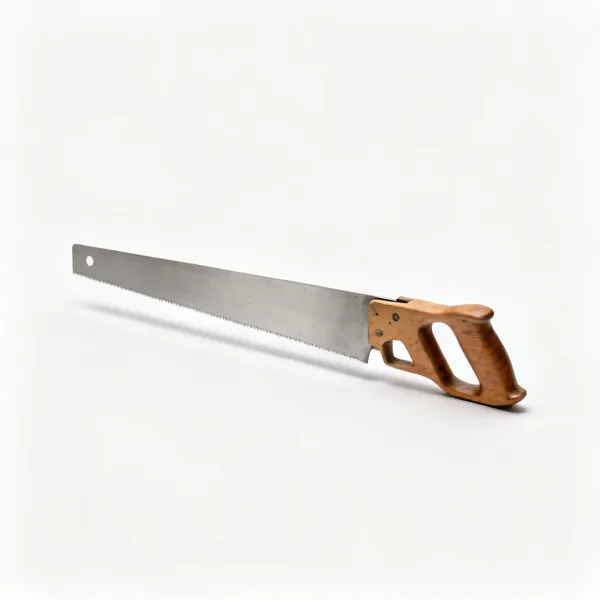
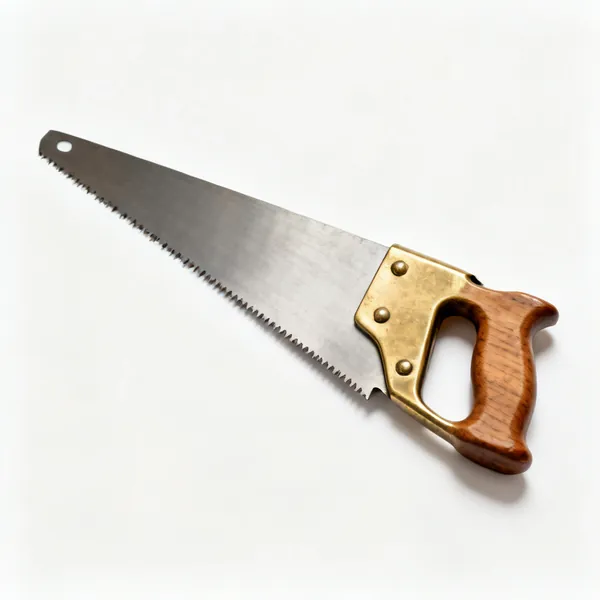
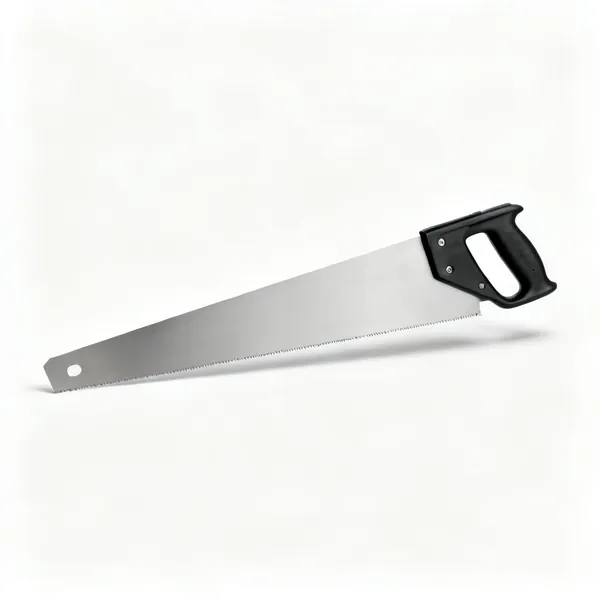
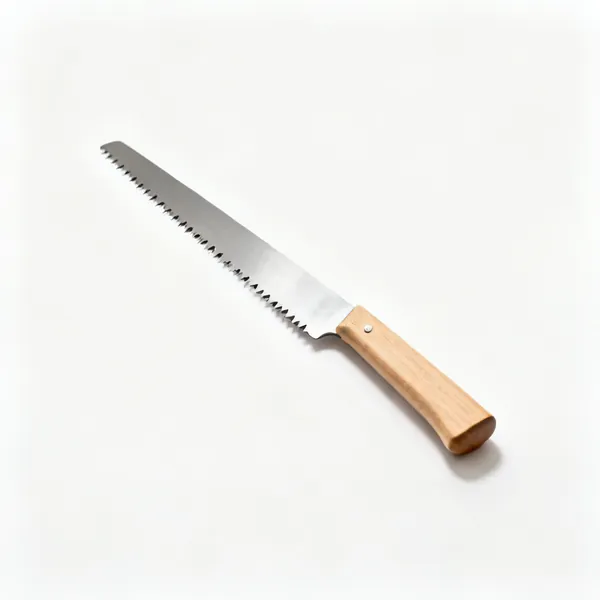
  • Panel saw: A panel hand saw with a wide unbacked blade

    Panel saw

    An unbacked hand saw for cutting boards to rough size before the accurate work starts. Long strokes, coarse teeth, no pretence at a fine finish.

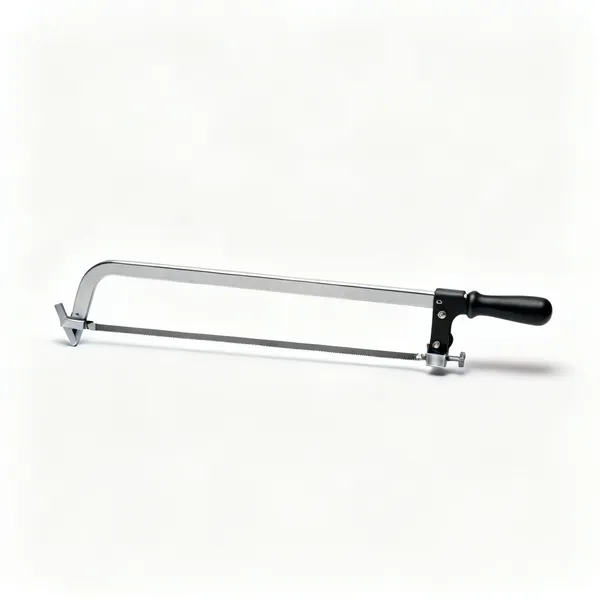
  • Coping sawEssential

    Coping saw

    A thin blade in a sprung frame that turns as it cuts, used to remove the waste between dovetails and to cut curves. The blade can be threaded through a hole.

  • Fret saw

    Fret saw

    A deeper frame and finer blade than a coping saw, for delicate internal cuts and inlay. Reaches further from the edge and breaks blades if you rush.

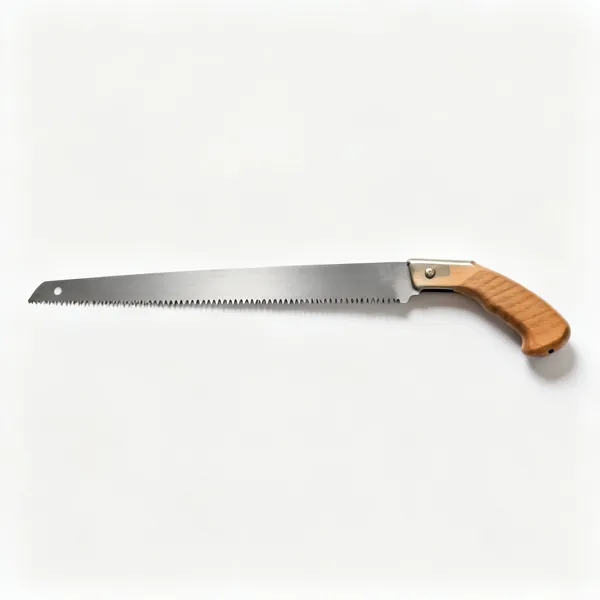
  • A Japanese ryoba saw with teeth on both edges and a straight wooden handle

    Ryoba

    A Japanese saw with rip teeth on one edge and crosscut on the other, cutting on the pull stroke. The thin blade leaves a narrow kerf and starts easily.

  • A Japanese dozuki saw with a stiffened back and fine teeth

    Dozuki

    A Japanese backed saw with very fine teeth for joinery, cutting on the pull. Leaves a finer cut than most Western saws can manage.

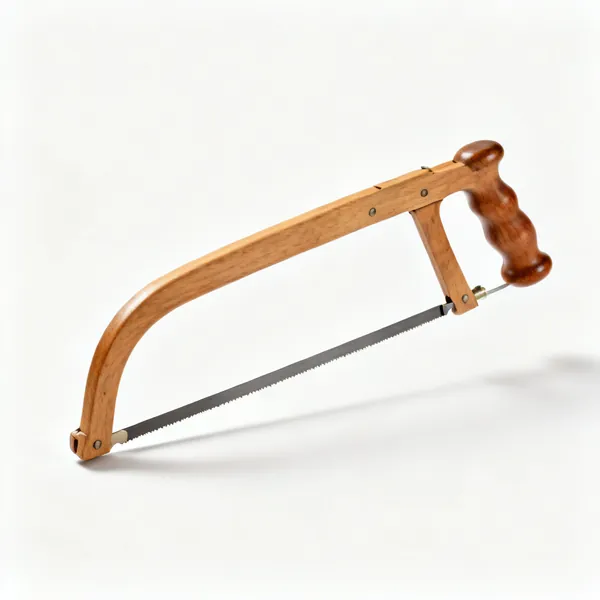
  • A wooden bow saw with a tensioned narrow blade and turned handles

    Bow saw

    A narrow blade tensioned in a wooden frame, which can be turned in the handle to cut curves in thick stock. The traditional answer before bandsaws.

Marking & layout 8

Joinery is only as good as its layout. Almost everything here scribes rather than draws, because a scored line is a line a blade will follow.

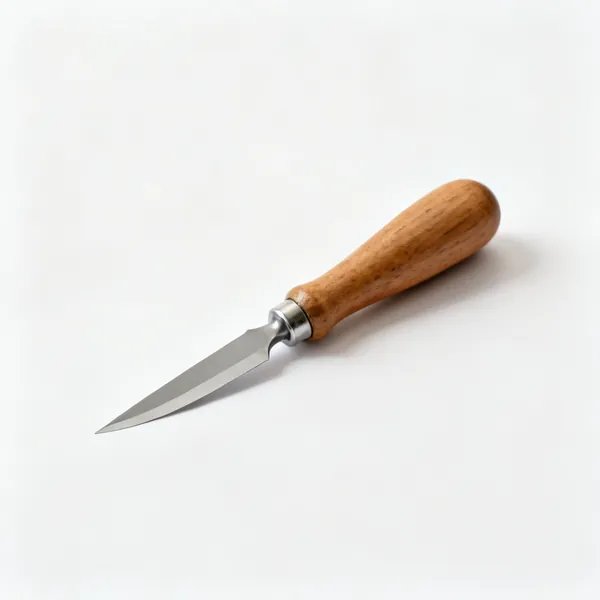
  • A marking knife with a single bevel blade and a wooden handleEssential

    Marking knife

    Severs the fibres instead of drawing on them, so a chisel or saw drops into the line. The difference between a joint that closes and one that nearly does.

  • A wooden marking gauge with a brass faced fence and a pinEssential

    Marking gauge

    A pin at a set distance from a fence, scribing a line parallel to an edge as often as you need. Joinery relies on that repeatability far more than on measurement.

  • A mortise gauge with two adjustable brass scribing pins

    Mortise gauge

    Two pins set to the width of your chisel, so it marks both walls of a mortise and the matching tenon from one setting. The joint is defined once.

  • A cutting gauge with a small knife blade and a fence

    Cutting gauge

    Like a marking gauge but with a small knife instead of a pin, so it scores cleanly across the grain where a pin would tear.

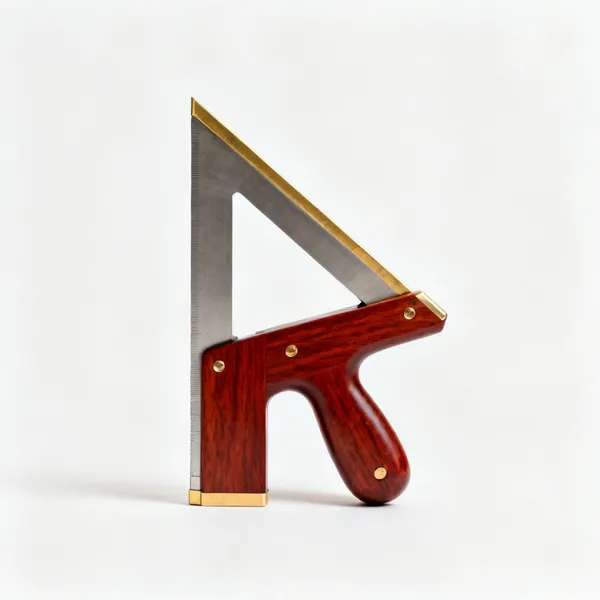
  • A try square with a rosewood stock and a brass edged steel bladeEssential

    Try square

    A fixed ninety degree reference. Rigid, simple and the tool you check the others against, which is why it should be the one you trust most.

  • A sliding bevel with a locking brass lever and wooden stock

    Sliding bevel

    Copies an angle from the work and transfers it without needing a number. Essential for dovetail slopes and any repair matching existing work.
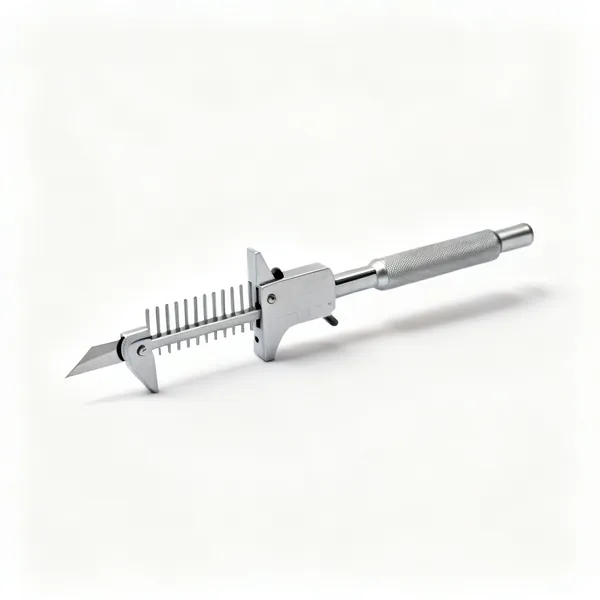
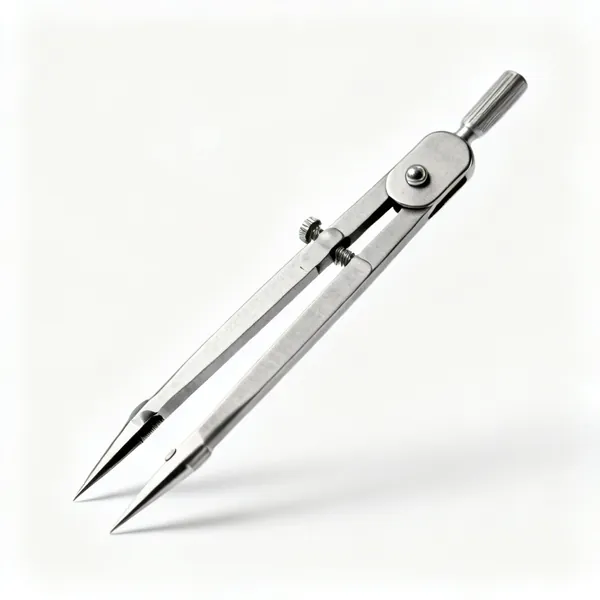
  • A pair of steel dividers with sharp points and an adjusting screw

    Dividers

    Steps off equal distances along a line and scribes arcs. How you divide a board into equal parts without arithmetic and without accumulating error.

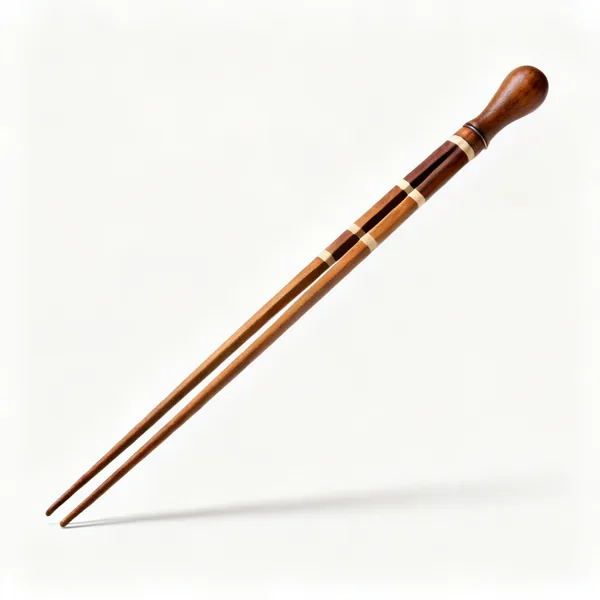
  • A pair of long wooden winding sticks with contrasting inlay

    Winding sticks

    Two straight sticks laid across a board at each end. Sighting along them exaggerates any twist so you can see it, which you cannot by eye alone.

Benches & workholding 6

You cannot cut accurately what moves. In hand tool work the bench is the most important tool in the shop, and most people underestimate it for years.

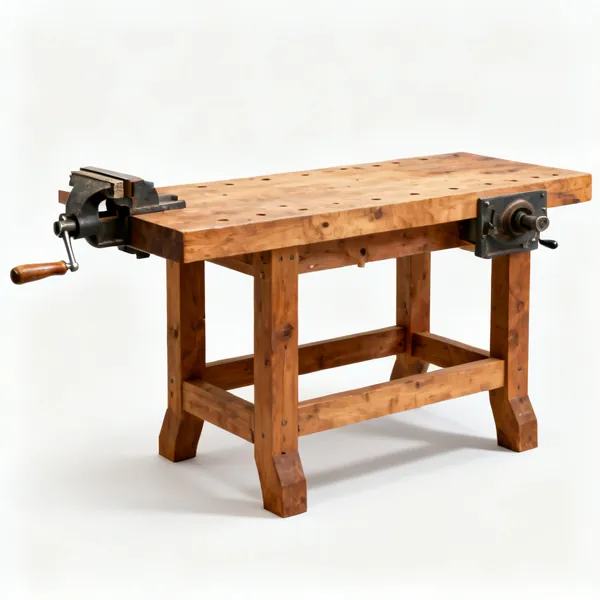
  • Workbench: A heavy wooden woodworking bench with a thick top and a viceEssential

    Workbench

    Heavy, flat and stiff enough not to shift when you plane against it. Mass matters more than features, and a solid bench improves every hand tool you own.

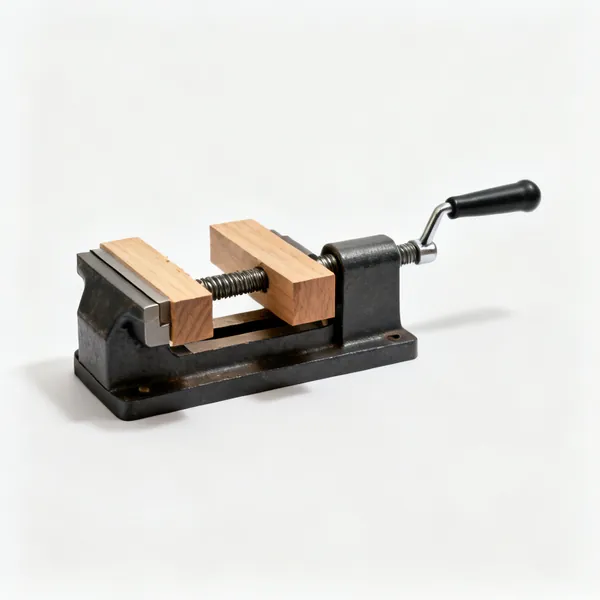
  • A woodworking bench vice with wooden jaw faces and a screw handleEssential

    Bench vice

    Holds work at the edge of the bench so both hands are free. Wooden jaw liners stop it marking the timber, which a bare metal vice will.

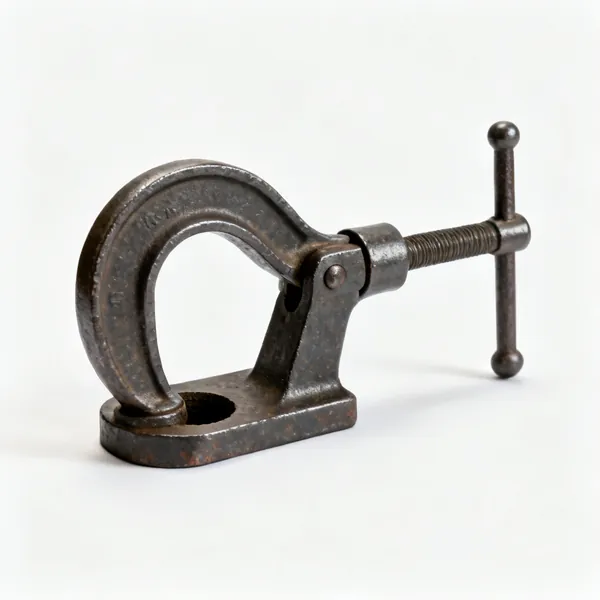
  • An iron holdfast clamp with a curved arm in a bench hole

    Holdfast

    An iron hook dropped into a hole in the bench and tapped to lock, clamping work to the top instantly. Faster than any clamp and it releases with a tap.

  • A pair of square wooden bench dogs in bench top holes

    Bench dogs

    Pegs in holes along the bench that work with a vice to trap a board flat on the top. How you plane a wide panel without it sliding away.

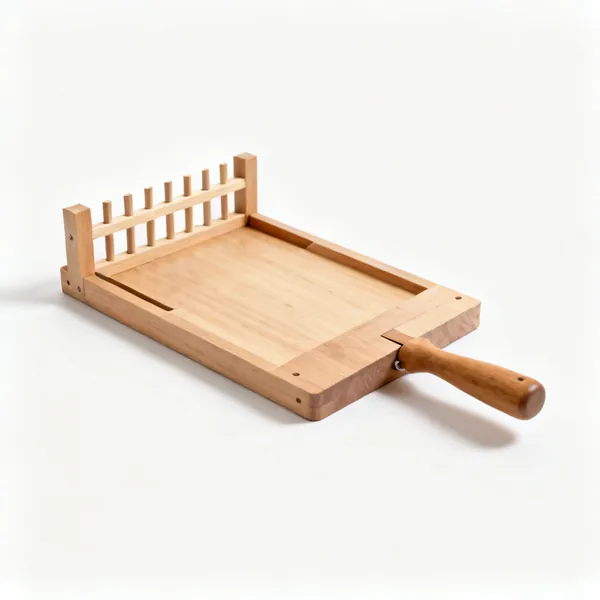
  • A wooden shooting board jig with a raised fence

    Shooting board

    A jig that guides a plane on its side to trim an end perfectly square. Usually shop made, and it makes accurate end grain trimming easy.

  • A wooden bench hook with a raised stop blockEssential

    Bench hook

    A block that hooks over the bench edge, giving the work something to push against while you saw. Cheap, often homemade, and it transforms hand sawing accuracy.

Clamps 7

Holding joints closed while glue cures. You will always want more than you own, and a glue up short of clamps is a glue up with an open joint in it.

  • A long sash clamp with a steel bar and an adjustable stopEssential

    Sash clamp

    A long bar clamp for pulling panels, frames and carcases together. Nothing shorter spans a table top, and you need them in pairs to keep things flat.

  • Parallel clamp: A parallel jaw clamp with large flat jaws and a long bar

    Parallel clamp

    Jaws that stay parallel under pressure, so they pull a joint square instead of racking it. Expensive, and they replace a lot of fiddling with cauls.

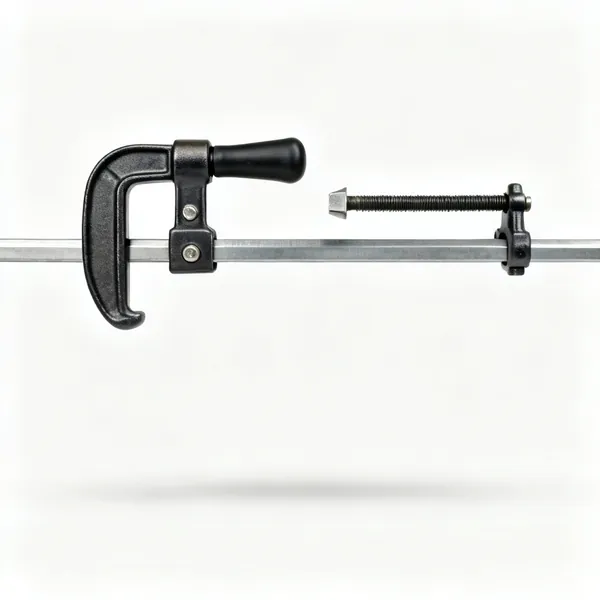
  • An F clamp with a sliding arm on a steel barEssential

    F clamp

    A sliding arm on a bar, opening much wider than a G clamp while still applying real pressure. The general purpose workshop clamp.

  • A G clamp with a screw thread and a swivel padEssential

    G clamp

    A screw in a rigid frame giving serious pressure in a small space. Slow to set and it holds harder than anything else its size.

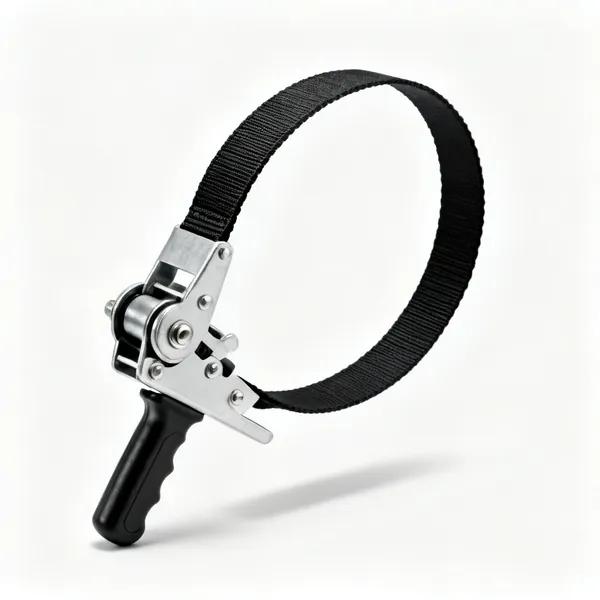
  • A band clamp with a nylon strap and a ratchet mechanism

    Band clamp

    A strap tensioned around an assembly, pulling all corners in at once. The practical way to clamp a frame or anything not rectangular.

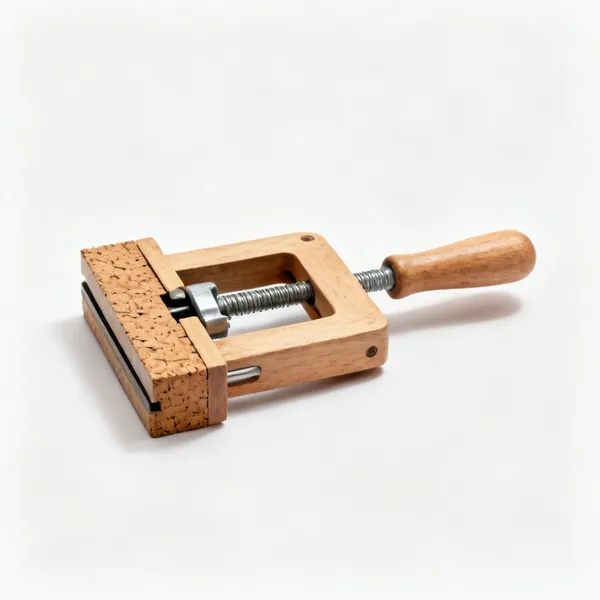
  • A wooden cam clamp with cork lined jaws

    Cam clamp

    Light wooden clamps closed by a cam lever, applying gentle even pressure. Used where a screw clamp would crush the work, as in instrument making.

  • A pair of wooden clamping cauls with a slight curve

    Clamping cauls

    Slightly curved battens laid across a panel so clamp pressure spreads towards the middle. The reason a glued panel comes out flat rather than bowed.

Workshop machines 8

Dimensioning timber accurately and repeatably. All of these need space around them and hearing protection, which in a small shop is the real constraint.

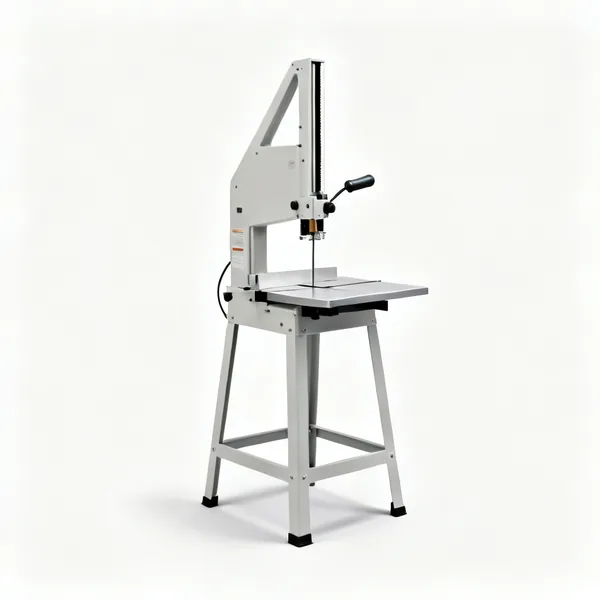
  • BandsawEssential

    Bandsaw

    A continuous blade through a table. Cuts curves, resaws boards to thickness and takes up little room. Safer and more useful than a table saw in a small shop.

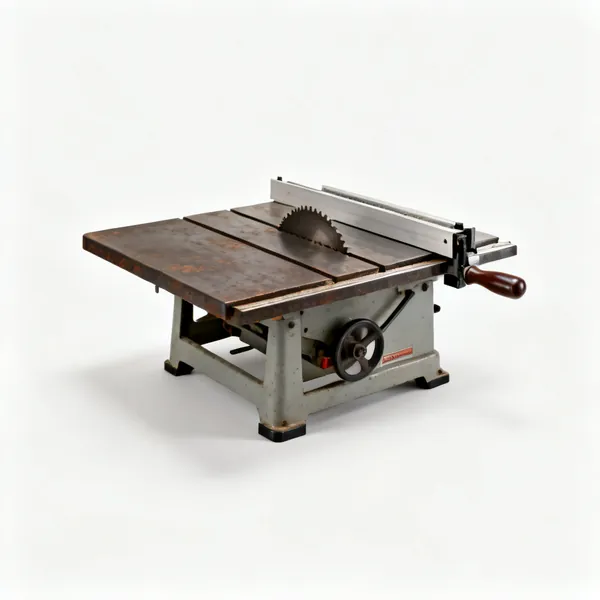
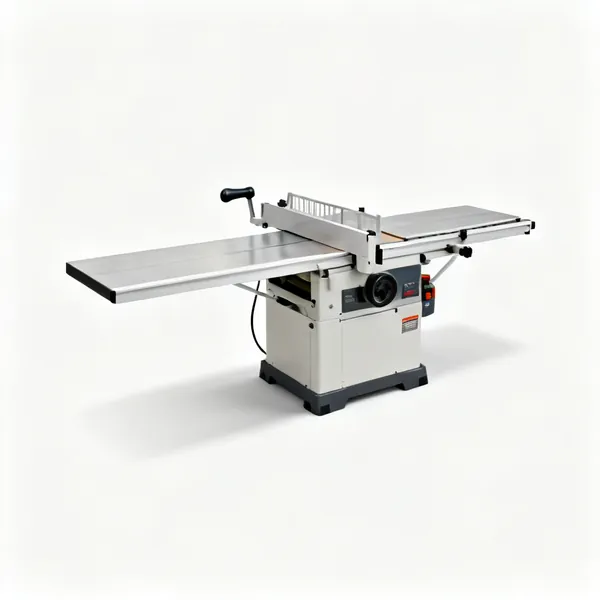
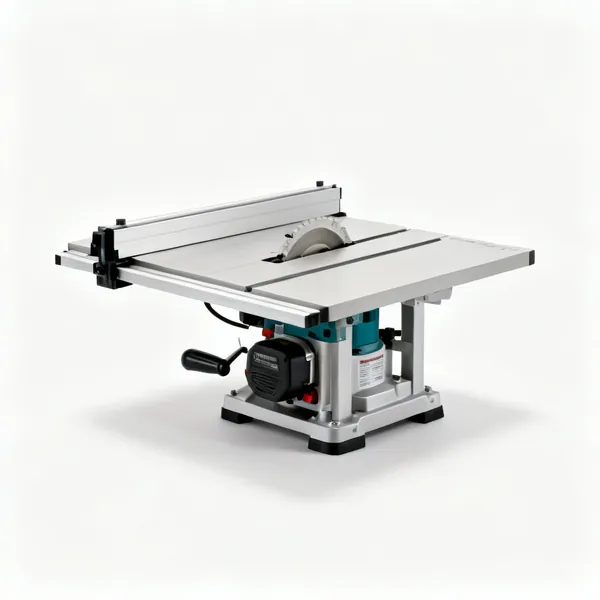
  • A table saw with a cast iron top, blade and rip fence

    Table saw

    A blade in a table with a fence, for ripping boards and sheets to a repeatable width. The most accurate rip cut and the machine that demands the most respect.

  • A surface planer jointer with a long infeed table and a fence

    Surface planer

    Flattens one face and squares one edge, giving the reference surface everything else is measured from. Rough sawn timber is unusable without this or a hand plane.

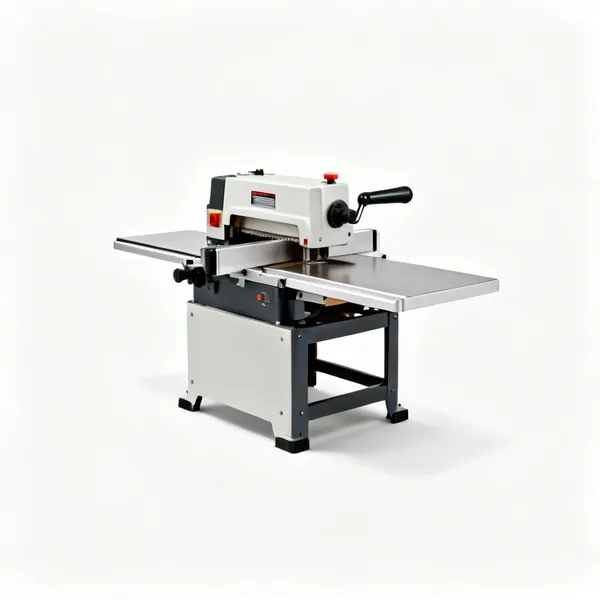
  • A benchtop thicknesser with an infeed table and cutter head

    Thicknesser

    Feeds a board past a cutter to bring it to an even thickness, parallel to the face the planer flattened. The order matters: flat first, then thickness.

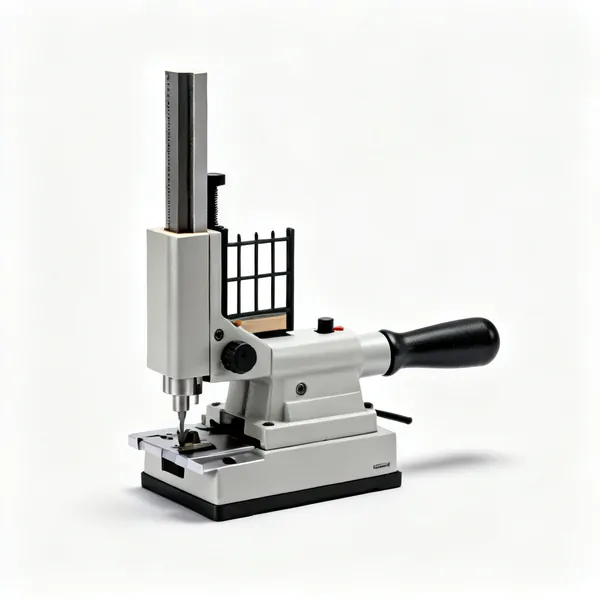
  • A benchtop mortiser with a long lever handle and a chisel bit

    Mortiser

    Drills a square hole using a chisel around a bit. Slow, single purpose and the tidiest way to cut mortises repeatedly without hand work.
  • A spindle moulder with a vertical cutter block and a fence

    Spindle moulder

    A vertical cutter in a table, shaping edges and cutting joints at a scale a router cannot. Powerful, unforgiving, and the machine to learn on with guards fitted.

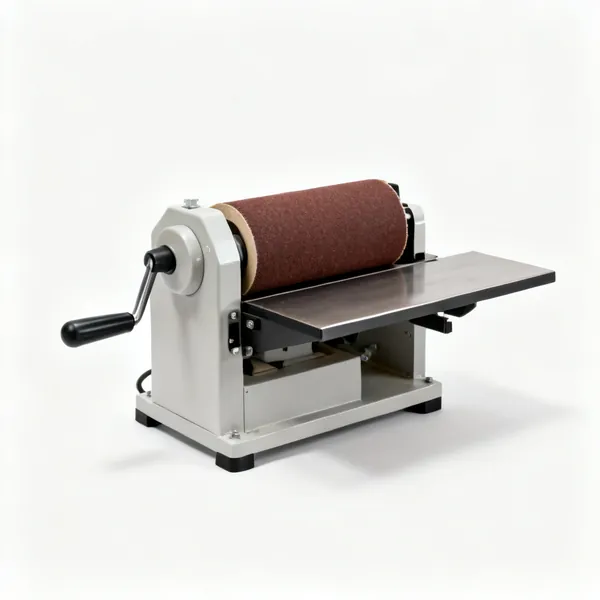
  • A benchtop drum sander with a wide abrasive drum and feed table

    Drum sander

    An abrasive drum over a feed bed, taking panels to a precise thickness without the tear out a thicknesser causes in figured timber.

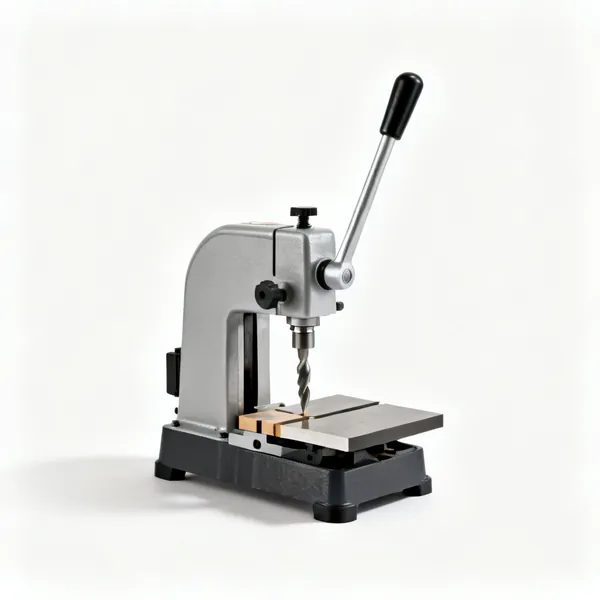
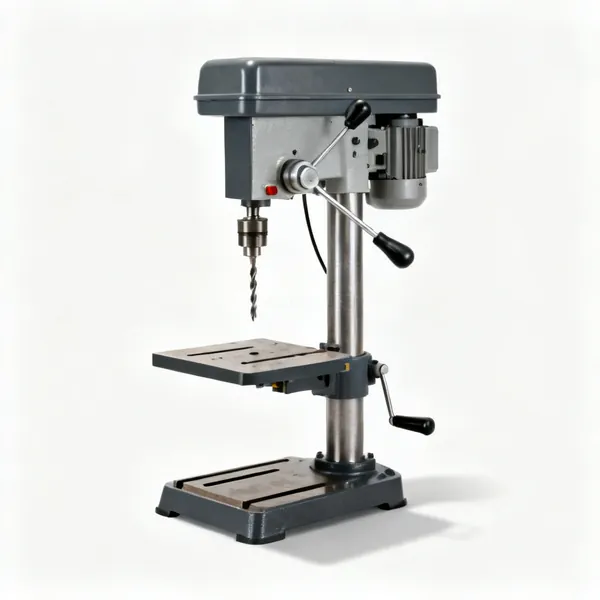
  • A benchtop pillar drill press with a column and table

    Pillar drill

    A drill on a column, so every hole is square and to a set depth. For dowel joints and hardware fitting, where a handheld drill will always wander slightly.

Routers & jigs 7

A spinning cutter guided by a fence, bearing or jig. More jobs run through a router than any other single machine here, which is why it is worth learning properly.

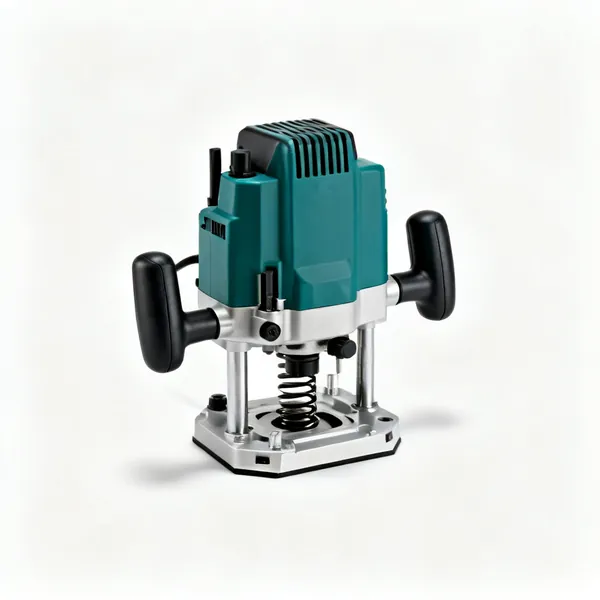
  • A plunge router with two handles and a spring loaded baseEssential

    Plunge router

    The base drops the spinning cutter into the work, so a groove can start and stop in the middle of a board. The more versatile of the two router types.

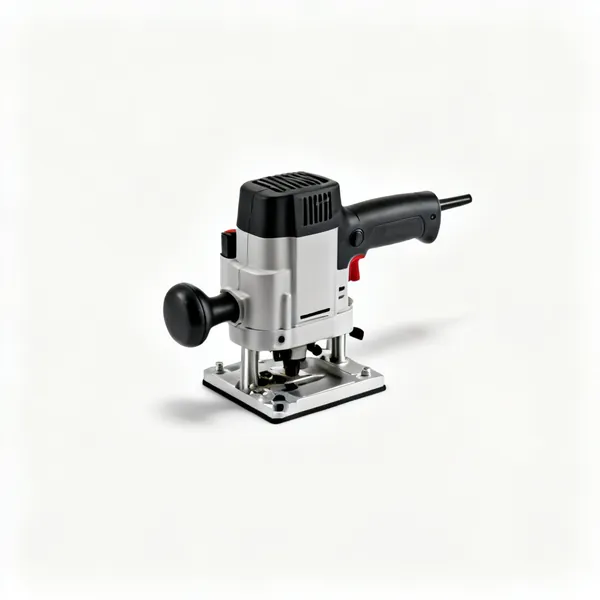
  • A compact one handed trim router with a small baseEssential

    Trim router

    Small and one handed, for rounding edges, trimming veneer and small recesses. Light enough to control precisely, which is why it gets used more than the big one.

  • A router table with a flat top, fence and a router mounted beneath

    Router table

    The router mounted upside down under a table with a fence, so you move the work rather than the machine. Safer and far more accurate for edge work.
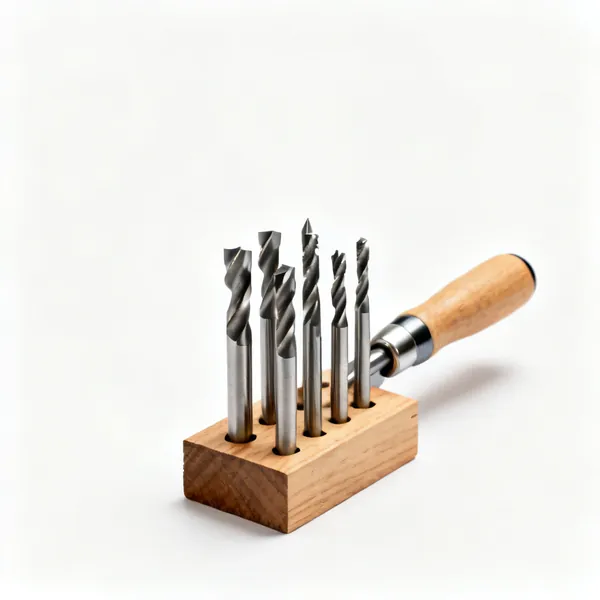
  • A set of router bits with carbide tips in a wooden standEssential

    Router bits

    The cutters that decide what the router does: straight, rounding, rebate, dovetail and dozens more. Carbide tipped lasts far longer than plain steel.
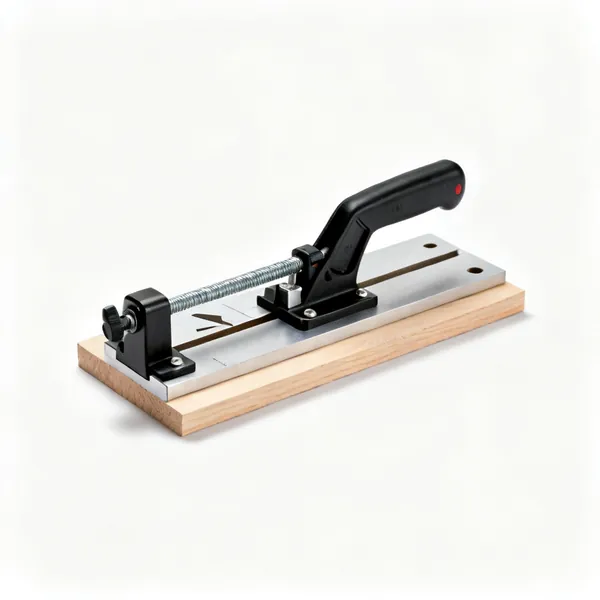
  • A dovetail jig template clamped to a board

    Dovetail jig

    A template that guides a router to cut matching dovetails. Repeatable and fast, at the cost of the slightly hand cut look people often want instead.

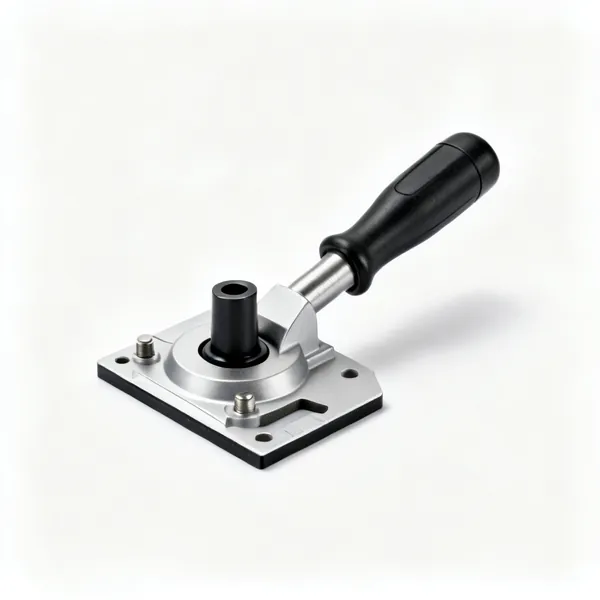
  • Template guides: A set of router template guide bushings

    Template guides

    Bushings that let the router follow a pattern exactly, so one template makes many identical parts. How production work is done without measuring each piece.

  • A biscuit joiner with a fence and a circular blade

    Biscuit joiner

    Cuts matching slots for flat oval biscuits that align two pieces. Its real job is keeping panels level while glue dries rather than adding strength.

Turning 7

Spinning the work and cutting it round. Nothing else on this page makes a symmetrical curved shape at all, which is why turners tend to own a lathe and little else.

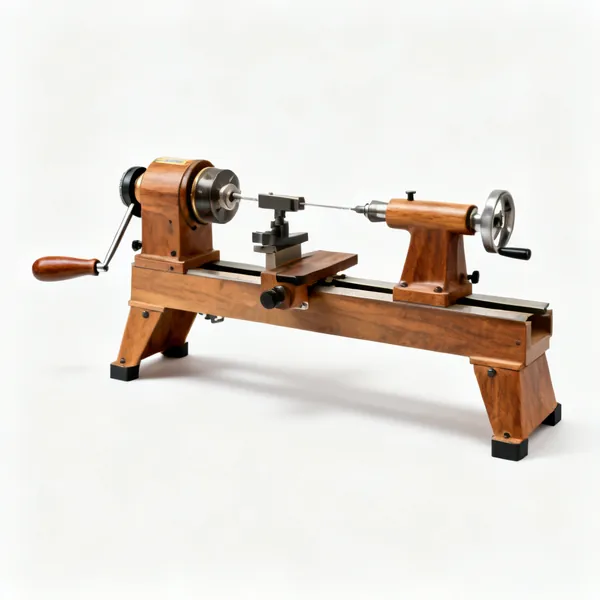
  • A wood lathe with a headstock, tailstock and tool rest

    Wood lathe

    Holds timber between centres or on a chuck and spins it while you cut with hand tools. Legs, bowls, handles and spindles all come off one machine.

  • A spindle roughing gouge with a deep flute and long handle

    Roughing gouge

    A deep fluted gouge that takes a square blank down to a cylinder quickly. The first tool onto the wood, and for spindle work only.

  • A bowl gouge with a swept back grind and a long handle

    Bowl gouge

    A stout gouge ground back at the wings, for hollowing the inside of a bowl where the cut is unsupported and the tool needs the extra strength.

  • A narrow parting tool with a diamond section blade

    Parting tool

    A narrow blade that cuts straight in to separate the work from the waste, and to size a diameter accurately as you go.

  • Skew chisel (turning)

    Skew chisel (turning)

    A flat angled blade that slices rather than scrapes, leaving a surface off the tool that needs almost no sanding. The hardest turning tool to learn.

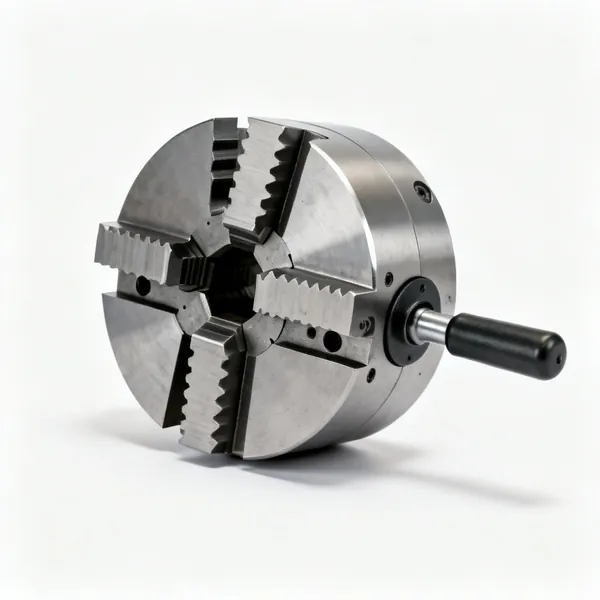
  • A four jaw lathe chuck with dovetail jaws

    Lathe chuck

    Grips the work from one end so the other is free to be hollowed. What makes bowl and box turning possible rather than just spindles.

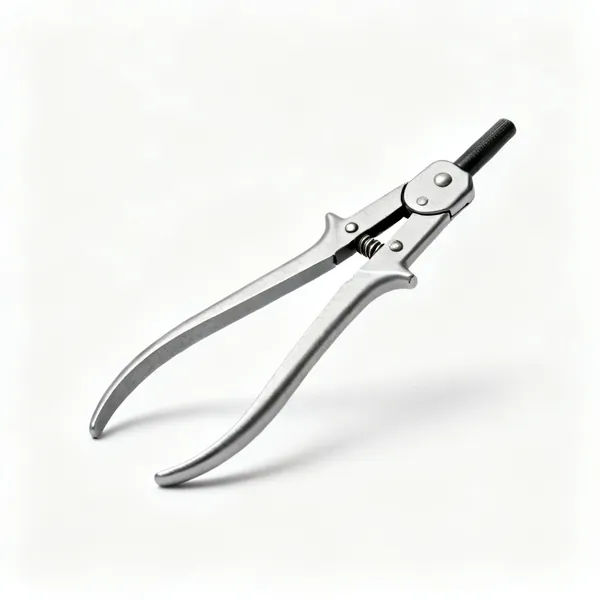
  • Turning calipers: A pair of sprung outside calipers with curved legs

    Turning calipers

    Sprung outside calipers set to a diameter and offered to the spinning work until it just passes. How you match a diameter without stopping the lathe.

Scrapers, abrasives & finishing 7

The last few thousandths, and what goes on afterwards. A cut surface and a sanded one reflect light differently, which is why scrapers survive in an age of power sanders.

  • A rectangular steel card scraper plateEssential

    Card scraper

    A flat steel plate with a burnished hook that takes shavings finer than any abrasive, with no dust and no swirl marks. Excels on figured timber a plane would tear.

  • A steel burnisher rod with a wooden handle

    Burnisher

    A hardened rod that rolls a fine hook onto the edge of a scraper. Without it a scraper is just a flat plate, and the hook is the entire tool.

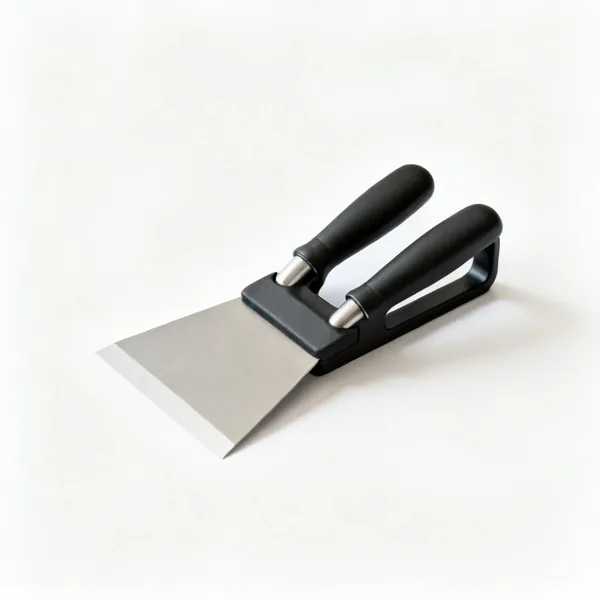
  • A cabinet scraper holder with two handles and a blade

    Cabinet scraper

    A card scraper held in a body with a sole, so the depth of cut is consistent and your thumbs stop getting hot. Easier to control over a large surface.

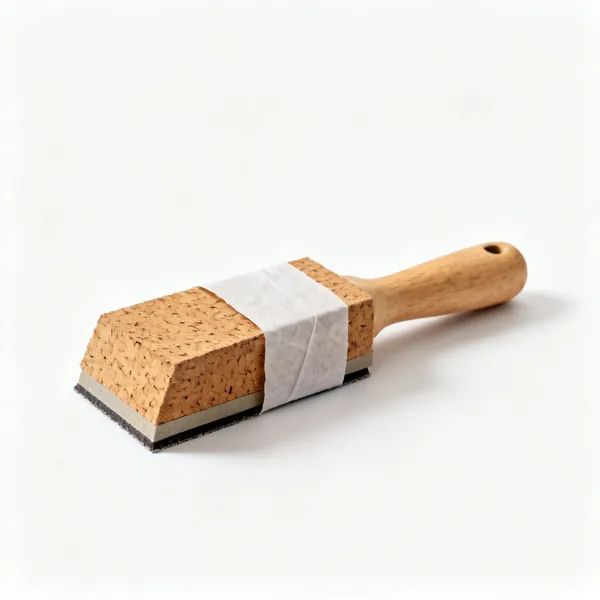
  • A cork sanding block with abrasive paper wrapped around itEssential

    Sanding block

    Backs the abrasive with something flat, so you sand the surface rather than rounding every edge and dishing every hollow. Cork or hard rubber.

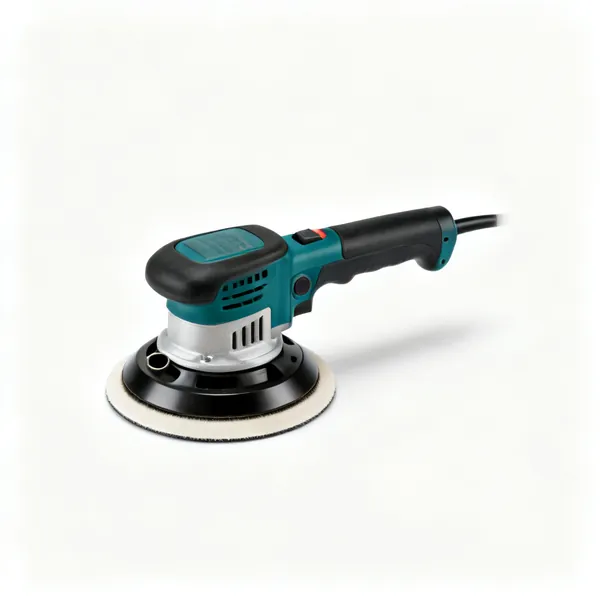
  • A random orbit sander with a round pad and dust portEssential

    Random orbit sander

    Spins and wobbles at once so it leaves no repeating scratch pattern. The power sander to own, and it should always be on extraction.

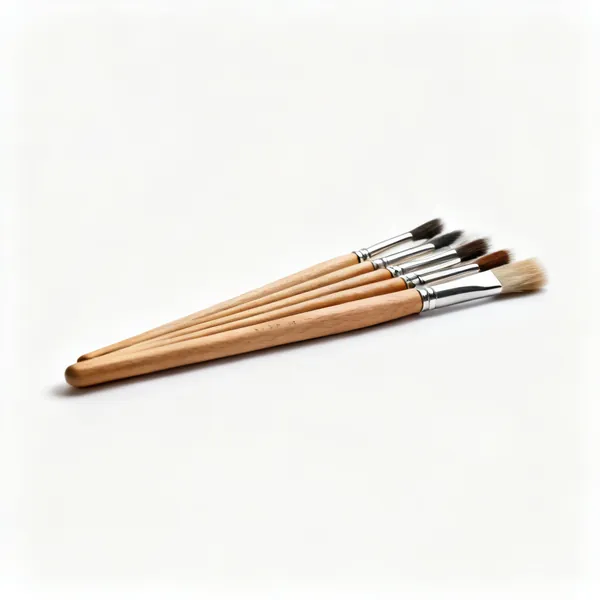
  • A set of fine finishing brushes with wooden handles

    Finishing brushes

    Natural bristle for oil based finishes, synthetic for water based. Using the wrong one leaves streaks and sheds hairs into the surface you just prepared.

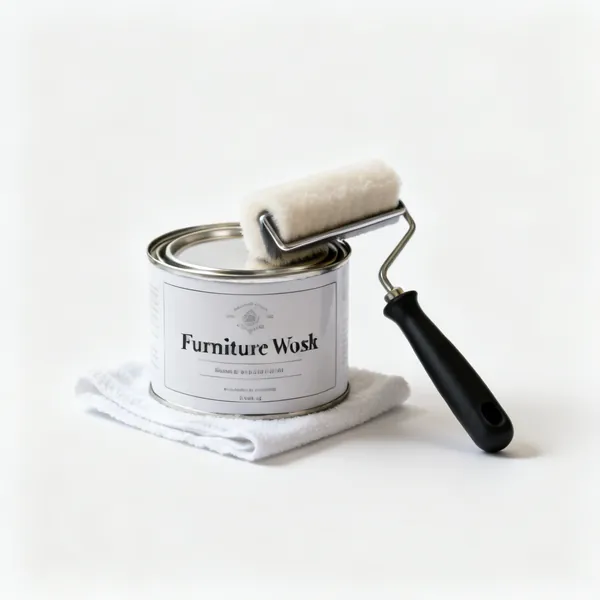
  • Wax and polish: A tin of furniture wax polish with a soft cloth

    Wax and polish

    The final layer, giving sheen and a little protection over an oil or shellac base. Wax alone offers almost no protection, which is a common misunderstanding.

Dust extraction & safety 6

Fine wood dust is a respiratory sensitiser and hardwood dust is worse. In a small enclosed workshop this group is not optional equipment.

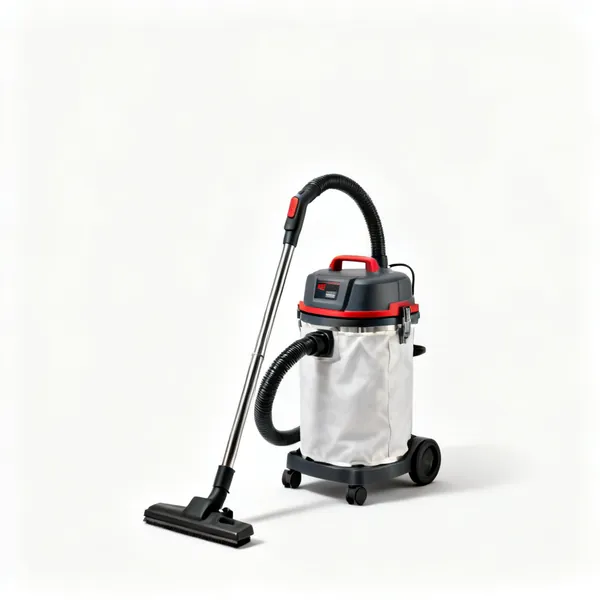
  • A workshop dust extractor with a collection bag and hoseEssential

    Dust extractor

    High volume extraction at the machine, capturing chips and fine dust at the source before it fills the room. Far more effective than cleaning up afterwards.

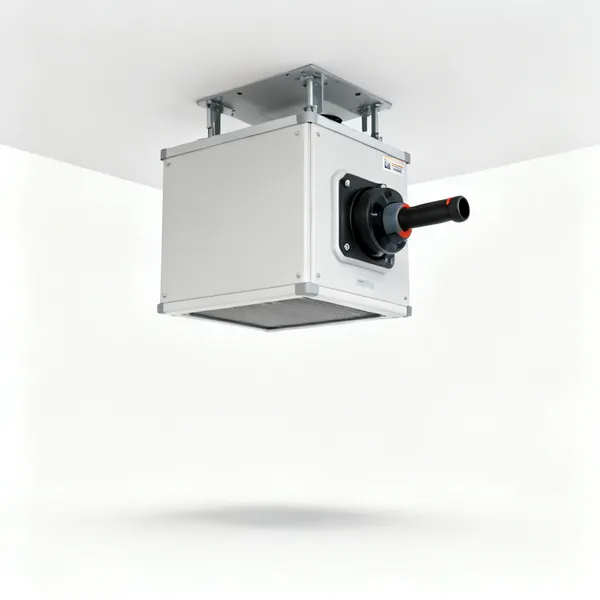
  • Air filter: A ceiling mounted workshop air filtration unit

    Air filter

    A ceiling unit that recirculates and filters the fine dust extraction misses, which is the fraction small enough to stay airborne for hours.

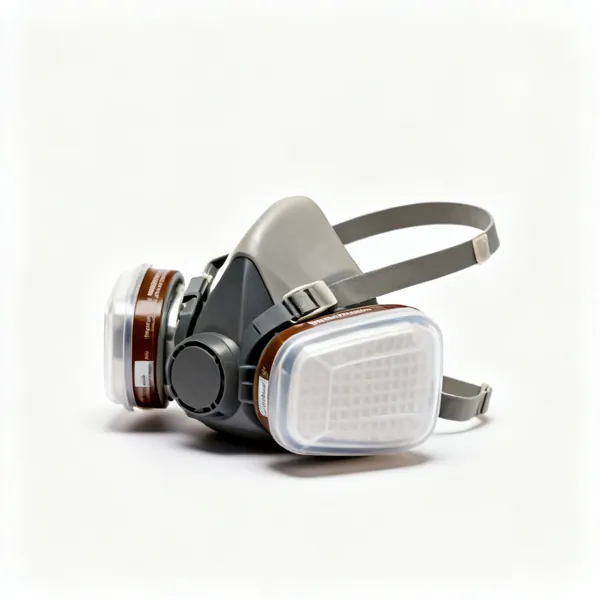
  • A half face respirator with twin filter cartridgesEssential

    Respirator

    A rated mask, not a paper one. Fine wood dust sensitises over years of exposure, and once you react to a species you react to it permanently.

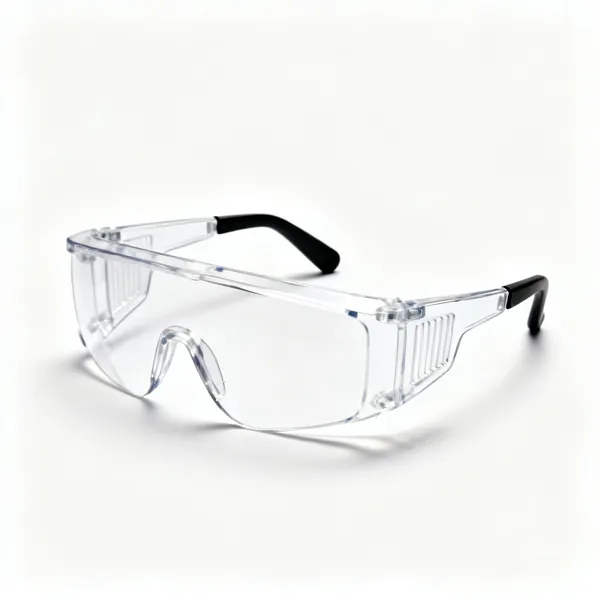
  • A pair of clear safety glasses with side shieldsEssential

    Safety glasses

    Worn every time anything spins. A chip off a router bit or a lathe travels faster than you can blink, and eyes do not repair.

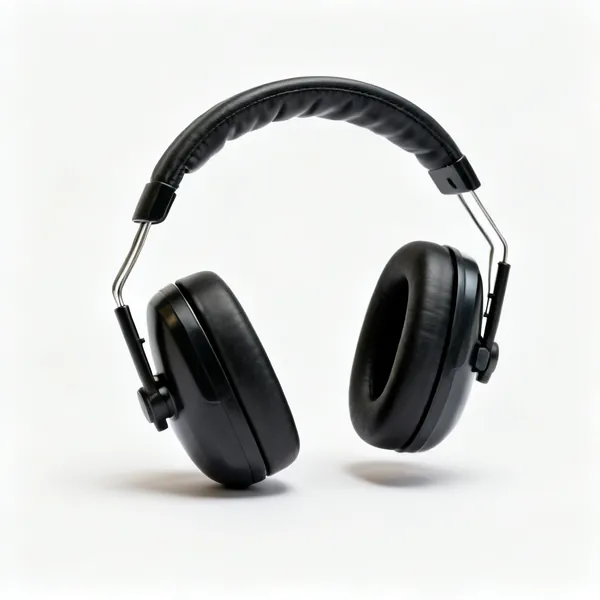
  • A pair of over ear protective ear defendersEssential

    Ear defenders

    Planers, routers and saws are all loud enough to cause permanent cumulative damage. It does not announce itself, which is why people notice decades later.

  • A wooden push stick with a notched endEssential

    Push stick

    Keeps your hands away from a blade on a table saw or spindle moulder while still feeding the work. The cheapest item here and the one that saves fingers.

Choosing woodworking tools

The list above is what exists. This is the order to buy in, and the one skill that makes cheap tools work and expensive ones worthwhile.

Sharpening is the skill, not the tools

Nothing else in woodworking matters as much. A cheap chisel that is genuinely sharp will outperform an expensive one that is not, and every complaint about hand tools being hard work is really a complaint about a dull edge. Planes tear instead of slicing, chisels crush fibres instead of cutting them, and saws wander.

It is also the reason beginners give up. They buy a plane, it does not work, and they conclude hand tools are for other people. The plane was fine. So if you buy one hand tool, buy a stone at the same time and spend the first evening learning to use it rather than trying to make something.

One stone and a guide is enough to start
A combination waterstone or a diamond plate, plus a cheap honing guide to hold the angle. That will keep chisels and plane irons sharper than most workshops manage.
Sharpen before you think you need to
Thirty seconds every few cuts, rather than a grinding session once the edge is wrecked. You will also work more safely, because a sharp edge goes where you point it.
Learn to feel the burr
Run a thumb across the back of the edge. When you can feel a fine wire edge along its whole length, the bevel is done and you only need to remove it.
Flatten the back once, properly
A new chisel or plane iron usually has a slightly hollow back. Flatten the first inch of it once and you never need to again.

Hand tools or machines?

This is treated as a philosophical question and it is really a practical one. Machines are better at removing a lot of material to a repeatable dimension. Hand tools are better at the last fraction of a millimetre and at anything a machine cannot be set up for.

Most working shops use both, and the split falls in a predictable place: machines take a board from rough to square and to size, hand tools fit the joint and prepare the surface. Trying to do all of it either way is possible and slower.

Machines for dimensioning
Ripping to width, planing to thickness, cutting to length. Repetitive, dimensional work where accuracy comes from a fence rather than from your hands.
Hand tools for fitting
Paring a tenon to fit, trimming a proud edge, easing a drawer. Removing a shaving is a hand tool job because you can stop at exactly the right point.
Hand tools for the surface
A planed or scraped surface reflects light in a way a sanded one does not, because sanding tears the fibres rather than cutting them.
Space and noise decide more than purity
A table saw needs room around it and hearing protection. A hand plane needs a bench. In a shared garage or a flat, that is the actual constraint.

Wood moves, and it will beat you if you ignore it

Timber takes up and gives off moisture with the seasons, and it changes size across the grain while barely changing along it. That single fact explains most furniture that has cracked, warped, or jammed shut in winter. No tool on this page prevents it.

What you do about it is design for it, and let boards acclimatise in the room they will live in before you cut joints. A moisture meter is the cheapest tool here and the one that saves the most work.

Let timber settle before you work it
A week or two indoors, stacked with air around it. Machining a wet board square guarantees it will not be square later.
Never fix a wide panel rigidly at both ends
It has to be free to expand across its width. Buttons, slotted screw holes or a floating panel in a frame are the standard answers.
Watch the grain direction when planing
Planing against the grain tears it out. If a surface starts to look furry, turn the board round and go the other way.
Match the movement of joined pieces
Gluing a board across the grain of another is how tops split. The joint will win and the wood will crack.

What to buy first, in order

Stage one: a bench and an edge
A solid bench with a vice, a sharpening stone and honing guide, four bench chisels, a block plane, a marking knife and a combination square. A tenon saw and a dovetail saw. You can build real furniture with only this, slowly.
Stage two: the machines that save the most time
A bandsaw before a table saw, because it is safer, needs less room and resaws. A random orbit sander. A plunge router, which does more jobs than any other single machine here. Clamps, and then more clamps.
Stage three: dimensioning and specialising
A planer thicknesser once buying rough sawn timber makes sense. A table saw if you work in sheet goods. A lathe if turning appeals, since nothing else does that job. A mortiser or a domino only if you are making the same joint repeatedly.

Mistakes that cost money

Buying a plane before a stone
The plane will not work, and you will blame the plane. This is the single most common way people decide hand tools are not for them.
A table saw before a bandsaw
A table saw is the most dangerous machine in a home workshop and needs space on all four sides. A bandsaw does more of a beginner's work in less room.
Not enough clamps
You will never regret more clamps. A glue up that needs six and has four is a glue up with an open joint in it.
Sanding instead of sharpening
Reaching for abrasive to fix tear out that a sharp plane would not have caused. It works, it takes far longer, and it rounds the crisp edges you wanted.
Ignoring dust
Fine wood dust is a sensitiser and hardwood dust is worse. Extraction and a proper respirator are not optional in a small enclosed workshop.
Buying a set of forty chisels
You will use four. A set is priced on count, and the four you use will be worse than four bought individually.

Keeping edges and machines true

Wax or oil bare cast iron
Plane soles and machine tables rust in a day in a damp garage, and rust on a sole drags. A wipe of wax is enough.
Store chisels so nothing touches the edge
A roll or a rack. Loose in a drawer, they chip each other and every chip is ten minutes of sharpening.
Check machine fences against a known square
A fence that has drifted makes every cut wrong the same way, which is the hardest error to spot in finished work.
Keep one reference straight edge
Without something known to be true, you cannot tell which of two disagreeing tools is the liar.
Change abrasives and blades early
Blunt abrasive burnishes rather than cuts, and a blunt blade burns the timber and loads the motor. Both are false economies.
Let steel come up to room temperature
A plane brought in from a cold van and used straight away sweats, and that moisture stays on the sole until it rusts.

Frequently asked questions

What is the difference between woodworking and carpentry tools?
Woodworking is workshop work where the finish and the joints show, so the tools lean towards planes, chisels, saws for joinery and machines that dimension timber accurately. Carpentry is structural and site work, so it leans towards power saws, nailers, levels and layout tools. There is overlap, but the emphasis is different.
What woodworking tools should a beginner buy first?
A bench with a vice, a sharpening stone and guide, four bench chisels, a block plane, a marking knife, a combination square, and a tenon and dovetail saw. That is enough to build real furniture. Add a bandsaw and a router before any other machine.
Do I need to learn sharpening?
Yes, and before anything else. A dull chisel or plane does not work properly at any price, and nearly every complaint about hand tools being hard is a complaint about a blunt edge. Buy a stone with your first hand tool.
Should I buy a table saw or a bandsaw first?
A bandsaw, in most home workshops. It needs far less space around it, it is much safer, and it resaws boards to thickness, which a table saw cannot. A table saw becomes worth it when you work in sheet goods regularly.
What is the difference between a jointer and a thicknesser?
A jointer, or surface planer, flattens one face and squares one edge. A thicknesser then takes the board to a consistent thickness parallel to that flat face. You need the flat reference first, which is why the order matters.
Why does my plane tear the wood instead of cutting it?
Usually a dull iron, or planing against the grain. Sharpen, then try planing the other direction along the board. If it still tears, close up the mouth or take a finer shaving, since tear out gets worse with depth of cut.
How many clamps do I need?
More than you have. Every glue up wants clamps roughly every 150 to 200mm along the joint, which adds up fast on a panel. Buy them in pairs and expect to keep buying them for years.
What is a cabinet scraper for?
Taking a very fine shaving off a surface, finer than sandpaper and without the dust or the swirl marks. It excels on figured timber where a plane would tear out, and it leaves a surface that reflects light rather than scattering it.
Is a router or a table saw more useful?
A router, for most people. It cuts grooves, shapes edges, trims, makes joints with a jig and works on pieces too small or awkward for a saw. A table saw is faster at ripping and does little else.
What wood moisture content should I work to?
Whatever matches where the piece will live, typically eight to twelve percent indoors. The number matters less than letting the timber sit in that room for a week or two first, because it will move to match it whether you allow for it or not.
Do I need dust extraction in a small workshop?
Yes, and more so in a small one, since the dust has nowhere to go. Fine wood dust is a respiratory sensitiser and hardwood dust is classed as more harmful. Extraction at the tool plus a rated respirator is the minimum.
Are Japanese saws better than Western ones?
Different, not better. Japanese saws cut on the pull stroke, so the blade can be thinner and the cut finer, and they are easier to start accurately. Western saws cut on the push, are stiffer and take more force but handle rougher work.