Disclosure

Tools for pyrography

Pyrography is tone control. The mark you get is temperature multiplied by how long the tip stays in one place, and everything in a good burner exists to make that repeatable. All 34 tools here are grouped by the two machine types, the tips, the surfaces, and extraction, which is not optional given that the process is deliberately producing smoke.

16 are marked essential: a controllable heat source, a few nibs, and air that moves.

Part of the full woodworking tools list, 87 tools in 12 groups.

Burners 7

The heat source, and how quickly it responds is what decides what marks are possible.

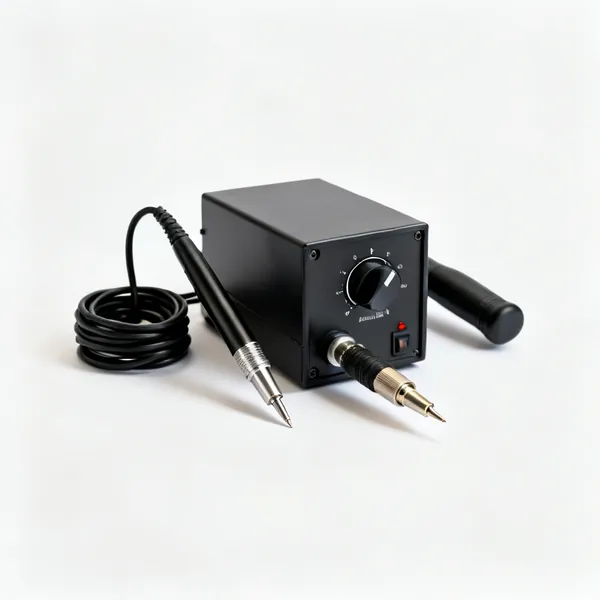
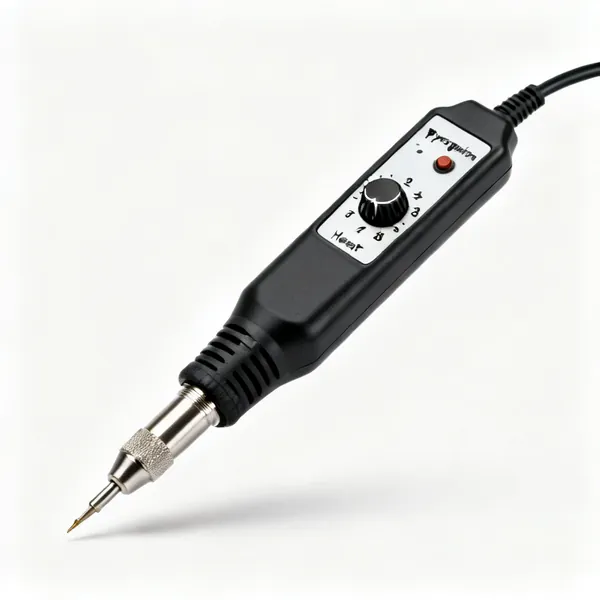
  • A pyrography wire nib machine control box with a heat dial, its pen resting against it and the cord coiled compactly, centred with clear space at every edgeEssential

    Wire nib machine

    A control box with a dial and a pen holding a nichrome wire nib. Heats and cools in about a second, which is what makes controlled shading achievable.

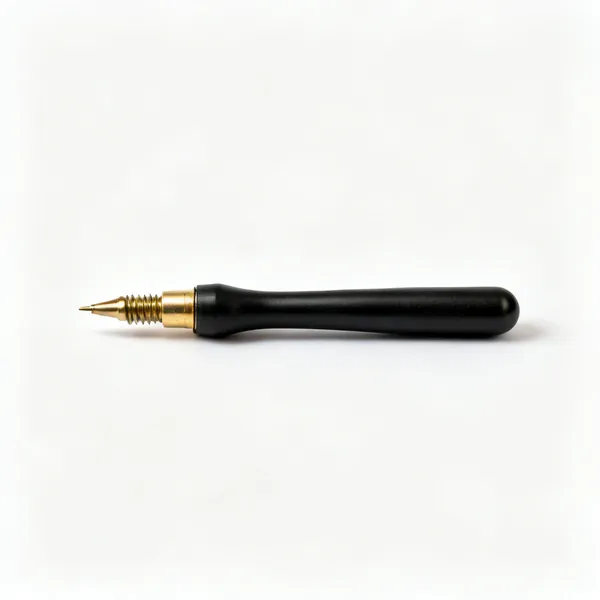
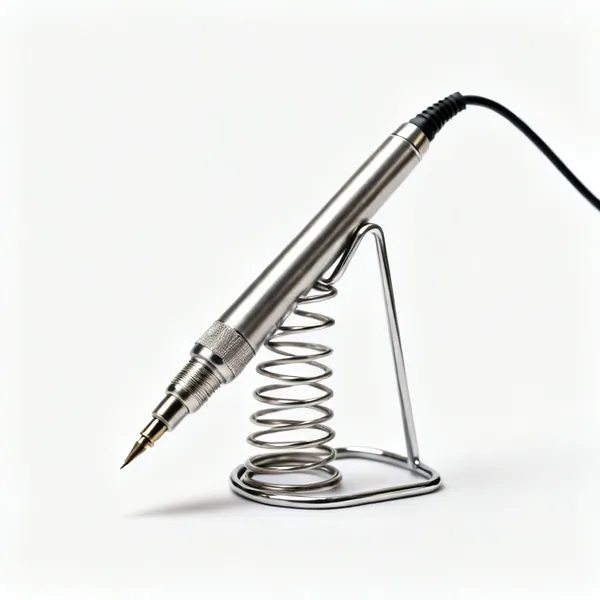
  • Solid tip burner: A solid tip pyrography wood burning pen with a screw in brass tip

    Solid tip burner

    A heated brass point in a pen, like a soldering iron. Slow to change temperature, cheap, and it teaches tone control through hand speed alone.

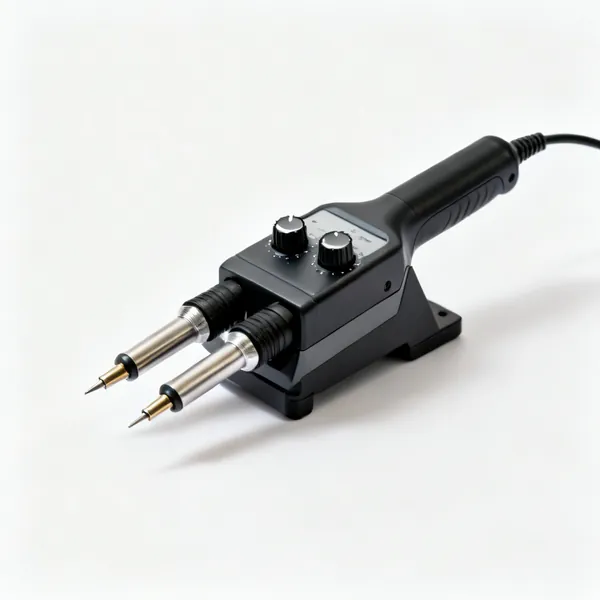
  • Dual pen machine: A dual port pyrography machine with two pens and two control dials

    Dual pen machine

    Two pen sockets with separate settings, so a shader stays hot while a detail nib runs cooler. It removes the constant swapping mid piece.

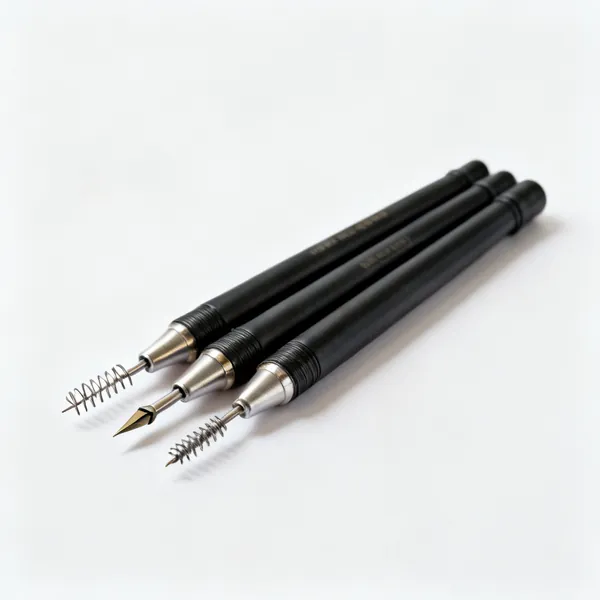
  • Interchangeable pens: Three pyrography pens with different wire nibs fitted, laid side by sideEssential

    Interchangeable pens

    Spare pens each fitted with a nib, so changing shape is a plug swap rather than unscrewing something at 700 degrees with pliers.

  • A metal pyrography pen rest stand with a coiled cradleEssential

    Pen rest

    A stand that keeps a hot nib off the bench and off its own cable. The cheapest item here and the reason a workbench does not get scorched.

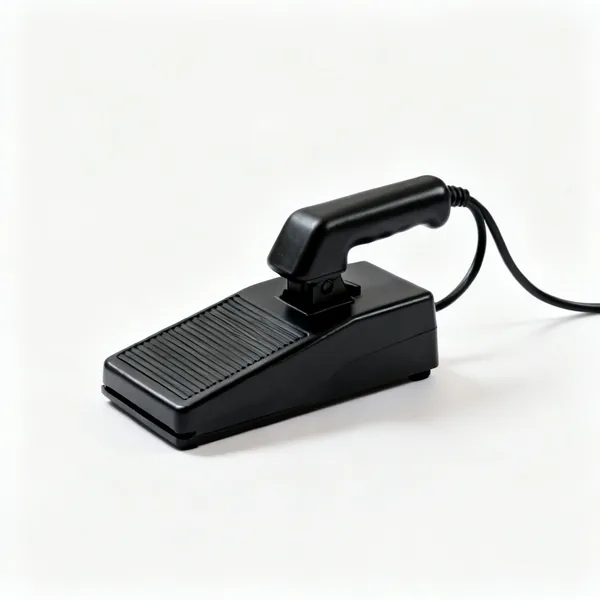
  • Foot switch: A black electrical foot pedal switch with a cable

    Foot switch

    Turns the heat on and off with a foot, so the nib is only hot while working. Useful for long sessions with frequent pauses to reposition the work.

  • Variable controlEssential

    Variable control

    The dial itself. A burner without a temperature control is a burner with one tone, and there is no working around that with technique.

Nibs and tips 10

The mark shape. Four or five cover almost everything and each does one thing well.

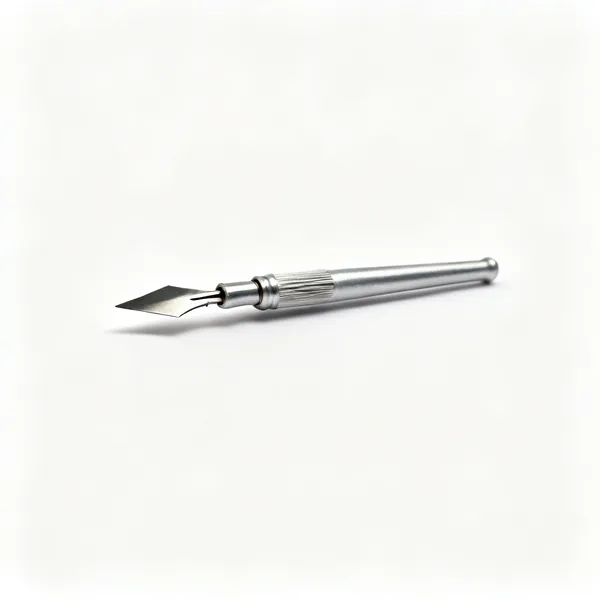
  • Shader nib: A pyrography wire shading nib with a broad flat spoon shapeEssential

    Shader nib

    A broad flat or spoon shaped wire for filling tone smoothly. The nib that makes a burn look like a drawing rather than a set of lines.

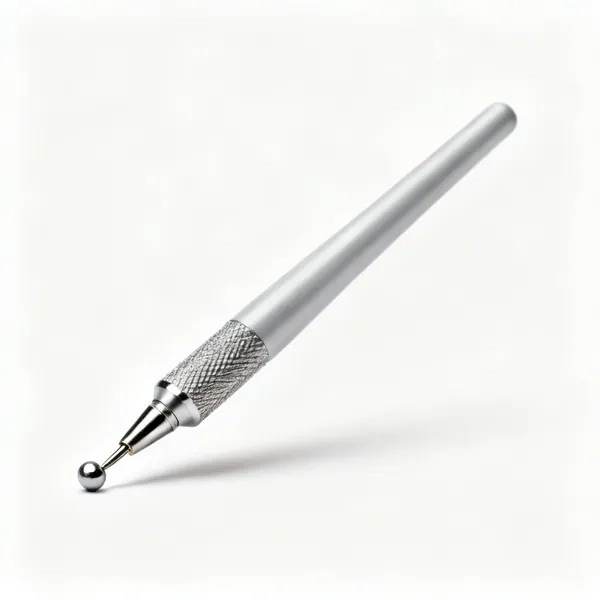
  • A pyrography wire writer nib with a small rounded ball tipEssential

    Writer nib

    A rounded ball tip that draws in any direction without catching on grain. For lettering, outlines and anything that changes direction constantly.

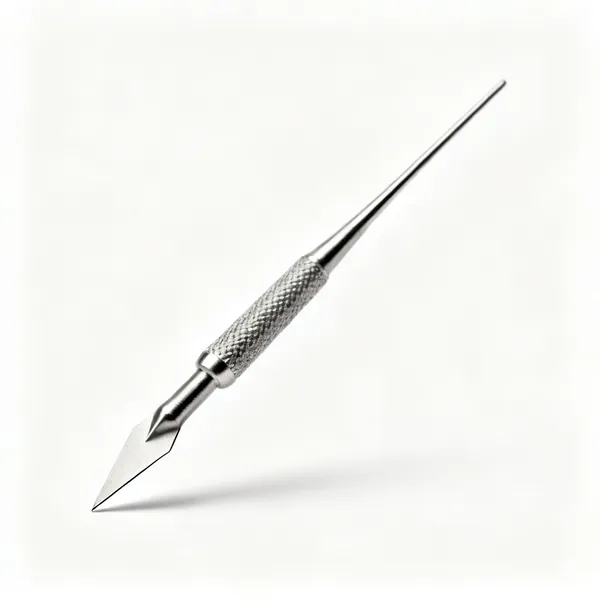
  • Skew nib

    Skew nib

    An angled knife edge that cuts a crisp fine line. What produces a sharp boundary between two tones rather than a soft one.

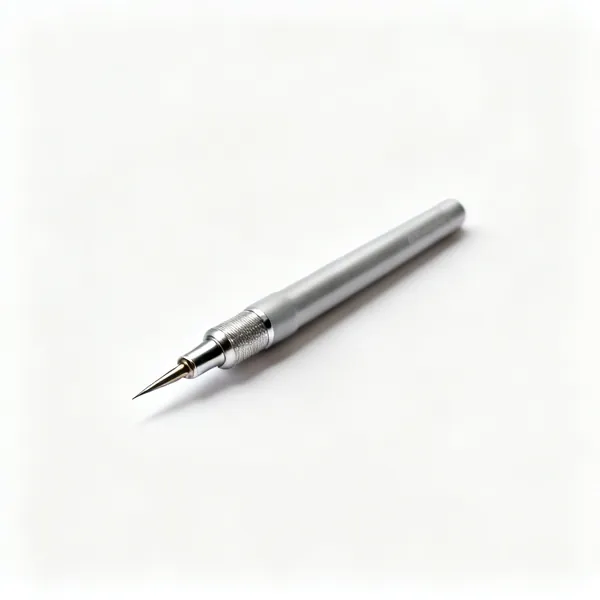
  • Fine detail nib: A pyrography wire detail nib with a very fine sharp pointEssential

    Fine detail nib

    A sharp point for fur, feather, hair and texture. Draws by repeated short strokes rather than continuous lines, which is how texture reads.

  • A pyrography wire calligraphy nib with a broad chisel edge

    Calligraphy nib

    A chisel edge giving a thick and thin stroke depending on direction, exactly like a broad nib pen. For lettering that has weight variation.

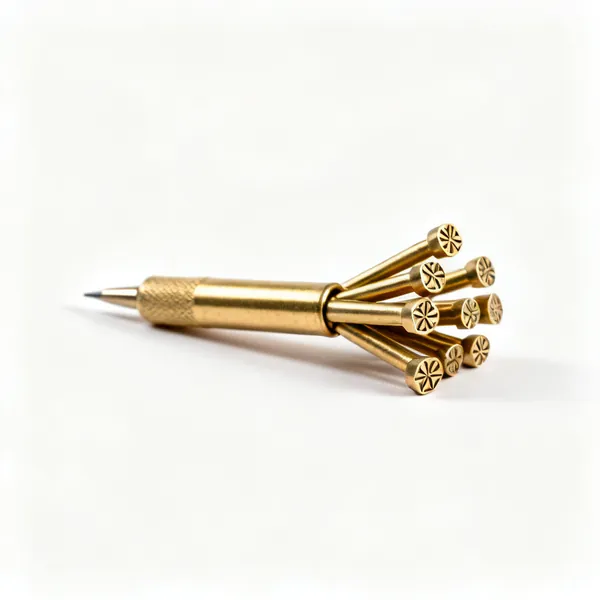
  • A set of small brass pyrography stamping tips with patterned faces

    Stamping tips

    Solid brass shapes pressed briefly to leave a repeated mark: scales, leaves, borders. Fast for pattern work and completely uniform.

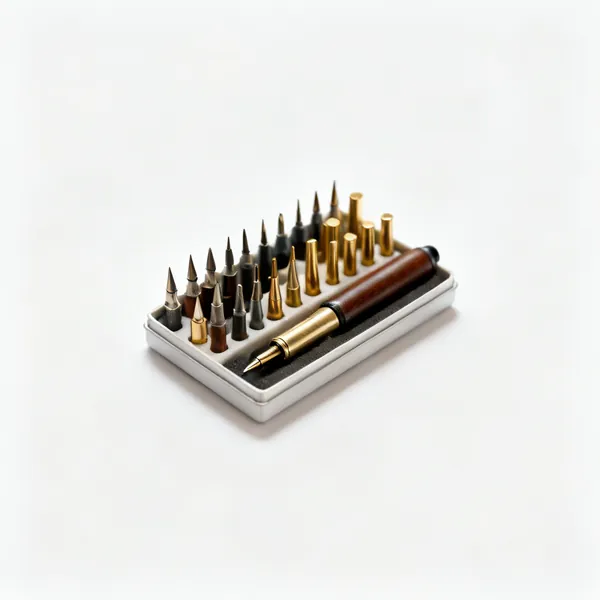
  • Nib set: An assortment of pyrography nibs and brass tips in a small case

    Nib set

    An assortment, of which four or five see real use. Buying a large set is cheaper than choosing individually and most of it stays in the box.

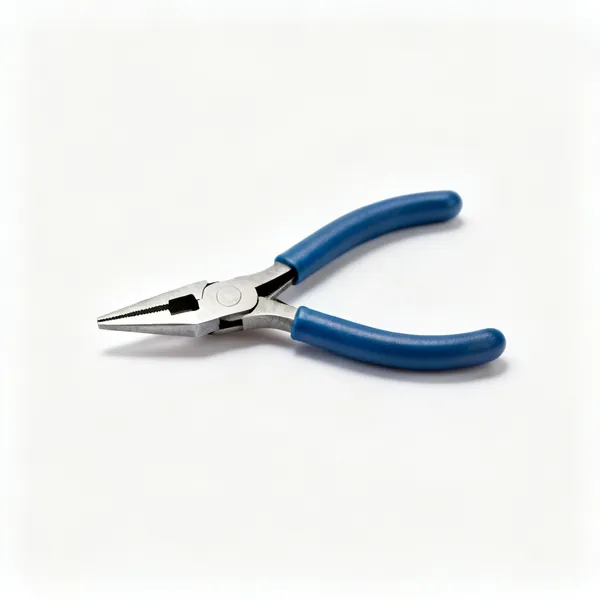
  • Nib pliers: A pair of small flat nose pliers with insulated handlesEssential

    Nib pliers

    Small flat pliers for changing a nib without waiting for it to cool or touching it. Also for reshaping a bent wire nib carefully.

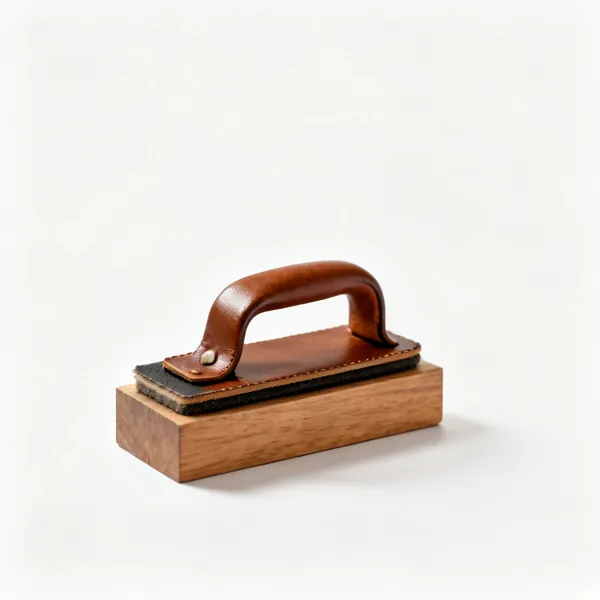
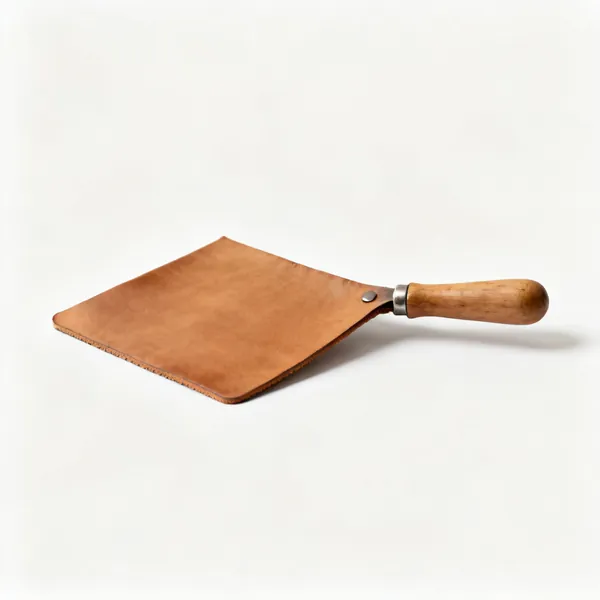
  • Nib strop: A small leather strop pad on a wooden blockEssential

    Nib strop

    Leather or a fine abrasive block for taking carbon off the nib. Carbon insulates, so a dirty nib runs cooler than its dial says and marks duller.

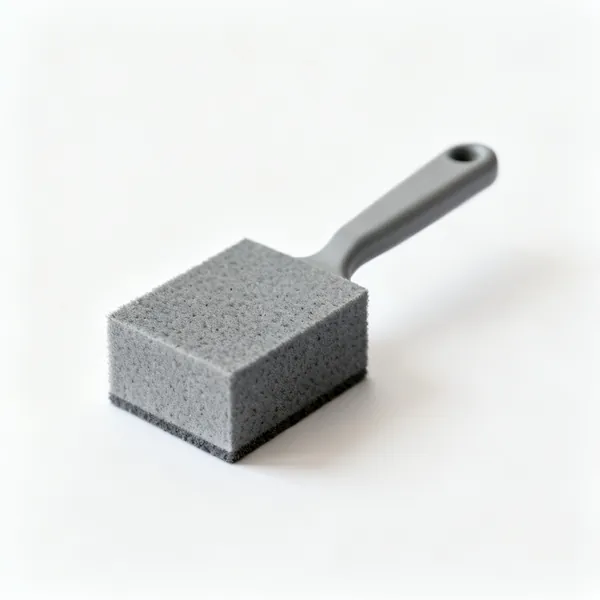
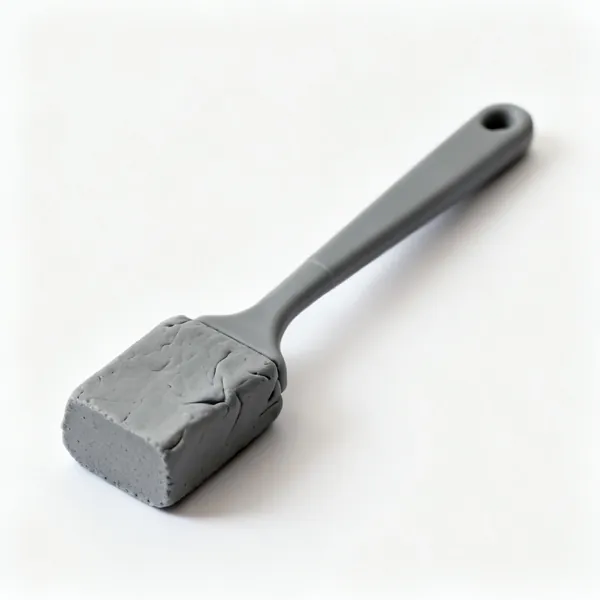
  • A small grey abrasive cleaning block

    Cleaning block

    A fine abrasive block that scours a solid brass tip clean. More aggressive than a strop, and not for delicate wire nibs.

Surfaces and preparation 9

Pale, even, close grained and untreated. The surface does as much for the result as the machine.

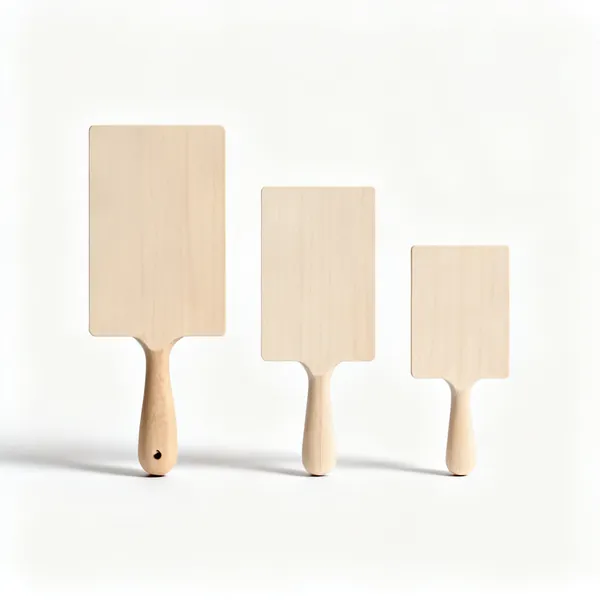
  • Basswood blanks: Three pale rectangular basswood pyrography blanks of different sizesEssential

    Basswood blanks

    Pale, even textured and close grained, so the tip glides and the tone is predictable. Sold as lime in the UK, and it is the standard surface for a reason.

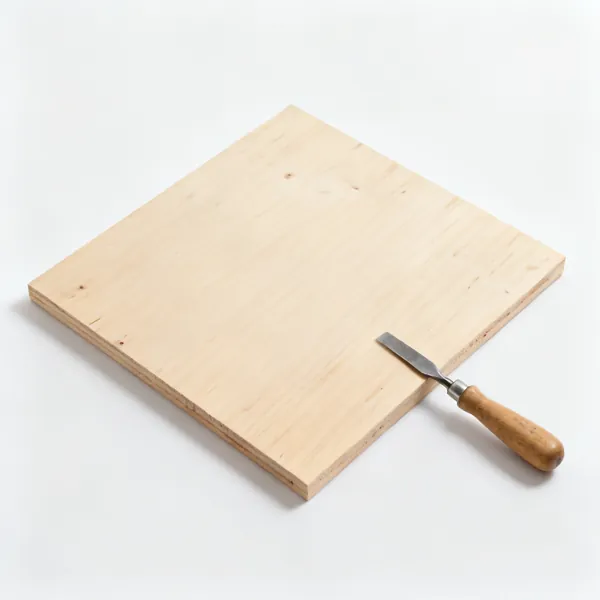
  • A flat square panel of pale birch plywood showing its smooth face

    Birch plywood

    Cheap practice material with a smooth even face. Check what glue it uses before burning, since some adhesives are not something to be breathing.

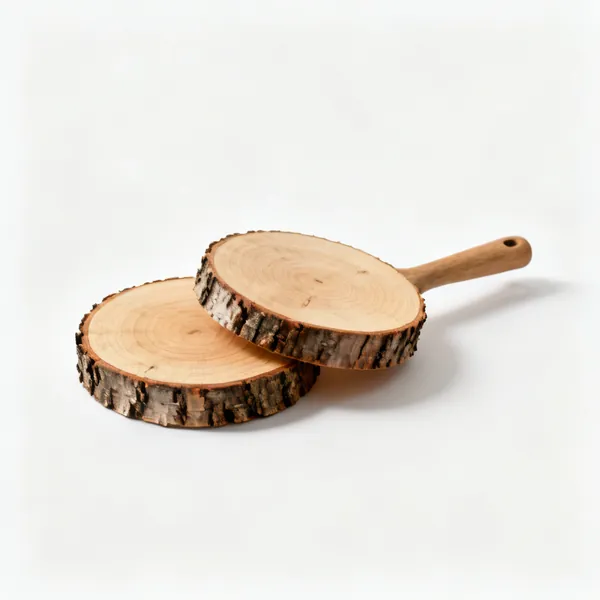
  • Wood slices: Two round wooden log slices with bark edges

    Wood slices

    Cross cut discs with bark left on, popular for signs and decorations. End grain burns differently from face grain and drinks heat unevenly.

  • A flat piece of natural vegetable tanned leather

    Vegetable tanned leather

    Burns at much lower temperatures than wood and takes fine detail. Only vegetable tanned, since chrome tanned leather gives off toxic fume.

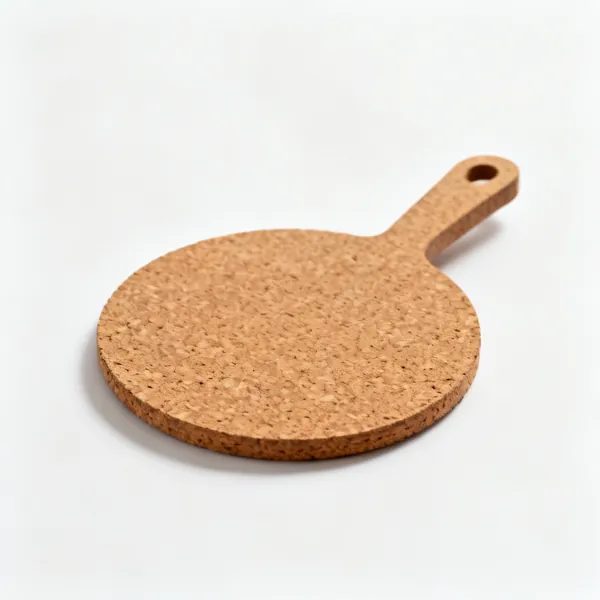
  • A flat round cork coaster blank

    Cork

    Burns fast at low heat with a soft edge to every mark. Forgiving, and it cannot hold fine detail the way wood does.

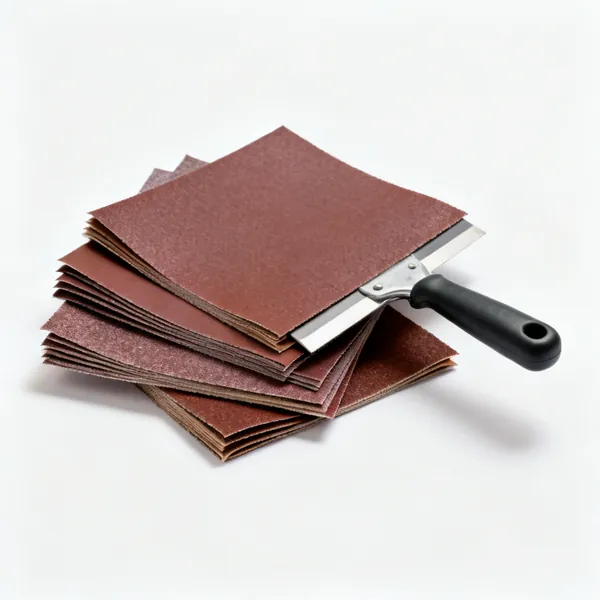
  • Several folded sheets of sandpaper in different gritsEssential

    Sandpaper

    Prepare to about 240 grit and no finer. A polished surface resists the tip and burns unevenly, which is the opposite of what people expect.

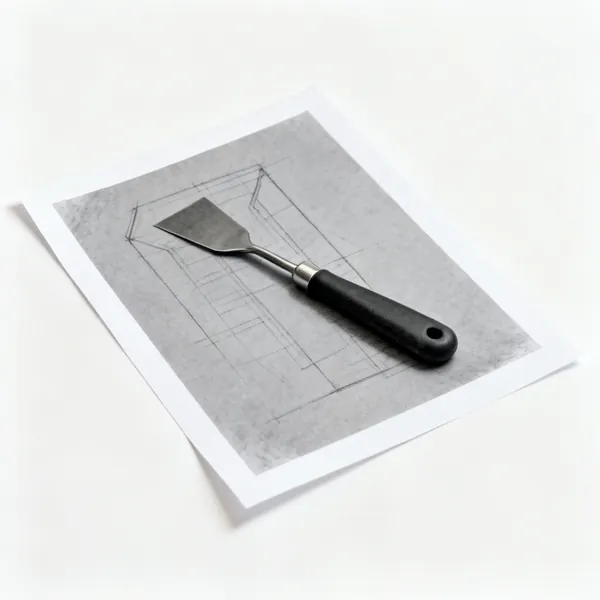
  • A sheet of grey graphite transfer paper with a drawing on tracing paperEssential

    Graphite transfer paper

    Traced through with a hard pencil, leaving a faint erasable line to burn over. Carbon paper does not erase and shows in the finished piece.

  • Kneadable eraser: A grey kneadable putty eraser

    Kneadable eraser

    Lifts graphite lines off without abrading the surface, which an ordinary eraser does. Used before finishing, since a finish fixes any line still visible.

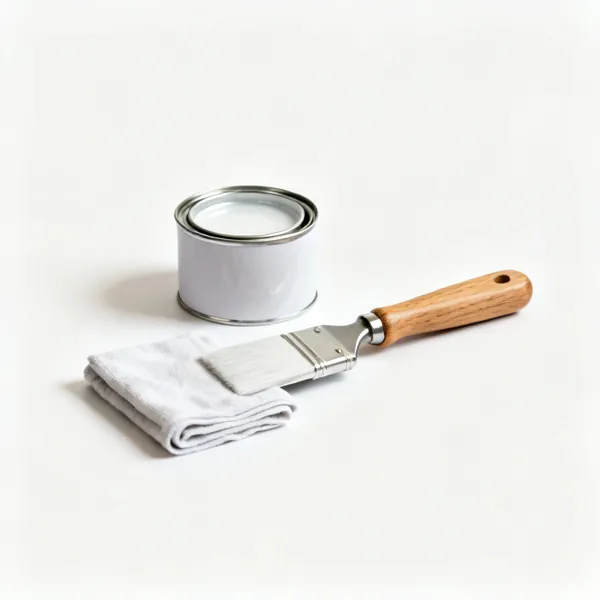
  • Clear finish: A small tin of clear wood finish beside a folded cloth

    Clear finish

    Oil or lacquer to protect a finished burn. Test on scrap, since some finishes darken the wood enough to lose the pale tones you worked for.

Extraction and safety 8

The process produces smoke deliberately. This group is not optional equipment.

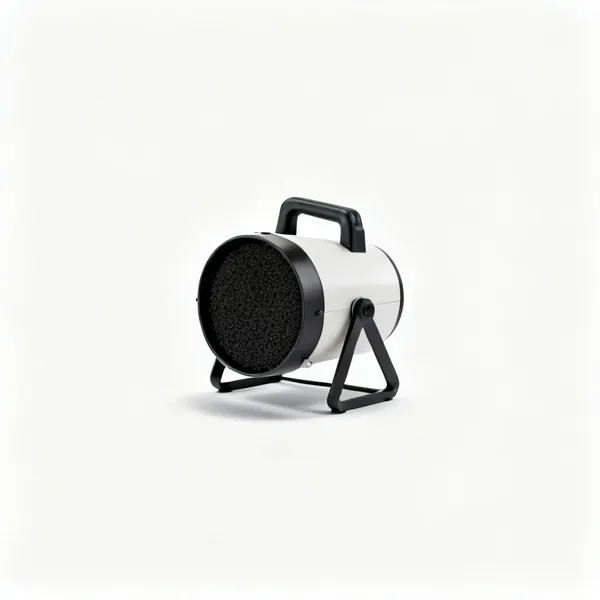
  • A small benchtop fume extractor fan with a carbon filterEssential

    Fume extractor

    A fan and carbon filter pulling smoke away from your face at the work. The single most important thing here after the burner itself.

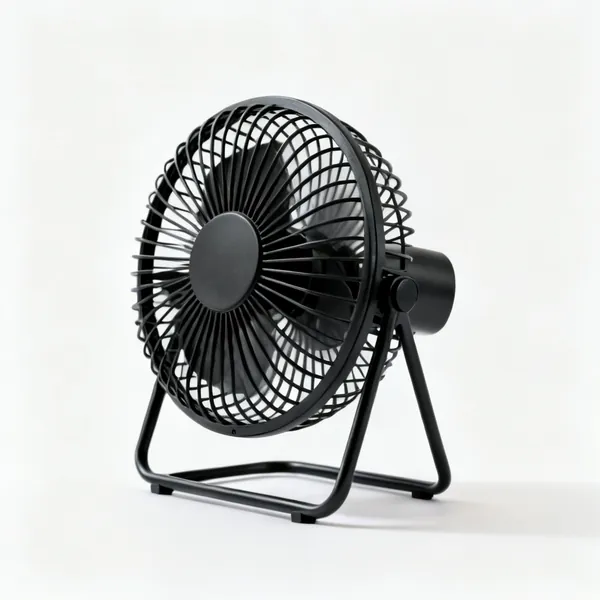
  • A small black desk fan with a round guardEssential

    Desk fan

    The cheap version: a fan set to draw smoke sideways past you toward an open window. Far better than nothing and it does not filter anything.

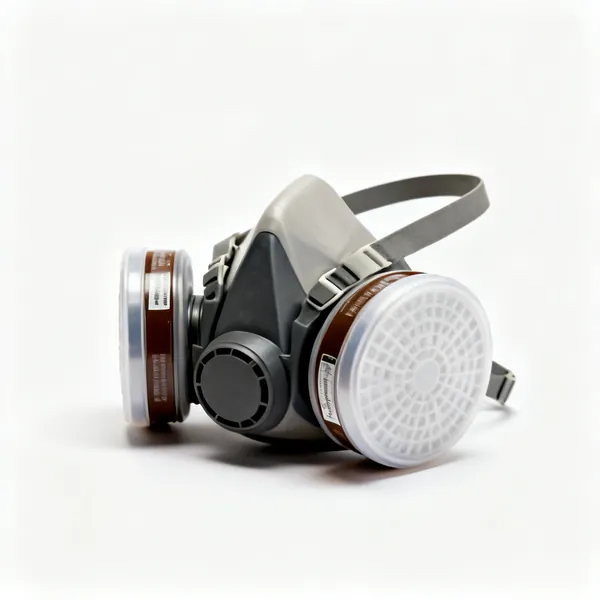
  • A half face respirator mask with two filter cartridges

    Respirator

    For long sessions or resinous timber. A particulate filter with an organic vapour cartridge, since the smoke is both particles and volatiles.

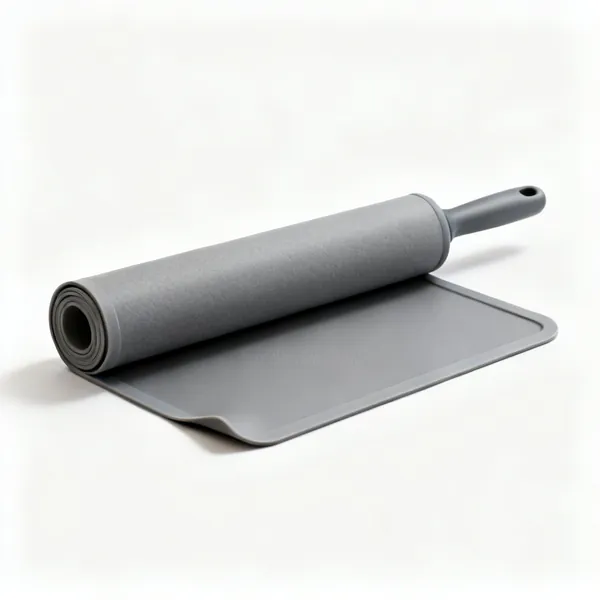
  • Heat resistant mat: A rolled grey silicone heat resistant work mat with one corner turned back, centred with clear space at every edgeEssential

    Heat resistant mat

    Under the work and the pen rest, because a nib at 700 degrees touching a bench does not leave a mark so much as a hole.

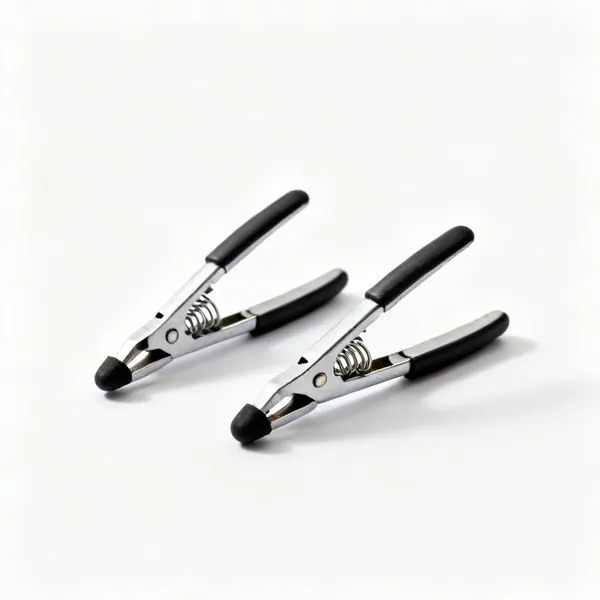
  • Small clamps: Two small spring clamps with rubber tips

    Small clamps

    Hold the blank still so both the pen hand and the steadying hand are doing the same job. A piece that shifts mid stroke leaves the stroke behind.

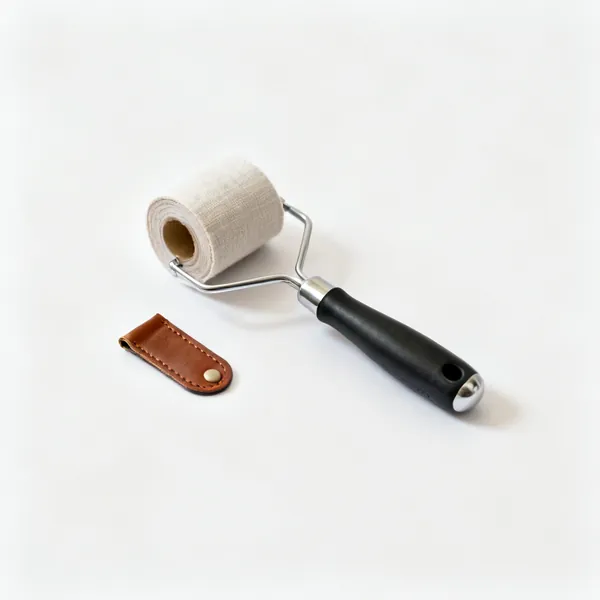
  • Finger protection: A small leather finger guard tab beside a roll of fabric tape

    Finger protection

    A leather tab or tape on the fingers steadying near a hot nib. Not gloves on the pen hand, which would cost the feel the work depends on.

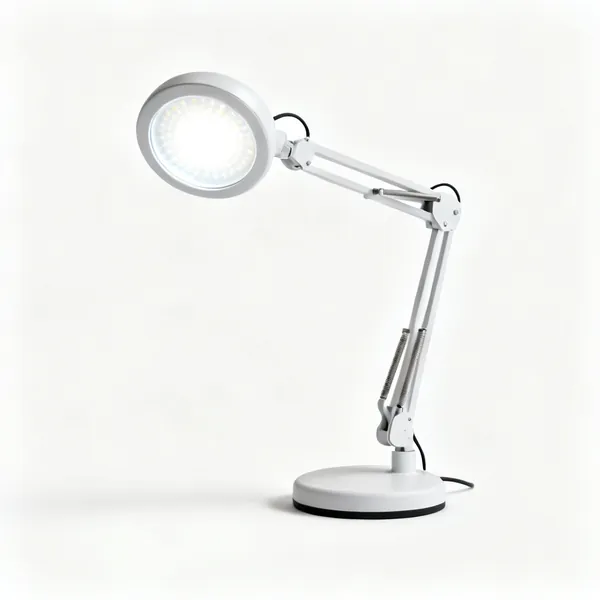
  • An adjustable arm LED task lamp with a round headEssential

    Task lamp

    Low tone differences are invisible in poor light, so you burn darker to see what you are doing and the piece ends up harsh. Good light fixes that.

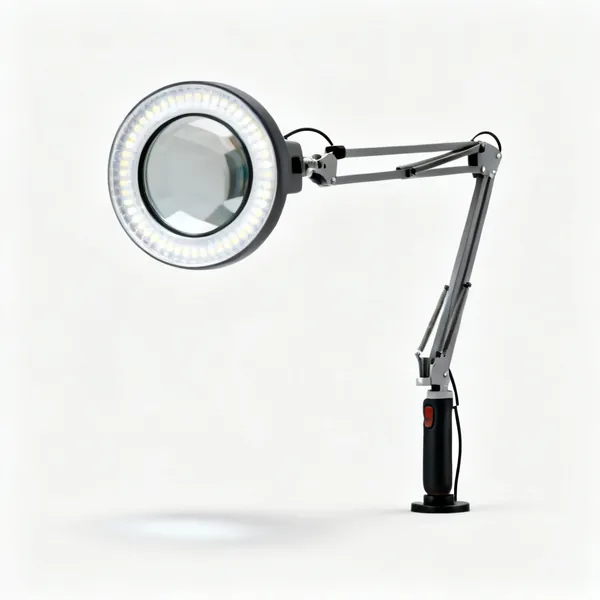
  • Magnifier: A magnifying lamp with a large lens, an LED ring and an adjustable arm

    Magnifier

    For fine detail work at close range, on a stand rather than held. Also shows whether a nib has carbon on it before it starts marking badly.

Choosing pyrography tools

The list above is what exists. This is how to decide which of it you actually need, what separates a tool worth keeping from one that ends up at the back of a drawer.

Wire nib against solid tip

A solid tip burner is a heated brass point in a pen, like a soldering iron. It takes minutes to change temperature, so tone is controlled by how fast you move. Cheap, reliable and slow to work with.

A wire nib machine heats a thin loop of nichrome directly, so it reaches temperature in a second and changes with a dial. That responsiveness is what allows fine shading, and it is the single upgrade that changes what is possible.

Solid tip is cheap
A heated brass point. Slow to change temperature, so tone comes from hand speed alone.
Wire nib is responsive
Instant heat and a dial. Shading becomes possible rather than a struggle.
Interchangeable pens
On better wire machines, so a nib change is a pen swap rather than unscrewing hot metal.
Start solid if unsure
It teaches tone through hand speed, which transfers. Then upgrade knowing what you want.

Tone is heat times dwell time

A pale line is a hot tip moving fast or a cool tip moving slowly. A dark line is a hot tip moving slowly. Those two variables produce everything, and controlling both at once is what practice actually consists of.

The reliable habit is to set the temperature for the darkest tone in a passage and then vary speed within it, rather than reaching for the dial constantly. Practise a gradient strip on scrap before touching a piece that matters.

Two variables only
Temperature and speed. Everything in a finished burn is a combination of the two.
Set heat, vary speed
Easier to control than adjusting the dial mid stroke, and more consistent across a piece.
Practise a gradient
A strip from pale to dark on scrap. Ten minutes that saves ruining a panel.
Cooler than you think
Most beginners run far too hot and get scorched blobs rather than lines.

Which woods burn well

Pale, even textured and close grained is what you want: basswood, lime, birch ply, sycamore, maple. The tip glides, the tone is predictable, and there is no grain pattern fighting the drawing.

Pine is cheap and difficult, because the hard grain lines and soft summer wood take heat completely differently, so a smooth stroke comes out striped. Anything oily or very open grained is harder again.

Basswood and lime
Pale, even, close grained. The standard surface, and it makes everything easier.
Birch ply works
Cheap practice material with a smooth even face. Watch for glue lines at an edge.
Pine is striped
Hard and soft grain take heat differently, so a smooth stroke burns unevenly.
Sand before burning
To 240 grit and no finer. A polished surface resists the tip and burns unevenly.

Smoke, and the woods that are genuinely dangerous

Burning any wood produces smoke you should not be breathing, and extraction or at minimum an open window and a fan is part of the setup rather than a refinement. Fine particulate from burning is a respiratory irritant at best.

Some materials are worse than irritating. Treated, painted or preserved timber releases genuinely toxic fume, MDF releases formaldehyde from its resin, plywood depends entirely on its adhesive, and oleander and yew are toxic as smoke. Use bare untreated wood of a known species.

Extraction or a window and fan
Every session. The process makes smoke on purpose and it goes into your face.
Never treated or painted wood
Preservative and paint fume is toxic rather than unpleasant. This one matters.
MDF releases formaldehyde
The resin binder. Avoid it, and check what adhesive a plywood uses.
Know the species
Oleander and yew are toxic as smoke. Unidentified reclaimed timber is a gamble.

Nib shapes and what each mark needs

A shader is a broad flat or spoon shape for filling tone smoothly. A writer or ball tip draws lines and lettering. A skew or knife edge cuts a crisp line, and a fine point does detail and texture like fur or feather.

Nibs also need cleaning. Carbon builds up on the surface and insulates it, so the same dial setting produces less heat and duller marks. A strop or a fine abrasive block a few times an hour keeps it consistent.

Shader for tone
Broad flat or spoon. Filling smoothly is what it does and a point cannot.
Writer for lines
A ball or rounded tip that will not catch on grain as it changes direction.
Clean the nib
Carbon insulates it, so heat drops at the same setting. A strop every few minutes.
Never wire brush a hot nib
It bends the wire and changes the shape permanently. Clean it warm and gently.

Frequently asked questions

What tools do I need for pyrography?
A burner, a few nibs, some basswood or birch ply, sandpaper and something moving the air. A solid tip pen is the cheap start and a wire nib machine with a temperature dial is what makes shading possible. Extraction is part of the kit, not an extra.
What is the difference between wire nib and solid tip pyrography tools?
A solid tip is a heated brass point that takes minutes to change temperature, so tone comes from how fast you move. A wire nib heats a nichrome loop directly and responds to a dial in about a second, which is what allows controlled shading.
What temperature should a pyrography pen be?
Cooler than most beginners assume. Set the heat for the darkest tone in a passage and vary your hand speed within it, rather than adjusting the dial constantly. Too hot produces scorched blobs and a burnt smell rather than a controlled line.
What wood is best for pyrography?
Basswood or lime: pale, even textured and close grained, so the tip glides and the tone is predictable. Birch ply is good cheap practice material. Avoid pine, where the hard and soft grain take heat so differently that a smooth stroke burns striped.
Is pyrography safe? What woods should I avoid?
The smoke needs extracting or at least a window and a fan. Never burn treated, painted or preserved timber, since the fume is genuinely toxic. Avoid MDF, which releases formaldehyde from its resin, and check plywood adhesive. Oleander and yew are toxic as smoke.
How do you clean a pyrography nib?
Carbon builds up and insulates the tip, so the same dial setting gives duller marks. Strop it on a leather pad or rub it on a fine abrasive block every few minutes while warm. Never take a wire brush to a hot wire nib, as it bends and reshapes the wire.
How do you transfer a design onto wood for pyrography?
Graphite transfer paper under the drawing, traced through with a hard pencil, which leaves a faint line you burn over. Avoid carbon paper, which does not erase, and avoid printer toner transfers unless you intend the residue to be part of the piece.
Can you use a soldering iron for pyrography?
A temperature controlled soldering iron with a suitable tip will burn wood, and it is effectively a solid tip burner with worse ergonomics and no shading nibs. It works for lettering and simple outlines, and tone control will be poor.