Disclosure

Woodworking tools for beginners

Most beginner tool lists are too long, and the cost of that is a shed full of things you cannot use well. A better first kit is small, decent quality, and covers the four operations every project needs: measure and mark, cut, hold, and fix. All 34 tools here are grouped that way, with the ones that can wait kept clearly separate.

19 are marked essential: buy those, use them until you know what is missing, and add from experience.

Part of the full woodworking tools list, 87 tools in 12 groups.

Measuring and marking 7

Where accuracy starts. Nothing further along the process recovers a line marked wrong.

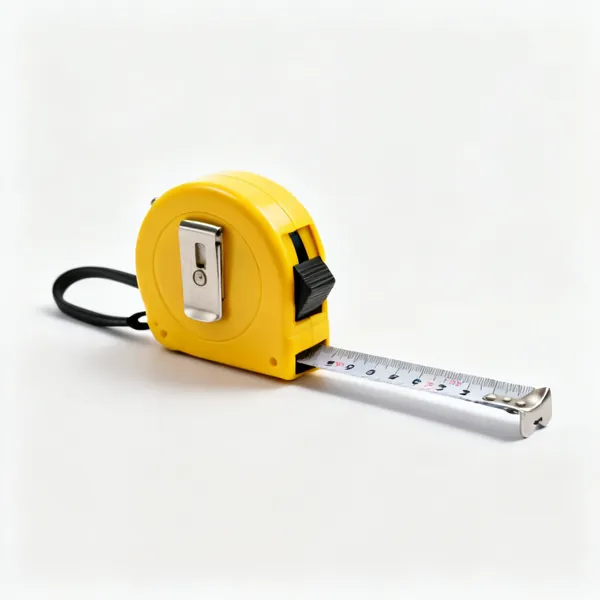
  • A retractable steel tape measure with a yellow case, blade partly extendedEssential

    Tape measure

    A 5 metre steel tape with a locking blade. Measure from the same end of the tape every time, since the hook has play in it by design and that play is a millimetre.

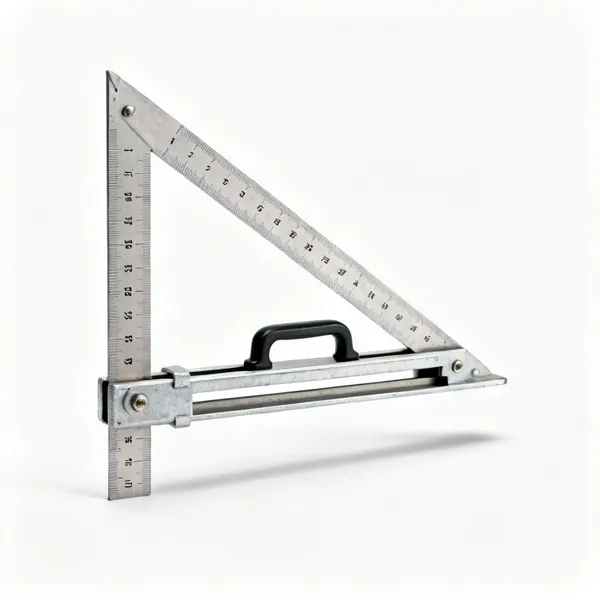
  • A combination square with a steel rule and a cast metal sliding stockEssential

    Combination square

    A sliding rule in a stock that checks square and 45 degrees, sets a depth and marks a line parallel to an edge. Four tools in one and the most used marking tool there is.

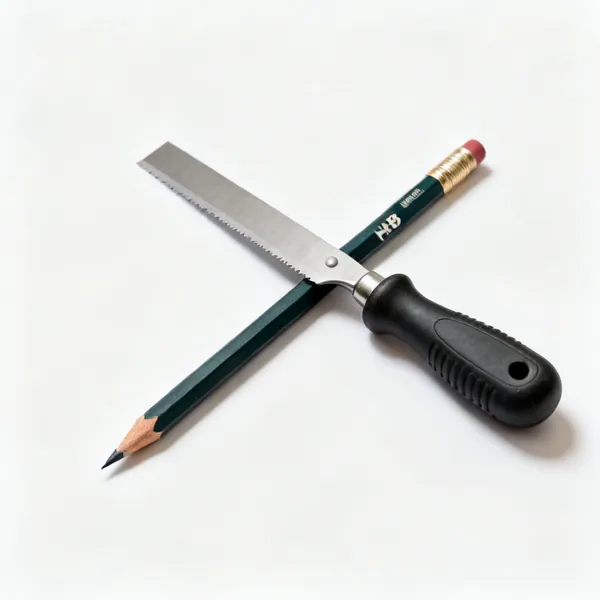
  • Pencils: A flat carpenter's pencil beside a sharpened HB pencil, laid diagonallyEssential

    Pencils

    A flat carpenter's pencil for rough marks and a sharp HB for anything that has to be cut to. A thick line is a millimetre of ambiguity at both edges.

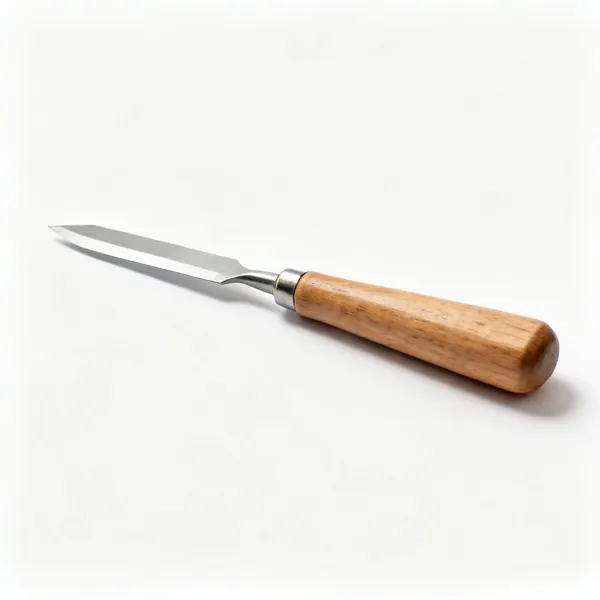
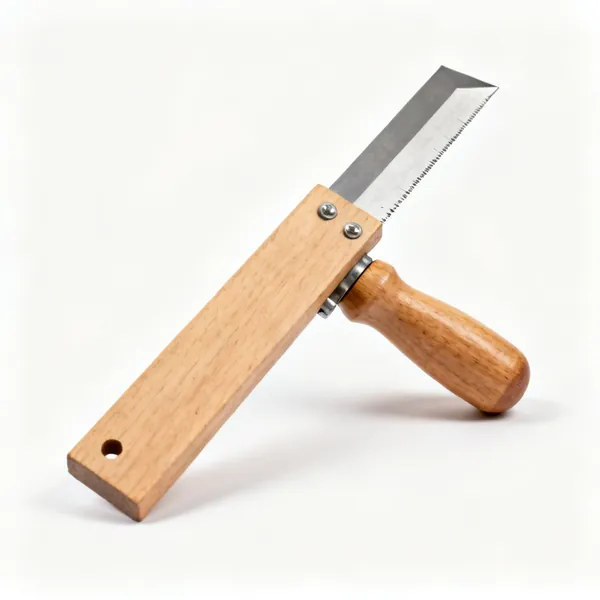
  • A marking knife with a single bevel blade and a wooden handle

    Marking knife

    Cuts a line rather than drawing one, which severs the surface fibres so a chisel or saw drops into it. What makes a joint line crisp rather than approximate.

  • Try square

    Try square

    A fixed blade at 90 degrees to a wooden stock. More rigid than a combination square and quicker for repeated marking across a board.

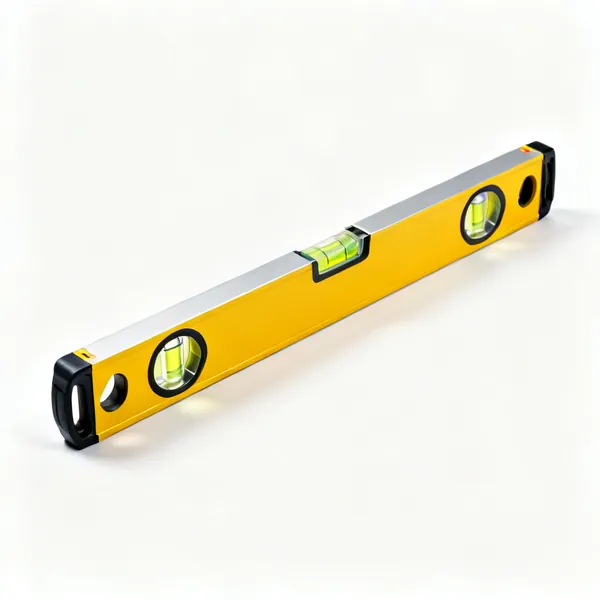
  • A 600mm aluminium spirit level with two bubble vials and a yellow bodyEssential

    Spirit level

    A 600mm level for shelves and anything fixed to a wall. Check it by turning it end for end in one place: the bubble should read the same both ways.

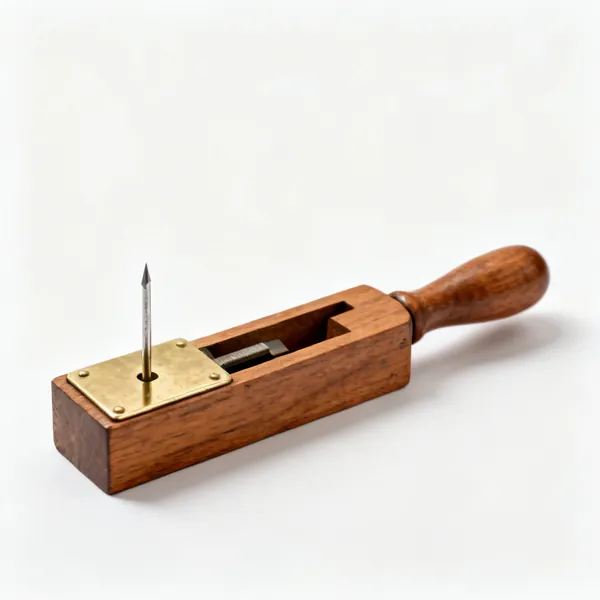
  • A wooden marking gauge with a brass faced stock and a scribing pin

    Marking gauge

    Scribes a line at a set distance from an edge, repeatably, on every piece. For joinery, and it is the tool that makes several parts identical.

Cutting 8

One saw you can use well beats three you cannot. Either a handsaw or a circular saw will build furniture.

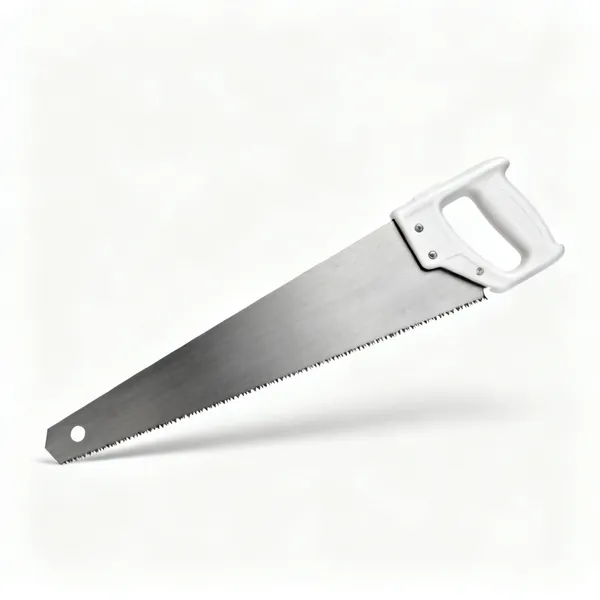
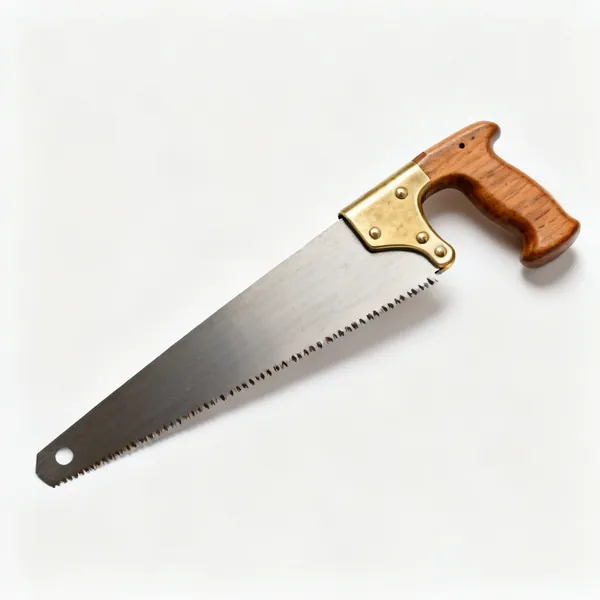
  • A hardpoint panel handsaw with a plastic handle and a wide steel bladeEssential

    Handsaw

    A hardpoint panel saw cuts timber and sheet with no power and no setup. Cheap, quiet and it teaches you to follow a line, which no guided tool does.

  • A tenon saw with a brass stiffened back and a wooden handle

    Tenon saw

    A stiffened back and fine teeth for accurate short cuts. Used with a bench hook it cuts a shoulder square, which a panel saw is too coarse for.

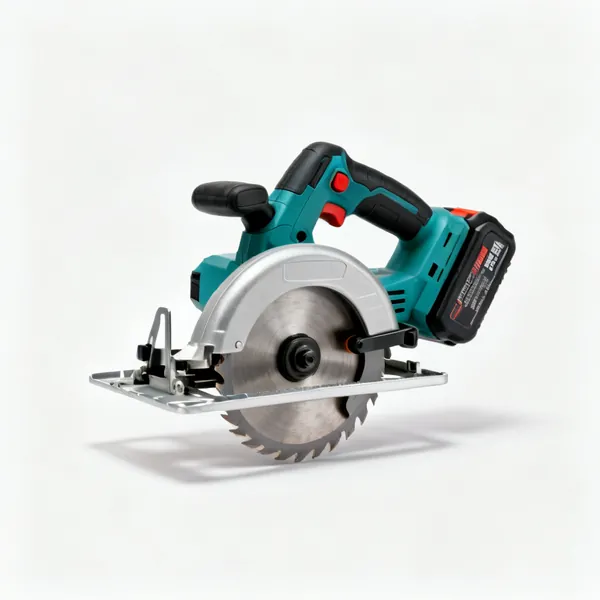
  • A cordless circular saw with a blade guard, a base plate and a battery

    Circular saw

    Straight cuts in sheet material along a clamped batten. The fastest way to break down a sheet of ply, which a handsaw does slowly and a table saw cannot lift.

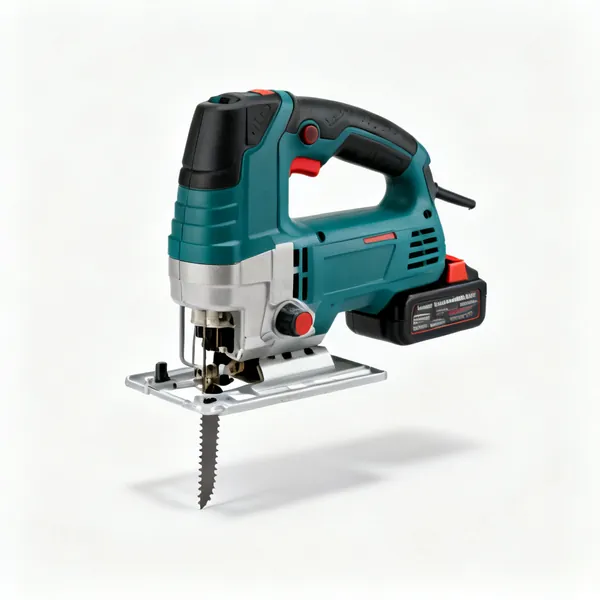
  • A cordless jigsaw with a blade fitted, a base plate and a battery

    Jigsaw

    Curves and cut outs. Blade choice does most of the work, and a coarse blade in thin ply tears the face off it rather than cutting it.

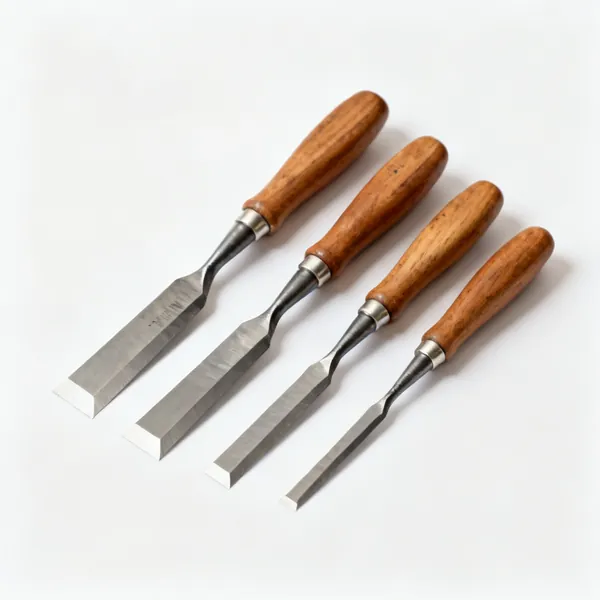
  • Bevel edge chisels: A set of four bevel edge wood chisels of graduated widths with wooden handlesEssential

    Bevel edge chisels

    Four sizes from 6 to 25mm for paring, cleaning a joint and cutting a hinge recess. Buy steel that holds an edge, and expect to sharpen them before first use.

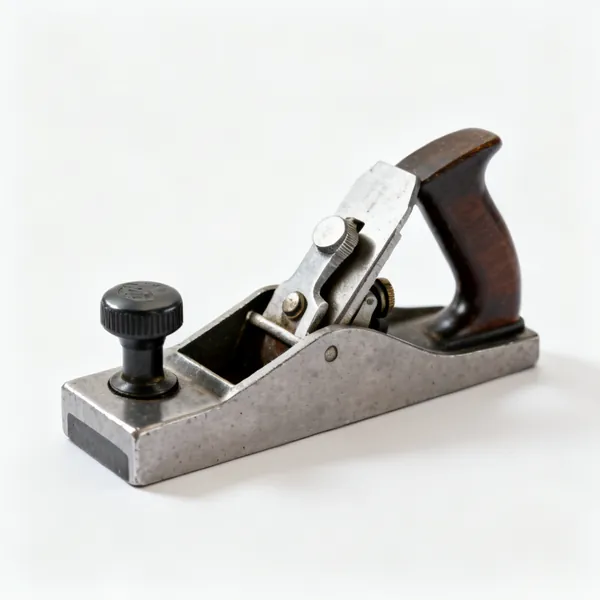
  • A small metal block plane with an adjustable mouth and a lever cap

    Block plane

    Small enough for one hand, for trimming an edge, easing a corner and fitting a part that is a fraction too big. The most useful first plane by a distance.

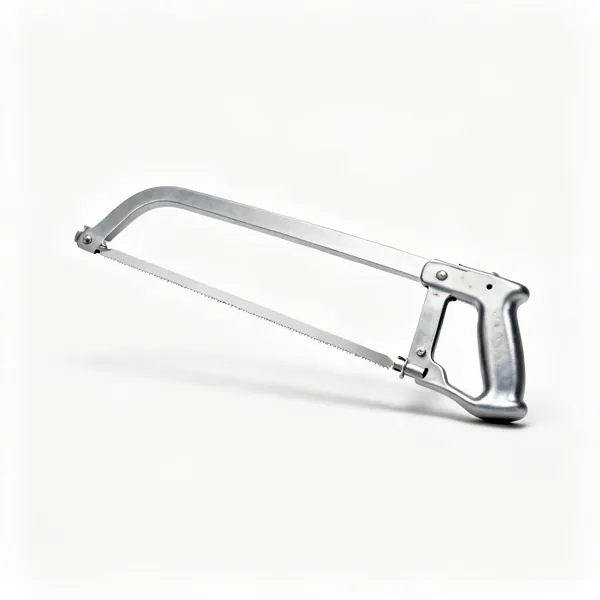
  • Coping saw

    Coping saw

    A thin blade in a sprung frame for tight curves and for removing waste between dovetails. Cheap, and it does what no other hand tool can.

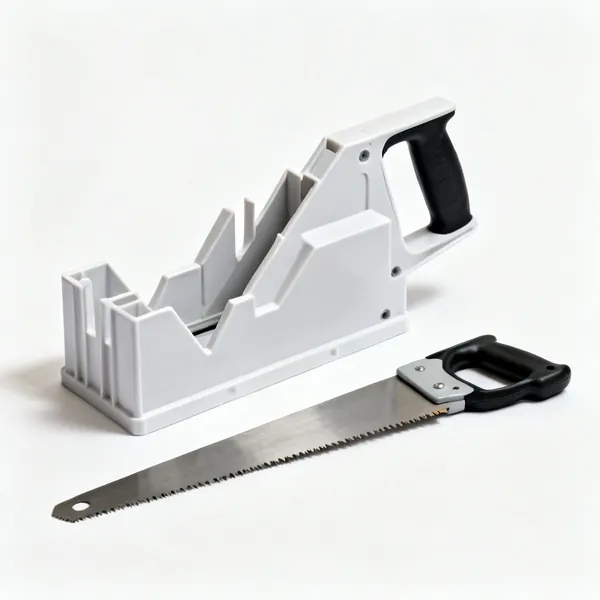
  • Mitre box

    Mitre box

    Guides a saw at 90 and 45 degrees, so a picture frame or a length of skirting comes out at the angle intended rather than the angle achieved.

Holding the work 7

The most under bought group in any beginner kit, and the one where the difference shows immediately.

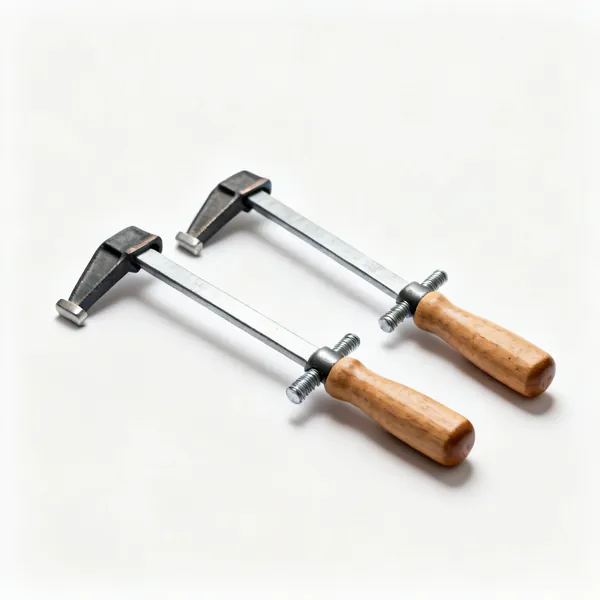
  • Two F clamps with steel bars and wooden handle screws, laid diagonallyEssential

    F clamps

    Four to start, around 300mm. They hold work for cutting, close a glue joint, and free both hands. Everyone buys more, so start with four rather than two.

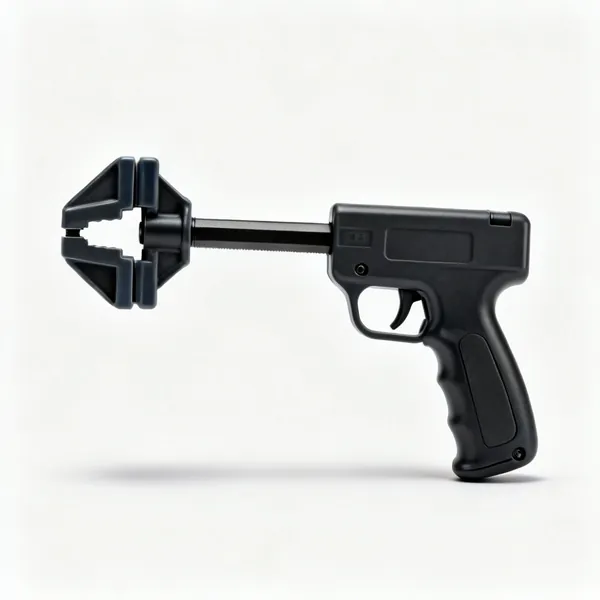
  • Quick release clamps: A one handed trigger bar clamp with a pistol grip and plastic jawsEssential

    Quick release clamps

    Tightened one handed by a trigger, which matters when the other hand is holding the piece in position. Less force than a screw clamp and far faster.

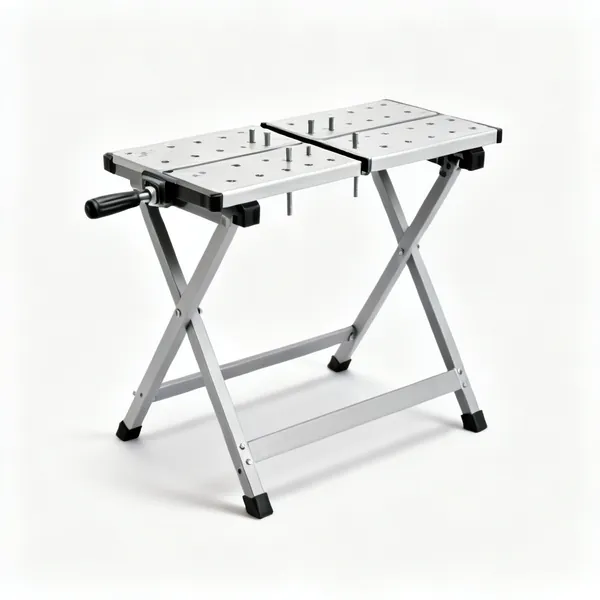
  • A folding portable workbench with a split clamping top and pegsEssential

    Portable workbench

    A folding bench whose top is itself a vice. Not a traditional bench, and it gives you a stable surface at a working height for very little money or space.

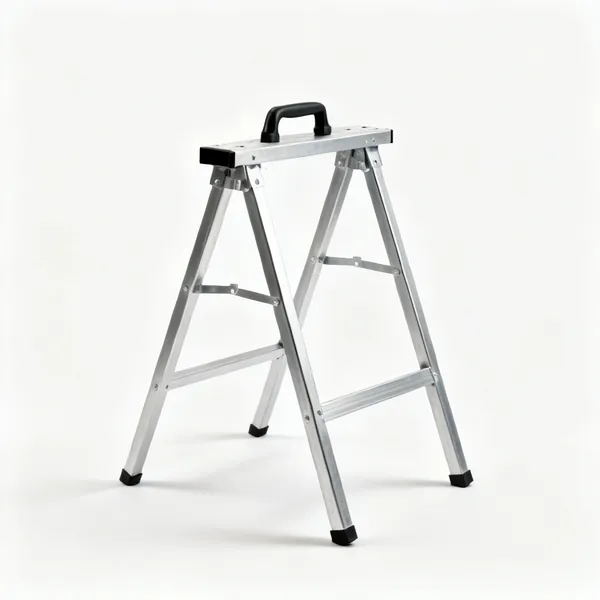
  • Sawhorses: A pair of folding metal sawhorse trestles

    Sawhorses

    A pair supports a sheet of ply at a height where a circular saw can cut it. Also a good first project, since a pair you built teaches you and then works.

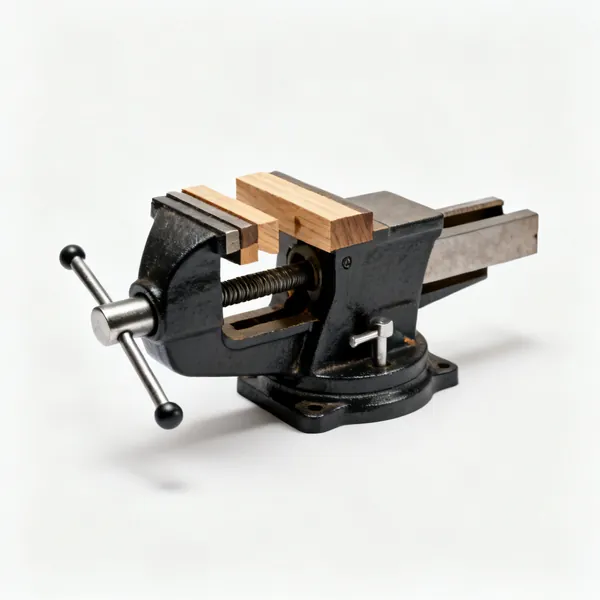
  • A compact woodworking bench vice with wooden jaw liners

    Bench vice

    Fixed to the bench, so it is always there and needs one hand. Wooden jaw liners, so it holds a finished board without marking it.

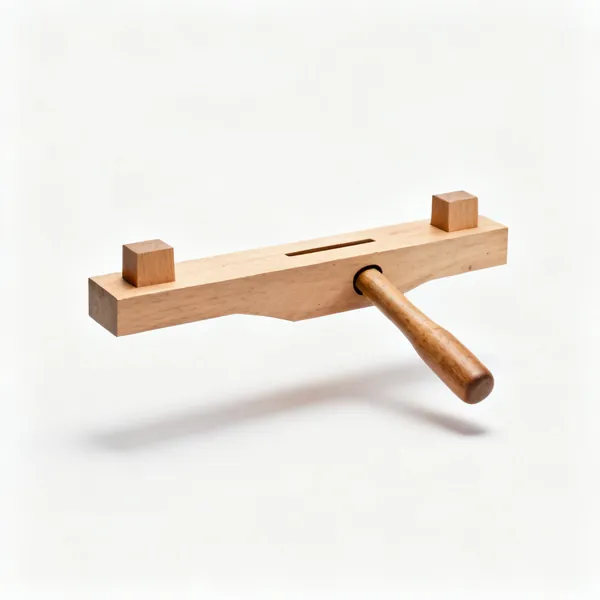
  • A wooden bench hook with a raised stop at each end

    Bench hook

    A board with a stop at each end that hooks over the bench edge and stops the work sliding under a saw. Shop made in ten minutes and used every day.

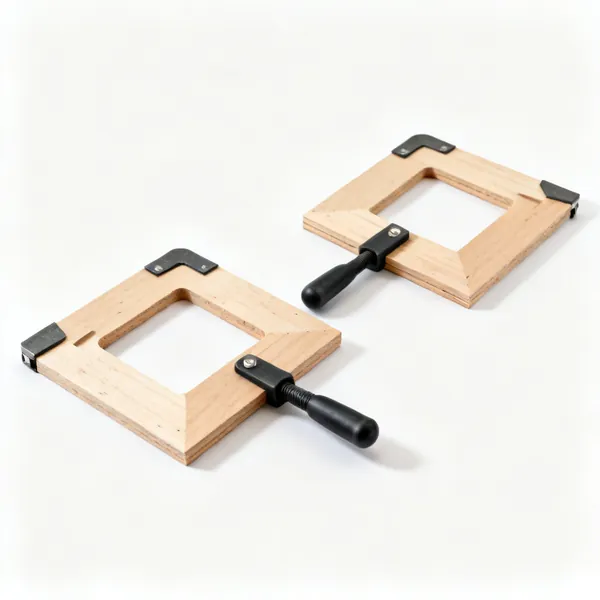
  • Two L shaped plywood clamping squares with cut out corners

    Clamping squares

    Right angled blocks clamped inside a corner to hold it square while glue sets. Cheaper to make than to buy and used on every box after the first.

Drilling, fixing and finishing 12

Screws and glue build furniture. Joinery is a skill to acquire, not a requirement to start.

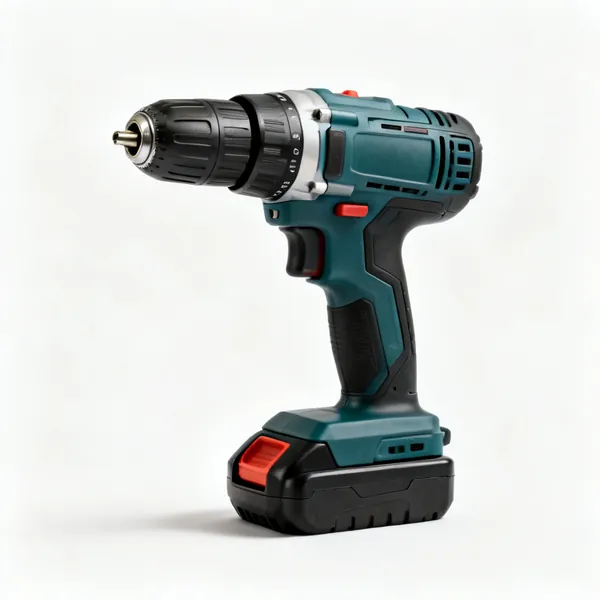
  • Cordless drill driver: A cordless combi drill with a keyless chuck, a torque collar and a batteryEssential

    Cordless drill driver

    Drills and drives with a clutch that stops at a set torque, so screws seat instead of stripping. The one power tool almost nobody regrets buying first.

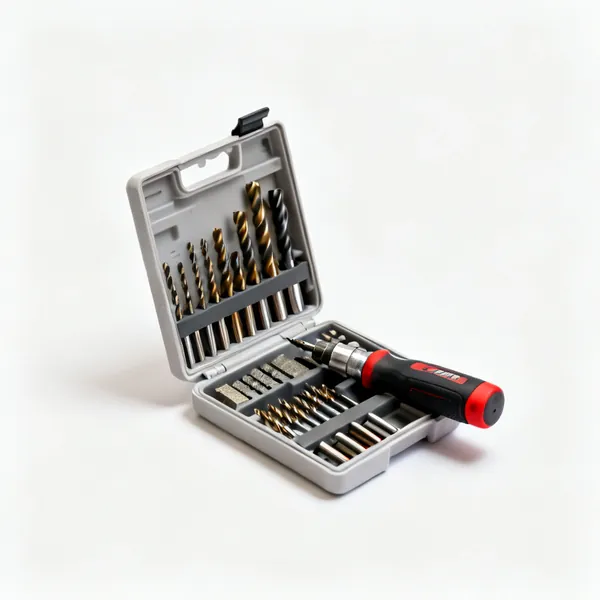
  • Drill bit set: An open case of assorted drill bits for wood metal and masonryEssential

    Drill bit set

    Brad point for wood, HSS for metal, masonry for brick. Cheap sets blunt on the first hole, which reads as the drill being weak rather than the bit being poor.

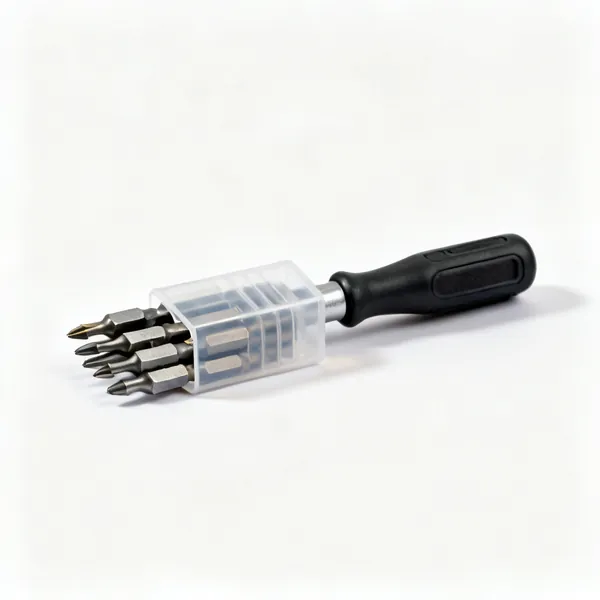
  • A set of driver bits in a plastic holderEssential

    Driver bits

    Pozidriv and Torx in the sizes your screws use. A worn bit chews a screw head, which is then impossible to remove and stays where it is.

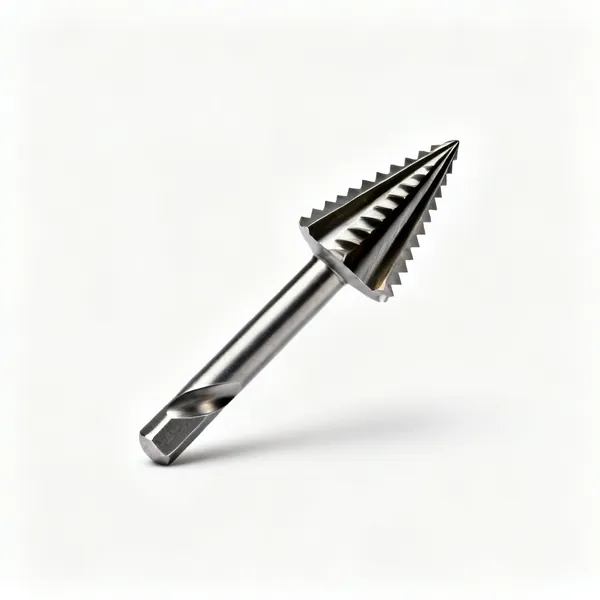
  • Countersink bit: A countersink drill bit with a tapered fluted cutting headEssential

    Countersink bit

    Cuts a tapered recess so a screw head sits flush rather than crushing the surface around it. A pound or two and it changes how work looks.

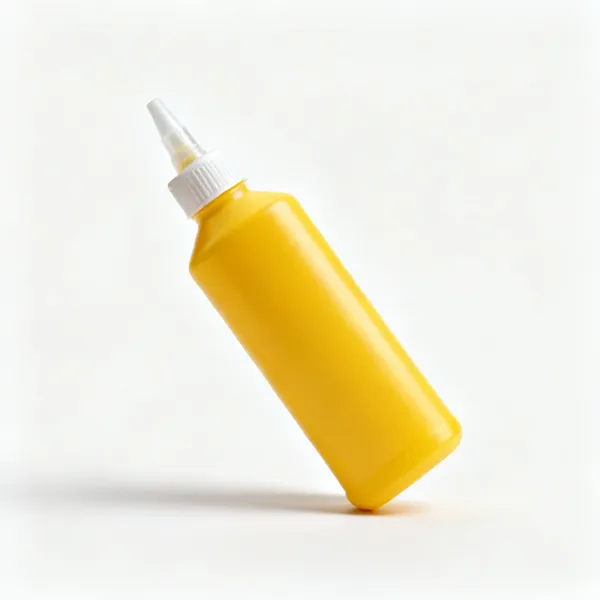
  • A bottle of yellow PVA wood glue with a nozzle capEssential

    PVA wood glue

    Stronger than the wood on a long grain joint, so a glued butt joint is not a compromise. Thin even coat, and clamped for an hour.

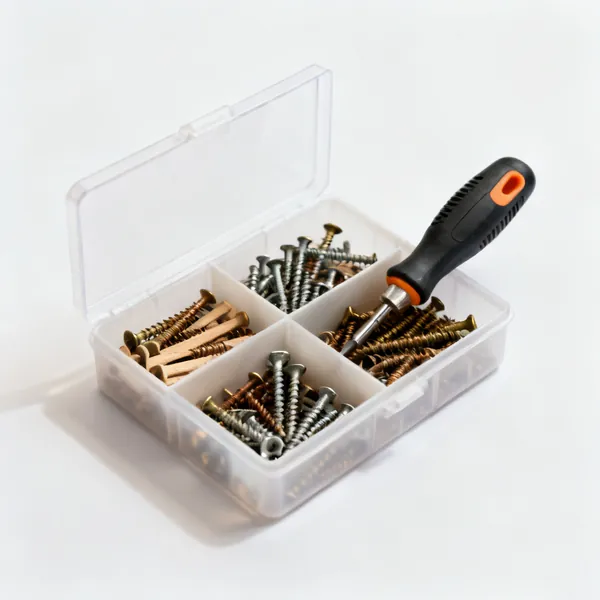
  • An open compartment box of assorted wood screwsEssential

    Wood screws

    A box of mixed lengths in one gauge. Pilot drill in hardwood and near an end, since a screw is a wedge and will split a board that is not drilled.

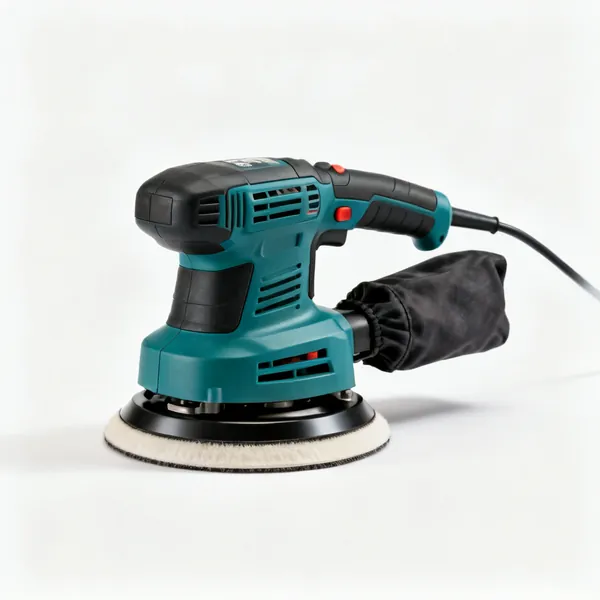
  • A cordless random orbit sander with a round pad and a dust bag

    Random orbit sander

    Sands flat without leaving swirl marks, which a rotary sander does. Connect the dust port, since fine wood dust is the real hazard in a small workshop.

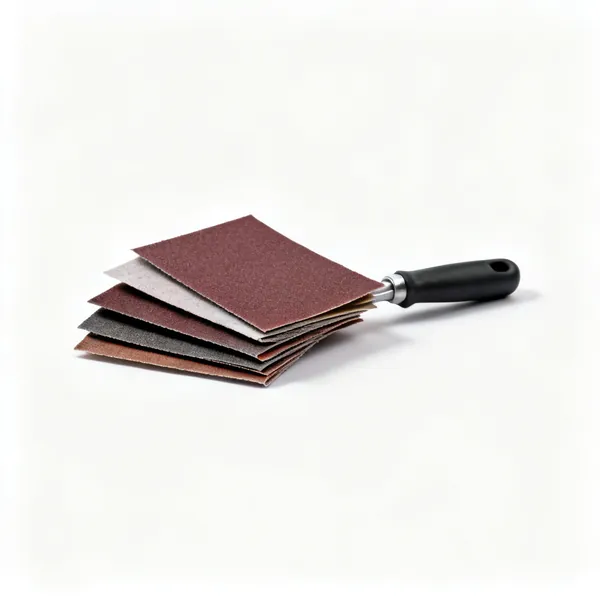
  • Several folded sheets of abrasive paper in different gritsEssential

    Abrasive paper

    80, 120 and 180 grit covers most work. Skipping grits leaves scratches the next grit cannot remove, which then appear under a finish.

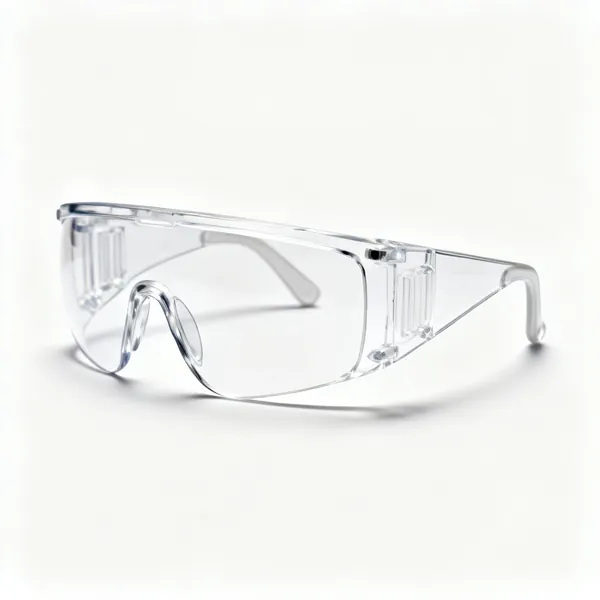
  • A pair of clear wraparound safety glasses with side coverageEssential

    Safety glasses

    Every power cut throws chips, and drilling overhead throws them at your face specifically. Wraparound, since chips arrive from the side too.

  • A white FFP3 respirator dust mask with two straps and a nose clipEssential

    Dust mask

    Fine wood dust and MDF dust are both genuinely harmful over time, and MDF worse. FFP3 for sanding and board cutting, fitted so it seals.

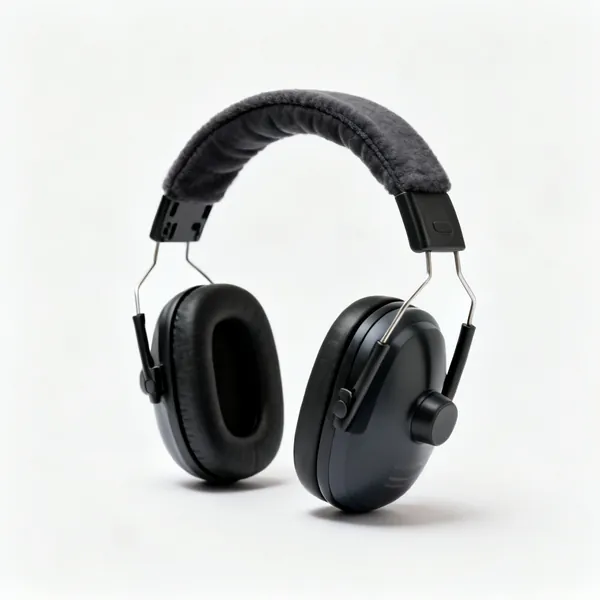
  • A pair of over ear protective ear defenders with a padded headband

    Ear defenders

    A circular saw or router sits above the level at which hearing damage accumulates. Cheap, and hearing does not come back once it has gone.

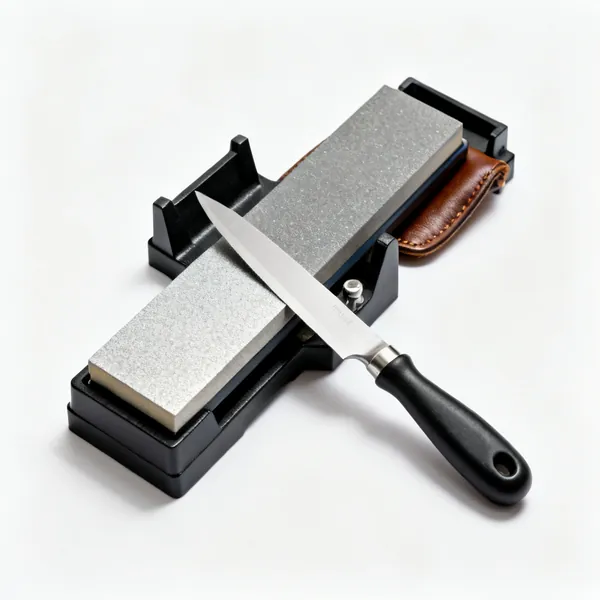
  • Sharpening kit: A diamond sharpening stone with a honing guide jig and a leather stropEssential

    Sharpening kit

    A diamond stone, a honing guide and a strop. It improves every edge tool you own, which no single new tool does, and it stops you blaming the chisel.

Choosing beginners tools

The list above is what exists. This is how to decide which of it you actually need, what separates a tool worth keeping from one that ends up at the back of a drawer.

Four operations, one tool each

Every woodworking project is the same four things: measure and mark accurately, cut to the line, hold the work while you do it, and fix the parts together. A first kit needs one good tool for each, not five options for one of them.

That reduces the list dramatically. A tape and a square, a saw, a couple of clamps, and a drill driver will build furniture. Everything else in this list is an improvement on one of those four, and improvements are worth buying once you know which one is limiting you.

Mark
A tape, a combination square and a pencil. Accuracy starts here and nothing later recovers it.
Cut
One saw you can use well. Handsaw or circular saw, and either builds furniture.
Hold
Clamps and a surface. Under bought by almost everyone, and the difference is immediate.
Fix
A drill driver, screws and glue. Joinery comes later and it does not have to come at all.

Fewer, better tools

A cheap chisel that will not hold an edge teaches you that chiselling is difficult, which is not true. A blunt saw teaches you that sawing straight is impossible. Bad tools do not just work worse, they misteach, and that is the real cost.

So buy four decent things rather than twelve cheap ones. Secondhand is often the best value here: an old steel handsaw or a good chisel sharpened properly outperforms most new budget equivalents by a wide margin.

Bad tools misteach
A blunt chisel makes you believe chiselling is hard. It teaches the wrong lesson.
Four good beats twelve cheap
The four you use every session are where the money belongs.
Secondhand steel is good
An old saw or chisel sharpened properly beats most new budget tools outright.
Buy for the next project
Not for a workshop you might have in five years. The list grows from actual need.

Learn sharpening before buying more

Sharpening is the skill that makes every edge tool work, and it is the one beginners defer longest. A chisel or plane blade straight from the shop is rarely sharp enough to use properly, so the first experience of it is disappointing.

A diamond stone, a honing guide and a strop is a small outlay and it changes what your existing tools can do. It is a better purchase than another tool, and it stops the cycle of blaming the tool for the result.

New tools arrive blunt
Most chisels and plane blades need sharpening before first use, not after.
A guide removes the guesswork
It holds the angle, so honing is a minute rather than a skill to acquire first.
Strop constantly
Seconds each time, and the edge never actually goes. This is the whole trick.
Better than another tool
Sharpening improves everything you already own. A new tool improves one thing.

Somewhere to work is a tool

The most common thing missing from a beginner setup is not a tool, it is a surface that does not move and a way to hold work to it. Cutting accurately while a board wobbles is not a skill problem.

That does not need a traditional bench. A sheet of ply on two trestles, a portable workbench, or a kitchen table with clamps all work. What matters is that the work is held so both hands are on the tool.

Both hands on the tool
That is the test. If one hand is holding the work, the work is not held.
A bench is not required
Ply on trestles or a portable bench works. Stability matters, tradition does not.
Buy more clamps
Everyone says it because everyone runs out mid glue up. Four is a start.
Height matters
Too low and you bend all day, too high and you cannot push. Around hip height for sawing.

What to build first

Something with square cuts, screwed or glued butt joints, and a use at the end of it. A box, a shelf, a stool, a sawhorse. Those teach measuring, cutting square and assembling, which is genuinely most of woodworking.

Avoid a first project with joinery, curves and a finish all at once. And build the sawhorses or the bench hook first: making your own workholding is a project that teaches you and then keeps paying.

Square cuts and butt joints
A box or a shelf. That covers measuring, cutting and assembly, which is most of it.
Build your workholding
Sawhorses, a bench hook, clamping squares. Practice pieces you keep using.
One new skill per project
Joinery, curves and finishing all at once means you learn none of them.
Softwood first
Cheap, forgiving and available. Hardwood punishes a dull tool immediately.

Frequently asked questions

What woodworking tools should a beginner buy first?
One tool for each of four operations: a tape measure and combination square for marking, a handsaw or circular saw for cutting, four clamps for holding, and a cordless drill driver for fixing. That set will build shelves, boxes and furniture.
Do I need hand tools or power tools to start woodworking?
Either works. Power tools are faster and need less skill for a straight cut, and hand tools are cheaper, quieter and teach you more about how wood behaves. Most people end up with both. A cordless drill driver is the one power tool almost nobody regrets.
How much should I spend on my first woodworking tools?
Buy four decent tools rather than twelve cheap ones. A blunt saw teaches you that sawing straight is impossible and a soft chisel teaches you that chiselling is hard, neither of which is true. Secondhand steel sharpened properly is often the best value available.
Do I need a workbench to start woodworking?
You need a stable surface and a way to hold work to it, which is not the same as a traditional bench. Ply on two trestles, a portable workbench, or a kitchen table with clamps all work. The test is whether both hands can be on the tool.
What is the best first woodworking project?
Something with square cuts, butt joints and a use at the end: a box, a shelf, a stool, a pair of sawhorses. Sawhorses and a bench hook are particularly good, since making your own workholding teaches you and then keeps being useful afterwards.
What wood should a beginner use?
Softwood, usually pine or spruce, because it is cheap, available and forgiving of a dull tool. Plywood and MDF are stable and cut cleanly, and they need dust extraction. Hardwood is worth moving to once your tools are sharp, since it punishes a blunt edge immediately.
Do I need to learn sharpening?
Yes, and earlier than most people do. Chisels and plane blades usually arrive not sharp enough to use properly, so the first experience of them is disappointing. A diamond stone, a honing guide and a strop improves every edge tool you own for a small outlay.
Which woodworking tools can I skip at first?
A router, a table saw, a planer, a biscuit jointer and a full chisel set. Each solves a problem you have not hit yet. Buy them when a specific project needs one, rather than assembling a workshop before knowing what kind of work you actually enjoy.