Disclosure

Tools for embroidery

Embroidery needs remarkably little: a hoop, a needle, thread and something to stitch on. What the rest of the kit solves are the two problems that actually stop people, which are fabric that puckers because it was not held taut, and a design that will not transfer cleanly onto it. All 34 here are grouped by which of those they address.

8 are marked essential: enough to stitch anything, plus what keeps the fabric flat.

Part of the full sewing tools list, 104 tools in 10 groups.

Hoops and frames 7

Holding the fabric taut, which is the single thing that decides whether a finished piece lies flat.

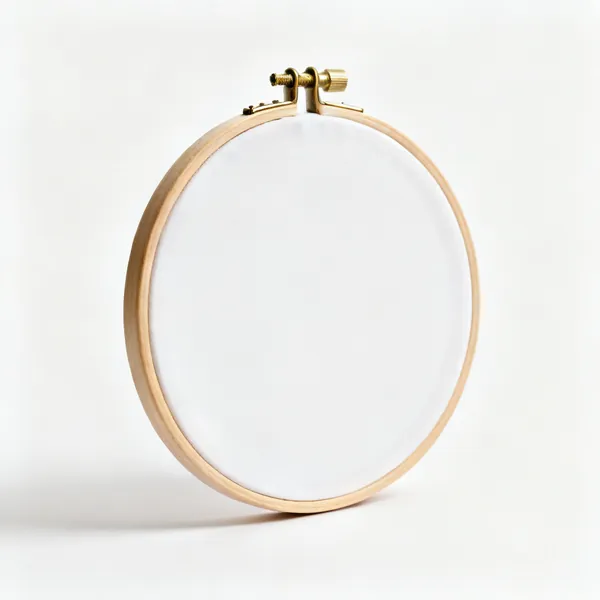
  • Wooden hoop: A round wooden embroidery hoop with a brass tightening screwEssential

    Wooden hoop

    Two rings and a tightening screw. 15cm suits most work: big enough for a design and small enough to hold comfortably for an hour.

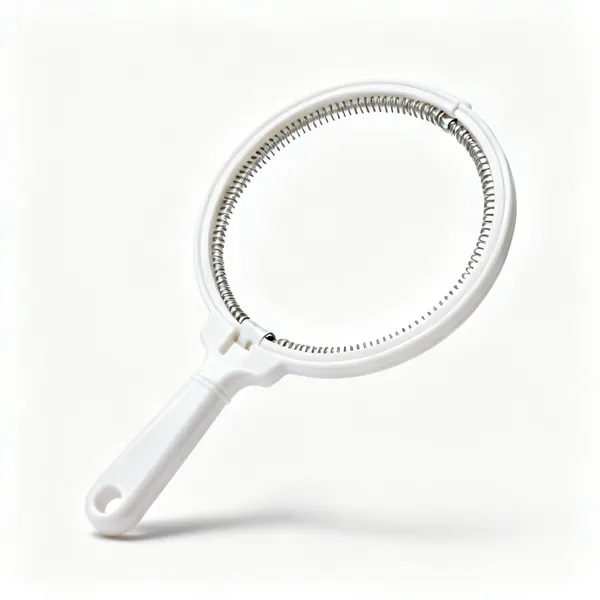
  • Spring tension hoop: A plastic embroidery hoop with a sprung metal inner ring

    Spring tension hoop

    A plastic ring with a sprung metal inner that grips without a screw. Faster to move around a large piece and it holds less firmly than a screw hoop.

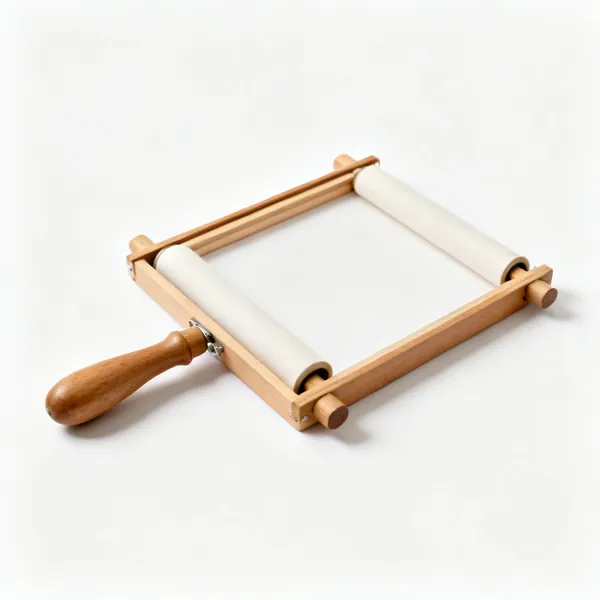
  • Scroll frame

    Scroll frame

    Fabric stitched to two rollers and tensioned between side bars, so a long piece scrolls through with no hoop mark. For samplers and anything larger than a hoop.

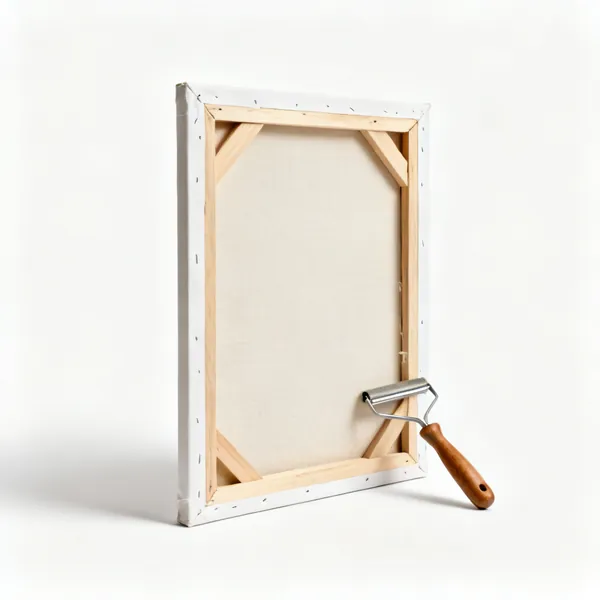
  • Stretcher bars

    Stretcher bars

    Wooden bars pinned into a rectangle with fabric tacked to them. Holds needlepoint canvas square, which a round hoop distorts.

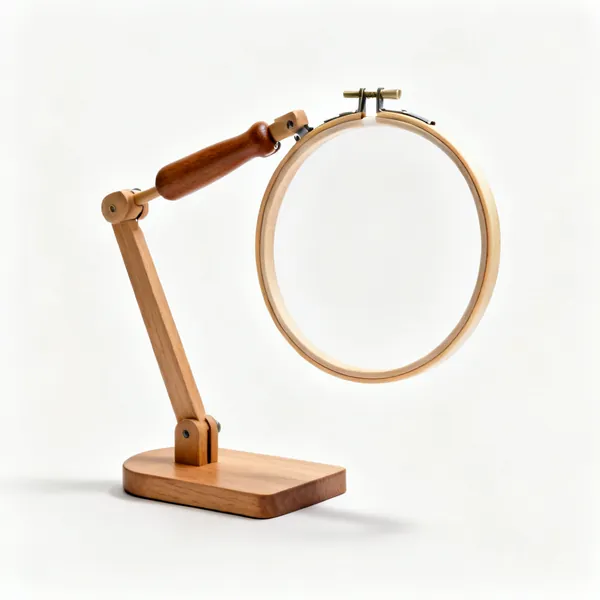
  • A wooden embroidery hoop stand with an adjustable arm holding a hoop

    Hoop stand

    Holds the hoop so both hands are free, which allows the two handed stabbing technique and is much kinder on the wrists over long sessions.

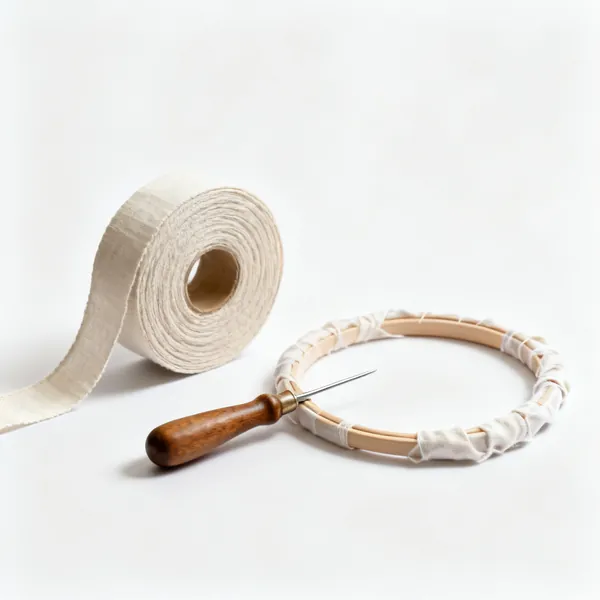
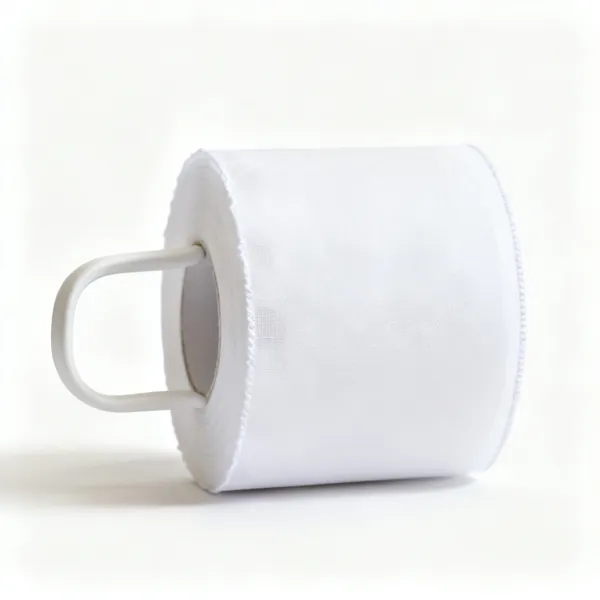
  • Hoop binding tape: A roll of cotton twill tape beside a partly wrapped embroidery hoop ring

    Hoop binding tape

    Cotton tape wrapped around the inner ring for extra grip and to stop delicate fabric marking. A few pence and it makes a cheap hoop hold properly.

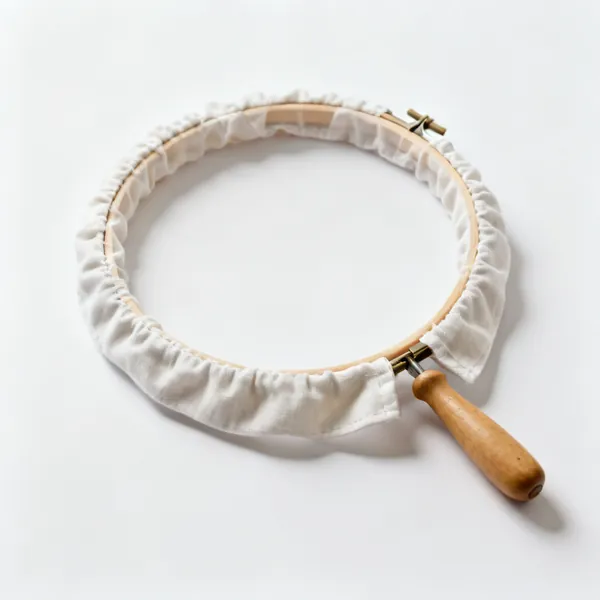
  • A fabric grime guard sleeve fitted around an embroidery hoop

    Grime guard

    A fabric sleeve over the hoop edge so the hand holding it does not mark the work. Relevant on anything that will be handled for weeks.

Needles and threaders 8

Sharp or blunt, and an eye large enough that the thread does not shred passing through it.

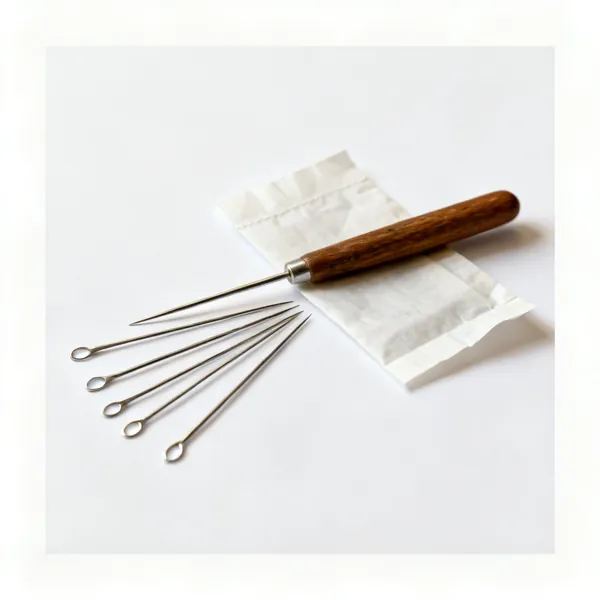
  • Crewel needles: Several crewel embroidery needles with long eyes beside a paper packetEssential

    Crewel needles

    Sharp point and a long eye for several strands, on woven cotton or linen. The default embroidery needle, and sizes 7 to 9 cover most work.

  • Several blunt tipped tapestry needles with large eyes

    Tapestry needles

    Blunt tipped, so on evenweave or canvas they find the hole rather than piercing a thread. Cross stitch and needlepoint both need this rather than a sharp.

  • Several chenille needles with large eyes and sharp points

    Chenille needles

    Large eye and a sharp point for wool, ribbon and thick threads on heavier cloth. Where a crewel needle's eye would shred the thread.

  • Milliner's needles: Several long milliner's straw needles of even thickness

    Milliner's needles

    Same thickness along their whole length, so a wrapped stitch like a bullion knot slides off without catching at the eye. A specialist that solves one real problem.

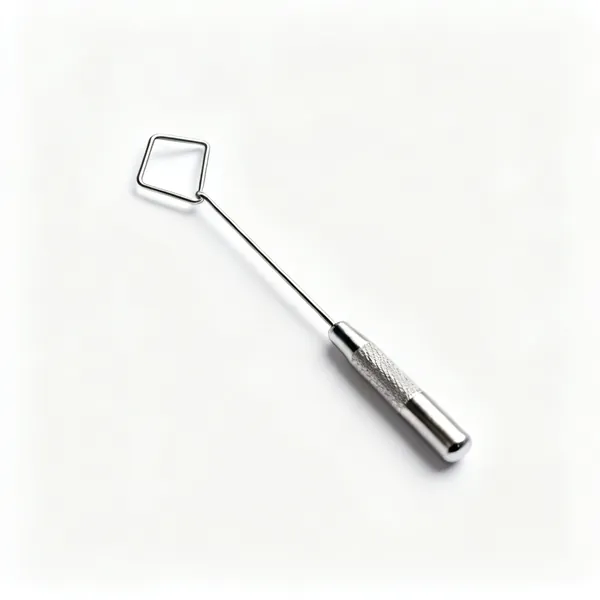
  • A small metal needle threader with a wire diamond loopEssential

    Needle threader

    A wire loop that pulls thread through an eye. Not a beginner's tool: threading a size 10 needle with three strands is genuinely difficult without one.

  • A small decorative magnetic needle minder disc on fabric

    Needle minder

    A magnet that holds the needle on the fabric between stitches. Stops the needle being lost in the sofa, which is the alternative every time.

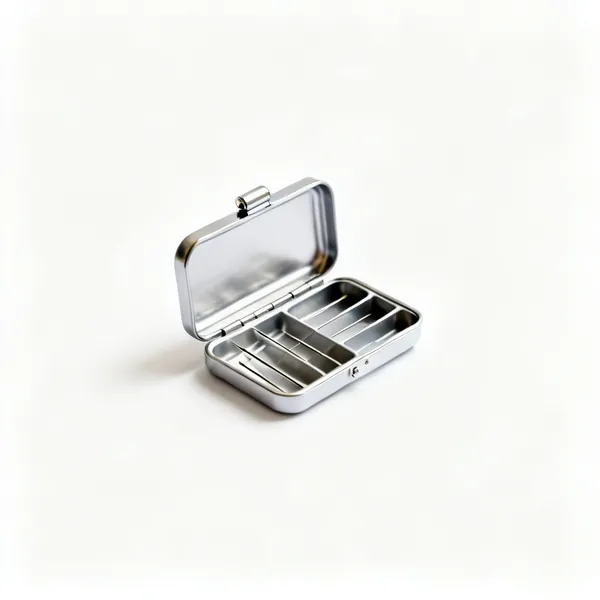
  • A small metal needle case with several compartments open

    Needle case

    Keeps needles sorted by type and out of the air, which stops them rusting. Mixed loose needles means picking the wrong one and finding out mid stitch.

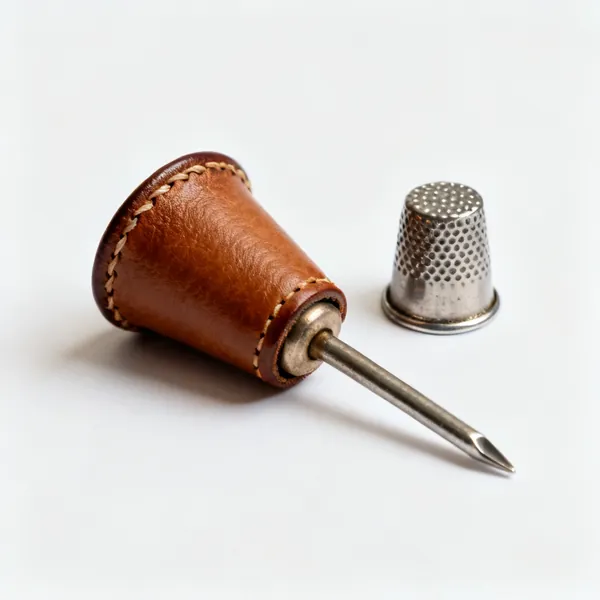
  • A leather sewing thimble beside a metal dimpled one

    Thimble

    For pushing through heavy fabric or several layers. A leather one keeps some feel, which most embroiderers prefer to metal.

Threads and fabric 9

What the stitches are made of, and what they are made on.

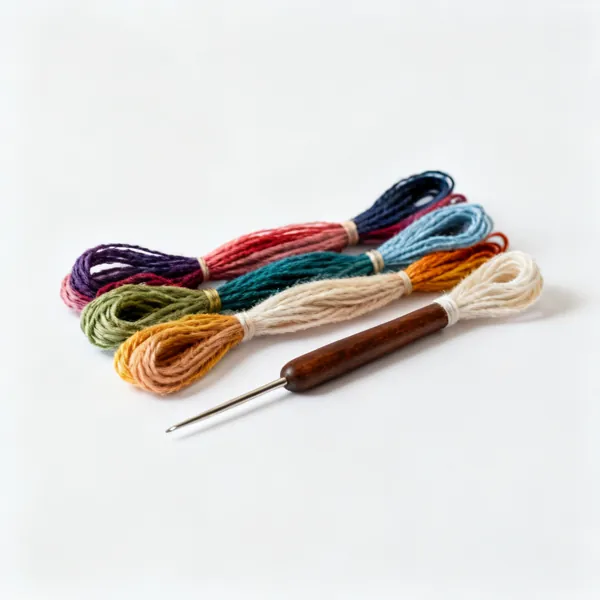
  • Several skeins of stranded cotton embroidery thread in assorted coloursEssential

    Stranded cotton

    Six loosely twisted strands meant to be separated. Two or three is the usual weight, and separating one strand at a time is what makes it lie flat.

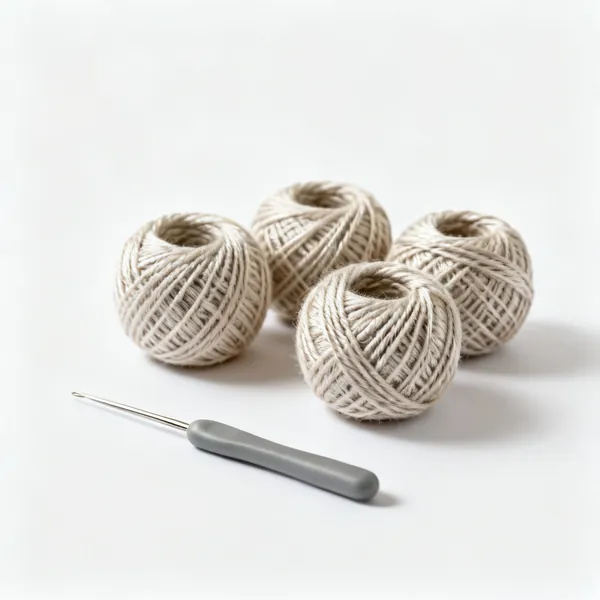
  • Several balls of perle cotton thread with a twisted sheen

    Perle cotton

    A single twisted thread that cannot be separated, with a visible sheen and a defined texture. Used where the stitch itself should read as a raised line.

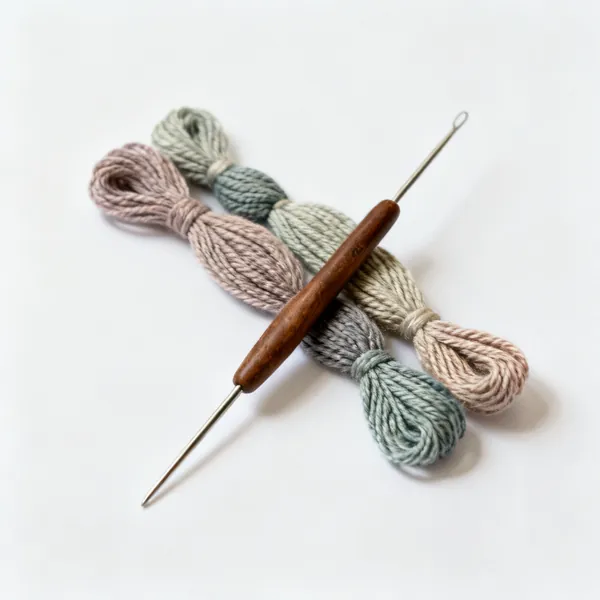
  • Crewel wool: Several skeins of fine crewel embroidery wool in muted colours

    Crewel wool

    Fine wool for traditional crewel work, giving a soft matt surface that cotton cannot. Needs a chenille needle and it does not like being unpicked.

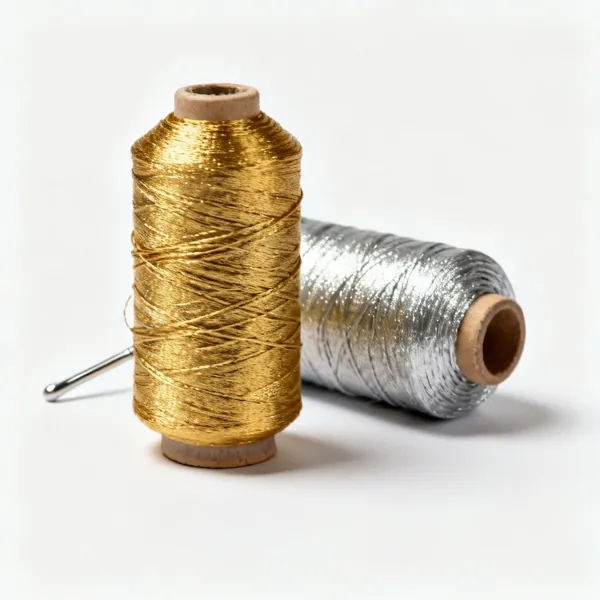
  • Metallic thread: Two spools of gold and silver metallic embroidery thread

    Metallic thread

    Bright and difficult: it kinks, frays and abrades through fabric. Short lengths, a larger needle and thread conditioner make it usable rather than easy.

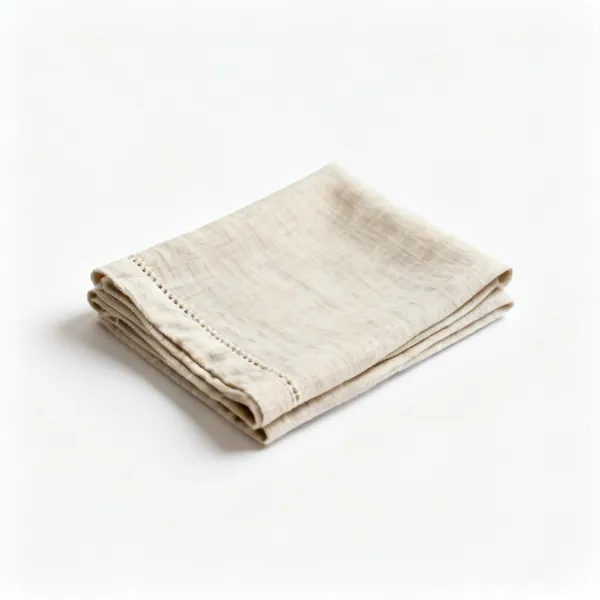
  • Linen or cotton fabric: A folded piece of natural coloured linen embroidery fabricEssential

    Linen or cotton fabric

    Medium weight with a close even weave, which supports a stitch without letting it sink in. Loose weaves let stitches pull through and stretchy fabric distorts.

  • Aida and evenweave: A piece of white Aida cross stitch fabric showing its regular grid weave

    Aida and evenweave

    Fabric with a visible regular grid of holes, so cross stitch lands on a count rather than a judgement. Sold by count, which is holes per inch.

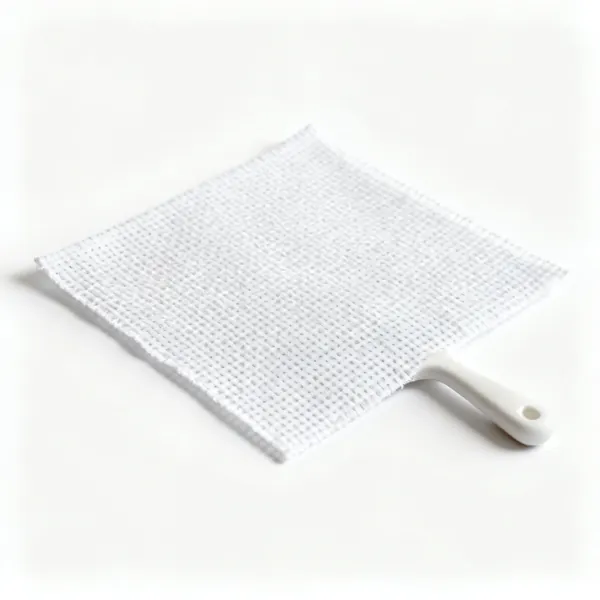
  • A piece of white tear away embroidery stabiliser backing fabric

    Stabiliser

    Backing that supports thin fabric or knitwear so stitches do not pull through. Tear away, cut away or water soluble depending on what the front allows.

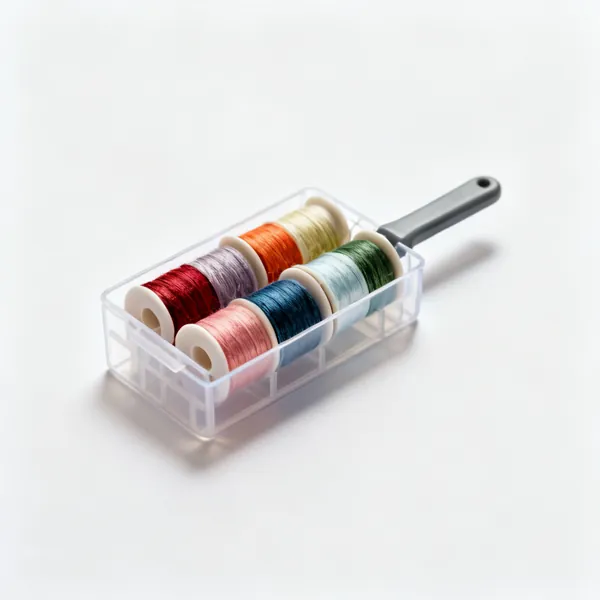
  • A plastic thread organiser box with wound bobbins of coloured thread

    Thread organiser

    Bobbins in a box with the colour number recorded, because a skein without its band is an unidentifiable colour you cannot buy more of.

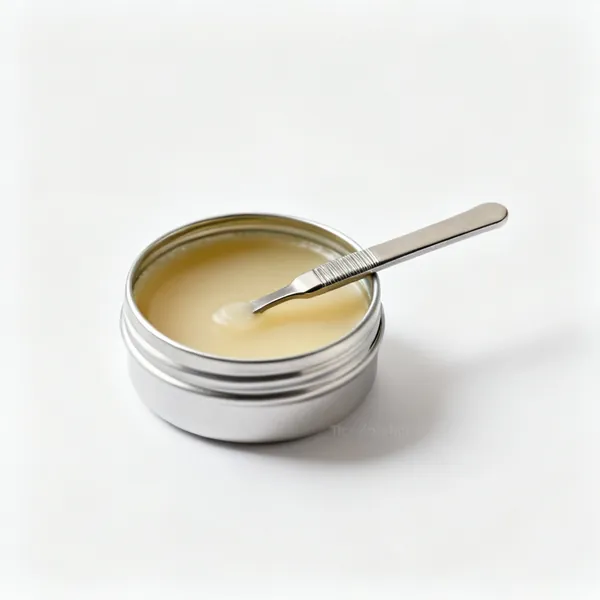
  • A small round tin of thread conditioner wax with the lid open

    Thread conditioner

    Wax or silicone drawn along the thread so it resists tangling and abrasion. Makes metallic thread and long lengths behave, and it is not needed for cotton.

Marking, cutting and finishing 10

Getting the design on, correcting mistakes, and pressing without crushing the stitches.

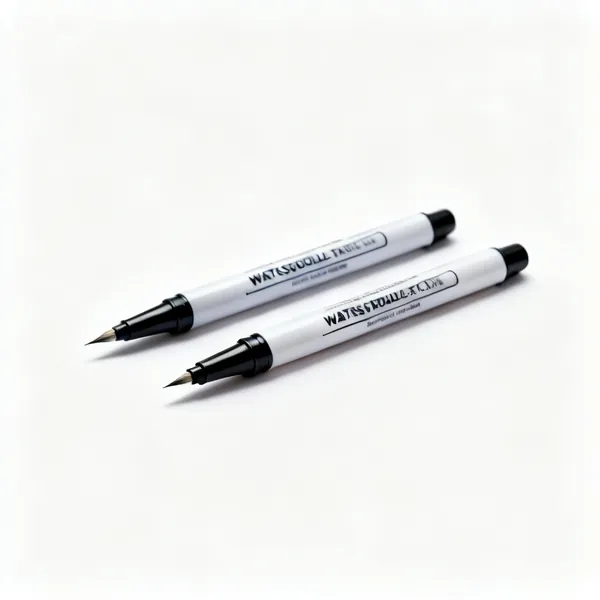
  • Water soluble pen: Two water soluble fabric marking pens with fine tipsEssential

    Water soluble pen

    Draws a visible line that washes out cold. Tested on a scrap first, since heat sets some of them permanently and an iron finds that out too late.

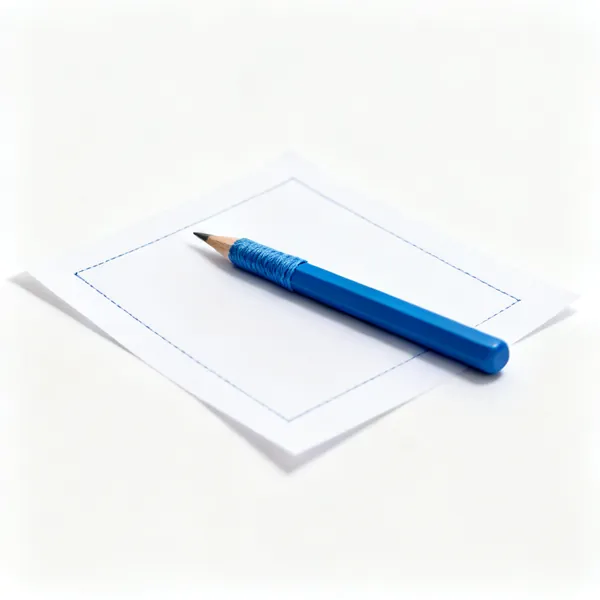
  • Iron on transfer pencil: A blue iron on embroidery transfer pencil beside a sheet of traced paper

    Iron on transfer pencil

    Draw on paper, iron onto fabric, and the design appears in reverse. For opaque fabric where tracing at a window is impossible.

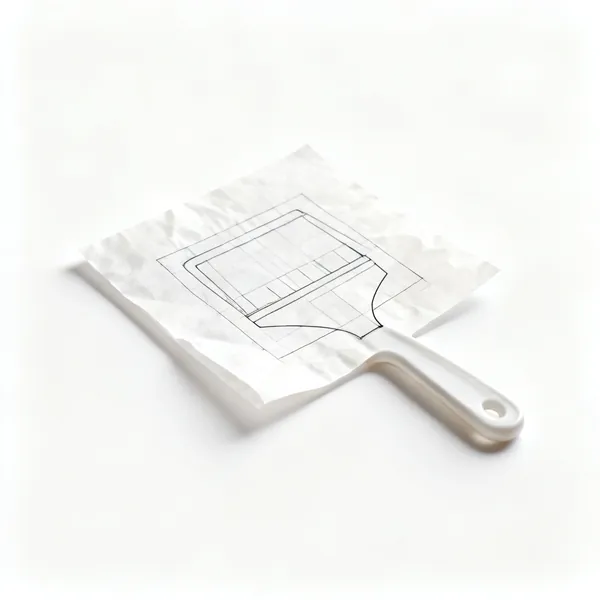
  • Tissue and tracing paper: A sheet of thin tissue tracing paper with a design drawn on it

    Tissue and tracing paper

    Stitch through tissue and tear it away, which works on dark and textured fabric where nothing else marks visibly. Slow and completely reliable.

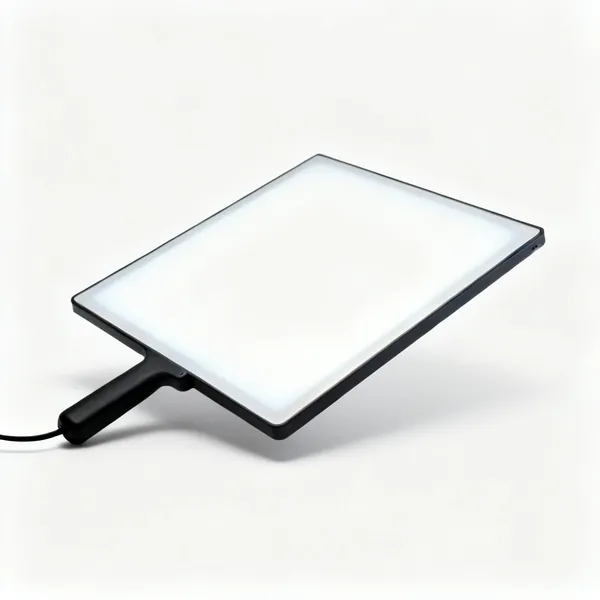
  • A slim rectangular LED light pad tracing panel switched on

    Light pad

    A flat LED panel for tracing through fabric on a table rather than holding it against a window. What makes tracing a two hour job rather than a twenty minute one.

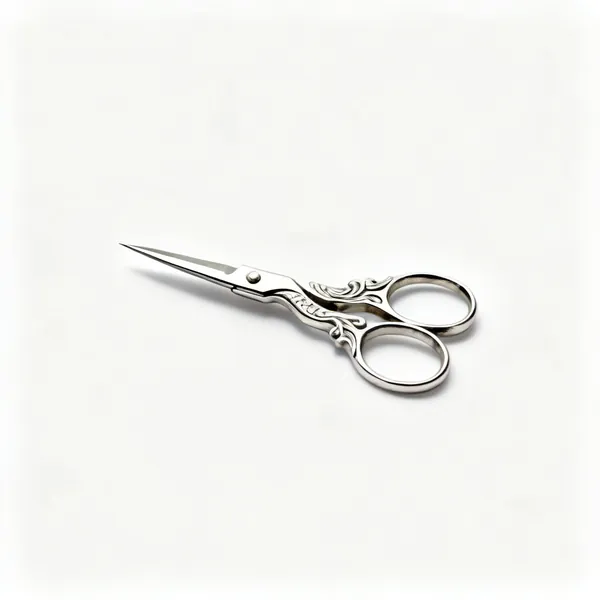
  • A pair of small sharp embroidery scissors with ornate stork handlesEssential

    Embroidery scissors

    Small, very sharp, fine pointed, and kept for thread only. The point is what gets under a single stitch to unpick it without cutting the fabric.

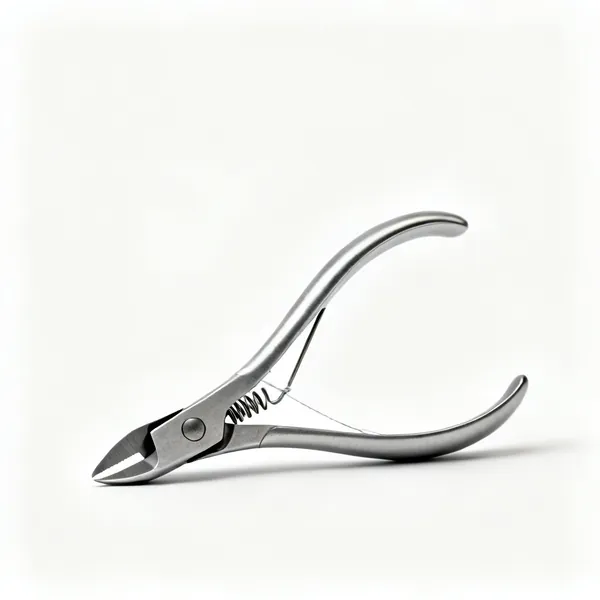
  • A pair of spring loaded thread snips with a curved handle

    Thread snips

    Spring loaded and used one handed for trimming ends, which happens constantly. Keeps the fine embroidery scissors sharp for the work that needs them.

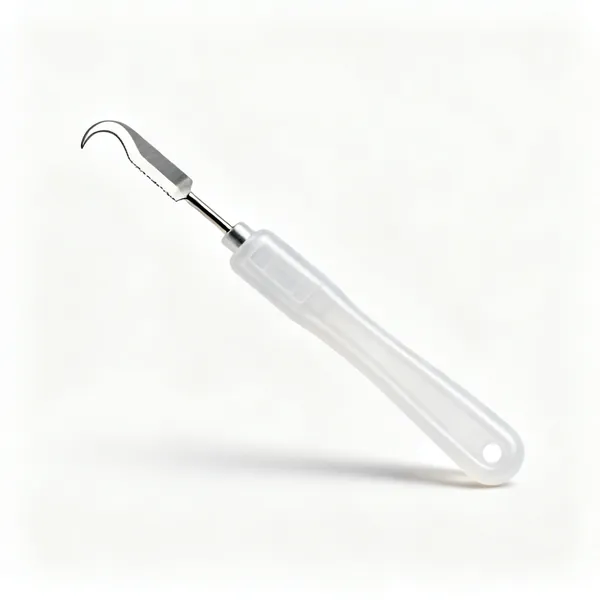
  • A small seam ripper with a hooked blade and a plastic handle

    Seam ripper

    For lifting out a run of stitches without cutting the ground fabric. Slower and safer than scissors on anything already dense with thread.

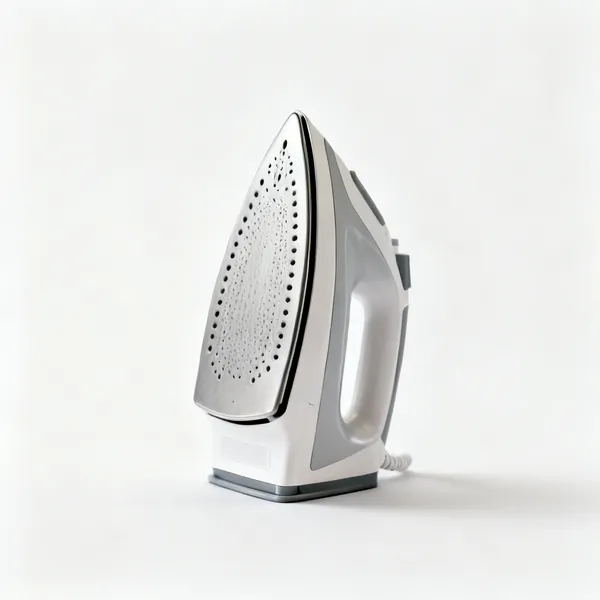
  • A steam iron standing upright on its heel plate, shown alone with clear space at every edgeEssential

    Iron

    Pressed face down on a towel so the stitches sink in rather than flattening. Face up crushes the texture, which is irreversible.

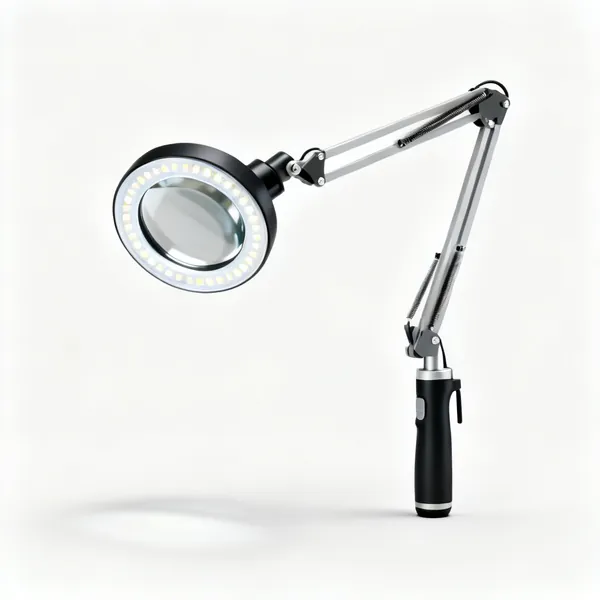
  • Magnifier lamp: A magnifying lamp with a large lens, an LED ring and an adjustable arm

    Magnifier lamp

    A lens and a light on an arm. Fine counted work is a genuine eye strain, and better light does more for it than magnification alone.

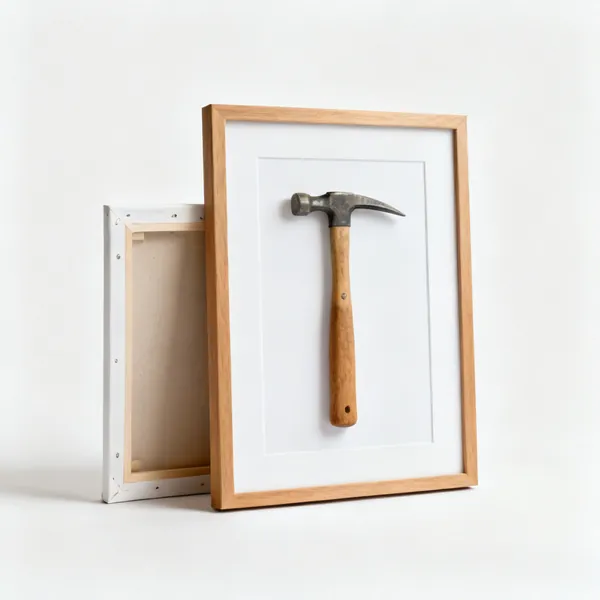
  • Display frame

    Display frame

    Where the piece ends up, and it is chosen after washing and pressing since the fabric moves. Lacing over card rather than glue, so it can be undone.

Choosing embroidery tools

The list above is what exists. This is how to decide which of it you actually need, what separates a tool worth keeping from one that ends up at the back of a drawer.

Drum tight fabric, and why it matters

Fabric held slack moves as the needle goes through it, so the stitch pulls the weave in slightly. Repeated a few hundred times, that is a puckered, distorted piece that will not press flat afterwards.

A hoop tightened properly holds the fabric like a drum head. Tap it and it should sound taut. Retighten as you work, because fabric relaxes into a hoop over an hour, and a hoop that was tight when you started often is not.

Tap it like a drum
It should sound taut. That is the whole test and it takes a second.
Retighten as you go
Fabric relaxes into a hoop over an hour. Check it every time you pick the work up.
Puckers do not press out
Distortion stitched into the weave stays there. This is the thing to get right first.
Bind the inner ring
Cotton tape wrapped round it grips better and stops delicate fabric marking.

Getting the design onto the fabric

There are four practical methods and each suits a different fabric. Tracing with a water soluble pen against a window works on anything pale and thin. A transfer pencil and an iron works on opaque fabric. Tissue paper stitched through and torn away works on dark or textured fabric.

Whatever you use, test it on a scrap of the same fabric first. Several marking pens set permanently if they meet heat, which is discovered at the moment the finished piece is pressed.

Trace at a window
For pale thin fabric. Free, and the light is better than any lightbox.
Iron on transfer
For opaque fabric where tracing is impossible. The line is permanent, so stitch over it fully.
Tissue paper
Stitch through it and tear it away. The only reliable method on dark or textured cloth.
Test the marker
Some set permanently under an iron. Find that out on a scrap, not on the finished piece.

Stranded cotton and how many strands

Stranded cotton comes as six loosely twisted strands and is meant to be separated. Two or three strands is the usual working weight, one strand for fine detail, six for bold outlines and filling large areas quickly.

Separating properly matters. Pull one strand at a time straight out of the group, let the rest untwist, then recombine. Cutting a six strand length in half and using it doubled gives a thread that twists on itself and lies badly.

Two or three strands
The usual working weight. Six is for bold outlines and covering ground fast.
Separate one at a time
Pull each strand out singly and recombine. It lies flat afterwards, which shows.
Around 45cm lengths
Longer and it abrades through the fabric and frays before you have used it.
Let it untwist
Drop the needle and let it hang. A twisted thread makes uneven stitches.

Needle type by what you are stitching

An embroidery or crewel needle has a long eye for several strands and a sharp point for woven fabric. A tapestry needle is blunt, for canvas and evenweave where the needle should pass through a hole rather than pierce a thread.

A chenille needle is large eyed and sharp, for wool and ribbon on heavier cloth. Getting this wrong shows up as thread that shreds in the eye, or a needle that will not pass without dragging the fabric with it.

Crewel for woven fabric
Sharp, long eye. The default for stranded cotton on cotton or linen.
Tapestry for evenweave
Blunt, so it finds the hole instead of splitting a thread. Cross stitch and canvas.
Chenille for wool and ribbon
Big eye, sharp point, for thick threads on heavier cloth.
Eye should pass easily
If the thread shreds, the eye is too small. That is the whole sizing rule.

Finishing so the back does not show

Knots on the back create bumps that show through when the piece is framed or pressed, and they come undone with washing. The alternatives are an away waste knot cut off later, or weaving the tail under existing stitches.

Then press face down on a soft towel so the stitches sink into it rather than being flattened. Pressing embroidery face up crushes the texture, which is the thing you spent the hours on.

Avoid knots
They bump through when framed and work loose in the wash. Weave the tail instead.
Waste knot
Start with a knot away from the design, stitch toward it, then cut it off from the front.
Press face down
On a towel, so the stitches sink in. Face up crushes the texture flat.
Wash before framing
Removes marking pen and hoop marks. Cold water, and check the thread is colourfast.

Frequently asked questions

What tools do I need to start embroidery?
A 15cm hoop, a packet of crewel needles, some stranded cotton, a piece of cotton or linen, small sharp scissors and a water soluble marking pen. That is genuinely a complete kit, and the total cost is less than a single skein of specialist thread.
How tight should embroidery fabric be in the hoop?
Drum tight, so tapping it makes a sound. Slack fabric moves as the needle passes through and pulls the weave, which puckers the finished piece in a way that will not press out. Retighten every time you pick the work up, since fabric relaxes into a hoop.
How do you transfer an embroidery design onto fabric?
Trace it with a water soluble pen against a window for pale thin fabric. Use an iron on transfer pencil for opaque fabric. Stitch through tissue paper and tear it away for dark or textured cloth. Test any marker on a scrap first, since some set permanently under heat.
How many strands of embroidery thread should I use?
Two or three for most work, one for fine detail, and six for bold outlines or covering an area quickly. Separate the strands one at a time and recombine them, since a length used straight from the skein twists on itself and lies unevenly.
What is the difference between crewel and tapestry needles?
A crewel needle is sharp with a long eye, for stranded cotton on woven fabric. A tapestry needle is blunt, so on evenweave and canvas it finds the hole rather than splitting a thread. A chenille needle is large eyed and sharp, for wool and ribbon.
Should you knot embroidery thread at the back?
Better not to. Knots bump through when the piece is framed or pressed, and they work loose in the wash. Use an away waste knot that gets cut off from the front, or weave the tail under a few existing stitches on the back.
How do you press finished embroidery?
Face down on a soft towel, so the stitches sink into it rather than being flattened. Pressing face up crushes the texture, which is the part you spent the hours on. Wash it first in cold water to remove marking pen and hoop creases.
What fabric is best for embroidery?
Medium weight cotton or linen with a close even weave, which supports stitches without letting them sink in. Avoid anything stretchy, and avoid a very loose weave where stitches pull through. Add a stabiliser behind thin fabric or knitwear.