Disclosure

Tools for quilting

Quilting is three separate jobs with three sets of tools. Cutting accurate pieces, which is rulers and a rotary cutter. Piecing them with a seam allowance that never varies, which is a machine foot and a habit. Then quilting three layers together without them shifting, which is basting and a walking foot. All 38 here are grouped in that order, because a fault in the first stage cannot be fixed in the third.

19 are marked essential: the accurate cutting and seam kit, which is where quilts succeed or fail.

Part of the full sewing tools list, 104 tools in 10 groups.

Cutting and measuring 10

Where accuracy starts. Nothing later in the process can recover a piece cut wrong.

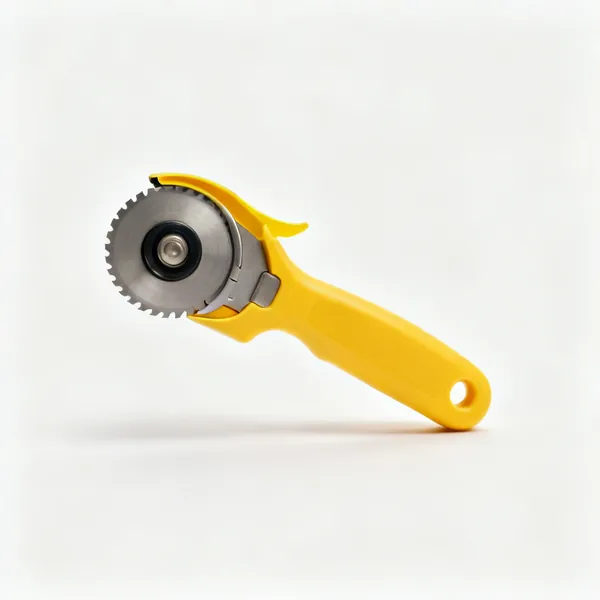
  • Rotary cutter: A rotary fabric cutter with a round blade, a yellow handle and a safety guardEssential

    Rotary cutter

    A round blade that cuts several layers along a ruler edge in one pass. 45mm suits most work. Retract it every single time it leaves your hand.

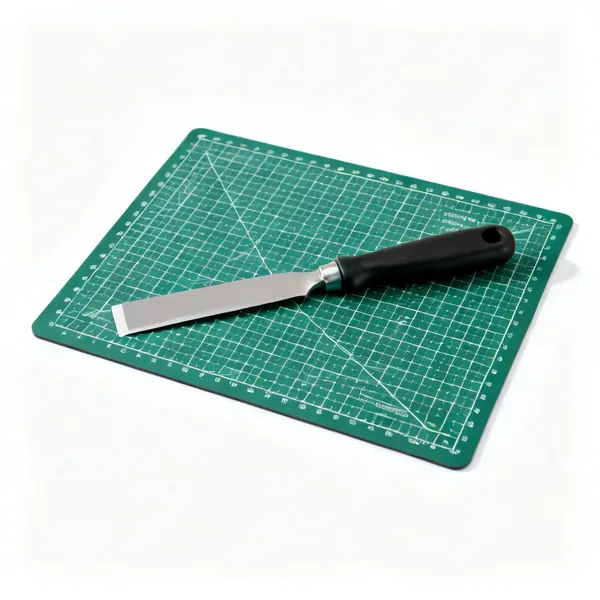
  • Self healing mat: A green self healing cutting mat with a printed measurement gridEssential

    Self healing mat

    A soft layered surface that closes behind the blade so it does not score into a track. Printed with a grid, which is a reference rather than a substitute for a ruler.

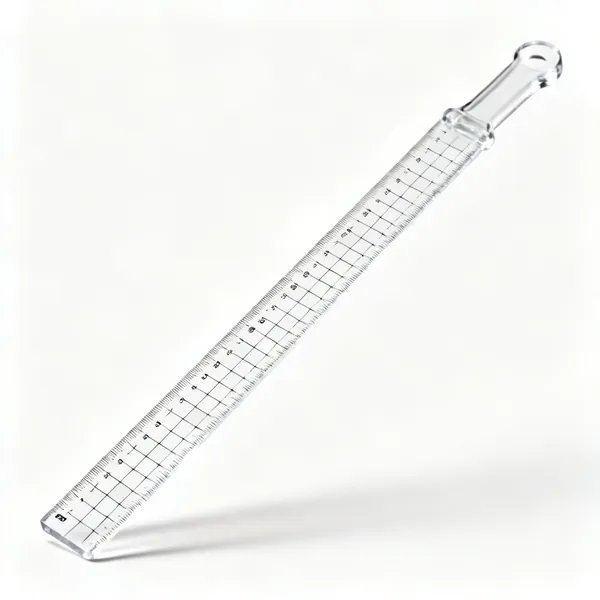
  • Long quilting ruler: A long clear acrylic quilting ruler with printed measurement linesEssential

    Long quilting ruler

    6 by 24 inches of thick acrylic, which cuts strips across folded fabric in one pass. Thick enough that the blade cannot ride up over the edge.

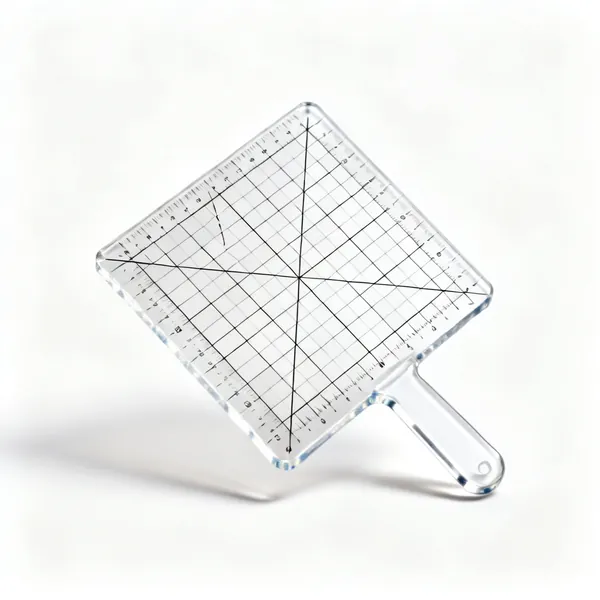
  • Square ruler: A clear acrylic square quilting ruler with printed grid lines and diagonal marksEssential

    Square ruler

    A 12 inch square for trimming blocks to size and checking they are square. Squaring up every block is what makes them assemble without fighting.

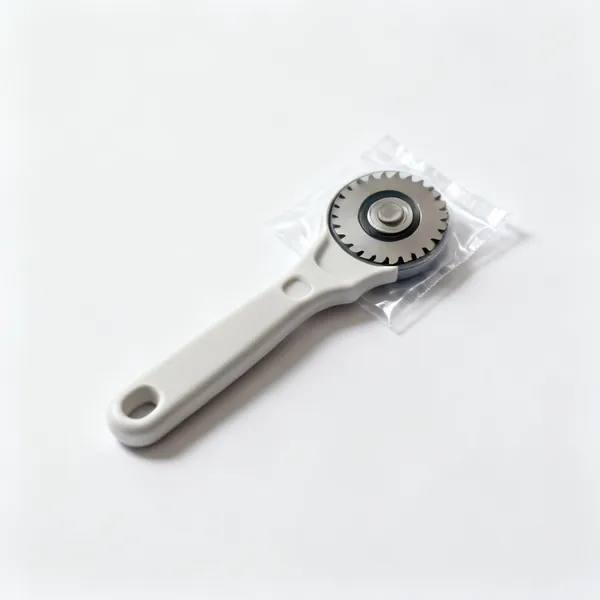
  • Spare blades: A small packet of round rotary cutter replacement bladesEssential

    Spare blades

    A blunt blade skips threads and needs pressure, and pressure is what makes a cutter slip off the ruler. Changing it is cheaper than the accident.

  • Ruler grips: A sheet of small adhesive sandpaper ruler grip dots

    Ruler grips

    Adhesive sandpaper dots on the underside of a ruler so it cannot creep as you cut. A ruler that moves a millimetre is a piece cut a millimetre wrong.

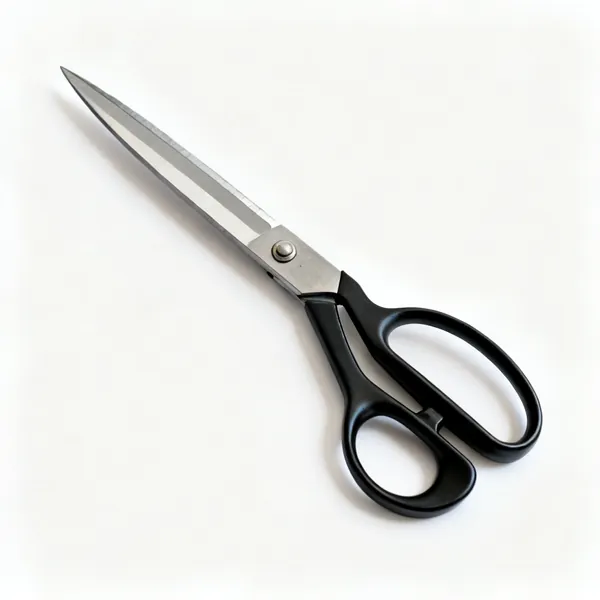
  • Fabric scissors: A pair of large fabric shears with black handlesEssential

    Fabric scissors

    Kept for fabric only, since paper blunts them immediately. For curves, trimming and anything a rotary cutter cannot follow.

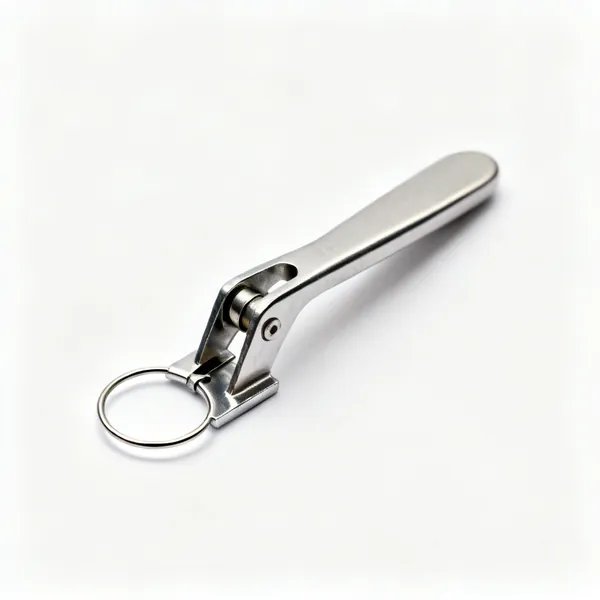
  • A pair of spring loaded thread snips with a curved handleEssential

    Thread snips

    Spring loaded, so they open themselves and can be used one handed at the machine. Used hundreds of times per quilt for trimming thread ends.

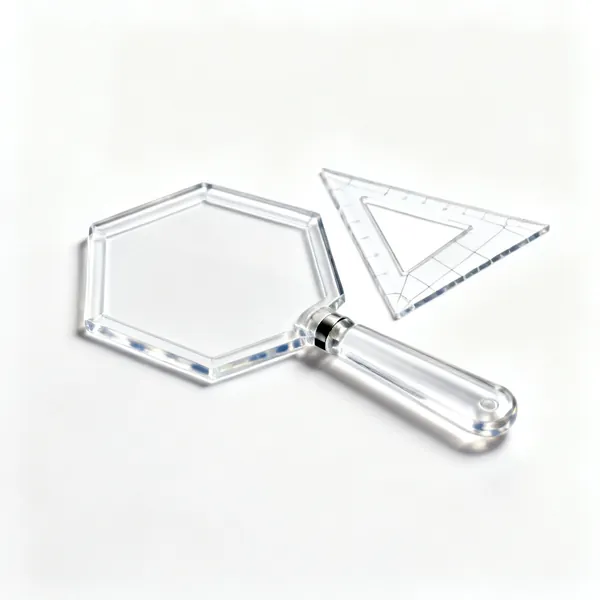
  • Templates

    Templates

    Acrylic shapes for hexagons, triangles and curves that a straight ruler cannot cut. Each one buys a specific block and no others.

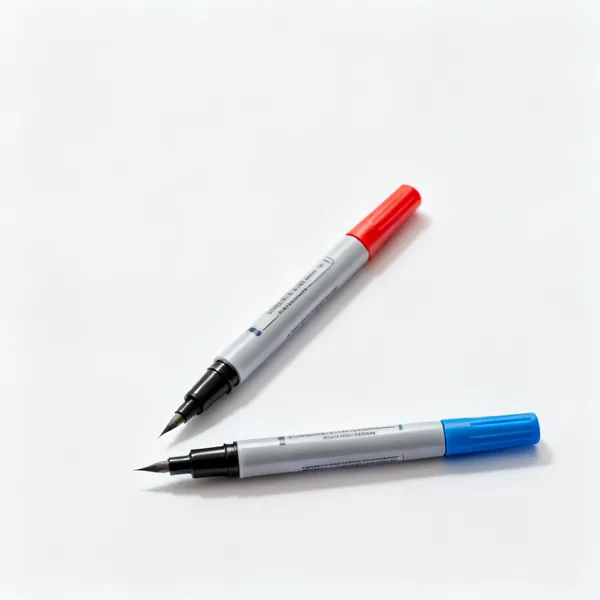
  • Fabric marker: Two fabric marking pens with fine tips and coloured caps

    Fabric marker

    Air erasable or water soluble, for marking a stitching line or a quilting design. Tested on a scrap first, because some go permanent under heat.

Piecing at the machine 10

One seam allowance, never varying, and the pressing that keeps blocks square.

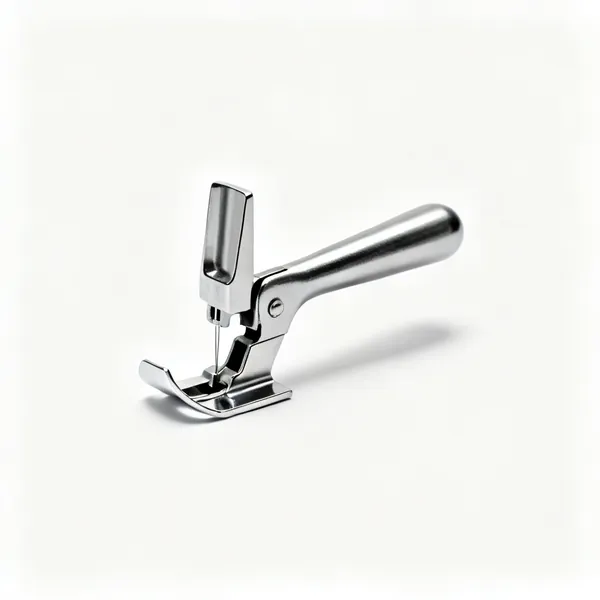
  • Quarter inch foot: A metal quarter inch quilting machine foot with a guide flangeEssential

    Quarter inch foot

    A foot whose edge is exactly a quarter inch from the needle, often with a guide flange. The single most useful thing you can add to a machine for patchwork.

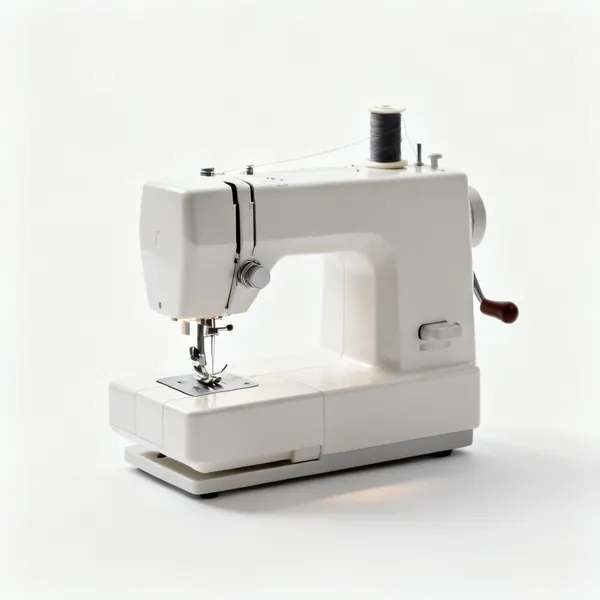
  • A domestic sewing machine with a needle, presser foot and thread spoolEssential

    Sewing machine

    A straight stitch and consistent tension is all patchwork asks for. What matters is a foot that gives a repeatable seam and a throat plate you can see.

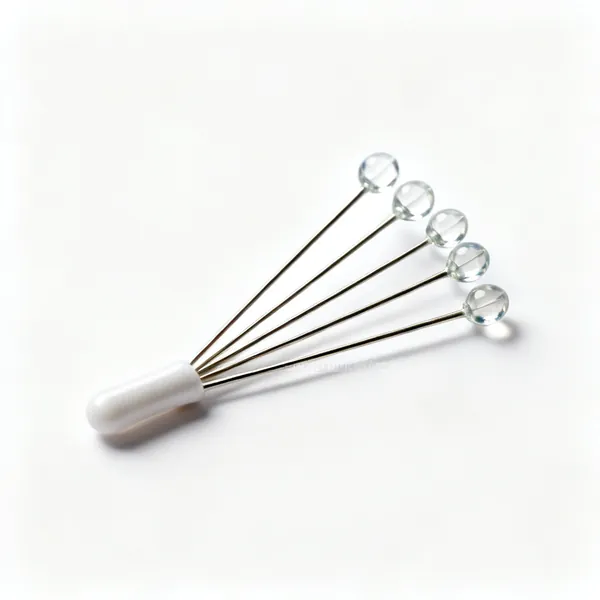
  • Fine pins: Several long glass headed fine sewing pins in a pincushionEssential

    Fine pins

    Long, fine and glass headed, so they hold two layers without distorting the fabric and will not melt under an iron. Placed across the seam, not along it.

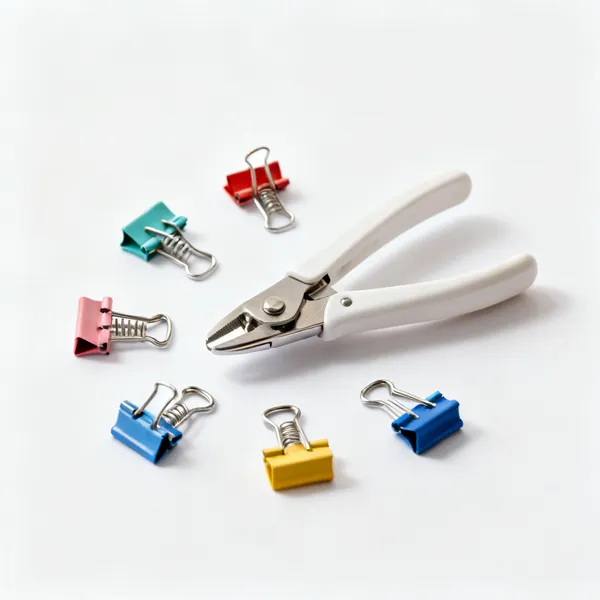
  • Several small colourful sewing clips with metal spring hinges

    Sewing clips

    Small clips that hold thick layers a pin would struggle with, particularly on binding. They also do not put holes in anything.

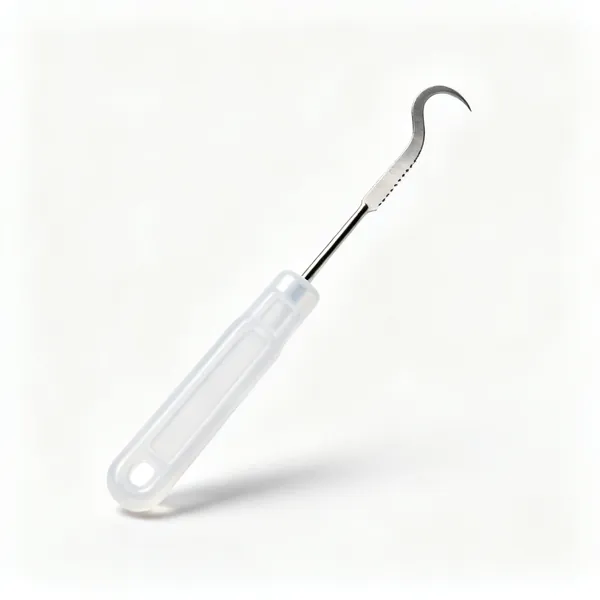
  • A small seam ripper with a hooked blade and a plastic handleEssential

    Seam ripper

    For the seam that came out an eighth of an inch wide, which will otherwise be a half inch by the end of the block. Used more than anyone admits.

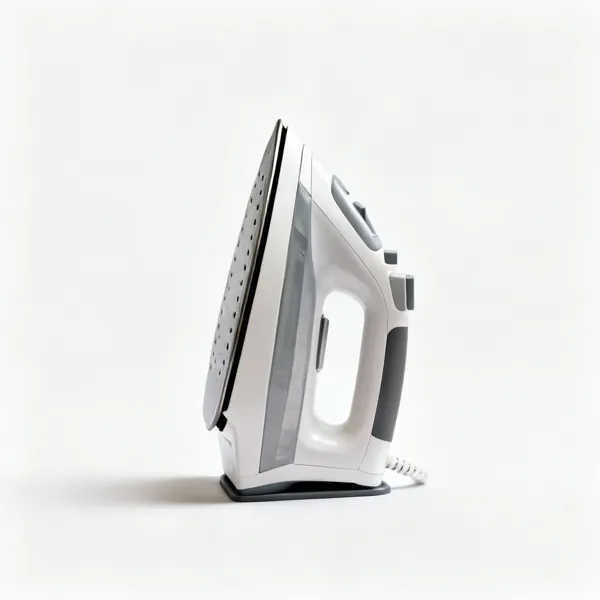
  • A steam iron standing upright on its heel plate, shown alone with clear space at every edgeEssential

    Iron

    Used to press rather than iron, lifting and setting down. A sharp point matters more than steam, for getting into the corner of a pieced seam.

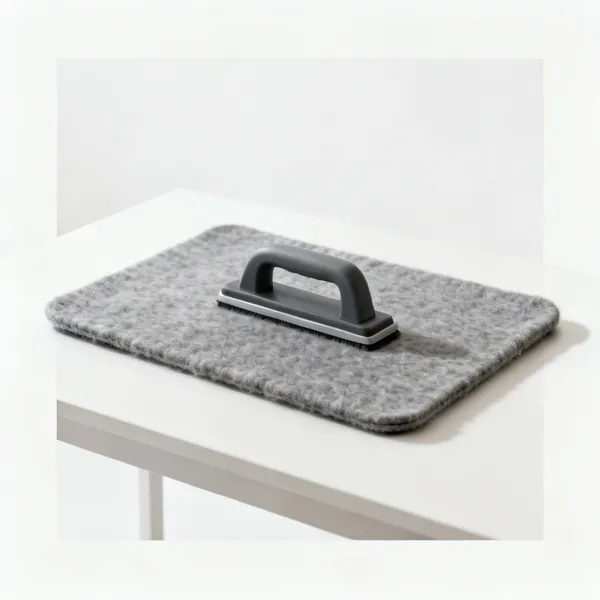
  • A thick grey wool pressing mat lying flat on a table

    Wool pressing mat

    Dense wool that reflects heat back through the fabric, so seams press flat from both sides at once. Also firm enough not to distort a block.

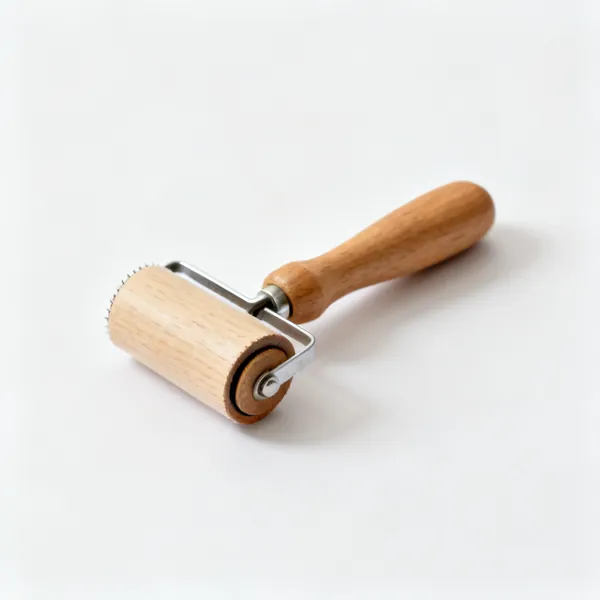
  • A small wooden seam roller with a handle

    Seam roller

    A small wooden roller that flattens a seam with pressure instead of heat, at the machine. Faster than getting up, and it does not scorch anything.

  • Cotton thread: Several spools of cotton sewing thread in neutral coloursEssential

    Cotton thread

    Fine cotton for piecing, because a thick thread takes up space in the seam and pushes blocks out of size. Neutral grey disappears against most fabric.

  • A packet of sewing machine needles with several needles beside itEssential

    Machine needles

    A sharp 80/12 for piecing cotton. A blunt needle pushes fabric down into the plate instead of piercing it, which shows as skipped stitches and puckers.

Wadding, backing and basting 8

Three layers that all want to move separately. Everything here exists to stop that.

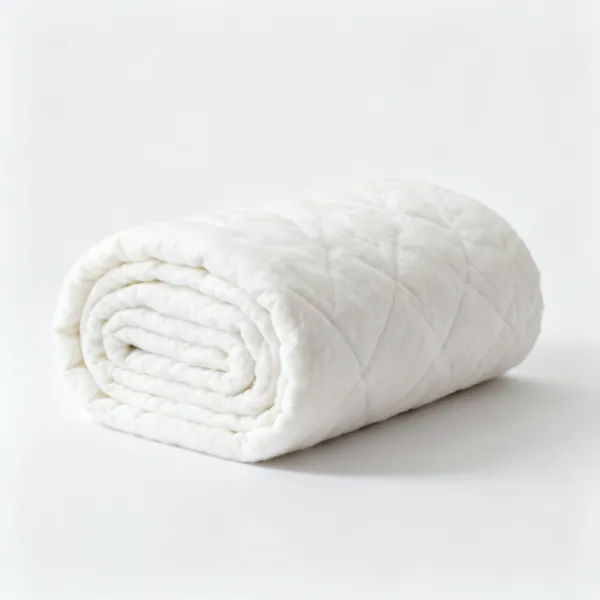
  • A folded roll of white cotton quilt wadding battingEssential

    Wadding

    The middle layer. Cotton drapes and crinkles, polyester is loftier and warmer, and a blend is the common compromise. The label states the maximum quilting spacing.

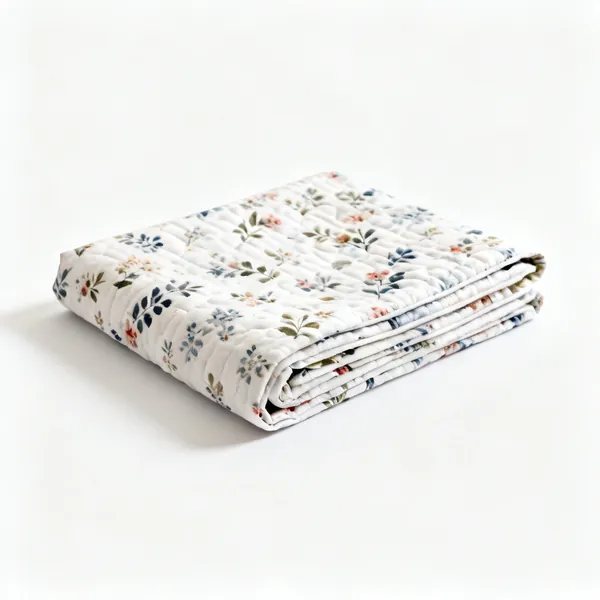
  • A folded length of printed cotton quilt backing fabricEssential

    Backing fabric

    Cut several inches larger than the top all round, because the layers shift as you quilt. Wide backing fabric avoids a seam across the back.

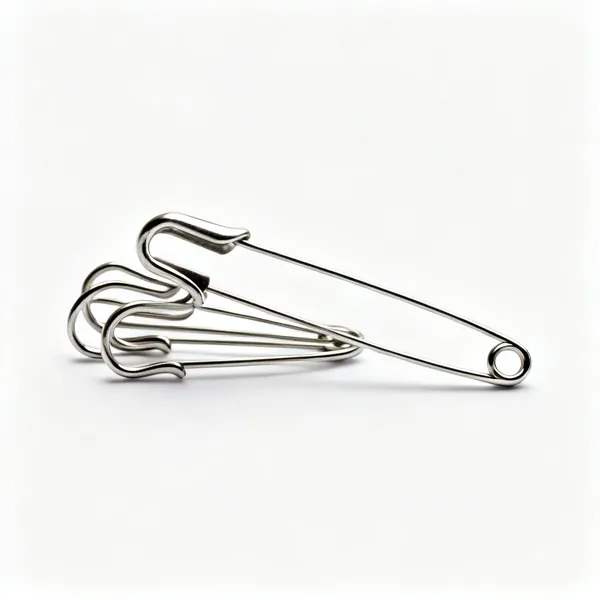
  • Curved basting pins: Several curved metal basting safety pinsEssential

    Curved basting pins

    Bent safety pins that go through three layers and back out without lifting the quilt off the table. Every hand span, working outward from the centre.

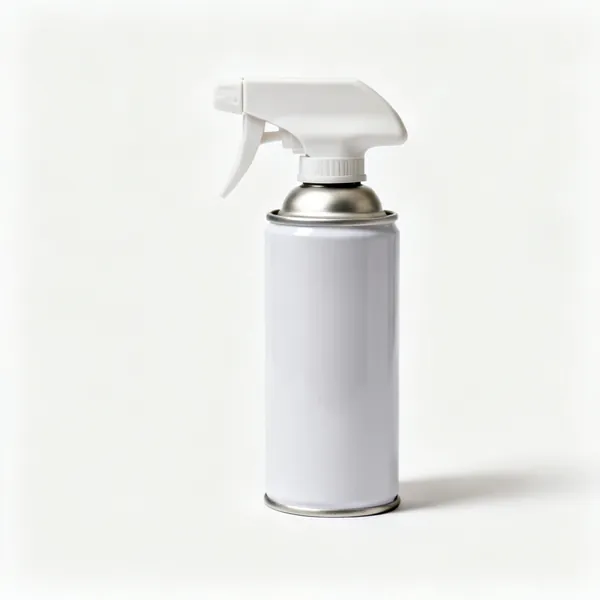
  • Basting spray: An aerosol can of quilt basting adhesive spray

    Basting spray

    Temporary adhesive that holds the layers with nothing for the machine to catch on. Fast, and it needs real ventilation and a covered floor.

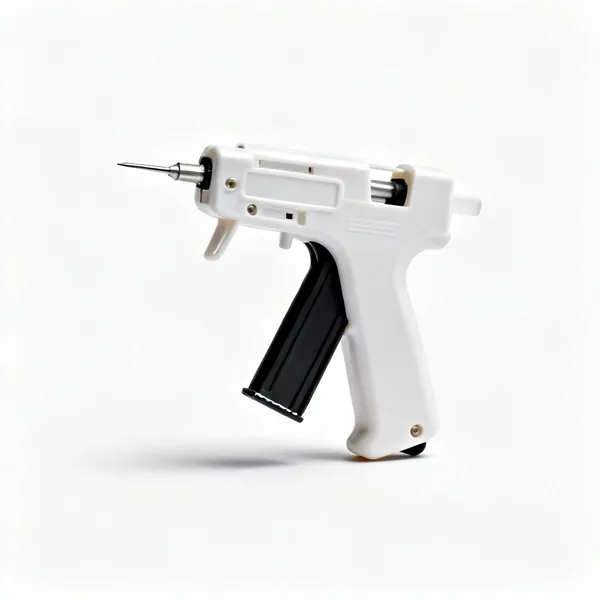
  • Basting gun: A plastic basting tag gun with a needle tip and a tag magazine

    Basting gun

    Fires small plastic tags through the layers, which are snipped out afterwards. Faster than pins and it leaves a small hole in the fabric.

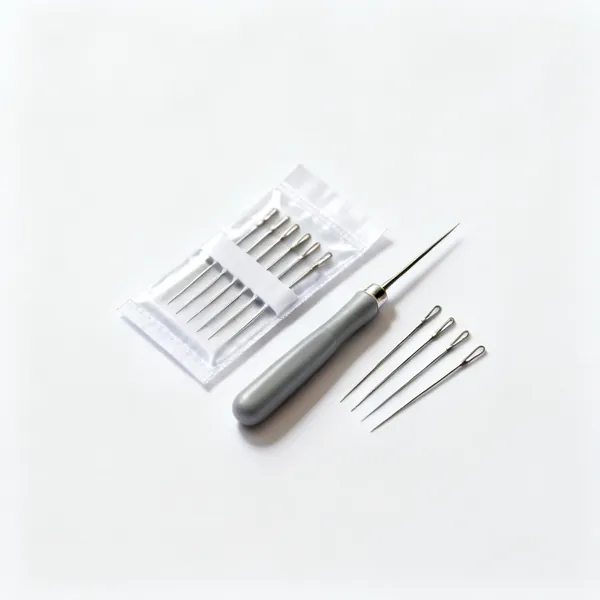
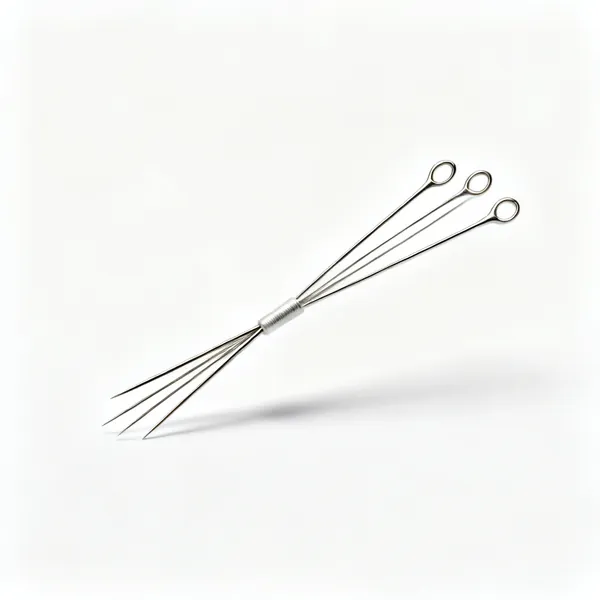
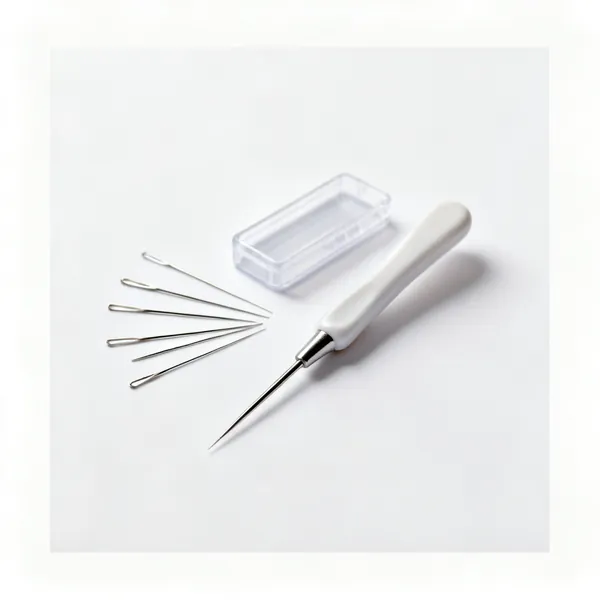
  • Several long thin basting needles with large eyes

    Basting needle

    A long thin needle for thread basting, which holds best on a large quilt and has nothing for the machine foot to hit. Slow, and the most reliable.

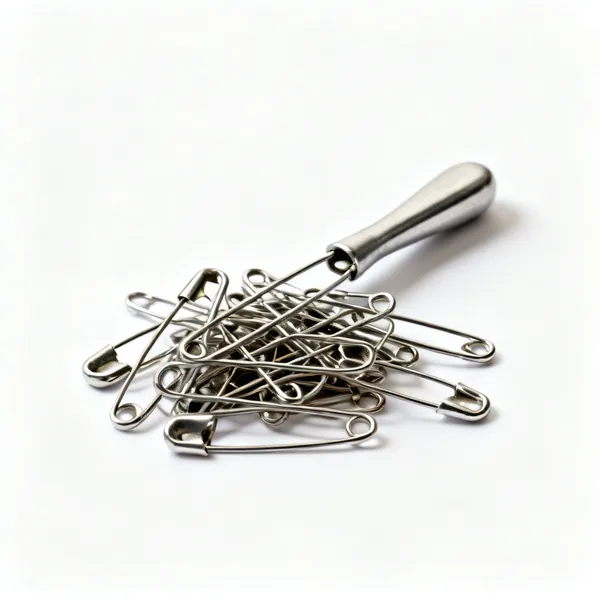
  • A pile of assorted metal safety pins

    Safety pins

    The cheapest basting method, and they snag on a walking foot and have to be removed as you approach each one. Effective and irritating.

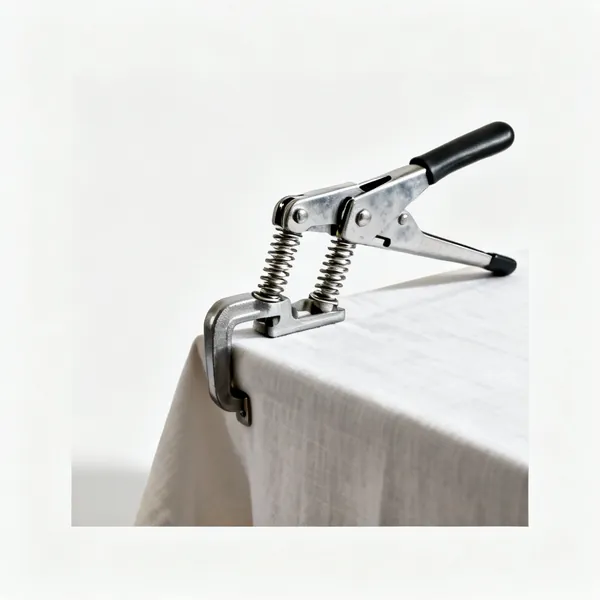
  • Backing clamps: Two metal spring clamps gripping the edge of a table with fabric

    Backing clamps

    Hold the backing taut to a table edge while basting, so it is smooth rather than approximately smooth. A slack backing is a pleated backing.

Quilting and binding 10

Stitching through all three layers, then closing the edge. The last stage and the most visible.

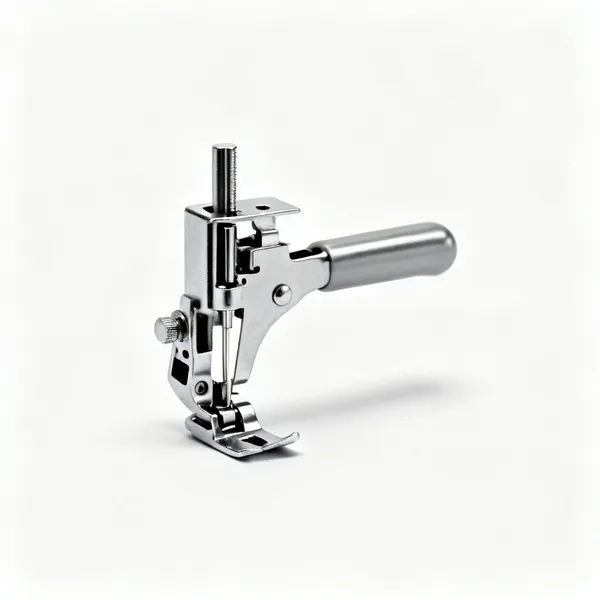
  • A metal walking foot sewing machine attachment with a feeding mechanismEssential

    Walking foot

    Feeds the top layer at the same rate as the feed dogs move the bottom, so nothing creeps. Straight line quilting without one produces pleats on the back.

  • Free motion foot: A metal free motion darning quilting foot with a small round hoop

    Free motion foot

    A hopping foot used with the feed dogs down, so the quilt is steered by hand in any direction. A skill rather than a setting, and it takes practice.

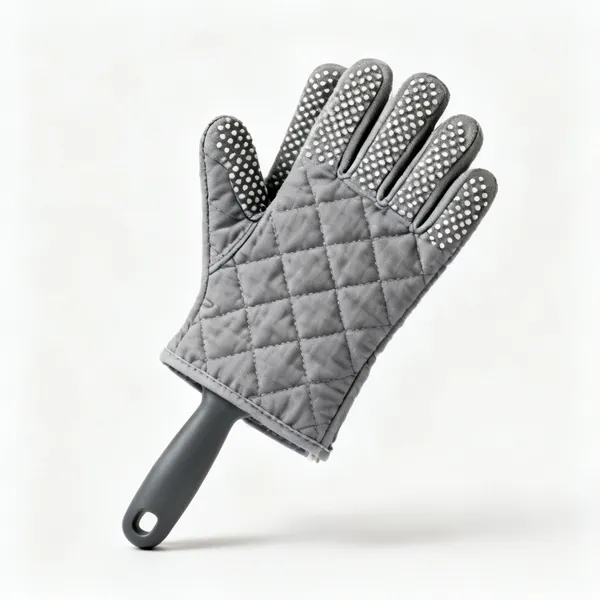
  • A pair of grey quilting gloves with grippy dotted fingertips

    Quilting gloves

    Grippy fingertips so a heavy quilt can be moved smoothly under a free motion foot. Without them you push with your palms and the stitches wobble.

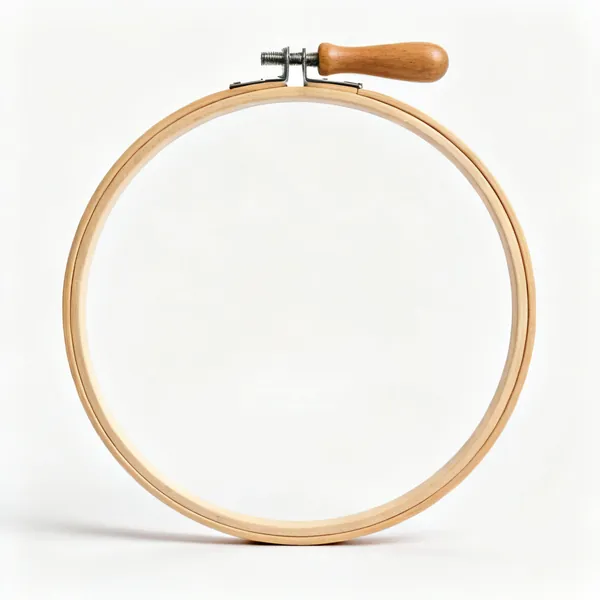
  • A large round wooden quilting hoop with a tightening screw

    Quilting hoop

    Holds a section of the quilt under gentle tension for hand quilting. Deeper than an embroidery hoop, to take the thickness of three layers.

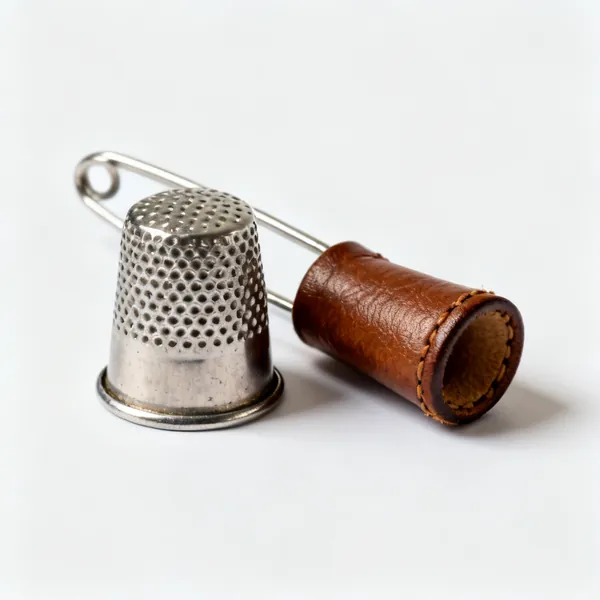
  • A metal dimpled sewing thimble beside a leather one

    Thimble

    Hand quilting means pushing a needle through three layers hundreds of times, and the finger loses. A dimpled metal or leather one, fitted properly.

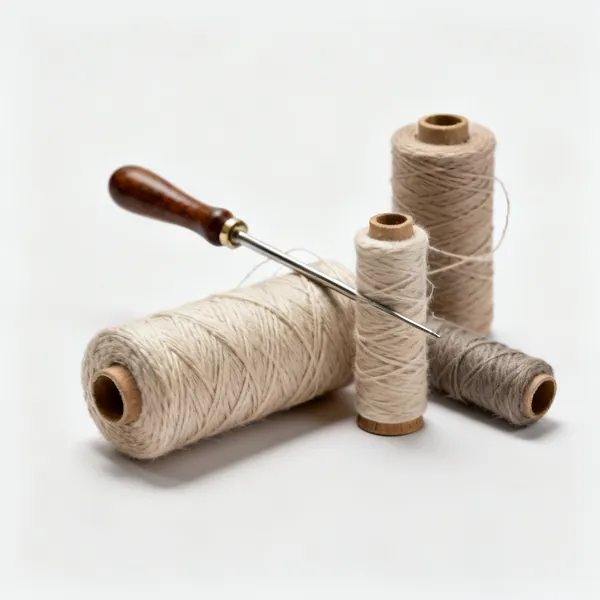
  • Several spools of quilting thread in varied colours

    Quilting thread

    Heavier than piecing thread so the stitching shows as a design rather than disappearing. The quilting pattern is meant to be seen.

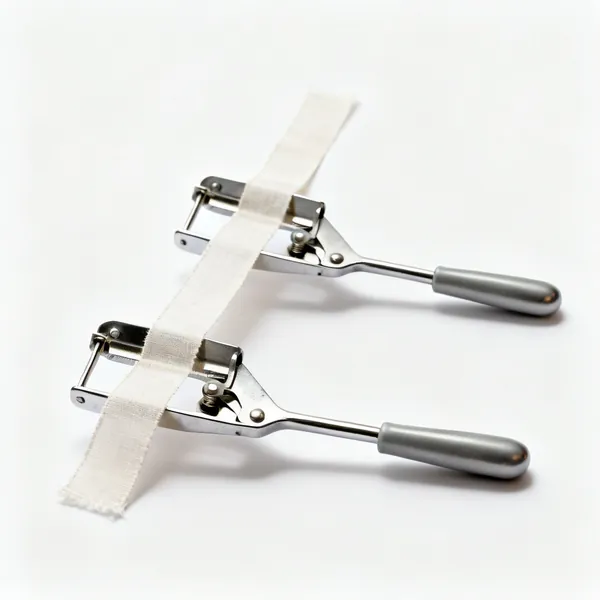
  • Two metal bias tape makers with fabric strips being drawn through

    Bias tape maker

    Folds a strip into binding as it is pulled through, ready to press. Doing it by hand along three metres of edge is possible and slow.

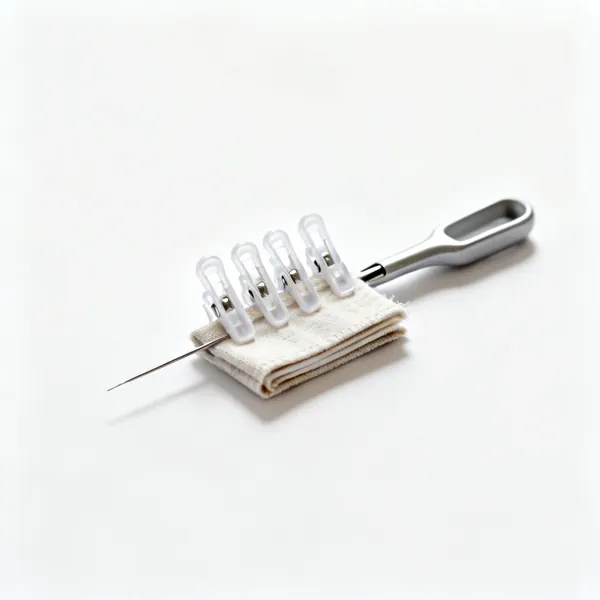
  • Binding clips: Several small plastic sewing clips gripping a short folded strip of fabric binding, centred with clear space at every edge

    Binding clips

    Hold folded binding around the quilt edge while it is stitched down. Pins in a bound edge stab whichever hand is underneath it.
  • Several hand sewing needles of different lengths beside a needle caseEssential

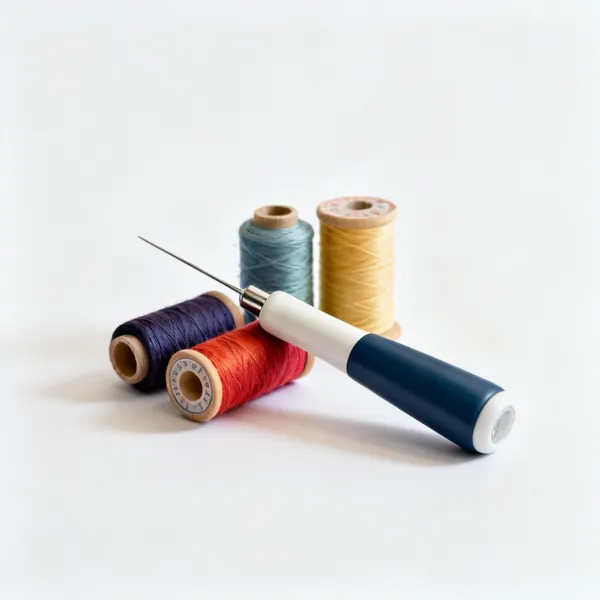
    Hand sewing needles

    For closing the binding on the back by hand, which is how a quilt gets an invisible finish. Short betweens for quilting, longer sharps for binding.

  • Quilt labels: A small printed fabric quilt label with blank lines

    Quilt labels

    Fabric sewn to the back with who made it, when and for whom. Quilts outlast memories, and an unlabelled one is anonymous within a generation.
Choosing quilting tools

The list above is what exists. This is how to decide which of it you actually need, what separates a tool worth keeping from one that ends up at the back of a drawer.
The quarter inch seam, and why it is everything

Patchwork is arithmetic. A block made of pieces cut to a size and joined with a quarter inch seam finishes at a predictable dimension, and every block has to match every other. A seam that is a sixteenth of an inch out on every join is half an inch out across a block.

So the seam allowance matters more than the stitching. A quarter inch foot or a marked plate on the machine, tested against a ruler on a scrap before starting, is what makes blocks the same size. Many quilters use a scant quarter inch to allow for the thickness of the fold.

Error compounds
A sixteenth out on each of eight seams is half an inch across the block.
Test on a scrap
Sew two pieces, measure the result against what it should be. Adjust before the real work.
Scant quarter inch
A thread narrower, allowing for the thickness the fabric takes up when pressed over.
Same foot throughout
Changing foot or needle position halfway through a quilt changes every block after it.

Rotary cutting is a ruler skill

A rotary cutter follows whatever the ruler edge does, so accuracy comes from the ruler not sliding. Weight on the ruler with a flat hand, blade against the edge, and cut away from yourself in one pass rather than sawing back and forth.

The blade is genuinely sharp enough to go through a fingertip without resistance, and it retracts for a reason. Closing it every single time it leaves your hand is the habit that separates quilters who have had an accident from those who have not.

Weight the ruler
Flat hand, fingers away from the edge. A ruler that creeps is the usual inaccuracy.
One pass, away from you
Sawing back and forth wanders and blunts the blade unevenly.
Close it every time
Every time it leaves your hand. This blade does not resist skin at all.
Change the blade
A blunt blade skips threads and needs pressure, and pressure is what makes it slip.

Pressing, not ironing

Ironing slides the iron along the fabric, which stretches a bias edge and distorts a pieced block. Pressing lifts the iron and sets it down, so the fabric is compressed rather than dragged. In patchwork the difference is measurable.

Seams get pressed either to one side or open. To the side is stronger and lets seams nest together at intersections, which is how points match. Open is flatter and reduces bulk where many seams meet. Both are correct for different blocks.

Lift and set down
Never slide. Sliding stretches bias edges and pushes a block out of square.
To the side nests seams
Opposing directions on adjoining blocks lock together, which is what matches points.
Open reduces bulk
Where six seams meet in a star centre, open is the only way to keep it flat.
Press each seam
Before crossing it with another. A seam pressed after being crossed stays crooked.

Holding three layers still

A quilt is top, wadding and backing, and all three want to shift independently under the machine. Anything not held will move, and it shows up as puckers and folds on the back that cannot be corrected afterwards.

Options are safety pins every hand span, spray adhesive, or hand basting with long stitches. Spray is fastest and needs ventilation, pins are cheap and catch on the machine, and thread basting is slowest and holds best on a large quilt.

Every hand span
Whatever method, pins or spray at that spacing. Wider and the layers find slack.
Work from the centre out
Smoothing outward. Starting at an edge traps a fold you will not see until the end.
Flat surface, bigger than the quilt
A floor if needed. Basting on a small table basted in the overhang.
Puckers cannot be fixed
A fold quilted into the back stays there. This is the step to take time on.

Quilting the layers, by machine or by hand

Straight line quilting needs a walking foot, which feeds top and bottom layers at the same rate so they do not creep against each other. Without one the backing comes out shorter than the top and pleats.

Free motion quilting drops the feed dogs and uses a darning foot, so the quilt is moved by hand in any direction. It is a skill rather than a setting, and practising on a basted sandwich of offcuts is how it gets learned.

Walking foot for straight lines
Feeds all layers together. Without it the backing creeps and pleats.
Free motion needs practice
A darning foot and lowered feed dogs. The quilt is steered by hand, which takes hours to learn.
Start in the middle
Quilting outward pushes excess to the edges rather than trapping it in the centre.
Hand quilting is a choice
Slower, and the look is different rather than worse. A thimble and a hoop, and time.

Frequently asked questions

What tools do I need to start quilting?
A rotary cutter, a self healing mat, a 6 by 24 inch ruler, a quarter inch machine foot and an iron. That set covers accurate cutting and piecing. Add a walking foot and basting pins or spray once you get as far as putting three layers together.
Why is the quarter inch seam so important in quilting?
Because error compounds. A seam a sixteenth of an inch out on each of eight joins puts a block half an inch out, and every block has to match every other. Test on a scrap first and use the same foot and needle position throughout the whole quilt.
What is a scant quarter inch seam?
A thread's width narrower than a true quarter inch, which allows for the fabric taken up by the fold when the seam is pressed over. Without that allowance a finished block comes out slightly small, and the shortfall multiplies across a whole quilt.
What size quilting ruler should I buy first?
A 6 by 24 inch rectangle, which cuts strips the full width of folded fabric and handles most straight cutting. Add a 12 inch square next for squaring up blocks. Speciality shapes come much later, and mostly for one particular pattern.
What is the difference between pressing and ironing?
Ironing slides along the fabric, which stretches bias edges and pushes a pieced block out of square. Pressing lifts the iron and sets it down again, compressing without dragging. In patchwork the difference is measurable in the finished block size.
Should quilt seams be pressed open or to one side?
Both are correct for different situations. To one side is stronger and lets seams nest at intersections, which is how points line up. Open is flatter and reduces bulk where many seams meet, such as a star centre. Choose per block rather than as a rule.
What is basting a quilt?
Holding the top, wadding and backing together before quilting so they cannot shift independently. Safety pins, spray adhesive or long hand stitches, at roughly a hand span apart, working outward from the centre. A fold quilted into the back cannot be corrected afterwards.
Do I need a walking foot to quilt?
For straight line quilting, effectively yes. It feeds the top and bottom layers at the same rate so they cannot creep against each other. Without one the backing comes out shorter than the top and pleats, which is not fixable once it is stitched down.