Disclosure

Tools for framing a wall

The smaller kit for one stud partition, all 31 tools grouped in the order the job runs: setting out, cutting, fixing, and what goes in before it is boarded. The difficulty is fitting square new work into a room that is neither square nor plumb.

18 are marked essential, which is genuinely all a single partition needs.

Part of the full carpentry tools list, 75 tools in 11 groups.

Setting out 8

Finding where the wall goes in a room that is not square. Work to plumb rather than to the existing walls.

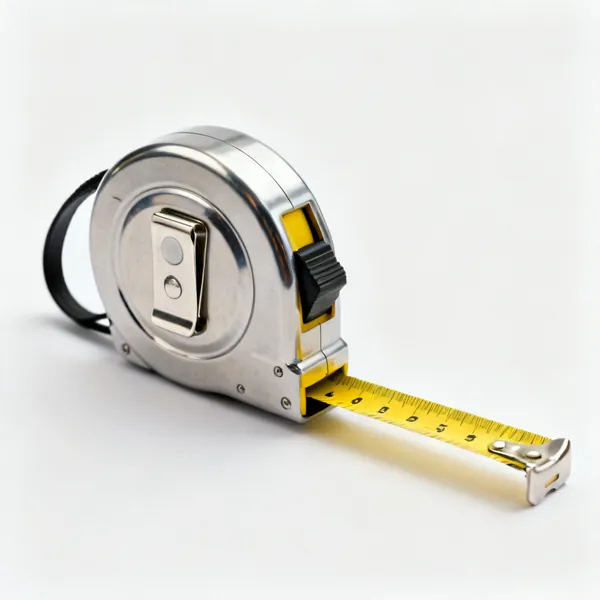
  • A retractable steel tape measure with a yellow blade, belt clip and locking buttonEssential

    Tape measure

    A 5m tape for plate lengths, stud centres and the door opening. Measure the opening twice on paper before cutting, since that is the dimension that cannot be adjusted after.

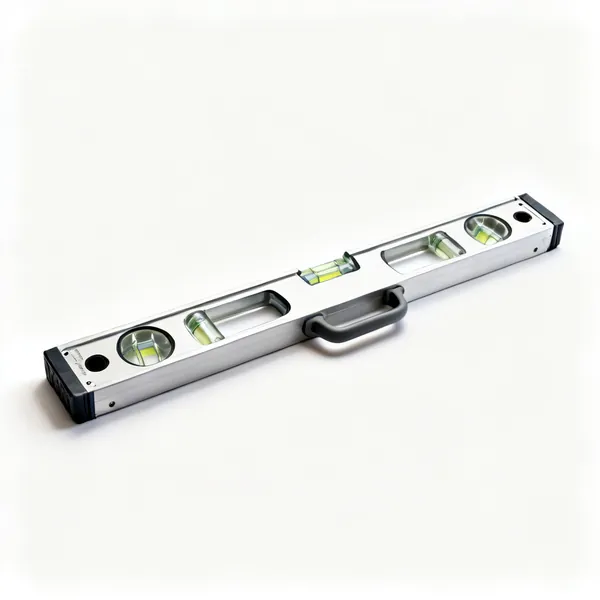
  • 1200mm spirit level: A long aluminium spirit level with several glass vials and machined edgesEssential

    1200mm spirit level

    Plumbs a stud and levels the plate, and held against a straight stud it transfers a floor line to the ceiling. 1200mm because a shorter level over a 2.4m stud multiplies its own error.

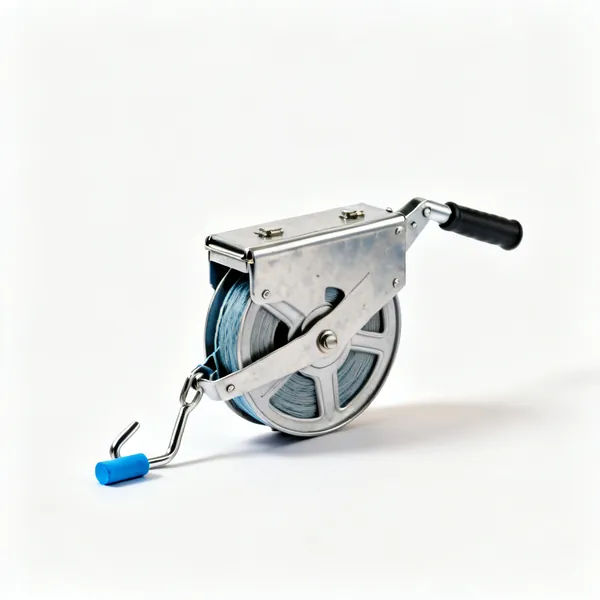
  • A chalk line reel with a metal case, hook and blue chalkEssential

    Chalk line

    Snaps the floor plate position across the room in one movement. A pencil line along a straight edge takes several times as long and comes out less straight.

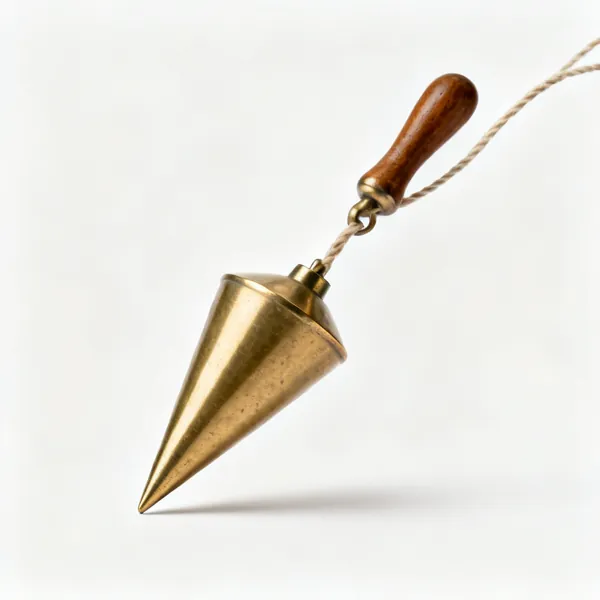
  • A brass plumb bob, a pointed conical weight on a cord

    Plumb bob

    Transfers the floor line to the ceiling with true vertical, unaffected by whether anything else in the room is plumb. The simplest and most reliable way to do it.

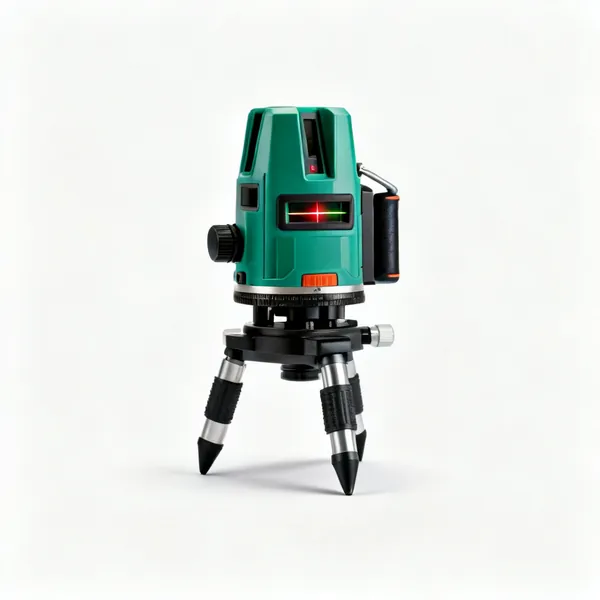
  • A self levelling cross line laser level on a small tripod

    Cross line laser

    Projects a plumb line up the wall and a level line across it, so plates and studs can be set to it directly. Faster than a plumb bob and it needs a reasonably dark room.

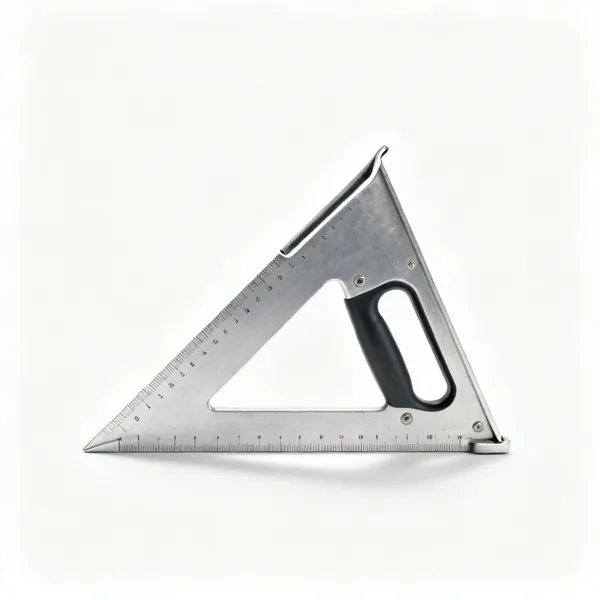
  • An aluminium speed square, a triangular carpenters square with a lipped edgeEssential

    Speed square

    Marks square cut lines on studs and guides the saw along them. Its lipped edge hooks over the timber so it registers square without being held in position.

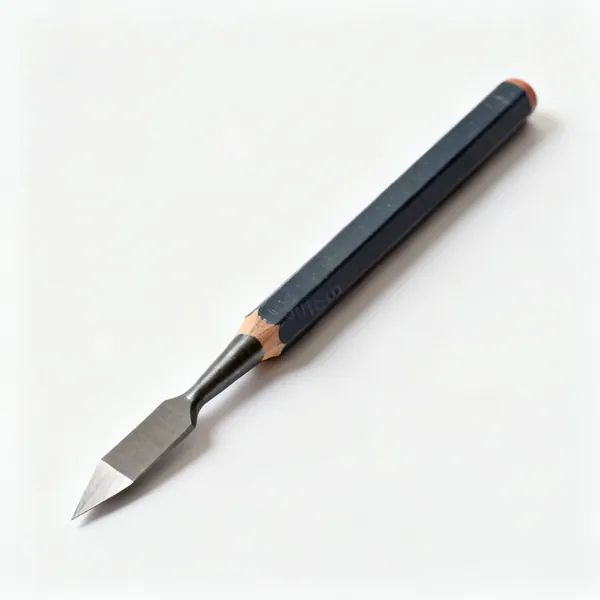
  • Carpenter's pencil: A flat rectangular carpenters pencil with a sharpened chisel shaped pointEssential

    Carpenter's pencil

    Flat so it will not roll off a plate, with a chisel point that shows on rough timber. Marking the edge with a cross for the stud side removes the classic half a stud error.

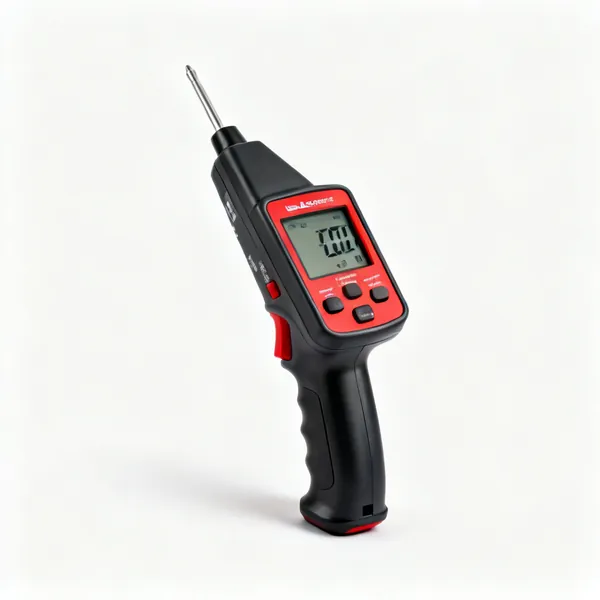
  • A handheld electronic stud cable and pipe detector with a digital displayEssential

    Cable and pipe detector

    Finds joists to fix into and cables and pipes to avoid. Drilling into a cable or a pipe turns an afternoon's carpentry into an electrical or plumbing repair.

Cutting the timber 7

A small number of straight cuts. A hand saw does the whole job if the studs are marked well.

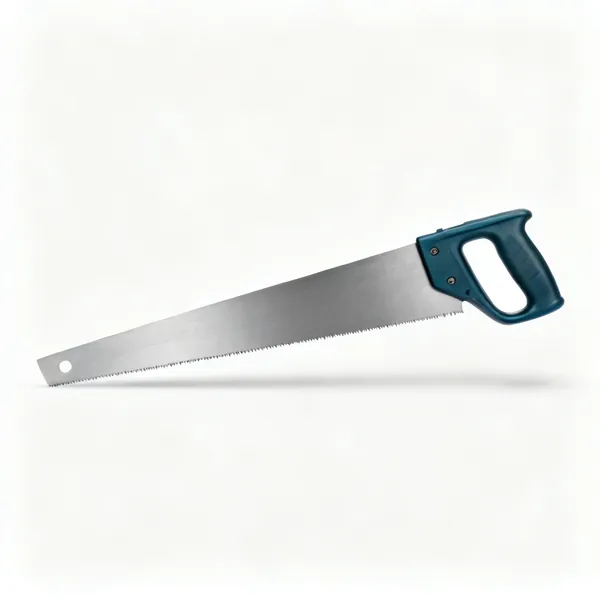
  • Hand saw: A hardpoint panel saw with a straight steel blade and a moulded plastic handleEssential

    Hand saw

    A hardpoint panel saw cuts every stud in a partition without any power at all. Quiet, dust free and quick enough for the twenty or so cuts one wall needs.

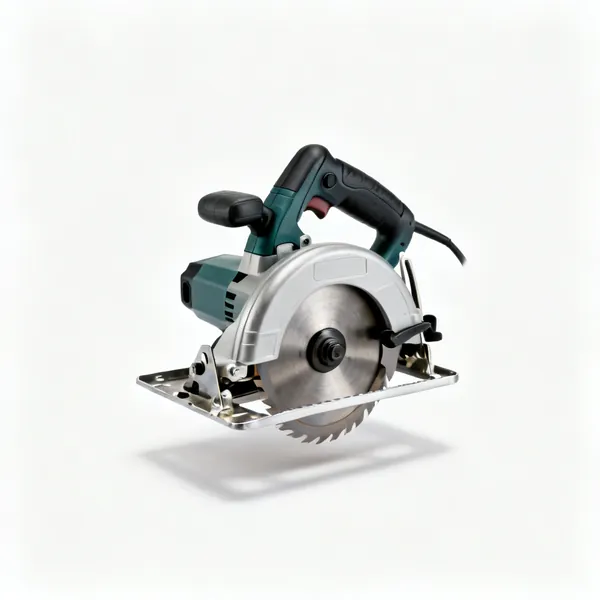
  • A corded circular saw with a metal base plate, blade guard and pistol grip

    Circular saw

    Faster for a wall with many studs, cutting against a speed square. Support both sides of the cut, because a pinching offcut binds the blade and kicks the saw back.

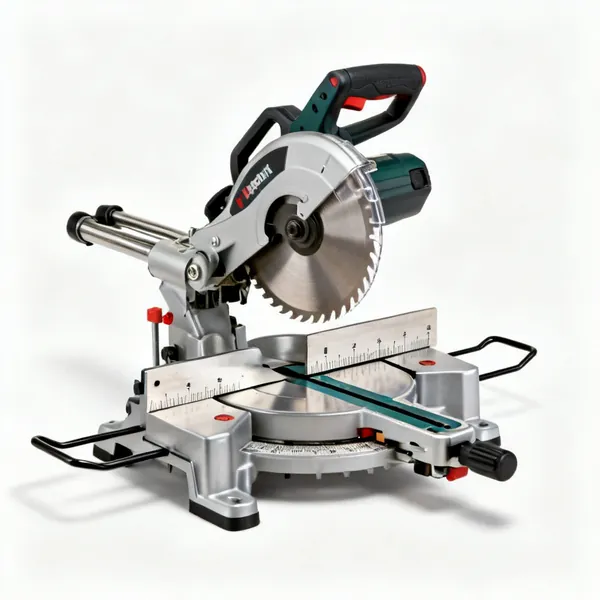
  • A compound mitre saw with a circular blade, fence and mitre scale

    Mitre saw

    Cuts repeat lengths identically with a stop set. On a wall where every stud is the same length it removes the measuring from all but the first one.

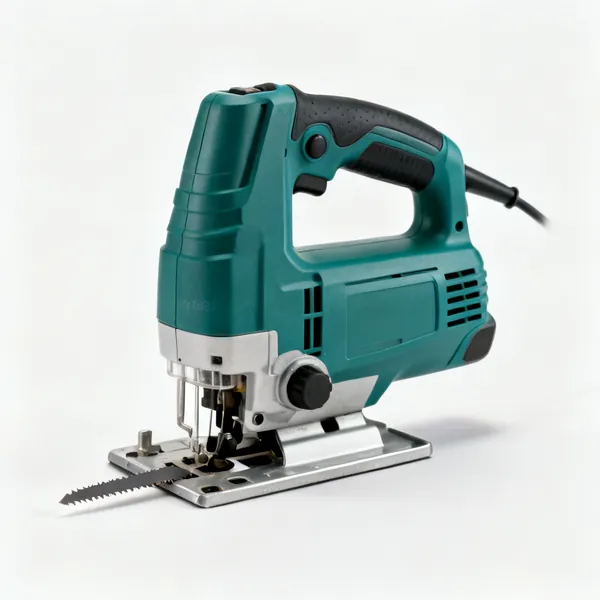
  • A jigsaw with a base plate, blade and pistol grip handle

    Jigsaw

    Cuts a notch around a pipe or an obstruction and scribes an end stud to an uneven wall. Where the cut is not straight, this is the tool for it.

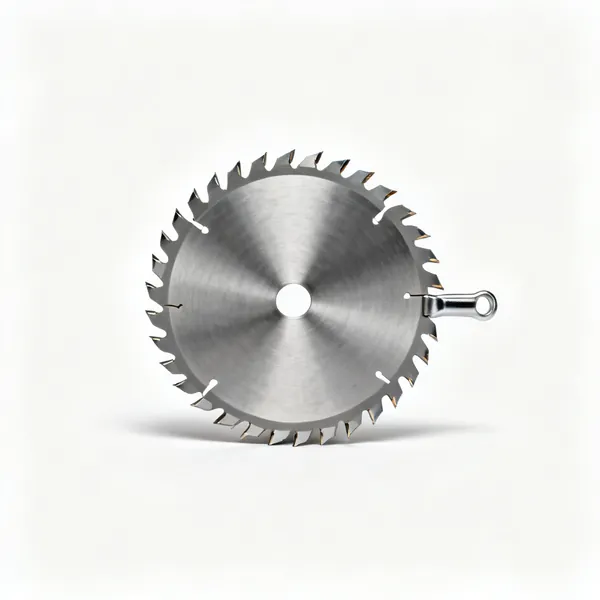
  • Wood saw blade: A single circular saw blade lying flat, face on, with 24 large carbide tipped teeth around its rim

    Wood saw blade

    A coarse 24 tooth blade for fast cross cutting in softwood. A fine finishing blade is slower here and the cut face will be inside the wall anyway.

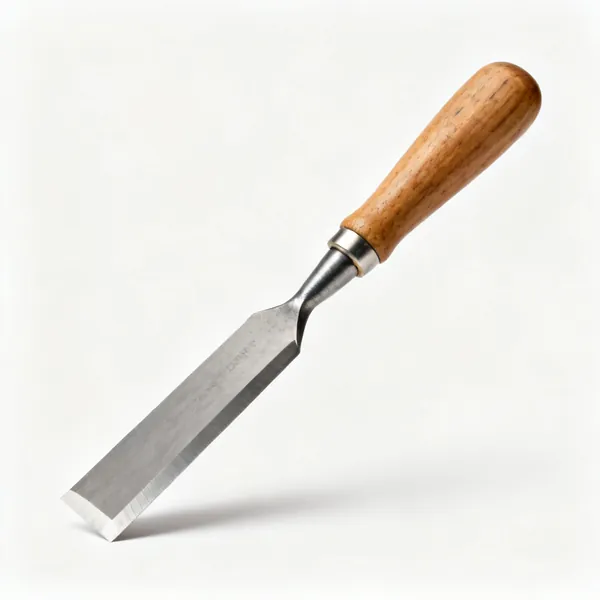
  • A bevel edge wood chisel with a flat blade and a wooden handleEssential

    Wood chisel

    Cleans out a notch, trims a proud shoulder and pares a scribe to fit. One 25mm chisel handles almost everything a partition needs cleaning up.

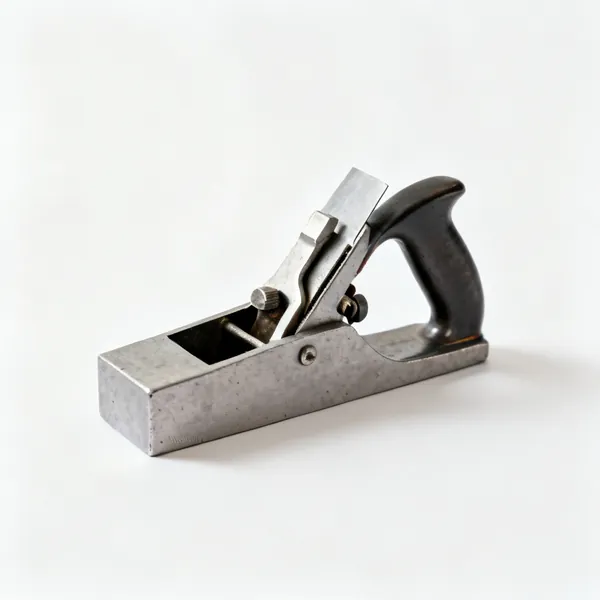
  • Block plane

    Block plane

    Takes a proud stud edge down flush before boarding. One stud sitting 2mm proud telegraphs through plasterboard and shows in low light on the finished wall.

Fixing and assembling 8

Into joists, studs or masonry. Nothing here holds in plasterboard alone.

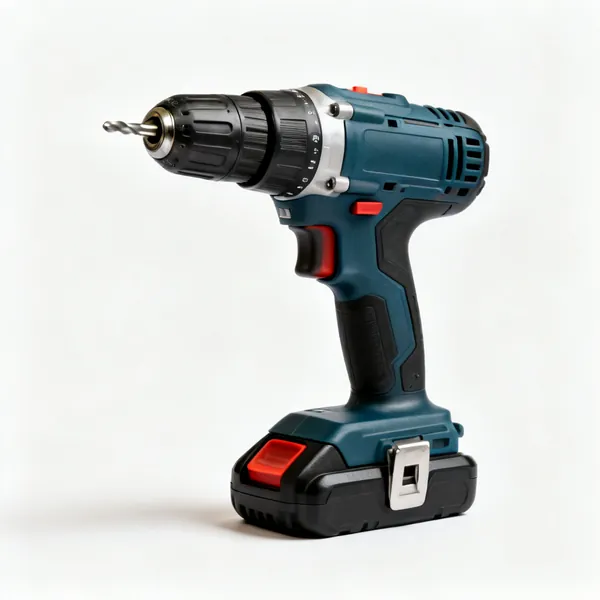
  • Cordless drill: A cordless combi drill with a keyless chuck, battery and pistol gripEssential

    Cordless drill

    Drills pilot holes in timber and masonry holes with the hammer action. A clutch matters, because overdriving into softwood strips the hole and the screw then holds little.

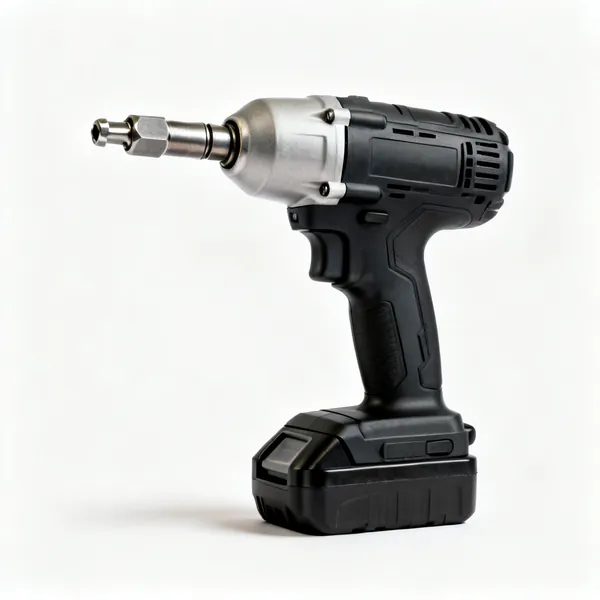
  • A cordless impact driver with a hex chuck, battery and pistol gripEssential

    Impact driver

    Drives long screws into studs and plates without camming out. Much less tiring than a drill driver overhead, which is where the ceiling plate has to be fixed.

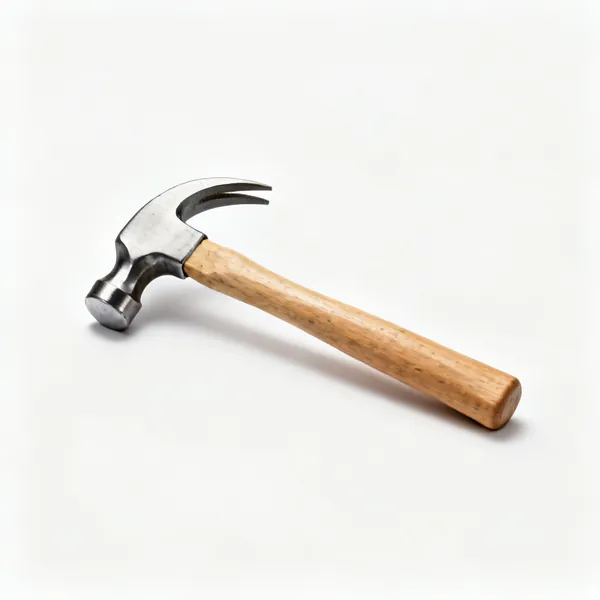
  • A claw hammer with a steel head, curved claw and a wooden handleEssential

    Claw hammer

    Nails noggins, adjusts a stud into position and pulls what went in wrong. A 16oz is the general choice and comfortable for the amount of nailing one partition needs.

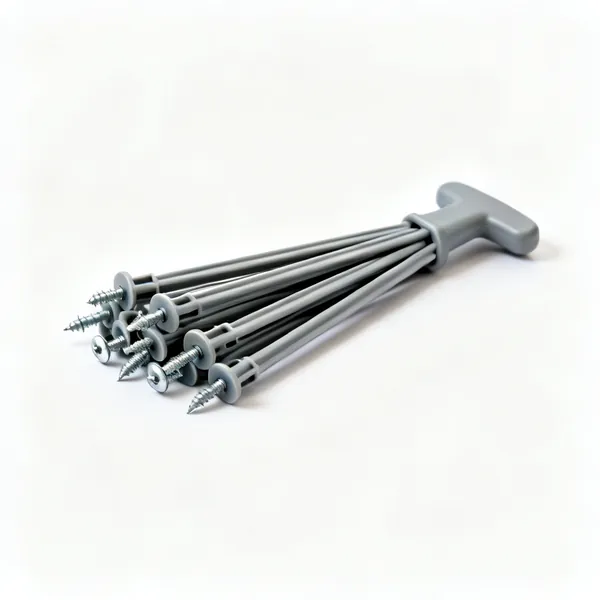
  • Frame fixingsEssential

    Frame fixings

    Screw and plug in one, driven through the plate and into masonry in a single operation. That keeps the plate tight to the wall, which two separate steps rarely manage.

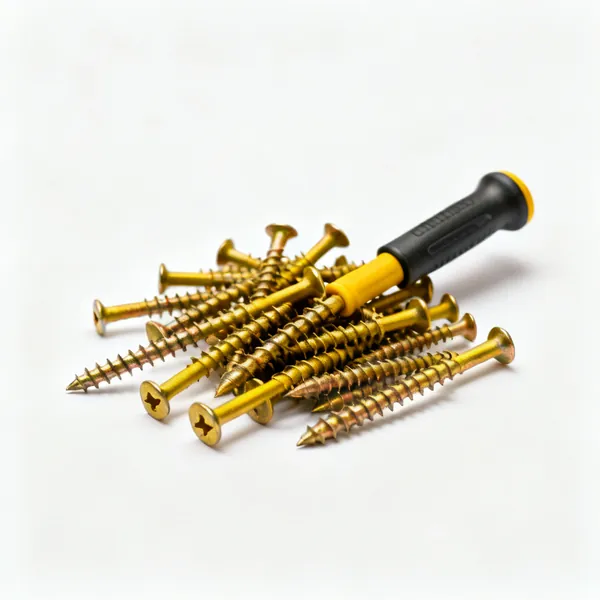
  • A handful of long yellow zinc plated timber screwsEssential

    Timber screws

    Long wood screws into joists and studs. Screws rather than nails on a partition, because a screwed frame can be adjusted before it is boarded and a nailed one cannot.

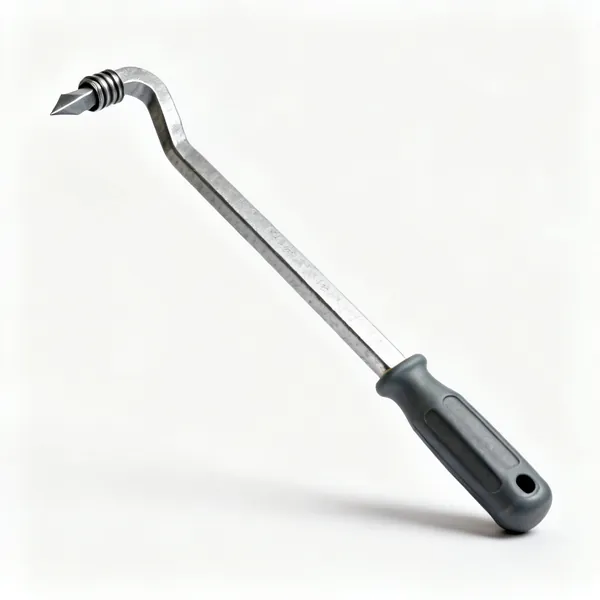
  • A steel pry bar with a rolled chisel tip and a moulded grip handleEssential

    Pry bar

    Levers a stud into line and takes apart anything that needs redoing. Framing is assembled and adjusted, and this is what does the adjusting.

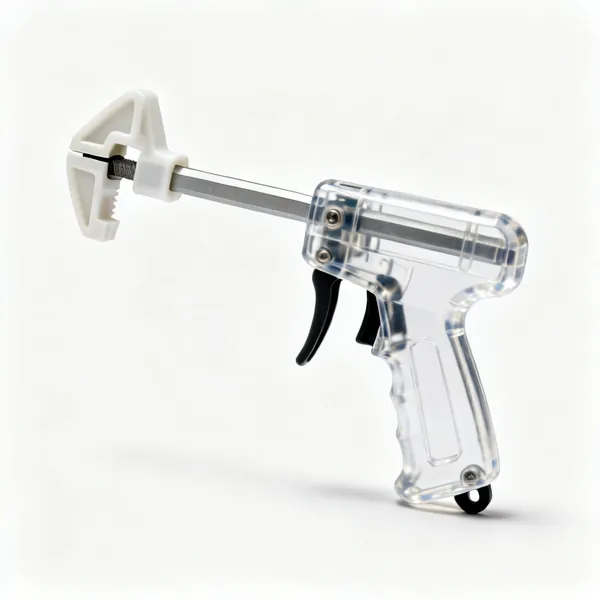
  • Trigger clamps: A one handed trigger bar clamp with a pistol grip trigger and plastic jaws

    Trigger clamps

    Hold a plate or a stud in position while it is fixed, so both hands are free for the driver. On a ceiling plate this is the difference between a two person and a one person job.

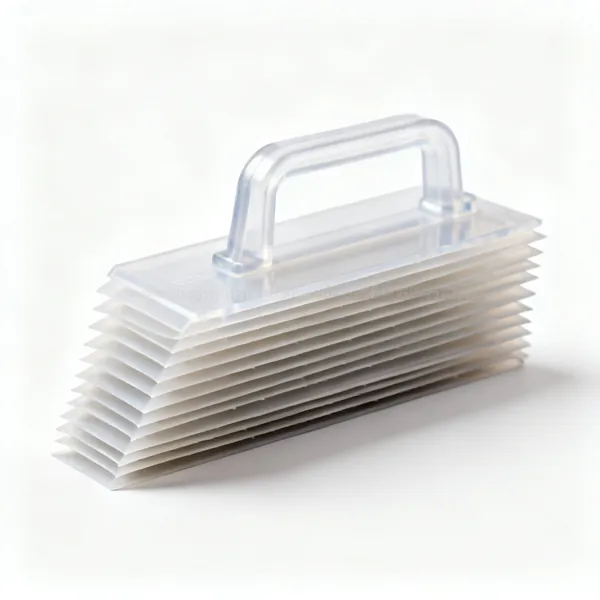
  • A stack of plastic tapered packing shimsEssential

    Packing shims

    Plastic or plywood wedges that take up the gap where a floor or wall is uneven. Packing under a plate is correct; forcing the plate down to follow a dip is not.

Before it gets boarded 8

The last chance to put anything inside the wall. Everything here is cheap now and expensive later.

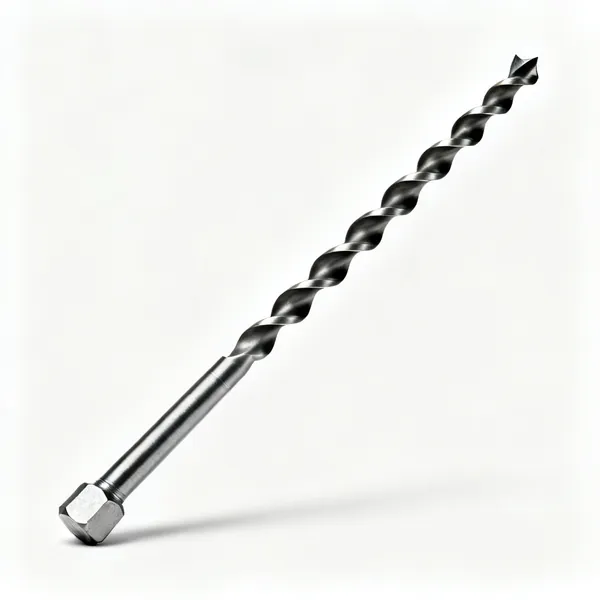
  • Auger bit: A long wood auger drill bit with a spiral flute and a hex shank

    Auger bit

    Drills cable and pipe runs through studs. There are limits on hole size and position for structural reasons, and drilling in the wrong place weakens the member.

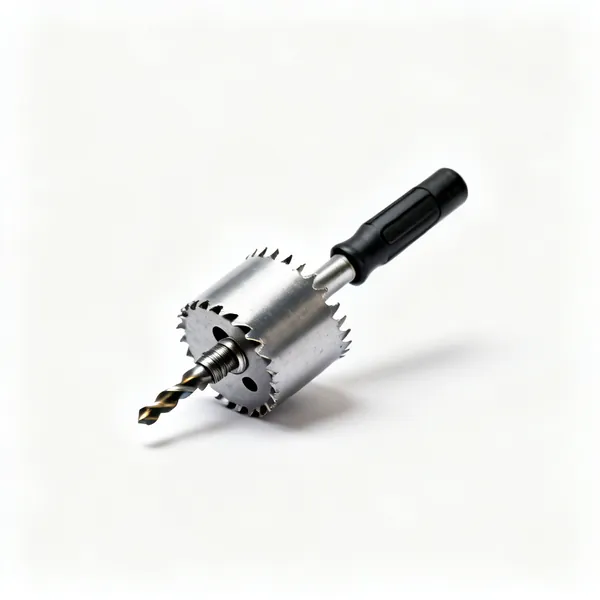
  • A bi metal hole saw with an arbor and pilot drill

    Hole saw

    Cuts a larger opening for a pipe or a duct through a plate or a stud. Back it with scrap so the exit side does not tear out and leave a ragged hole.

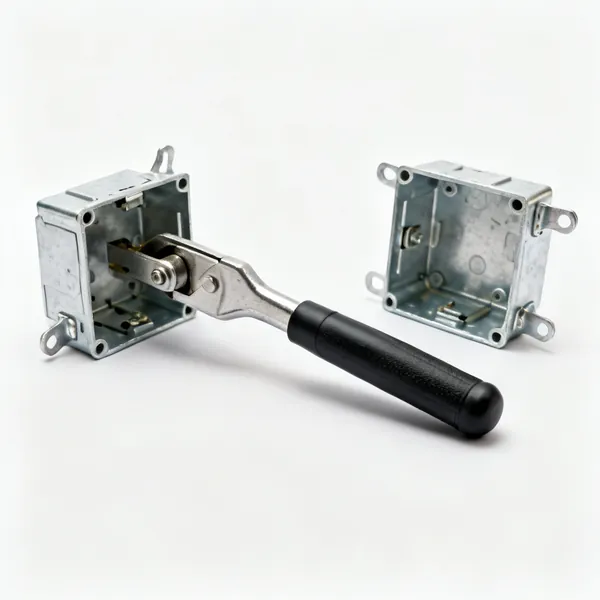
  • Metal back boxes: Two metal electrical back boxes with fixing lugs

    Metal back boxes

    Fitted to a stud or a noggin before boarding, so a socket lands where it should. Retrofitting one into a boarded wall means cutting the board and finding no fixing behind it.

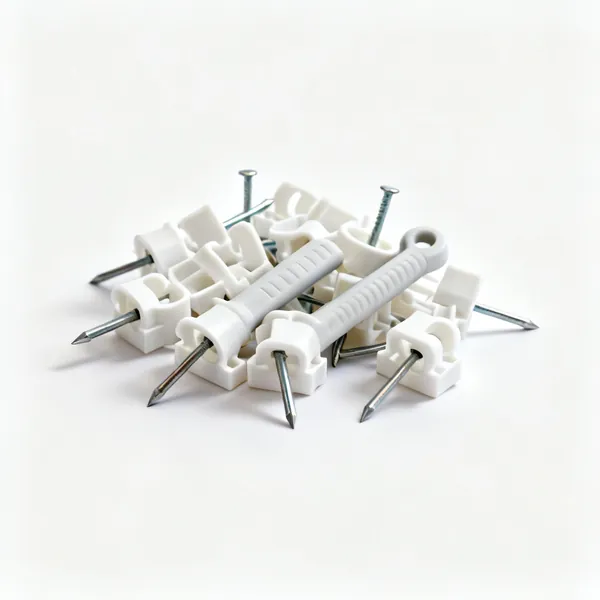
  • A handful of white plastic cable clips with nails

    Cable clips

    Hold a cable away from where a plasterboard screw will go. An unclipped cable lying against the stud face is what gets pierced when the wall is boarded.

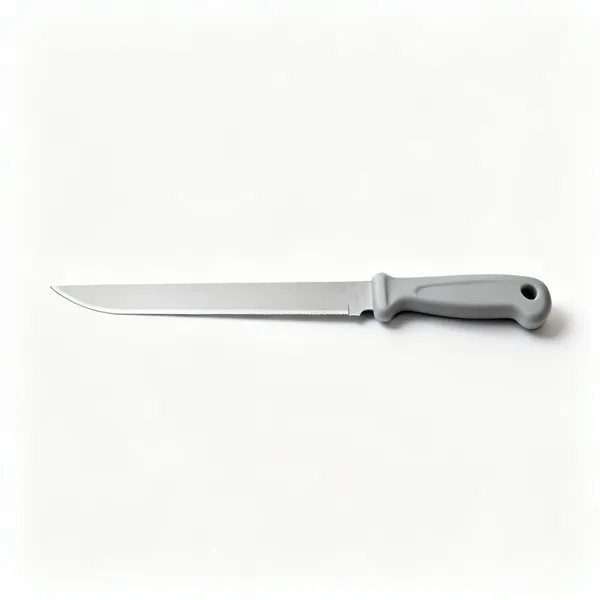
  • A long bladed insulation knife with a straight narrow blade and a moulded handle

    Insulation knife

    Cuts mineral wool batts to fit the stud spacing. Insulating a partition for sound costs very little and makes a real difference to how the room feels to use.

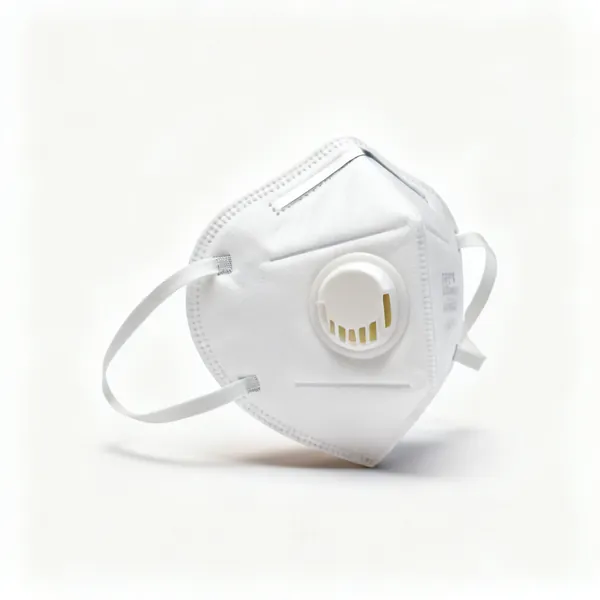
  • A white FFP3 respirator dust mask with two straps and a nose clipEssential

    Dust mask

    For cutting mineral wool and for the drilling into masonry. Both produce fibres or silica dust, and both are worse in a small enclosed room than they look.

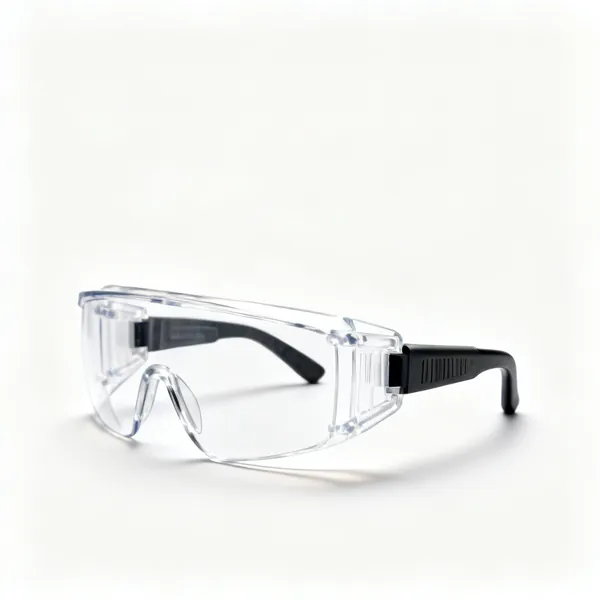
  • A pair of clear lens safety glasses with side shieldsEssential

    Safety glasses

    Drilling into a ceiling puts everything you remove directly into your face. Marked essential because most of the fixing on a partition is done looking upward.

  • Camera or phoneEssential

    Camera or phone

    Photograph the finished frame before boarding, with a tape in shot for scale. It is the only record of where the studs, noggins and cables are once the board goes on.

Building a stud partition

Set the floor plate, plumb up to find the ceiling plate, then fill in between. The room will not be square, so work to plumb rather than to the walls.

The room is not square or plumb

An existing room will be out of square, its walls will lean slightly, and the floor will not be level. If you set a new partition parallel to an existing wall it will inherit all of that, and the door will not hang right.

So the new wall is set to plumb and to a measured line, not to whatever the old wall is doing. Where a visible gap results at the top or the end, that gets scribed or filled, which is a much smaller problem than a leaning partition.

Work to plumb, not to the wall
Copy an existing lean and the door will bind. Set the new wall true and deal with the gap.
Check the floor level
A sloping floor means every stud is a different length. Measure each, or level the plate.
Plumb up, do not measure across
Find the ceiling plate position from the floor plate with a plumb line or a laser.
Scribe the end stud
Where it meets an uneven wall, scribe it to fit rather than forcing it and packing the gap.

Setting out the plates

Snap the floor plate line first, then transfer it to the ceiling directly above with a plumb bob, a spirit level held against a straight stud, or a laser. Measuring across from a wall at both ends gives a wall that leans if the wall leans.

Then mark stud positions on both plates together, laid side by side, so every stud lands in the same place top and bottom. Centres at 400mm or 600mm so plasterboard edges land on a stud rather than in space.

Floor line first, plumb up
The ceiling plate goes directly above, found from the floor rather than measured from a wall.
Mark both plates together
Laid side by side and marked through. Separately marked plates never quite agree.
400 or 600 centres
So board edges land on a stud. Getting this wrong adds noggins and wastes boards.
Find the joists first
A ceiling plate must fix into joists. If it runs parallel between two, noggins have to go in above.

Fixing to what is already there

The plates and end studs have to fix into something solid. Into a timber joist or stud, screws are straightforward. Into masonry, frame fixings or hammer fixings. Into a plasterboard wall with nothing behind it, you must find the studs, because cavity fixings will not hold a partition.

This is where a detector earns its place. Cables and pipes run in walls and ceilings in predictable places and also in unpredictable ones, and drilling into one turns a joinery job into an electrical or plumbing job.

Solid fixings only
Joists, studs or masonry. Cavity anchors will not hold a partition, however many you use.
Detect before drilling
Cables and pipes. Drilling into either is how an afternoon becomes a week.
Frame fixings into masonry
Through the plate and into the wall in one operation, which keeps the plate tight to the surface.
Isolate the circuit
If you are drilling near a socket or a switch drop, turn it off first. Cables run vertically from both.

Getting a door opening right

A door opening needs to be the door width plus the lining thickness both sides plus a fitting tolerance, usually a few millimetres. Getting this wrong is the most common mistake, and it means either a door that will not fit or a gap too wide to cover.

The opening also needs a header across the top and cripple studs above it, and the studs either side should be doubled where anything is being carried. Even in a non loadbearing partition a door slamming for twenty years works a single stud loose.

Door plus lining plus tolerance
Both sides. Work it out on paper before cutting anything, because it cannot be adjusted later.
Header and cripples
A header across the opening and short studs above it, so the top plate is supported.
Double the opening studs
A door in use works a single stud loose over years, even in a partition carrying nothing.
Check the opening is square
Diagonals compared. A lining fitted into an out of square opening will not hold a door plumb.

Think about what goes inside it

A partition is the easiest place to run a cable or a pipe, and the worst place to discover you needed one after it is boarded. Decide on sockets, switches, lighting and any pipework before the plasterboard goes on.

Noggins also go in now: behind anything that will be fixed to the wall later, such as a radiator, a TV bracket or a handrail. Fixing into plasterboard alone holds almost nothing, and adding a noggin afterwards means opening the wall.

Services before boarding
Cables, pipes, back boxes. Adding one afterwards means cutting the board you just fitted.
Noggins where fixings will go
Radiator, TV bracket, handrail, shelving. Plasterboard alone holds very little.
Insulate for sound
Mineral wool in the void makes a real difference and costs almost nothing while it is open.
Photograph it before boarding
You will want to know where the studs and cables are, and afterwards you cannot see them.

Frequently asked questions

What tools do I need to frame a wall?
A tape measure, a spirit level, a chalk line, a speed square, a hand saw or circular saw, a cordless drill and impact driver, a detector for cables and pipes, and a hammer. That is genuinely enough for one interior stud partition.
How do I set out a stud wall in an existing room?
Snap the floor plate line first, then transfer it directly upward to the ceiling with a plumb bob, a level held against a straight stud, or a laser. Do not measure across from an existing wall at both ends, because if that wall leans your new one will lean with it.
What spacing should the studs be at?
Usually 400mm or 600mm centres, chosen so that plasterboard edges land on a stud. The spacing is set by the board size rather than the timber, and getting it wrong means cutting boards to fit and adding extra noggins to support the edges.
How wide should a door opening be in a stud wall?
The door width plus the thickness of the lining on both sides plus a few millimetres of fitting tolerance. Work it out on paper before cutting, because an opening that is too narrow cannot be widened without rebuilding it and one too wide leaves a gap you cannot cover.
Can I fix a stud wall to a plasterboard wall?
Only into the studs behind it. Cavity anchors into plasterboard will not hold a partition however many you use, so find the studs with a detector and fix into those. If none line up, you may need to open the board and add a fixing timber.
Do I need a header above a door opening?
Yes, with short cripple studs above it up to the top plate. Even in a non loadbearing partition the header carries the top plate across the opening and stops it sagging, and the cripples transfer that load down either side.
Should I put noggins in a stud wall?
Yes, wherever anything will be fixed to the wall later: a radiator, a TV bracket, a handrail, shelving or a wall cupboard. Plasterboard alone holds very little, and adding a noggin after boarding means cutting the wall open again to do it.
What should I do before boarding the wall?
Run any cables and pipes, fit the back boxes, add noggins where future fixings will go, put mineral wool in for sound, and photograph the whole wall. Once it is boarded you cannot see where anything is and adding to it means cutting the board.