Disclosure

Tools for framing

The framing carpenter's kit, all 31 tools grouped by the job: marking and setting out, cutting, fastening, then levelling and checking. Errors at the base plate multiply all the way up to the roof, which is why marking comes first.

20 are marked essential: the kit a framer would not turn up without.

Part of the full carpentry tools list, 75 tools in 11 groups.

Marking and setting out 8

Fast, repeatable marking. Errors here multiply all the way up the structure, so this group earns its place first.

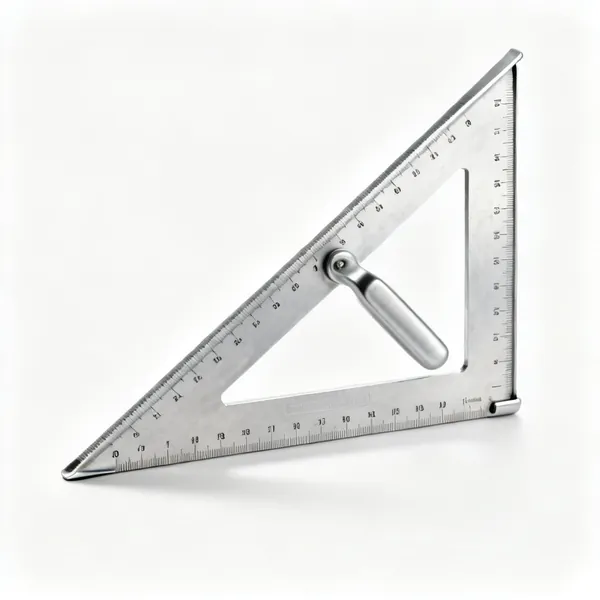
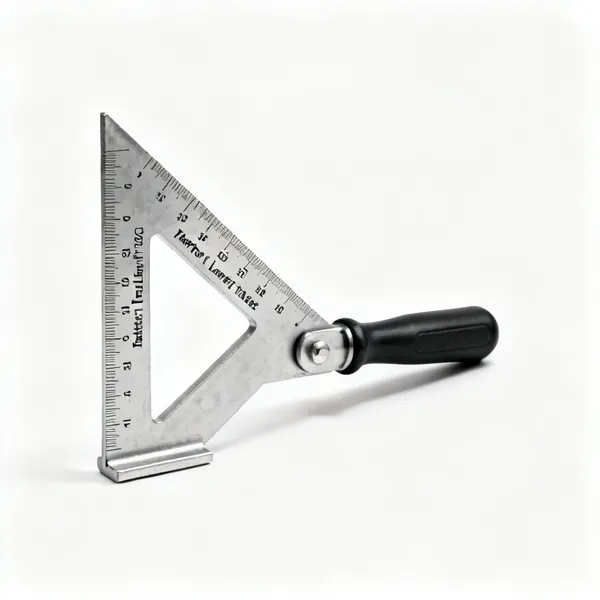
  • An aluminium speed square, a triangular carpenters square with a lipped edge and pitch markingsEssential

    Speed square

    A triangular square with a lipped edge that hooks over the timber, marking 90 and 45 degrees instantly and guiding the saw along them. It also reads rafter pitches from its scales.

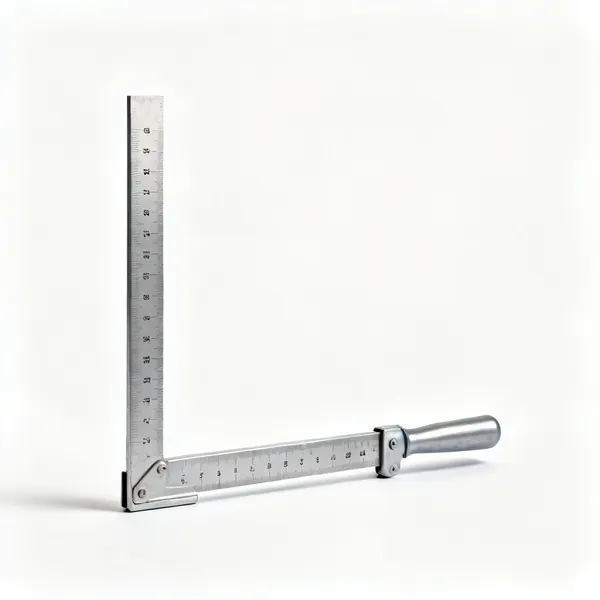
  • A large steel framing square, an L shaped square with two long arms and engraved scalesEssential

    Framing square

    A large steel L square for checking a whole frame and laying out stairs and rafters. Its size is the point: a small square cannot detect a frame that is slightly out over two metres.

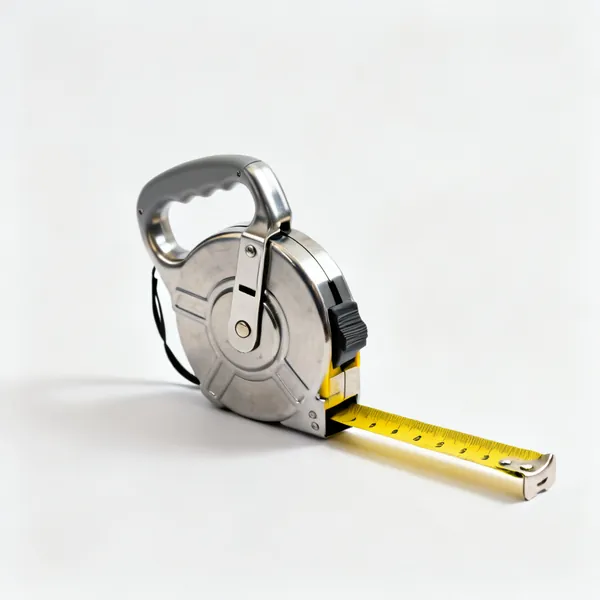
  • A retractable steel tape measure with a wide yellow blade, belt clip and locking buttonEssential

    Tape measure

    An 8m tape with a wide stiff blade that stands out unsupported. Standout matters on framing, because measuring across a floor alone is most of what a framer does.

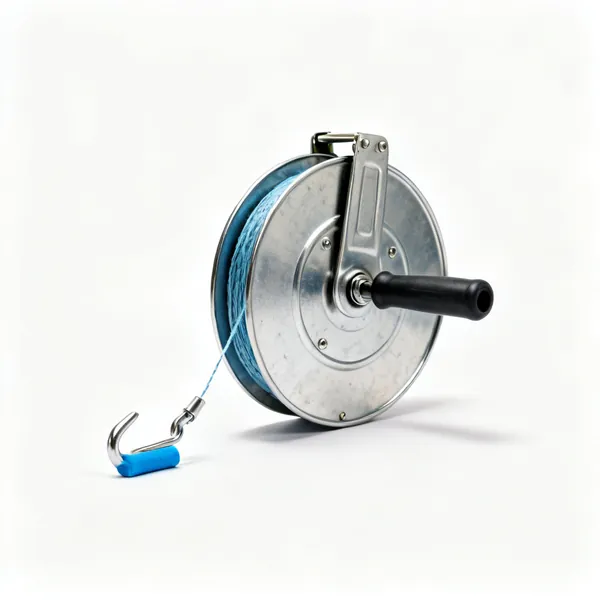
  • A chalk line reel with a metal case, hook and blue chalkEssential

    Chalk line

    Snaps a long straight line across a deck or a plate for wall positions and sheathing edges. Nothing else marks a straight line across five metres in two seconds.

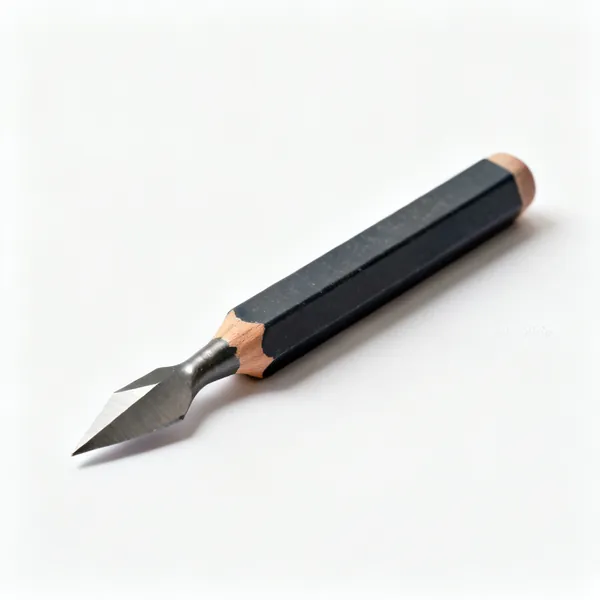
  • Carpenter's pencil: A flat rectangular carpenters pencil with a sharpened chisel shaped pointEssential

    Carpenter's pencil

    A flat pencil that will not roll off a joist and takes a wide chisel point that shows on rough sawn timber. A round pencil rolls off and a fine one does not mark rough grain.

  • A sliding bevel gauge with a wooden stock and a pivoting steel blade with a locking screw

    Sliding bevel

    Copies an angle from the structure rather than measuring it, which on a roof is nearly every angle. Most real angles in framing are not round numbers.

  • Rafter square: A steel rafter framing square with engraved rafter length tables

    Rafter square

    A large square with rafter tables engraved on it, giving common and hip rafter lengths for a given pitch. It replaces the arithmetic, which is where roof errors come from.

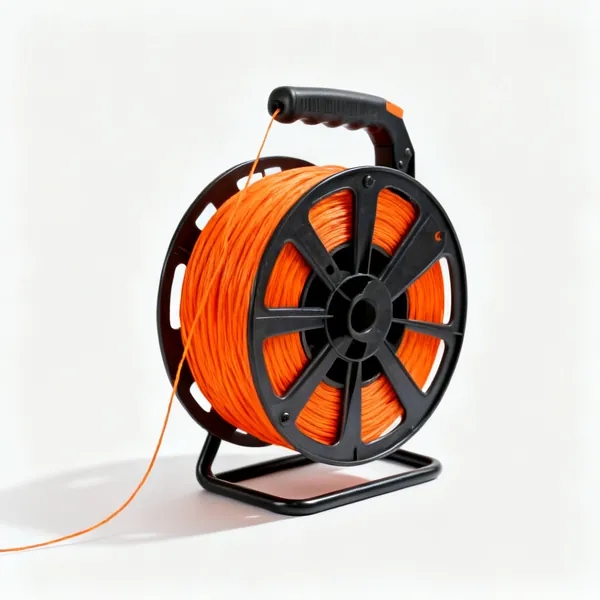
  • A string line reel with bright orange builders line partly unwoundEssential

    String line

    Pulled along a wall top to sight it straight, and used to set out a base. It is how a long wall gets straightened after standing, which no level will tell you.

Cutting 7

Volume cutting to a line. Speed with accuracy, and the saw that does most of it is the one that kicks back.

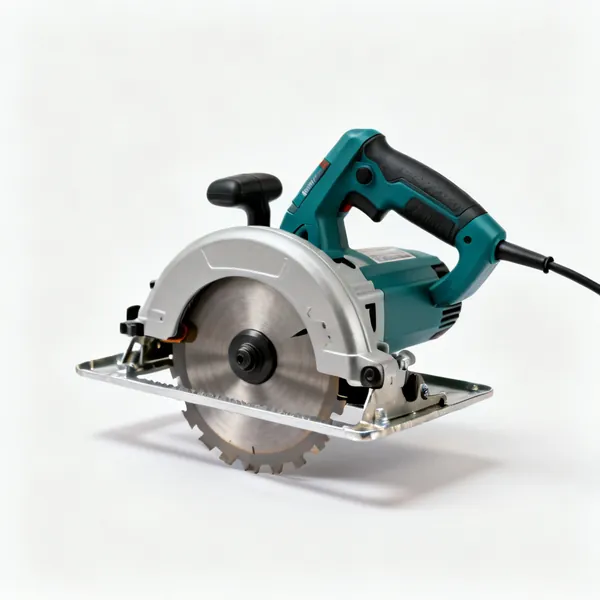
  • A corded circular saw with a metal base plate, blade guard and pistol gripEssential

    Circular saw

    The framing saw, cutting studs and sheet to length against a speed square. Support both sides of the cut, because a pinching offcut binds the blade and kicks the saw back at you.

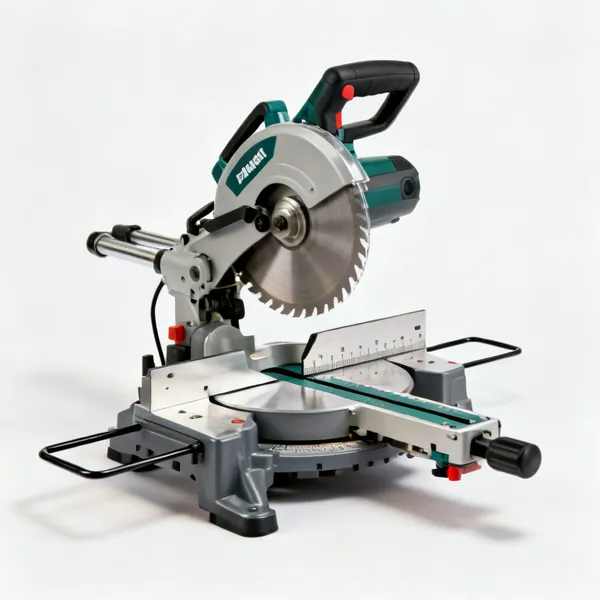
  • A sliding compound mitre saw with a circular blade, fence and mitre scale

    Mitre saw

    Cuts repeat lengths square and at an angle, with a stop for identical studs. On a job with a hundred identical cripples it is faster and more consistent than any handheld saw.

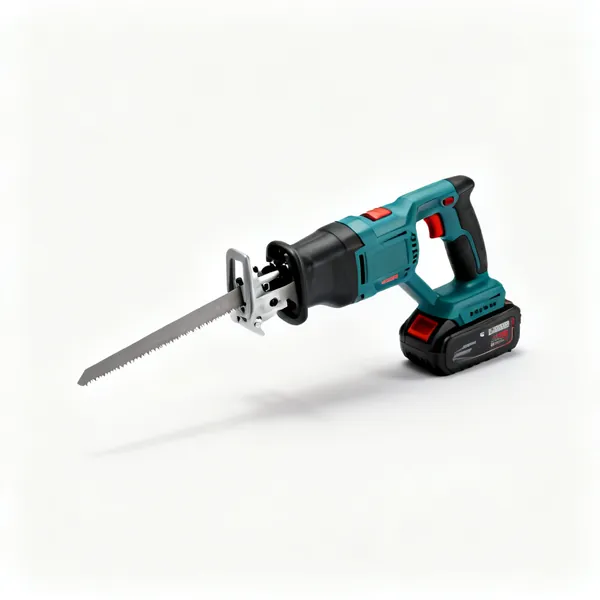
  • A cordless reciprocating saw with a long blade, shoe and pistol gripEssential

    Reciprocating saw

    Cuts through anything including nails, for alterations and demolition. On a framing job it is the tool for cutting out what is already there rather than what you are building.

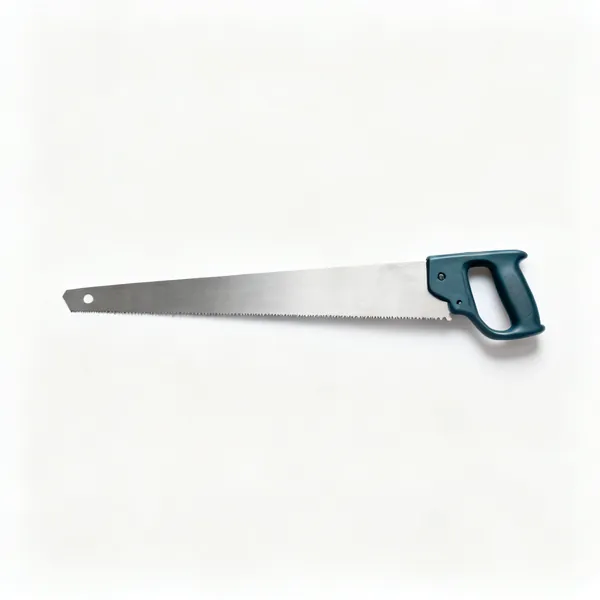
  • Hand saw: A hardpoint panel saw with a straight steel blade and a moulded plastic handleEssential

    Hand saw

    For the cut a power saw cannot reach and for the last few where fetching a saw is slower than making it. A hardpoint panel saw is the practical choice on a framing site.

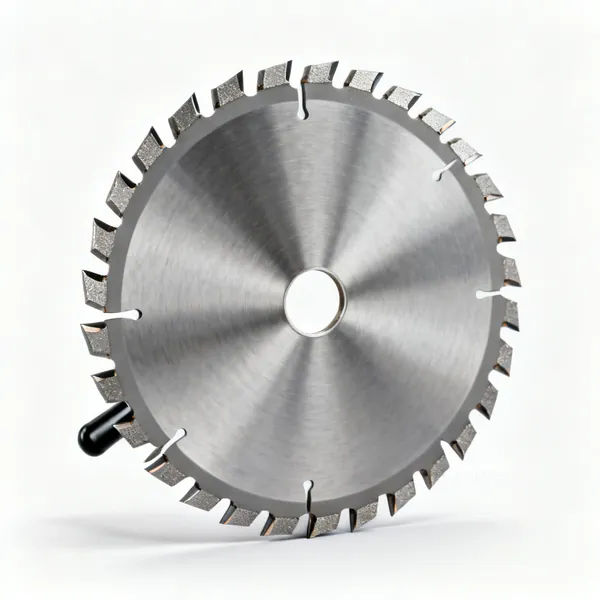
  • Framing saw blades: A circular saw blade with 24 large carbide tipped teethEssential

    Framing saw blades

    A coarse 24 tooth blade for fast cross cutting in timber. A fine finishing blade in framing is slower and it burns, and the cut face is going to be hidden anyway.

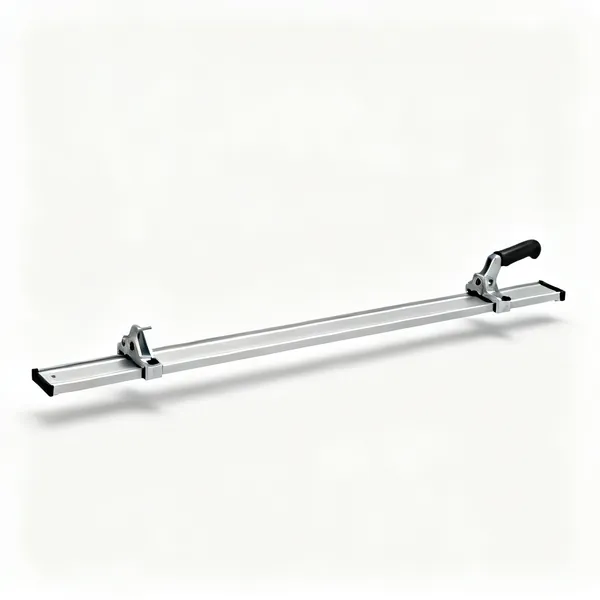
  • Rip guide: A long aluminium saw guide rail with clamps at each end

    Rip guide

    A clamped straight edge for ripping sheet material straight. Freehand ripping a 2.4 metre board wanders, and the wander is visible when the sheets meet.

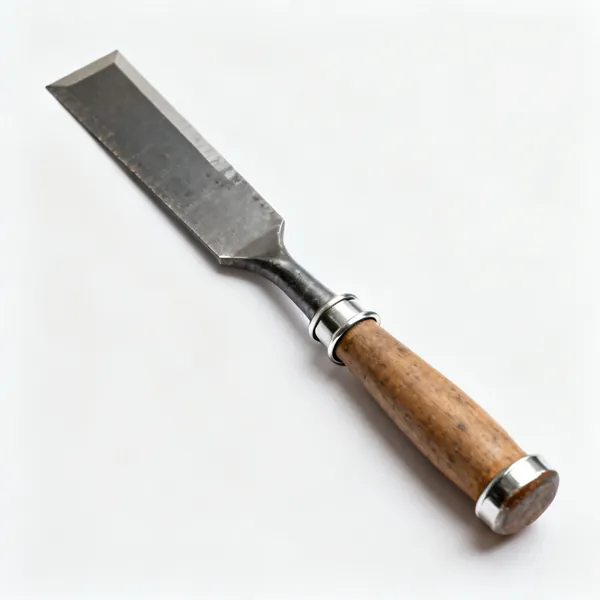
  • A heavy framing chisel with a thick blade, steel hooped handle and struck end

    Framing chisel

    A heavy chisel for paring a housing and cleaning a notch. Built to be struck and levered, unlike a bench chisel, which snaps when used the same way.

Fastening 8

Nailing patterns are structural. This is also where the serious injuries happen.

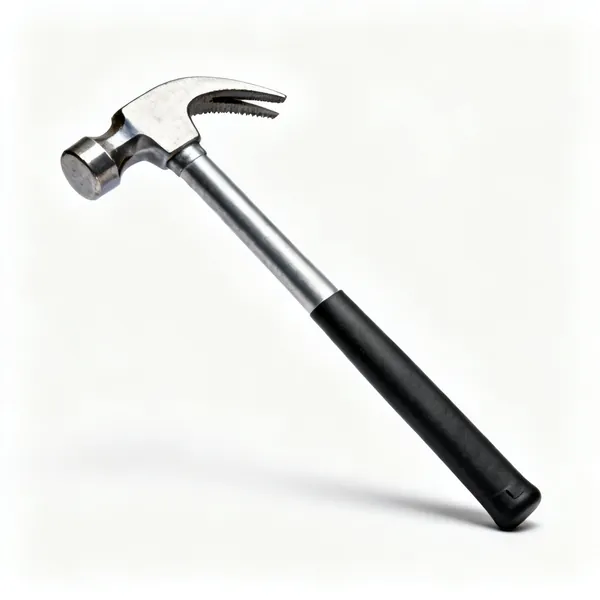
  • A framing hammer with a heavy steel head, milled face, straight claw and long handleEssential

    Framing hammer

    A 20oz to 24oz head with a straight claw and often a milled face that grips a nail head. Heavier drives in fewer blows and tires your arm faster, which over a day is the real trade.

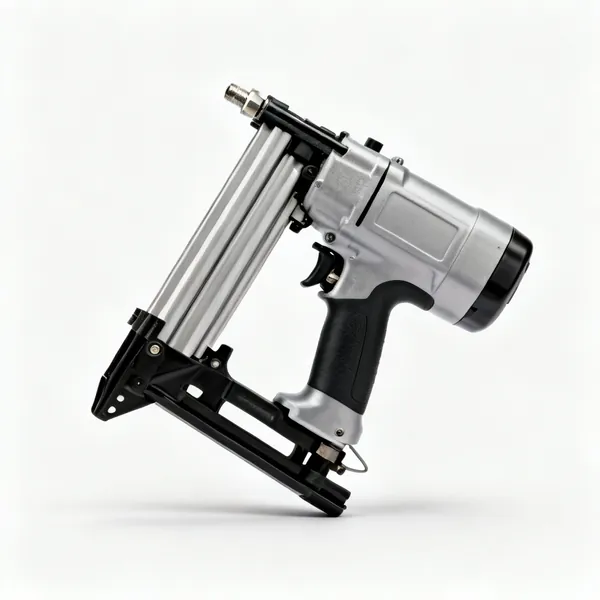
  • Framing nailer: Air fitting and pistol gripEssential

    Framing nailer

    Drives a framing nail in one shot without shifting the timber, which a hammer blow does. Sequential mode when your other hand is near the work, bump fire only for flat deck volume.

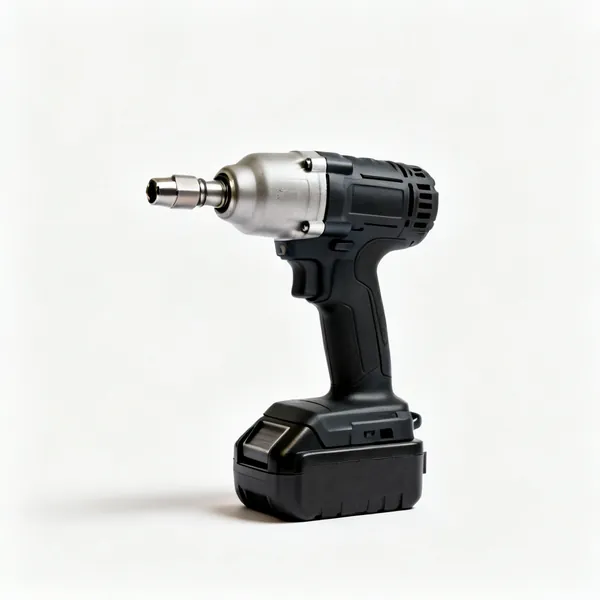
  • A cordless impact driver with a hex chuck, battery and pistol gripEssential

    Impact driver

    Drives structural screws and hangers without camming out. Where a connection is screwed rather than nailed, this is what puts it in at full depth every time.

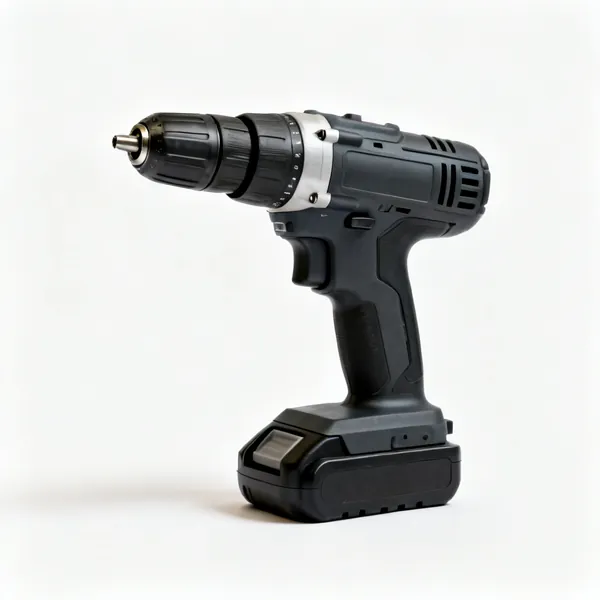
  • A cordless drill driver with a keyless chuck, battery and pistol gripEssential

    Cordless drill

    Drills pilot and bolt holes through timber. A clutch matters, because overdriving into softwood strips the hole and the fixing then holds almost nothing.

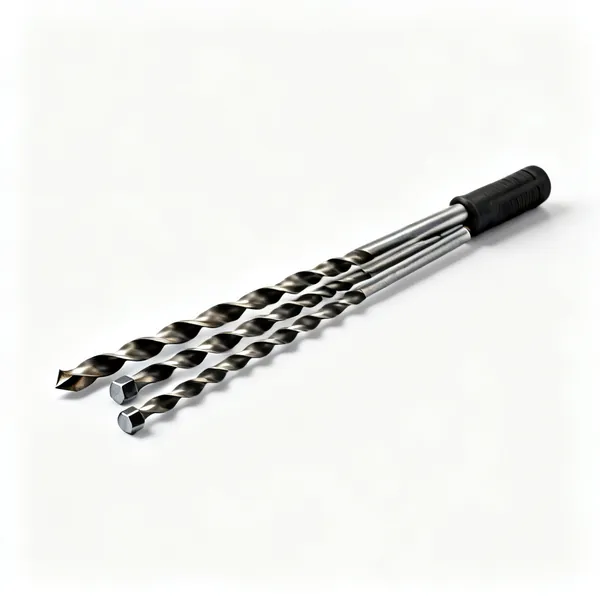
  • Auger bits: A set of long wood auger drill bits with spiral flutes and hex shanks

    Auger bits

    Long self feeding bits for drilling services through studs and joists. There are structural limits on hole size and position, and drilling in the wrong place weakens the member.

  • A steel cat's paw nail puller with a curved claw at each endEssential

    Nail puller

    Extracts a nail driven in the wrong place without destroying the timber around it. Framing involves adjusting, and a hammer claw alone tears the face out.

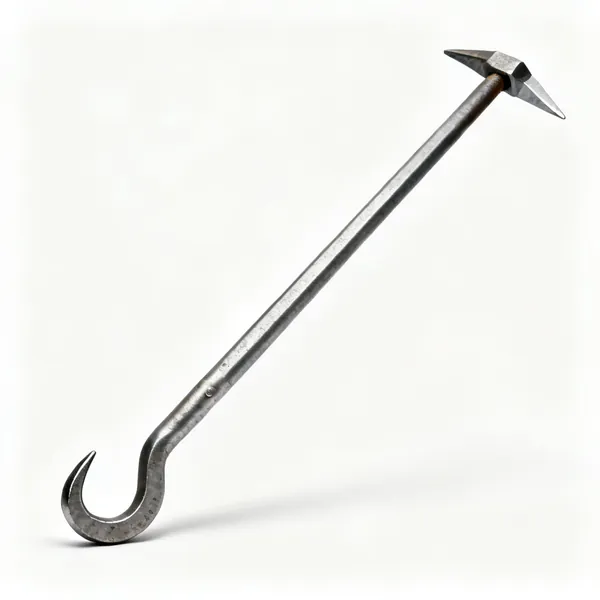
  • A long steel wrecking bar with a hooked claw at one end and a chisel at the otherEssential

    Wrecking bar

    Levers a frame into position and takes apart what needs redoing. Framing is assembled and adjusted, and this is what does the adjusting.

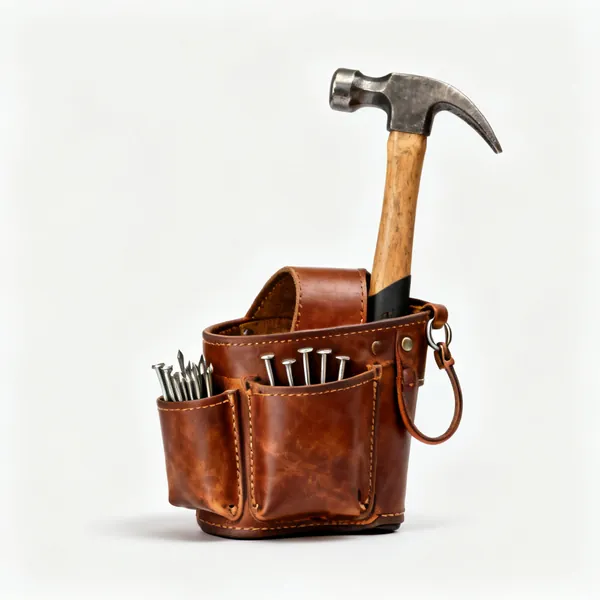
  • A leather tool belt with nail pouches and a hammer loopEssential

    Tool belt

    Nails, hammer, square, tape and pencil on you rather than on the deck. On a framing job you move constantly and climbing down for a pencil is the day's real cost.

Levelling and checking 8

Plumb, level and straight, continuously. A frame is adjustable right up until it is sheathed.

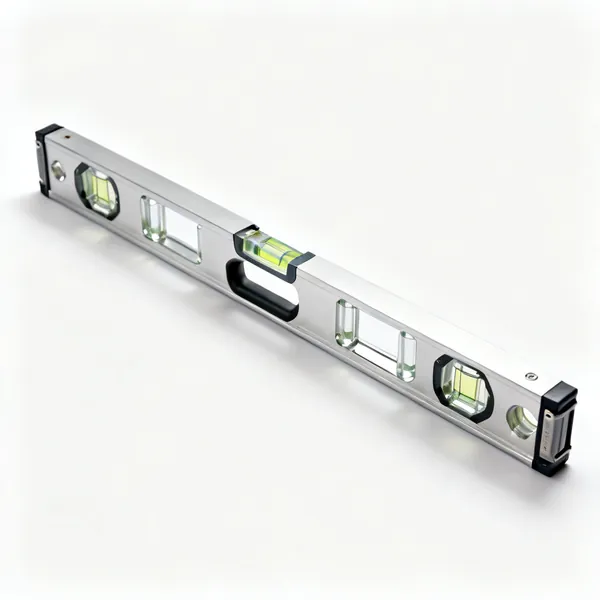
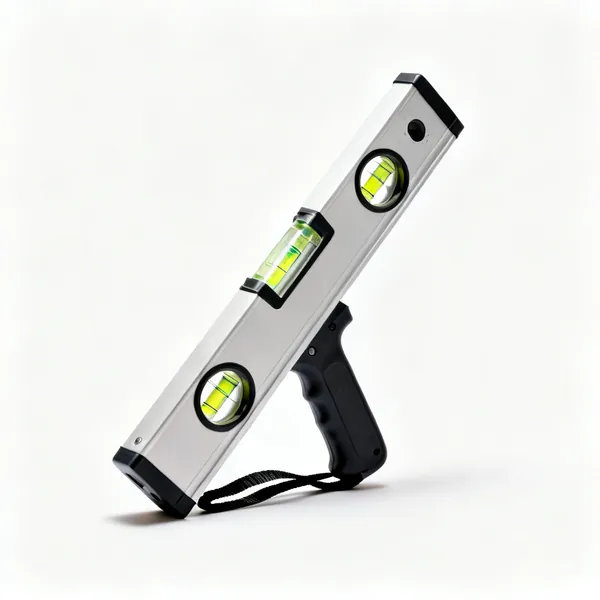
  • 1200mm spirit level: A long aluminium spirit level with several glass vials and machined edgesEssential

    1200mm spirit level

    Plumbs a stud and levels a plate. 1200mm is the framing length, because a shorter level over a 2.4 metre stud multiplies its own error to something that matters.

  • Post level

    Post level

    Straps to a post and reads two faces at once, leaving both hands free to brace it. Checking two faces separately means the second adjustment undoes the first.

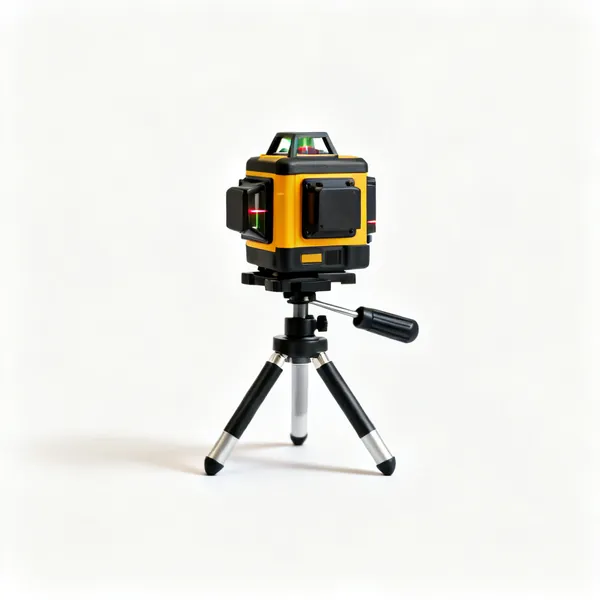
  • A self levelling cross line laser level on a small tripod

    Laser level

    Projects a level line right around a room or across a deck. It sets a datum once that every plate and joist is then measured from, rather than working from the last one.

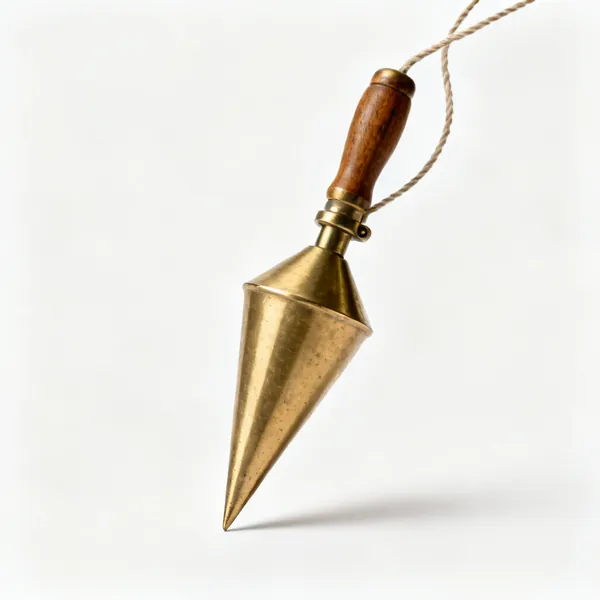
  • A brass plumb bob, a pointed conical weight on a cord

    Plumb bob

    A weight on a line giving true vertical over any height. Unaffected by whether the structure you are standing on is level, which a spirit level on a wall frame is not.

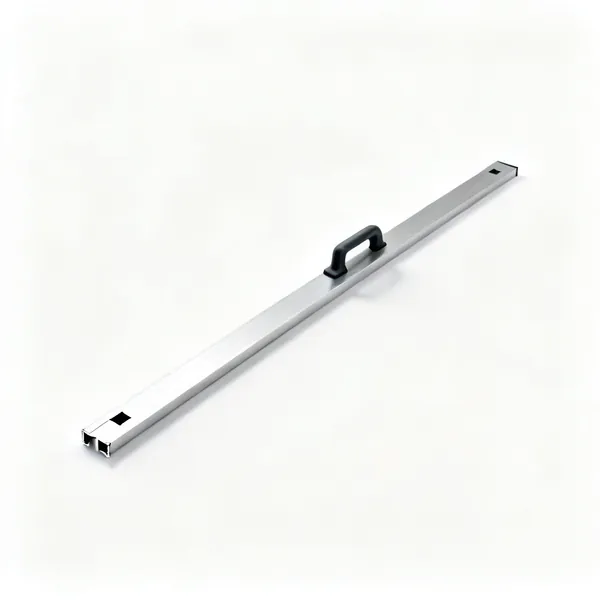
  • A long aluminium straight edge with a T section profile

    Aluminium straight edge

    Checks a run of studs for a flat plane before sheathing. One proud stud telegraphs through plasterboard, and this is how it is found while it can still be planed.

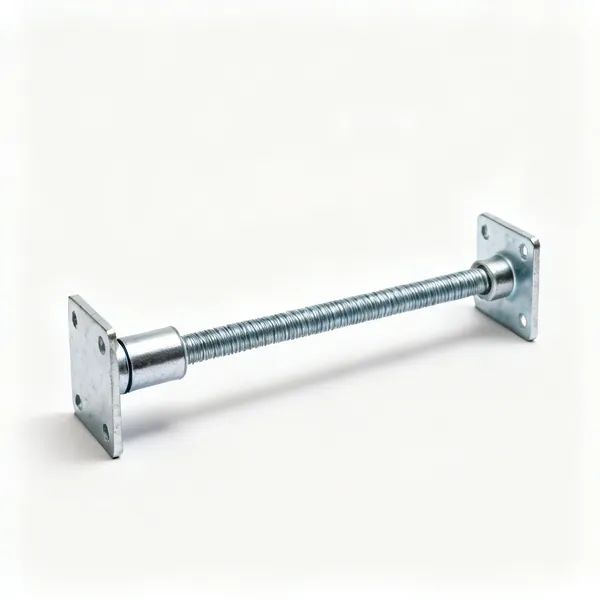
  • Adjustable braces: An adjustable steel wall bracing prop with a threaded sleeve and end plates

    Adjustable braces

    Hold a wall plumb while it is fixed and sheathed. A frame stood and left unbraced moves, and it is usually discovered after the sheathing has locked it in place.

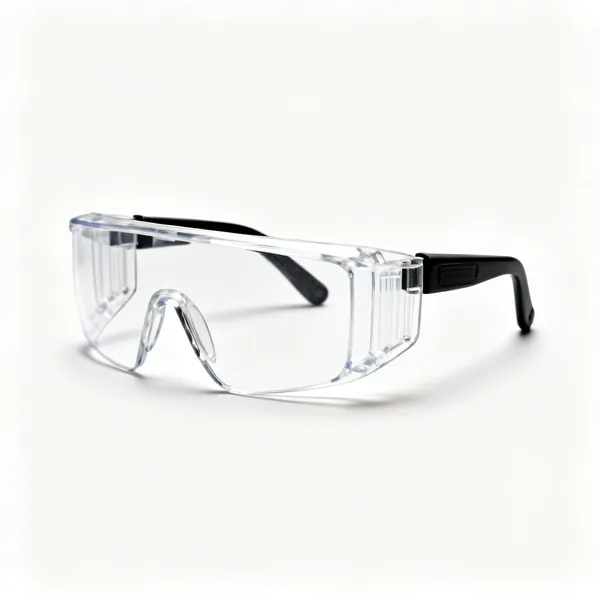
  • A pair of clear lens safety glasses with side shieldsEssential

    Safety glasses

    Nails deflect off knots, saws throw chips, and both go toward your face. Marked essential because a nail gun and a circular saw are the two hazards on this page.

  • Ear protection: A pair of over ear protective ear defenders with a padded headbandEssential

    Ear protection

    A framing nailer and a circular saw both exceed the level that causes permanent damage with repeated exposure. Hearing loss is cumulative and does not recover.

Framing a structure

Get the base square and level, then everything above it is repetition. Errors at the plate multiply all the way to the roof.

Square at the base or nowhere

Everything in a framed structure references the plates at the bottom. If the base is out of square, every stud is out of plumb by the same amount, the sheathing will not lie, and the roof will not fit. Correcting it later means taking the frame apart.

So the base gets checked properly: diagonals measured and compared, not eyeballed. The 3-4-5 method sets a right angle with nothing but a tape, and comparing the two diagonals of a rectangle tells you whether it is square in one measurement each.

Compare the diagonals
Equal diagonals mean a square rectangle. One tape, two measurements, and it is conclusive.
3-4-5 for a right angle
Any multiple works. 3 along, 4 across, 5 on the diagonal, and the corner is square.
Check before nailing off
A frame is adjustable until it is fixed and sheathed. After that it is not.
Level matters as much
An out of level plate puts every stud a different length, which is a day of correcting.

Mark the plates together

Stud positions are marked on both plates at once, laid side by side, so every stud lands in the same place top and bottom. Marking them separately guarantees a discrepancy, and a stud that is 5mm off at the top is a bow in the wall.

Centres are usually 400mm or 600mm to suit sheet materials, and the crucial detail is measuring to the centre of the stud but marking its edge, with a cross to show which side. That convention removes the commonest layout mistake, which is building half a stud width out.

Both plates at once
Laid together and marked through. Separately marked plates never quite agree.
400 or 600 centres
So sheet edges land on studs. Getting this wrong wastes boards and adds noggins.
Mark the edge, cross the side
A line and an X. It removes the half a stud width error, which is the classic one.
Mark openings first
Doors and windows dictate stud positions around them, so set those out before the regular spacing.

Every stud has a crown

Timber is not straight. Sight along each stud and you will find a slight bow, and the convex side is the crown. Every stud in a wall goes in with its crown the same way, so the wall bows consistently and can be pulled straight by the sheathing.

Mixing the crowns is what produces a wall that is wavy rather than bowed, and a wavy wall cannot be corrected. It is the single easiest quality improvement in framing and it costs nothing but the habit of looking.

Sight every stud
Look along the edge. The bow is always there; the only question is which way it goes.
Crowns the same way
A consistent bow pulls straight under sheathing. Mixed crowns give a wave that does not.
Discard the worst
A stud with a serious bow or twist belongs as a noggin, not in the wall.
Same rule for joists
Crown up on a joist, so the load flattens it rather than deflecting it further.

Nailing patterns are structural

The number, size and position of nails in a framed connection is specified, not a matter of judgement, because those connections are what resist wind and racking. A stud is typically two nails through the plate at each end, and sheathing has a specified edge and field spacing.

Overdriving is the common error with a nail gun. A nail driven through the face of sheathing loses most of its holding power, and a whole wall overdriven is a whole wall of reduced capacity. Set the depth on a scrap and check it as the day warms up.

Follow the specified pattern
Count and spacing are structural. Extra nails do not compensate for wrong placement.
Do not overdrive
A nail head sunk through sheathing loses much of its hold. Set the depth and re-check it.
Nail size matters
Ring shank where specified. A smooth nail in the same hole is not the same connection.
Keep clear of edges
Too close and the timber splits, which is the same as no nail at all.

The two real hazards

Nail guns and circular saws, in that order. A nail gun in bump fire mode will drive a nail through a hand faster than you can react, and the injuries are disproportionately to the hand holding the work. Sequential mode is slower and it is what you use when accuracy matters or when you are tired.

A circular saw kicks back when the blade binds, which happens when the offcut pinches or the material is unsupported. Support both sides of the cut, let the blade reach speed before it touches the timber, and never reach across the cut line.

Sequential over bump fire
Bump fire is for volume nailing on a flat deck, not for holding a stud with your other hand.
Hand well clear
Nails deflect off knots and out of the side of timber. Assume the nail can come out anywhere.
Support both sides
A pinching offcut binds the blade and kicks the saw back at you. This is the classic saw injury.
Disconnect before clearing a jam
Air line off, magazine out. A jammed gun fires when it clears itself.

Frequently asked questions

What tools do I need for framing?
A framing hammer or nail gun, a circular saw, a speed square, a framing square, a tape measure, a chalk line, a 1200mm spirit level, a string line and a pry bar. Add a sliding bevel and a rafter square for roof work, and a cordless drill for fixings.
What is a speed square used for in framing?
Marking square and 45 degree cut lines fast, and guiding the saw along them. It also reads roof pitches and rafter angles from its scales, and its lipped edge hooks over the timber so it registers square without being held in position.
What size framing hammer should I use?
Around 20oz to 24oz with a straight claw. Heavier drives a nail in fewer blows and tires your arm faster, which over a day matters more than the blow count. A milled face grips a nail head and marks the timber, so it suits structural work rather than anything visible.
What does crowning a stud mean?
Sighting along a stud to find which way it bows, then fitting every stud in the wall with the bow the same way. A consistent bow pulls straight when the wall is sheathed, whereas mixed crowns give a wavy wall that cannot be corrected afterwards.
How do I check a frame is square?
Measure both diagonals of the rectangle and compare them. Equal diagonals mean it is square. To set a right angle from scratch, use 3-4-5: three units along one side, four along the other, and five across the diagonal gives an exact right angle.
Should I use a nail gun or a hammer for framing?
A nail gun for volume, because it is several times faster and it does not shift the timber with each blow. A hammer for anywhere access is tight, for adjusting, and for anything where you want to feel what the nail is doing. Most framers carry both.
What spacing should studs be at?
Usually 400mm or 600mm centres, chosen so that sheet material edges land on a stud. The spacing is set by the sheathing and plasterboard sizes rather than by the timber, and getting it wrong means cutting boards and adding extra noggins.
Why is overdriving nails a problem?
A nail driven so its head sinks through the face of sheathing loses most of its holding power, because the head is what transfers the load. A whole wall overdriven has significantly reduced racking resistance. Set the gun depth on a scrap and check it through the day.