Disclosure

Tools for framing pictures

Mitre trimmers, underpinners, mount cutters and points drivers, all 31 grouped by stage: cutting the mitre, joining the corners, mounts and glazing, then fitting up. A frame corner has to close with no gap at all, a far tighter tolerance than building work.

20 are marked essential: a setup that can produce a properly closed corner.

Part of the full carpentry tools list, 75 tools in 11 groups.

Cutting the mitre 7

The defining group. Everything about a frame that closes is decided by these tools.

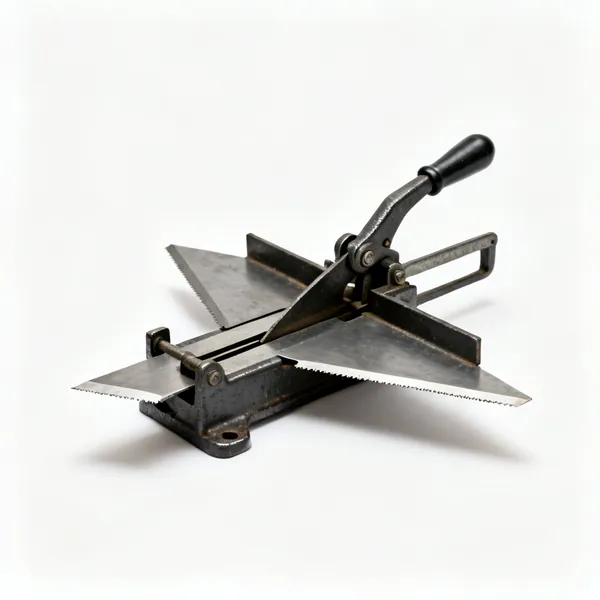
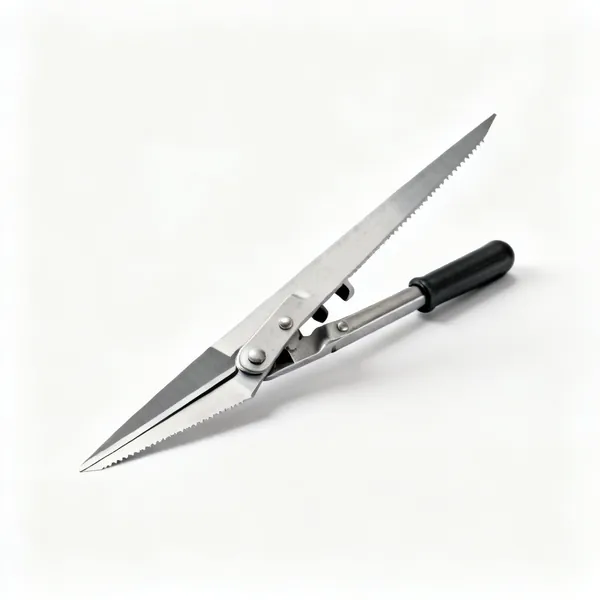
  • Mitre trimmer: A lever handle and fencesEssential

    Mitre trimmer

    A guillotine that shears moulding against a fixed 45 degree fence, leaving a face smooth enough to glue directly. The angle is set by the machine so it cannot drift as a saw blade does.

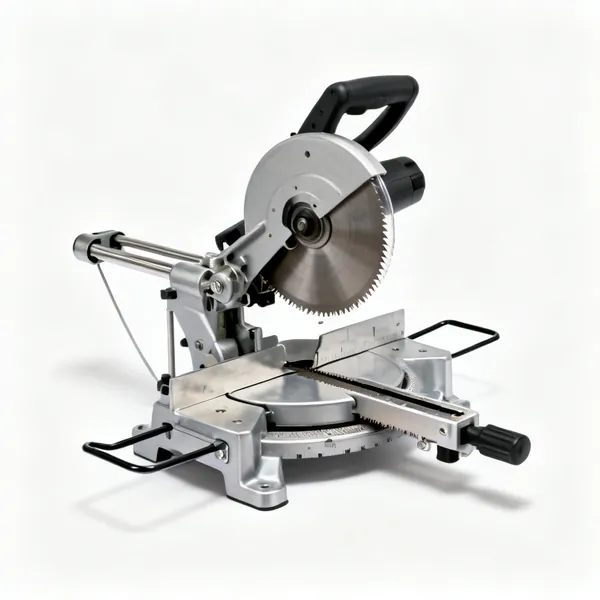
  • Fine mitre saw

    Fine mitre saw

    A frame saw with a fine blade and a precise angle stop, for moulding a trimmer cannot take. Slower, and it leaves saw marks that need cleaning up before gluing.

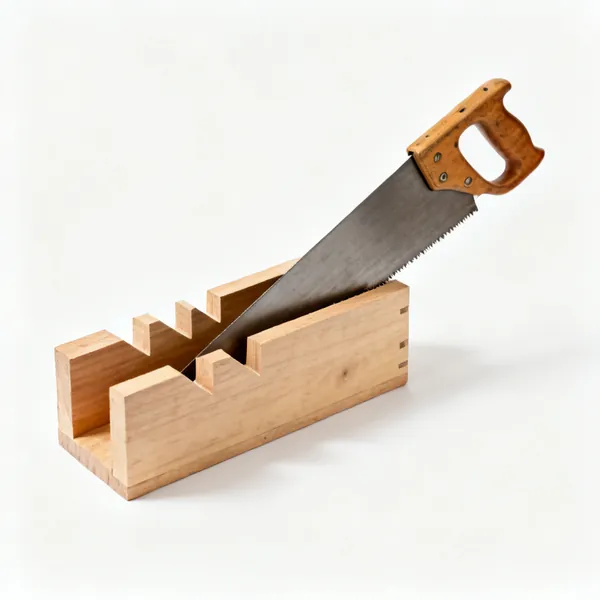
  • Mitre box

    Mitre box

    A slotted guide holding a backsaw at 45 degrees. The cheapest way to start, and its accuracy depends entirely on how worn the slots are, which they get.

  • Spare trimmer bladesEssential

    Spare trimmer blades

    The consumable, and the reason a trimmer that used to close a corner suddenly does not. A dull blade compresses the timber rather than shearing it, so the angle changes.

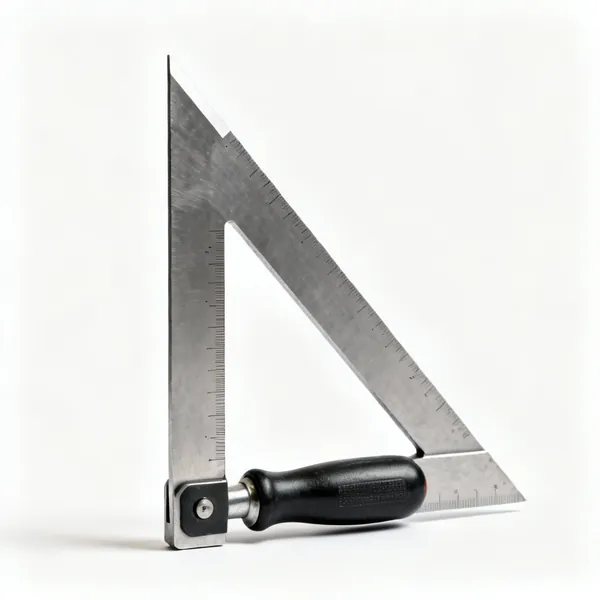
  • Engineer's set square: An engineers try square with a thick steel stock and precision ground bladeEssential

    Engineer's set square

    Checks two mitred offcuts held together for a true right angle. It is the one test that tells you whether the trimmer is set correctly, and it takes seconds.

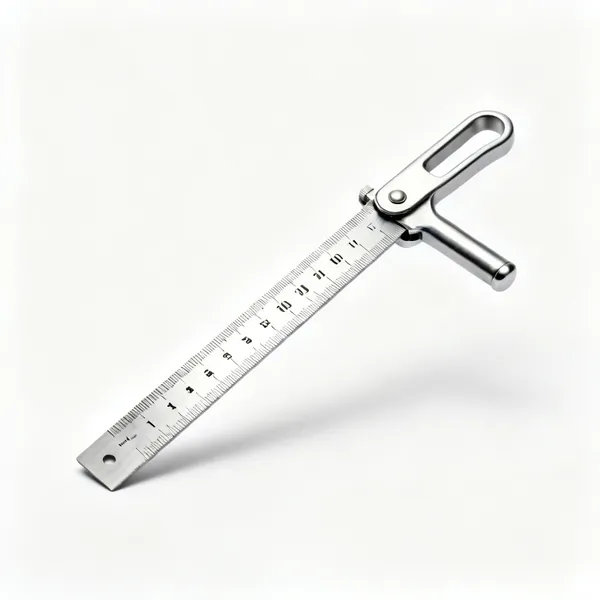
  • Steel rule: A stainless steel engineers rule with etched millimetre graduationsEssential

    Steel rule

    A rigid etched rule for rebate lengths, which are measured to the inside of the rebate rather than the outside of the moulding. That distinction is the classic beginner error.

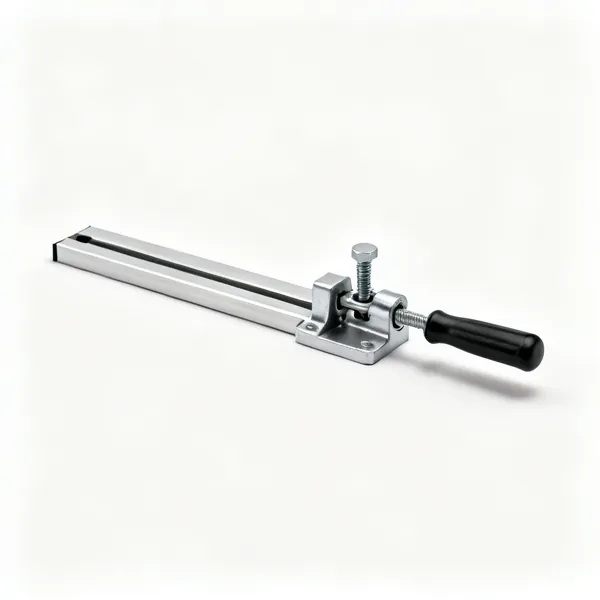
  • A metal sliding length stop with a clamping screw for a mitre trimmer fence

    Length stop

    A sliding stop on the trimmer fence so opposite sides come out identical. Two sides being equal matters more than either being exactly the intended length.

Joining the corners 8

A glued mitre is end grain to end grain and weak. Everything here adds the mechanical reinforcement.

  • A manual foot operated underpinner machine with a clamping head and a V nail magazineEssential

    Underpinner

    Drives a wedge shaped V nail up into the joint from below, pulling the faces together as it enters. Nothing shows on the front, which is why every frame shop has one.

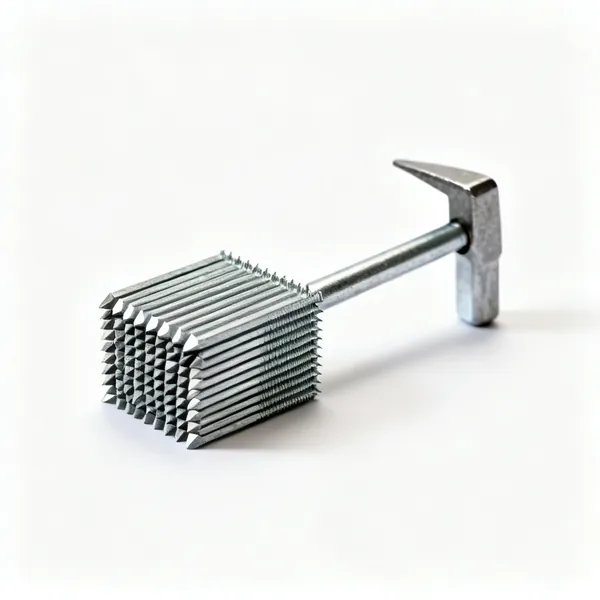
  • A small stack of steel wedge shaped picture framing V nailsEssential

    V nails

    Wedge shaped fasteners in several depths to suit the moulding thickness. Two per corner, one near the inside and one near the outside, so the joint cannot rotate.

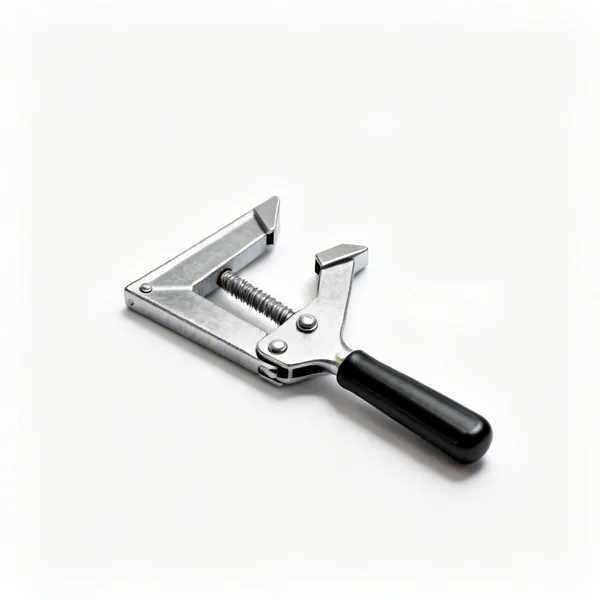
  • Corner clampsEssential

    Corner clamps

    Hold a mitre closed and square while the glue sets. Four of them assemble a whole frame at once, which is how the glue lines all stay tight rather than sequential.

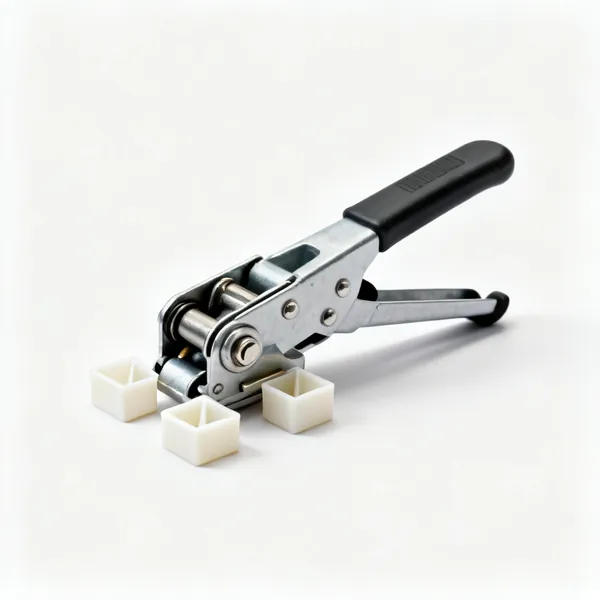
  • A webbing band clamp with a ratchet tensioner and four plastic corner blocksEssential

    Band clamp

    A strap with corner blocks that pulls all four joints closed at once. It equalises the pressure round the frame, which four separate clamps do not.

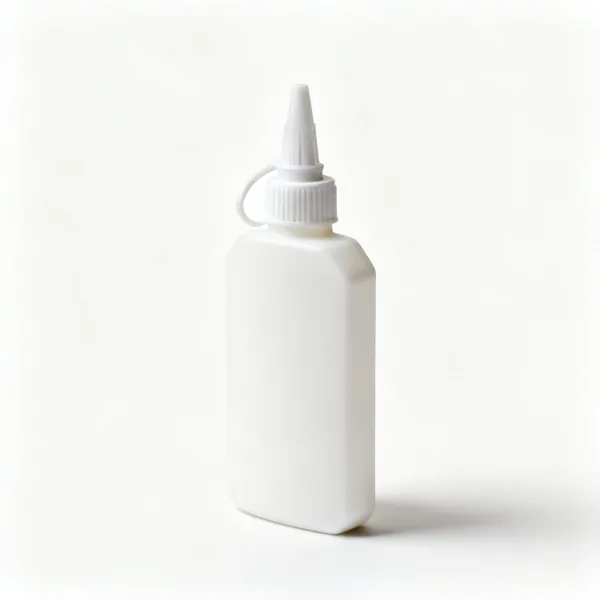
  • A plastic bottle of white PVA wood glue with a nozzle capEssential

    PVA wood glue

    Applied to both mitre faces and allowed to soak briefly, because end grain absorbs glue and starves the joint. A second thin coat before clamping is what makes it hold.

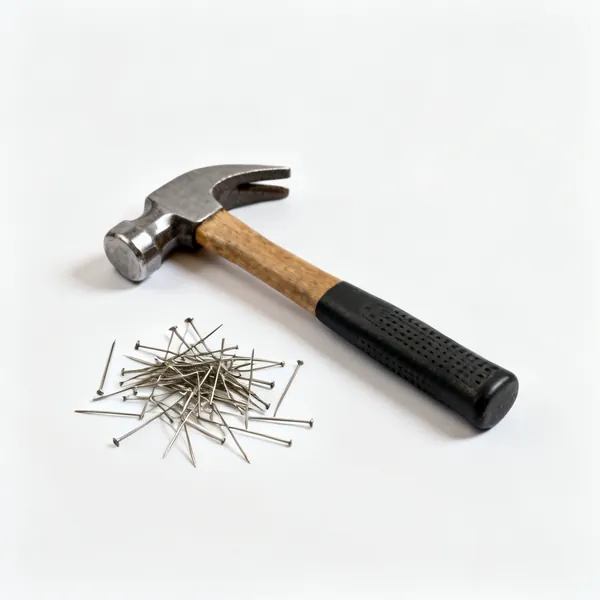
  • Panel pins and pin hammer: A small pin hammer beside a scattering of thin panel pins

    Panel pins and pin hammer

    The alternative to an underpinner, driven through the outside of the corner. It works, and it leaves holes to fill, which on a dark or gilt moulding is visible.

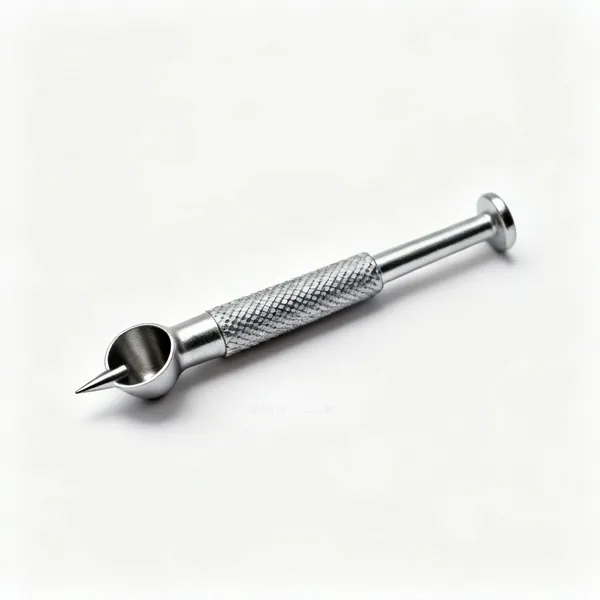
  • A small steel nail punch with a knurled body and a cupped tip

    Nail punch

    Sets a panel pin below the surface so it can be filled. It also means the last blow lands on the punch rather than on the moulding, which prevents the dent.

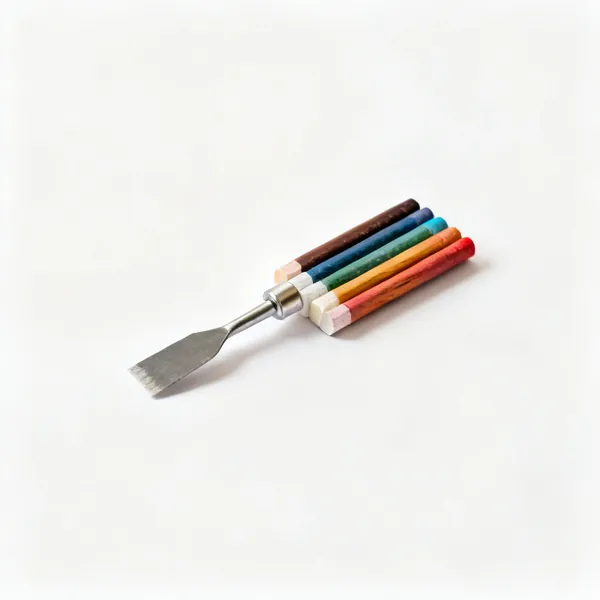
  • A set of coloured wax filler sticks for wood repair

    Wax filler sticks

    Colour matched wax rubbed into a pin hole or a hairline gap. It fills without shrinking, which a solvent filler does, leaving a dimple a few weeks later.

Mounts and glazing 8

The bevel and the glass. Both are cut by a tool running against a guide rather than freehand.

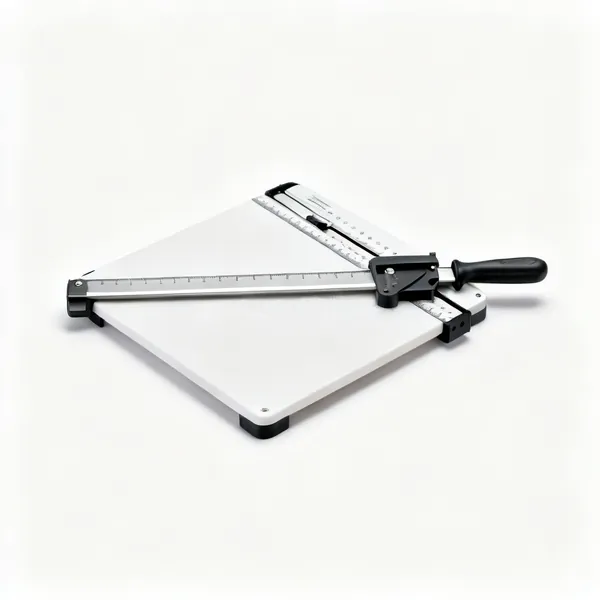
  • A mount cutter board with a long guide bar, blade holder and measuring scaleEssential

    Mount cutter

    A blade held at 45 degrees running along a guide bar with adjustable stops, cutting a bevelled aperture. Cut from the back, so any slight overrun is on the hidden face.

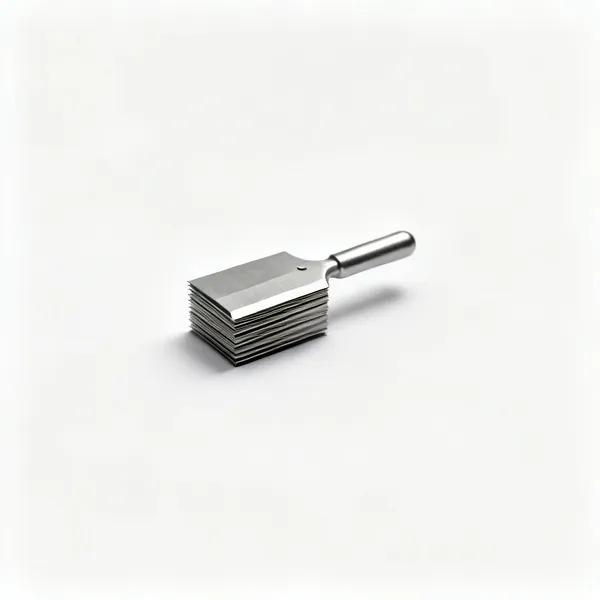
  • Mount cutter blades: A small stack of thin steel mount cutter replacement bladesEssential

    Mount cutter blades

    Changed every few mounts, because a dull blade drags and tears the board core. That shows as a fuzzy bevel edge, which is exactly the surface the eye is drawn to.

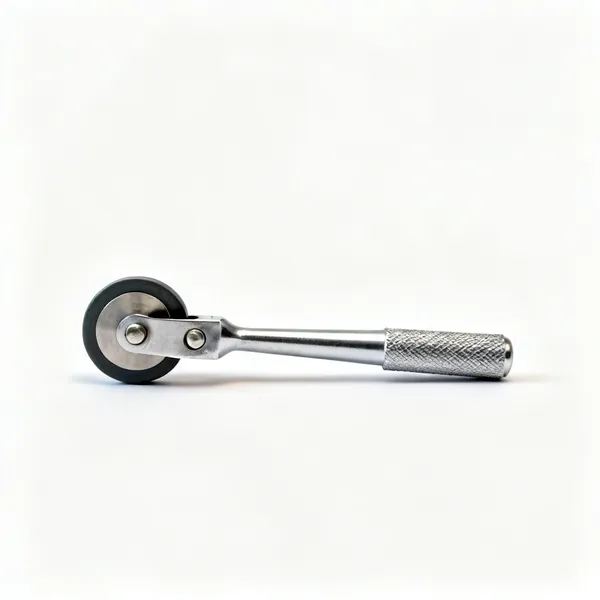
  • A glass cutter with a small hardened steel wheel and a knurled metal handleEssential

    Glass cutter

    A hardened wheel that scores glass once along a straightedge, after which it snaps along the score. Rerunning a score never improves it and destroys the wheel.

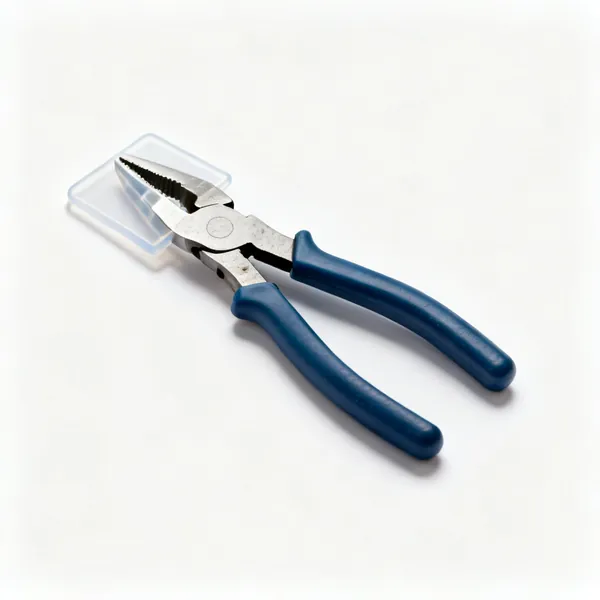
  • A pair of glass breaking pliers with wide flat plastic covered jaws

    Breaking pliers

    Wide flat jaws that snap a narrow strip along a score that fingers cannot grip. Below about 20mm wide there is no other way to break the piece off cleanly.

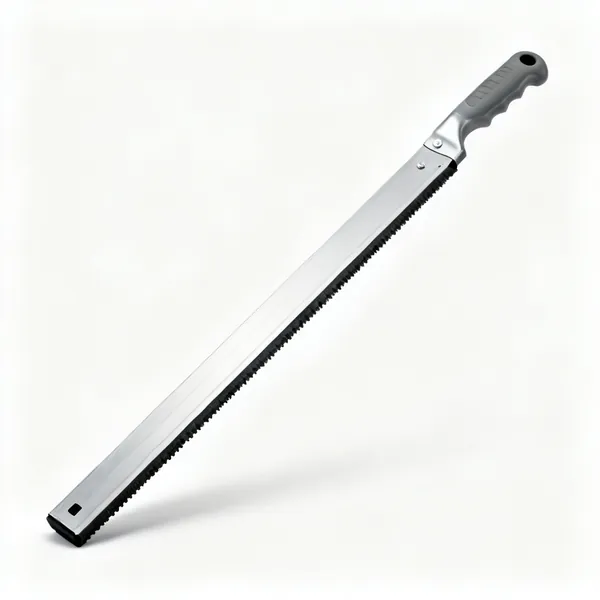
  • Non slip straight edge: A long aluminium straight edge with a rubber non slip backing stripEssential

    Non slip straight edge

    A rubber backed rule to cut glass and board against. Slip during a glass score means a wandering line that will not snap where you wanted it.

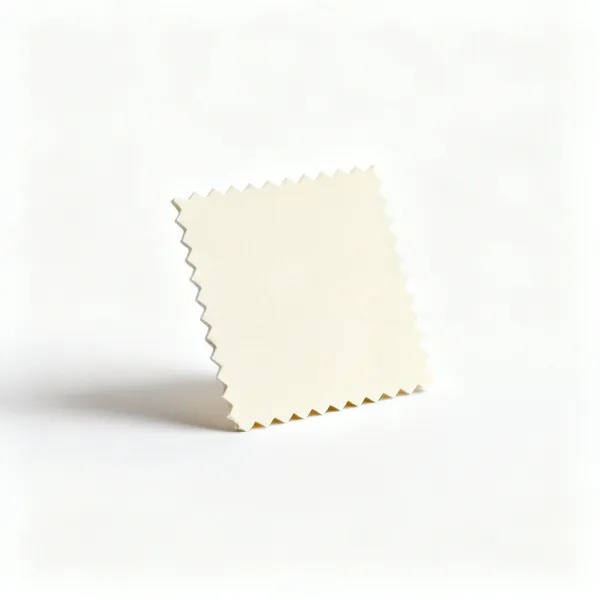
  • A single small square offcut of cream coloured conservation mount board with a bevelled edge

    Conservation mount board

    Acid free board for anything of value. Ordinary board burns a brown line into a print edge over a few years, and that damage cannot be reversed.

  • Acid free hinging tape: A roll of white acid free paper hinging tape

    Acid free hinging tape

    Hinges a print at the top so it hangs free and can be removed later. Never used to glue a print down, because permanent mounting destroys any value it has.

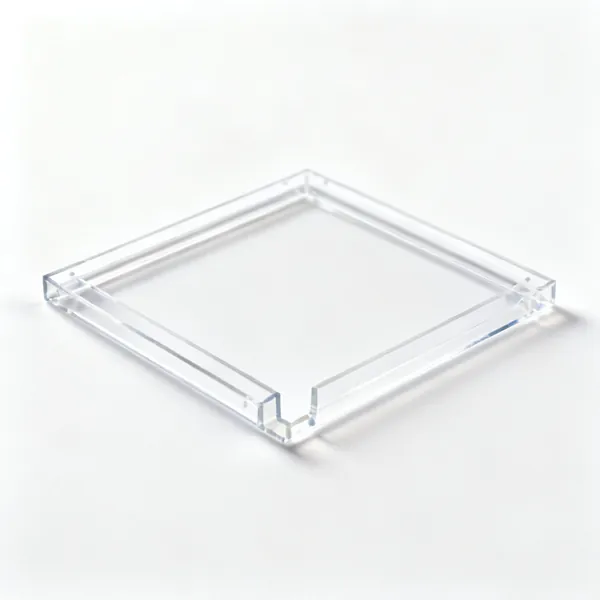
  • Glazing spacers: A short piece of clear plastic picture framing spacer strip, an L shaped extrusion

    Glazing spacers

    Hold the picture off the glass where there is no mount. Condensation makes a print stick to glass permanently, and that is not recoverable at all.

Fitting up and hanging 8

Closing the frame and sealing it. Dust and insects that get in cannot be got out later.

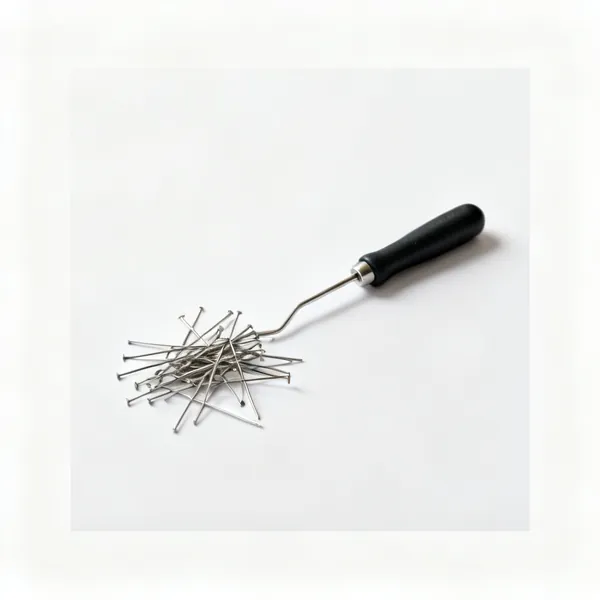
  • Points driverEssential

    Points driver

    Fires flexible metal points into the rebate to hold the stack in. They can be lifted later to reopen the frame, which nails driven in cannot.

  • Flexible points: A small pile of thin flexible metal picture framing pointsEssential

    Flexible points

    Thin metal tabs that press into the rebate and bend down over the backing. They hold firmly and lift again without damaging the frame or the contents.

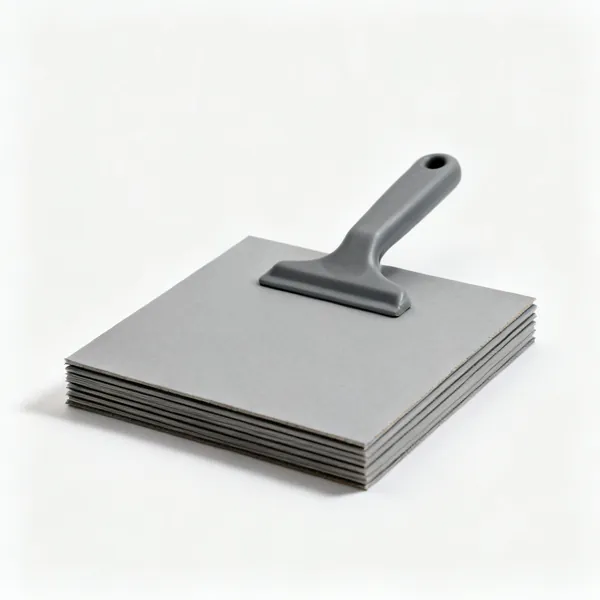
  • A stack of grey rigid picture framing backing boardsEssential

    Backing board

    A rigid board behind the picture that carries the points and keeps the stack flat. Without it the mount bows and the picture touches the glass in the middle.

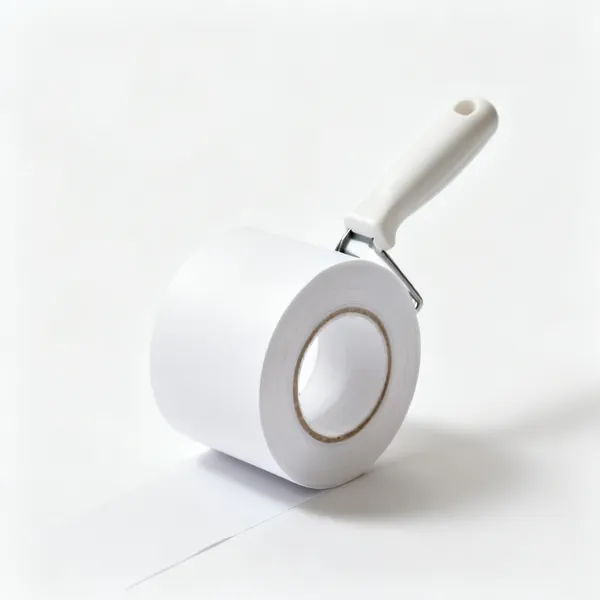
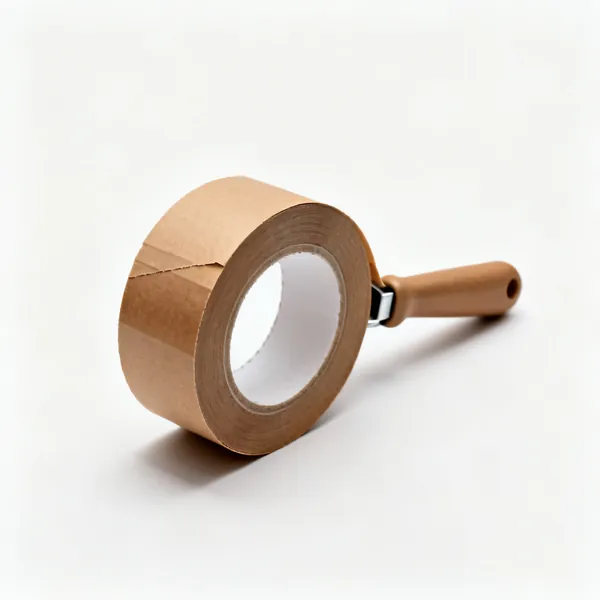
  • Frame sealing tapeEssential

    Frame sealing tape

    Taped around the back of the rebate to seal it. Dust and small insects enter through an unsealed back and there is no way to remove them without opening the frame.

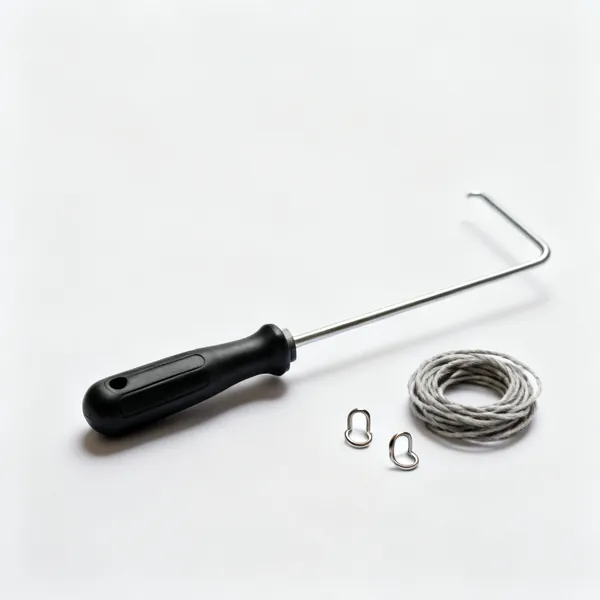
  • D rings and cord: Two small metal D ring picture hangers beside a coil of picture cordEssential

    D rings and cord

    Fixed a third of the way down each side, with cord between. Higher up and the frame tips forward off the wall, which is the commonest hanging fault.

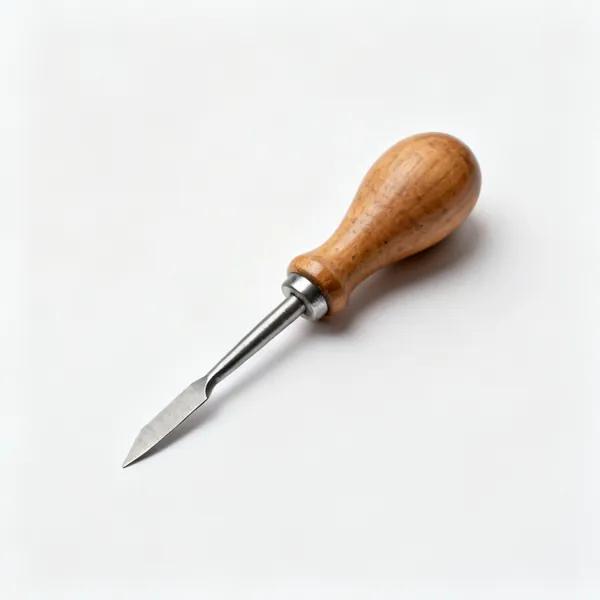
  • A bradawl with a wooden bulb handle and a short flat chisel edged steel pointEssential

    Bradawl

    Makes a pilot hole for a D ring screw so the moulding does not split. A frame moulding is thin and soft, and screwing straight in splits it along the grain.

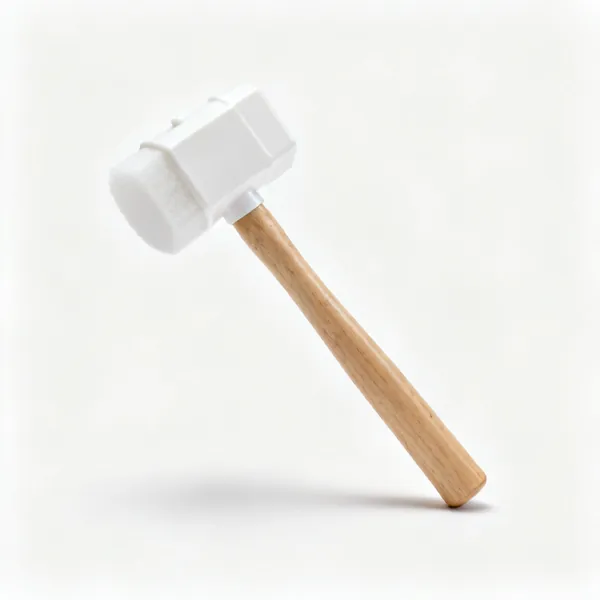
  • Soft mallet: A small nylon faced mallet with a white plastic head and a wooden handle

    Soft mallet

    Persuades a tight joint or a piece of glass to seat without marking anything. A hammer face on a finished moulding leaves a permanent mark on the visible face.

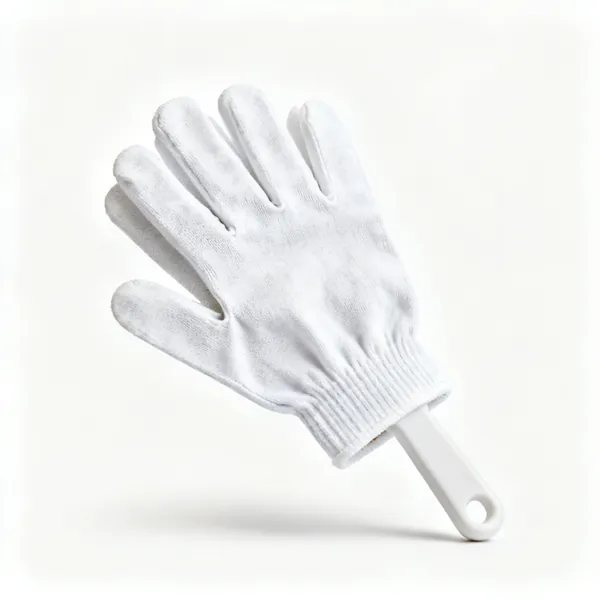
  • Cotton gloves: A pair of white cotton handling glovesEssential

    Cotton gloves

    Handle glass and prints without fingerprints, which show on glass and become permanent marks on paper. They also help with the glass edges, which are sharp.

Making a frame that closes

The mitre is everything. If two 45 degree cuts are not exactly 45, the corner shows a gap and nothing later hides it.

The mitre decides everything

A frame corner is two 45 degree cuts meeting. If each is out by a quarter of a degree, the corner shows a visible wedge of light, and no amount of clamping or filling hides it because the moulding profile no longer lines up either.

That is why picture framers use a mitre trimmer or a dedicated saw rather than a general mitre saw. A trimmer shears the timber with a guillotine blade against a fixed 45 degree fence, and it produces a face smooth enough to glue directly and an angle that does not drift with the blade.

A quarter of a degree shows
Multiplied over four corners it is a visible gap. This is the whole reason for specialist tools.
Trimmer over saw
A guillotine shear against a fixed fence, giving a glue ready face and an angle that cannot drift.
Cut both halves of a pair together
Opposite sides identical matters more than either being exactly right.
Check with a set square
Two offcuts held together should make a perfect right angle. It takes seconds and it is conclusive.

Joining the corners

A glued mitre alone is weak, because it is end grain to end grain. It needs mechanical reinforcement, and the standard is a wedge, or V nail, driven up into the joint from underneath by an underpinner. The wedge pulls the two faces together as it goes in.

For occasional work, corner clamps and glue with panel pins driven from the outside will hold, and the pin holes then need filling. An underpinner leaves nothing visible on the face, which is why every frame shop has one.

Glue alone is not enough
End grain to end grain is a weak joint. It needs a wedge, a pin or a spline.
Underpinner wedges pull it closed
Driven from below, so nothing shows on the face and the joint tightens as they go in.
Two wedges per corner
One near the inside edge and one near the outside, so the corner cannot rotate.
Clamp and pin for occasional work
Corner clamps, glue and panel pins from outside. The holes then need filling.

Cutting mounts and bevels

A window mount is cut with a bevelled edge so the aperture opens outward toward the picture, which is what gives the depth. That bevel is cut by a mount cutter running a blade at 45 degrees along a guide, not by a knife freehand.

The classic mistake is equal borders all round. A mount traditionally has a slightly deeper bottom border, because the eye reads a visually centred aperture as slightly high. Around 10 to 15 percent more at the bottom is the usual allowance.

Bevel opens outward
Toward the picture, which is what gives the aperture its depth and shadow line.
Deeper bottom border
About 10 to 15 percent more. A geometrically centred aperture reads as too high.
Cut on the back
So the blade enters from the reverse and any slight overrun is on the hidden face.
Fresh blade every few mounts
A dull blade drags and tears the core, which shows as a fuzzy bevel edge.

Glass, acrylic and what goes behind

Glass is cut by scoring once with a wheel and snapping along the score. Once is the rule: running the cutter back over a score never improves it and it ruins the wheel. Acrylic is cut by scoring repeatedly or with a fine saw, and it scratches far more easily than glass.

Behind the picture goes a backing board, then it is all held in with flexible points or a points driver, and the back is sealed with tape. The sealing matters more than people expect, since dust and insects get in through an unsealed rebate and cannot be removed later.

Score once, then snap
Rerunning a score never helps and it destroys the cutter wheel. One firm pass.
Acrylic scratches
Leave the film on until the last moment, and never clean it with a paper towel.
Points, not nails
Flexible points hold the stack in and can be lifted later to reopen the frame without damage.
Seal the back
Tape around the rebate. Dust and insects enter through an unsealed back and cannot be got out.

If the picture matters

Ordinary mount board and tape are acidic, and over years they burn a brown line into the edge of a print where they touch it. That damage is not reversible. For anything of value, conservation grade board and acid free tape are the difference between framing and slowly destroying.

The same applies to the mounting method. Never dry mount, glue or tape a print down permanently if it might ever need to come out. Hinge it at the top with acid free tape so it hangs free and can be removed.

Acidic board burns the print
A brown line at the mount edge within a few years, and it does not come back out.
Conservation board and acid free tape
For anything you would be sorry to damage. The cost difference is small.
Hinge, never glue down
Acid free tape at the top only, so the print hangs free and can be removed later.
Keep the picture off the glass
A mount or a spacer, because condensation makes a print stick to glass permanently.

Frequently asked questions

What tools do I need to start picture framing?
A mitre trimmer or fine mitre saw, an underpinner or corner clamps, a mount cutter, a glass cutter, a points driver, a steel rule and set square, glue, and a soft mallet. That set will produce a properly made frame with a closed corner and a bevelled mount.
Why does my frame corner have a gap?
Because the two mitres are not exactly 45 degrees. Even a quarter of a degree out on each shows as a visible wedge, and it multiplies across four corners. Check by holding two offcuts together against a set square, and use a trimmer rather than a general mitre saw.
What is an underpinner?
A machine that drives a wedge shaped V nail up into a mitre joint from underneath. The wedge pulls the two faces together as it enters and leaves nothing visible on the front of the frame, which is why it is the standard way to join a picture frame.
What is a mitre trimmer and why not use a mitre saw?
A trimmer shears the moulding with a guillotine blade against a fixed 45 degree fence. It gives a face smooth enough to glue straight away and an angle that cannot drift as a saw blade can. A mitre saw leaves saw marks and its accuracy depends on the blade and the setup.
How do I cut a bevelled mount?
With a mount cutter, which runs a blade at 45 degrees along a guide bar with adjustable stops. Cut from the back so the blade enters the reverse face, and change the blade every few mounts because a dull one drags and leaves a fuzzy bevel.
Should mount borders be equal all round?
Traditionally not. The bottom border is made about 10 to 15 percent deeper, because the eye reads a geometrically centred aperture as sitting slightly high. Equal borders look correct on a measurement and slightly wrong on the wall.
How do I cut picture glass?
Score once with a glass cutter along a straightedge, then snap along the score by lifting or tapping from underneath. Never run the cutter back over a score, since it does not improve the cut and it ruins the wheel. Wear gloves and eye protection.
Does it matter what mount board I use?
For anything of value, yes. Ordinary board and tape are acidic and burn a brown line into the edge of a print over a few years, which is not reversible. Conservation grade board and acid free tape cost a little more and prevent it entirely.