Disclosure

Tools for wood joinery

Marking gauges, dovetail saws, chisels, planes and jigs, all 32 grouped in the sequence a joint is cut: mark it, saw to the line, pare to fit, then assemble. A joint is only ever as accurate as the line it was cut to.

18 are marked essential: enough to cut the common joints properly by hand.

Part of the full carpentry tools list, 75 tools in 11 groups.

Marking out 8

The largest group, and deliberately so. A joint is only as accurate as the line it was cut to.

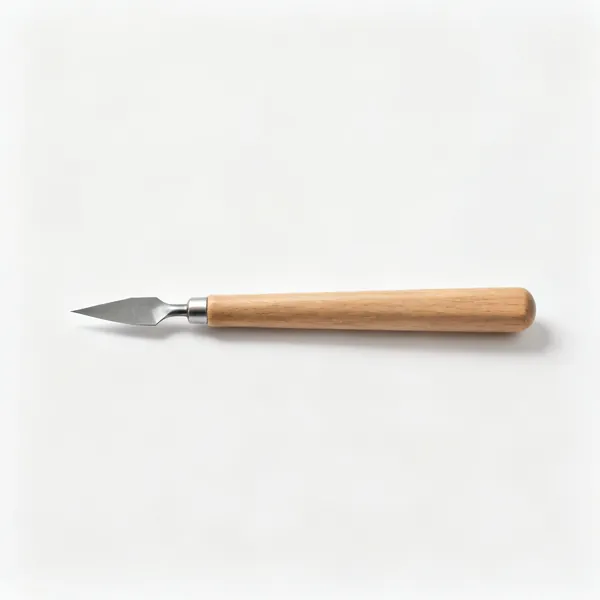
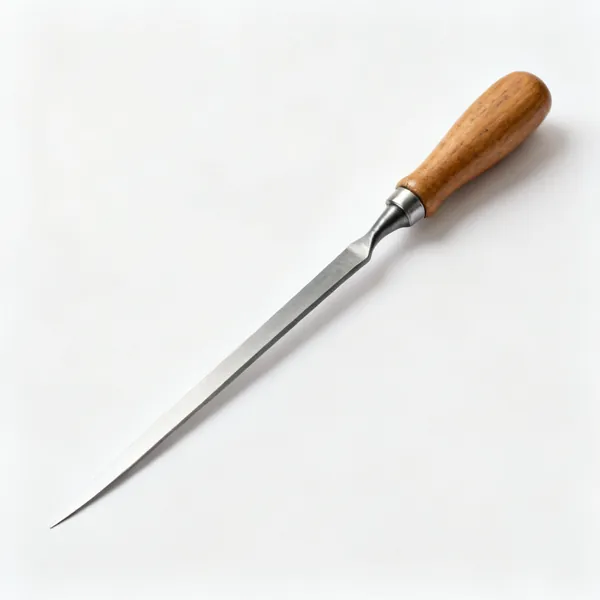
  • A marking knife with a small pointed single bevel steel blade and a slim wooden handleEssential

    Marking knife

    A single bevel blade that severs surface fibres and leaves a wall a chisel can register in. It is the tool that most changes the quality of a beginner's joints, and it costs very little.

  • A wooden marking gauge with a beam, sliding fence, thumbscrew and steel marking pinEssential

    Marking gauge

    A pin or wheel on a beam set from a fence, scoring a line parallel to an edge. It repeats the same distance every time, which a rule and pencil cannot reliably do.

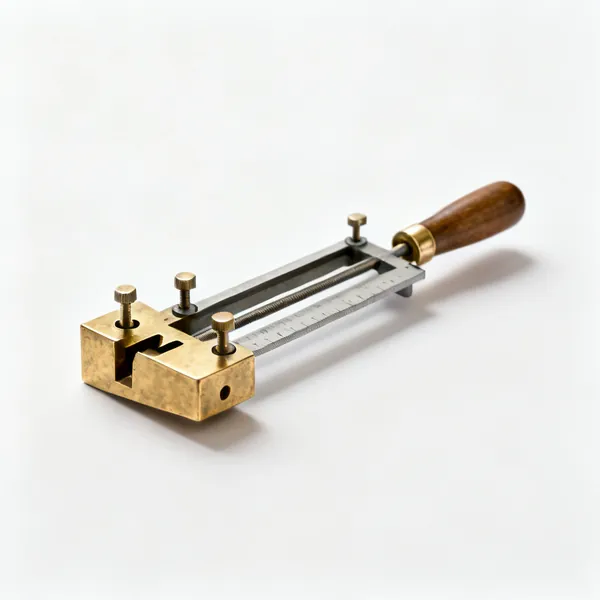
  • A brass faced mortise gauge with two adjustable marking pins and a sliding fence

    Mortise gauge

    Two pins with adjustable spacing, marking both walls of a mortise in one pass. Set from the chisel width, so the mortise and the tool that cuts it agree exactly.

  • Try squareEssential

    Try square

    A blade fixed at 90 degrees to a stock, and the reference the whole workshop trusts. Check it by scribing, flipping and scribing again: two diverging lines mean it is out.

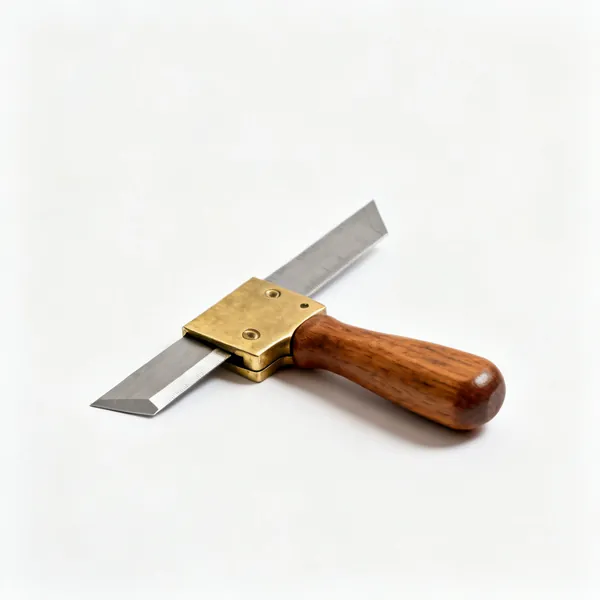
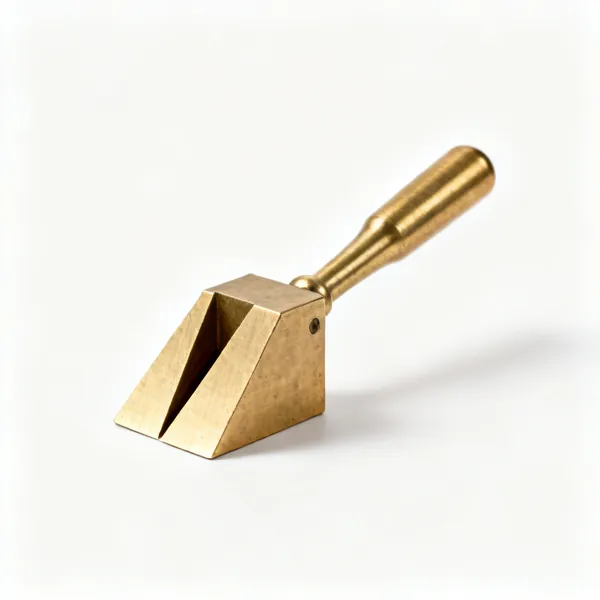
  • A brass dovetail marker gauge

    Dovetail marker

    A fixed angle block for marking dovetail slopes consistently, usually 1 in 6 for hardwood or 1 in 8 for softwood. It makes the angles match without measuring each one.

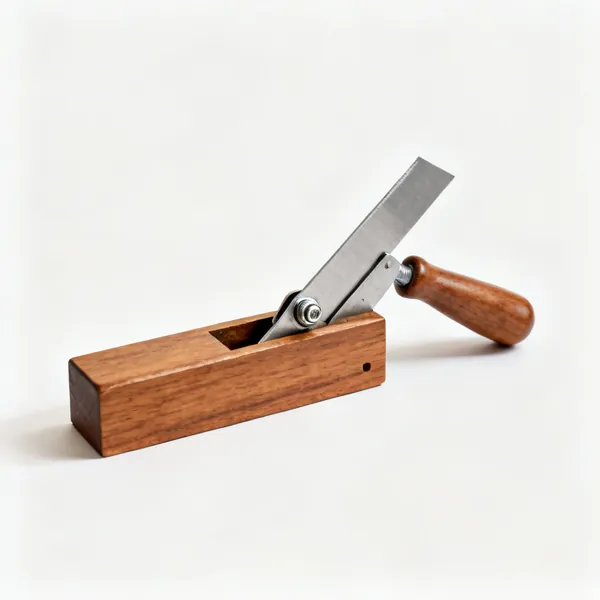
  • A sliding bevel gauge with a wooden stock and a pivoting steel blade with a locking screw

    Sliding bevel

    Locks at any angle so an existing angle can be copied from the work rather than measured. Most angles in a repair or a restoration are not round numbers.

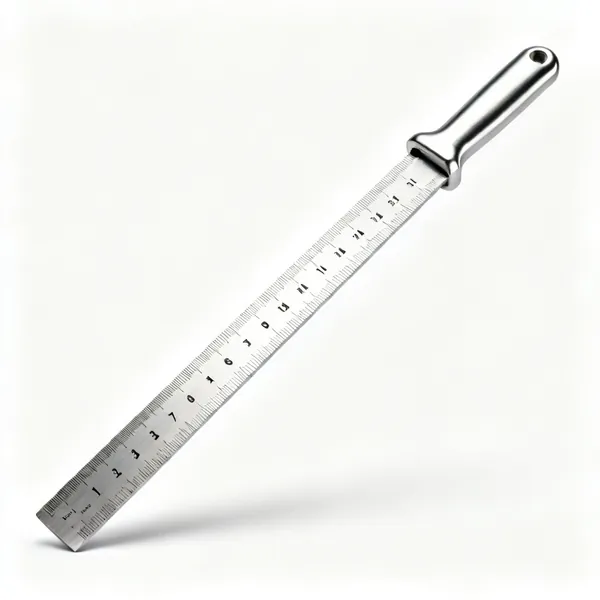
  • Steel rule: A stainless steel engineers rule with etched millimetre graduationsEssential

    Steel rule

    Etched, rigid and thin enough to read a dimension right at the surface. A thick rule read from above introduces a parallax error that on a joint is enough to matter.

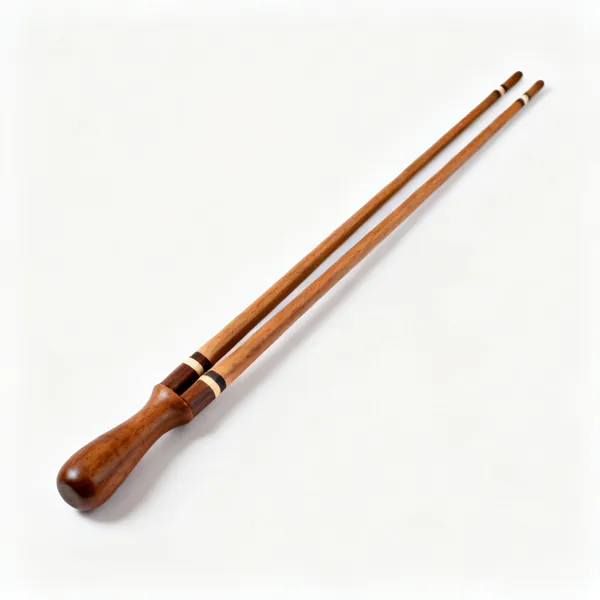
  • A pair of matched hardwood winding sticks, long thin bars with contrasting inlays

    Winding sticks

    A matched pair sighted across a board to reveal twist. A twisted piece cannot be jointed accurately, and twist is invisible to the eye until these exaggerate it.

Sawing to a line 7

A stiffened blade that goes where you put it. Saw the waste side and leave the line.

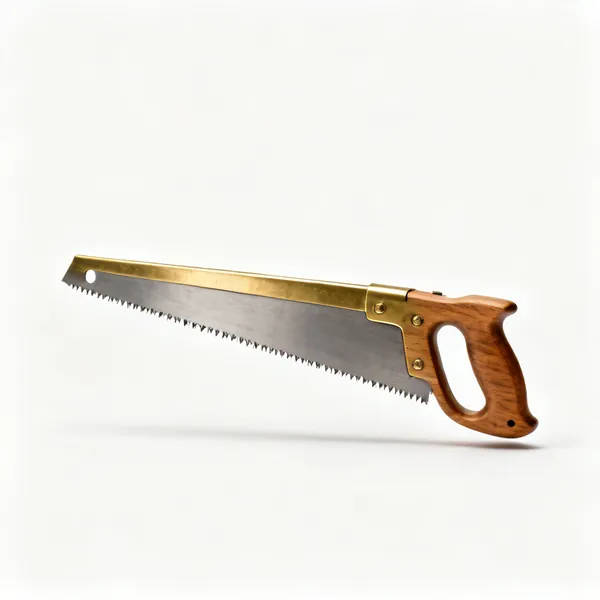
  • A tenon saw with a brass reinforced back spine, wooden handle and fine teethEssential

    Tenon saw

    A brass or steel spine stops the thin blade flexing, so the cut lands exactly where placed. That rigidity is what makes joinery possible; a flexible plate wanders enough to spoil a fit.

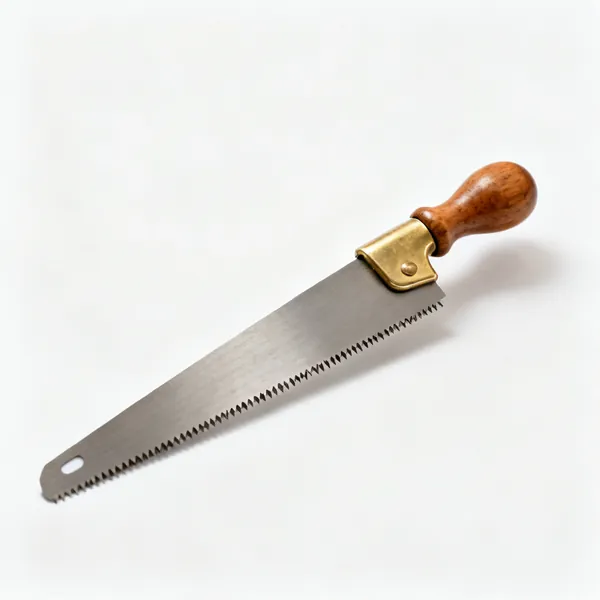
  • A dovetail saw with a small turned wooden handle, brass back and very fine teethEssential

    Dovetail saw

    The finest backed saw, around 20 TPI with almost no set, cutting a kerf barely wider than the plate. Used where the saw cut is itself the finished surface of the joint.

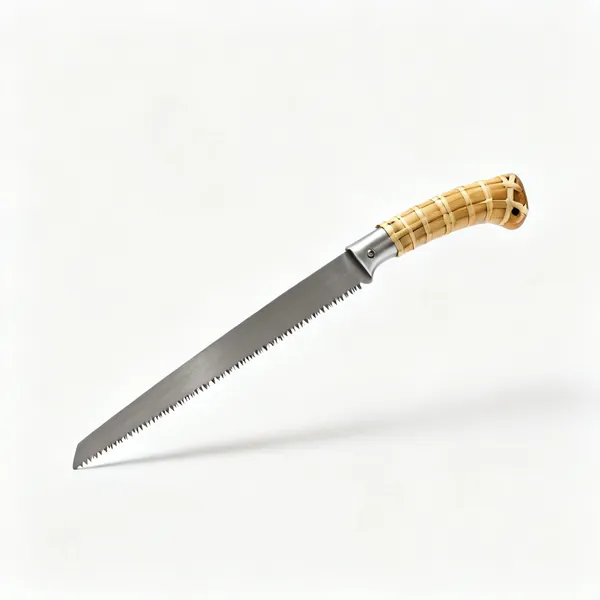
  • A japanese dozuki saw with a rattan wrapped handle, reinforced spine and very fine teeth

    Dozuki saw

    A Japanese backed saw with an extremely thin blade cutting on the pull. It leaves a face smooth enough to glue straight from the saw, which no Western backsaw quite matches.

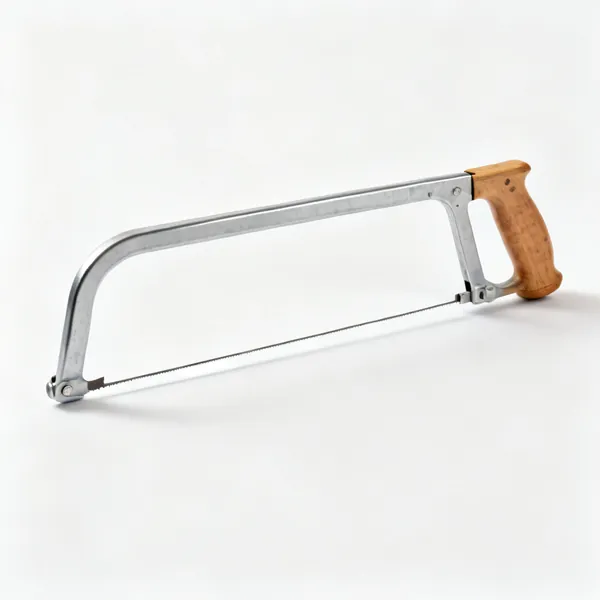
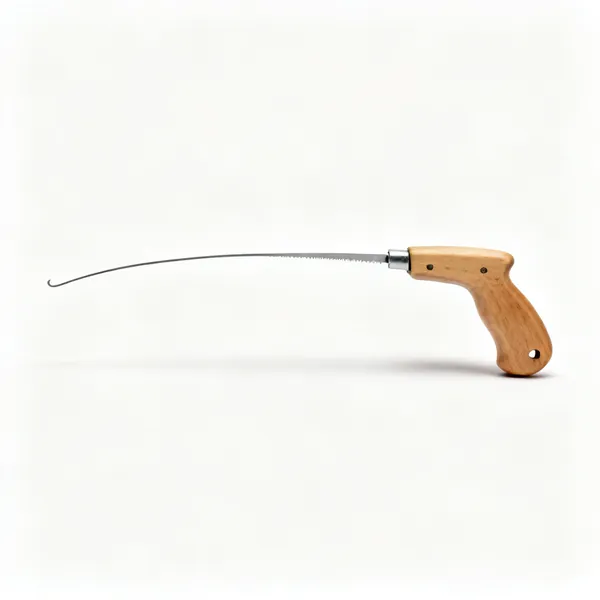
  • Coping saw: Wooden handle and thin narrow bladeEssential

    Coping saw

    Removes the bulk of the waste between dovetails, leaving a little to pare to the line. Faster than chopping it all out with a chisel and it saves the chisel edge.

  • A flush cut saw with a very thin flexible blade and an offset wooden handle

    Flush cut saw

    A flexible blade with no set at all, so it trims a protruding peg or through tenon flush without scratching the surface around it. The absence of set is the design.

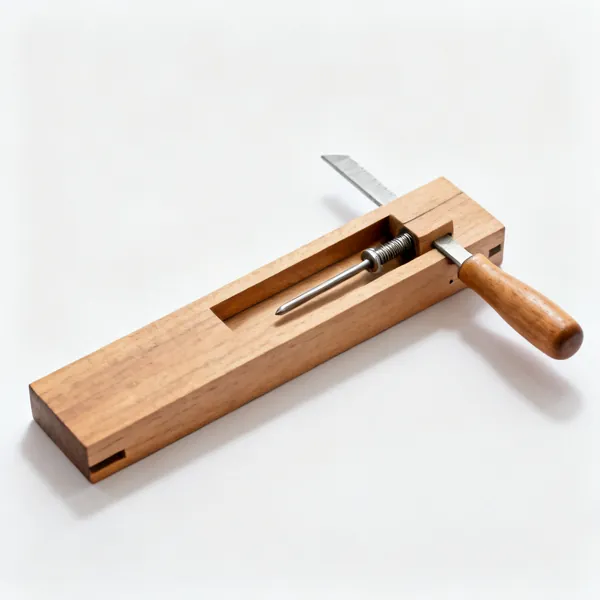
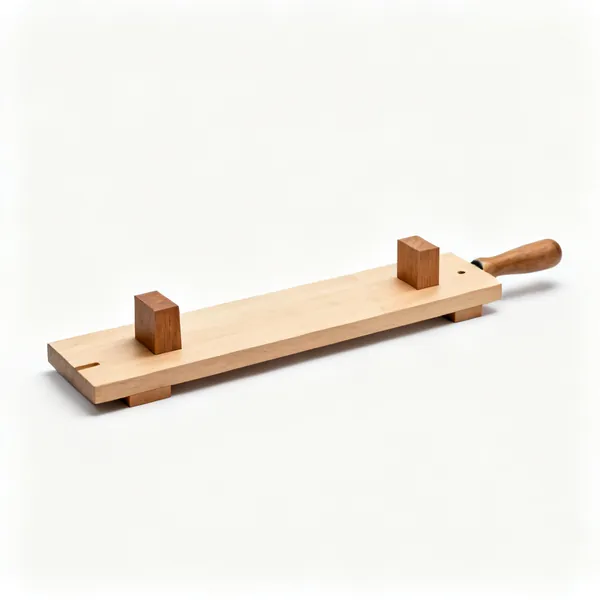
  • A wooden bench hook, a flat board with a raised wooden stop block at each endEssential

    Bench hook

    Gives the work a stop to be pushed against and the saw somewhere safe to run out. Made from scrap in ten minutes, and it is why a tenon saw cut goes where intended.

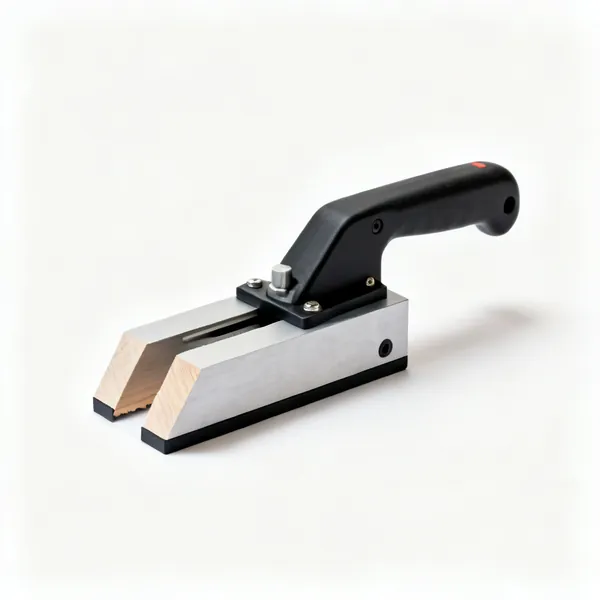
  • Magnetic saw guide

    Magnetic saw guide

    Holds a backsaw square or at a set angle against the work. It removes the one variable a beginner cannot yet control, which is keeping the blade vertical.

Paring and fitting 8

Where the fit is actually made. All of it depends on the tools being genuinely sharp.

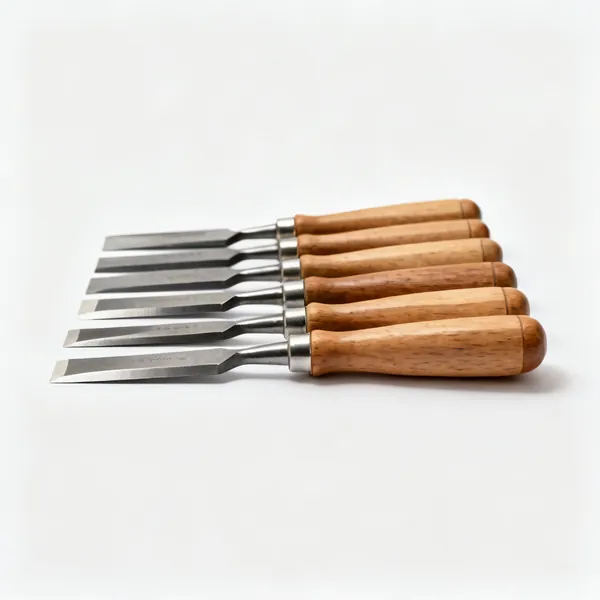
  • Bevel edge chisels: A set of bevel edge wood chisels with wooden handles arranged in a rowEssential

    Bevel edge chisels

    Flat blades with bevelled sides that reach into an acute corner, which is what cleaning a dovetail socket requires. A 6mm and a 25mm cover most joinery between them.

  • A long paring chisel with a very long thin blade and a wooden handle

    Paring chisel

    A long thin blade pushed by hand, never struck, for shaving a joint to a fit. The length gives control and the thin section follows a surface rather than digging into it.

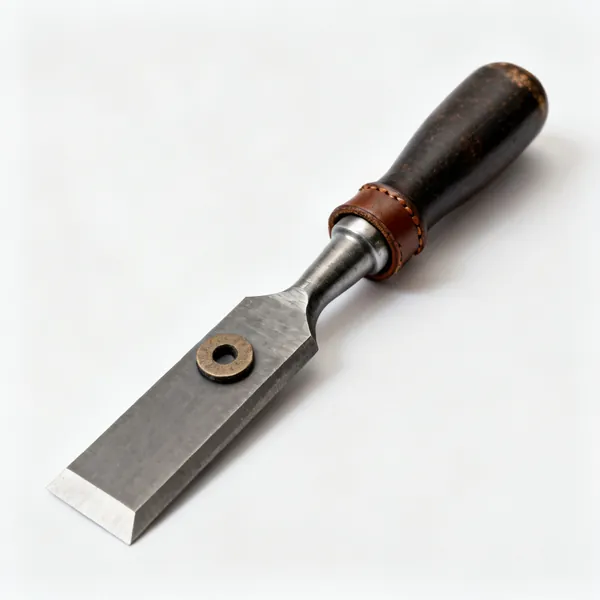
  • A mortise chisel with a very thick square section blade, leather washer and heavy handleEssential

    Mortise chisel

    A thick square sectioned chisel built to be struck hard and levered, chopping a deep rectangular hole. Its mass resists the twisting that snaps a bench chisel used the same way.

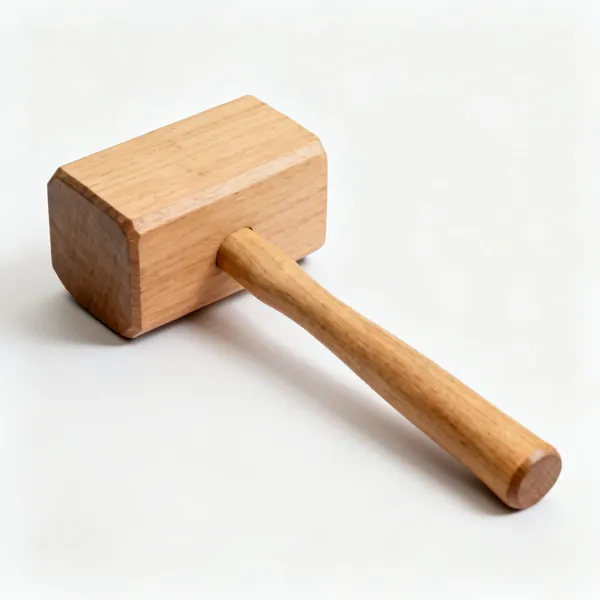
  • Wooden mallet: A wooden carpenters mallet with a large rectangular beech head and a tapered handleEssential

    Wooden mallet

    Drives a chisel and assembles a joint without damaging either. The wide soft face spreads the blow, which is why a chisel handle survives a mallet and splits under a hammer.

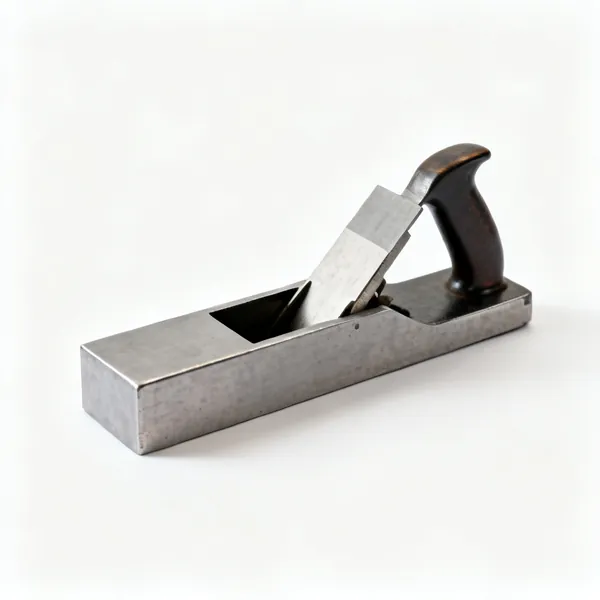
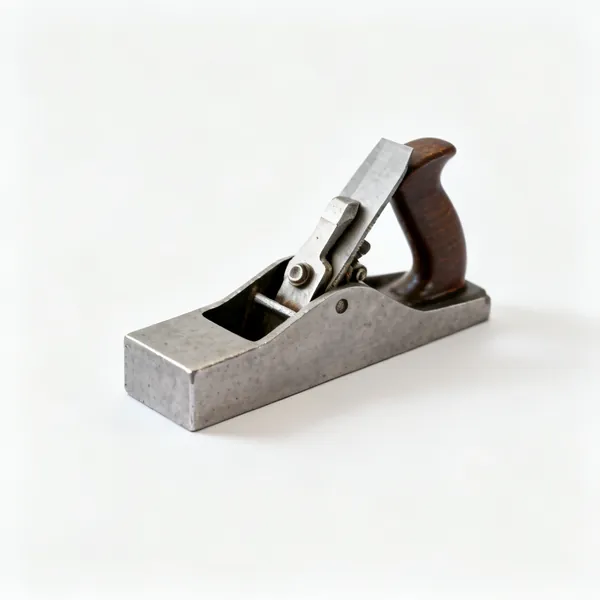
  • A metal shoulder plane with a narrow rectangular body and a full width bladeEssential

    Shoulder plane

    The blade extends the full width of the body so it cuts right into a corner, trimming a tenon shoulder or a rebate square. It takes a shaving at a time, so a fit can be crept up on.

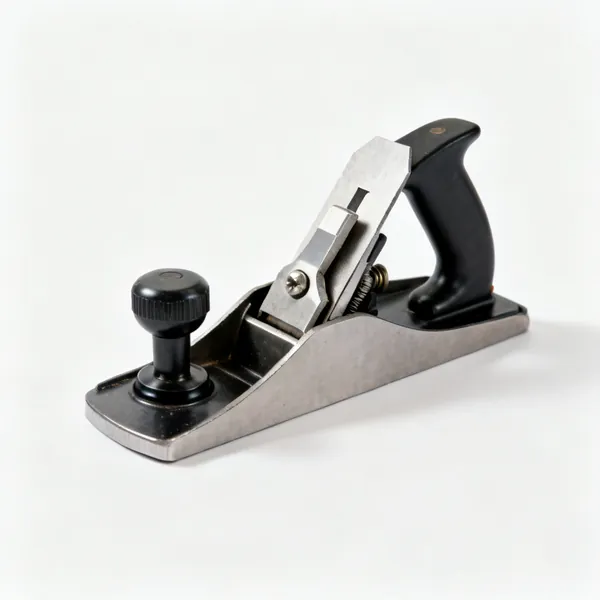
  • Block planeEssential

    Block plane

    A small one handed plane for trimming end grain and easing an edge. The most used plane in most workshops because it is the one you pick up without clearing the bench.

  • A metal router plane with a wide flat sole, depth adjuster and an L shaped blade

    Router plane

    A blade set at a fixed depth below a wide sole, cutting a housing or a tenon cheek to a consistent depth. The sole references the surface, so depth cannot vary along the cut.

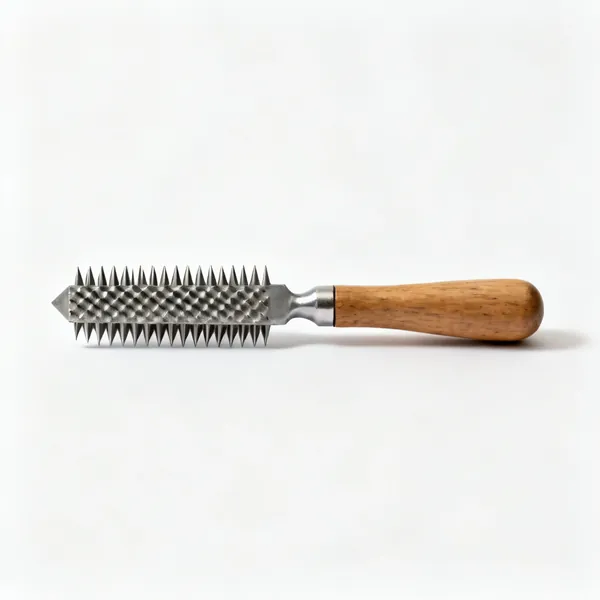
  • A half round cabinet rasp with individually raised teeth and a wooden handle

    Cabinet rasp

    Individually raised teeth for shaping a curved joint or easing a tight spot. Faster than a file, coarser, and used where a chisel cannot present a flat face to the work.

Jigs, machines and assembly 9

Repeating a joint, and holding it while the glue sets. Nobody has ever owned too many clamps.

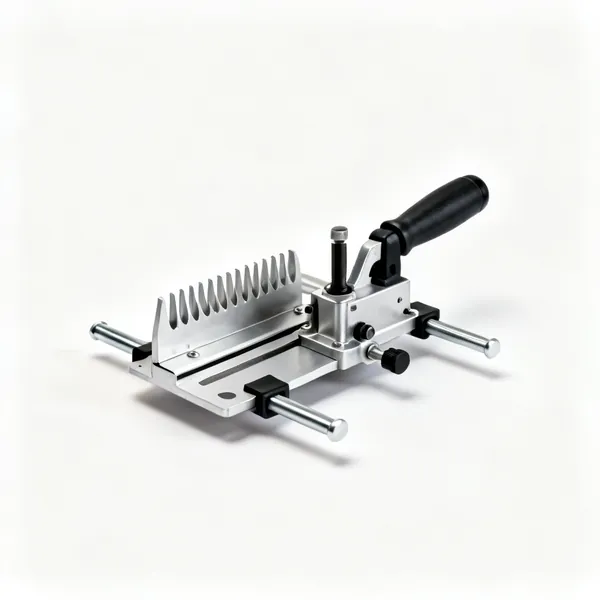
  • Dovetail jig: An aluminium dovetail router jig with a comb template and clamping bars

    Dovetail jig

    A template that guides a router to cut matching pins and sockets. It repeats a joint identically and quickly, and it cannot give you chosen spacing or a mitred shoulder.

  • A biscuit jointer power tool with a circular blade housing and a fence

    Biscuit jointer

    Cuts matching slots for a compressed beech biscuit that swells with the glue. It aligns and reinforces a glued joint rather than replacing a mortise and tenon.

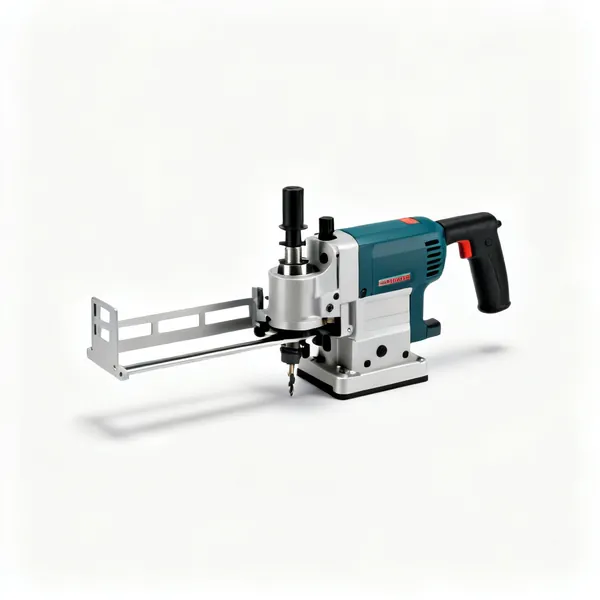
  • Loose tenon jointer: A loose tenon mortising power tool with a plunge housing and a fence

    Loose tenon jointer

    Cuts a mortise for a loose tenon, giving much of the strength of a traditional joint far faster. The nearest a machine gets to a mortise and tenon in one operation.

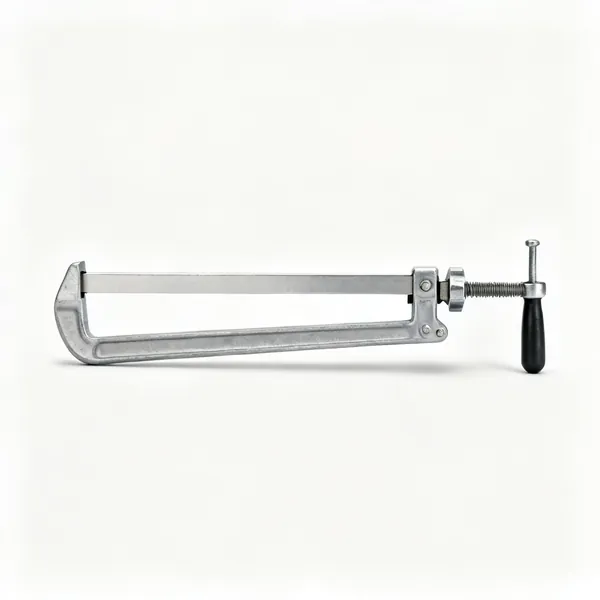
  • Sash cramps: A long steel sash cramp with a flat bar, screw head and a movable pinned stopEssential

    Sash cramps

    Long bars that pull a frame or a panel together. Used in pairs from alternate sides, or the assembly bows away from the single line of pressure.

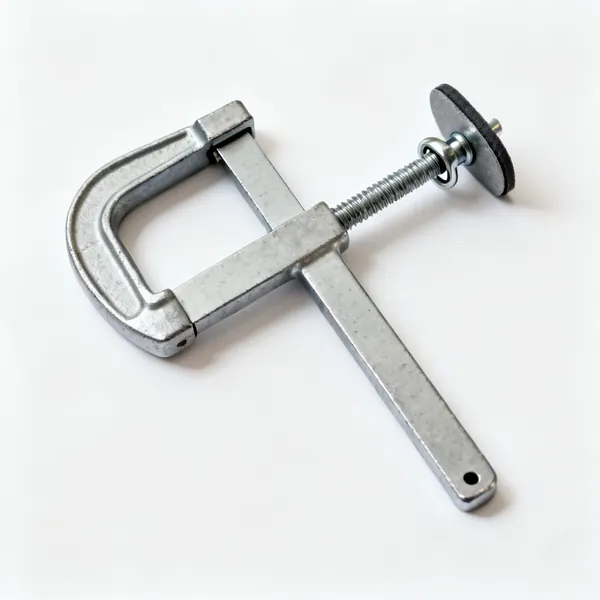
  • F clamps: A steel F clamp with a sliding jaw on a flat bar and a screw handle with a swivel padEssential

    F clamps

    A sliding jaw on a bar, and the general purpose clamp. Cheap enough to own eight, which is roughly how many a single carcase glue up will use.

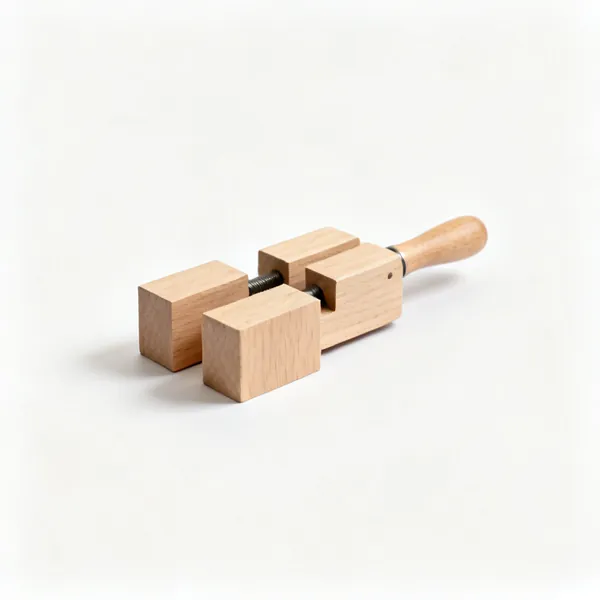
  • A pair of small softwood clamping blocksEssential

    Clamping blocks

    Softwood pads between the clamp and the work so the jaw does not bruise it. A clamp mark on a finished piece is permanent and it happens on the last operation.

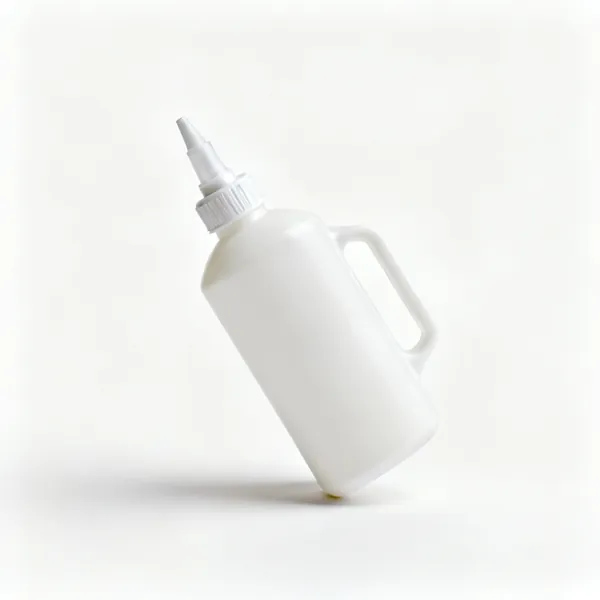
  • A plastic bottle of white PVA wood glue with a nozzle capEssential

    PVA wood glue

    Stronger than the timber on a long grain joint. It needs a joint that closes with hand pressure, because a forced joint has no room for the glue and splits.

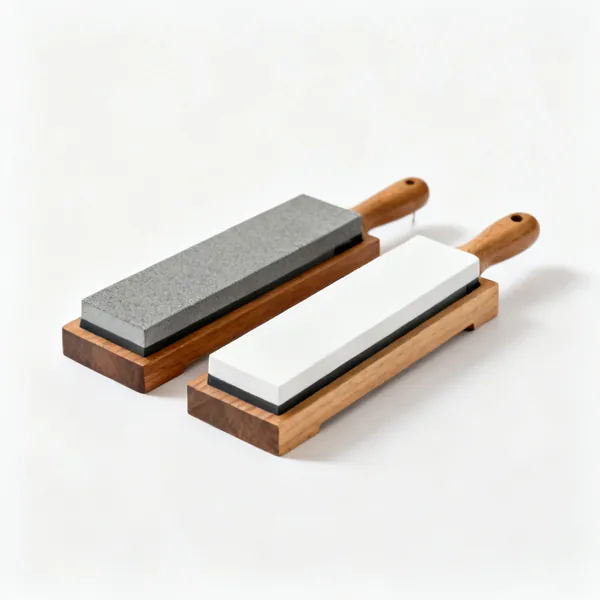
  • Two rectangular sharpening stones, one coarse grey and one fine white, on wooden basesEssential

    Sharpening stones

    A coarse and a fine stone, honed every few cuts. In joinery this is part of the work rather than maintenance, because a dull chisel crushes end grain instead of cutting it.

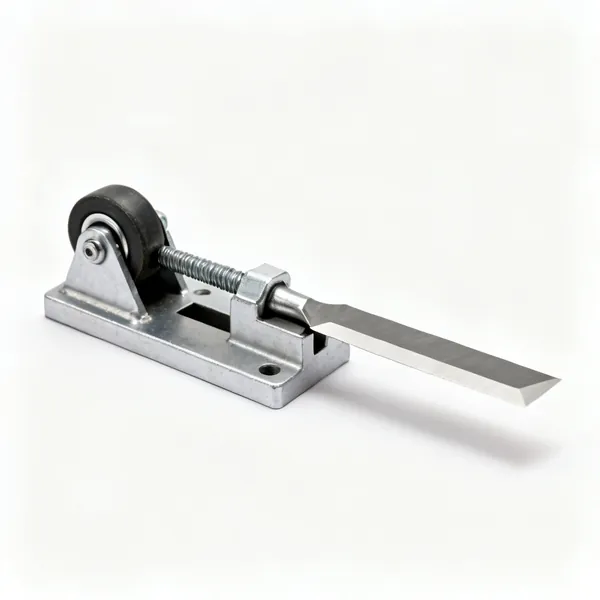
  • A metal honing guide jig with a roller and clamping screw holding a chisel blade

    Honing guide

    A roller jig holding a blade at a fixed angle on the stone. It makes the angle repeatable, which matters because an inconsistent angle means reshaping the bevel each time.

Cutting a joint that fits

Mark it with a knife, saw to the line, pare to the line. The joint is only as good as the line.

The knife line is the joint

A pencil line is around half a millimetre wide, and on a joint that is the difference between tight and loose. A marking knife severs the surface fibres and leaves a line with a physical wall in it, and a chisel or a saw dropped into that wall registers exactly on the line rather than near it.

It also prevents tearout, because the fibres are already cut where the tool will exit. Almost every improvement a beginner makes in joinery comes from marking with a knife instead of a pencil.

A wall, not a mark
The knife cut gives the chisel something to register against. That is the whole point of it.
Pencil is too wide
Half a millimetre either way on four surfaces is a joint that rocks or will not close.
Mark from one face
A face side and a face edge, marked once and referenced throughout. Errors then do not accumulate.
Knife across the grain, gauge along it
A gauge follows the grain and a knife cuts across it. Using either the wrong way wanders.

Leave the line, then pare to it

The convention is to saw so the blade just kisses the waste side of the knife line, leaving the line itself intact. That leaves a fraction of material to remove by paring, which is a controllable operation, rather than trying to saw exactly on the line, which is not.

Then the chisel is dropped into the knife wall and pared back to it. If the line has been sawn away there is nothing to register against and the fit becomes guesswork, which is why the discipline of leaving it matters.

Saw on the waste side
Blade just touching the line, leaving it visible. Saw the line away and there is no reference left.
Pare, do not saw, to fit
Removing a fraction with a chisel is controllable. Removing it with a saw is not.
Test fit dry, early
Before the joint is finished. A joint that needs forcing dry will split when it is glued.
Fit one shoulder at a time
Adjusting two surfaces at once means you cannot tell which one is wrong.

Joinery is impossible with dull tools

A chisel pares end grain cleanly or it crushes it, and the difference is entirely sharpness. A dull chisel needs force, force loses control, and end grain crushed rather than cut leaves a fuzzy surface that no glue will hold properly.

So sharpening is not maintenance in joinery, it is part of the work. A quick hone every few cuts, taking thirty seconds, is what keeps a joint crisp. This is the difference people notice most when they first do it consistently.

Hone every few cuts
Thirty seconds on a fine stone. It is part of cutting a joint rather than an interruption to it.
Sharp cuts end grain, dull crushes it
Crushed end grain is fuzzy and glue does not hold on it properly.
Flat backs matter
The back of a chisel is a reference surface. If it is not flat the tool cannot pare to a line.
Sharp is safer
A dull chisel skates off the work toward whatever is holding it. Force is the hazard, not the edge.

By hand or with a jig

A jig repeats a joint identically and quickly, which is what it is for. A dovetail jig, a domino machine or a biscuit jointer all produce a sound joint faster than hand cutting and with less skill required.

Hand cutting is slower, needs practice, and gives you joints no jig makes: through dovetails with a chosen spacing, a mitred shoulder, a joint fitted to timber that is not perfectly square. Most workshops use both, and the choice is about the piece rather than about principle.

Jigs for repetition
Twenty identical drawers. Faster, consistent, and it needs no practice to get right.
Hand for one offs and for control
Chosen spacing, mitred shoulders, and fitting to timber that is not dead square.
Dominoes and biscuits are alignment
They locate and reinforce a glued joint. Strong enough, and they are not a mortise and tenon.
Neither is cheating
The joint is judged by whether it holds and looks right, not by which tool made it.

Design for wood moving

Timber expands and contracts across the grain with humidity and barely at all along it. A joint that fixes a wide panel rigidly across its width will split the panel, and it is not a question of whether but when.

This is why a table top is fixed with buttons or slotted plates rather than screwed solid, and why a frame and panel door has the panel floating in its groove. Every traditional joint that looks over complicated is usually accommodating this.

Across the grain, not along
Movement is across the width. A 300mm panel can move several millimetres seasonally.
Let panels float
In a groove, not glued in. A glued panel in a frame splits itself or the frame.
Slotted fixings for tops
Buttons or slotted plates so the top can move over the frame beneath it.
Acclimatise the timber
In the room it will live in, for a week or two, before cutting joints in it.

Frequently asked questions

What tools do I need for wood joinery?
A marking knife and marking gauge, a try square, a tenon saw and a dovetail saw, a set of bevel edge chisels, a mallet, a block plane, a shoulder plane, clamps and sharpening stones. That will cut every common joint by hand to a good standard.
Why use a marking knife instead of a pencil?
A pencil line is around half a millimetre wide, which on a joint is the difference between tight and loose. A knife severs the fibres and leaves a physical wall that a chisel or saw registers against exactly, and it also prevents tearout where the tool exits.
Should I saw on the line or beside it?
Beside it, on the waste side, so the knife line itself stays intact. That leaves a fraction to remove by paring, which is controllable. If you saw the line away there is nothing left to register against and the fit becomes guesswork.
What is the strongest wood joint?
A well cut mortise and tenon for a frame, because it has large long grain glue surfaces and mechanical resistance to racking. Dovetails are stronger for a box corner because they resist being pulled apart. Both depend far more on the fit than on the type.
Are dovetail jigs worth buying?
For repetition, yes. A jig cuts twenty identical drawer corners quickly and consistently with no practice required. It cannot give you chosen spacing, mitred shoulders or a joint fitted to timber that is not quite square, which is what hand cutting is for.
What is a shoulder plane for?
Trimming the shoulder and cheek of a tenon or a rebate flat and square. Its blade extends the full width of the body so it can cut right into a corner, which a bench plane cannot, and it removes a shaving at a time so the fit can be crept up on.
Why does my joint fit dry but split when glued?
Because it was too tight. A joint that needs forcing dry has no room for the glue, and glue is a liquid that has to go somewhere. It should slide together with hand pressure and hold itself. Forcing a dry fit is the commonest cause of a split cheek.
How do I stop a wide panel splitting?
Let it move. Timber expands and contracts across its width with humidity, so a wide panel fixed rigidly across the grain will split. Float a panel in a groove rather than gluing it, and fix a table top with buttons or slotted plates rather than screwing it solid.