Disclosure

Carpenter tools for kids

A real carpentry kit for a child, all 31 tools grouped by project rather than by type, because what keeps a child going is finishing something. Nothing here is safe unsupervised, and a blunt tool is the more dangerous one.

19 are marked essential: enough to build the first project on this page.

Part of the full carpentry tools list, 75 tools in 11 groups.

Project one: a bird box 9

Six flat pieces of softwood, straight cuts and nails. The whole thing finishes in an afternoon and it goes up on a tree afterwards, which is the point.

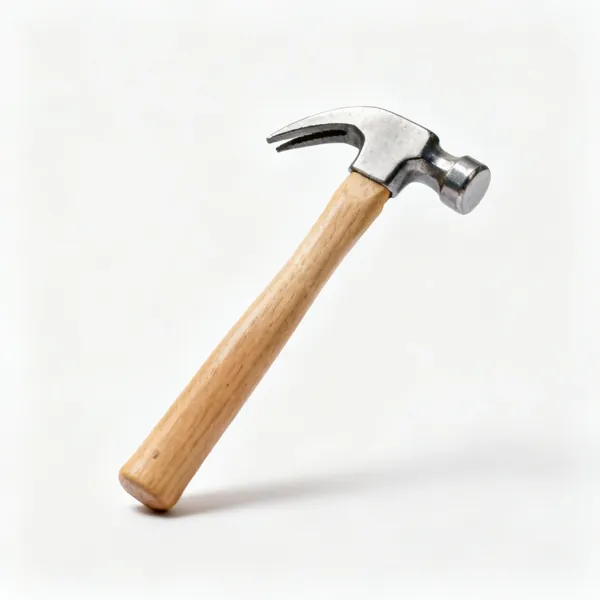
  • 8oz claw hammer: A small lightweight claw hammer with a compact steel head and a short wooden handleEssential

    8oz claw hammer

    Light enough that a child places the head on the nail rather than swinging at it, which is the difference that protects fingers. Same shape as an adult hammer at half the head weight.

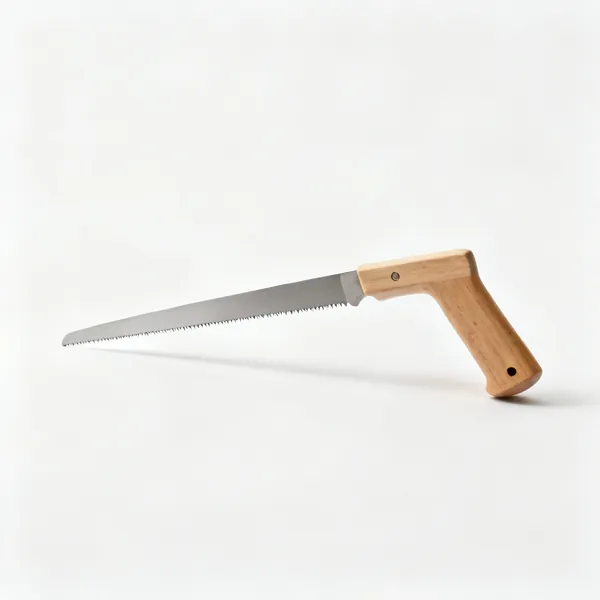
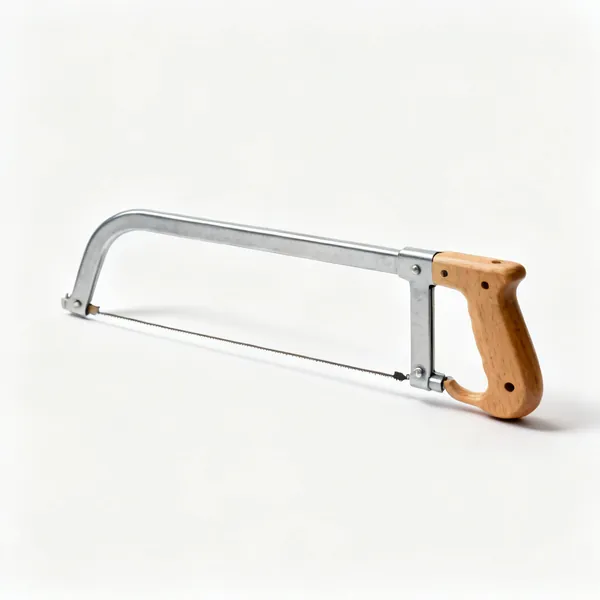
  • Small pull saw: A small japanese pull saw with a straight wooden handle and a thin fine toothed bladeEssential

    Small pull saw

    Cuts on the pull stroke so the thin blade is in tension and needs very little force to start or continue. Genuinely easier to control than a push saw, which makes it safer by design.

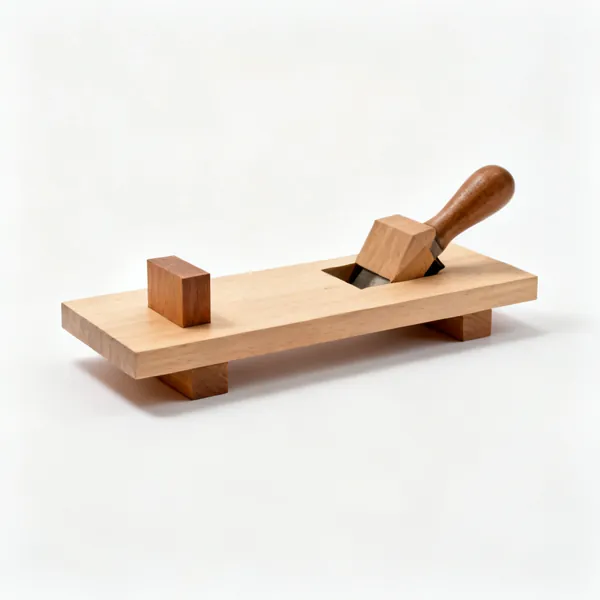
  • A wooden bench hook, a flat board with a raised wooden stop block at each endEssential

    Bench hook

    A board with a stop at each end that hooks over the table, giving the work something to push against while sawing. Made from scrap in ten minutes and it is the first thing to learn.

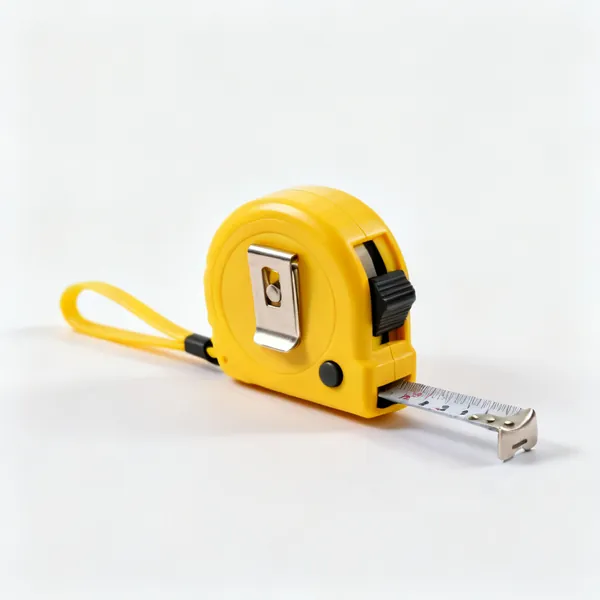
  • Small tape measure: A small compact tape measure with a yellow case, belt clip and locking buttonEssential

    Small tape measure

    A 3m tape with a slow return, because a fast one snaps back and catches fingers. Measuring is half of making things and a tape that stays where you set it is much easier to read.

  • Small try squareEssential

    Small try square

    Marks a square line to saw to and checks whether the cut came out square. Without it a first project ends up out of true with no way to tell where it went wrong.

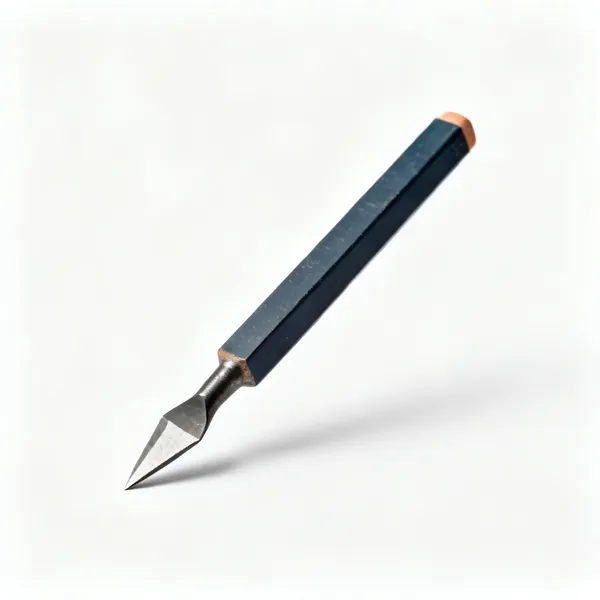
  • Carpenter's pencil: A flat rectangular carpenters pencil with a sharpened chisel shaped pointEssential

    Carpenter's pencil

    Flat so it will not roll off the bench, with a chisel point that shows on rough timber. Marking clearly is the step that gets skipped, and then the cut is in the wrong place.

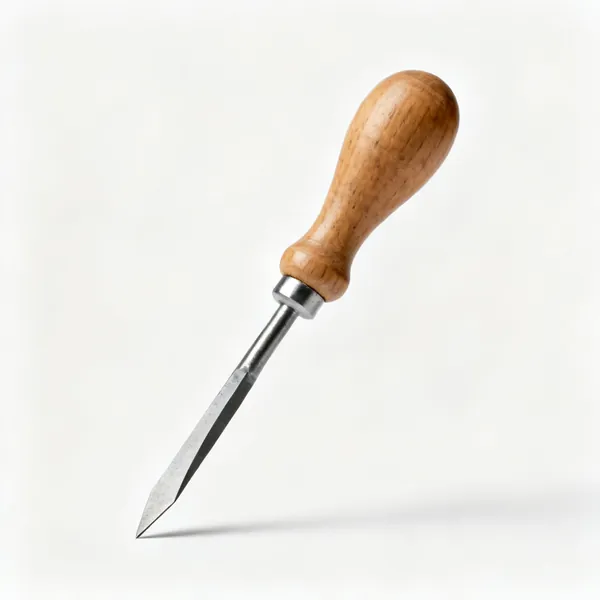
  • A bradawl with a wooden bulb handle and a short flat chisel edged steel pointEssential

    Bradawl

    Opens a pilot hole in softwood by being pressed and twisted, with no drill involved. It stops the nail or screw splitting the wood at the last step, which is where projects are lost.

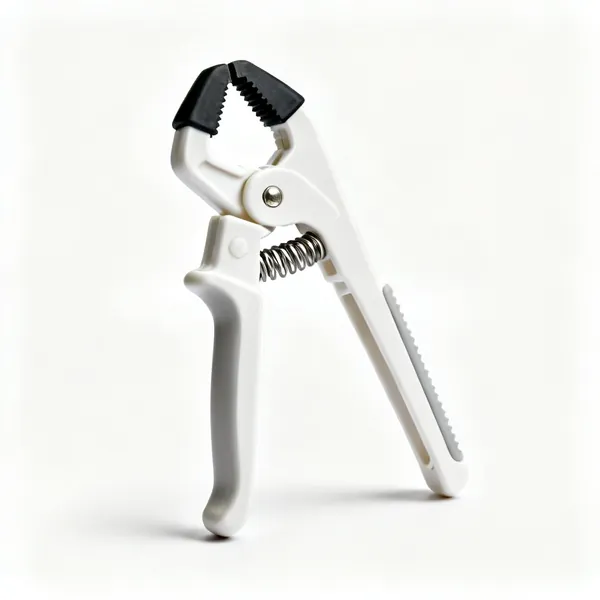
  • Spring clamps: A plastic one handed spring clamp with rubber tipped jaws and a coil springEssential

    Spring clamps

    Squeeze once and they hold, so a child can clamp their own work without needing strength. Cheap enough to own six, which is roughly how many a first project uses.

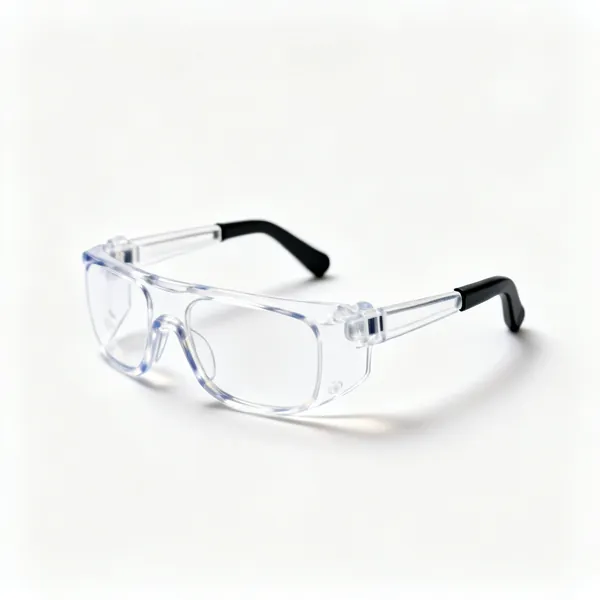
  • Child safety glasses: A pair of small clear lens safety glasses sized for a child with side shieldsEssential

    Child safety glasses

    Sized to actually fit, because adult glasses slide down and then get pushed up with a dusty hand. The only injury on this page that cannot be repaired.

Project two: a shelf or a stool 8

Screws instead of nails, and something that has to be square and level to work. Adds four tools to the first set.

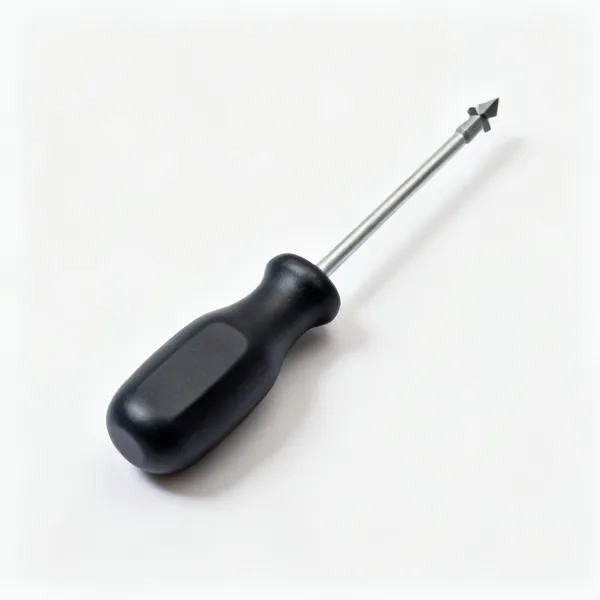
  • Short screwdriver: A short stubby screwdriver with a wide fat moulded handle and a cross head tipEssential

    Short screwdriver

    A stubby driver with a fat handle so the palm turns it rather than the fingertips. The short shaft means less wobble, so the tip stays in the screw head.

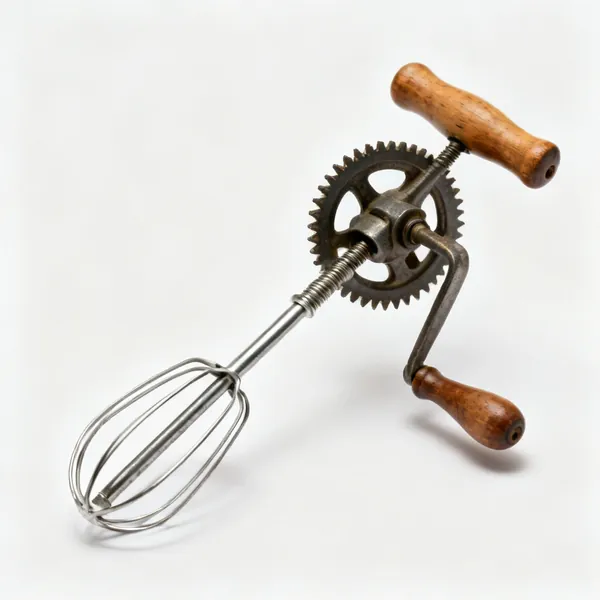
  • A vintage style eggbeater hand drill with a wooden handle, side crank and gear wheelEssential

    Eggbeater hand drill

    A geared drill turned by a side crank, far easier for a child to control than anything powered. It turns slowly enough that they feel the bit break through, and it cannot run away.

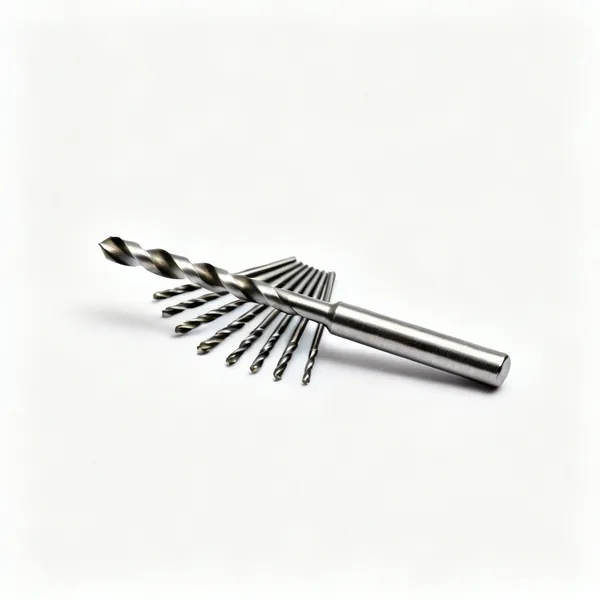
  • A set of small high speed steel twist drill bits of graduated sizesEssential

    Twist drill bits

    A small set for pilot holes and clearance holes. Two sizes cover most of it: one that the screw thread bites in and one the screw passes through freely.

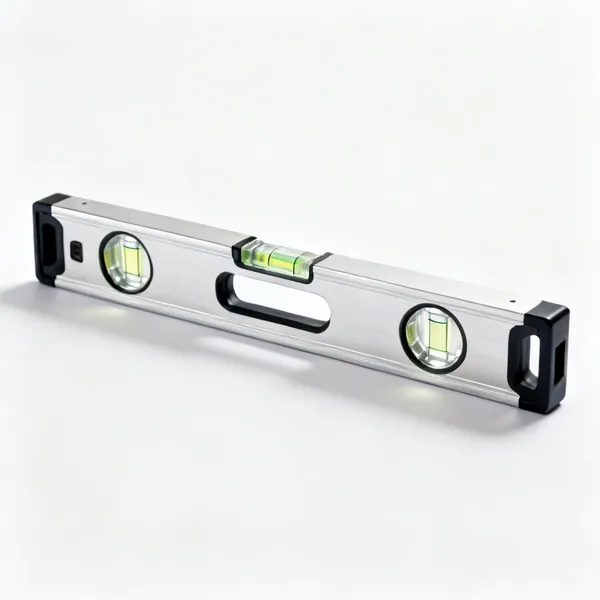
  • Small spirit level: A short aluminium spirit level with two glass vialsEssential

    Small spirit level

    A shelf that is not level is visibly wrong from across the room, and it is the first project where a child sees why it matters. Short, so it fits the work they are doing.

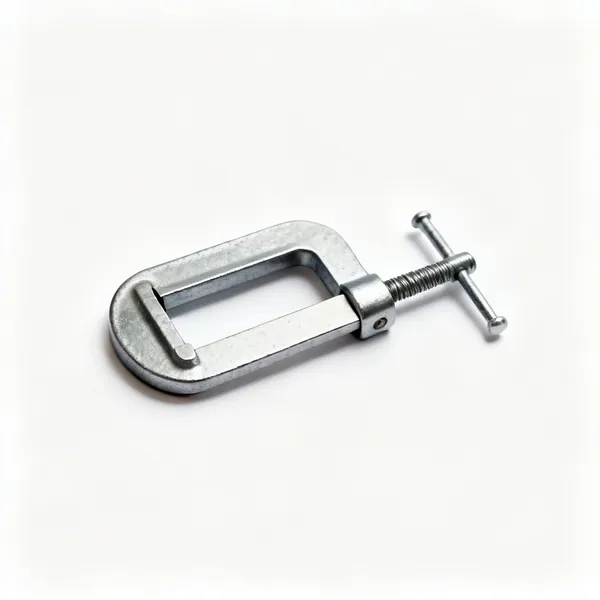
  • Small F clamp: A small steel F clamp with a sliding jaw on a flat bar and a screw handle

    Small F clamp

    A sliding jaw on a bar with a screw, for holding a glued joint while it sets. It applies far more pressure than a spring clamp, which matters once there are joints.

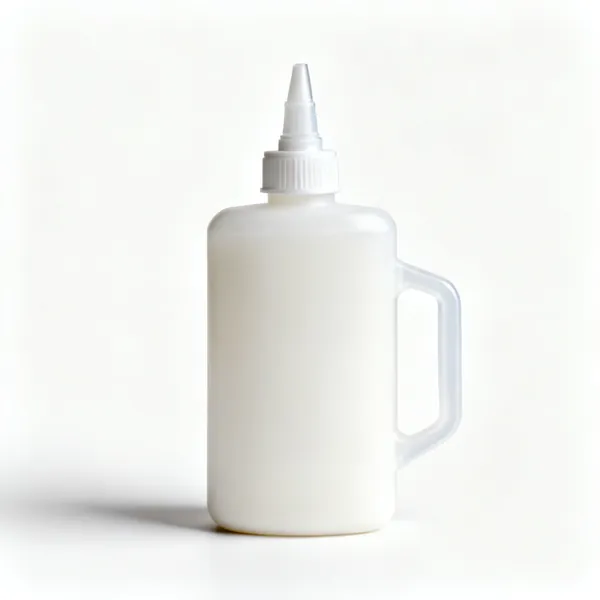
  • A plastic bottle of white PVA wood glue with a nozzle capEssential

    PVA wood glue

    Stronger than the timber on a well fitted joint, and non toxic. A glued and screwed joint is much stronger than either alone, which is worth showing them.

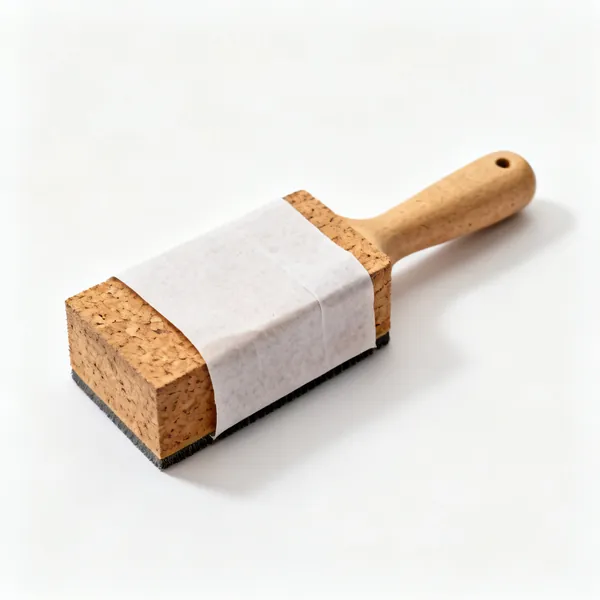
  • A cork sanding block with a sheet of abrasive paper wrapped around itEssential

    Sanding block

    Cork or rubber wrapped in abrasive, which keeps the paper flat and off fingertips. Sanding by hand rounds the edges over and burns fingers, and a block does neither.

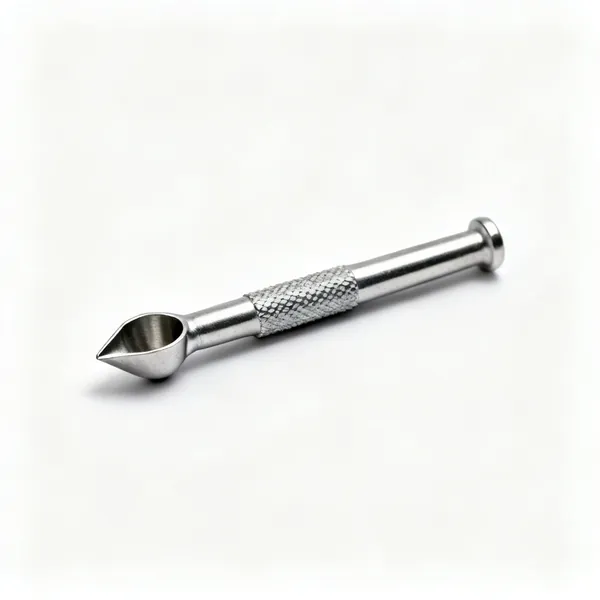
  • A small steel nail punch with a knurled body and a cupped tip

    Nail punch

    Sets a nail head below the surface so it can be filled. It also means the last blow lands on the punch rather than the timber, which prevents the crescent dent.

Project three: shaping and carving 7

Curves, chamfers and removing wood rather than cutting it to length. Every tool here needs an adult present.

  • Coping saw: Wooden handle and thin narrow bladeEssential

    Coping saw

    A thin blade in a sprung frame that cuts curves, which is what most children want to do second. The blade breaks rather than binds, which is inconvenient and much better than the alternative.

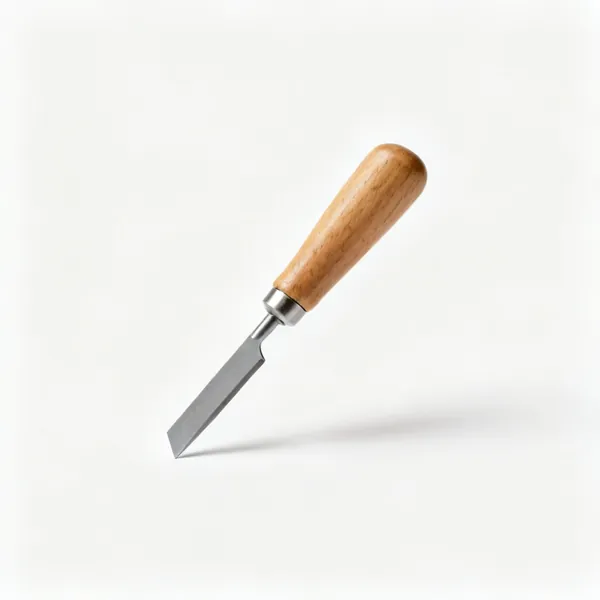
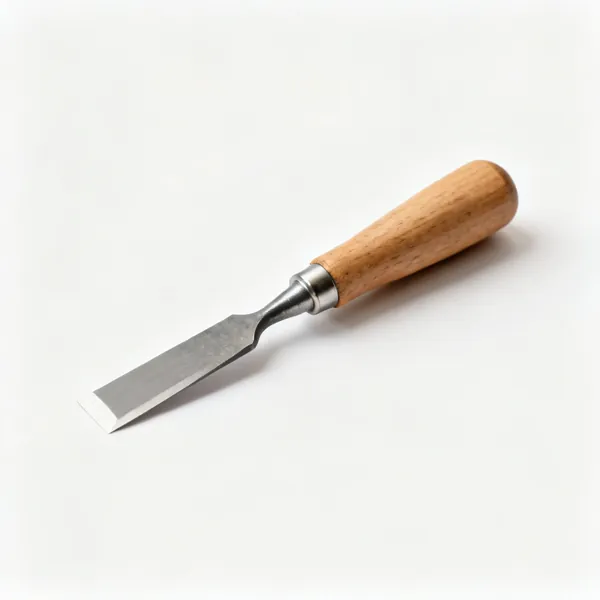
  • Small bevel edge chisel: A small bevel edge wood chisel with a short flat blade and a wooden handle

    Small bevel edge chisel

    A 12mm chisel pared with two hands or tapped with a mallet. Exactly as sharp as an adult chisel and no safer for being short, so it needs the work clamped and an adult present.

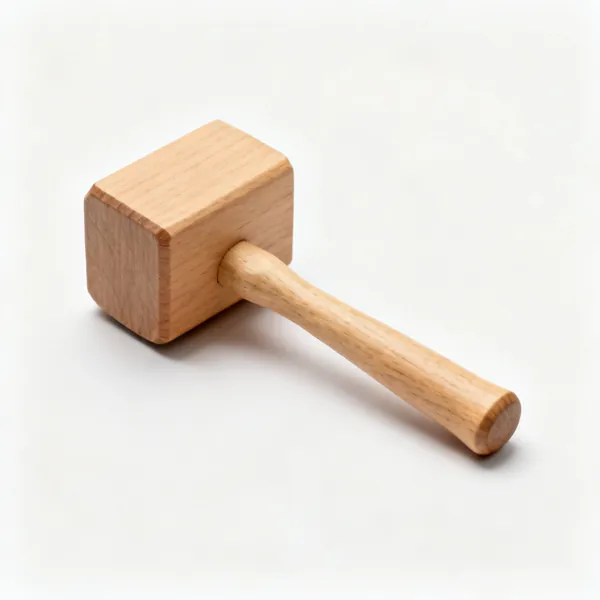
  • A small wooden mallet with a rectangular beech head and a tapered handle

    Small wooden mallet

    The tool a child should reach for whenever a chisel needs striking, never a hammer. A light head is enough, because a chisel is guided rather than driven and a heavy blow is what makes it skid off the line.

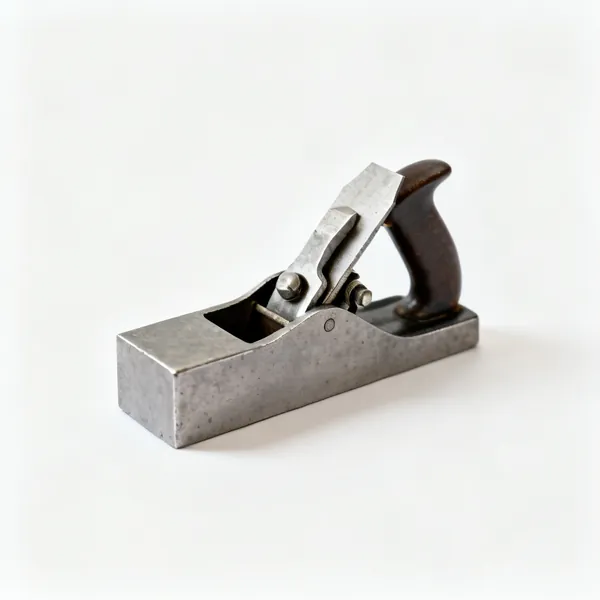
  • Small block plane

    Small block plane

    A one handed plane for smoothing a sawn edge, and immediately satisfying because the shaving comes off whole. Set it fine, since a deep cut needs force and then it digs in.

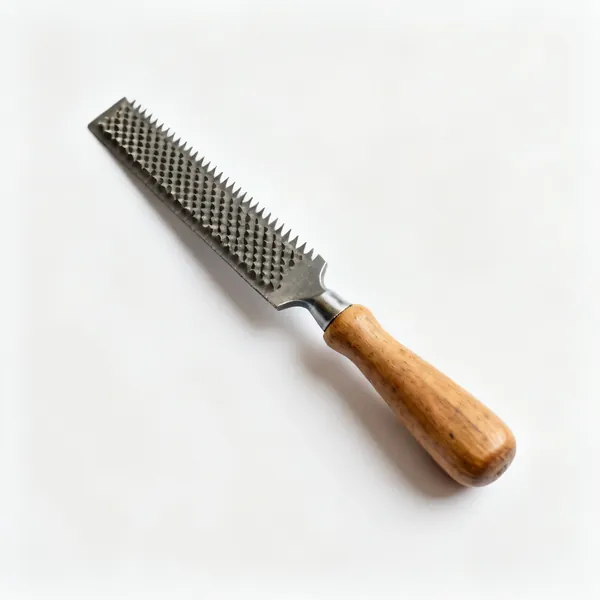
  • Small rasp: A small half round wood rasp with coarse raised teeth and a wooden handle

    Small rasp

    Raised teeth that shape a curve quickly with no sharp edge to slip. Safer than a chisel for shaping and it leaves a surface that then needs sanding properly.

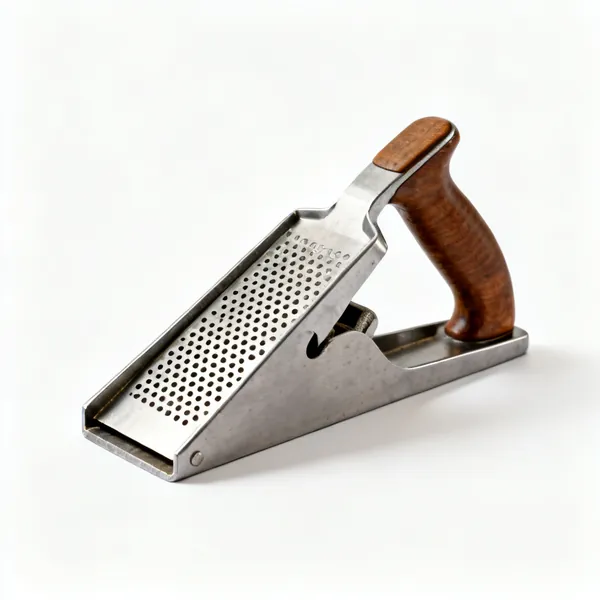
  • Shaping plane

    Shaping plane

    A perforated blade in a frame that shaves wood away like a cheese grater. Very forgiving, hard to hurt yourself with, and the easiest way for a child to shape a curve.

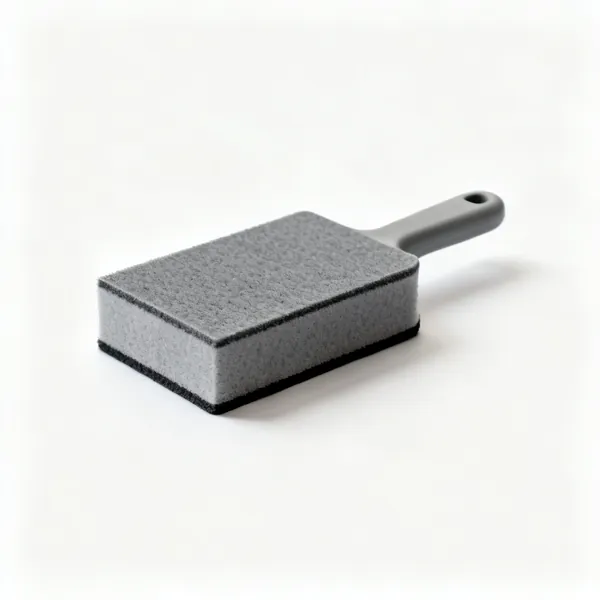
  • A rectangular flexible abrasive sanding sponge blockEssential

    Sanding sponge

    A flexible abrasive block that follows a curve, which flat paper cannot. It is also the tool that turns a rough shaped piece into something that looks finished.

Holding the work 7

The most effective safety measure here. Most injuries happen to the hand holding the workpiece, and these remove it.

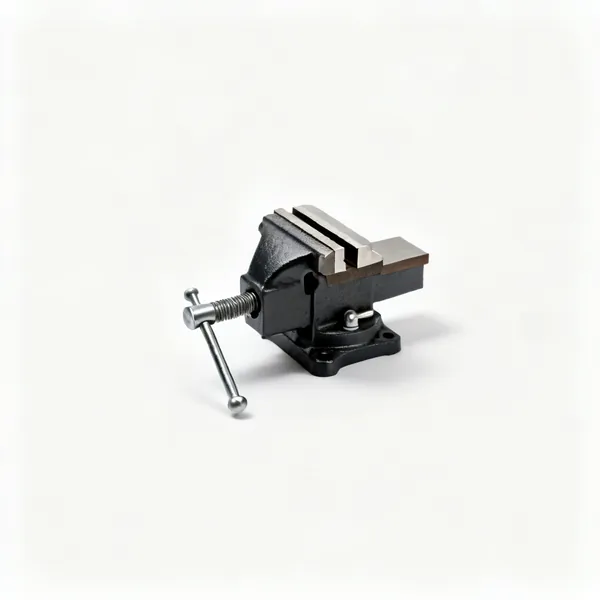
  • Clamp-on vice: A small clamp on bench vice with a table edge clamp screw and smooth jawsEssential

    Clamp-on vice

    A light vice that clamps to a table edge, turning a kitchen table into a bench and then back again. Fitted with soft jaws it holds work without marking it.

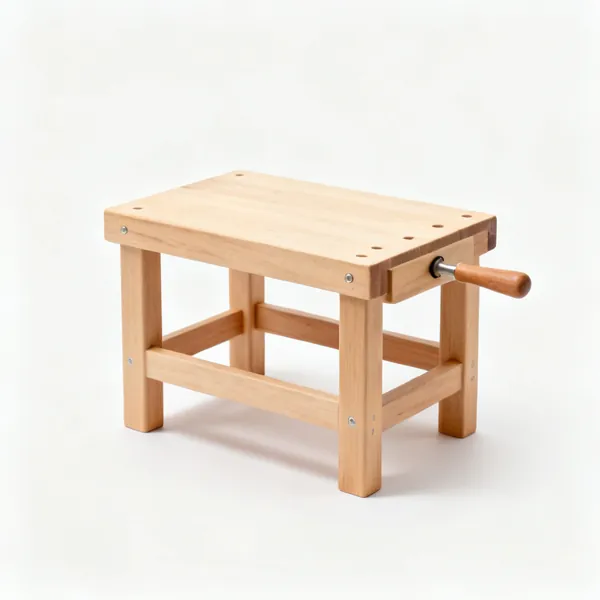
  • Child height bench: A small wooden childrens workbench with a flat top and four sturdy legs

    Child height bench

    A surface at about their elbow height, so they work over the piece rather than reaching up at it. Working above shoulder height is how control is lost.

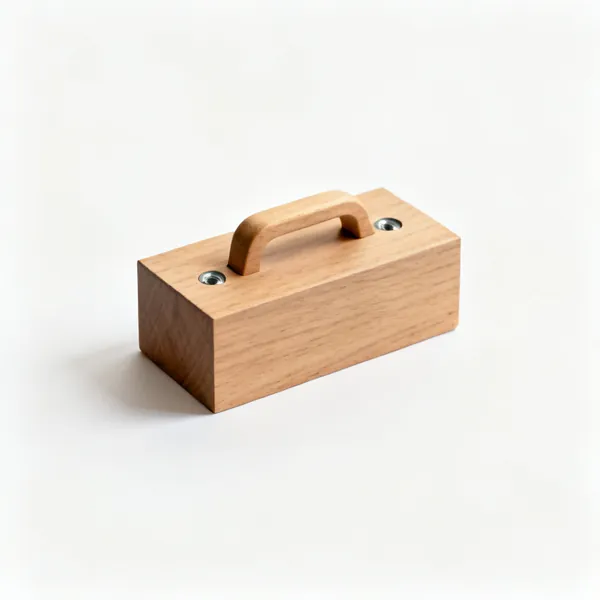
  • A wooden bench stop, a small rectangular hardwood block with two countersunk screw holes

    Bench stop

    A block screwed to the bench for the work to be pushed against while planing or sanding. It lets a child use both hands on the tool rather than one on the workpiece.

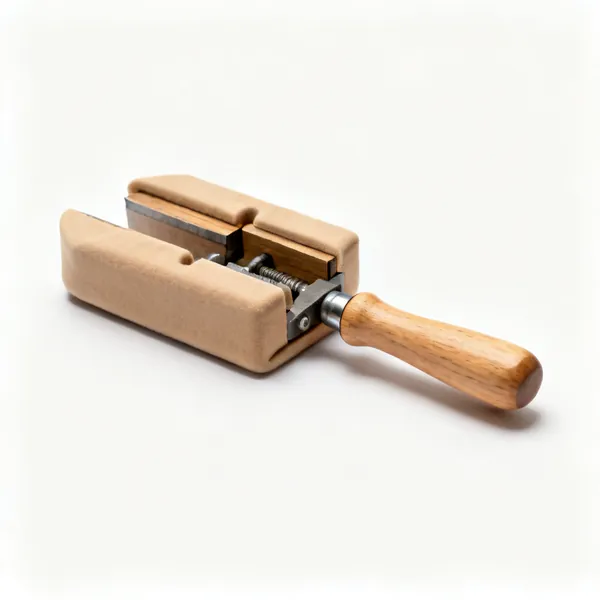
  • Soft vice jaws: A pair of wooden soft vice jaw covers shaped to fit over vice jaws

    Soft vice jaws

    Wooden or plastic covers so the vice does not print into the work. On a project the child is proud of, a jaw mark on the finished face is disproportionately upsetting.

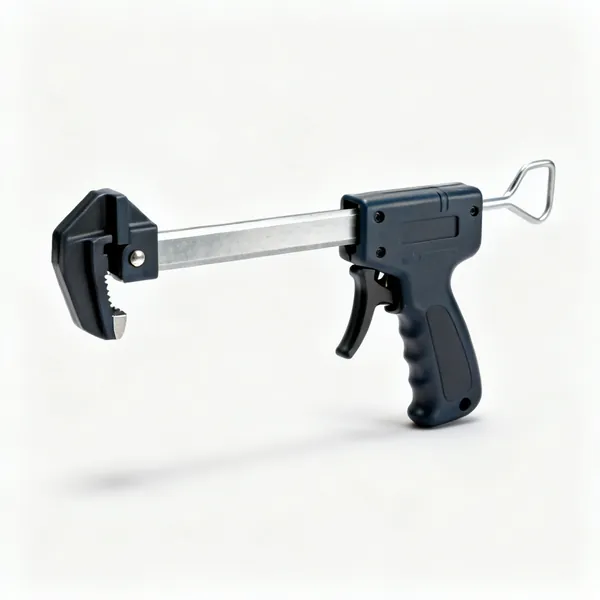
  • Trigger clamp: A one handed trigger bar clamp with a pistol grip trigger, steel bar and plastic jaws

    Trigger clamp

    Tightened with one hand by a pistol trigger, so a child can clamp without needing grip strength. It applies real pressure without any wrist twisting.

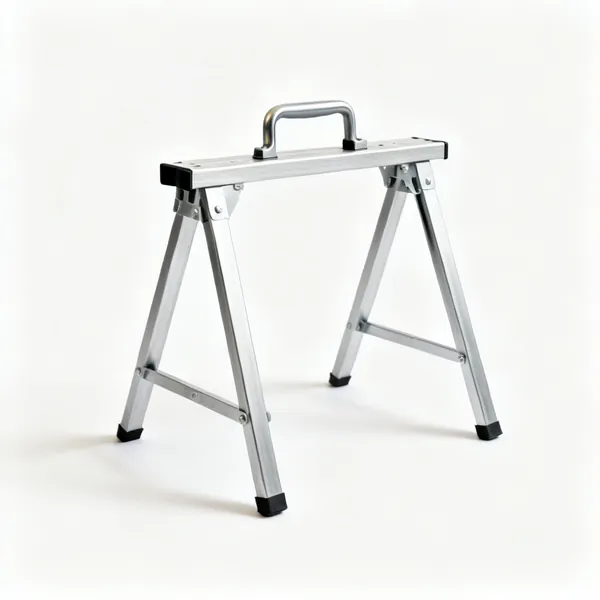
  • Small sawhorses: A pair of small folding metal sawhorse trestles

    Small sawhorses

    A pair supports a board at a workable height for cutting. Cutting on the floor puts the saw near their feet, and cutting on a table cuts the table.

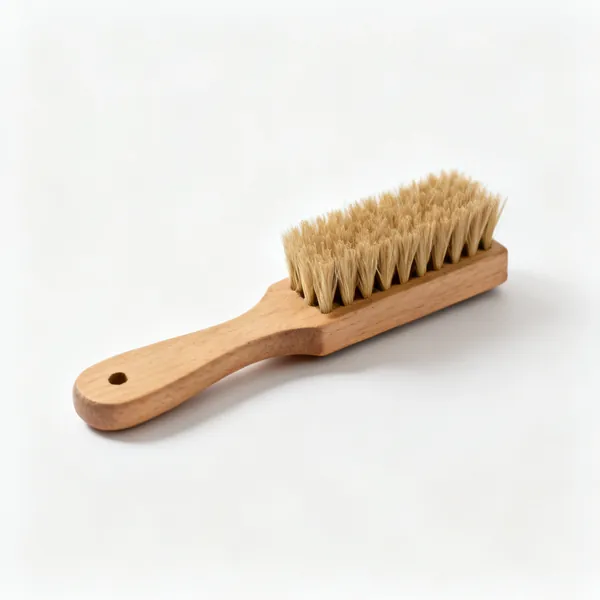
  • A small wooden handled bench brush with stiff natural bristlesEssential

    Bench brush

    Clearing up is part of the work, and a child who tidies their own bench finds their tools next time. It is also how you notice a tool has gone missing.

Getting a child started in carpentry

Pick a project that finishes in one sitting. The tools follow from the project rather than the other way round.

Start with the project, not the tools

The question a child is asking is not what tools should I own, it is can I make that. So pick something they want that finishes in one sitting, and buy the three or four tools it needs. A bird box, a small shelf, a stool, a name plaque.

A project abandoned half done teaches the opposite of what you wanted, and the most common reason for abandonment is that it was too ambitious rather than too difficult. Small and finished beats large and unfinished by a wide margin.

One sitting
Finishing is the whole reward. Spread over three weekends and the child has moved on.
Softwood
Pine cuts easily and forgives mistakes. Hardwood makes a first project genuinely hard work.
Three or four tools
Bought for that project. A big set is mostly things they will never pick up.
Let it be theirs
A wonky finished box they made beats a neat one you finished. This one is hard and it matters.

Sharp is safer than blunt

This is the least obvious thing on the page and the most useful. A sharp chisel bites into the wood and stays where it is put. A blunt one skates across the surface and travels, usually toward the hand holding the work.

A blunt tool also needs force, and force is what loses control. So keeping a child's tools sharp is a safety measure rather than an indulgence, and a child leaning hard on a tool is a child about to slip.

Sharp bites, blunt skates
The tool that slips is the blunt one, and it slips toward whatever is holding the work.
Force is the warning sign
If they are leaning on it, the tool is wrong rather than their technique.
Check before each session
Thirty seconds, and it is a good habit to teach in its own right.
Same for saws
A blunt saw needs pushing, and a saw being pushed jumps out of its kerf.

Clamp the work every time

Most workshop injuries happen to the hand holding the workpiece rather than the hand holding the tool. For a child that is more true, because they have less strength to hold something still and less sense of where a tool goes if it slips.

A vice or two clamps removes that hand from the situation entirely. It is the single most effective thing you can do, it costs less than most of the tools here, and taught as the first step it becomes automatic.

The other hand is the risk
Clamping removes it from the danger area, which no amount of care does.
Clamp, then cut
Taught as step one it becomes a habit rather than a rule they have to remember.
A bench hook is enough for sawing
Made from scrap in ten minutes, and it gives the work a stop to push against.
Two spring clamps go a long way
Cheap, one handed, and a child can set them up themselves without help.

Supervision, and readiness rather than age

No tool on this page is safe for an unsupervised child, and nothing sold as a children's tool changes that. Saws cut, chisels cut and hammers break fingers, at any size.

What varies enormously is readiness, and it varies by child far more than by age. Some six year olds saw carefully with a bench hook; some ten year olds do not yet keep their fingers clear. Watch the child in front of you rather than reading an age off a box.

Supervised means present
In the room and watching. Most incidents happen in the minute nobody is looking.
One new tool at a time
Learn the saw, then add the chisel. A bench full of options is a bench full of distractions.
Readiness, not age
Judge patience and whether they keep the other hand clear. Age on packaging is about liability.
Eye protection
Cheap, and the only injury on this list that does not heal.

What to teach first

Measuring and marking, before any cutting. Almost everything that goes wrong in a first project goes wrong at the marking stage, and a child who marks carefully will make something that fits together.

Then sawing to a line with a bench hook, then pilot holes so nothing splits. That is genuinely the whole curriculum for a first few projects, and every one of those skills transfers to everything they build afterwards.

Measure and mark first
Most first project failures are marking errors rather than cutting errors.
Saw to a line, on a bench hook
The kerf starts where the line is. Everything else about sawing follows from a good start.
Pilot holes
A bradawl or a small drill. It stops the split that ruins the piece at the last step.
Sand last, and let them
Sanding is satisfying, safe and visibly improves the result, which is a good place to end.

Frequently asked questions

What carpentry tools should a child start with?
A small hammer around 8oz, a short pull saw, a bradawl, a screwdriver, a tape measure, a try square, a pencil and a couple of clamps. That set builds a bird box or a small shelf, which is a better starting point than a large tool kit.
What is a good first carpentry project for a child?
Something finishable in one sitting from softwood: a bird box, a small shelf, a stool, a name plaque or a simple box. Completion is the reward, and a project spread over several weekends usually loses the child before it is done.
Should children's tools be blunt to be safer?
No, and this is the most common mistake. A blunt tool skates across the surface rather than biting, and it travels toward the hand holding the work. It also needs force, and force is what loses control. Keeping a child's tools sharp is a safety measure.
At what age can a child use carpentry tools?
It depends far more on the child than on their age. Some six year olds saw carefully with a bench hook and supervision; some ten year olds are not ready. Judge patience and whether they keep the other hand clear, rather than reading an age off a box.
What is the safest saw for a child?
A small Japanese pull saw. It cuts on the pull stroke so the blade is in tension rather than buckling, it starts with almost no pressure, and it needs far less force than a push saw. Used with a bench hook it is the easiest saw to control.
How heavy should a child's hammer be?
Around 8oz for a younger child and 10 to 12oz for an older one. The test is whether they can place the head accurately on the nail head without swinging hard. If they have to swing to make it work, it is too heavy and their fingers are at risk.
Do I need a workbench for a child?
Not a proper one, but you do need a way to hold the work. A clamp on vice turns a table into a bench, and a bench hook made from scrap handles sawing. Working at about their elbow height matters more than what the surface is.
Are children's tool sets worth buying?
The plastic ones are for pretend play rather than making things, and a child who wants to make something will be frustrated by them within minutes. Buy three or four small real tools for the project in hand instead, which costs about the same and works.