Disclosure

Tools for metal framing

Snips, shears, stud crimpers and screw guns for partitions in steel track rather than timber, all 30 grouped by the job. Almost nothing carries over from timber framing, including the fact that you cannot fix anything to it afterwards.

20 are marked essential: enough to build a steel stud partition properly.

Part of the full carpentry tools list, 75 tools in 11 groups.

Cutting steel 7

Cold cutting, and the ends go inside the track so a little distortion does not matter.

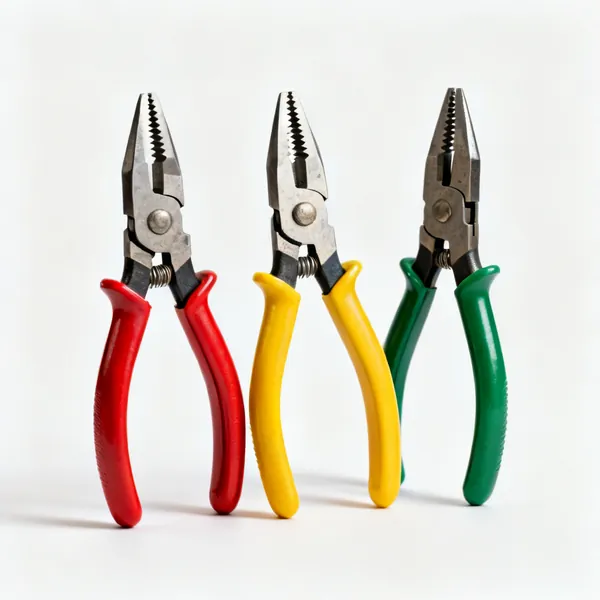
  • Aviation snips set: A set of three aviation tin snips with red yellow and green handles and serrated jawsEssential

    Aviation snips set

    Compound lever snips in straight, left and right cut, for track, studs and notches. The offset patterns send the sharp offcut away from your hand rather than into it.

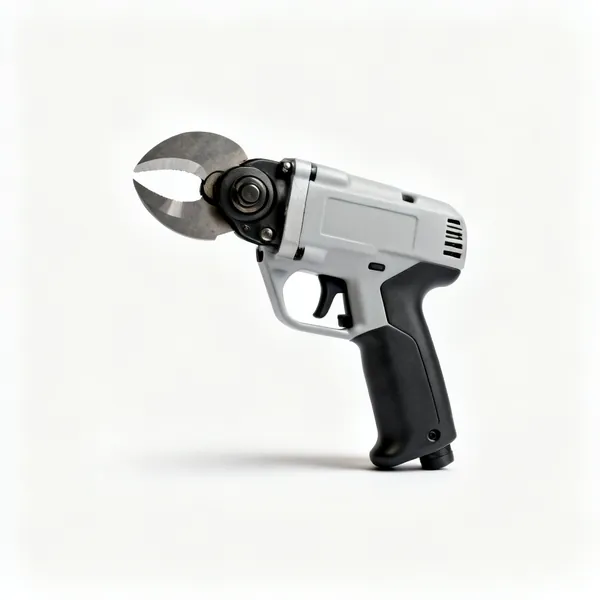
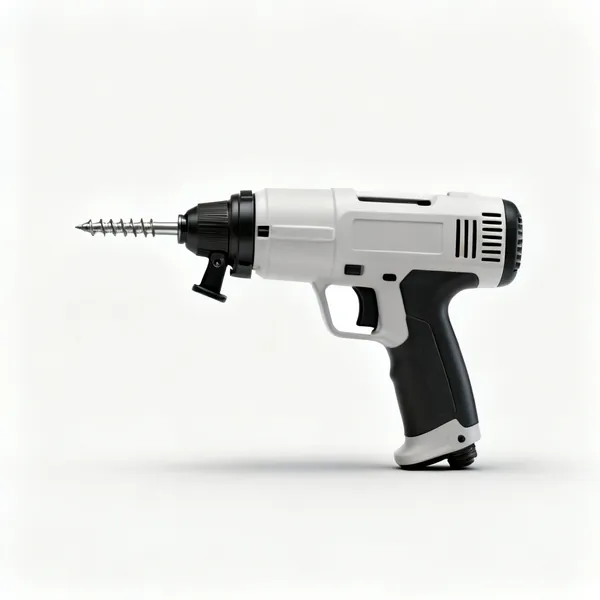
  • Swivel head shears: A swivel head power shear with a rotating cutting head and a pistol gripEssential

    Swivel head shears

    A rotating cutting head so the tool body stays clear of the section as it cuts. It handles the C profile of a stud in one pass, which straight snips have to work around.

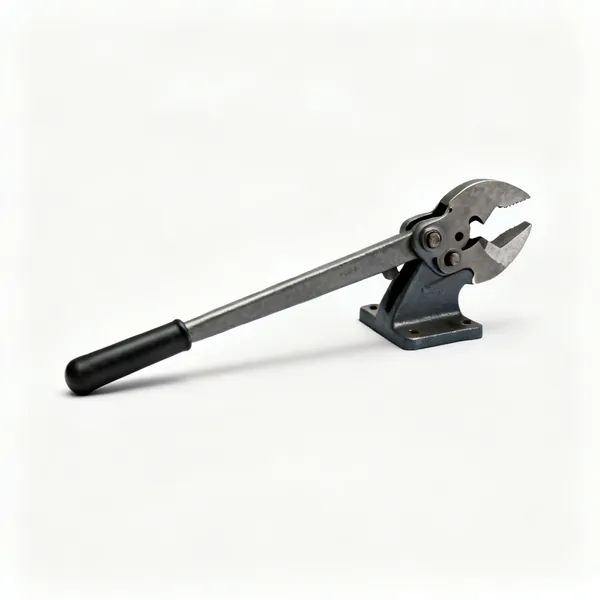
  • Bench stud shear: A bench mounted lever stud shear with a long handle and shaped cutting jaws

    Bench stud shear

    A lever shear that cuts a whole stud section square in one stroke. On a job with two hundred studs it is faster and more consistent than any handheld tool.

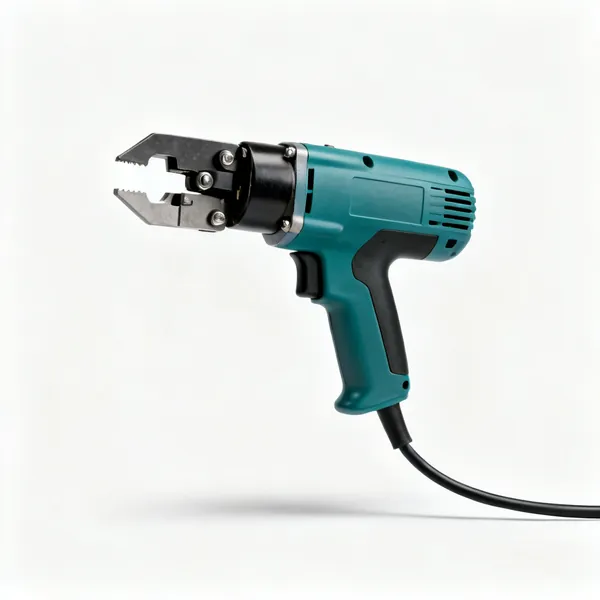
  • An electric sheet metal nibbler with a punch head, pistol grip and power cable

    Nibbler

    Punches out a slot at a time for a service opening or a shaped cut, leaving the section undistorted. Slower than shears and it goes where shears cannot follow.

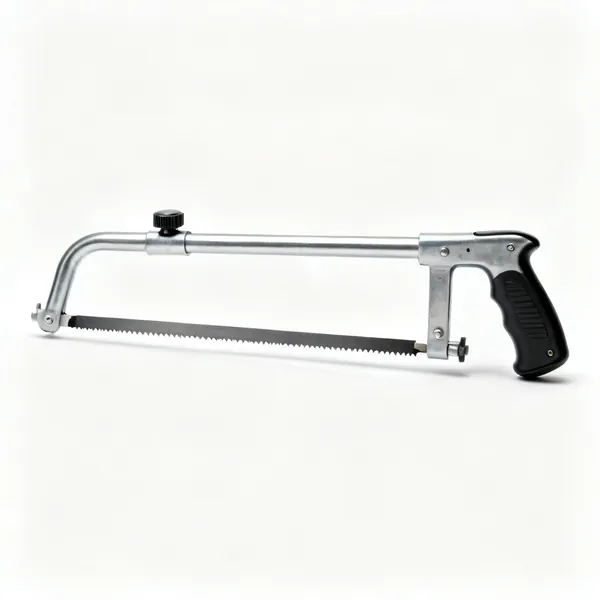
  • Hacksaw: Tensioning knob and pistol grip handleEssential

    Hacksaw

    Cuts a stud, a threaded hanger rod or an angle where no shear will reach. A 32 TPI blade, because coarser teeth catch on the thin wall and strip.

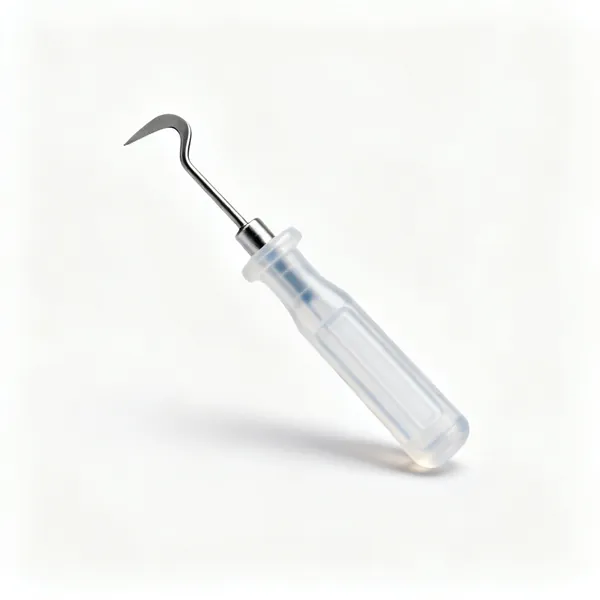
  • A deburring tool with a plastic handle and a small swivelling hooked steel bladeEssential

    Deburring tool

    Takes the burr off a cut end. That burr is what opens a hand, and it also stops a stud seating fully in the track, which puts a rock into the wall.

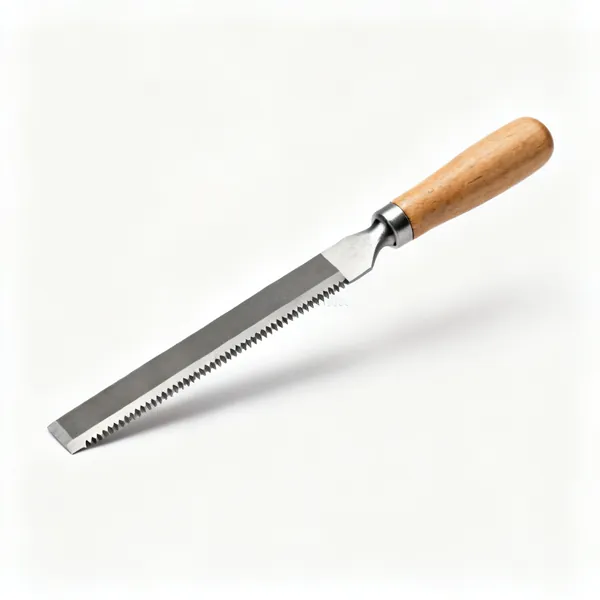
  • Flat file: A flat metal file with a wooden handle and parallel toothed faces

    Flat file

    Dresses a cut end square and takes down a proud edge. It also cleans a service notch so cable insulation does not sit against a raw sheared edge.

Joining and fixing 8

Crimp where you can, screw where you must, and keep nothing proud on a face that will be boarded.

  • Stud crimper: A hand held metal stud crimping tool with two long handles and a punch headEssential

    Stud crimper

    Punches through stud and track flange together and folds the metal over, joining them in one squeeze. Faster than screwing and it leaves nothing proud to catch a board.

  • A drywall screw gun with a depth stop nose cone and a pistol gripEssential

    Drywall screw gun

    A depth stop nose that sets every screw just below the paper face. Judging that by feel across a wall does not work, and a whole wall overdriven holds far less.

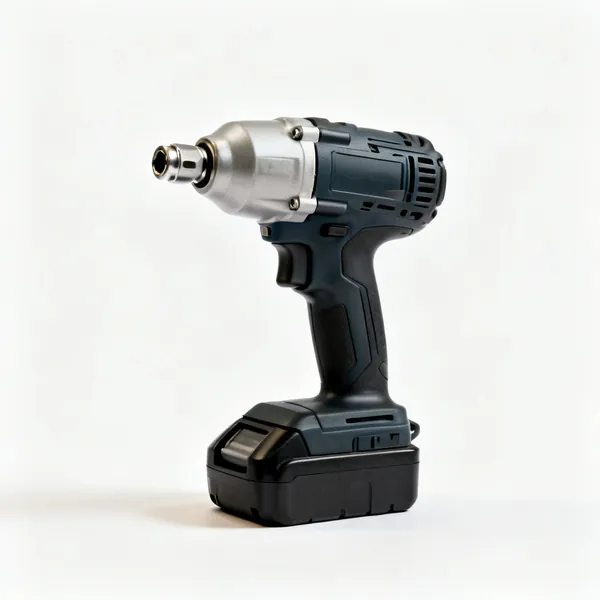
  • A cordless impact driver with a hex chuck, battery and pistol gripEssential

    Impact driver

    Drives self drilling screws steel to steel and track fixings into a floor. It has the torque a drill driver lacks for anything into masonry through a track.

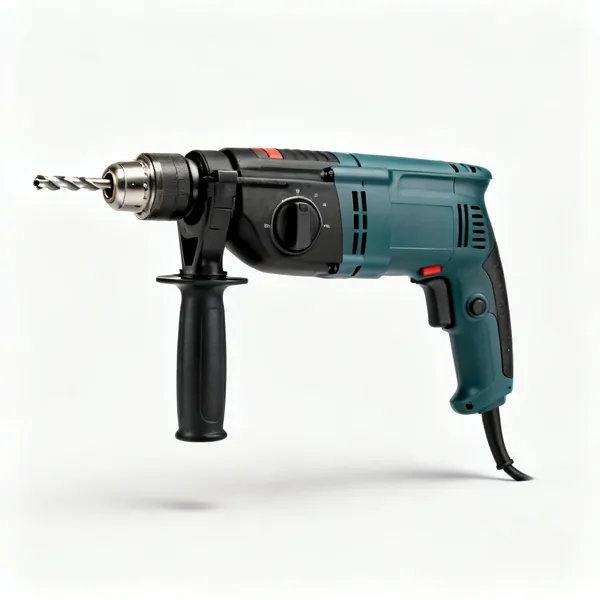
  • A corded hammer drill with a keyed chuck, side handle and pistol gripEssential

    Hammer drill

    Drills the floor and ceiling for track fixings, which on a concrete slab is most of the fixing work. A rotary hammer is worth it if there is a lot of it.

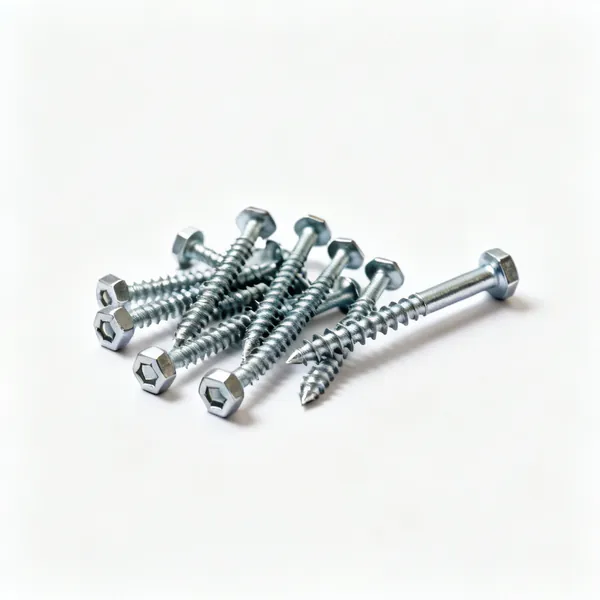
  • Self drilling screws: A handful of small self drilling steel framing screws with hex headsEssential

    Self drilling screws

    Cut their own hole through thin steel with a drill point. Stop as soon as they seat: spinning after that strips the thread out of the steel and the fixing holds nothing.

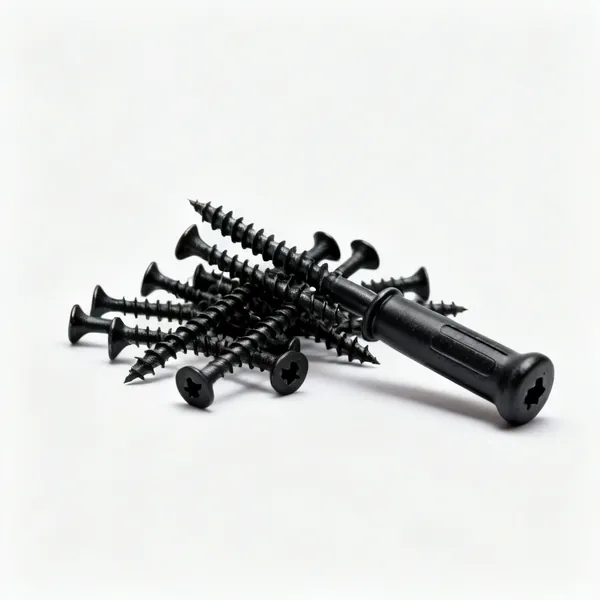
  • A handful of black fine thread drywall screwsEssential

    Fine thread drywall screws

    Fine thread for steel, not coarse. Coarse thread is for timber and it strips thin steel or fails to pull the board tight, which is a common and invisible mistake.

  • A handful of grey hammer in nail anchor track fixingsEssential

    Track fixings

    Hammer in or screw fixings at 600mm centres through the track into the floor and ceiling. Closer where the partition will carry anything or where a door is being hung.

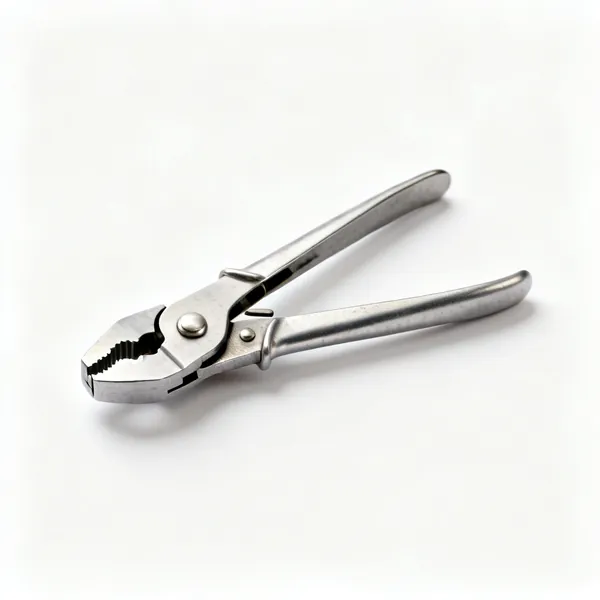
  • Locking clamps: A pair of locking grip clamps with flat wide jaws

    Locking clamps

    Hold a stud in the track while it is crimped, so both hands are on the tool. Steel is springy enough that a stud will move as the crimper closes on it.

Setting out 7

Same discipline as timber, and it matters more because a steel partition has no forgiveness in the stud itself.

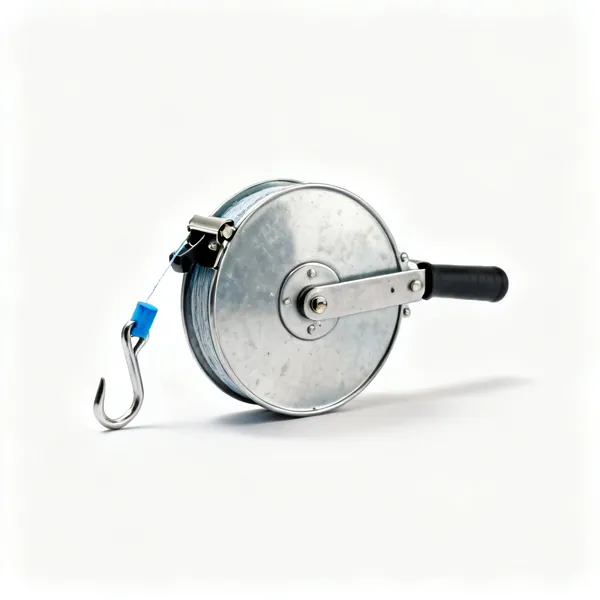
  • A chalk line reel with a metal case, hook and blue chalkEssential

    Chalk line

    Snaps the track line across a floor in one movement, then the same line is plumbed up to the ceiling. Nothing else marks five metres of straight line in two seconds.

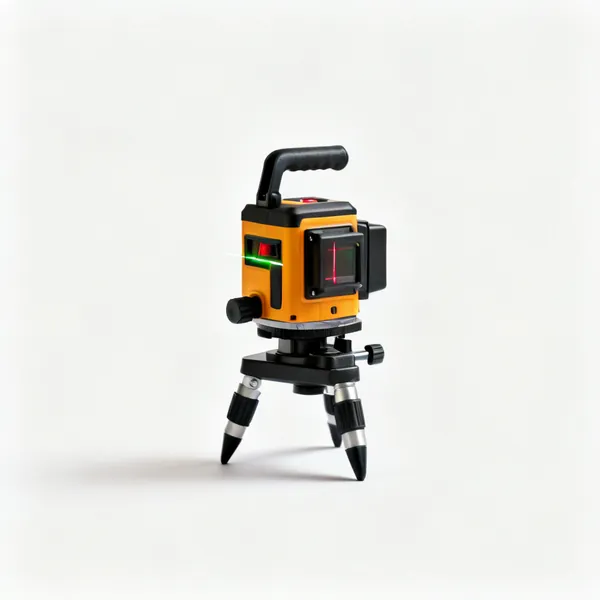
  • A self levelling cross line laser level on a small tripod

    Cross line laser

    Projects the floor line onto the ceiling directly above, which is the measurement that decides whether the wall is plumb. Faster and more reliable than a plumb bob.

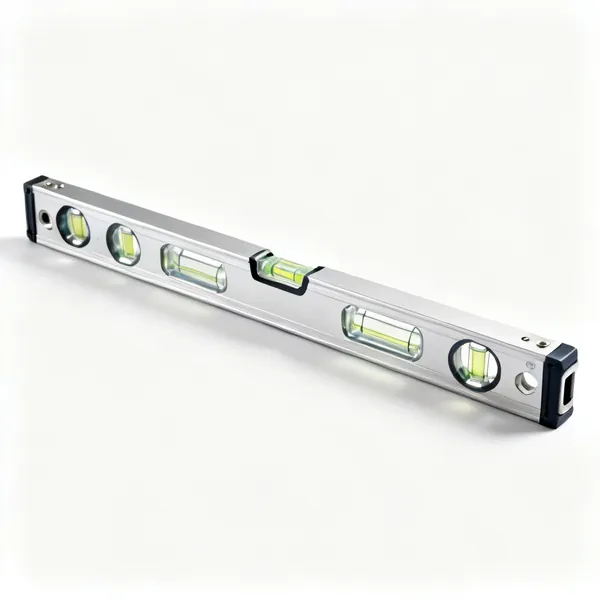
  • 1200mm spirit level: A long aluminium spirit level with several glass vials and machined edgesEssential

    1200mm spirit level

    Plumbs studs and levels track. 1200mm because a short level over a 2.4m stud multiplies its own error into something visible on the finished wall.

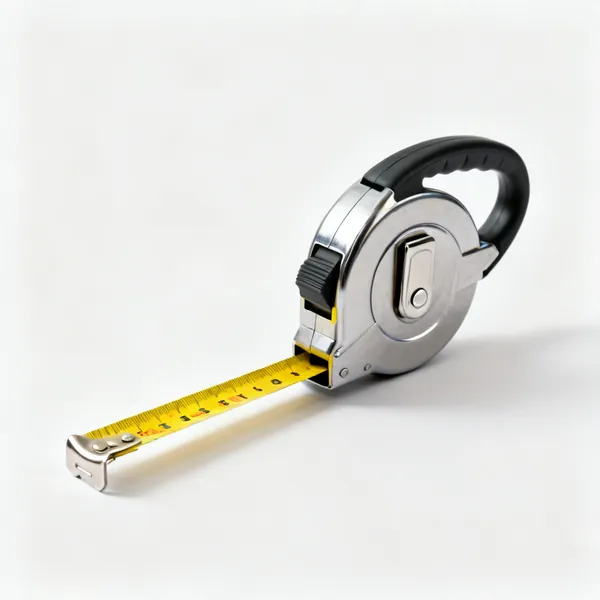
  • A retractable steel tape measure with a yellow blade, belt clip and locking buttonEssential

    Tape measure

    Stud centres and cut lengths. Studs are cut a few millimetres short deliberately, which is the opposite of the timber habit and takes conscious effort at first.

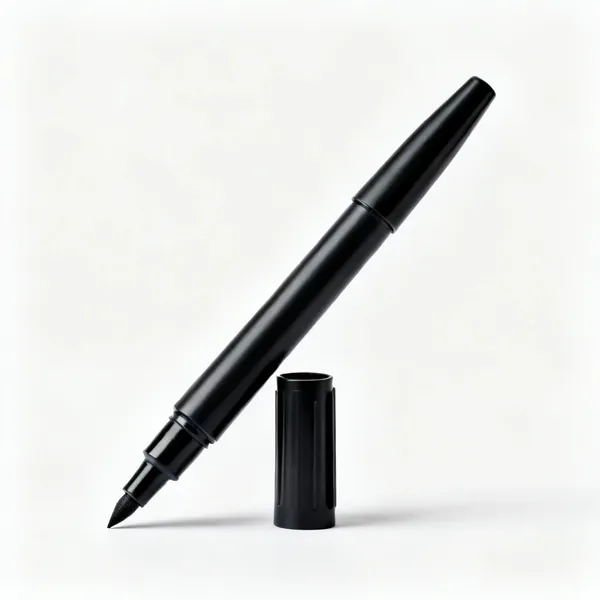
  • A black permanent marker pen with the cap offEssential

    Marker pen

    Marks galvanised steel where a pencil will not. A mark you cannot see on a shiny surface is a cut in the wrong place, which on a whole wall of studs adds up.

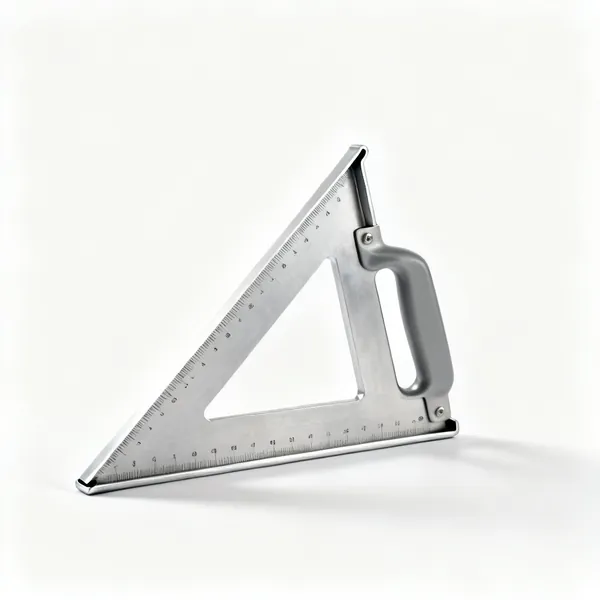
  • An aluminium speed square, a triangular carpenters square with a lipped edge

    Speed square

    Marks a square cut line across a stud flange. Less critical than in timber because the end is hidden in the track, and still worth doing at an exposed cut.

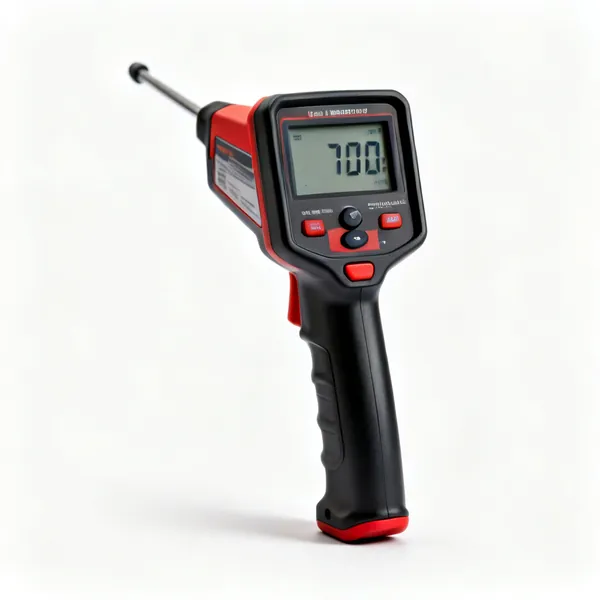
  • A handheld electronic cable and pipe detector with a digital displayEssential

    Cable and pipe detector

    Finds what is in the floor and ceiling before you fix track into them. A track fixing into a buried cable or a pipe in a screed is a bad afternoon.

Backing, openings and safety 8

Anything that will ever be fixed to this wall has to be planned now, because steel stud will not hold it later.

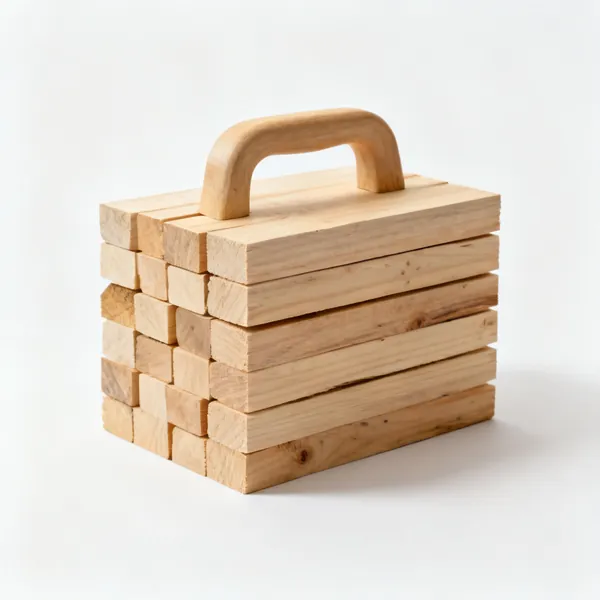
  • Timber noggins: A stack of short cut softwood timber noggin blocksEssential

    Timber noggins

    Cut to fit inside or behind the studs wherever a future fixing will go. Steel stud will not hold a bracket, and adding a noggin after boarding means opening the wall.

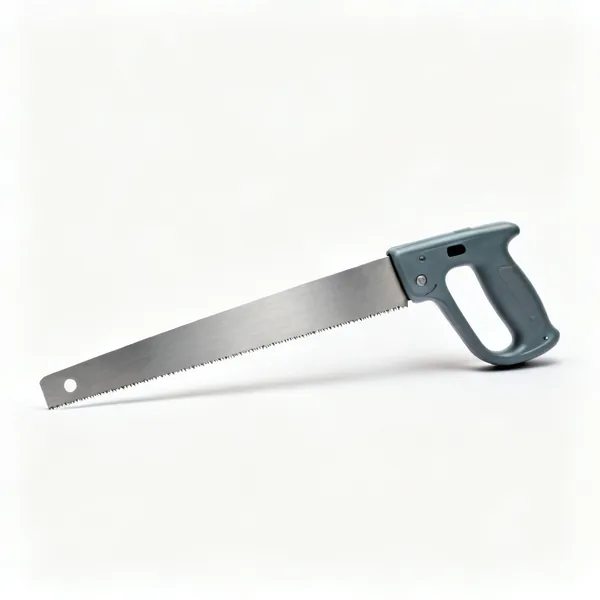
  • Hand saw: A hardpoint panel saw with a straight steel blade and a moulded plastic handleEssential

    Hand saw

    For the timber noggins and posts that go inside the steel. Every steel framed wall has some timber in it, and this is what cuts it.

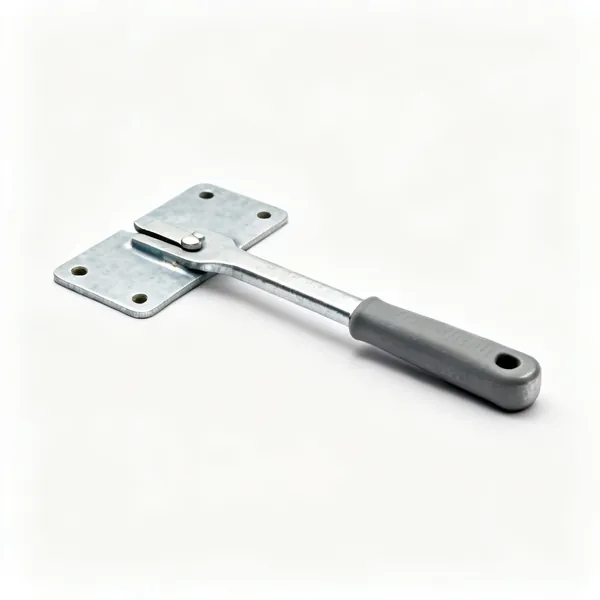
  • A pair of flat galvanised steel backing plates with pre drilled holes

    Steel backing plates

    Plates screwed across studs to give a fixing point for a rail or a bracket. An alternative to timber where the load is high or the depth is tight.

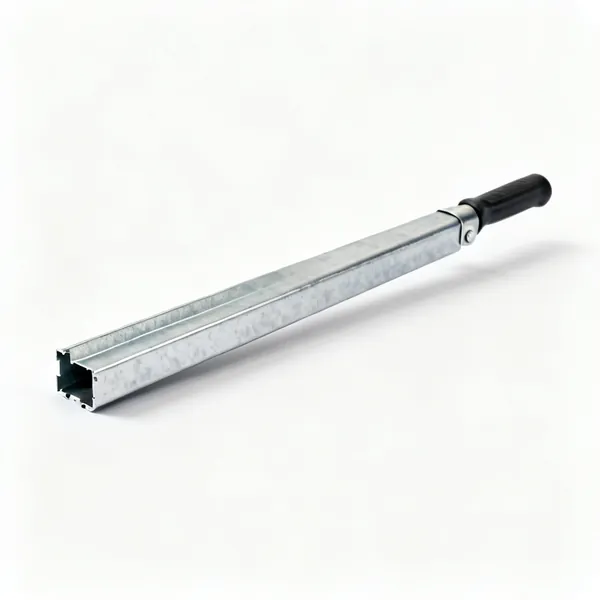
  • Resilient bar: A length of galvanised steel resilient acoustic bar channel

    Resilient bar

    A springy channel between studs and board that decouples them acoustically. It is one of the few ways to make a lightweight partition genuinely quieter.

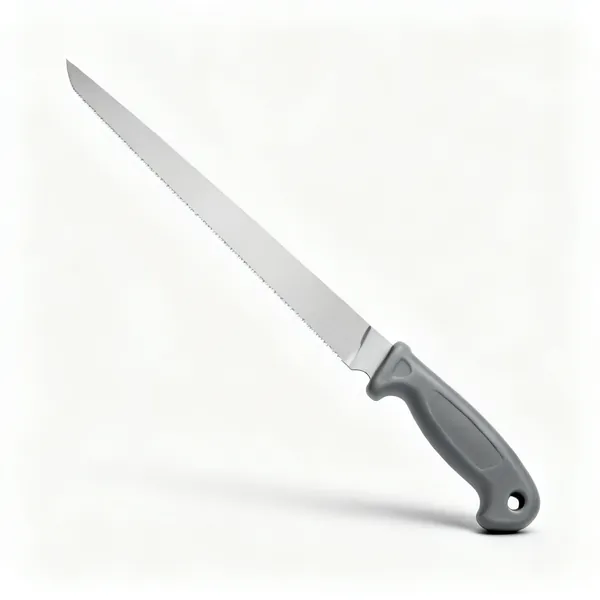
  • A long bladed insulation knife with a straight narrow blade and a moulded handle

    Insulation knife

    Cuts mineral wool to the stud spacing. Steel conducts sound well, so insulation matters more in a steel partition than in a timber one.

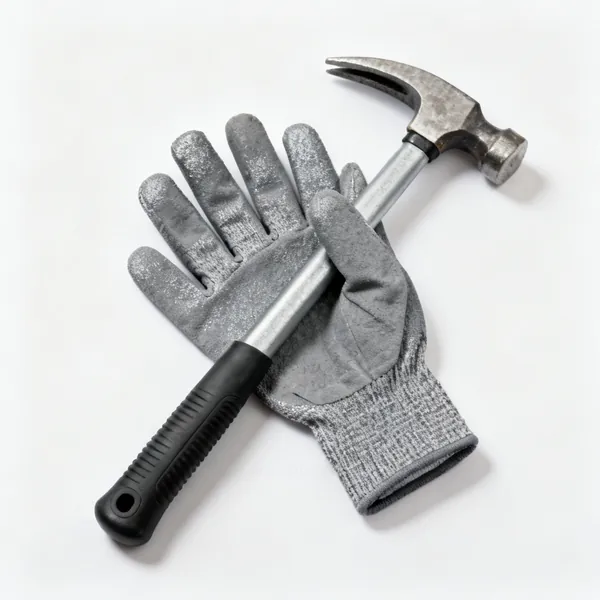
  • Cut resistant gloves: A pair of grey cut resistant work gloves with coated palmsEssential

    Cut resistant gloves

    A cut steel stud edge is rigid and extremely sharp. Marked essential because deep cuts to the hands are the characteristic injury of steel framing.

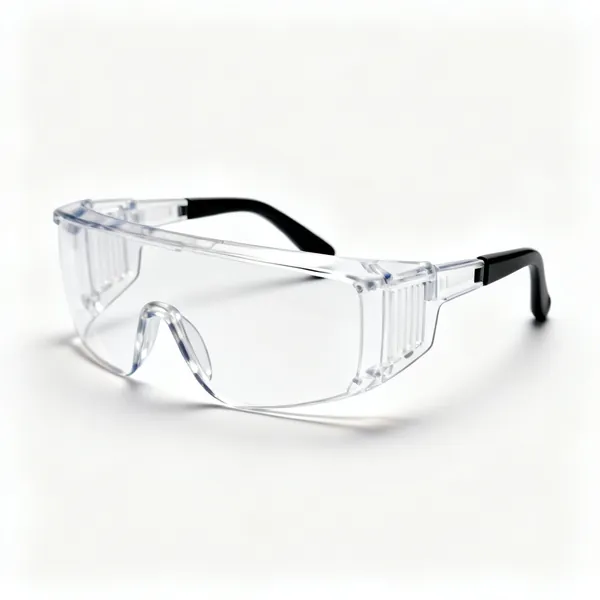
  • A pair of clear lens safety glasses with side shieldsEssential

    Safety glasses

    Self drilling screws throw fine steel swarf, and shears flick offcuts upward. Fixing overhead into a ceiling track puts all of it directly into your face.

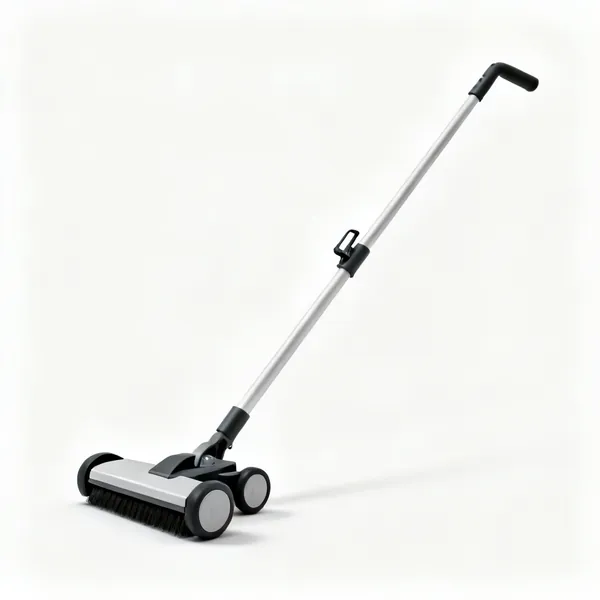
  • A magnetic sweeper on a long handle with wheels and a release lever

    Magnetic sweeper

    Collects dropped screws and steel swarf off the floor. On a finished floor those filings rust and stain, and dropped screws end up in the flooring you lay next.

Building in steel stud

Cut cold, crimp or screw the studs, and set the screw gun depth once. Speed comes from the system rather than from working fast.

What changes from timber

Studs are cut a few millimetres short and dropped into the track rather than cut to a tight fit, because the track holds them. They do not need to be crowned, they are all identical, and they do not twist or shrink, so a steel partition stays as straight as the day it went up.

What you lose is the ability to fix anything to it later. A steel stud will not hold a screw in a useful way, so every future fixing point needs a timber noggin or a steel bracket put in now. That single fact catches out most people coming from timber.

Cut short, not tight
A few millimetres under. The track holds the stud, so a tight fit only bows the track.
No crowning and no twist
Every stud is identical and stays straight. This is the main advantage over timber.
You cannot fix to it later
Timber noggins or brackets for every future fixing, decided before boarding.
It is lighter and faster
One person can carry a partition's worth of studs, which is not true of timber.

Cutting steel stud and track

Snips and swivel head shears are the fast way, and they leave a slightly distorted end which does not matter because the end goes inside the track. An abrasive chop saw cuts quickly and throws hot sparks that burn the galvanising, leaving edges that will rust.

The one thing to be careful with is the sharp edge. A cut steel stud has a burr on it that opens a hand without any warning, and it is worse than sheet metal because the C section gives it a rigid backing.

Snips or shears
Fast, cold, and the distorted end sits inside the track where it does not matter.
Not an abrasive saw
It burns the galvanising and throws sparks that burn spots across the stud face.
Gloves without exception
A cut stud edge is rigid and sharp, and it is the injury this work is known for.
Notch, do not cut, for services
Studs have service holes. Cutting a new one anywhere else weakens the section.

Crimping or screwing

A stud is fixed into the track either by a crimper, which punches and folds the two together in one squeeze, or by a self drilling screw through the flange. Crimping is faster and leaves nothing proud, which matters because a screw head under a board line is a bump.

Where screws are used they go on the side of the stud that will not be boarded first, or the head has to be sunk properly. A proud screw head under plasterboard shows as a visible line down the finished wall.

Crimp for speed and flatness
One squeeze, nothing proud, and no fastener to catch a board.
Screw where a crimp cannot reach
At a corner or against an existing wall. Sink the head or keep it on the unboarded face.
Nothing proud on a board face
A screw head under plasterboard is a visible line down a finished wall.
Do not over screw
A self drilling screw spun after it has seated strips the thin steel and holds nothing.

Screw gun depth is the whole skill

Plasterboard onto steel is fixed with drywall screws driven to a set depth: the head just below the paper face, not through it. Through it and the screw holds almost nothing, and a whole wall driven too deep has significantly reduced fixing strength.

A screw gun with a depth stop nose repeats it. Set it on a scrap, check it after the first few, and check it again when the battery is fresh, because a fully charged gun drives harder than a flat one.

Just below the paper
A dimple, not a hole. Through the paper and the screw holds a fraction of what it should.
Depth stop nose
It repeats the setting across hundreds of screws where feel cannot.
Recheck with a fresh battery
A fully charged gun drives harder. The setting that was right this morning may not be.
Fine thread for steel
Coarse thread is for timber. Using the wrong one strips the steel or will not pull the board tight.

Openings and where load goes

A door opening in steel stud needs the studs either side boxed or doubled, and a header formed from track. Steel stud on its own is not designed to carry a door, and a single stud will flex every time the door closes.

For a heavy door, or anything carrying weight, the correct answer is a timber post inserted inside the steel stud, or a proprietary boxed section. Getting this wrong shows up months later as a door that no longer closes cleanly.

Double or box the jamb studs
A single stud flexes every time the door shuts, and the frame then works loose.
Header from track
Cut and folded to form a lintel, with short studs above it up to the head track.
Timber inside the stud for heavy doors
A post inserted in the C section, so the fixings go into timber rather than thin steel.
Anything on the wall needs backing
Radiators, brackets and rails. Decide the positions and put timber in before boarding.
Frequently asked questions

What tools do I need for metal stud framing?
Aviation snips or swivel head shears, a stud crimper, a screw gun with a depth stop, a chalk line, a level, a tape measure, a detector and cut resistant gloves. Add a hammer drill for fixing track into masonry floors and ceilings.
How do you cut metal studs?
With aviation snips or swivel head shears, which cut cold and leave a slightly distorted end that sits inside the track where it does not matter. Avoid an abrasive chop saw, because it burns the galvanising and throws sparks that burn spots across the stud face.
What is a stud crimper?
A tool that punches through the stud and the track flange together and folds the metal over, joining them in one squeeze. It is faster than screwing and leaves nothing proud, which matters because a screw head under a plasterboard line shows as a bump.
Do metal studs need to be cut to an exact length?
No, and they should not be. Cut them a few millimetres short and let the track hold them, top and bottom. A stud cut to a tight fit bows the track outward, which puts a visible kink in the finished wall along the head and the base.
Can you screw into a metal stud?
For plasterboard, yes, with fine thread drywall screws. For anything heavier, no: a steel stud will not hold a fixing in a useful way. Every future fixing point needs a timber noggin inside or behind the stud, decided and fitted before the wall is boarded.
What screws do I use on metal framing?
Fine thread drywall screws for plasterboard onto steel, and self drilling screws for steel to steel. Coarse thread screws are for timber and they will strip thin steel or fail to pull the board tight, which is a common and invisible mistake.
How deep should drywall screws be driven?
So the head sits just below the paper face, leaving a dimple rather than a hole. Driven through the paper the screw holds a fraction of what it should. A screw gun with a depth stop nose repeats it, and the setting needs rechecking with a fresh battery.
Is metal framing better than timber?
For a straight non loadbearing partition, often yes: it is lighter, it does not twist or shrink, every stud is identical, and it is faster. Against that, you cannot fix anything to it afterwards, so every future fixing has to be planned before boarding.