Disclosure

Tools for gutter installation

Setting out, cutting and fixing guttering, all 29 grouped in the order the job runs. Most of it is setting out: the fall is about 3mm per metre and brackets go at 1 metre centres, and getting either wrong is what makes a new run overflow.

18 are marked essential: for a straightforward run a level, a line, a saw and a drill.

Part of the full roofing tools list, 83 tools in 8 groups.

Setting out 7

The group that decides whether the finished run works. All of it happens before anything is fixed.

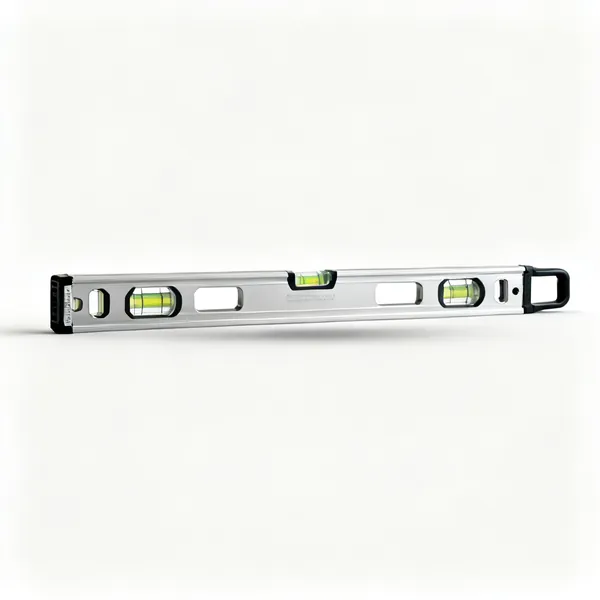
  • Long spirit level: A long aluminium spirit level with several glass vials and machined edgesEssential

    Long spirit level

    Establishes a true horizontal to measure the fall down from. A short level over a long fascia multiplies its own error, which is how a run ends up falling the wrong way.

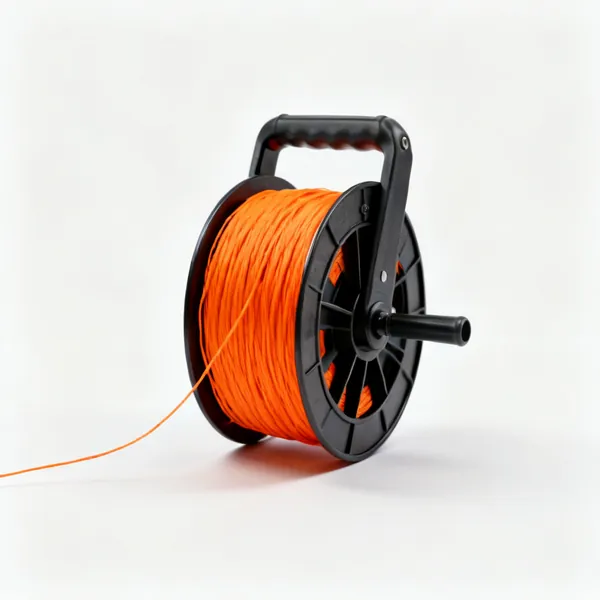
  • A string line reel with bright orange builders line partly unwoundEssential

    String line

    Pulled between the first and last bracket so every bracket in between is set to one continuous line. Marking bracket by bracket accumulates error across a long run.

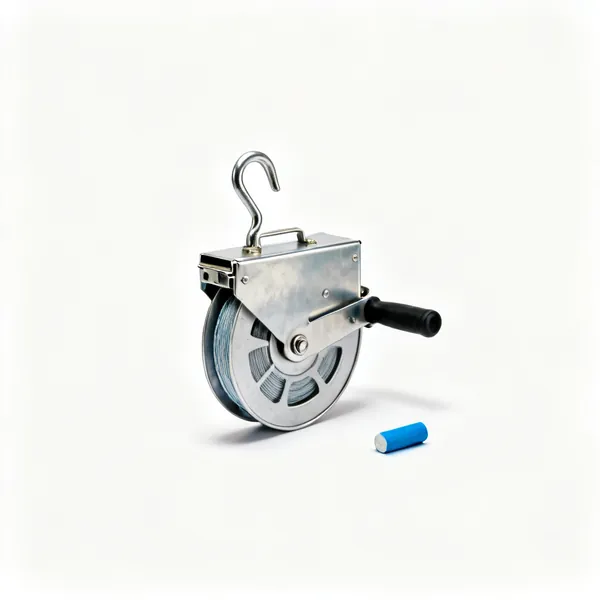
  • A chalk line reel with a metal case, hook and blue chalkEssential

    Chalk line

    Snaps the fall line onto the fascia so it is visible while you fix. A pencil line on a fascia at arm's length above your head is not, which is the practical difference.

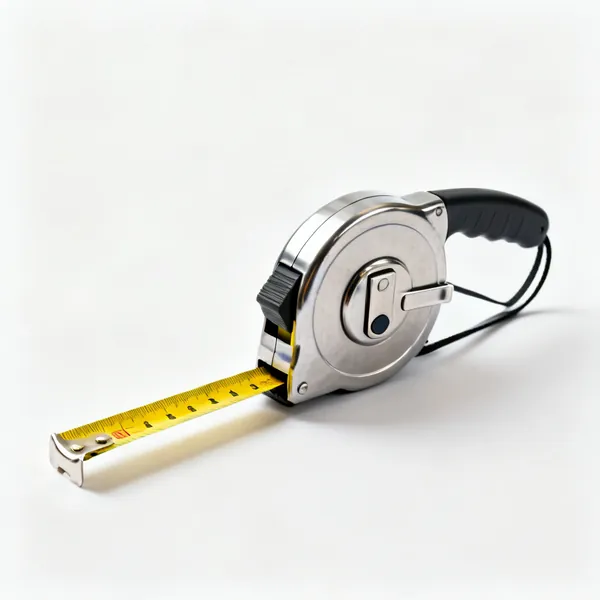
  • A retractable steel tape measure with a yellow blade, belt clip and locking buttonEssential

    Tape measure

    Sets bracket centres and the drop at the outlet end. Long enough for the whole elevation, because measuring in stages is another way to accumulate error.

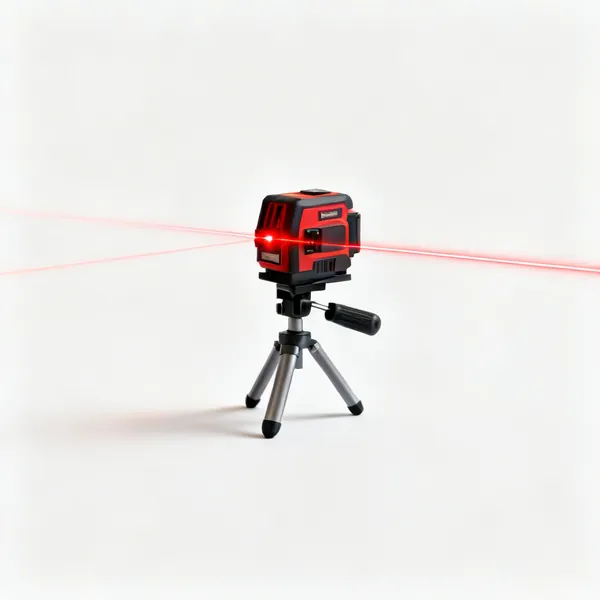
  • A red beam line laser level on a small tripod

    Laser level

    Projects a line along the fascia so the fall can be set from it without a string. Faster on a long elevation and it needs to be visible, which in bright sun it often is not.

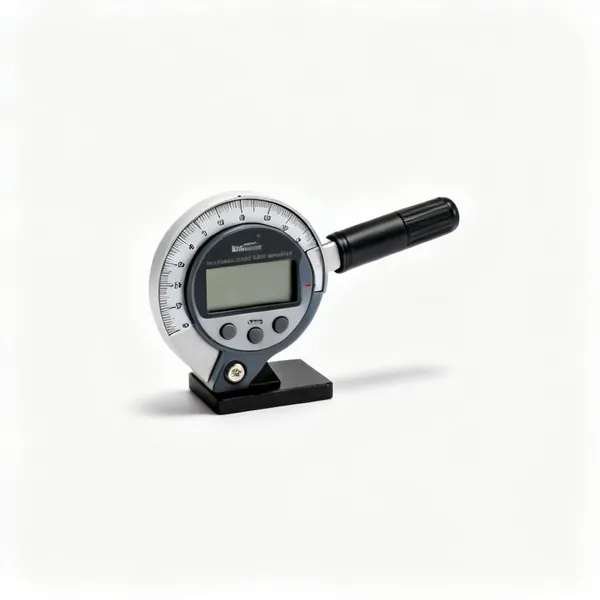
  • Digital angle gauge

    Digital angle gauge

    Reads a slope in degrees or as a ratio, so a fall can be set and checked as a number. It replaces the calculation with a reading, which on a run with obstacles helps.

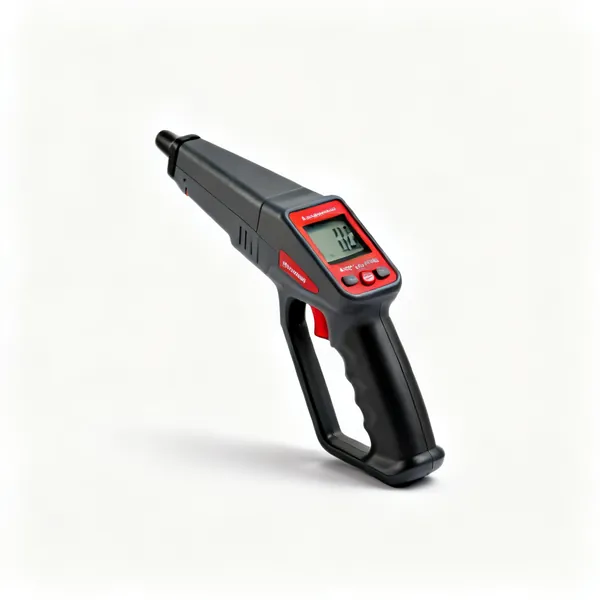
  • A handheld electronic stud detector with a digital display

    Detector

    Finds rafter ends behind the fascia so brackets can be fixed into solid timber. A bracket screwed into soft fascia alone pulls out the first time the gutter fills.

Cutting and shaping 7

Square cuts and clean edges. A rough edge shaves the seal and that leak appears at the first heavy rain.

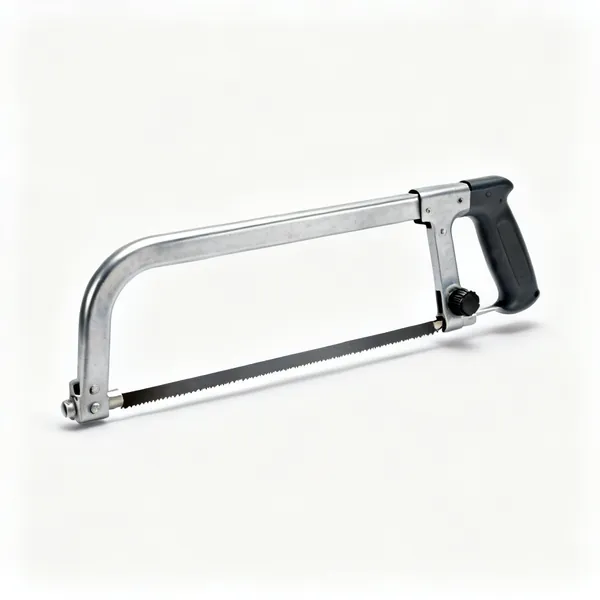
  • Hacksaw: Tensioning knob and pistol grip handleEssential

    Hacksaw

    A fine blade at 24 to 32 TPI cuts plastic gutter cleanly without melting or splitting it. Coarser teeth catch on the thin wall and tear a ragged edge.

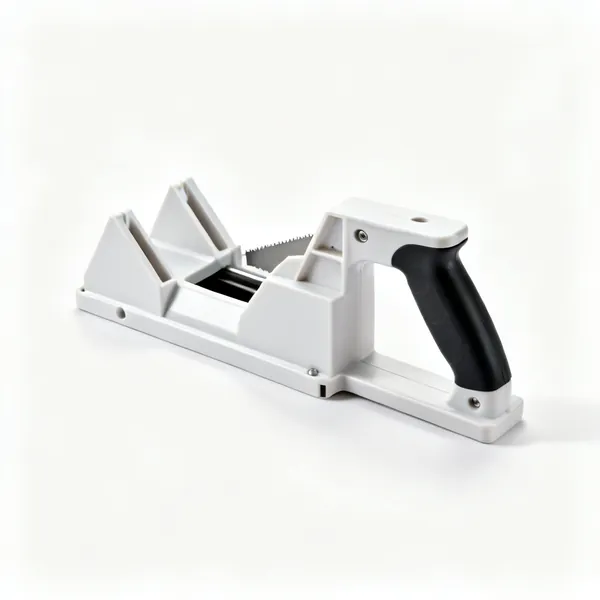
  • Mitre boxEssential

    Mitre box

    Holds the saw square so the cut end meets the union shoulder evenly. Freehand cuts leave a gap on one side, which the seal then has to bridge and does not.

  • A half round file with one flat and one curved face and a wooden handleEssential

    Half round file

    Takes the burr off both edges and squares up a slightly off cut. The flat face trues the end and the curved face cleans the inside, which is both jobs a cut needs.

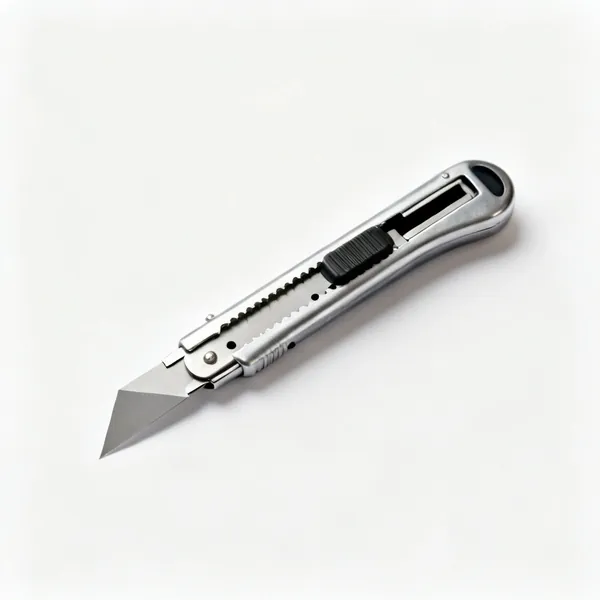
  • A metal bodied utility knife with a retractable trapezoid bladeEssential

    Utility knife

    Chamfers a cut edge and trims a seal. Cut away from the hand holding the gutter, which at eaves height on a ladder takes deliberate positioning.

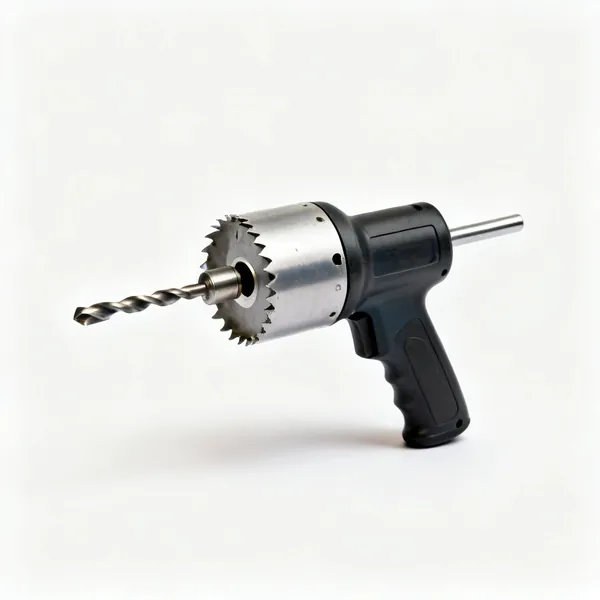
  • A bi metal hole saw with an arbor and pilot drill

    Hole saw

    Cuts an outlet into a running length where a running outlet is not being used. Backed with scrap so the exit does not tear, since thin plastic always breaks out.

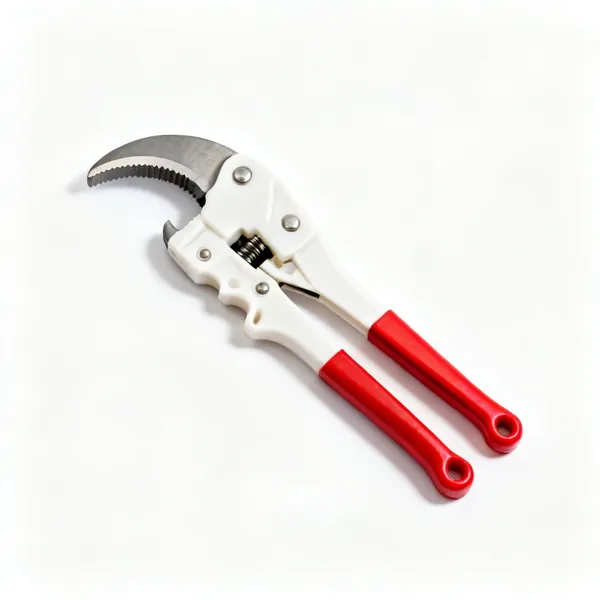
  • Downpipe shears: A pair of ratcheting plastic pipe shears with a curved blade and red handles

    Downpipe shears

    Ratchet shears that cut round downpipe square in one squeeze. Faster than a saw and they can split cold rigid pipe in winter, which is when this work often happens.

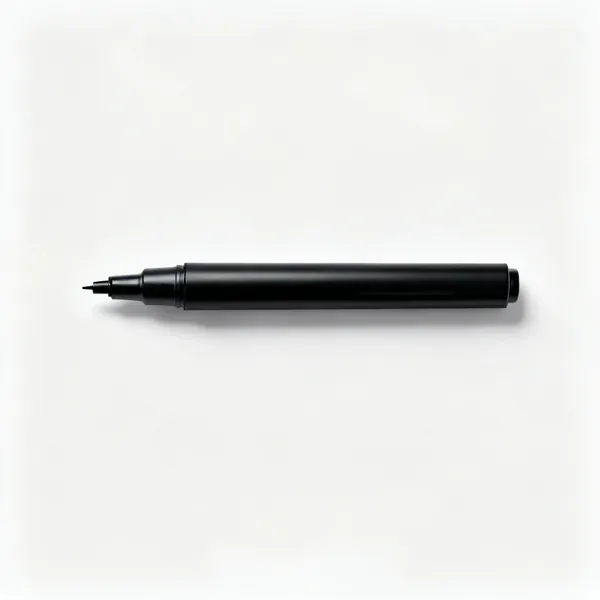
  • A black permanent marker pen with the cap offEssential

    Marker pen

    Marks the cut line and the expansion mark position on the gutter. That witness mark is how you confirm the gutter is not pushed fully home in the union.

Fixing and jointing 8

Brackets into solid timber, joints left short for expansion. This is the fast part if the setting out was right.

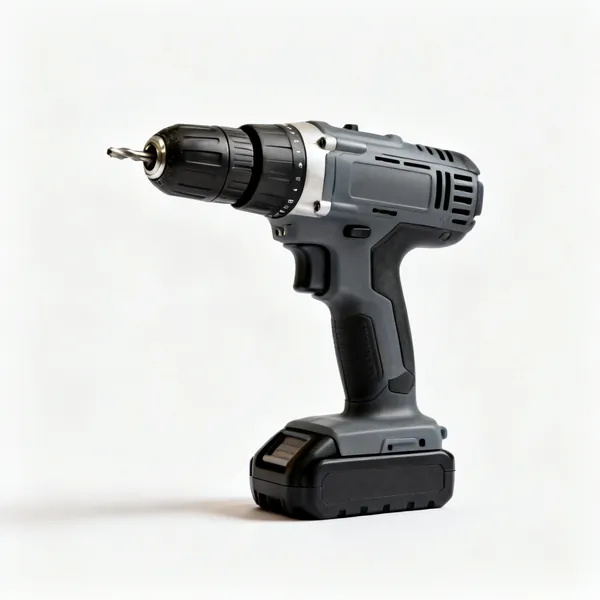
  • A cordless drill driver with a battery, chuck and pistol gripEssential

    Cordless drill driver

    Drives bracket screws and drills pilot holes. A clutch that slips before it strips the fascia matters, since overdriven screws in soft timber hold nothing.

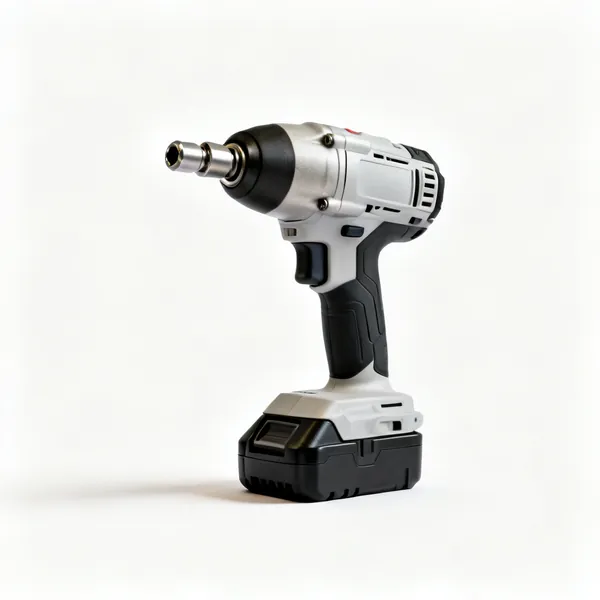
  • A cordless impact driver with a hex chuck and a battery

    Impact driver

    Drives longer screws into rafter ends without camming out. Faster overhead, where the pressure needed for a drill driver is hard to apply above your head.

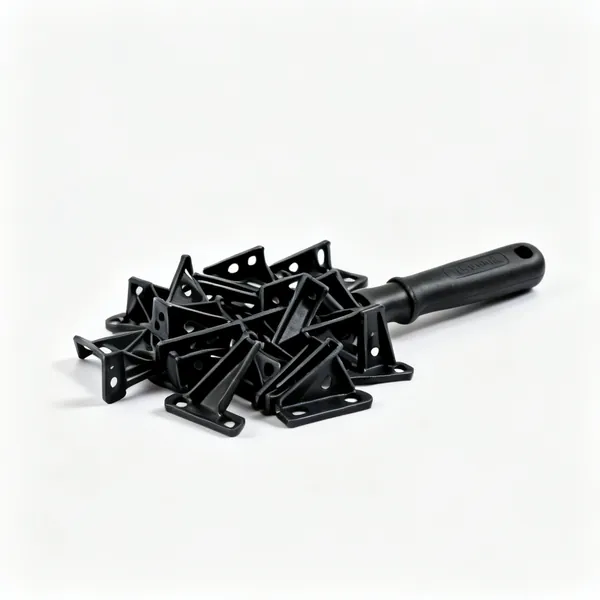
  • Fascia brackets: A handful of black plastic fascia gutter bracketsEssential

    Fascia brackets

    At 1 metre centres or closer, and within 150mm of every joint, corner and outlet. Bracket spacing is the second most common cause of a run that sags once it fills.

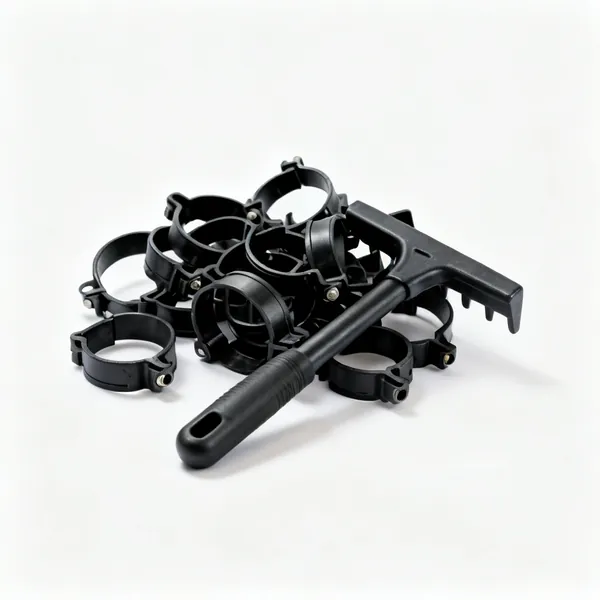
  • Downpipe clips: A handful of black plastic downpipe pipe clipsEssential

    Downpipe clips

    Hold the downpipe plumb at 2 metre centres or closer. A leaning downpipe stresses its sockets and is more visible from the ground than a crooked gutter.

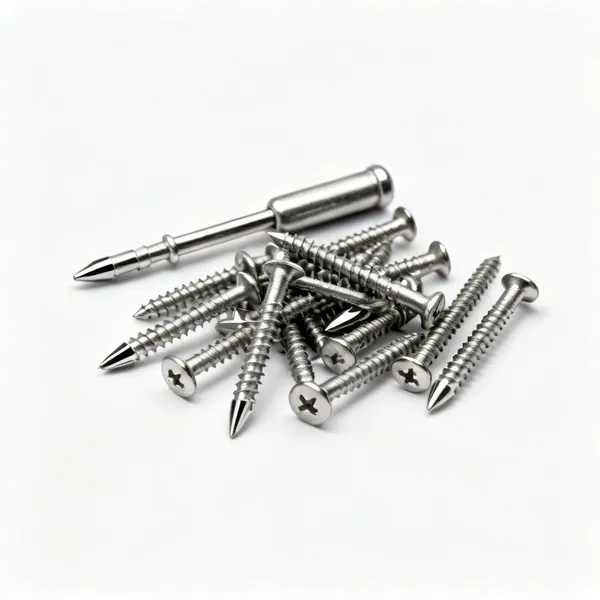
  • Stainless screws: A handful of stainless steel pozidriv screwsEssential

    Stainless screws

    Stainless or coated, because a gutter fixing is permanently wet. Plain steel screws rust and stain the fascia, and they fail exactly where you cannot easily get to them.

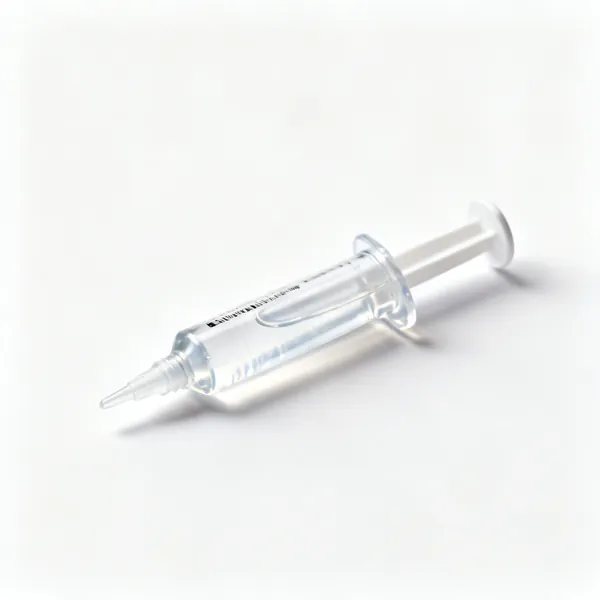
  • A small tube of clear silicone seal lubricant grease

    Seal lubricant

    Silicone lubricant on a union seal so the gutter slides in without rolling the rubber. A rolled seal is a leak that looks exactly like a correctly fitted joint.

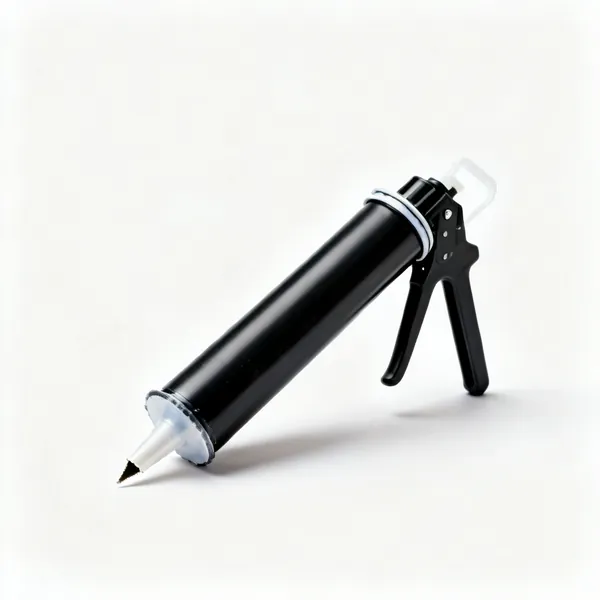
  • Gutter sealant: A cartridge of black gutter and roof sealant with a cut nozzle

    Gutter sealant

    For a stop end or a repair, not for a union. Sealing a union defeats the expansion the system needs, and it is the wrong answer to a joint that leaks.

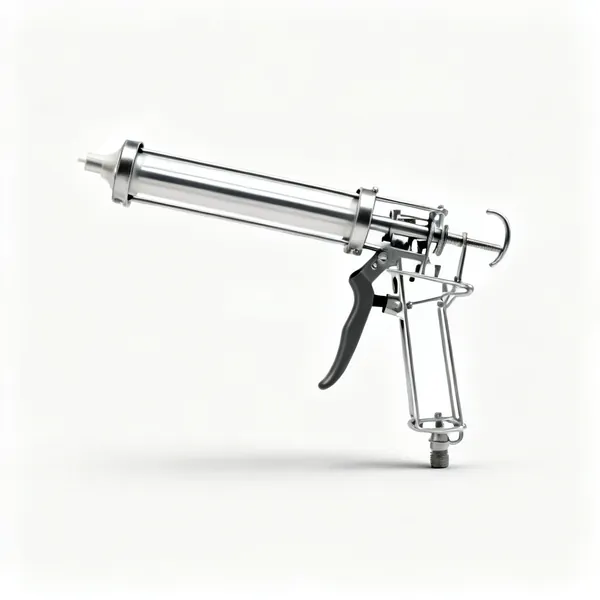
  • Sealant gun

    Sealant gun

    A skeleton frame gun for the cartridge. Used one handed at the top of a ladder, so a smooth ratchet matters more here than on a bench.

Access and testing 7

A full run means moving along the whole elevation. This is where the risk is, and where a tower earns its cost.

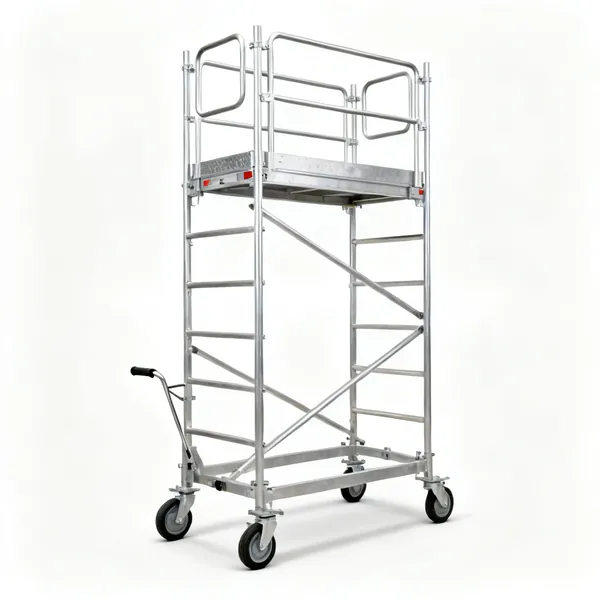
  • Alloy tower: An aluminium mobile scaffold tower with a platform, guard rails and wheels

    Alloy tower

    A platform to work from with both hands free and materials to hand. On a full elevation it is faster than a ladder as well as safer, because nothing needs repositioning.

  • An aluminium extension ladder with two sections and rubber feetEssential

    Extension ladder

    Set at one out for every four up. The practical answer on a short run, and it means repositioning every metre or so along the fascia.

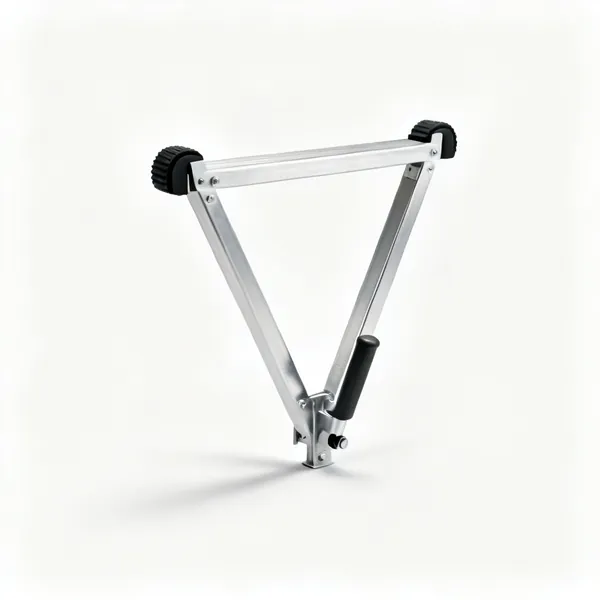
  • A metal ladder stand off bracketEssential

    Ladder stand-off

    Keeps the ladder off the fascia and off the gutter you are fitting. Without it the ladder bears on the new run, and plastic gutter is not a structural member.

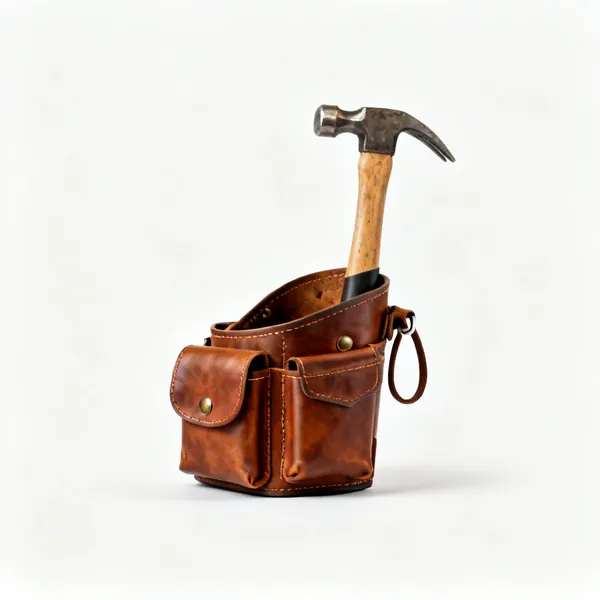
  • A leather tool belt with pouches and a hammer loopEssential

    Tool belt

    Keeps screws, driver and knife on you at eaves height. Climbing down for a dropped screw is the part of the job that consumes the afternoon.

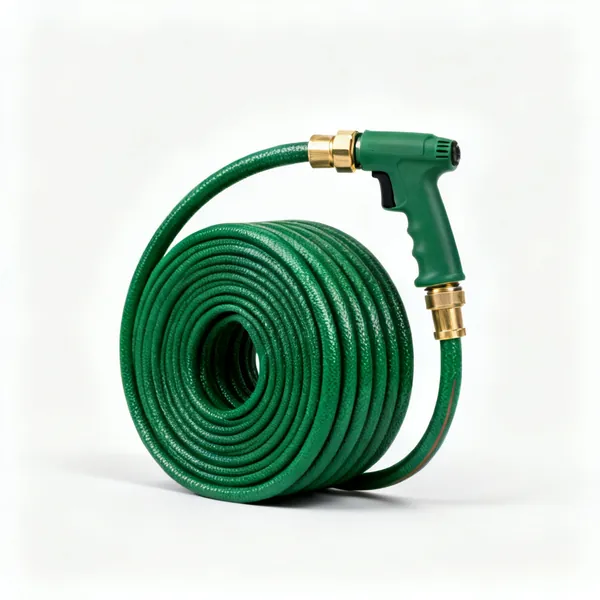
  • A coiled green garden hose with a brass connectorEssential

    Garden hose

    Fills the finished run to test the fall and the joints. A dry gutter tells you nothing: a sag and a rolled seal both only show with water in it.

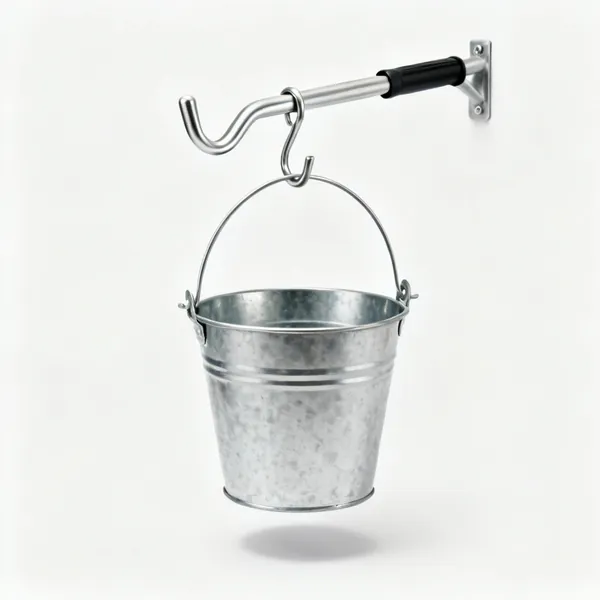
  • Bucket hook: A metal bucket hanging hook with two curved arms for a ladder rung

    Bucket hook

    Hangs fixings and offcuts from a ladder rung so both hands stay free. It is also what stops offcuts going into the flowerbed and staying there.

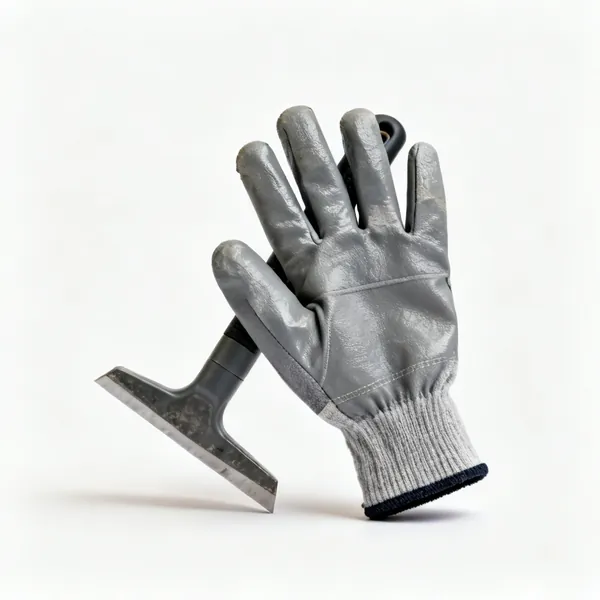
  • A pair of grey work gloves with coated palms and knitted cuffsEssential

    Work gloves

    Cut gutter edges are sharp and fascia screws come out rusted. A close fitting glove, because a loose one catches on a bracket at exactly the wrong moment.

Fitting guttering properly

Set the fall first and mark it with a line. Everything else is fixing to that line.

The fall decides everything

A gutter needs a consistent fall toward its outlet. Around 1 in 350 is the usual figure, which is roughly 3mm per metre, so a 10 metre run drops about 30mm from end to outlet. It is a smaller slope than most people expect, and it must be continuous.

Too little fall and the gutter ponds, which grows moss and overflows in heavy rain. Too much and it looks visibly crooked against the fascia, which on a long elevation is obvious from the road. Both are set at the marking stage and neither can be adjusted afterwards.

About 3mm per metre
Roughly 1 in 350. A 10 metre run drops around 30mm to its outlet.
Continuous, not stepped
A string line from end to outlet, then every bracket to the line. Bracket by bracket accumulates error.
Outlet position first
Decide where the downpipe goes before marking anything, because the fall runs to it.
Long runs, two outlets
Over about 12 metres, fall from the middle to an outlet at each end rather than one long drop.

Bracket spacing and where the load goes

Fascia brackets go at no more than 1 metre centres on most systems, and closer than that where snow is likely or where the gutter carries a long roof slope. A bracket within 150mm of each side of a joint, an outlet and a corner is also standard.

The reason is that a full gutter is heavy and plastic creeps. A run with brackets at 1.5 metres looks fine dry and sags visibly the first time it fills, and once it has sagged it holds water permanently.

1 metre maximum
Closer in exposed positions. Check the manufacturer's figure, since systems differ.
Either side of every joint
Within about 150mm of unions, outlets, corners and stop ends. These are the weak points.
Fix into solid timber
The fascia, and into the rafter end where you can. A bracket in soft fascia pulls out when the gutter fills.
Test with water
Fill the run with a hose before you finish. A sag shows immediately and only when it is wet.

Cutting and joining plastic gutter

Cut square with a fine toothed saw in a mitre box or against a wrapped line, then file the burr off both edges. A rough edge either sits proud in the union or shaves the rubber seal as it goes in.

Plastic gutter is not glued. It clips into unions over rubber seals and it must be left short of the socket shoulder so it can expand. Every union has an expansion mark inside it, and pushing the pipe fully home is the commonest cause of a joint that pops or cracks in summer.

Fine tooth saw, square cut
A hacksaw at 24 to 32 TPI. Mitre box or a wrapped paper line, because freehand is not square enough.
File both edges
The burr shaves the seal as the pipe enters, and that is a leak that appears at the first heavy rain.
Leave the expansion gap
To the mark inside the union, not fully home. A gutter run moves several millimetres between summer and winter.
Never glue it
Solvent cement on a gutter union prevents the movement the system needs. It will crack instead.

Downpipes and where the water goes

A downpipe wants to be plumb, clipped at no more than 2 metre centres, and to discharge somewhere it can actually get away. A shoe onto a gully, a back inlet gully, or a soakaway of adequate size.

Discharging onto a path or against a wall is what causes damp and frost damage, and it is a surprisingly common shortcut. Check the fall of the ground away from the building as well as the pipe itself.

Plumb, clipped at 2 metres
A leaning downpipe stresses the joints and looks worse than a crooked gutter.
Into a gully or soakaway
Not onto a path or against a wall. That is where damp and frost damage come from.
Leave expansion at the sockets
Same as the gutter. A rigid run between two fixed points cracks.
Fit an access piece
One removable section makes clearing a future blockage a two minute job instead of an hour.

Working at the eaves

Gutter installation is done at eaves height, from a ladder or a tower, and a new run means moving along the whole elevation. That is many ladder repositions, and it is where the fall risk sits rather than in the fitting itself.

A tower is genuinely better for a full run, because you can work with both hands, keep everything on the platform, and move along without repositioning a ladder thirty times. For anything above two storeys it is not really optional.

Tower for a full run
Both hands free, everything on the platform, and no ladder to reposition every metre.
Stand-off if using a ladder
So the ladder never leans on the fascia or the new gutter you are fitting.
Move, do not reach
Hips inside the stiles. Overreaching sideways with a length of gutter is how ladders tip.
Above two storeys
Tower or scaffold. The fall distance is what changes, not the difficulty of the work.

Frequently asked questions

What tools do I need to fit guttering?
A spirit level, a string line and chalk line, a tape measure, a fine toothed saw and mitre box, a file, a cordless drill and driver, a ladder with a stand-off or a tower, and a hose to test with. That covers setting out, cutting and fixing a standard run.
What fall should a gutter have?
Around 3mm per metre, roughly 1 in 350, running toward the outlet. A 10 metre run therefore drops about 30mm end to end. It must be continuous rather than stepped, which is why a string line from end to outlet is the correct way to mark it.
How far apart should gutter brackets be?
No more than 1 metre centres on most systems, and closer in exposed positions or under a long roof slope. Also within about 150mm of each side of every union, outlet, corner and stop end, because those are the points that sag first.
How do I cut plastic guttering?
With a fine toothed saw, around 24 to 32 TPI, in a mitre box or against a line wrapped right around so it comes out square. Then file the burr off both edges, because a rough edge shaves the rubber seal in the union as the gutter goes in.
Should I glue gutter joints?
No. Plastic guttering clips into unions over rubber seals and is designed to move, expanding and contracting several millimetres between summer and winter. Solvent cement prevents that movement, so the joint or the gutter cracks instead of sliding.
Why does my new gutter overflow?
Usually not enough fall, so it ponds and cannot carry a heavy downpour, or brackets too far apart so the run has sagged once it filled. Occasionally the outlet or downpipe is undersized for the roof area draining into it.
How do I mark the line for a gutter run?
Fix the highest bracket first, then measure down at the outlet end by 3mm per metre of run. Pull a string line between the two, check it, then snap or mark along it and set every bracket to that line rather than measuring each one separately.
Where should a downpipe discharge?
Into a gully, a back inlet gully or an adequately sized soakaway, and never onto a path or against a wall. Discharging against the building is a common shortcut and it is a direct cause of damp and of frost damage to brickwork.