Disclosure

Tools for lead flashing

Bossing mallets, dressers, bending sticks and chase cutters, all 31 grouped by the job. Lead is worked cold by beating it into shape, and almost everything here is hardwood because a steel face tears and thins the sheet.

20 are marked essential: a first set that can form and fit a flashing properly.

Part of the full roofing tools list, 83 tools in 8 groups.

Bossing and forming 8

Hardwood and hide, shaped to gather lead rather than stretch it. This is the group that defines the trade.

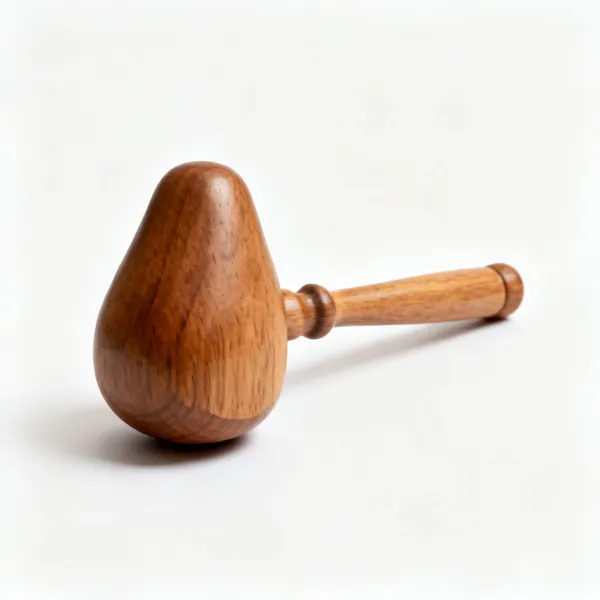
  • A boxwood bossing mallet with a pear shaped wooden head and a turned wooden handleEssential

    Bossing mallet

    A pear shaped boxwood head that pushes lead along without cutting into it. The curved face is what gathers surplus material into a corner rather than thinning the sheet over it.

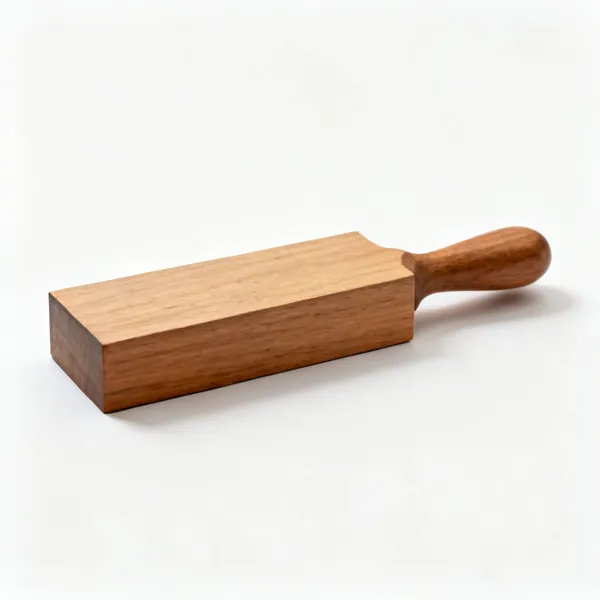
  • A hardwood lead dresser, a flat rectangular wooden block with a shaped handle endEssential

    Lead dresser

    A flat hardwood tool for smoothing and flattening lead onto a surface. It follows the substrate so the lead sits down tight to it, which is what makes a flashing lie flat.

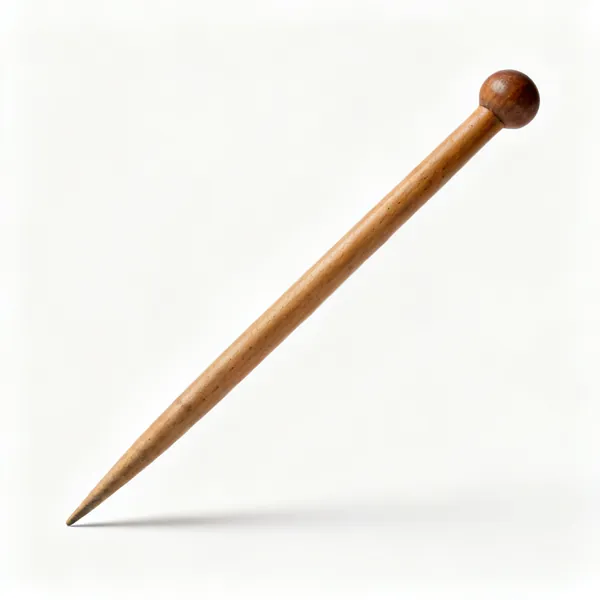
  • A tapered hardwood lead bending stick with a rounded endEssential

    Bending stick

    A tapered hardwood stick used to form a straight fold or open one out. The taper lets you start a fold gently along a whole line before committing to the angle.

  • A hardwood lead setting in stick with a square edged working endEssential

    Setting in stick

    A stick with a square edge for setting a sharp internal angle, such as where a flashing meets a tile or an upstand. It produces a crisp line a mallet cannot.

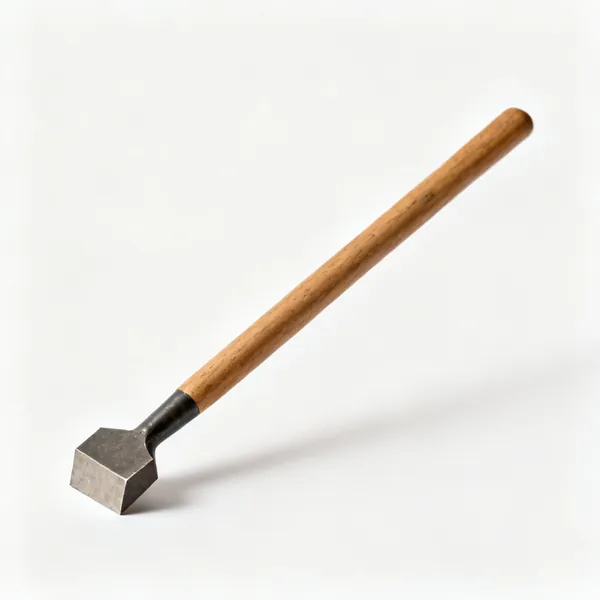
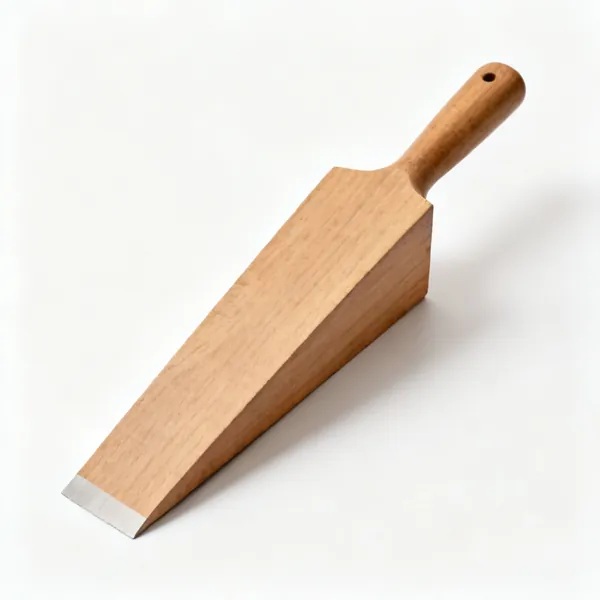
  • A wide flat hardwood chase wedge with a tapered edge

    Chase wedge

    A wide flat wooden wedge struck to dress lead into a long straight angle. It works the whole width at once, which keeps the line straight rather than scalloped.

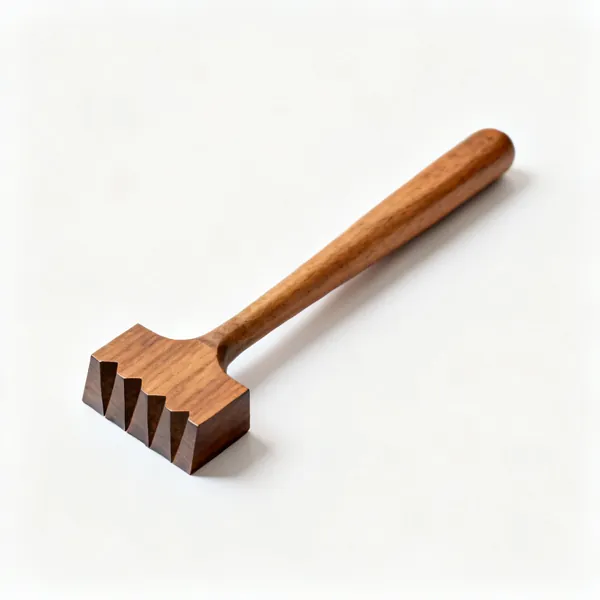
  • A hardwood lead step turner tool with a stepped shaped working end

    Step turner

    A shaped tool for forming the stepped turn ins on a stepped flashing up a gable. Each step is the same shape, and this repeats it rather than forming each by eye.

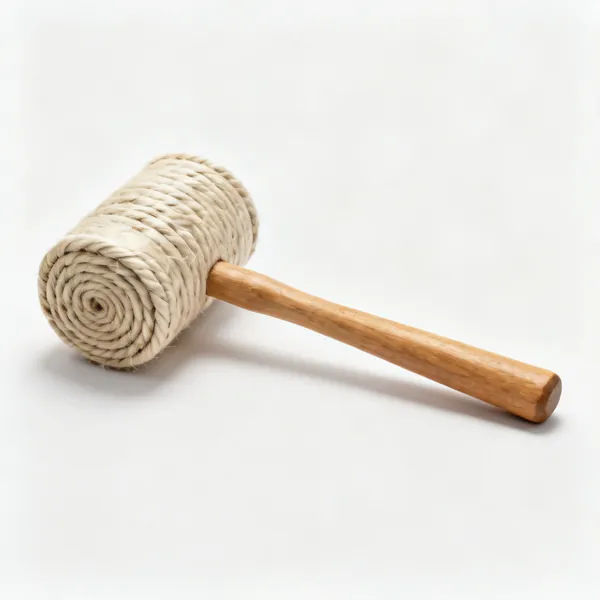
  • A rawhide mallet with a coiled hide cylindrical head and a wooden handle

    Hide mallet

    A coiled rawhide head with enough mass to move lead and a face softer than the sheet. Used where a boxwood mallet would mark, and it does not raise a burr.

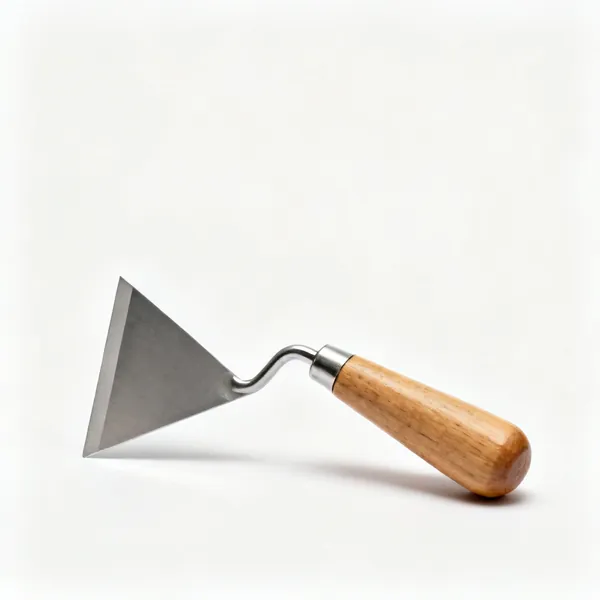
  • A triangular shave hook scraper with a steel blade and a wooden handle

    Shave hook

    A triangular blade that cleans oxide off lead before soldering or welting. Lead oxidises quickly and nothing bonds to the grey surface, only to the bright metal under it.

Cutting and marking 7

Lead cuts easily, which makes marking accurately the harder half. Cut generously and dress back.

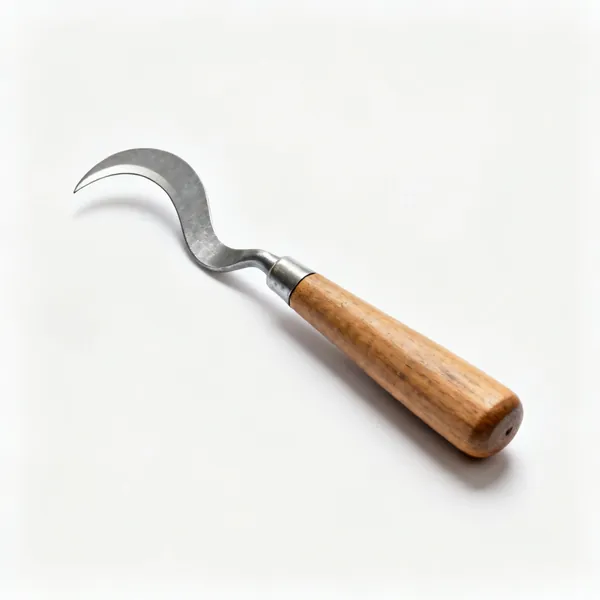
  • Lead knife: A lead working knife with a curved hooked steel blade and a wooden handleEssential

    Lead knife

    A hooked or curved blade drawn along a marked line to score and part sheet lead. Two or three passes rather than one hard cut, which keeps the line straight.

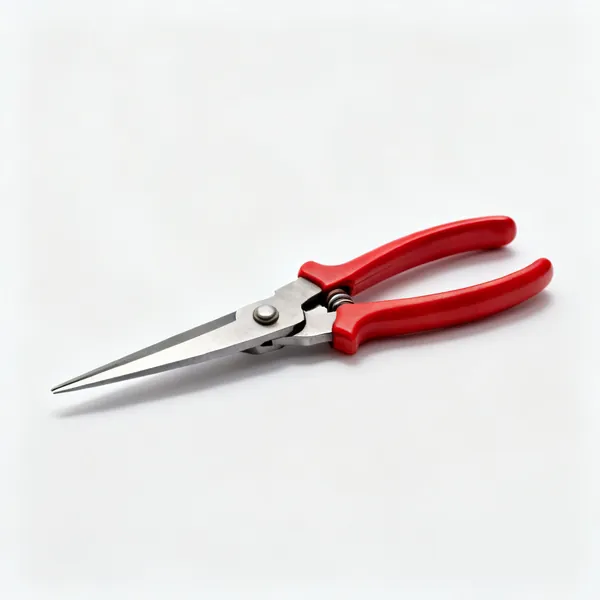
  • A pair of straight tin snips with long steel blades and red handlesEssential

    Tin snips

    Shear lead cleanly for a straight edge or a notch. Faster than a knife on a long cut and they leave a slight curl that needs dressing flat afterwards.

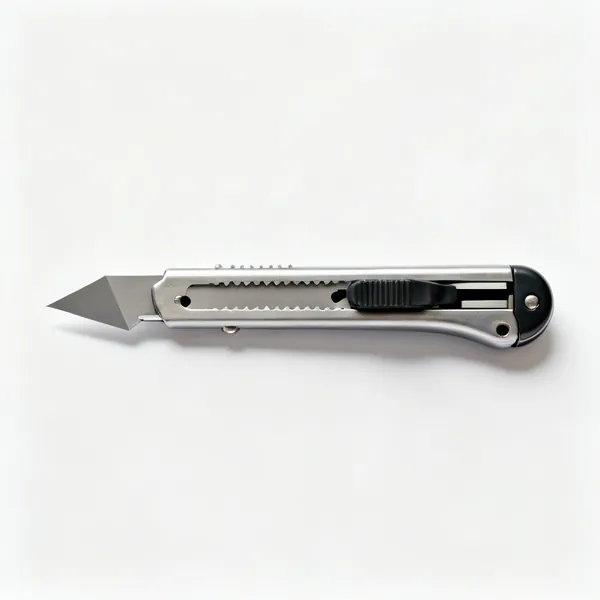
  • A metal bodied utility knife with a retractable trapezoid bladeEssential

    Utility knife

    Trims lead and cuts the underlay and membrane that go with it. Blades dull very quickly on lead, so snapping a fresh edge often is part of the work.

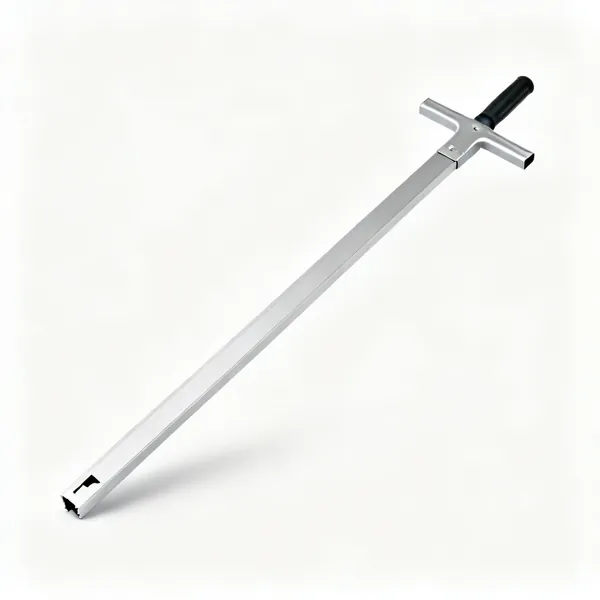
  • A long aluminium straight edge with a T section profileEssential

    Straight edge

    A rigid alloy edge to cut against and to check a fold. Lead is soft enough to follow whatever it is cut against, so a true edge is what makes the cut straight.

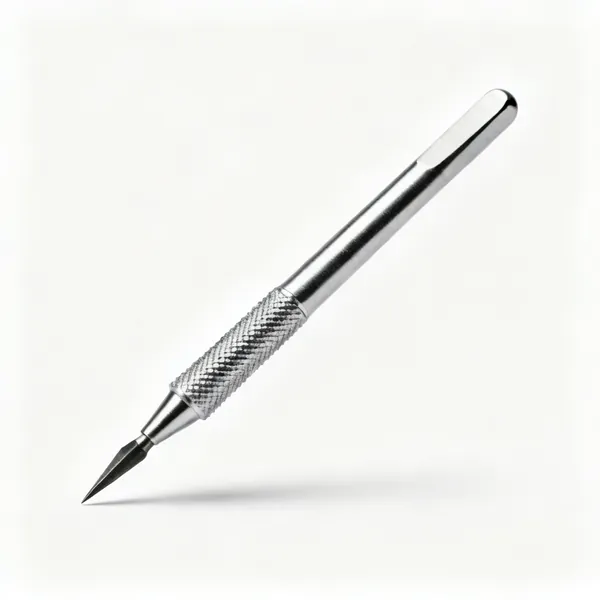
  • Lead scriber: A metal scriber with a knurled body and a sharp hardened steel point

    Lead scriber

    A hardened point that scratches a visible line on lead, which a pencil will not do reliably on a grey oxidised surface. The line survives handling and bossing.

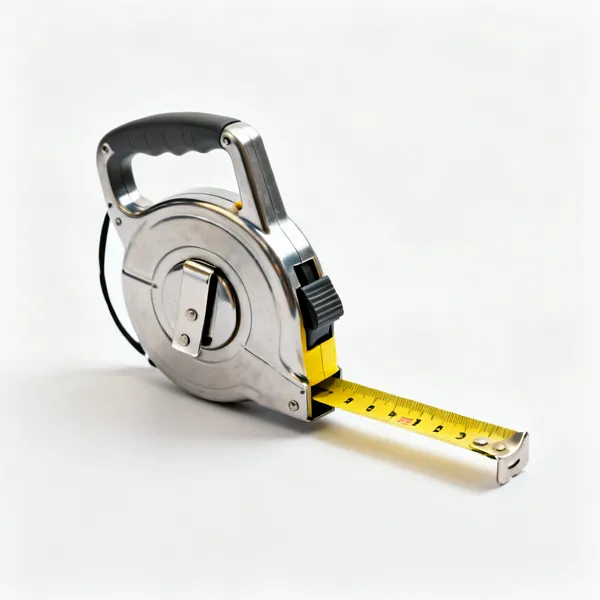
  • A retractable steel tape measure with a yellow blade and a belt clipEssential

    Tape measure

    Sets piece lengths, laps and turn in depths. Lead is expensive enough that cutting a piece 100mm short is a genuinely annoying mistake rather than a trivial one.

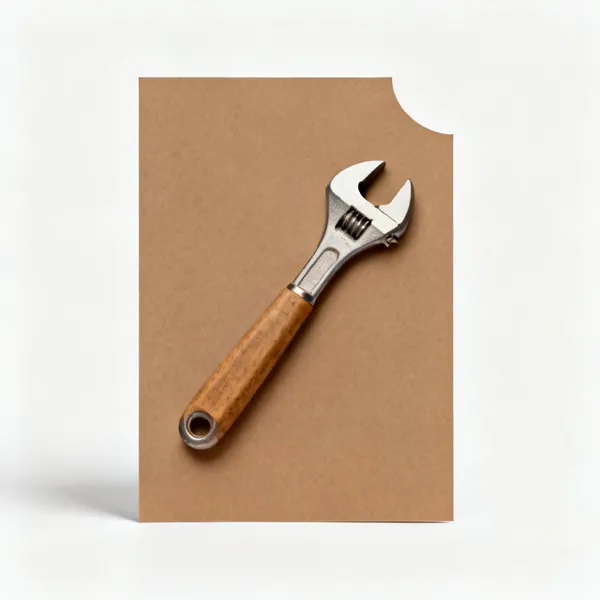
  • A sheet of stiff brown template card with a cut curved edge

    Template card

    Stiff card cut to shape and tried in place before committing lead to it. On a chimney or an awkward abutment this is the difference between one piece and three attempts.

Chases and fixing 8

Cut the mortar joint, wedge it, point it. Pointing without wedges is a flashing that pulls out in the first winter.

  • Mortar raking tool: A mortar raking chase cutting hand tool with a hardened steel blade and a handleEssential

    Mortar raking tool

    Cuts or rakes a 25mm chase into a mortar bed joint. Working the joint rather than the brick is easier, looks better and leaves the masonry unit intact.

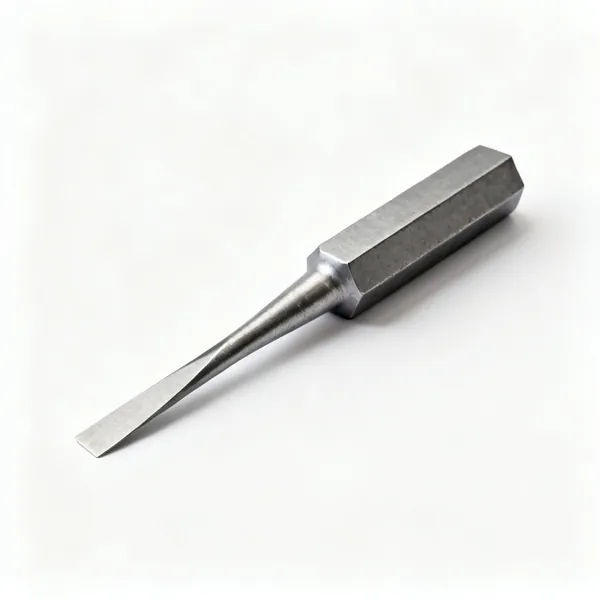
  • A narrow steel plugging chisel with a flat tapered blade and a hexagonal bodyEssential

    Plugging chisel

    A narrow hardened chisel that cuts out a mortar joint under a hammer. Slower than a grinder and it produces no silica dust, which in an occupied street matters.

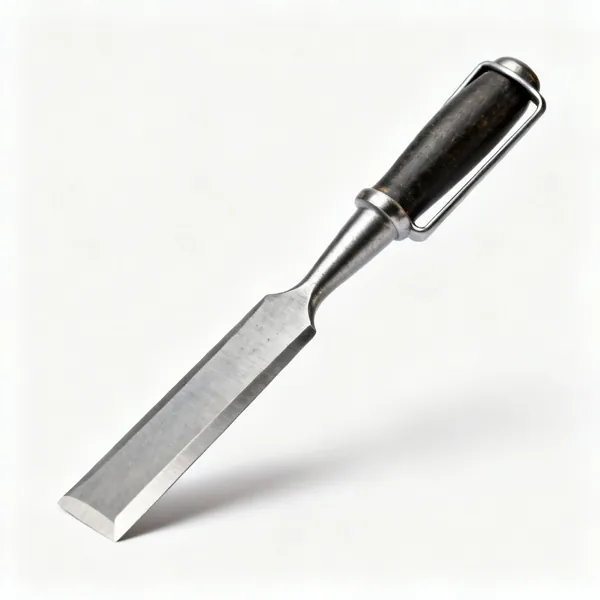
  • A wide bladed steel bolster chisel with a guarded handle

    Bolster chisel

    A wide blade for opening out a chase and for lifting tiles at an abutment. The width means it works a whole joint length rather than a point at a time.

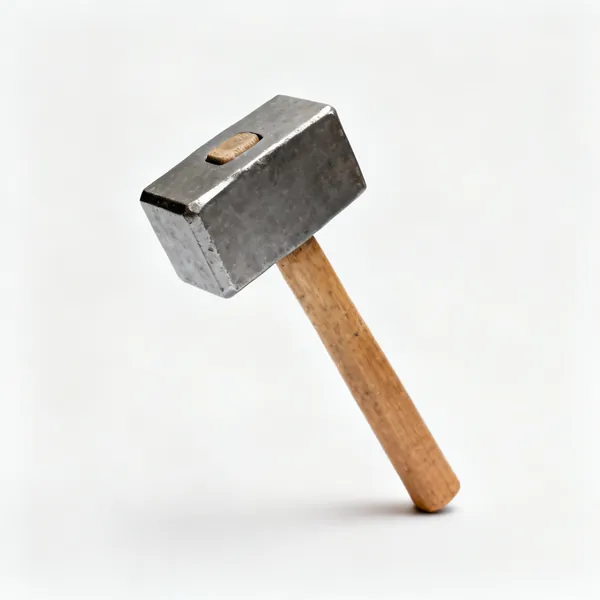
  • A club hammer with a heavy square steel head and a short wooden handleEssential

    Club hammer

    Drives the plugging chisel and the bolster. A light one is more controllable against a wall that has to survive the process undamaged around the chase.

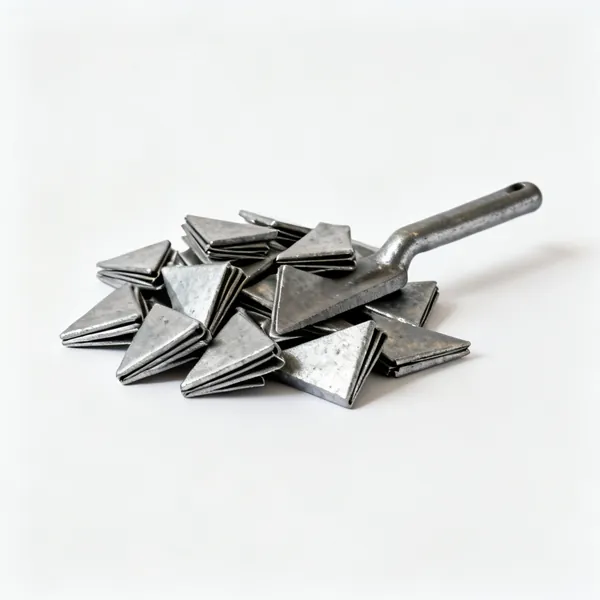
  • A handful of small folded lead wedgesEssential

    Lead wedges

    Folded offcuts of the same lead driven into the chase every 300mm to hold the flashing. Pointing alone does not hold a flashing in place, and this is what does.

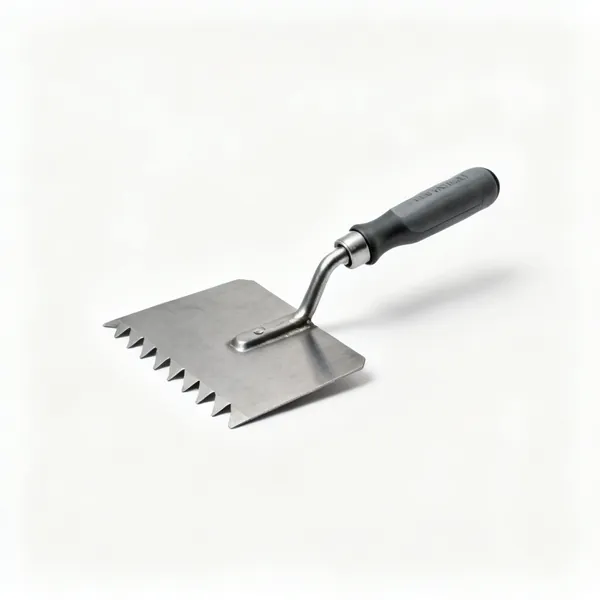
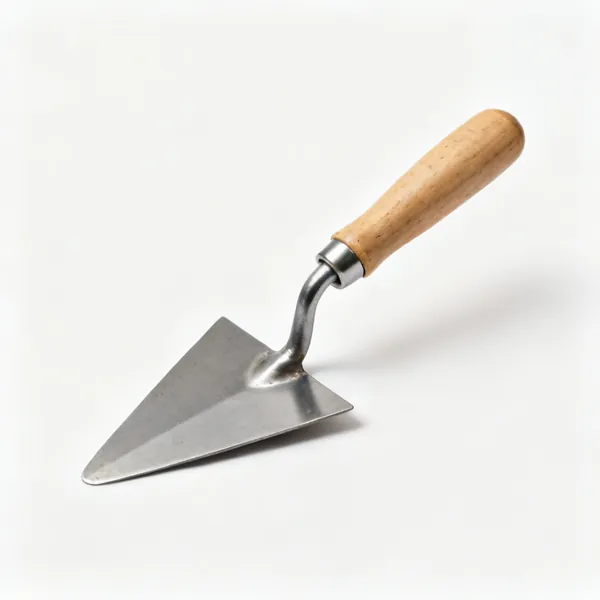
  • A small pointing trowel with a triangular steel blade and a wooden handleEssential

    Pointing trowel

    Fills the chase over the wedges with mortar. A chase left partly filled lets water track behind the flashing, which defeats the whole detail.

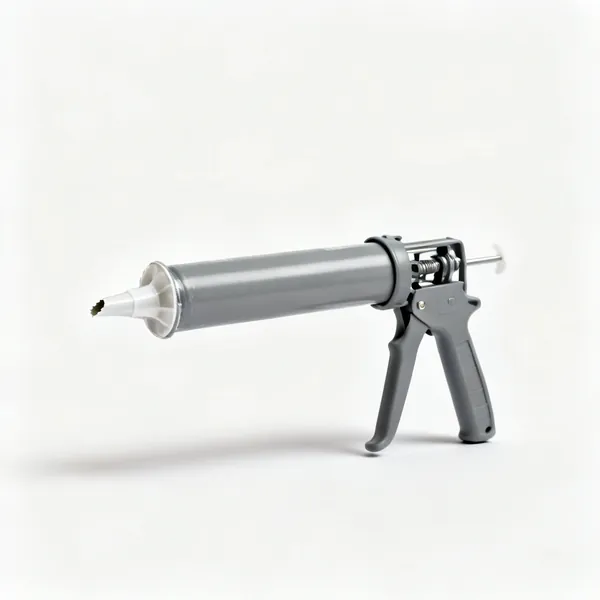
  • Lead sealant: A cartridge of grey lead flashing sealant with a cut nozzle

    Lead sealant

    A flexible alternative to mortar pointing that accommodates the movement lead makes. It stays sealed where a rigid mortar fillet eventually cracks along its top edge.

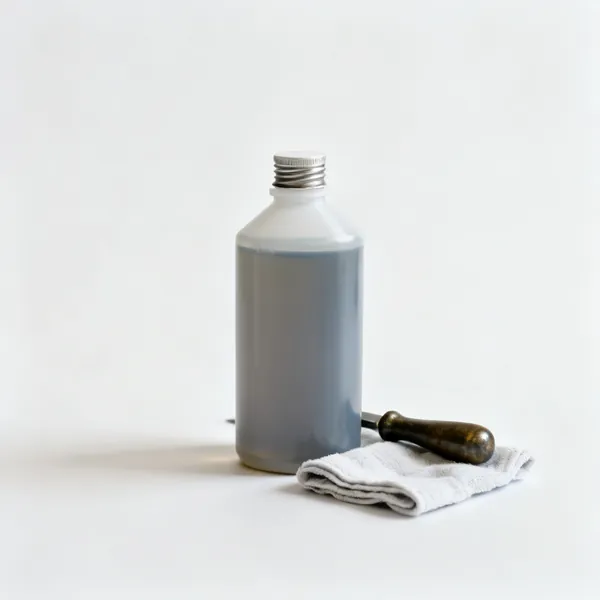
  • A plastic bottle of lead patination oil with a screw cap and a cloth beside itEssential

    Patination oil

    Wiped over new lead after fixing to prevent the white carbonate that would otherwise wash down and stain the brickwork. It does nothing for performance and everything for appearance.

Access, handling and hygiene 8

Lead is heavy, awkward and mildly toxic. All three are manageable and all three get overlooked.

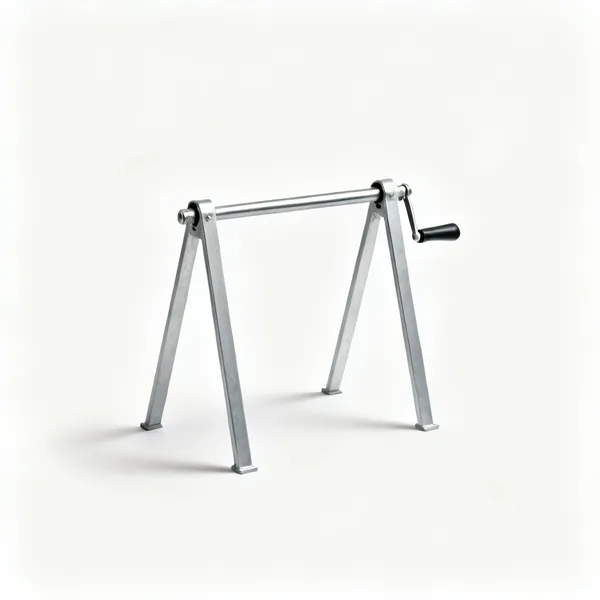
  • A simple metal lead roll stand with two upright supports and an axle bar

    Lead roll stand

    Holds a roll so a length can be pulled off and cut square on the ground. A roll unrolled on a roof slides, and lead is heavy enough that this matters.

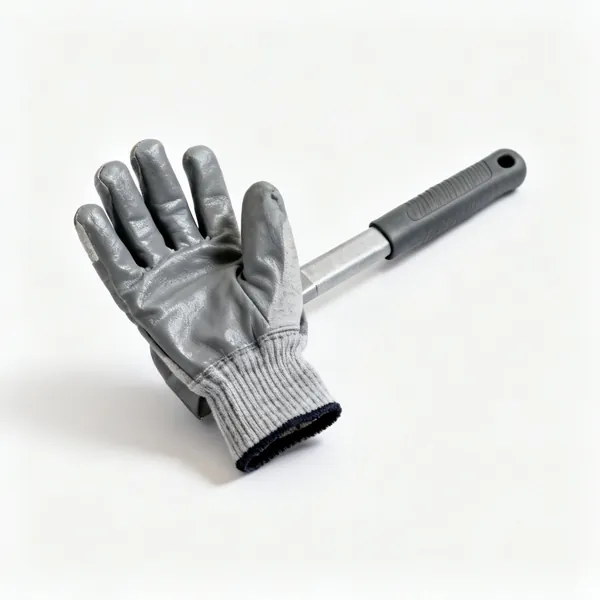
  • A pair of grey work gloves with coated palms and knitted cuffsEssential

    Work gloves

    Lead is soft and its cut edges are still sharp, and gloves are also the main hygiene barrier. Changed rather than merely worn, since a contaminated glove transfers lead onward.

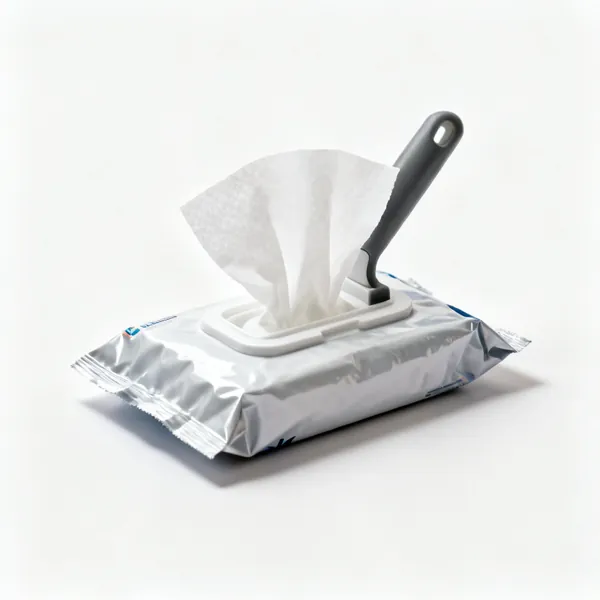
  • Hand wipes: A packet of industrial hand cleaning wipes with one wipe pulled outEssential

    Hand wipes

    Lead is absorbed by ingestion, so hands before mouth is the whole control. Marked essential because it is the single measure that matters on a domestic lead job.

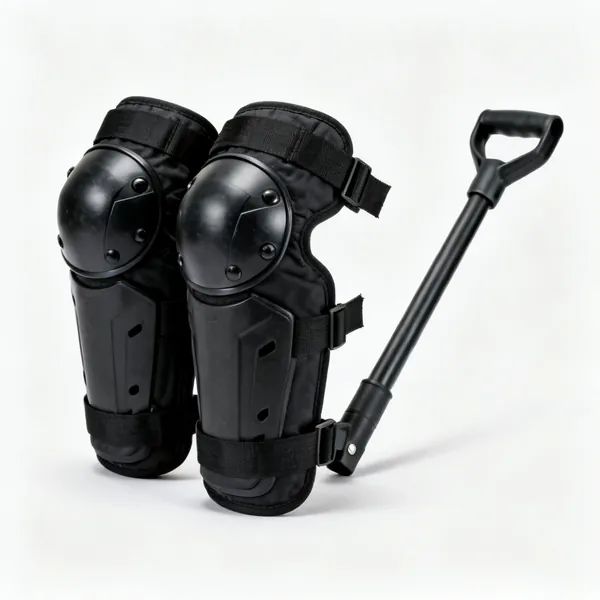
  • A pair of black work knee pads with elastic straps and hard capsEssential

    Knee pads

    Leadwork is done kneeling on tile and batten for long periods, because bossing takes time. Knee damage is cumulative, and this is the cheapest thing on the page.

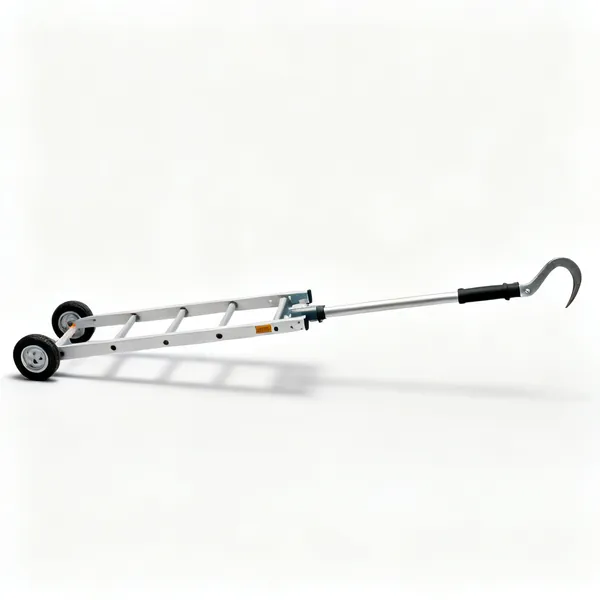
  • A roof ladder with wheels at one end and a ridge hook, resting flat

    Roof ladder

    Gives a secure working position on a slope and protects the tiles you would otherwise kneel on. Placed by two people, with the hook over the ridge.

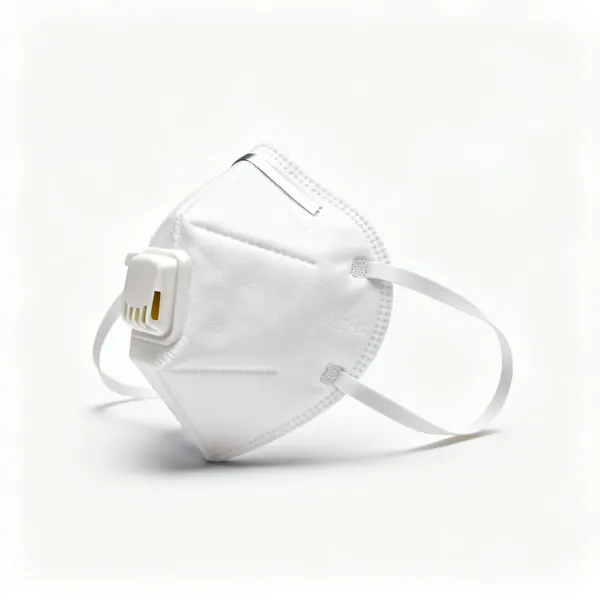
  • A white FFP3 respirator dust mask with two straps and a nose clipEssential

    Dust mask

    For cutting the chase, which produces silica dust from the mortar. Silica is the more immediate hazard here than the lead itself, and FFP3 is the grade for it.

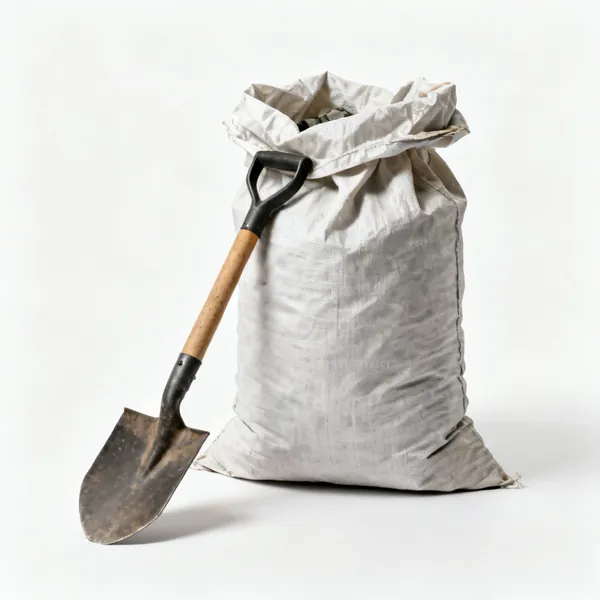
  • Offcut bag: A heavy duty rubble sack partly filled and folded at the topEssential

    Offcut bag

    Collects lead offcuts and swarf rather than leaving them on the ground. It is a hygiene measure, and lead is also worth enough that the offcuts are not waste.

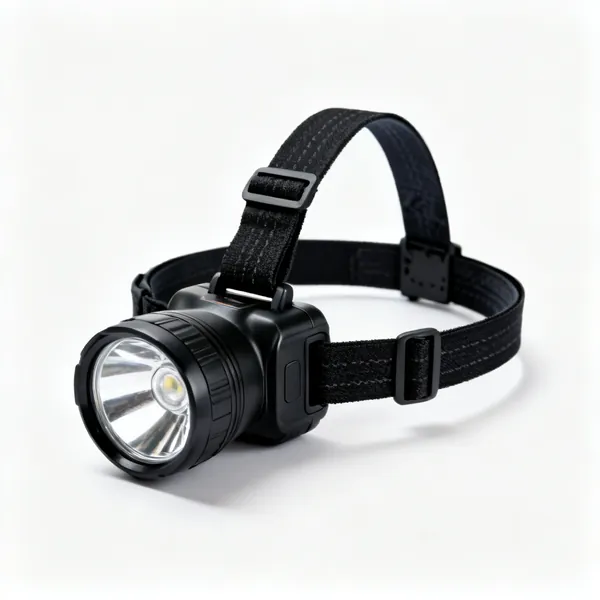
  • A black LED head torch with an adjustable elastic headband

    Head torch

    Flashing details are usually in a shadowed angle between a wall and a roof, and often at the end of the day. Both hands are also occupied with a mallet and a sheet.

Working sheet lead

Move the lead, do not stretch it. Every tool here is shaped to push metal along rather than thin it.

Bossing means moving lead, not stretching it

Lead is shaped by working the surplus material along and into a corner rather than by stretching the sheet over a shape. Stretching thins it, and a thinned lead flashing splits at that point within a few years.

So bossing is done with hardwood tools that push and gather rather than strike hard, working from the outside of the shape inward, in many light passes. If the lead is getting visibly thinner or shiny, you are stretching rather than bossing.

Gather the surplus
Work material along into the corner. The lead you need is already in the sheet.
Many light passes
Heavy blows thin the sheet locally. Light repeated work moves it without reducing it.
Wood, not steel
A steel hammer face tears and thins lead. Every forming tool here is hardwood or hide for that reason.
Shiny means thin
A bright stretched patch is a future split. Stop and reconsider the approach rather than continuing.

Lead codes and where each goes

Sheet lead is sold by code, which is its thickness. Code 3 is thin and suits soakers and small pieces. Code 4 is the general flashing code for most domestic work. Code 5 and above are for gutters, valleys and anything walked on or exposed to real weather.

Using too thin a code is the commonest cause of a flashing that fails early: it creeps under its own weight, ripples in the sun and eventually splits at the fold. Code 4 for a wall abutment flashing is the figure to remember.

Code 3
Thin. Soakers and small pieces only, and not for exposed flashings.
Code 4
The general domestic flashing code. Wall abutments, chimney flashings, apron flashings.
Code 5 and up
Valleys, gutters and anything walked on. Heavier, and the extra weight resists creep.
Limit the piece length
Around 1.5 metres maximum per piece on a flashing. Longer pieces creep and buckle with thermal movement.

Chases, wedges and pointing

A flashing is turned into a chase cut into the mortar joint, held with lead wedges, and pointed over. The chase wants to be about 25mm deep into a bed joint, and cutting into brick rather than mortar is both harder and worse.

Wedges go in every 300mm or so, folded from offcuts of the same lead. Then it is pointed with mortar or a proprietary sealant. Pointing without wedges is a flashing that pulls out of the wall, and it happens the first cold winter.

Cut the bed joint, not the brick
About 25mm deep into mortar. Cutting brick is harder, uglier and weakens the unit.
Wedge every 300mm
Folded lead offcuts. Pointing alone does not hold a flashing, and it pulls out in the first winter.
Point over the wedges
Mortar or lead sealant, filling the chase fully. A partly filled chase lets water track behind.
Patination oil last
Applied after fixing, it prevents the white carbonate staining that would otherwise run down the wall.

Lead moves, and it must be allowed to

Lead expands and contracts significantly with temperature, and the resulting creep is what tears a badly fixed flashing. That is why pieces are limited in length and lapped rather than joined, and why a flashing is fixed at the top edge only.

A long unbroken piece nailed along its length has nowhere to go, so it buckles and then splits. Overlapping shorter pieces by around 100mm lets each one move independently while staying watertight.

Short pieces, lapped
Around 1.5 metres maximum, lapped 100mm. Each piece moves independently.
Fix the top edge only
Into the chase. Fixing the bottom edge as well leaves nowhere for the movement to go.
Never solder a flashing joint
A rigid joint concentrates the movement. Laps and welts absorb it.
Allow for the substrate too
The roof and the wall move differently, which is exactly what a flashing exists to accommodate.

Handling lead safely

Lead is toxic and it is absorbed by ingestion rather than through the skin, which makes hand hygiene the main control. The risk on a domestic flashing job is small and it is real, and it is easy to manage.

Wash before eating, drinking or smoking, do not eat with lead dust on your hands, and keep offcuts and swarf collected rather than left on the ground. Cutting or burning lead produces fume and dust, and that needs proper ventilation and respiratory protection.

Hands before mouth
Ingestion is the route. Wash before eating, drinking or smoking, every time.
Do not burn or grind it
Both produce fume or fine dust. Lead welding needs proper extraction and training.
Collect the offcuts
Not left on the ground where children or animals reach them. Lead is also worth recycling.
Change gloves, not just wear them
A contaminated glove transfers lead to whatever you touch next, including your food.

Frequently asked questions

What tools do I need for lead flashing?
A bossing mallet, a dressing tool, a bending stick, a setting in stick, a lead knife or shears, a chase cutting tool or grinder, a bolster and hammer, lead wedges, and patination oil. That set will form and fit a domestic wall or chimney flashing properly.
What is bossing lead?
Shaping lead cold by working the surplus material along and into a corner rather than stretching the sheet over a form. It is done with hardwood tools in many light passes, because stretching thins the lead and a thinned flashing splits within a few years.
Why are leadworking tools made of wood?
Because a steel face tears and thins lead rather than moving it. Hardwood and hide tools push the metal along without cutting into it, and their shaped faces let you gather surplus material into a corner, which is what bossing actually is.
What code of lead should I use for flashing?
Code 4 for most domestic flashings, including wall abutments and chimneys. Code 3 only for soakers and small unexposed pieces. Code 5 and above for valleys, gutters and anything walked on. Too thin a code creeps and splits, which is the usual early failure.
How deep should a lead chase be cut?
About 25mm into a mortar bed joint, never into the brick itself. Cutting the brick is harder work, looks worse and weakens the unit. The flashing turns into the chase, is held by lead wedges every 300mm, and is then pointed over.
How long should each piece of flashing be?
About 1.5 metres maximum, lapped around 100mm over the next piece. Lead expands and contracts significantly, and a longer unbroken piece has nowhere to move so it buckles and then splits at the fold. Shorter lapped pieces each move independently.
What is patination oil for?
It is wiped on after fixing to prevent the white lead carbonate that otherwise forms in the first weeks and washes down the wall as a permanent stain. It does nothing for the lead's performance and it is what stops a new flashing marking the brickwork below it.
Is working with lead flashing dangerous?
The risk on a domestic job is small and worth managing. Lead is absorbed by ingestion, so hand washing before eating, drinking or smoking is the main control. Do not burn or grind it, since both produce fume or fine dust, and collect the offcuts rather than leaving them.