Disclosure

Tools for a standing seam metal roof

Seaming tools, folding tongs, clip setters and panel gear, all 30 grouped by the job. A standing seam roof has no fixings through its surface: concealed clips hold the panels and folded seams join them, which is why the tooling is specific.

21 are marked essential: a set that can form and close a seam by hand.

Part of the full roofing tools list, 83 tools in 8 groups.

Closing the seam 7

The defining group. Each stage worked the full length of the panel before the next begins.

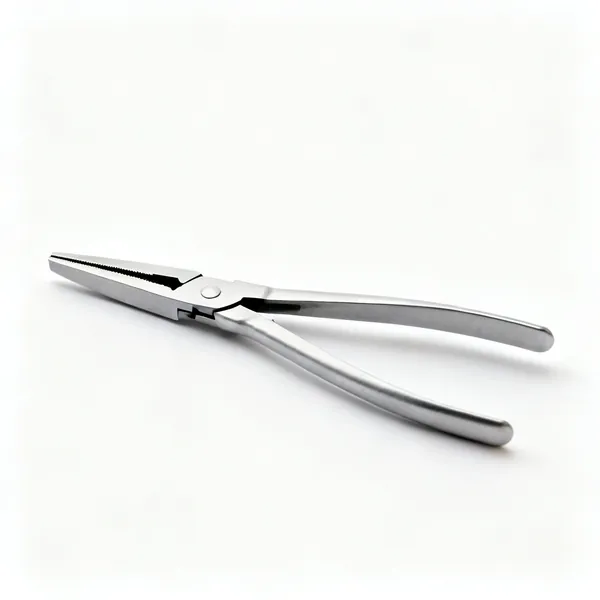
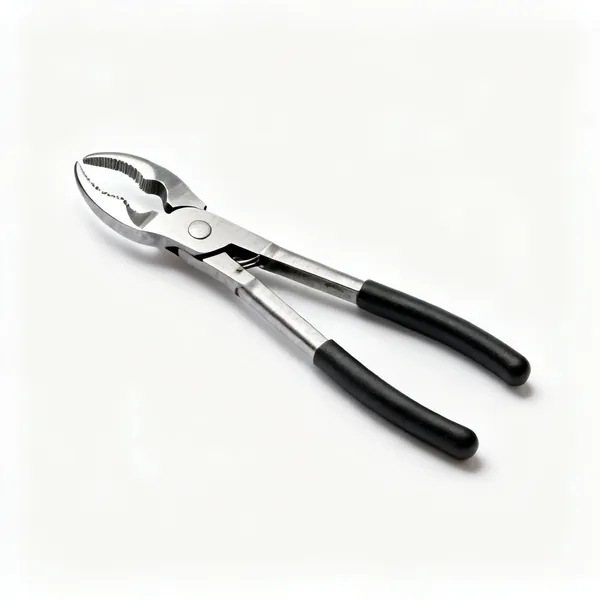
  • A hand seamer tool with wide flat parallel jaws and two long handlesEssential

    Hand seamer

    Wide flat jaws that grip the full width of a fold and close it in one movement. Gripping the whole width is what keeps the fold straight rather than a row of local kinks.

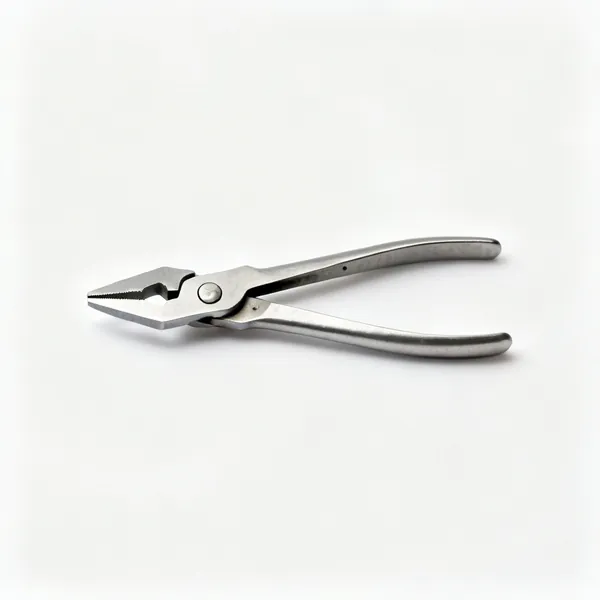
  • Single lock tongs: A pair of single lock seaming tongs with shaped flat steel jawsEssential

    Single lock tongs

    Jaws shaped to close the first fold of the seam to the correct profile. The jaw shape matches the system, so these are sized to the panel rather than general purpose.

  • Double lock tongs: A pair of double lock seaming tongs with deeper shaped flat steel jawsEssential

    Double lock tongs

    Close the second fold so the seam wraps twice. The double lock is what makes a low pitch roof weathertight, and it cannot be formed with single lock jaws.

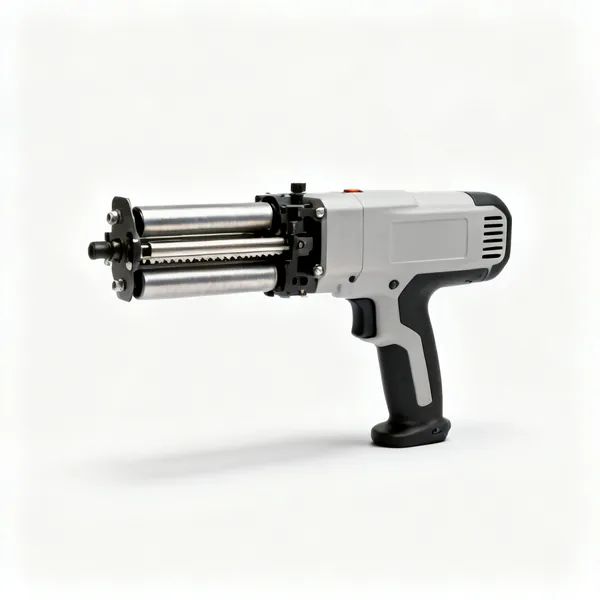
  • Electric seaming machine: An electric standing seam roof seaming machine with rollers and a handle

    Electric seaming machine

    Drives itself along a seam that has been started by hand, closing it consistently. It saves hours on long runs and it cannot begin a seam or reach the last few hundred millimetres.

  • A pair of narrow seam starter tongs with short offset steel jaws

    Seam starter tongs

    Narrow jaws for beginning a seam at the eaves and for the short section a machine cannot enter. Every machine run has two ends, and both are hand work.

  • A pair of seam opening tongs with hooked steel jaws

    Seam opening tongs

    Reopen a closed seam so a panel can be lifted, for a repair or a mistake. Prising a seam open with anything else deforms both upstands beyond reuse.

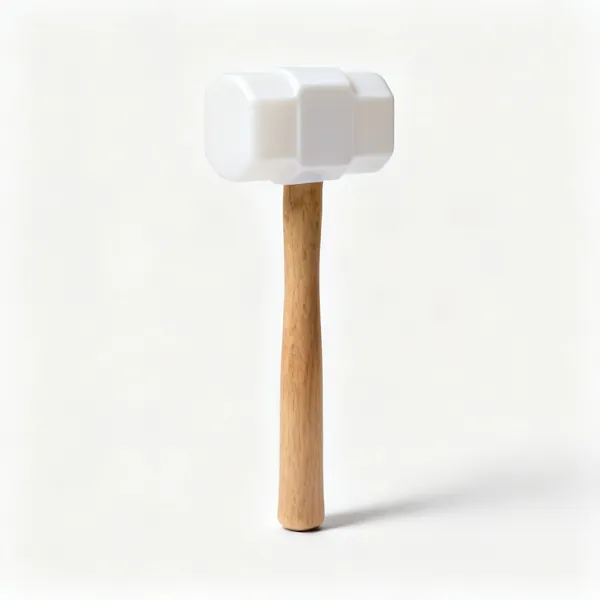
  • Nylon mallet: A nylon faced mallet with a white plastic head and a wooden handleEssential

    Nylon mallet

    Dresses a fold without marking the coating. A steel face prints every blow into a coated or soft metal panel, and those marks are permanent and visible.

Clips and fixing the deck 7

The panel is never fixed directly. Getting the clip type and spacing right is what lets the roof move.

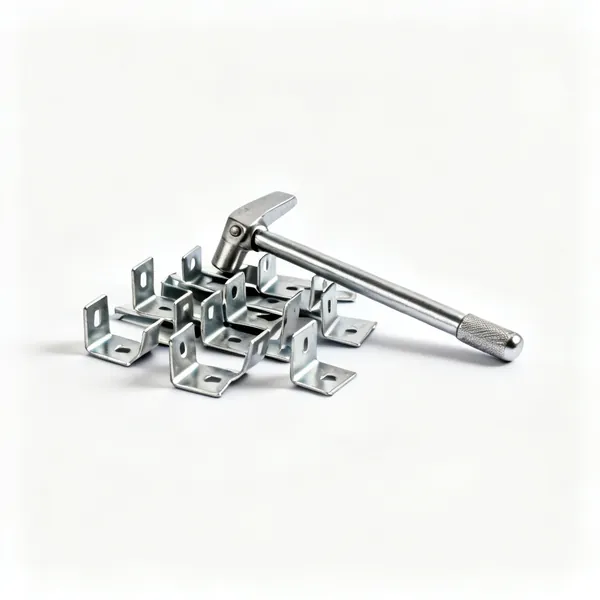
  • Sliding clips: A handful of stainless steel standing seam sliding roof clipsEssential

    Sliding clips

    Concealed clips with a movable tab, so the panel can expand along its length while still being held down. Substituting a fixed clip on a long run is what buckles a pan.

  • Fixed clips: A handful of stainless steel standing seam fixed roof clipsEssential

    Fixed clips

    Used at the single point where the panel is anchored, usually the ridge or the eaves depending on the system. Everywhere else the panel must be free to slide.

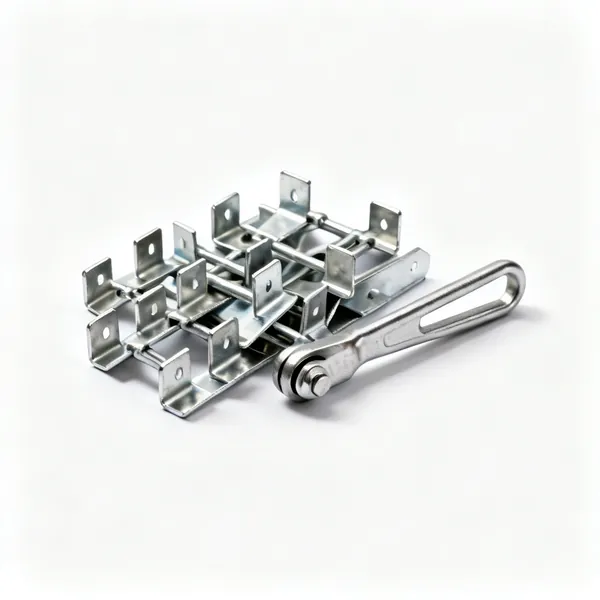
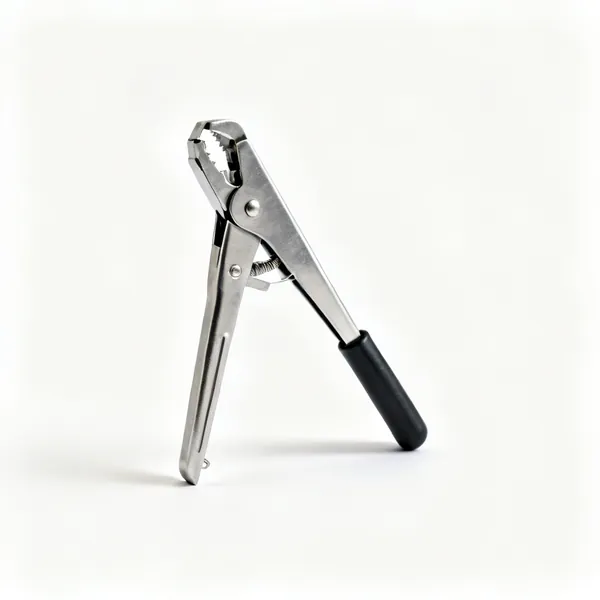
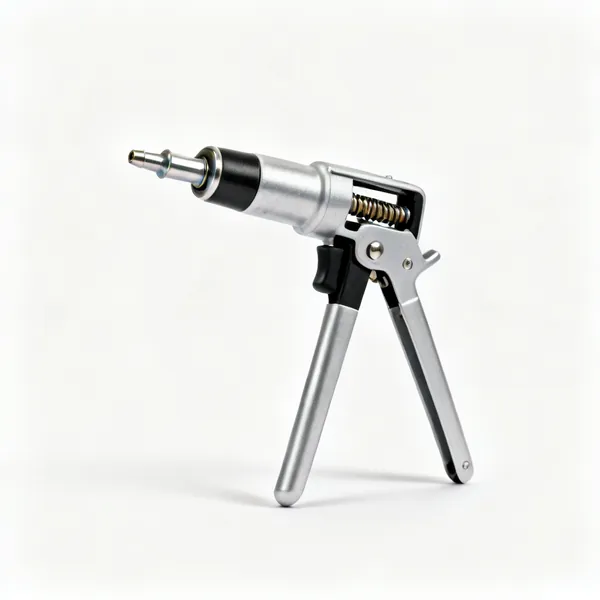
  • Clip setting tool: A metal standing seam clip setting positioning tool

    Clip setting tool

    Positions and holds a clip square to the chalk line while it is fixed. A clip set out of line twists the upstand and the seam then will not close cleanly above it.

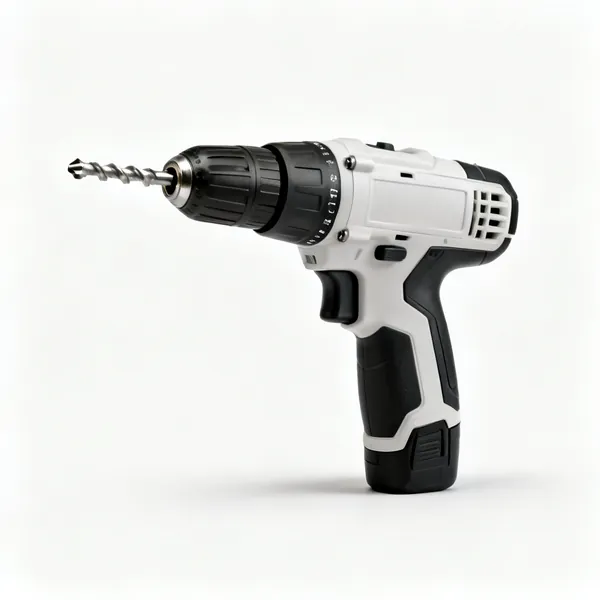
  • A cordless screw gun with a depth setting nose and a hex socket bitEssential

    Screw gun

    Drives clip fixings into the deck with a depth stop, so every clip sits flat. A proud clip fixing lifts the clip and puts a bump in the panel above it.

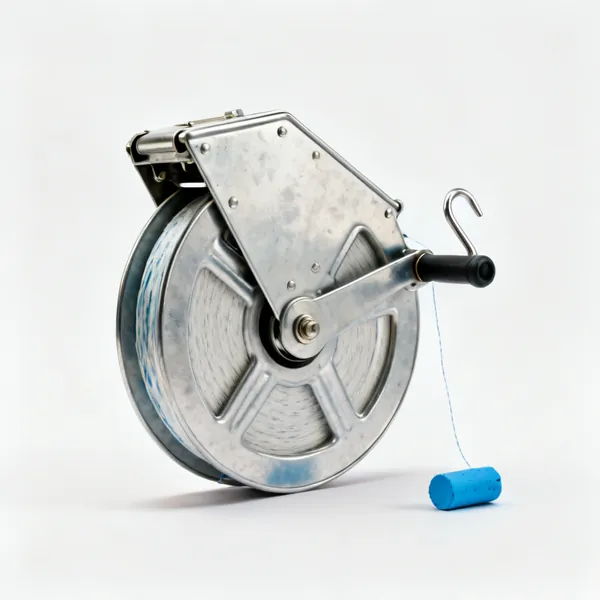
  • A chalk line reel with a metal case, hook and blue chalkEssential

    Chalk line

    Snaps the clip line down the slope so every clip lands on one straight line. Clips out of line are the cause of a seam that wanders visibly across a roof.

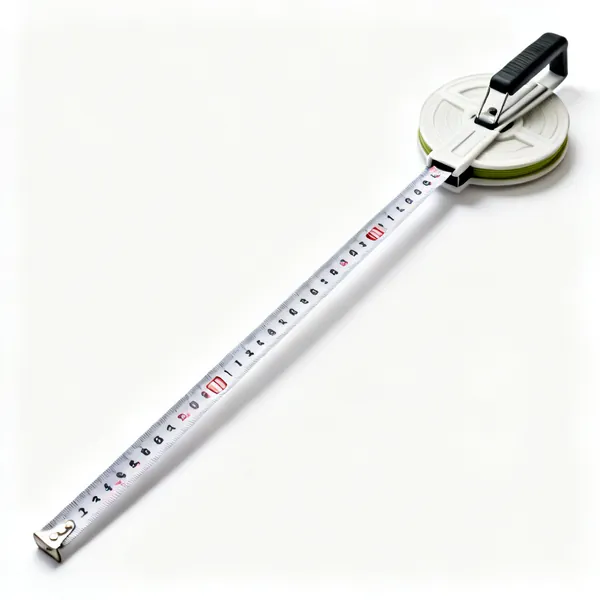
  • Long tape measure: A long open reel tape measure with a fibreglass blade and a folding handleEssential

    Long tape measure

    Sets panel widths and clip centres across the full roof. A cumulative error of a few millimetres per panel becomes a wedge shaped last panel at the far side.

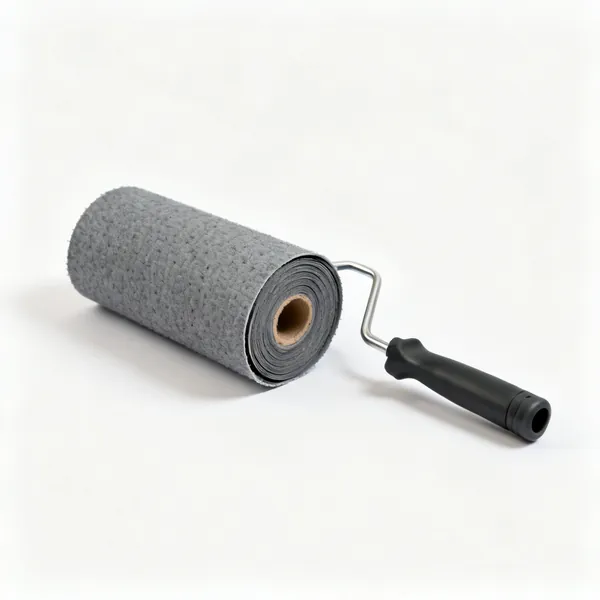
  • A roll of grey roofing separation membrane partly unrolledEssential

    Separation membrane

    Laid between the deck and the panel to stop abrasion and, on some metals, galvanic reaction with the deck fixings. It also carries any water that gets past a detail.

Forming panels and details 8

The pan ends, the flashings and the closures. Folded metal, not sealant.

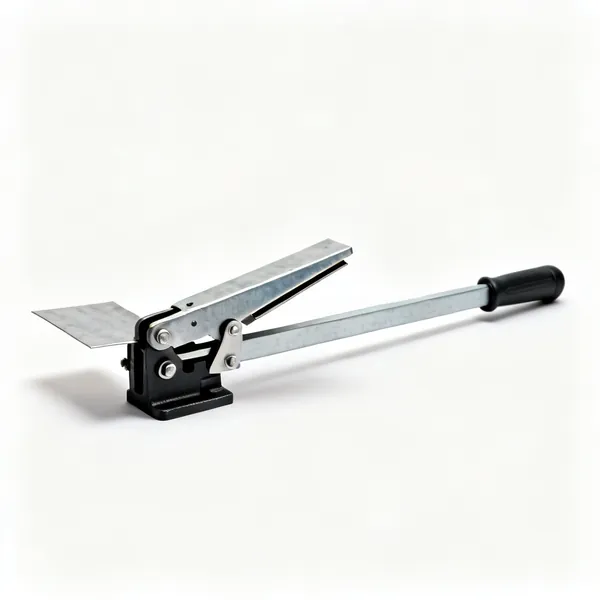
  • Portable bending brake: A portable sheet metal bending brake with a long clamping bar and hinged folding leaf

    Portable bending brake

    A clamping bar and hinged leaf that folds a long straight edge accurately on site. It produces a consistent fold along a whole flashing that hand tools cannot match.

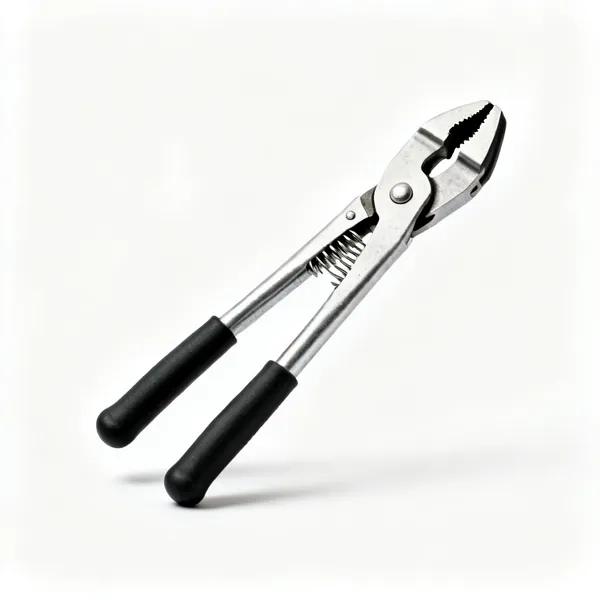
  • Pan end folder: A sheet metal pan end folding tool with shaped jaws and handlesEssential

    Pan end folder

    Forms the turn up at the ridge and the turn down at the eaves on a panel end. Those folds are what make the ends watertight without any sealant at all.

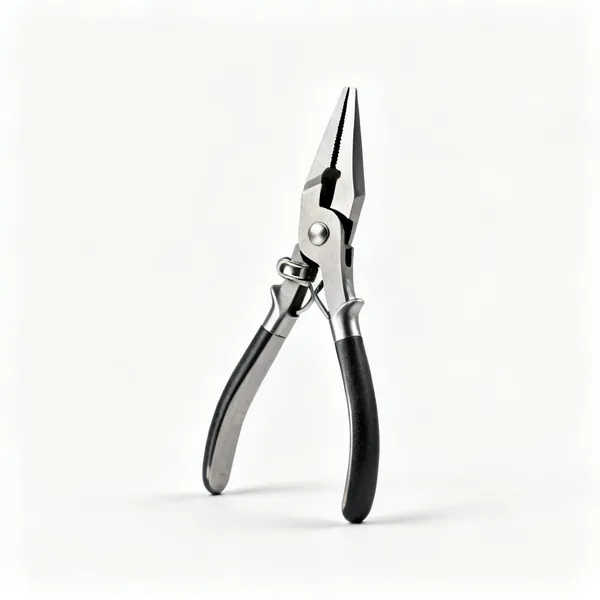
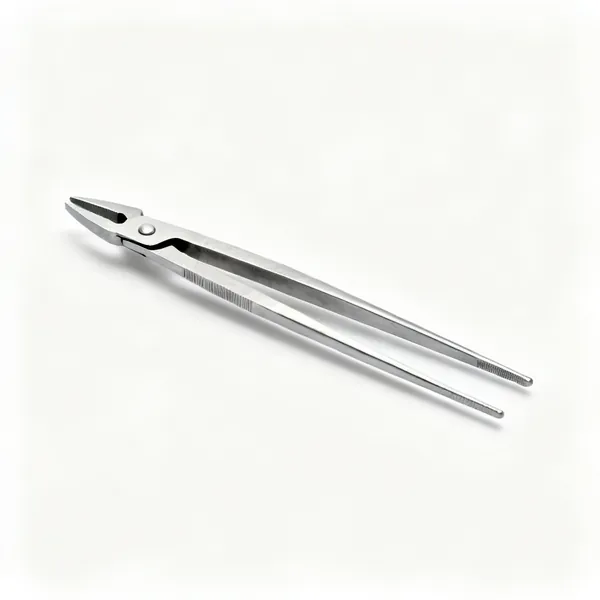
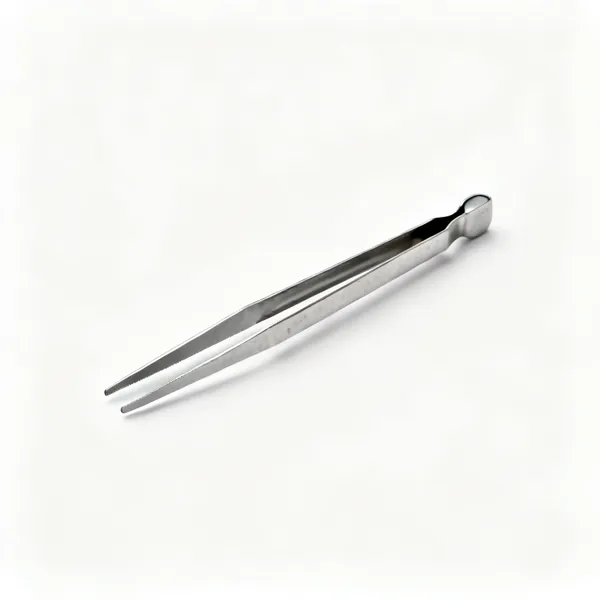
  • A pair of sheet metal folding tongs with narrow offset flat jawsEssential

    Folding tongs

    Narrow offset jaws for starting a fold in a confined detail, such as against an upstand or into a corner where a wide seamer will not enter.

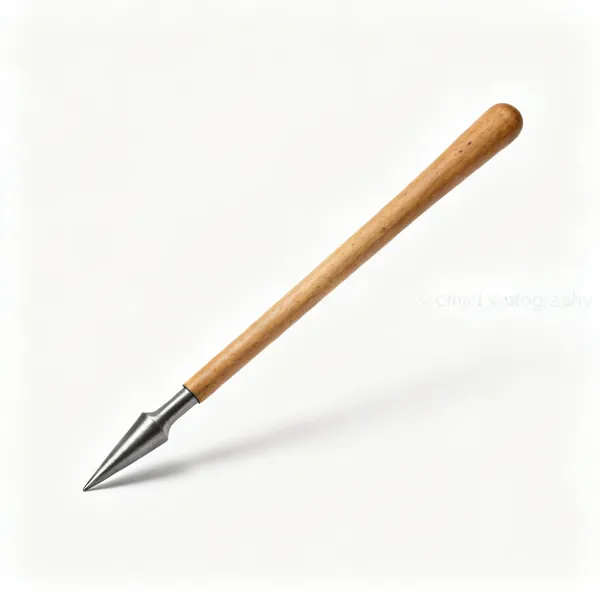
  • Hardwood dressing stick: A shaped hardwood sheet metal dressing stick with a tapered end

    Hardwood dressing stick

    Works a fold down with no metal touching the panel at all. Traditional, and still the least damaging way to dress a soft or coated surface.

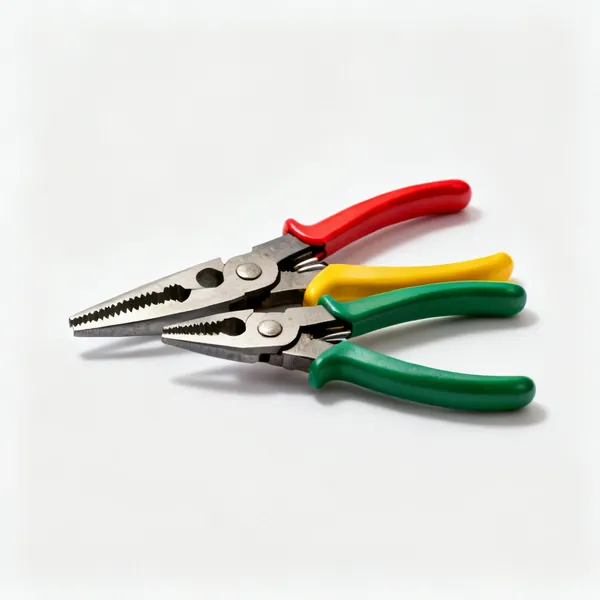
  • Aviation snips set: A set of three aviation tin snips with red yellow and green handles and serrated jawsEssential

    Aviation snips set

    Straight, left and right cut for notching pan ends and trimming flashings. The offset patterns send the sharp offcut away from your hand as it curls.

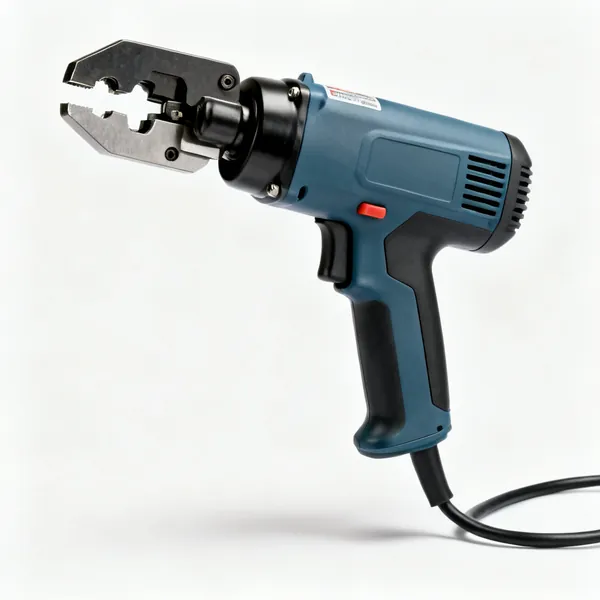
  • An electric sheet metal nibbler with a punch head, pistol grip and power cableEssential

    Nibbler

    Cuts cold and leaves the panel undistorted, which matters here because a standing seam pan is visible along its whole length. It also cuts curves and internal shapes.

  • A hand pop rivet gun with two long handles, a nosepiece and a rivet loaded

    Rivet gun

    Sets sealed rivets in flashings and closures where there is no access behind. Never in the pan itself, because that would put a penetration in the water plane.

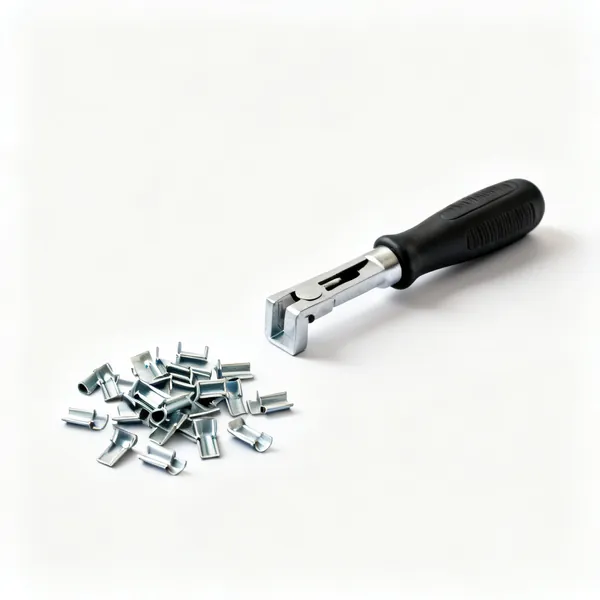
  • Seam end closures: A handful of small metal standing seam end closure pieces

    Seam end closures

    Fold over or fit at each end of a seam so wind cannot drive water into it. An open seam end at the eaves is a common omission and it lets water in from below.

Handling panels 8

Long, flexible, sharp and permanently markable. Panel damage is the main cost of a careless day here.

  • Panel carrying handles: A pair of sprung sheet metal carrying handle grips with rubber jawsEssential

    Panel carrying handles

    Sprung grips that clamp a panel edge so it is carried on edge without holding the cut edge. Both a handling aid and the main protection against a serious cut.

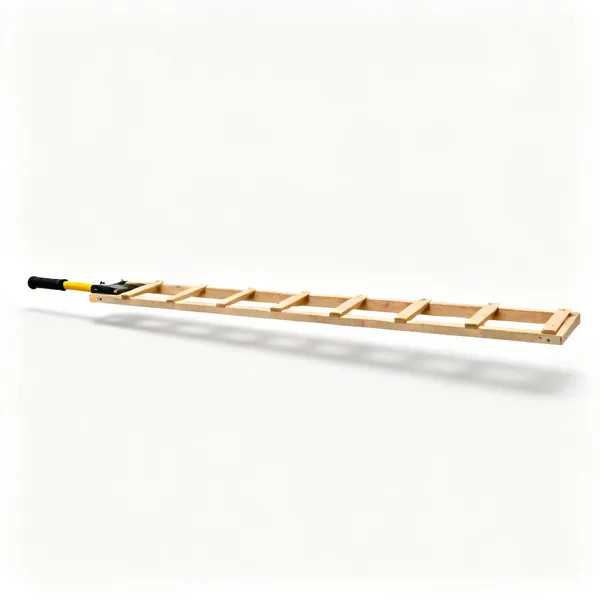
  • A long wooden roof walking board with battens across itEssential

    Walking board

    Spreads your weight across the pan so it does not deform under a foot. Never laid across a seam, because that concentrates the load exactly where it must not go.

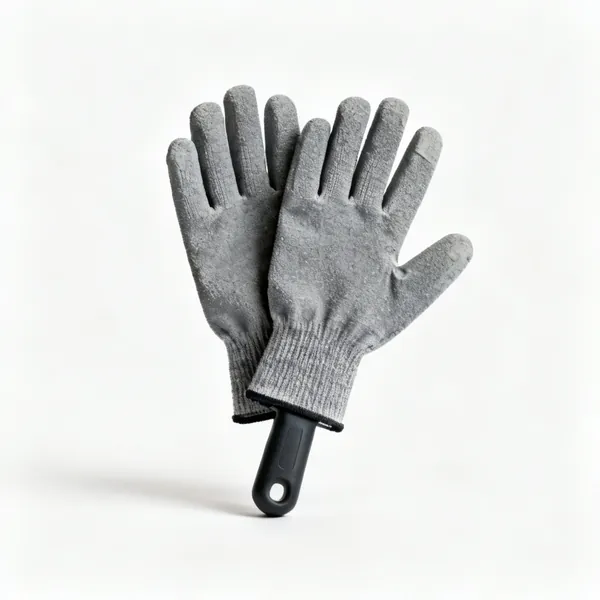
  • Cut resistant gloves: A pair of grey cut resistant work gloves with coated palmsEssential

    Cut resistant gloves

    A cut panel edge is extremely sharp and does not look it. Also keeps hand oils off prefinished metal, which on zinc and copper marks the surface visibly.

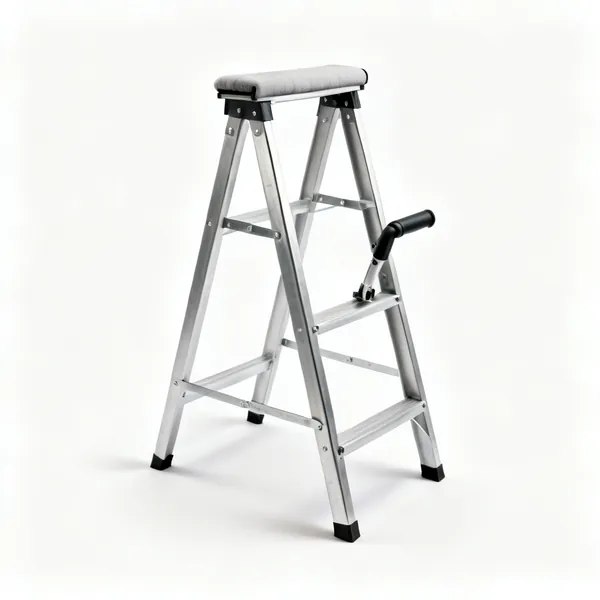
  • Padded trestles: A pair of metal trestles with padded top rails

    Padded trestles

    Support a panel off the ground for folding and cutting. One stone under a panel dents it, and the dent is visible from the ground for the life of the roof.

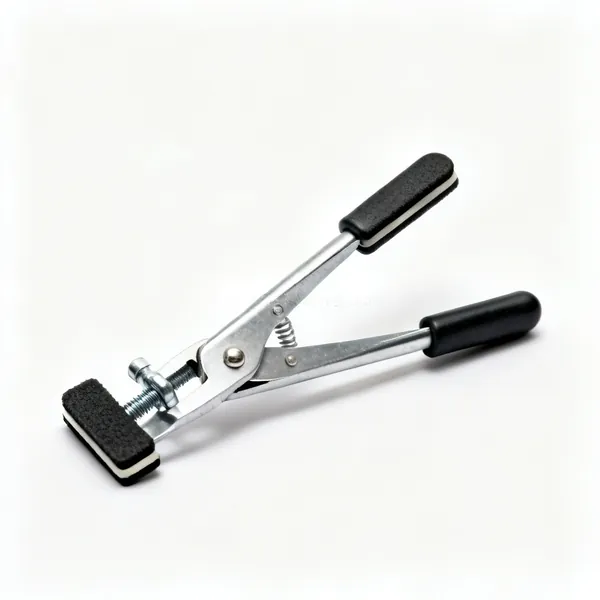
  • Panel clamps: A pair of small metal sheet holding clamps with rubber pads and screw handlesEssential

    Panel clamps

    Hold a panel to the deck while it is aligned and the first clips are engaged. Without them a panel slides on the slope or lifts in a gust while both hands are busy.

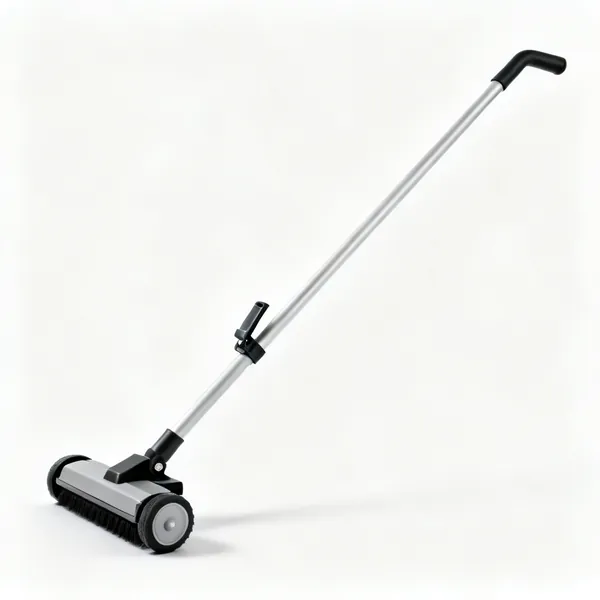
  • A magnetic sweeper on a long handle with wheels and a release leverEssential

    Magnetic sweeper

    Collects dropped fixings and swarf off the finished panels. A steel filing left on coated or zinc surface rusts in place and stains it permanently.

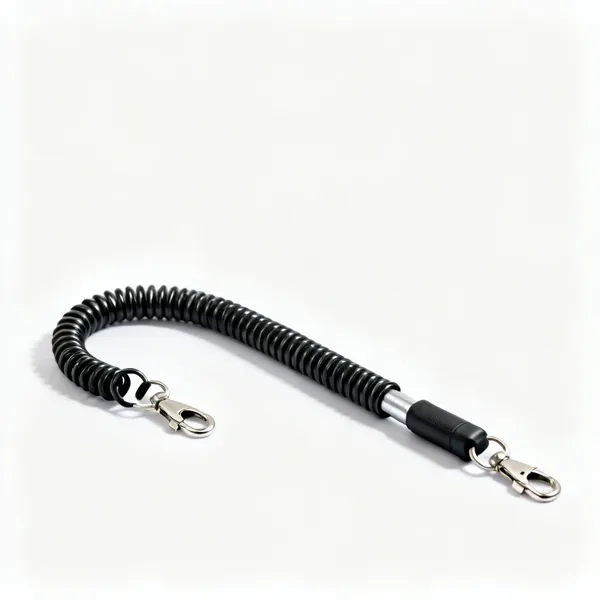
  • Tool lanyards: A coiled tool lanyard tether with a clip at each endEssential

    Tool lanyards

    A dropped tool on a metal roof slides the full length of the slope before it leaves, denting panels the whole way and then becoming a falling object.

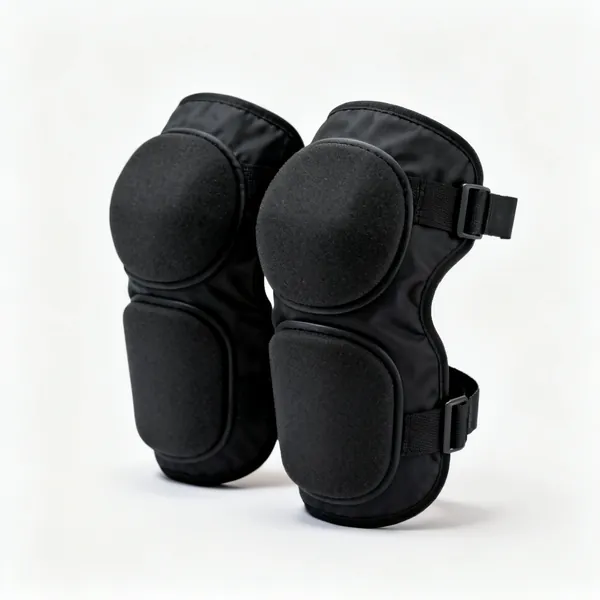
  • Soft knee pads: A pair of black work knee pads with soft foam pads and elastic strapsEssential

    Soft knee pads

    Protect your knees and the panel, since a hard cap on a soft pan leaves a mark. Kneeling on a walk board rather than the panel is better still.

How a standing seam roof goes together

Clips hold, folds join, and the panel slides. Understanding those three is most of the system.

Clips hold, folds join

Each panel has an upstand at both edges. A concealed clip is fixed to the deck and engages the upstand of one panel; the next panel's upstand hooks over it, and the two are then folded together into a raised seam that stands above the water line.

Nothing is screwed through the panel face, so there is no penetration to seal and none to fail. That single property is why standing seam is used on low pitches and long runs where a screwed sheet would leak eventually.

No face fixings
Nothing penetrates the water plane. That is the whole reason to use the system.
Clips carry the panel
Fixed to the deck, engaged by the upstand. The panel is never fixed directly.
The seam stands above the water
A raised fold, so water in the pan never reaches the joint even at low pitch.
Single or double lock
One fold for lower exposure, two for higher. Double lock is the weatherproof one.

Closing a seam in stages

A seam is never closed at one point and then along its length. Each stage is worked the whole way down the panel before the next begins: hook the upstands, close to a single fold along the full run, then return and close the double.

Working point by point pulls the panel out of line, because closing a fold shortens the upstand slightly and that has to be taken up evenly. A panel closed unevenly ends up bowed and the next panel then will not sit.

Whole length per stage
Single fold all the way, then double all the way. Never finish one point completely.
Start at the eaves
Work up the slope so any accumulated length runs out at the ridge where it is detailed.
Check the panel line
Every few metres against a chalk line. A seam pulls the panel, and small errors compound.
Hand tools before a machine
A seaming machine follows a seam already started by hand. It cannot begin one.

The panel must be able to slide

A long metal panel expands and contracts noticeably between a cold night and a sunny afternoon. On a 10 metre run that movement is several millimetres, and if the panel is fixed at both ends it has nowhere to go, so it buckles between the seams.

Sliding clips exist for exactly this. The panel is fixed positively at one point, usually the ridge or the eaves depending on the system, and slides at every clip along its length. Substituting a fixed clip for a sliding one is a common and expensive mistake.

Fixed at one point only
Ridge or eaves, depending on the system. Everywhere else the panel slides.
Sliding clips on long runs
They have a movable tab. Fitting a fixed clip instead is what buckles a panel.
Millimetres matter
Several on a 10 metre run. Enough to buckle a pan visibly and permanently.
Detail the ends for movement
The eaves and ridge details must allow the panel to grow into them, not restrain it.

Ends, ridges and penetrations

The seam itself is straightforward compared with what happens at each end of it. At the eaves the pan is turned down and hooked over a drip; at the ridge it is turned up so water cannot run back. Both are folded, not sealed.

Penetrations are the awkward part, because the system's whole virtue is not having any. Anything through the roof needs a curb formed and flashed with folded metal, which is skilled work, and it is the detail that fails when it is done with sealant instead.

Turn the pan, do not seal it
Down at the eaves over a drip, up at the ridge. Folded metal, not mastic.
Close the seam ends
The seam is folded over or fitted with a closure at each end, or wind drives water into it.
Curb every penetration
A raised curb flashed with folded metal. Sealant around a pipe through a pan will fail.
Sealant is a backup, not a joint
Every detail here should work with the sealant removed. If it does not, it is the wrong detail.

Protecting the finish

Standing seam panels are usually coated steel, aluminium, zinc or copper, and all of them show damage permanently. A steel hammer face, a dropped tool, a stone under a panel or a footprint on an unsupported pan all leave a mark that stays for the roof's life.

So the forming tools are nylon and hardwood faced, the panels are set down on battens rather than on the ground, and the film on prefinished panels is left on until as late as possible in the work.

Nylon and wood faces only
A steel hammer prints every blow into a coated or soft metal panel.
Leave the protective film on
Peeled as late as possible, and always before it bakes on in the sun.
Set panels on battens
One stone under a panel dents it, and the dent is visible from the ground forever.
Walk in the pan, on a board
Never on a seam, and never on an unsupported pan. Both deform permanently.

Frequently asked questions

What tools do I need for a standing seam roof?
Hand seamers and folding tongs to close the seam, a clip setter or driver for the concealed clips, a portable bending brake or panel folder for the pan ends, snips and a nibbler for cutting, a chalk line, and a nylon mallet. A seaming machine speeds up long runs.
How does a standing seam roof stay watertight without fixings?
The panels are held by concealed clips fixed to the deck, and joined by folding their upstands together into a seam that stands above the level water reaches in the pan. Because nothing penetrates the surface, there is no fixing hole to seal or to fail.
What is the difference between single and double lock seams?
A single lock is one fold closing the two upstands together, suitable for steeper pitches and lower exposure. A double lock folds again so the seam wraps twice, which is far more weathertight and is the standard for low pitches and exposed positions.
Do I need a seaming machine?
Not to make a seam, but it saves a great deal of time on long runs. A machine follows a seam that has already been started by hand, so hand seamers are still needed for the start, the ends and any detail the machine cannot reach.
What are sliding clips for?
They let the panel expand and contract along its length while still holding it down. A long metal panel moves several millimetres between a cold night and a hot afternoon, and a panel held by fixed clips at both ends has nowhere to go, so it buckles between the seams.
Can I walk on a standing seam roof?
In the pan and preferably on a board, never on a seam. An unsupported pan deforms permanently under a foot, and standing on a seam distorts the fold and can open it. Where regular access is needed the roof should have walkway provision designed in.
How are penetrations handled on a standing seam roof?
With a raised curb formed and flashed in folded metal, so the detail sheds water by shape rather than by sealant. Anything relying on mastic around a pipe through a pan will fail, because the panel moves and the sealant does not.
Why are the forming tools not steel faced?
Because a steel face prints permanently into coated steel, zinc, copper and aluminium, and those marks are visible from the ground for the life of the roof. Nylon, hide and hardwood move the metal without marking the finish.