Disclosure

Tools for changing and tightening taps

The job rather than the parts, all 28 tools grouped in the order it runs: isolate and drain, free the old tap, fit the new one, then seal and test. Four times in five it is a twenty minute job; the fifth is a seized backnut.

17 are marked essential: the job cannot reasonably be finished without them.

Part of the full plumbing tools list, 56 tools in 9 groups.

Isolating and draining 6

The step that decides whether this is a plumbing job or a flood. Drain the head of water, not just the supply.

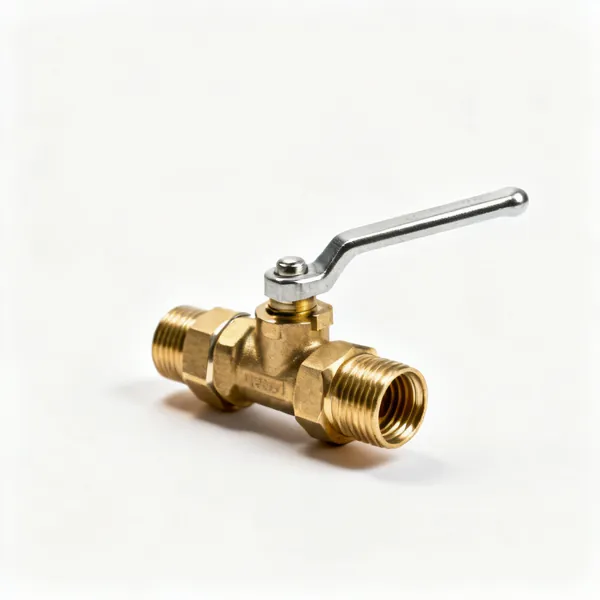
  • A pair of brass slotted screwdriver operated isolating valves with compression endsEssential

    Isolating valves

    Screwdriver operated valves on each tail so the tap can be shut off alone. Fitting a pair while you are there is the single most useful thing you can do for the next repair.

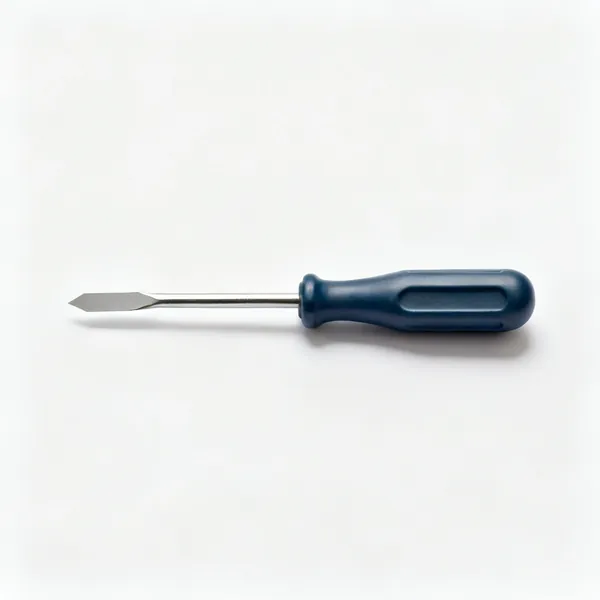
  • Flat screwdriver: A flat blade screwdriver with a moulded plastic handleEssential

    Flat screwdriver

    Turns a service valve and prises off handle caps. A wide blade that fills the slot is what stops a stiff valve chewing its slot into a circle you can no longer turn.

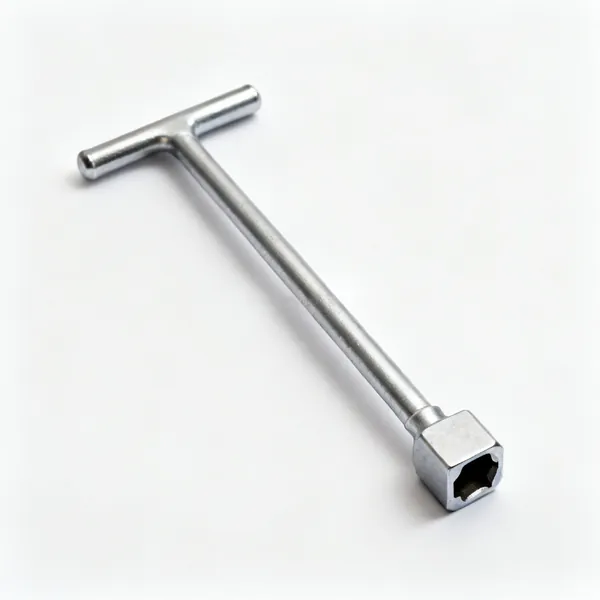
  • A long steel stopcock key with a T handle and a square socket end

    Stopcock key

    A long T handled key for an external stopcock under a pavement cover. Needed where a property has no accessible internal stopcock, which is common in older terraces.

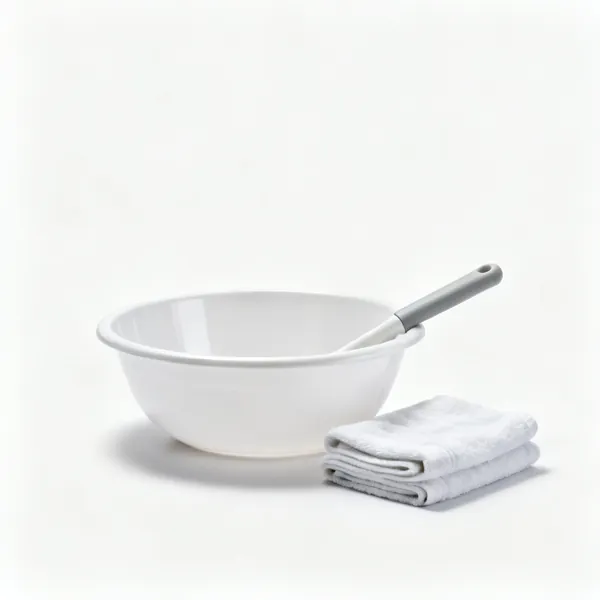
  • Bowl and towels: A shallow plastic bowl with folded towels beside itEssential

    Bowl and towels

    Whatever you undo is full of water and it arrives immediately. Marked essential because a first floor pipe run holds a surprising amount above the tap you are working on.

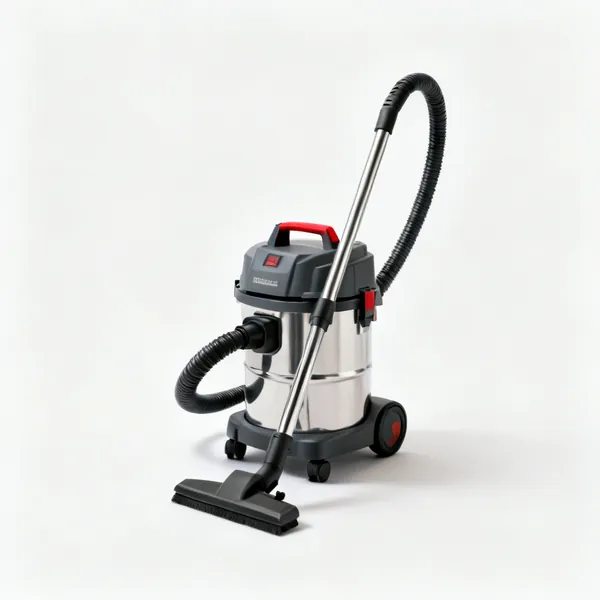
  • Wet and dry vacuum: A small wet and dry workshop vacuum cleaner with a hose

    Wet and dry vacuum

    Clears water from a cupboard base and empties a trap before you open it. On a job where the isolator turns out to be seized, this is what stops the situation escalating.

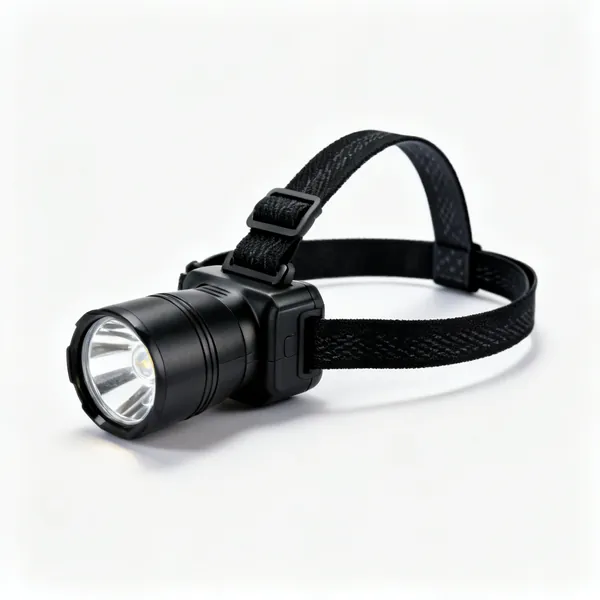
  • A black LED head torch with an adjustable elastic headbandEssential

    Head torch

    Light where you are looking with both hands free. Every part of this job happens in an unlit cupboard with your head at floor level and both hands occupied.

Freeing the old tap 8

The group that decides how long the job takes. Oil and patience first, cutting last.

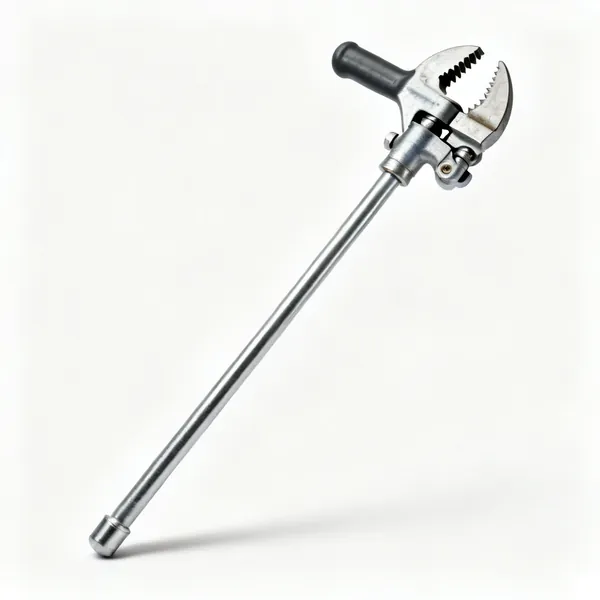
  • A basin wrench with a long steel shaft, T handle and swivelling toothed jawEssential

    Basin wrench

    A long shaft with a swivelling toothed jaw that grips a backnut behind a basin and works entirely by feel. There is no other tool that reaches that nut, which is why it is first on every list.

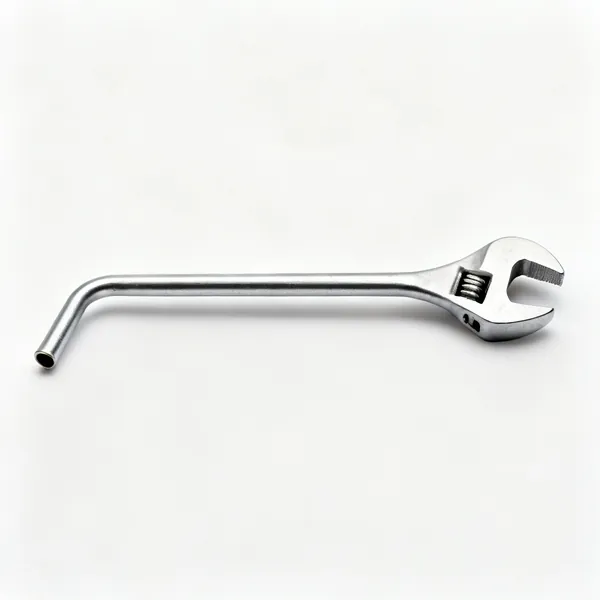
  • Tap backnut spanner: A cranked tap backnut box spanner, a thin steel tube bent at one endEssential

    Tap backnut spanner

    A thin cranked box sized to standard backnuts, sliding up the tail from below. Where it fits it is faster and less likely to slip than a basin wrench, and it does not always fit.

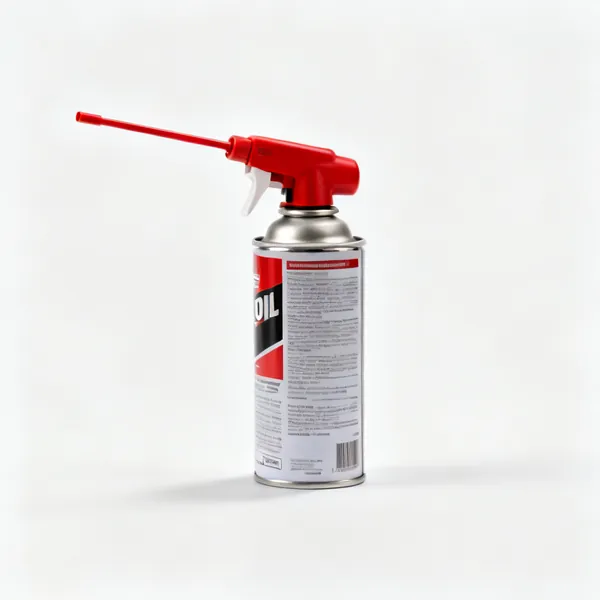
  • A spray can of penetrating oil with a red extension nozzleEssential

    Penetrating oil

    A thin capillary oil that creeps into a corroded thread and breaks the bond. Time is the active ingredient, so applying it the night before is worth more than any extra leverage.

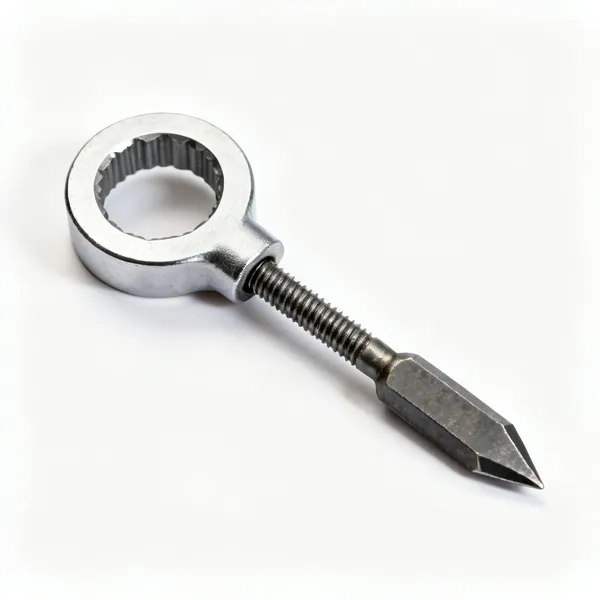
  • A nut splitter tool with a steel ring collar and a hardened chisel driven by a screw

    Nut splitter

    A ring with a hardened chisel wound in until the nut cracks apart. It destroys the nut and saves the tail, and on a tap being replaced the nut is expendable anyway.

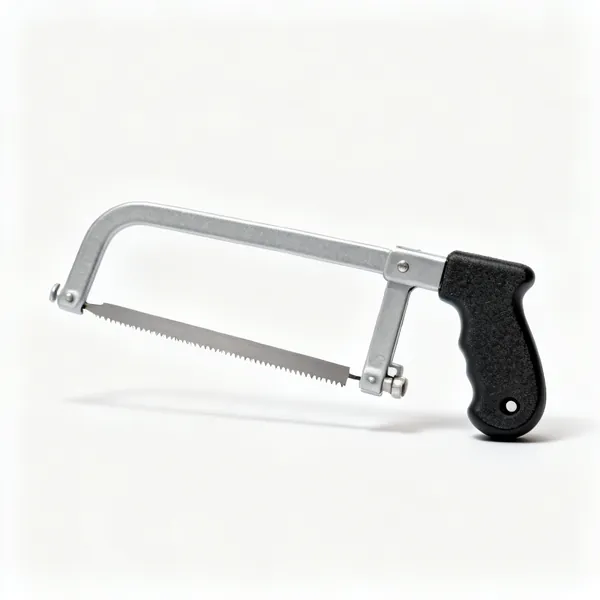
  • A mini hacksaw pad handle holding a single bare blade

    Mini hacksaw

    A pad handle holding a bare blade, for sawing through a backnut or a corroded tail in almost no clearance. Slow, awkward, and often the only thing that will end the argument.

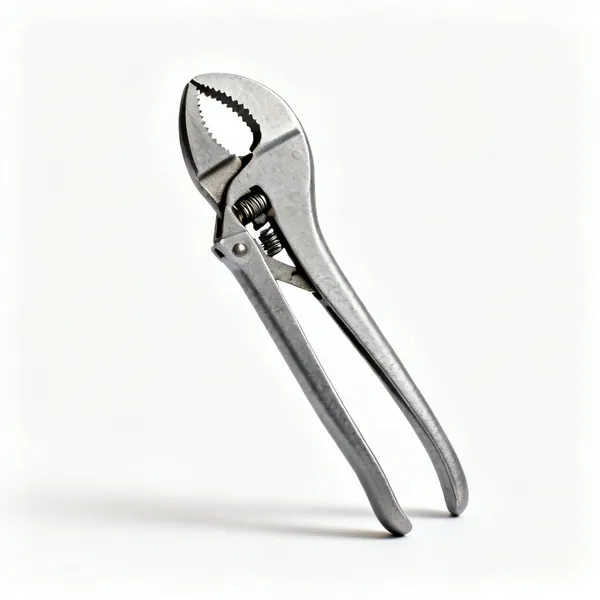
  • Locking pliers: A pair of locking grip pliers with a curved serrated jaw and adjusting screw

    Locking pliers

    Clamp onto a rounded nut or a sheared tail and stay there, so both hands can apply leverage. When a nut has been rounded off, this grips what a spanner no longer can.

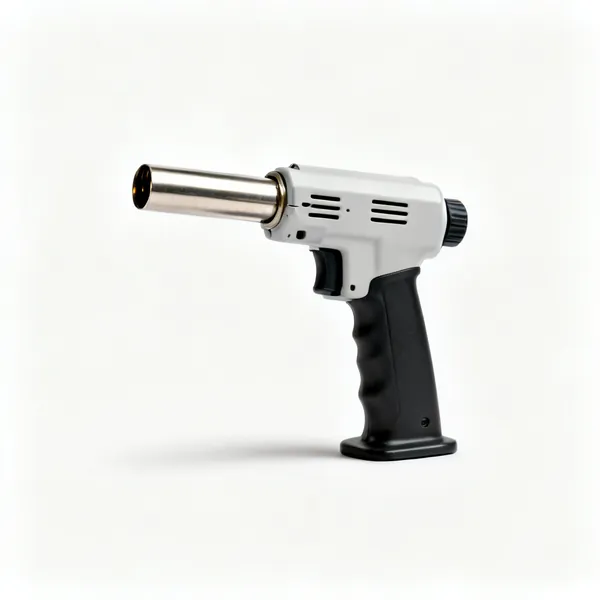
  • Small blowtorch: A small handheld blowtorch with a compact gas canister and burner head

    Small blowtorch

    Warms a seized brass nut so it expands off the thread. Kept well away from plastic waste, flexible tails and the basin itself, all of which are less tolerant of heat than the nut.

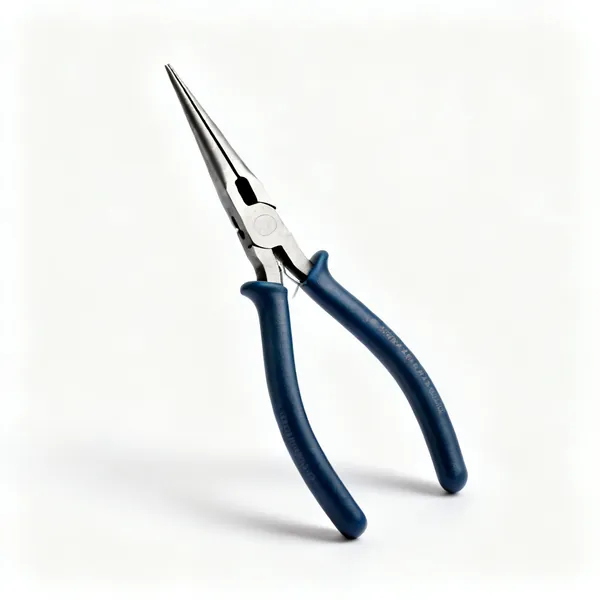
  • A pair of long nose pliers with slim tapering jaws and insulated handlesEssential

    Long nose pliers

    Retrieves a dropped washer or nut from the cupboard floor and holds a small part in place. Everything you drop on this job goes somewhere your hand will not fit.
Fitting the new tap 7

Assemble on the bench, then drop the whole thing through the hole. Doing it blind from underneath is the slow way.

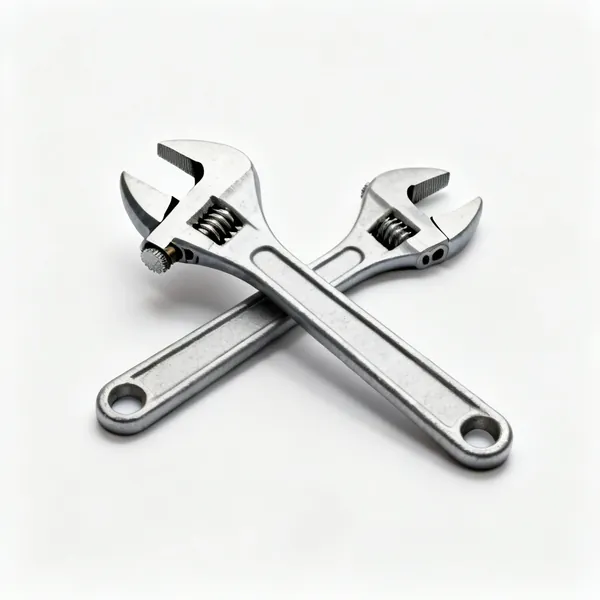
  • Two adjustable spanners of different sizes with knurled adjusting screwsEssential

    Adjustable spanners

    A pair, one holding the fitting and one turning the nut on each tail connection. A single spanner twists the tail and loosens the joint above it, which then weeps later.

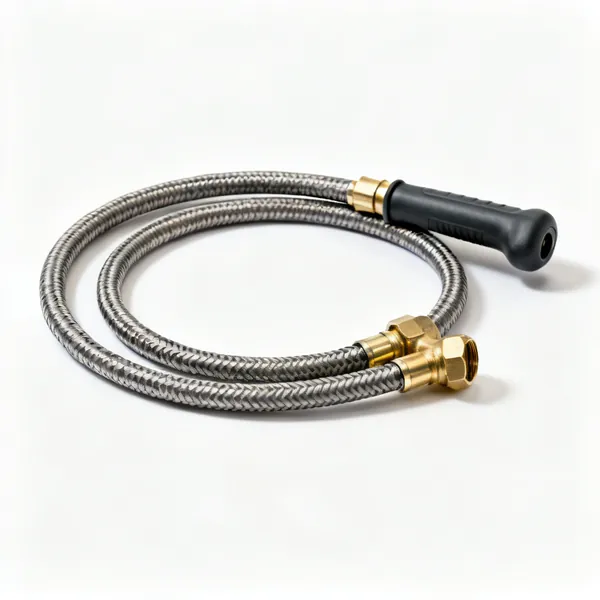
  • Flexible tap connectors: A pair of braided flexible tap connector hoses with brass nutsEssential

    Flexible tap connectors

    New braided hoses, because they are the part most likely to fail and they fail by bursting. Check the pressure rating, since not all are suitable for full mains pressure on an unvented system.

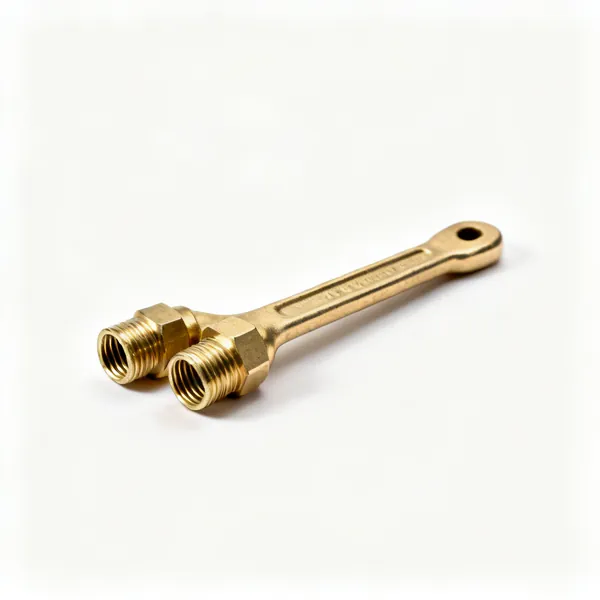
  • Tail extensions: A pair of brass tap tail extension pieces with male and female threads

    Tail extensions

    Short threaded pieces that lengthen a monobloc tail through a thick worktop. Modern taps are made for thin basins and often catch only two threads through granite or laminate.

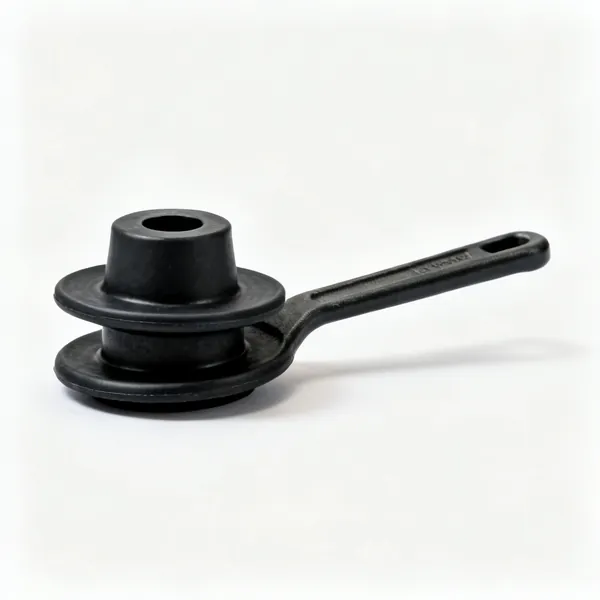
  • Top hat washers: A pair of black rubber top hat stepped plumbing washersEssential

    Top hat washers

    Stepped spacers that let a backnut bear properly on a thick or shaped basin. A tap that keeps coming loose is usually missing one of these rather than needing more force.

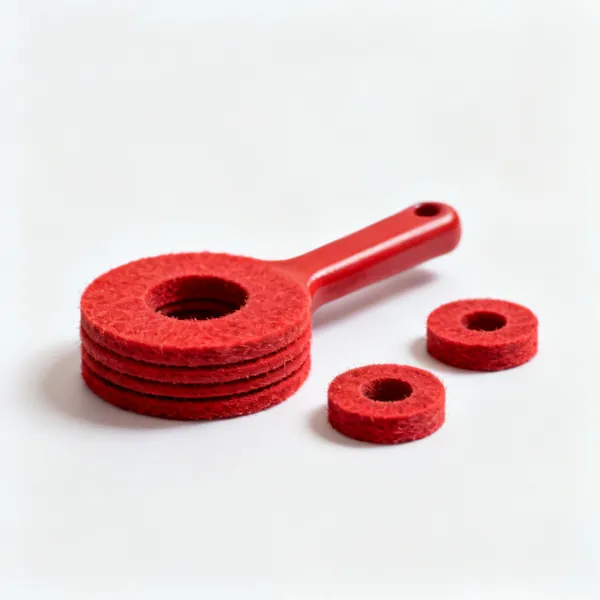
  • Fibre tail washers: A set of flat red fibre plumbing tail washers of different sizesEssential

    Fibre tail washers

    Flat washers sealing the tail against the connector. Always new: an old compressed one is a slow weep that shows up as a damp cupboard floor a week after you have finished.

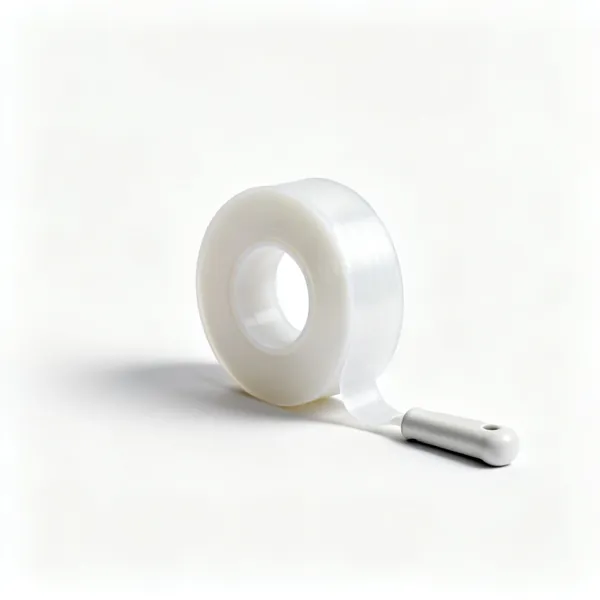
  • PTFE tape: A roll of white PTFE plumbers thread seal tape partly unwoundEssential

    PTFE tape

    Wrapped clockwise onto a male thread so it tightens rather than unwinds as the nut goes on. It seals a sound thread, and no amount of it rescues a cross threaded one.

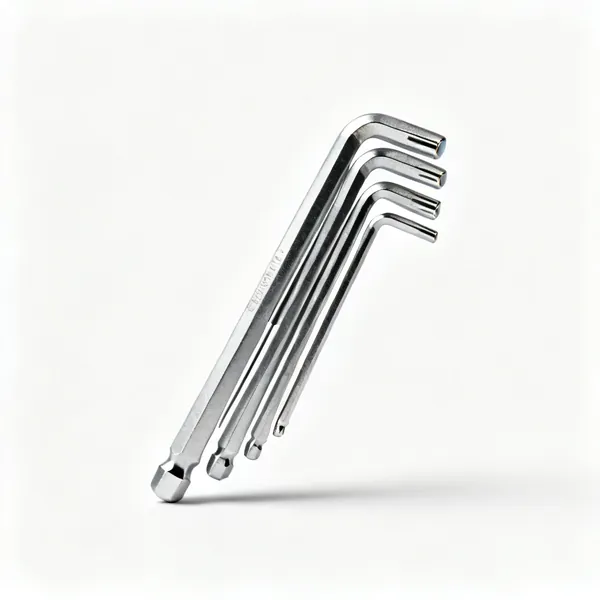
  • Small hex keys: A set of small hex allen keys of graduated sizes fanned outEssential

    Small hex keys

    Monobloc mixers are usually held by a small hex screw under a cap on the lever, often 2.5mm or 3mm. Without one the new tap cannot be assembled or the old one dismantled.

Sealing and testing 7

The last twenty minutes, and where a callback is decided. Test with paper, not with a torch.

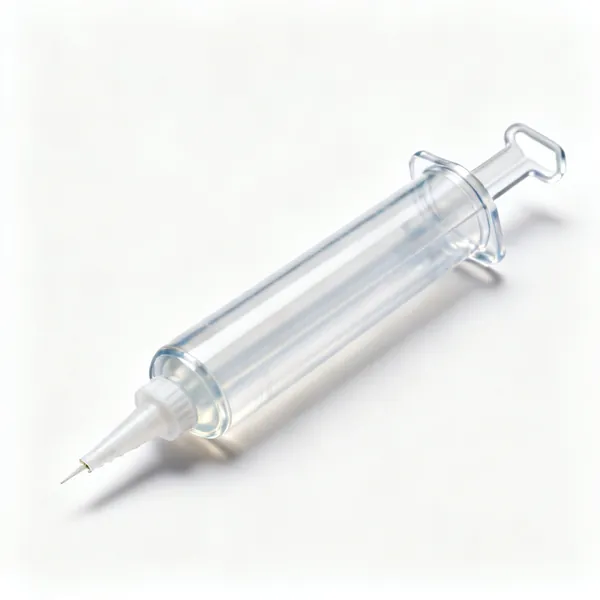
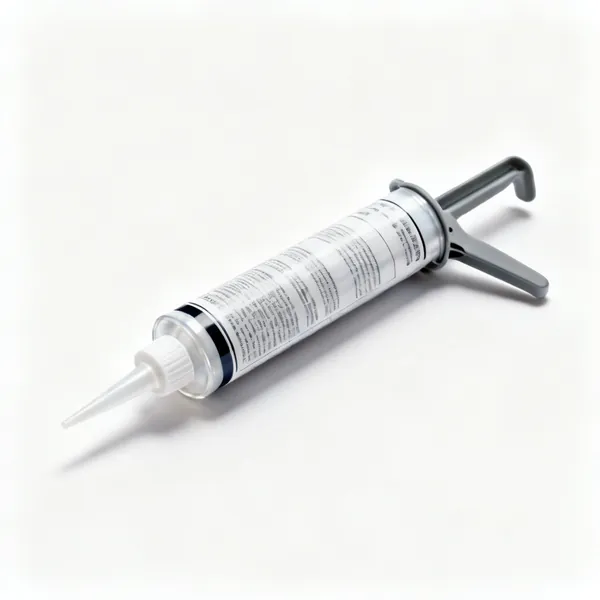
  • A cartridge tube of clear silicone sealant with a cut nozzleEssential

    Silicone sealant

    A bead under the tap base so water cannot run down inside the pedestal, and so the tap cannot rotate on the ceramic. Under the base, not piped around it afterwards, which traps water instead.

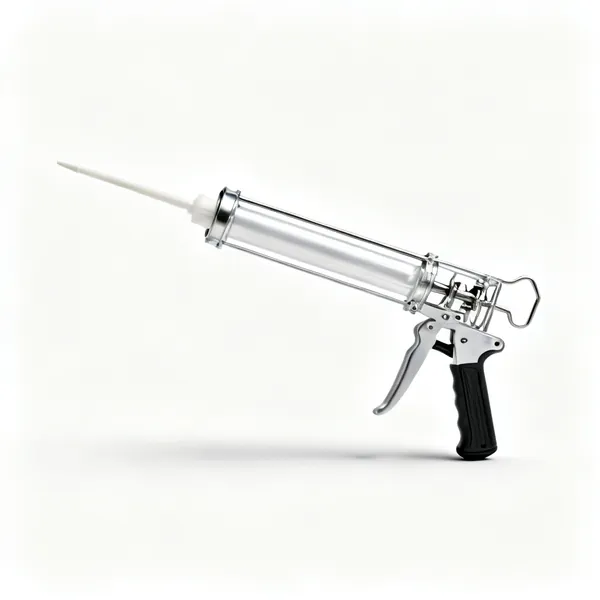
  • Sealant gunEssential

    Sealant gun

    A skeleton frame gun for the cartridge. A smooth ratchet gives an even bead, and a cheap surging one shows in the finish right where everyone looks.

  • A tube of silicone sealant remover gel with a nozzle cap

    Sealant remover

    Softens the old silicone around a basin so it comes off cleanly rather than in shreds. Fresh sealant will not stick over old, so this is part of the job rather than tidying.

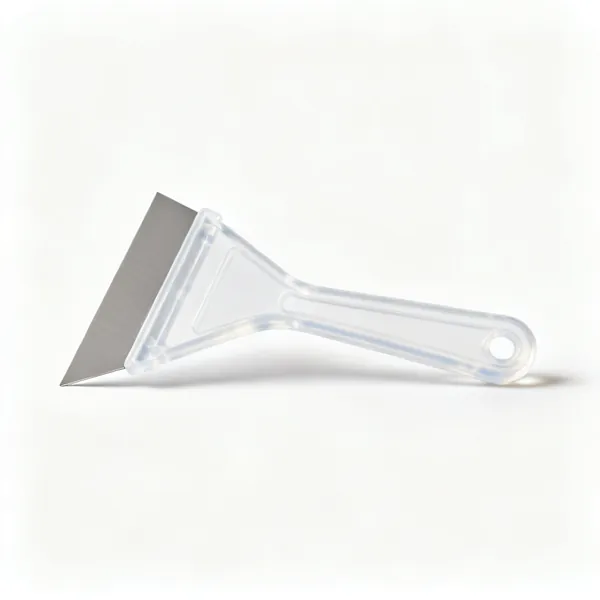
  • Sealant scraper

    Sealant scraper

    A plastic blade that lifts old sealant without scratching the basin or the worktop. A knife does the same job and leaves a permanent mark on anything glazed.

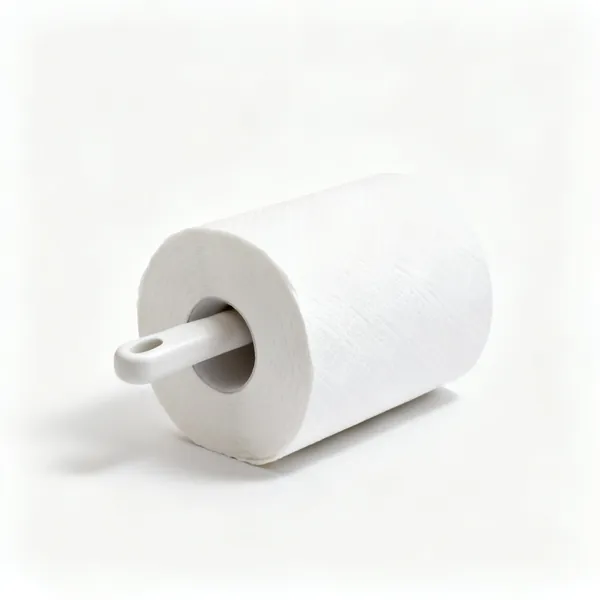
  • Kitchen roll: A roll of white kitchen paper towelEssential

    Kitchen roll

    Dry paper placed under each joint to reveal a slow weep. It is the only test that finds a drip too slow to see, and it is why it appears in a tool list at all.

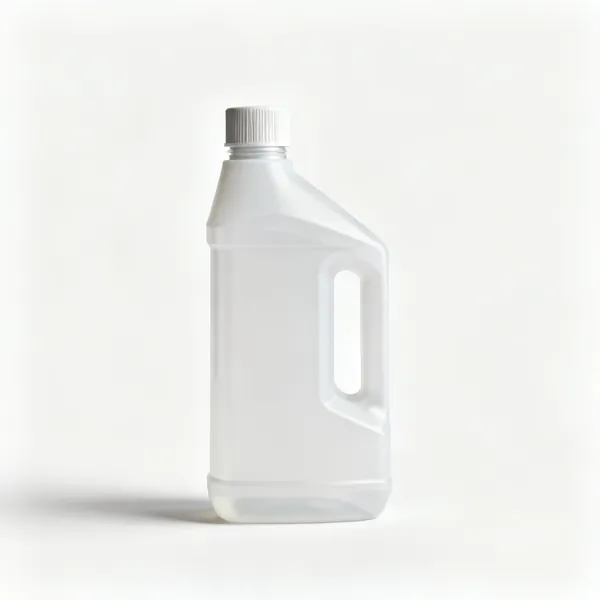
  • A plastic bottle of limescale remover with a screw cap

    Limescale remover

    Cleans the basin surface where the old tap sat, since scale under a new base stops the silicone sealing. In a hard water area the ring left behind is thicker than it looks.

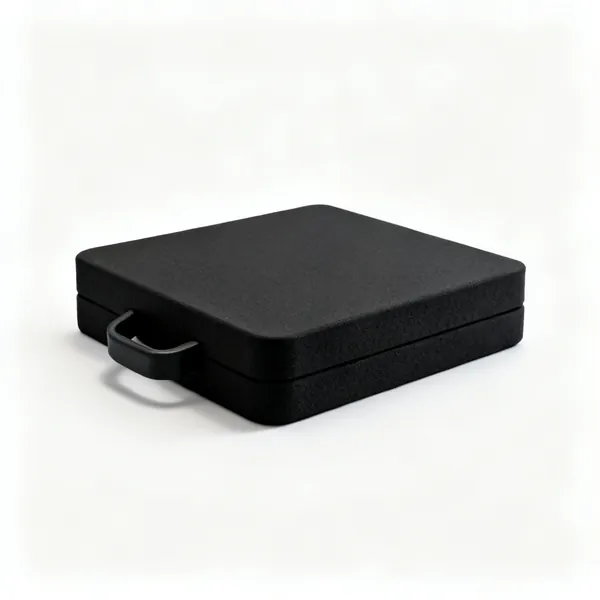
  • A thick black closed cell foam kneeling pad

    Kneeling pad

    Foam between you and a hard floor for the twenty minutes spent on your back in a cupboard. Comfort decides how carefully the last few connections get checked.

Changing a tap step by step

Most of the difficulty is a seized nut in a place you cannot see. Plan for that rather than being surprised by it.

The order that avoids a flood

Isolate, then open the tap and a lower one to drain the head of water. Then put a bowl under the trap, then undo the tails, then the backnut, and only then lift the tap out. Doing the backnut before the tails means the tap spins on its tails and can twist them.

The commonest cause of a wet floor is not the supply, it is the water still standing in a first floor pipe run once the stopcock is shut. That head has to go somewhere and it comes out of whatever you undo first.

Isolate and drain
Open the tap and one lower down. Wait until it stops rather than until it slows.
Tails before backnut
Free the supply connections first, or the tap turns on its tails and can shear them.
Bowl and towels under
Even a drained trap holds water. It arrives the moment the nut moves.
Test the isolator
Old service valves seize part open. Confirm at the tap before you undo anything.

The seized backnut

This is what the job actually comes down to. A brass backnut on a corroded tail in a damp cupboard for decades will not move with a spanner and often not with a basin wrench either.

The sequence that works is penetrating oil and time, then more leverage, then heat, then cutting. Trying to skip to more force usually snaps the tail off inside the basin, which is a considerably worse position to be in.

Oil and wait
Penetrating oil overnight is worth more than any amount of extra pull applied straight away.
Then leverage
A basin wrench with a bar through the handle, or a longer wrench. Steady pull, not a jerk.
Heat cautiously
A small torch expands the nut. Not near a plastic waste, a flexible tail or a ceramic basin.
Cut it as a last resort
A nut splitter or a mini hacksaw through the nut. The tap is being replaced anyway, so the nut is expendable.
Or take the basin off
On a really bad one this is faster than fighting it in place, and far less likely to crack the ceramic.

Tightening a loose tap

A tap that turns in the basin when you use it has a loose backnut, and it usually loosens because the original was tightened onto a bare ceramic surface with nothing to grip. Tightening it again without addressing that means it comes loose again.

Fit the correct top hat washer or plate above and the flat washer below, seat the tap on a bead of silicone, and tighten the backnut properly. On a thick worktop a tail extension may be needed for the nut to reach usable thread at all.

Washers above and below
A rubber gasket on top and a flat washer under the nut. Missing either lets it work loose again.
Silicone under the base
It seals against water running down the tail and it stops the tap rotating on the ceramic.
Check the thread engagement
On a thick top the nut may only catch two threads. A tail extension fixes that properly.
Do not overtighten on ceramic
A basin will crack. Firm, with the washers doing the sealing rather than the force.

Fitting the new one

Assemble as much as you can before the tap goes in. Fit the tails, the washers and the fixing plate on the bench where you can see them, then drop the whole assembly through the hole.

New flexible tails every time, and check they are rated for mains pressure if the system is unvented. Reusing old braided hoses is a false economy, since they are the part most likely to fail and they fail by bursting.

Assemble first
Tails and washers on before it goes through the hole. Doing it blind afterwards is the slow way.
New tails
The most likely part to fail and the cheapest to replace. Check the pressure rating on unvented systems.
New fibre washers
An old compressed washer is a slow weep, which shows up as a damp cupboard a week later.
Fit isolators
While the pipework is open. It turns the next repair into a screwdriver job.

Testing before you tidy up

Turn the water on slowly with the tap open, so air comes out gradually rather than hammering the new joints. Then close the tap and leave the cupboard door open with dry paper under each joint.

Check again after twenty minutes and again the next day. A compression joint that weeps does it slowly, and paper shows a drip that a quick look with a torch will miss entirely.

Refill slowly
Tap open so air escapes. A fast refill hammers the joints you have just made.
Dry paper under each joint
It shows a slow weep that a visual check misses. Kitchen roll is enough.
Check the next day
Slow leaks need time to show. Twenty minutes is not a test, it is a first look.
Run both taps hard
Full flow puts the joints under working pressure and flushes debris out of the new pipework.

Frequently asked questions

What tools do I need to change a tap?
A basin wrench or tap spanner, two adjustable spanners, a screwdriver, PTFE tape, silicone sealant, a bowl and towels, and a torch. Add penetrating oil and a nut splitter or mini hacksaw for a seized backnut, which is what turns the job from twenty minutes into an afternoon.
How do I undo a seized tap backnut?
Penetrating oil and leave it overnight, then apply steady leverage with a basin wrench rather than a sudden pull. If it still will not move, warm the nut with a small torch away from plastic and ceramic, and as a last resort cut it off with a nut splitter or a mini hacksaw.
Why does my tap keep coming loose?
Usually because it was fitted without the correct washers, so the backnut is tightening against bare ceramic with nothing to grip. Fit a rubber gasket above and a flat washer below, bed the tap on silicone, and it will stay put.
Do I need to turn the water off at the mains?
Only if there are no isolating valves on the tap tails. If there are, a screwdriver closes them and the rest of the house keeps working. Either way, open the tap and one lower in the house afterwards to drain the standing water above it.
Should I reuse the old flexible tap connectors?
No. They are the part most likely to fail, they fail by bursting rather than weeping, and they cost very little. Also check the new ones are rated for the pressure of your system, since some are not suitable for full mains pressure on an unvented supply.
How tight should a tap backnut be?
Firm, with the washers doing the sealing rather than brute force. Over-tightening onto a ceramic basin can crack it, which is a much bigger job than a loose tap. If it will not stay tight, the problem is a missing washer rather than insufficient force.
What if the tap tail is too short for my worktop?
Fit a tail extension, which is a short threaded piece that lengthens the tail so the backnut catches usable thread. Modern monobloc taps are often made for a thin basin and will not reach through a thick stone or laminate worktop without one.
Is it easier to take the basin off?
On a badly seized backnut, often yes. Working on a basin lying on the floor with clear access is much faster than fighting an invisible nut in a 40mm gap, and it is far less likely to crack the ceramic than levering hard on it in place.