Disclosure

Tools for toilets

Almost every toilet problem is one of three things: a blockage, a cistern that will not fill or stop, or a leak at the pan connector. Each has a different tool and a different diagnosis, and the diagnosis is what saves you from taking a toilet off the floor for a problem that was in the drain. All 34 tools here are grouped that way.

21 are marked essential: a plunger, an auger and the few tools a cistern actually needs.

Part of the full plumbing tools list, 56 tools in 9 groups.

Unblocking 8

Mechanical clearing, in escalating order. Diagnose first, so you are working on the right thing.

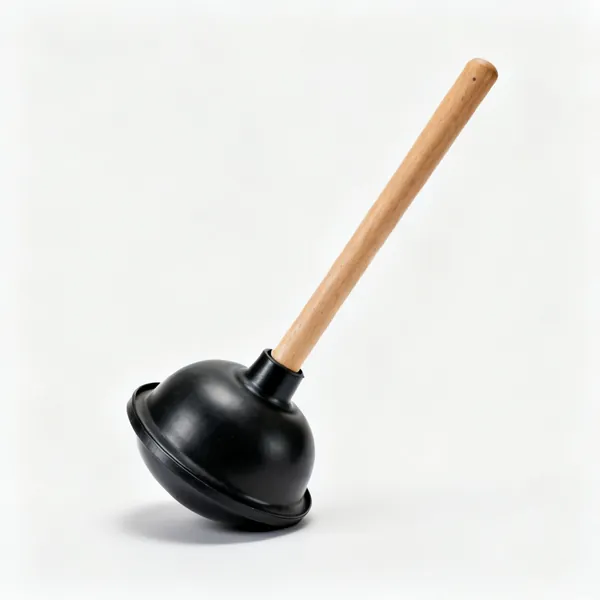
  • A black rubber toilet plunger with a flanged cup and a wooden handleEssential

    Toilet plunger

    A cup with a flange that seats into the pan outlet, so it can actually seal. A flat sink plunger cannot, which is why it appears not to work.

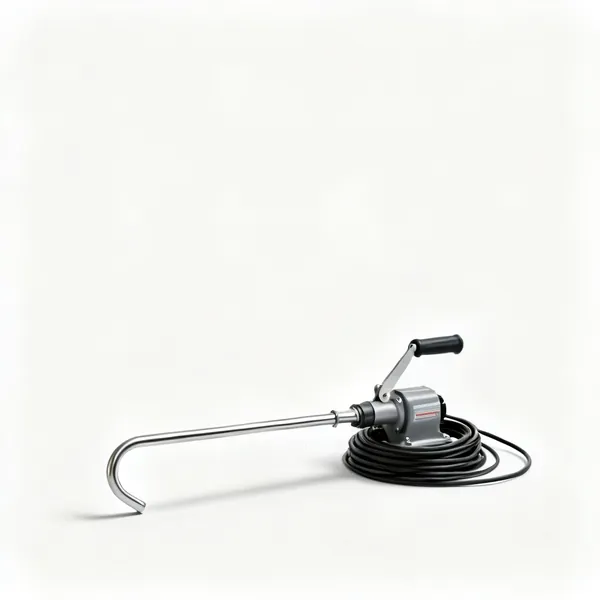
  • A closet auger with a curved rigid guide tube, a crank handle and a coiled cableEssential

    Closet auger

    A flexible cable in a rigid guide tube, cranked by hand. The tube protects the ceramic while the cable follows the trap to the obstruction.

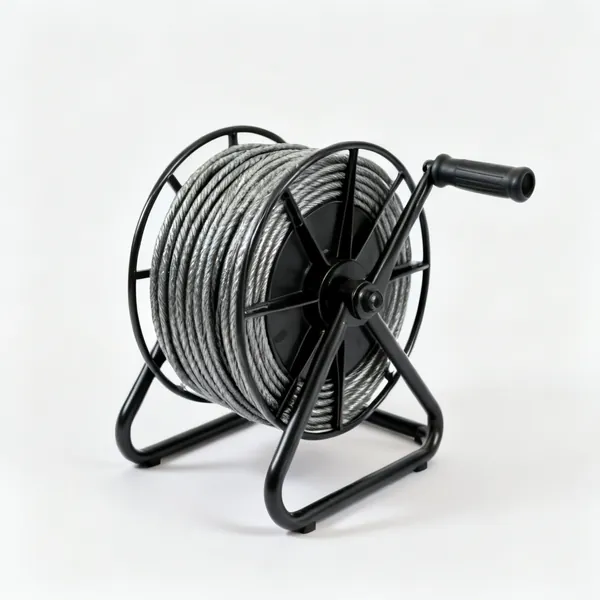
  • A coiled drain snake auger cable on a hand crank reel

    Drain snake

    A bare flexible cable on a reel, for reaching further than a closet auger. Without a guide tube it can scratch or crack a pan, so it is used carefully.

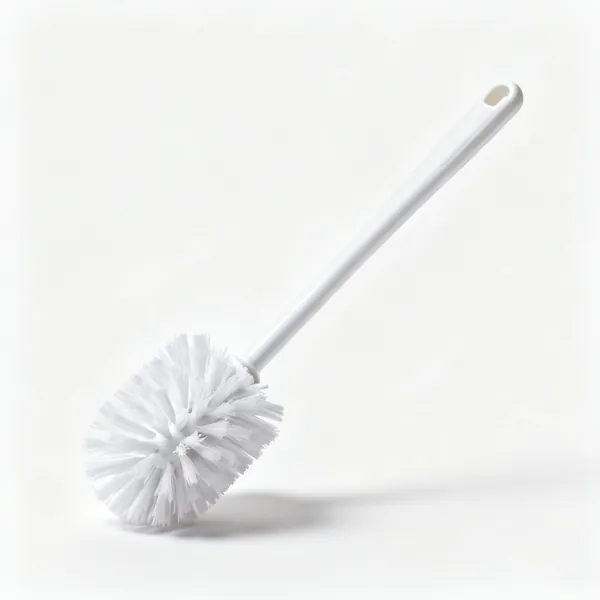
  • Stiff brush: A stiff bristled toilet brush with a long plastic handle

    Stiff brush

    Sometimes an obstruction is right at the trap entrance and a stiff brush handle reaches it. Worth thirty seconds before anything more involved.

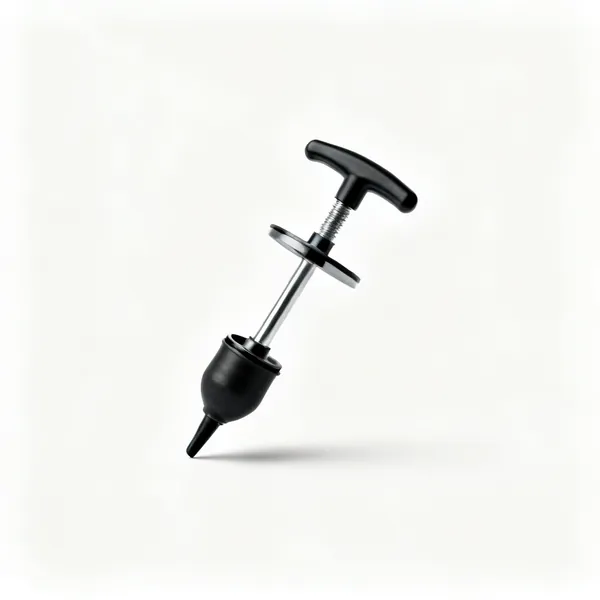
  • A manual pressure plunger pump with a piston handle and a rubber nozzle

    Manual pressure plunger

    A pump that delivers a sharper pressure pulse than a rubber plunger. Effective, and it can push a blockage further if the seal fails mid stroke.

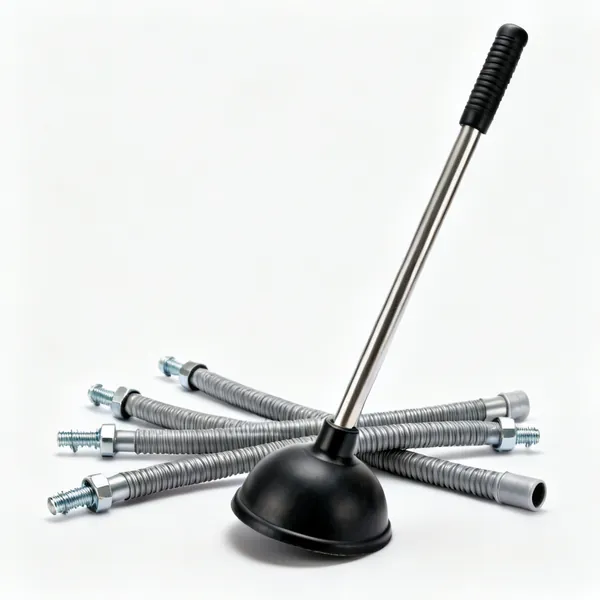
  • Drain rods: Several flexible drain rod sections with screw connectors and a rubber plunger head

    Drain rods

    For when the diagnosis says the drain rather than the toilet. Turned clockwise only, since anticlockwise unscrews a section and loses it in the drain.

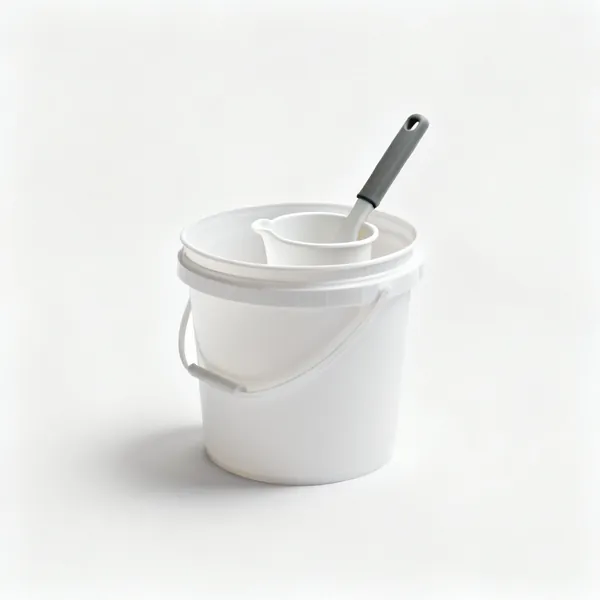
  • Bucket and jug: A plastic bucket with a smaller jug inside itEssential

    Bucket and jug

    For removing water from the pan before working, which makes everything after it cleaner. Also for a controlled flush of water to test a clearance.

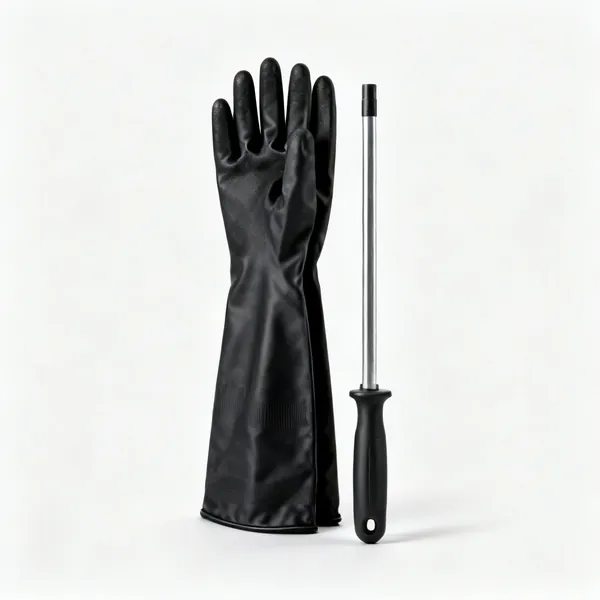
  • Long gauntlet gloves: A pair of long black nitrile gauntlet glovesEssential

    Long gauntlet gloves

    Elbow length nitrile, because a short glove means contaminated water running down your arm. Disposable, and worth having several pairs.

Cistern repairs 9

Cheap parts and a straightforward job. The difficulty is nearly always isolating the supply.

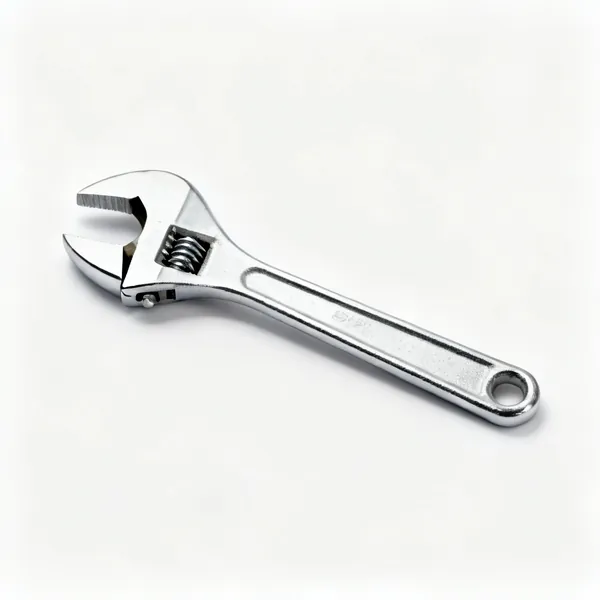
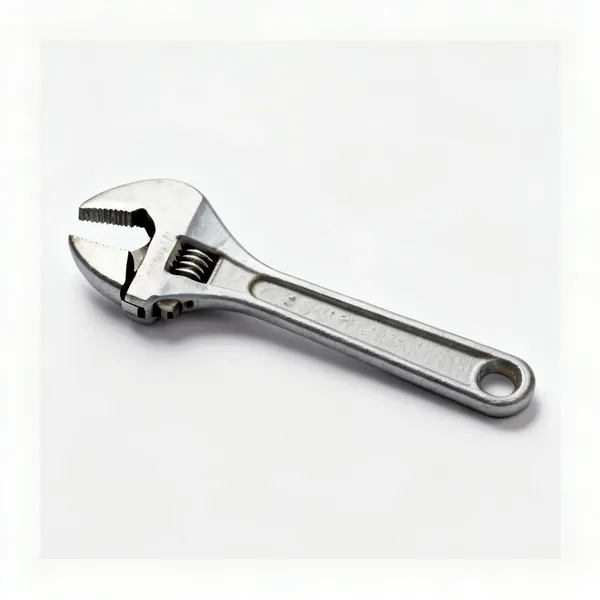
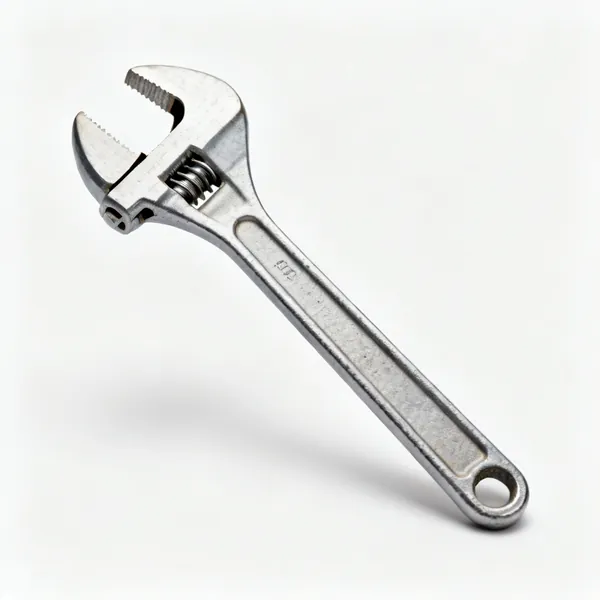
  • A chrome adjustable spanner with a worm screw and a moveable jawEssential

    Adjustable spanner

    For the plastic backnuts on a fill valve and the supply connection. Turned by hand where possible, since plastic threads strip easily.

  • A pair of water pump pliers with slip joint adjustable jawsEssential

    Water pump pliers

    Adjustable jaws that grip a large plastic nut without a socket of that size existing. The tool most cistern work actually gets done with.

  • A cranked steel cistern spanner with two offset open ends

    Cistern spanner

    A cranked spanner reaching a nut on the underside of a cistern where nothing straight will fit. Cheap, and there is no substitute.

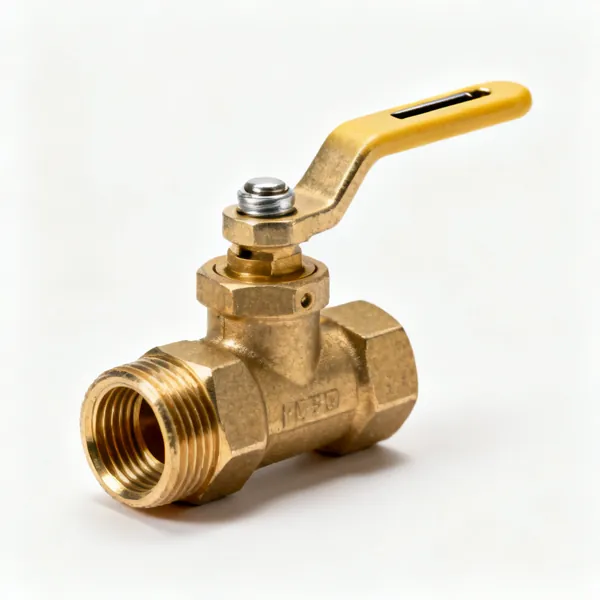
  • Service valve: A brass compression service isolating valve with a screwdriver slotEssential

    Service valve

    A small isolating valve on the supply so future work needs no stopcock and no draining down. Fit one while the supply is off anyway.

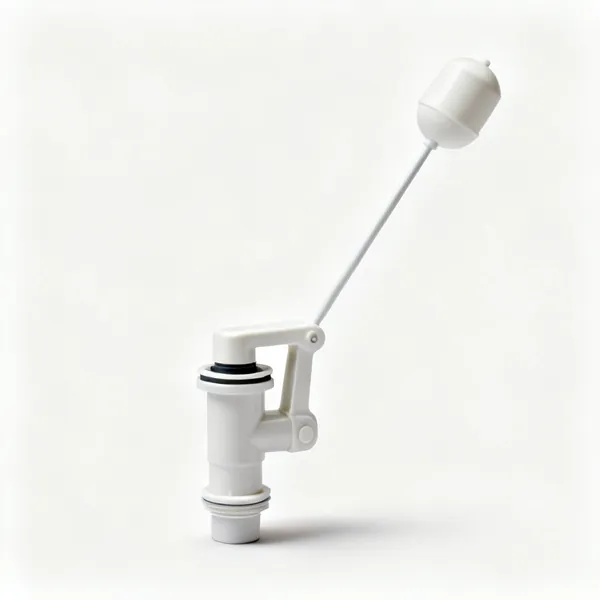
  • A plastic toilet cistern inlet fill valve with a float armEssential

    Inlet fill valve

    The part that fails when a cistern overflows continuously. Bottom or side entry, and adjustable for water level once fitted.

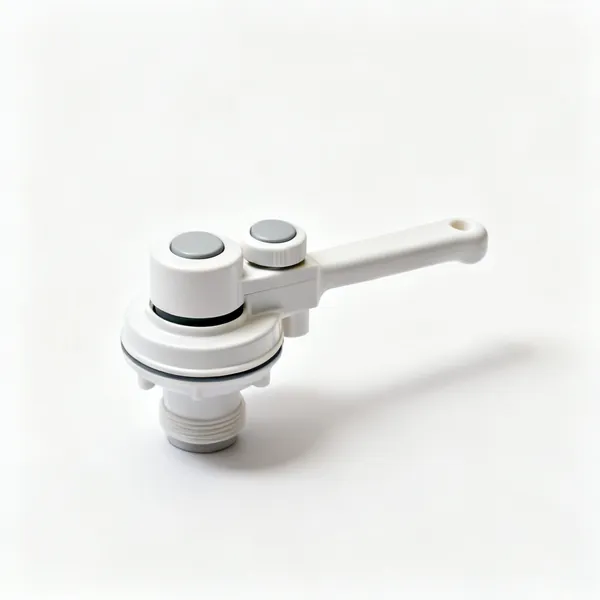
  • A plastic toilet cistern flush valve mechanism with a dual flush buttonEssential

    Flush valve

    The outlet mechanism, and the part that fails when water runs continuously into the pan. Replaced complete rather than repaired on modern cisterns.

  • Two small rubber ball valve diaphragm washers

    Diaphragm washer

    The perishable rubber inside an older ball valve, and a few pence. Replacing it fixes a great many slow filling or non stopping cisterns.

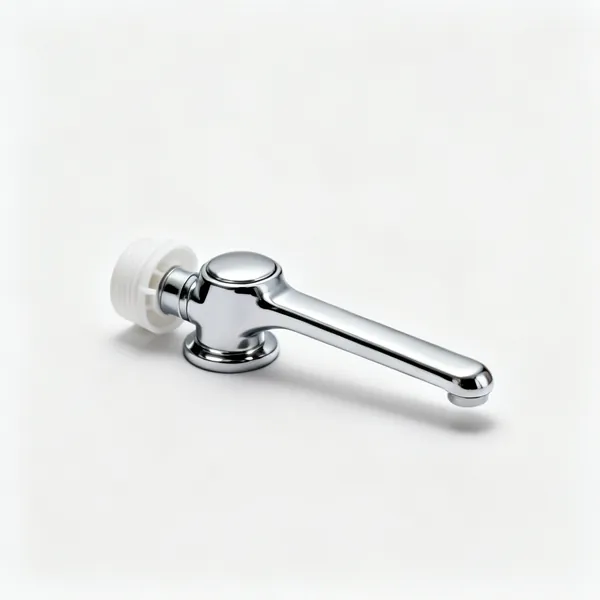
  • A chrome toilet cistern flush lever handle with a plastic backnut

    Flush lever

    The chrome handle and its plastic backnut, which snaps or seizes. A five minute job and a common reason a toilet needs holding down to flush.

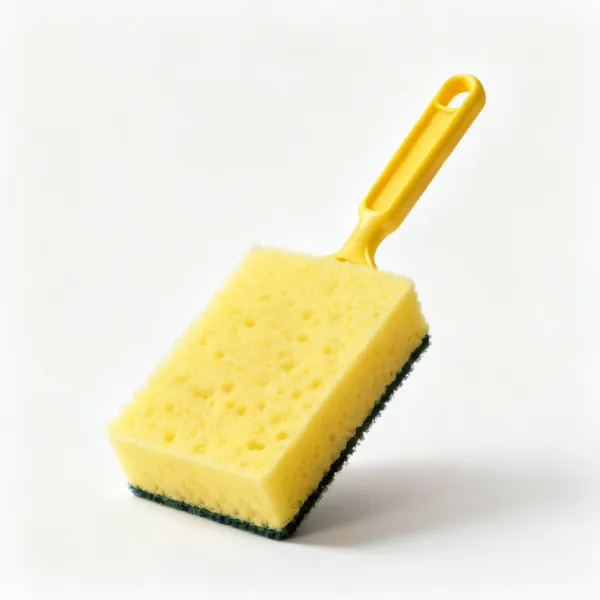
  • A large yellow cleaning spongeEssential

    Sponge

    For getting the last inch out of a cistern after flushing, which is what stops it all going onto the floor when the valve comes out.

Seals and connections 8

Where a toilet leaks from. Cheap parts, and diagnosis matters more than the part.

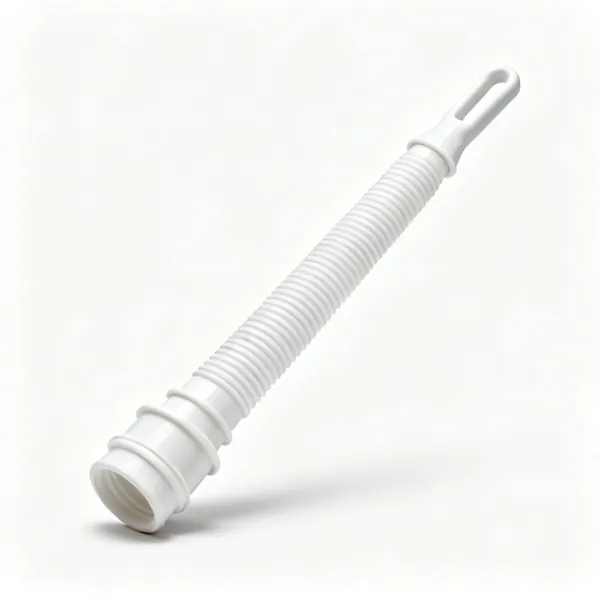
  • A white flexible plastic toilet pan connector with ribbed sectionsEssential

    Pan connector

    The coupling from the pan outlet into the soil pipe, and the commonest source of water on the floor. Flexible ones absorb misalignment.

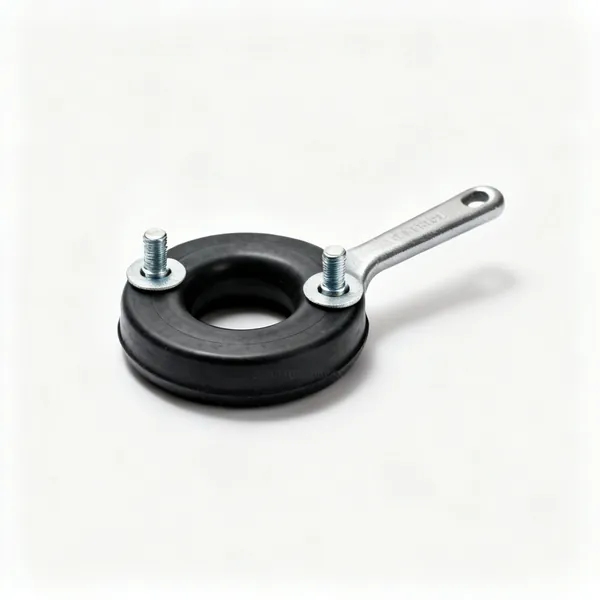
  • Close coupled kit: A rubber close coupled toilet doughnut washer with two bolts and washers

    Close coupled kit

    The doughnut washer and bolts between cistern and pan. Leaks here show between the two rather than at the floor, which is how you tell.

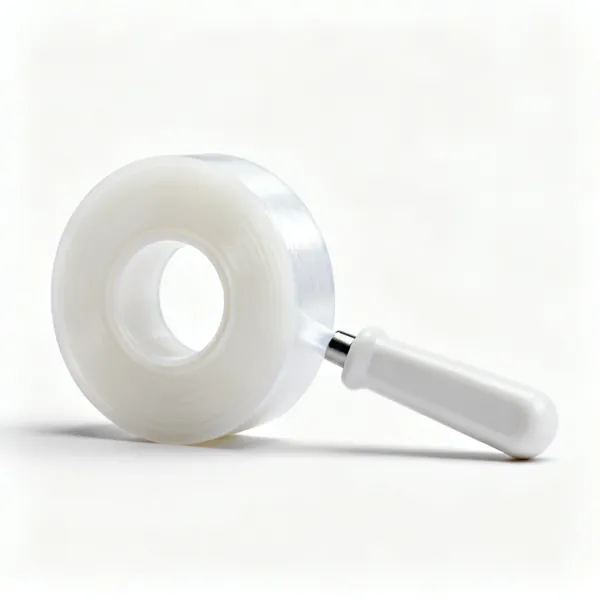
  • PTFE tape: A roll of white PTFE thread sealing tapeEssential

    PTFE tape

    Wound onto a threaded joint in the direction that tightening will not unwind it. For threads that seal on the thread rather than on a washer.

  • A cartridge of white sanitary silicone sealant with a cut nozzleEssential

    Sanitary silicone

    Mould resistant sealant round the base once everything is dry and proven. Sealing before finding a leak just hides it under the pan.

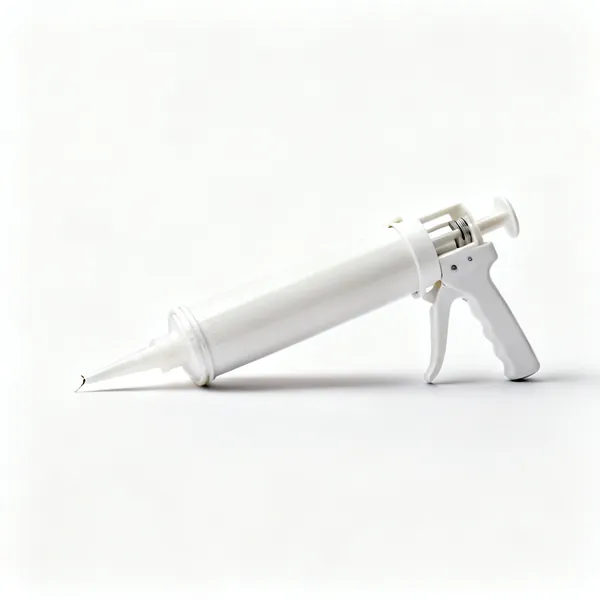
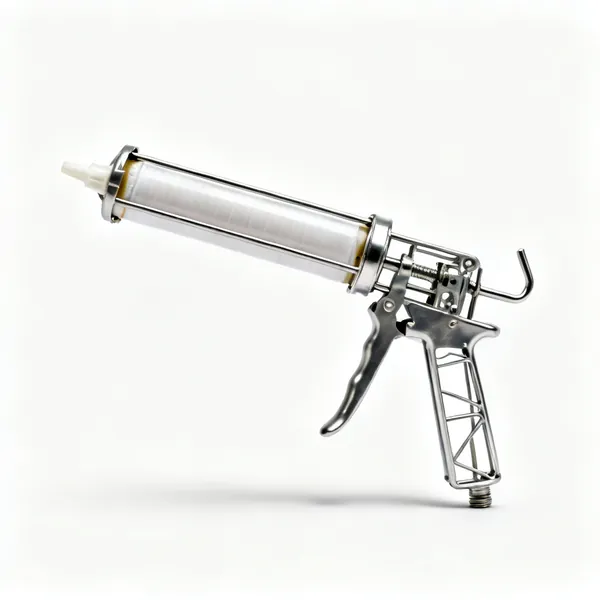
  • Sealant gun: A metal skeleton sealant caulking gun with a cartridge fittedEssential

    Sealant gun

    A skeleton gun with a smooth action, since a ratchet gun jumps and leaves a lumpy bead around the base where it is very visible.

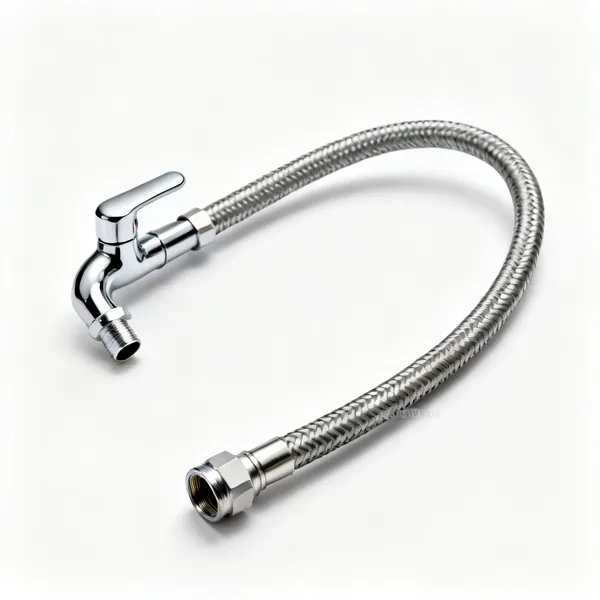
  • Flexible tap connector: A braided flexible plumbing tap connector hose with two fittings

    Flexible tap connector

    Braided hose from the service valve to the cistern, which absorbs the alignment problem rather than requiring a bent copper tail.

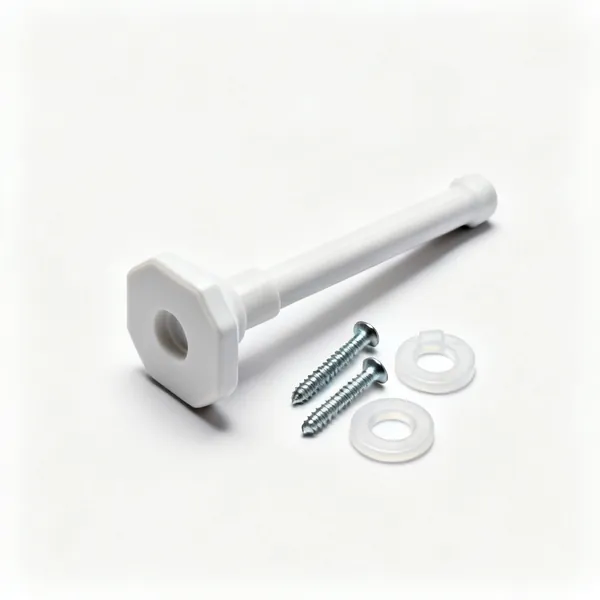
  • Pan fixing kit: A toilet pan floor fixing kit with two screws, plastic washers and capsEssential

    Pan fixing kit

    Screws and plastic washers that fix through the pan into the floor. Plastic washers because a metal screw head against ceramic cracks it.

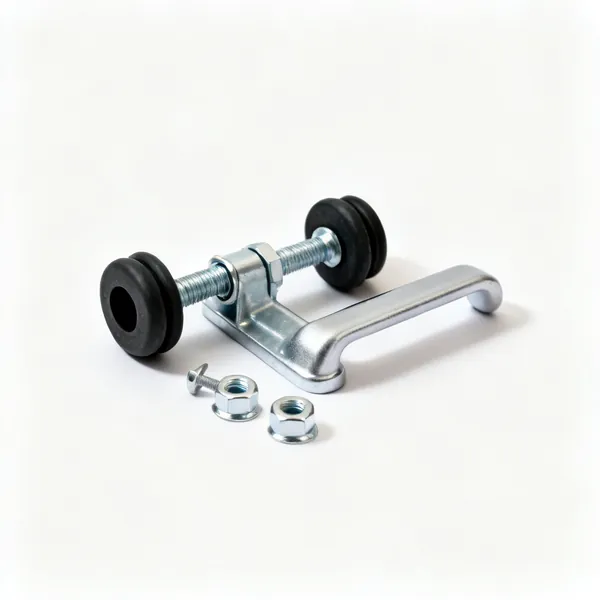
  • Seat fixings: A toilet seat fixing kit with two bolts, rubber bushes and wing nuts

    Seat fixings

    The bolts and rubber bushes holding the seat, which loosen constantly and are the commonest small toilet complaint of all.

Removal and replacement 9

Mostly about corroded fixings and a connector that will not let go after twenty years.

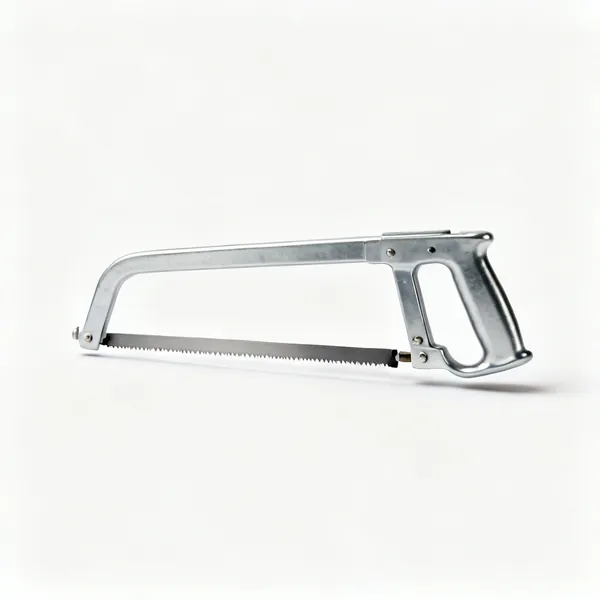
  • Junior hacksawEssential

    Junior hacksaw

    Cuts a corroded floor fixing or an old rigid pan connector, which is usually the only way either of them comes out.

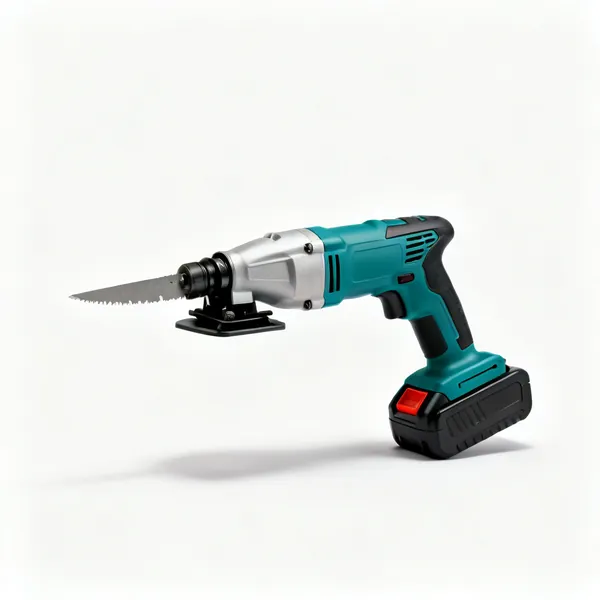
  • A cordless oscillating multi tool with a cutting blade fitted and a battery

    Oscillating multi tool

    Cuts a seized fixing flush to the floor or a connector in place, in a space where a hacksaw frame will not swing.

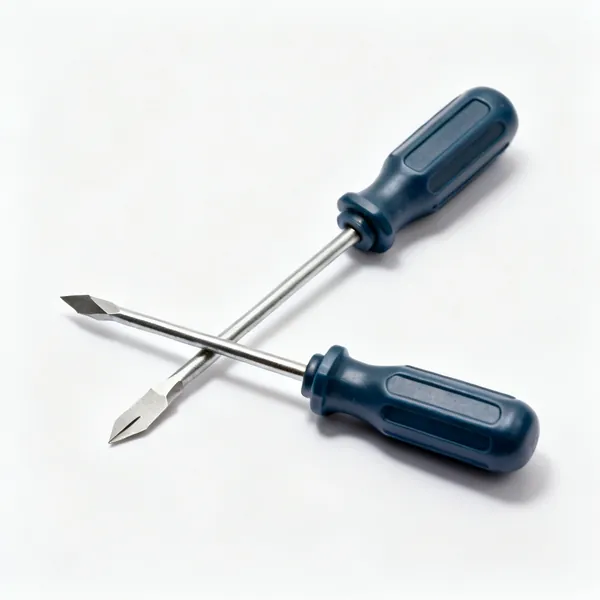
  • Two screwdrivers, one flat blade and one cross head, with plastic handlesEssential

    Screwdrivers

    A flat blade for a service valve slot and a Phillips for seat and cistern fixings. Long enough to reach behind a pan, which is most of the difficulty.

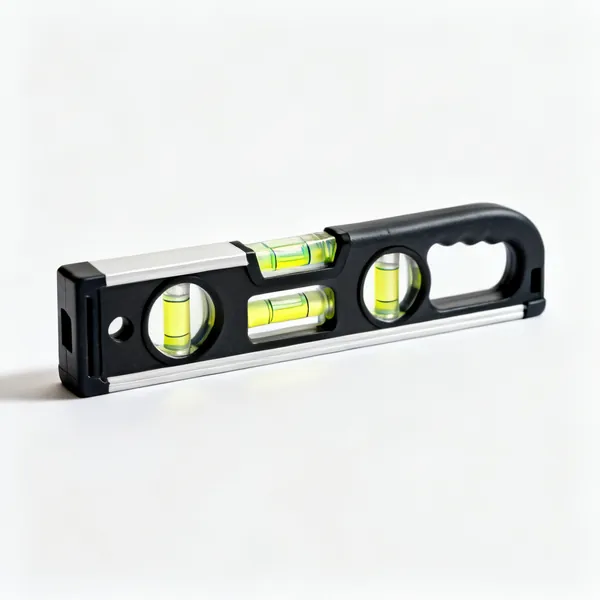
  • A small torpedo spirit level with three vialsEssential

    Spirit level

    A toilet not level looks wrong immediately and the cistern water level is then off too. Checked before the fixings go in rather than after.

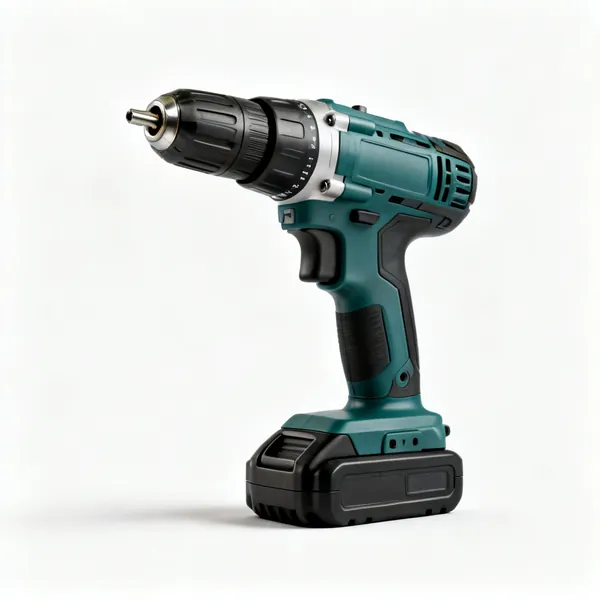
  • A cordless combi drill with a keyless chuck and a batteryEssential

    Drill

    For new floor fixings, in masonry or timber. Depth checked, since drilling through a floor into a pipe or cable below is a real possibility.

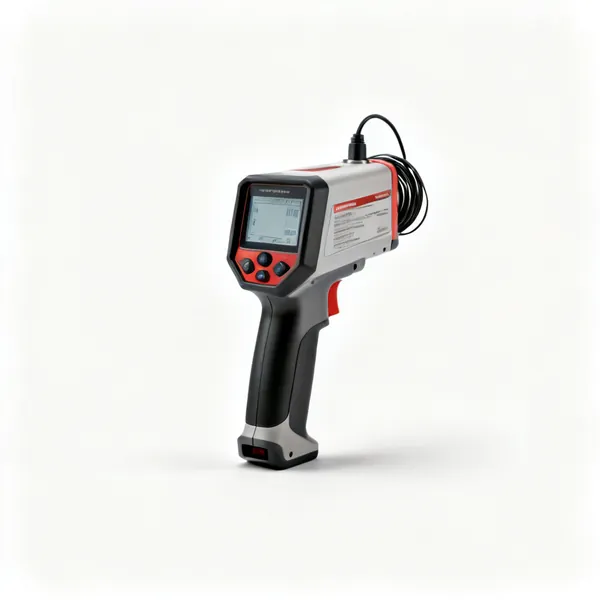
  • Pipe and cable detector: A handheld cable and pipe detector with a display

    Pipe and cable detector

    Before drilling a bathroom floor, where pipes almost certainly run. Two seconds against a flooded ceiling below.

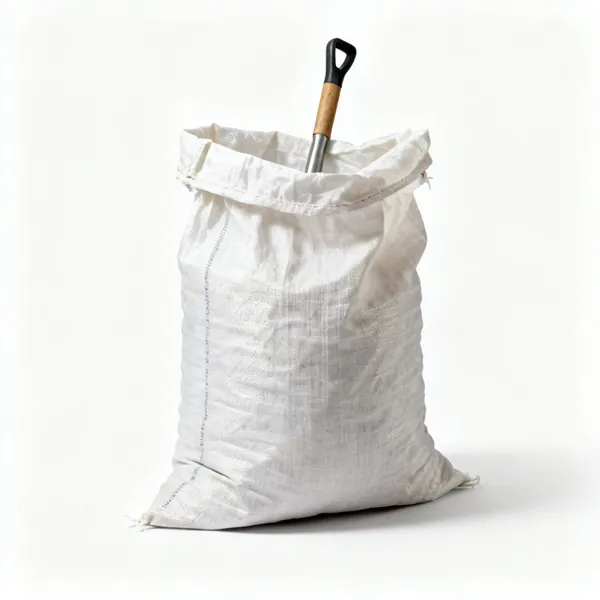
  • A woven polypropylene rubble sack, partly open

    Rubble sack

    The old pan is heavy, sharp when broken and awkward to carry. Bagged rather than carried through the house in pieces.

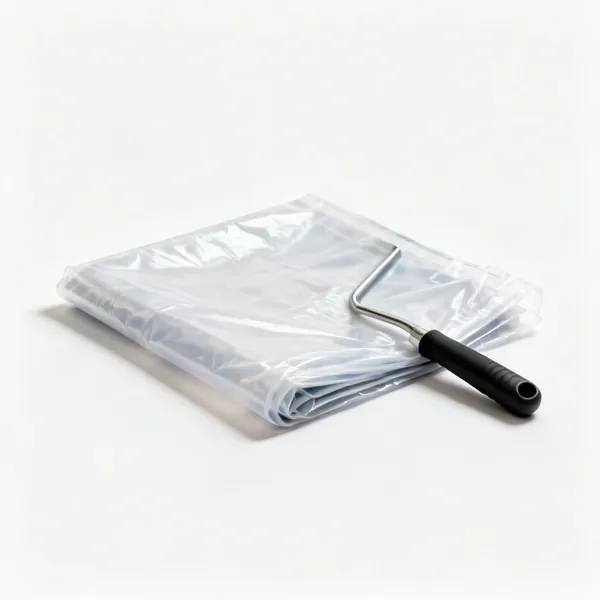
  • Floor protection: A folded plastic protective floor sheetEssential

    Floor protection

    Sheeting under the work, since removing a toilet releases the water still in the trap regardless of how carefully it was emptied.

  • A plastic bottle of disinfectant cleaner with a spray triggerEssential

    Disinfectant

    For the tools, the floor and your hands afterwards. Everything used here has been in contaminated water, including the plunger going back in a cupboard.

Choosing toilets tools

The list above is what exists. This is how to decide which of it you actually need, what separates a tool worth keeping from one that ends up at the back of a drawer.

Local blockage or drain problem

Flush and watch. If the pan fills and drains slowly, the blockage is in the trap or just beyond it and a plunger or auger will clear it. If other appliances also drain slowly, or a gully outside is backing up, the problem is in the drain run and the toilet is only where it shows.

That distinction matters because plunging a blocked drain achieves nothing and augering hard into a full drain can crack the pan. Lift the nearest inspection chamber cover before doing anything, since it answers the question in ten seconds.

Watch a flush
Fills and clears slowly means local. Other appliances affected means the drain.
Lift the chamber cover
Ten seconds, and it tells you whether the problem is inside the house at all.
Do not force it
Augering hard against a full drain can crack the pan, which turns a rod job into a new toilet.
Wipes are the usual cause
Even the flushable ones. They do not break down and they collect on any small obstruction.

Plunger technique that actually works

A toilet plunger has a flange that seats into the outlet, unlike a flat cup sink plunger which cannot seal on a curved pan. Seat it fully, and there must be water covering it, since you are moving water rather than air.

Then push and pull steadily rather than hammering it. The pull is what dislodges the blockage as much as the push, and a violent first push can force the obstruction further into the trap where it is harder to reach.

Flanged, not flat
A sink plunger cannot seal a toilet outlet. This is why the shape is different.
Water over the plunger
You are moving water, not air. A dry pan means nothing happens.
Pull as much as push
The return stroke dislodges as much as the push. Steady rather than violent.
Slow first push
A hard first shove drives the obstruction deeper into the trap.

The two cistern faults

Water running continuously into the pan is a failed flush valve or flapper, letting cistern water past. Water running continuously into the cistern and out of the overflow is a failed inlet valve that will not shut off. They look similar and the parts are different.

Both are cheap parts and a straightforward replacement, and both waste a remarkable amount of water: a running toilet can lose hundreds of litres a day. Isolating the supply first is the whole job's difficulty, which is why an isolation valve is worth fitting while you are there.

Into the pan means the flush valve
Cistern water leaking past the outlet seal. A washer or a valve.
Out of the overflow means the inlet
The fill valve is not shutting off. A float adjustment or a new valve.
Isolate first
A service valve on the supply, or the stopcock. Fit one if there is not one.
It wastes a lot
Hundreds of litres a day, silently. Worth fixing on cost alone.

Where a toilet leaks from

Water on the floor behind the pan is usually the pan connector, which is a flexible or rigid coupling into the soil pipe. Water at the base could be that, or condensation, or the pan seal on a close coupled cistern.

Establish which by drying everything and watching after a single flush. A pan connector leak appears within seconds of a flush; condensation appears gradually with no relationship to flushing at all, and is solved by ventilation rather than by plumbing.

Dry it, then flush once
Water within seconds is a connector. Gradual damp with no pattern is condensation.
Pan connector is the usual culprit
A flexible coupling that has slipped or perished. Cheap and quick to replace.
Close coupled seal
The doughnut washer between cistern and pan. Leaks show between the two, not at the floor.
Do not just silicone it
Sealing round the base traps a leak under the pan rather than stopping it.

Replacing a toilet

The awkward parts are the fixings, which corrode into the floor, and the pan connector, which will not simply pull off after twenty years. Isolate, flush, and get the remaining water out before anything moves.

Set the new pan dry first and check it meets the connector without strain, because a pan pulled sideways to reach a soil pipe will leak or crack. Fix through the floor into position rather than levering it there, and use a flexible connector where the alignment is imperfect.
Empty it fully
Isolate, flush, sponge and siphon the trap. Everything after that is much cleaner.
Dry fit before fixing
The pan must reach the connector without being pulled. Strain cracks ceramic.
Flexible connector for misalignment
Rather than forcing a rigid one. That is what they exist for.
Do not overtighten fixings
Ceramic cracks. Snug, with the specified washers, and no more than that.

Frequently asked questions

What tools do I need to unblock a toilet?
A flanged toilet plunger and a closet auger cover almost every local blockage. Add gloves, a bucket and something to protect the floor. If other appliances also drain slowly, the problem is in the drain run and you need drain rods instead.
How do I know if the blockage is in the toilet or the drain?
Flush and watch. If only the toilet fills and clears slowly, the blockage is at or just past the trap. If sinks and baths also drain slowly, or an outside gully backs up, it is the drain run. Lifting the nearest inspection chamber cover answers it in seconds.
Why won't my plunger work on the toilet?
Usually a flat cup sink plunger, which cannot seal against a curved pan outlet. A toilet plunger has a flange that seats into the outlet. The other cause is not enough water in the pan, since a plunger works by moving water rather than air.
What is a closet auger?
A flexible cable in a rigid guide tube, cranked by hand, that follows the trap and reaches an obstruction a plunger cannot shift. The guide tube is what protects the ceramic, so a bare drain snake pushed into a pan risks scratching or cracking it.
Why does my toilet keep running?
Water running into the pan means the flush valve or flapper is leaking past. Water running out of the overflow means the inlet fill valve is not shutting off. They present similarly and take different parts, so identify which before buying anything.
Why is there water on the floor behind my toilet?
Most often the pan connector into the soil pipe. Dry everything, flush once, and watch: water within a few seconds is the connector, whereas damp appearing gradually with no relationship to flushing is condensation, which needs ventilation rather than plumbing.
Can I use drain cleaner in a toilet?
It is rarely worth it and often makes things worse. Caustic cleaner sits in the trap water and dilutes, does little to a wipe or a solid obstruction, and then anyone plunging afterwards is splashing caustic liquid. Mechanical clearing is both safer and more effective.
How do you replace a toilet?
Isolate the supply, flush and remove the remaining water, undo the pan connector and the floor fixings. Dry fit the new pan so it reaches the connector without being pulled sideways, since strain cracks ceramic, then fix it and use a flexible connector if alignment is imperfect.