Working on taps
Identify what kind of tap it is first. A traditional washer tap and a ceramic cartridge tap fail differently and need different tools.
Two kinds of tap, two kinds of fault
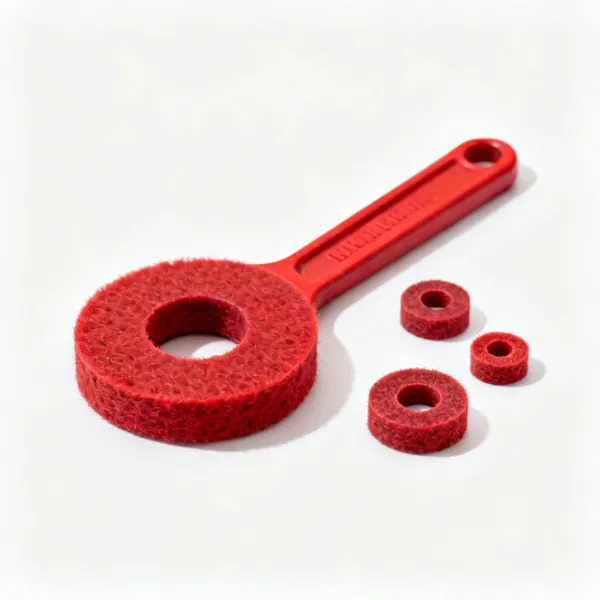
A traditional tap turns through several rotations and closes a rubber washer onto a brass seat. It drips when the washer wears or the seat corrodes, and both are repairable for the price of a washer.
A ceramic disc or cartridge tap turns a quarter turn and closes two polished discs against each other. It fails when the discs chip or scale up, and the fix is a new cartridge rather than a washer. Working out which you have decides everything that follows.
- Several turns
- Traditional washer tap. Rewasherable, and the seat can be reground if it is pitted.
- Quarter turn
- Ceramic cartridge. Replace the cartridge; there is no washer to change.
- Single lever mixer
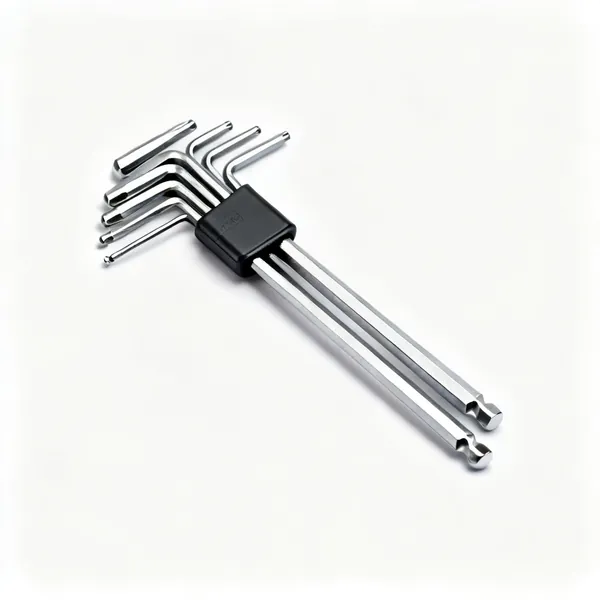
- A cartridge too, usually a larger one, often held by a small hex screw under the lever cap.
- Dripping from the spout
- Washer or cartridge. Dripping from the base of the handle is the gland, which is a different repair.
The real problem is access
A basin tap is held by a backnut on the tail, tucked between the bowl and the wall with the waste pipe in the way. There is no room for a spanner and often no way to see it either.
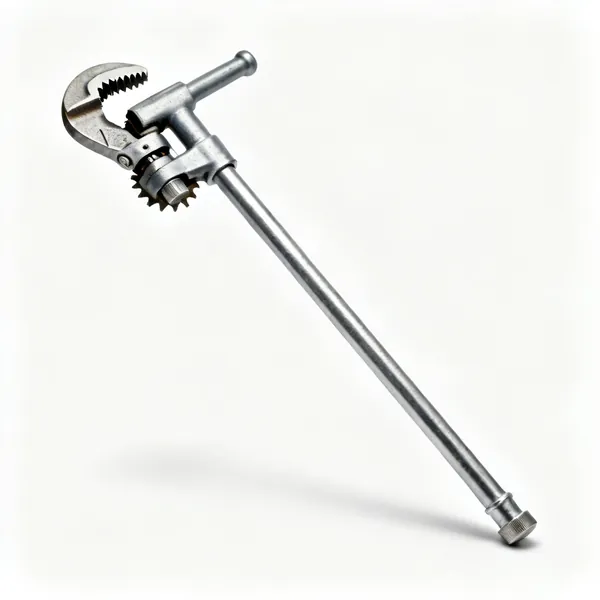
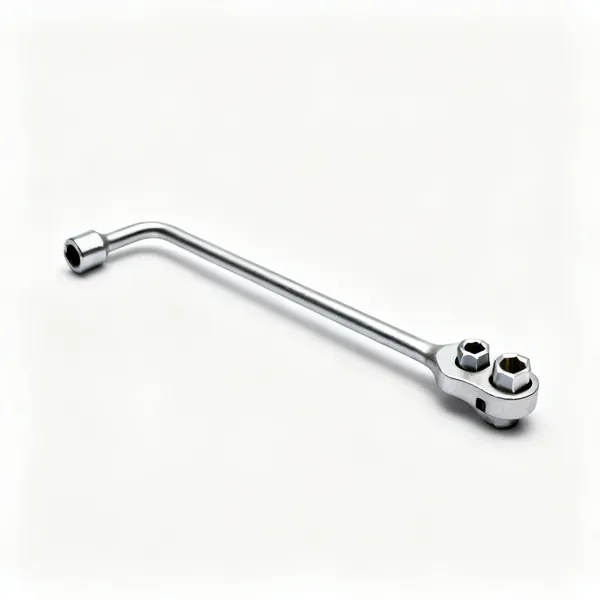
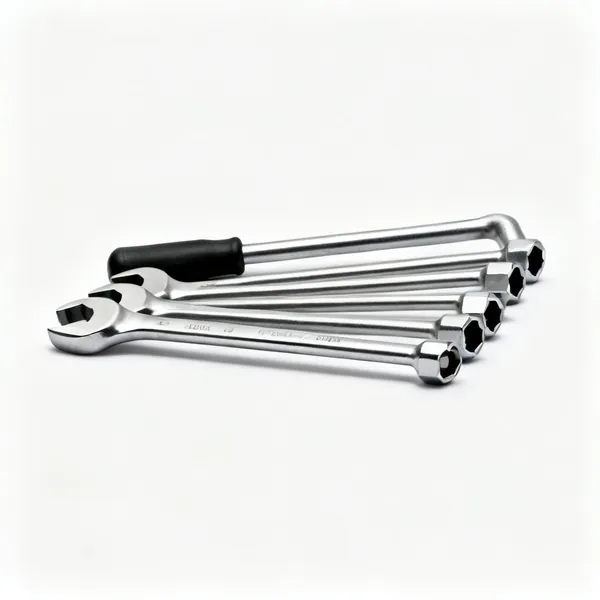
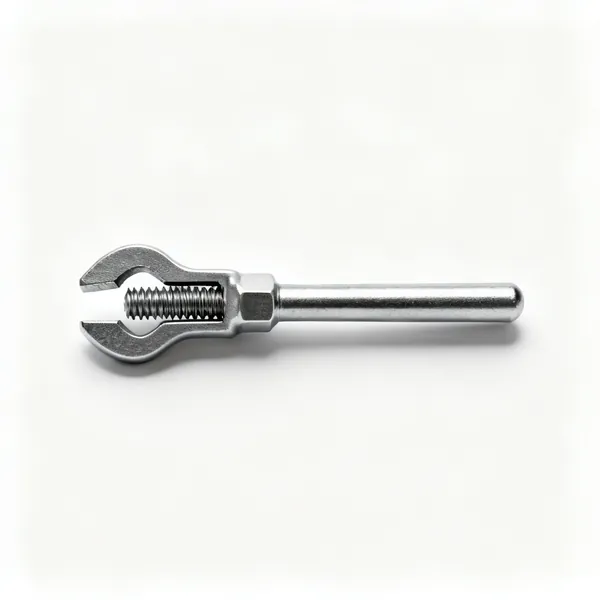
A basin wrench solves it with a long shaft and a jaw that swivels, so the tool can be worked at an angle from below. A tap spanner does the same job with a thin cranked box end that slides over the tail. Between them they handle nearly every tap you will meet.
- Basin wrench
- Long reach, swivelling jaw, works blind. The one tool that makes a basin tap possible at all.
- Tap spanner
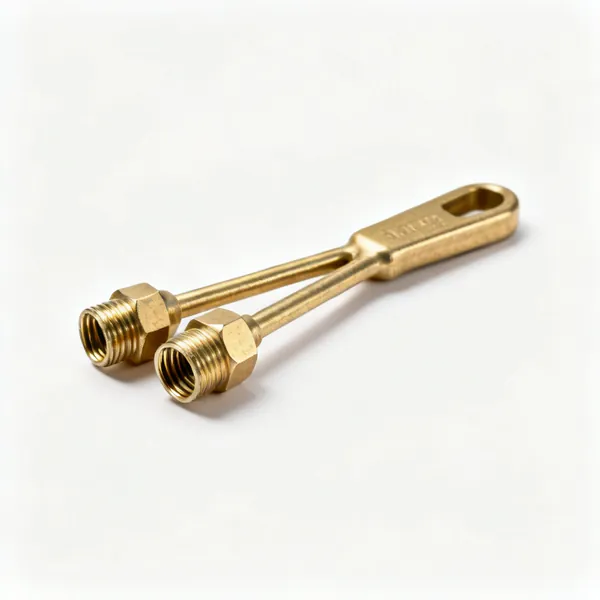
- A thin cranked box that fits a standard backnut, faster than a basin wrench where it fits.
- Consider removing the basin
- On a bad one, taking the basin off the wall is genuinely faster than fighting the nut in place.
- Fit the tap first on a new install
- Assemble taps onto a basin before it goes to the wall. Almost nobody does this and it saves an hour.
When a new washer does not stop the drip
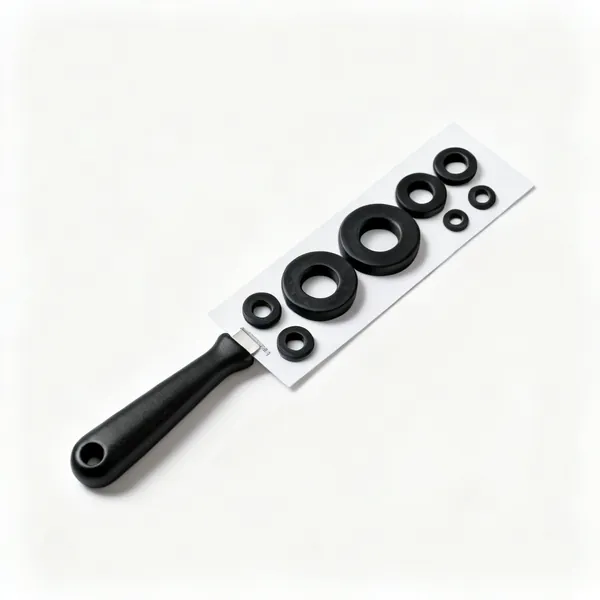
If a tap still drips with a new washer, the brass seat it closes onto is pitted. The washer cannot seal against a rough surface however new it is, which is why the second washer fails as fast as the first.
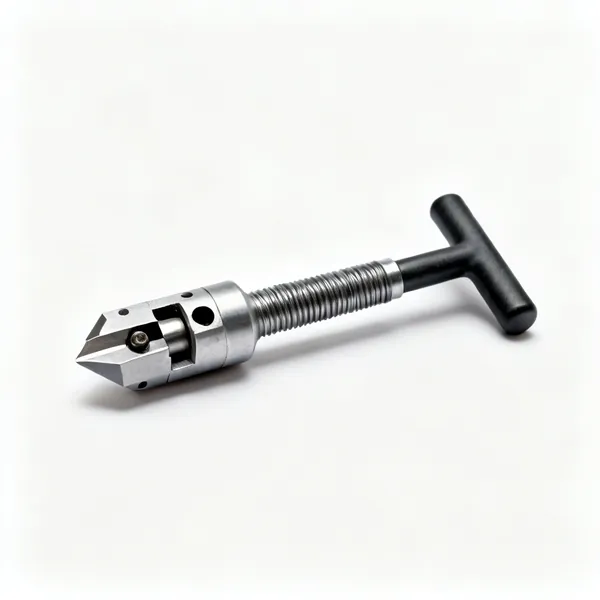
A seat grinder cuts that surface flat again in a minute. The alternative is a plastic seating washer that deforms to fill the pitting, which works and is less permanent. Replacing the whole tap for this is unnecessary.
- Two washers in a month
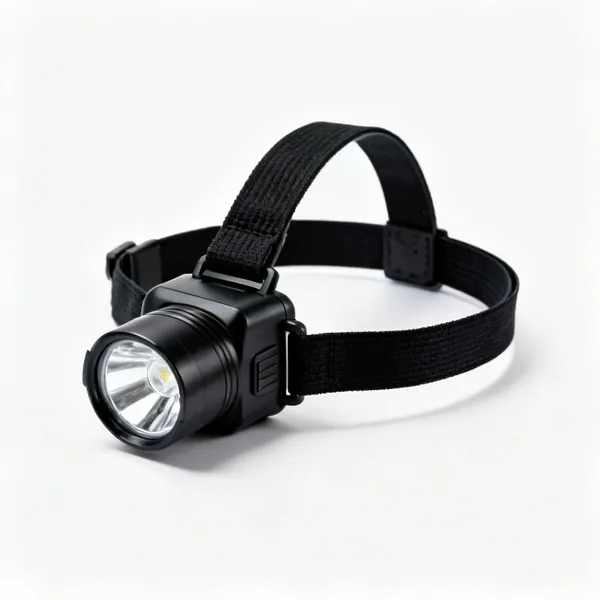
- The seat, not the washer. Look into the tap body with a torch and you will see the pitting.
- Reseating tool
- A cutter on a guide screwed into the tap body. It trues the seat in a few turns.
- Or a seat and washer set
- A nylon seat that presses in over the damage. Quicker, and it reduces the bore slightly.
- Turn the water off properly
- Both the isolator and a tap open downstairs to drain the head, or you will be working in a flow.
Not marking what stays visible
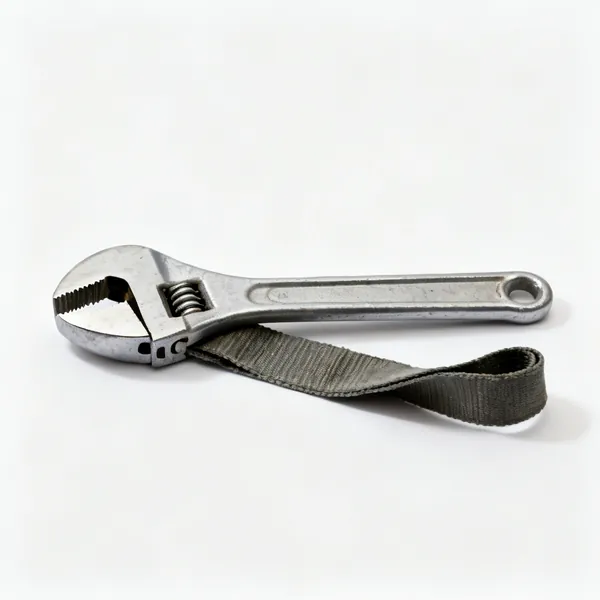
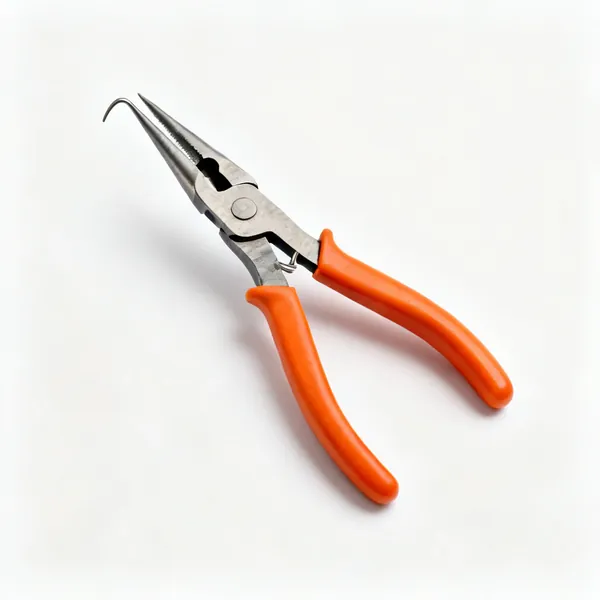
Chrome scratches the moment a serrated jaw touches it, and a tap that will be on show for years records every slip. Anything visible gets a strap wrench, a cloth pad, or taped jaws.
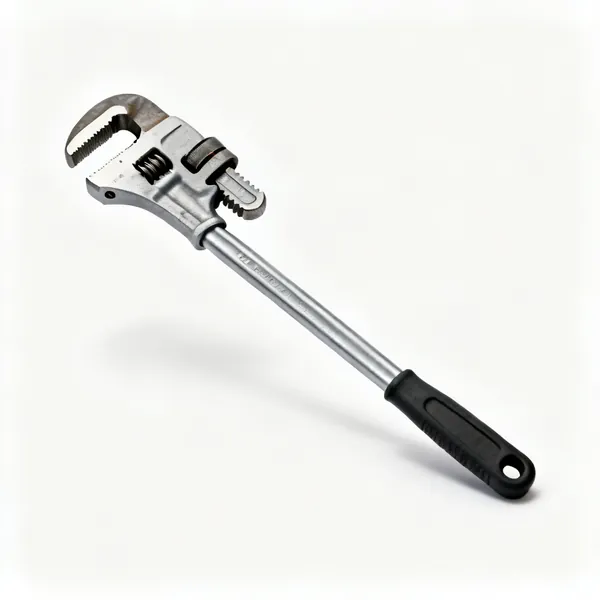
This is also why water pump pliers, which are ideal on a plastic trap being replaced, are the wrong tool on a tap that is staying. The grip is excellent and the marks are permanent.
- Strap wrench on chrome
- Fabric or rubber against the finish, and enough grip for anything short of seized.
- Cloth or tape
- A layer between a serrated jaw and a visible surface. Crude, free, and it works.
- Hidden fittings can be gripped hard
- A backnut behind a basin will never be seen. Use whatever holds it.
Isolating before you start
Every tap job starts with the water off, and the most common mistake is turning off the supply but not draining the pipe. The head of water above the tap keeps flowing until it has emptied, which on a first floor basin is a surprising amount.
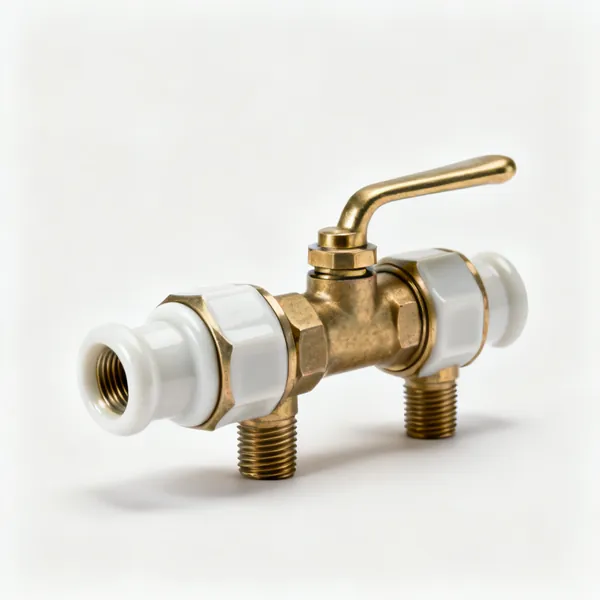
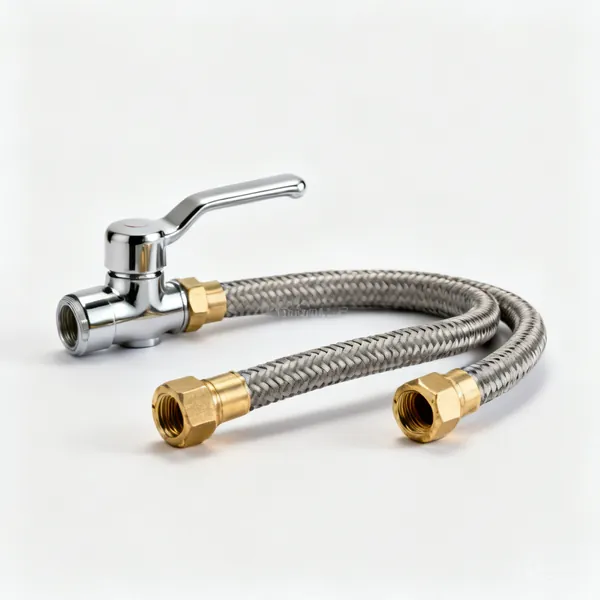
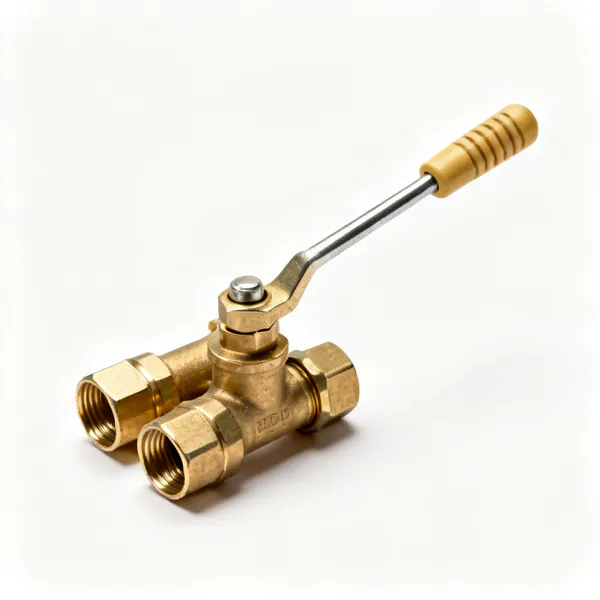
Isolating valves on the tails make this easy, and fitting a pair while a tap is out is the single best improvement you can make for next time. A screwdriver then isolates that tap alone.
- Off, then drain
- Open the tap and a lower one to let the head empty before undoing anything.
- Fit isolators while you are there
- A pair of service valves on the tails turns the next repair into a screwdriver job.
- Check the isolator actually closed
- Old service valves seize part open. Test by opening the tap before you commit.
Frequently asked questions
- What tools do I need to fit a tap?
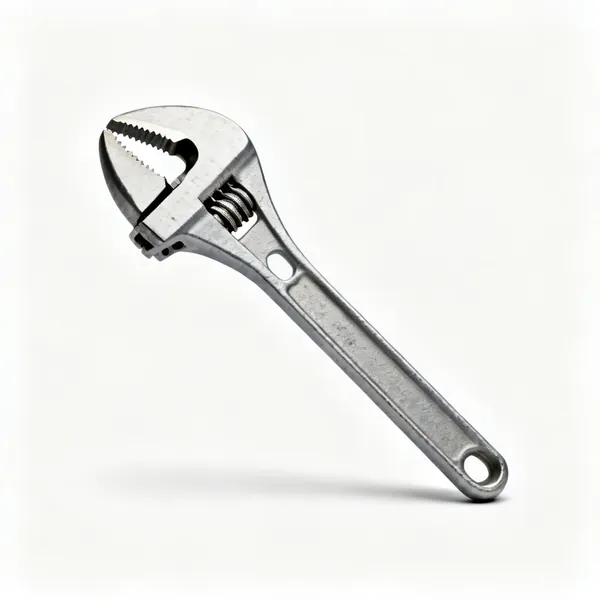
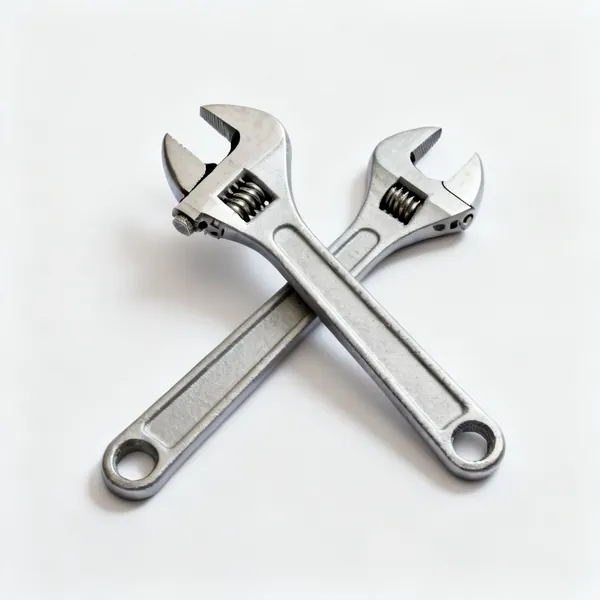
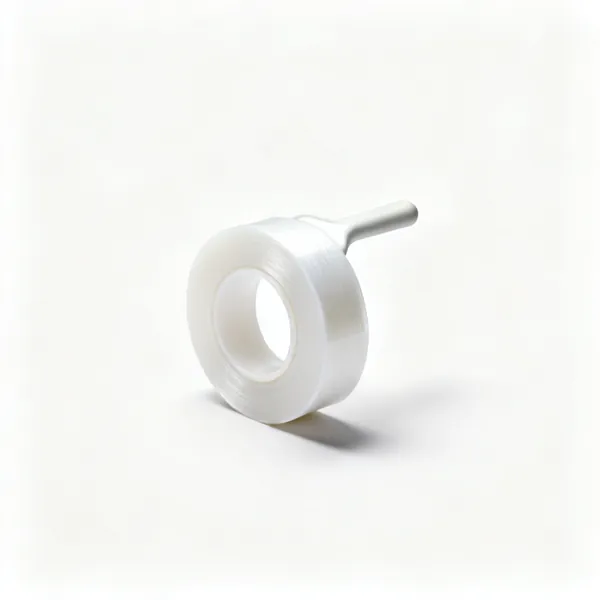
- A basin wrench or tap spanner for the backnut, adjustable spanners for the flexible tails, PTFE tape, a torch, and something to catch water. Add a pair of isolating valves and a screwdriver to fit them, which turns every future repair on that tap into a much smaller job.
- What is a basin wrench used for?
- Reaching the backnut that holds a tap onto a basin, which sits in a narrow gap behind the bowl facing away from you. Its long shaft and swivelling toothed jaw let you grip and turn that nut from below, blind, where no ordinary spanner will fit at all.
- Why does my tap still drip after a new washer?
- Because the brass seat the washer closes onto is pitted or corroded, so a new washer cannot seal against it. Either regrind the seat with a reseating tool, which takes a minute, or fit a nylon seat and washer set that deforms over the damage.
- How do I tell a ceramic tap from a washer tap?
- By how far it turns. A traditional washer tap turns through several rotations from off to full. A ceramic disc tap turns roughly a quarter turn. The washer type can be rewashered, the ceramic type needs a new cartridge, and neither repair works on the other.
- What is a tap gland and why is water coming from the handle?
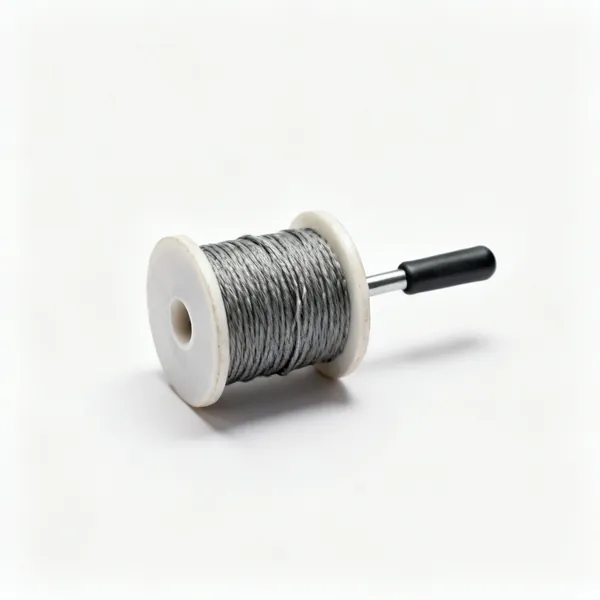
- The gland is the seal around the spindle where it passes out of the tap body. Water appearing at the base of the handle when the tap is open means the gland packing has failed, not the washer. It is repacked with PTFE tape or a new O ring.
- Can I use pliers instead of a proper tap spanner?
- Sometimes, and there is usually not room. Where there is, serrated pliers will mark anything visible, so keep them for the hidden backnut and use a strap wrench on chrome. The bigger problem is that pliers cannot reach a basin backnut at all.
- What size are tap backnuts?
- Most UK basin and sink taps use a half inch or three quarter inch BSP tail, taking a 22mm or 27mm backnut. Tap spanners are usually sold to cover both. Monobloc mixers often use a different fixing entirely, typically a threaded stud and plate.
- Should I fit isolating valves when changing a tap?
- Yes, and it is the most useful thing you can do while the pipework is open. A service valve on each tail lets that tap be isolated with a screwdriver, so the next washer or cartridge change does not mean draining the system.