Disclosure

Tools for radiator repair

Bleed keys, radiator spanners, valve tools and drain kits, all 29 grouped by the fault. Where a radiator is cold tells you what is wrong: cold at the top is air, cold at the bottom is sludge, cold all over is usually the valve.

18 are marked essential, and the first three cost very little between them.

Part of the full plumbing tools list, 56 tools in 9 groups.

Bleeding and venting 6

The commonest fault and the cheapest fix. Three of these cost less than a coffee between them.

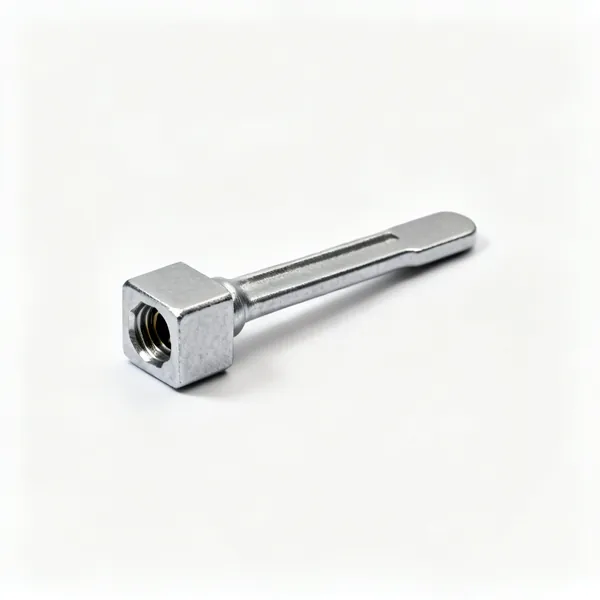
  • A small steel radiator bleed key with a square socket end and a flat handleEssential

    Radiator bleed key

    A small square socket that opens the vent at the top of a radiator. A quarter turn releases air, and turning it right out brings the spindle and the system contents with it.

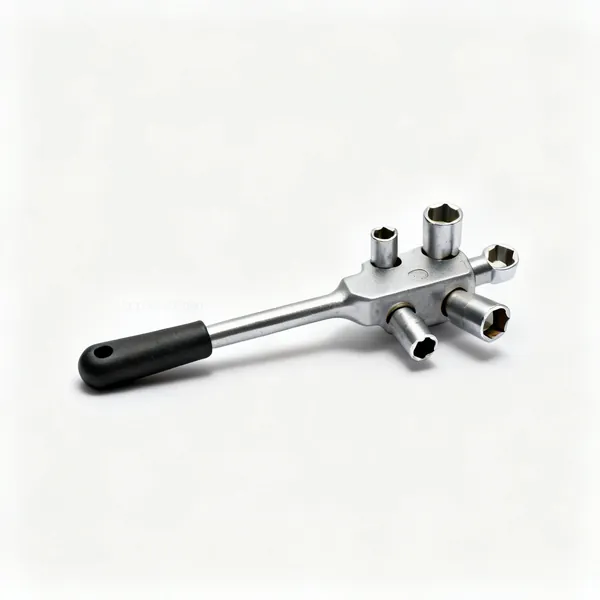
  • Universal vent key: A universal radiator vent key with several different socket sizes on one body

    Universal vent key

    A key with several socket sizes, including the clock and hex patterns older radiators use. Not all bleed valves take the common square, which is discovered at the worst moment.

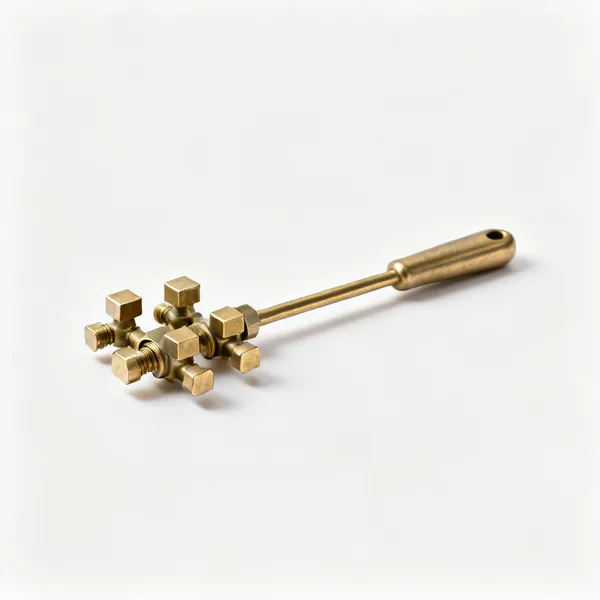
  • Bleed plug set: A set of small brass radiator bleed plugs with square spindles

    Bleed plug set

    Replacement vent plugs for when the seat is damaged and the valve drips even fully closed. It costs almost nothing and it is the whole repair for a persistently weeping vent.

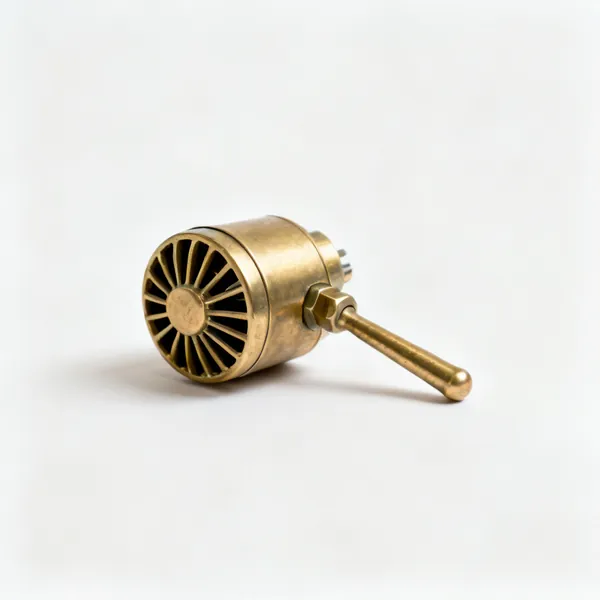
  • Automatic air vent: A small brass automatic radiator air vent with a cylindrical body

    Automatic air vent

    A float valve that releases air on its own, fitted where a radiator or a high point traps it repeatedly. It treats a symptom, so it is worth finding why the air is arriving first.

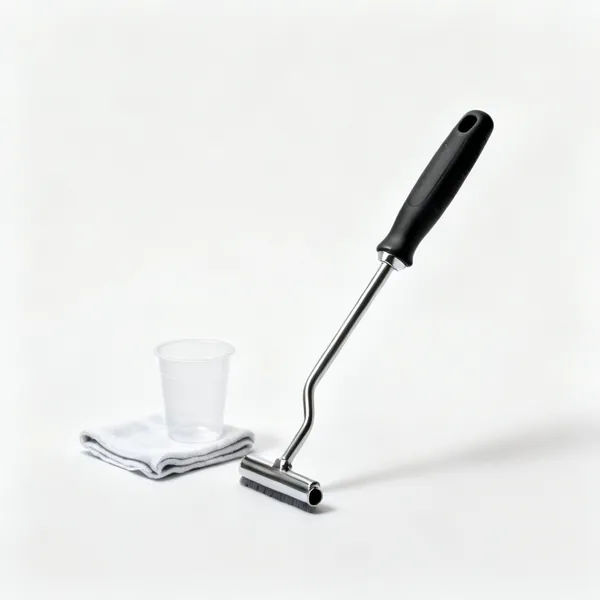
  • Cloth and cup: A small plastic cup beside a folded clothEssential

    Cloth and cup

    What comes out of a bleed valve is black with iron oxide and it stains carpet and paint permanently. Marked essential because forgetting it costs more than every tool on this page.

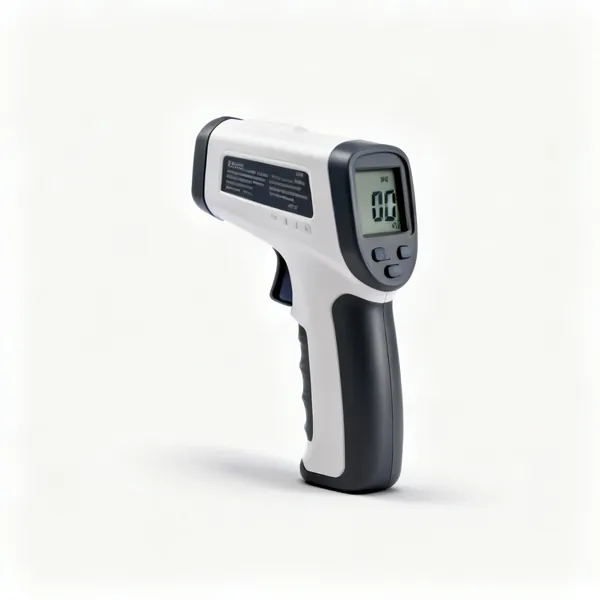
  • An infrared thermometer gun with a digital display and a trigger

    Infrared thermometer

    Reads surface temperature across a radiator so you can see exactly where it goes cold. It turns the whole diagnosis at the top of this page from a hand test into a measurement.

Valves 8

Seized pins, balancing and replacement. Most of a radiator's moving parts live in these two fittings.

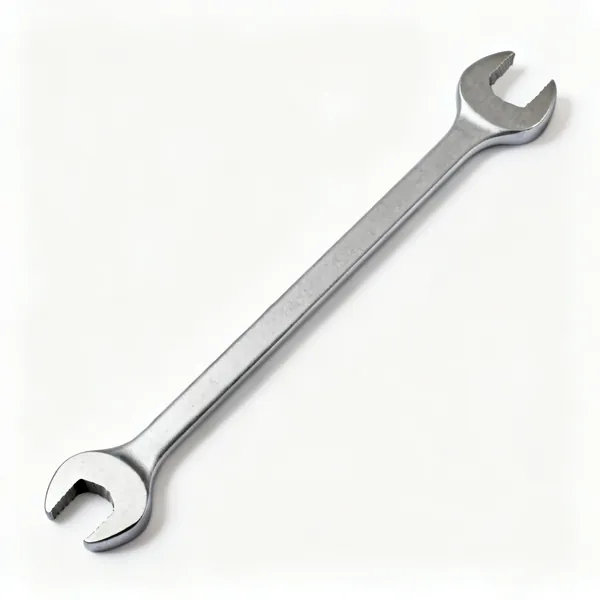
  • A long thin steel radiator spanner with open ends of two sizesEssential

    Radiator spanner

    A long thin spanner sized to radiator union nuts, reaching a nut tight against the panel and the skirting. An ordinary spanner will not fit that gap, which is the whole reason this exists.

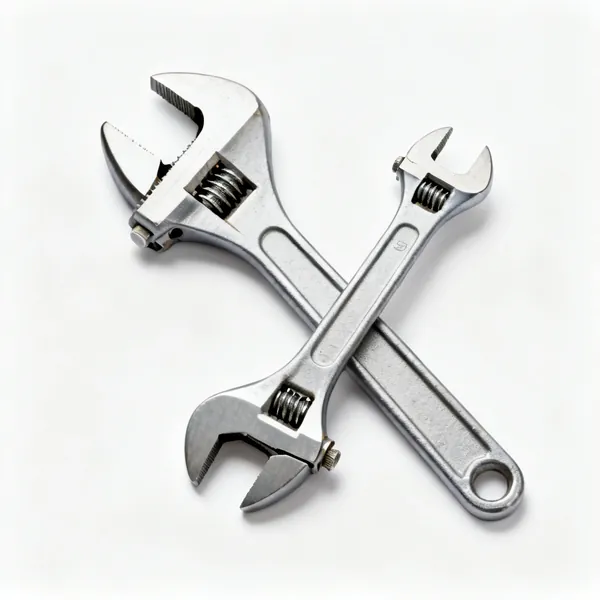
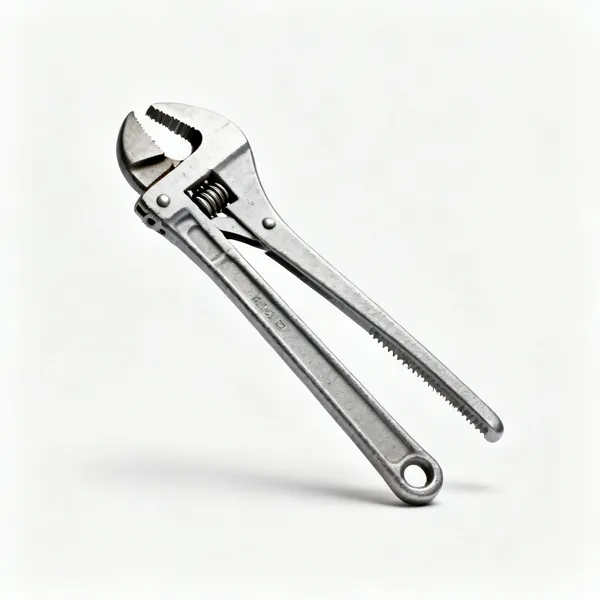
  • Two adjustable spanners of different sizes with knurled adjusting screwsEssential

    Adjustable spanners

    A pair, one holding the valve body and one turning the nut. Working with a single spanner twists the tail into the radiator and can crack the threaded bush inside it.

  • A pair of water pump pliers with an adjustable slip joint and long serrated jawsEssential

    Water pump pliers

    Wide adjustable jaws for a stiff union nut and for gripping and working a seized valve pin. The serrations mark chrome, so keep them off anything that will be seen afterwards.

  • TRV head tool: A plastic thermostatic radiator valve head removal collar tool

    TRV head tool

    A collar tool that undoes the ring holding a thermostatic head on, where it has been overtightened or corroded. Trying it with pliers cracks the plastic head, which then has to be replaced too.

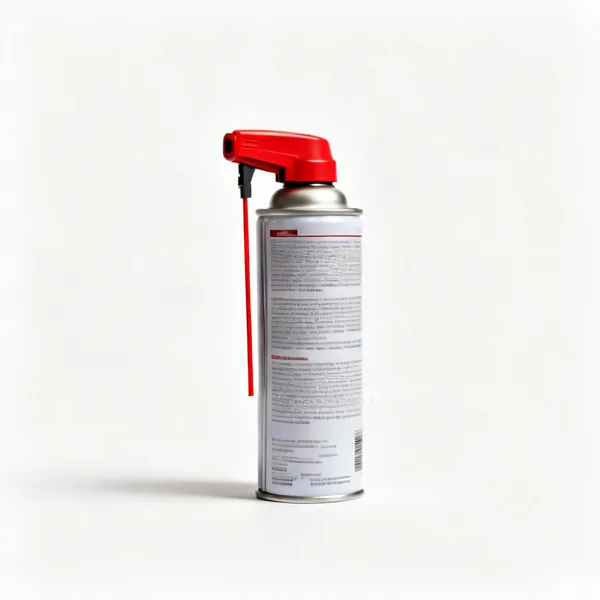
  • A spray can of penetrating oil with a red extension nozzleEssential

    Penetrating oil

    Frees a corroded valve pin and a union nut that has not moved in years. Applied and left rather than applied and immediately forced, which is the difference between freeing it and snapping it.

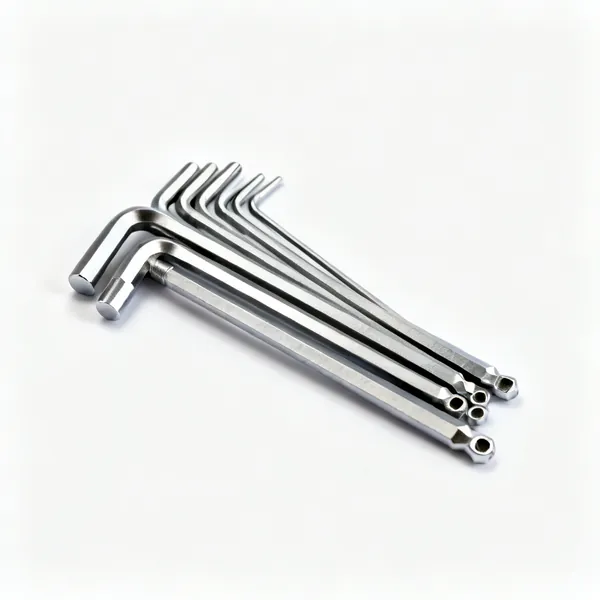
  • Hex keys: A set of hex allen keys of graduated sizes fanned outEssential

    Hex keys

    Lockshield caps and some valve bodies use a hex rather than a square. Also how the balance setting is adjusted on many modern lockshields, which is done in turns and noted.

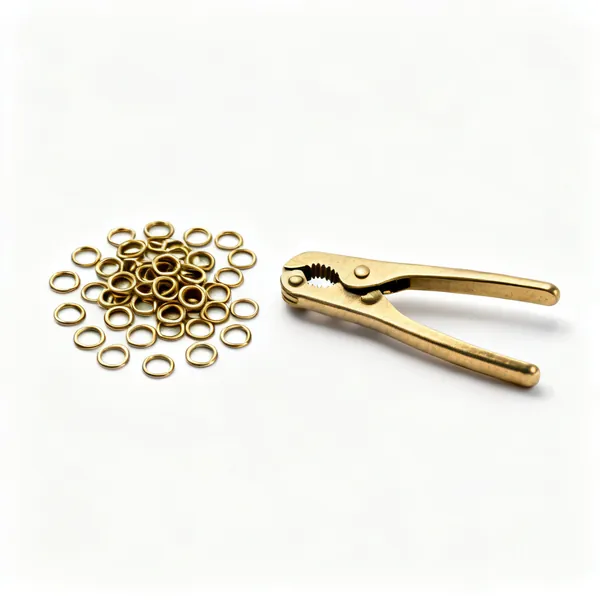
  • Compression olives: An assortment of small brass compression olive ringsEssential

    Compression olives

    Soft brass rings that seal a union. A joint that weeps after being properly tightened needs a new olive, because the old one has already been crushed to shape and will not reseal.

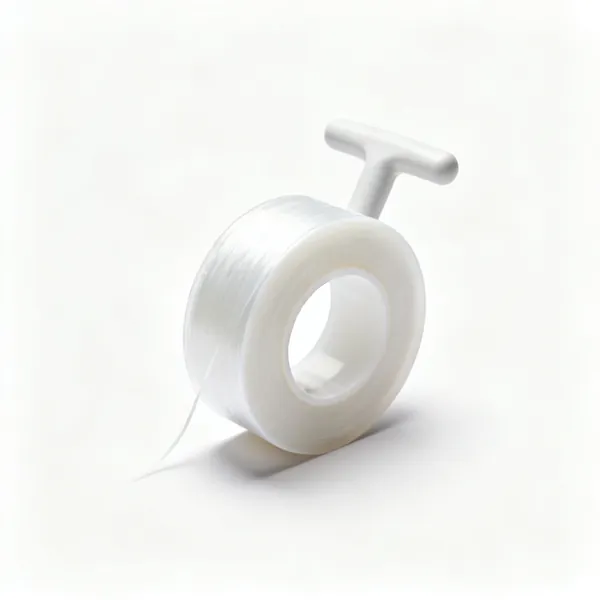
  • PTFE tape: A roll of white PTFE plumbers thread seal tape partly unwoundEssential

    PTFE tape

    Seals a radiator tail into the panel and repacks some valve glands. Wound clockwise so it tightens as the fitting goes in rather than unwinding ahead of it.

Draining, flushing and refilling 8

What most of the work actually is. Isolate rather than drain where you can, and note the lockshield turns first.

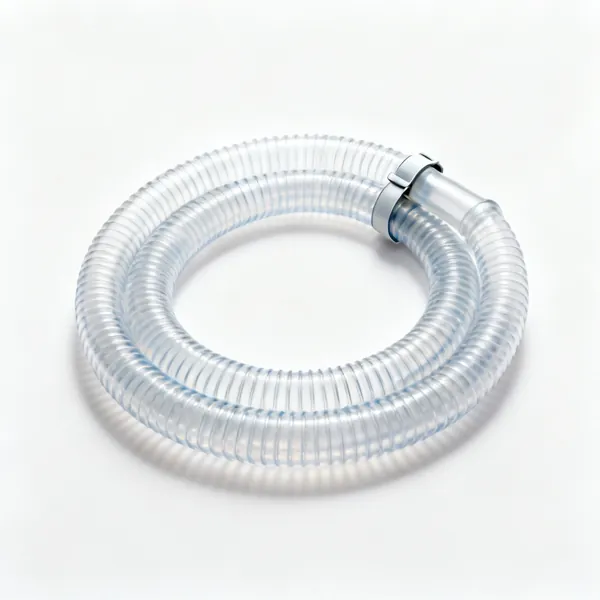
  • A coiled length of clear plastic drain hose with a hose clipEssential

    Drain hose

    A length of hose from the drain cock to a drain or a bucket outside. Long enough to reach and clipped on, because a hose that comes off delivers the system contents to the floor.

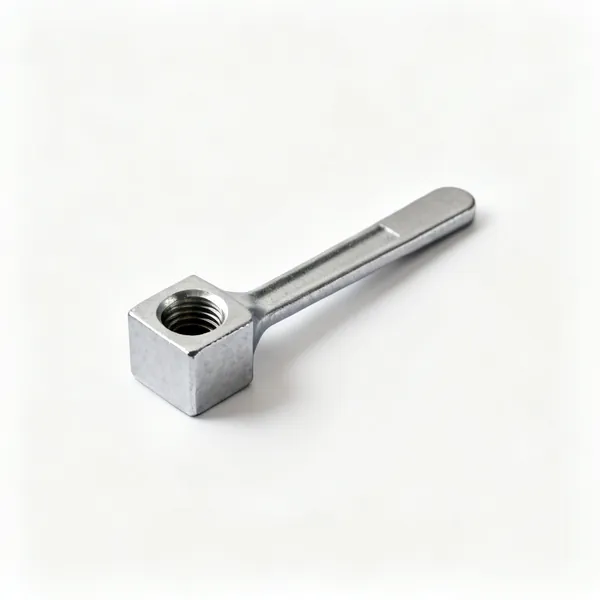
  • A small steel drain cock key with a square socket and a flat handleEssential

    Drain cock key

    A small square key that opens the drain valve at the low point of a system. Some open with a screwdriver and many do not, and it is not obvious which until you are there.

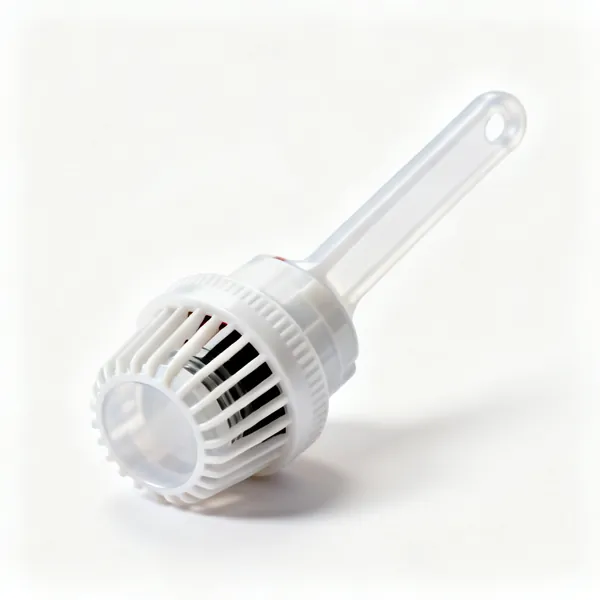
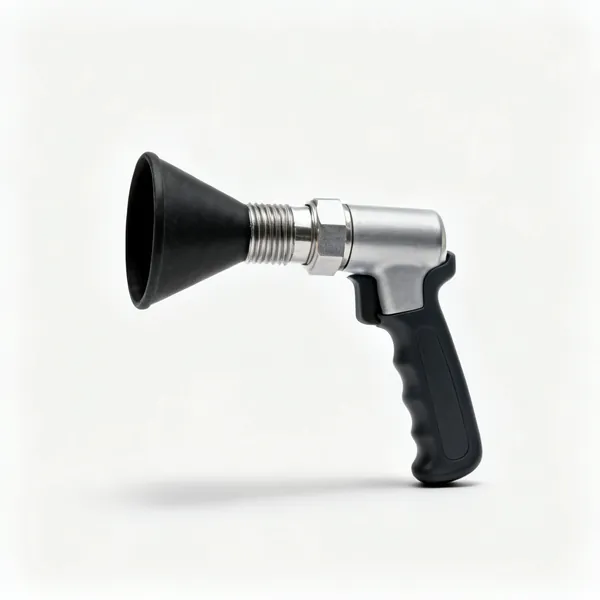
  • A hose flushing adaptor fitting with a threaded connector and rubber cone

    Hose flushing adaptor

    Connects a garden hose to a removed radiator so it can be flushed through outside. Sludge in the base is what makes a radiator cold at the bottom, and this is how it comes out.

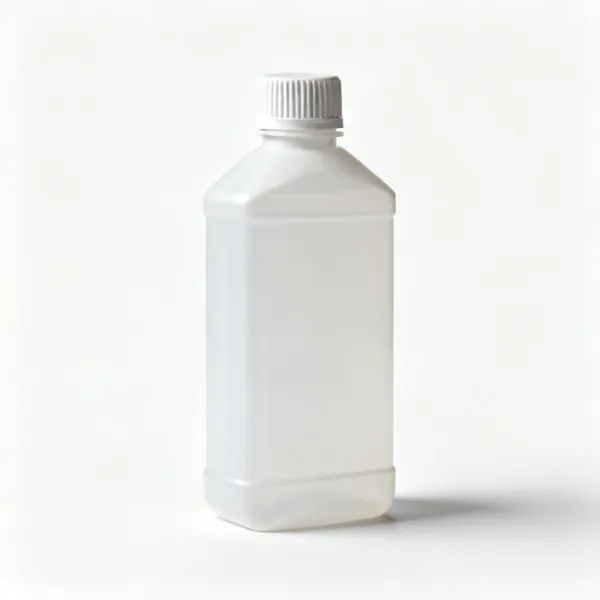
  • A plastic bottle of central heating system inhibitor with a screw capEssential

    System inhibitor

    Added after any real drain down to stop steel corroding into sludge. It is the single biggest factor in how long a system lasts, and refilling without it starts the damage immediately.

  • Magnetic sludge catcher: A magnetic pipe mounted sludge catcher with two clamping halves

    Magnetic sludge catcher

    A magnet clamped to the pipe that collects iron oxide out of circulation. Not a substitute for a proper filter, and it shows you how much sludge the system is carrying.

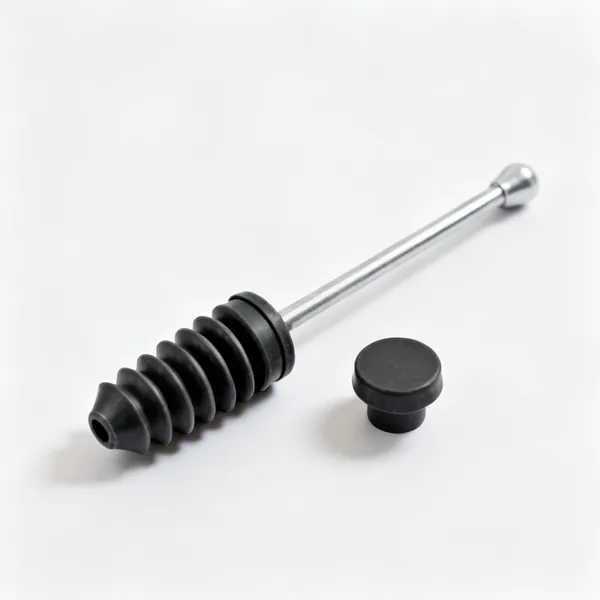
  • Radiator bungs: A set of tapered rubber radiator plug bungs and a blanking cap

    Radiator bungs

    Tapered plugs and blanking caps that seal a removed radiator's tails so it can be carried without emptying onto the stairs. Removed radiators hold more water than expected.

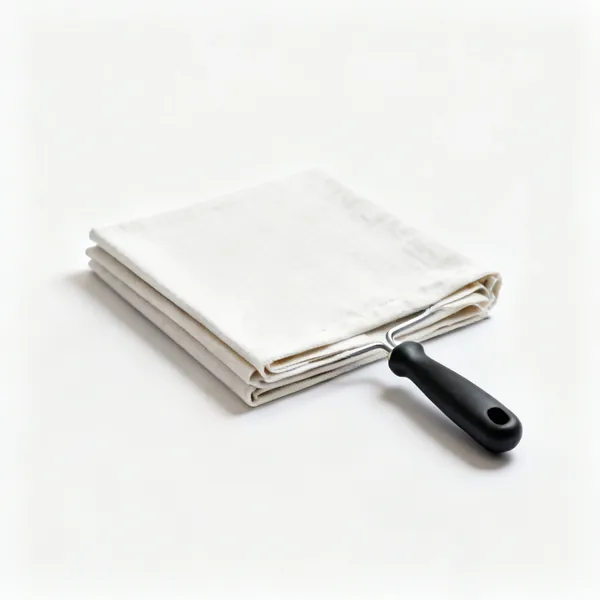
  • Dust sheets: A folded canvas dust sheetEssential

    Dust sheets

    Under and around the radiator before anything is undone. System water is black and permanent on carpet, and this is the cheapest insurance on the page.

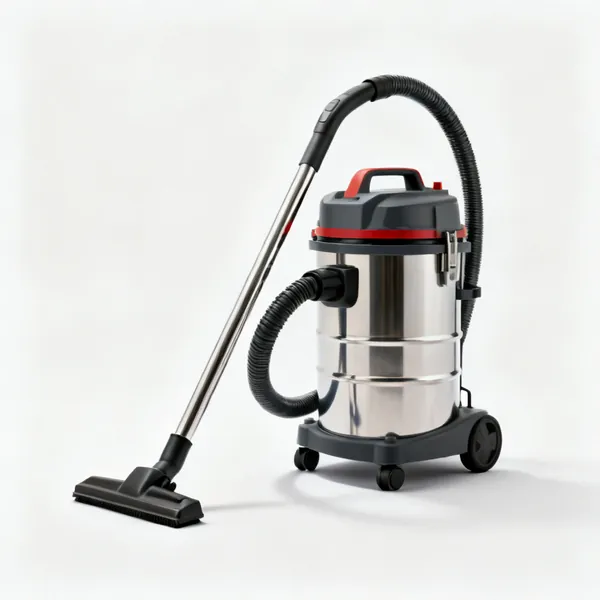
  • Wet and dry vacuum: A wet and dry workshop vacuum cleaner with a hose and cylindrical body

    Wet and dry vacuum

    Recovers spilled system water off a hard floor before it spreads, and empties the last of a radiator. On a job that goes wrong it is the difference between a mess and a claim.

Removing and refitting 7

Taking a radiator off the wall and putting it back level. Full of water it is heavier than it looks.

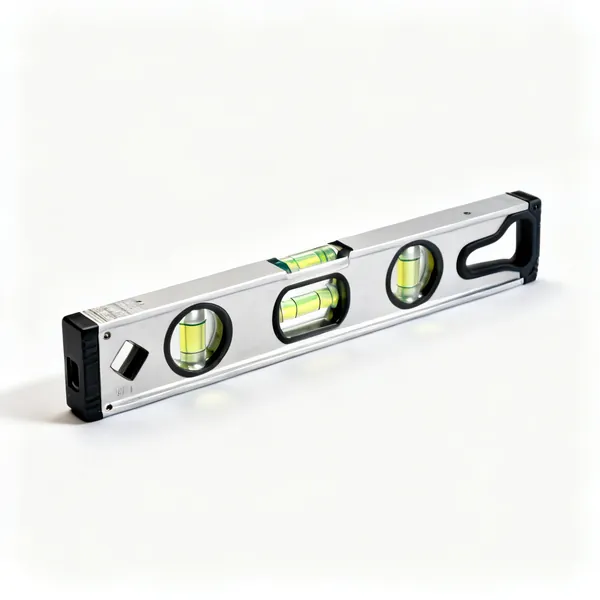
  • An aluminium spirit level with three glass vials and machined edgesEssential

    Spirit level

    A radiator hung out of level traps air at the high end and needs bleeding constantly. Setting it dead level, or very slightly toward the vent end, prevents that permanently.

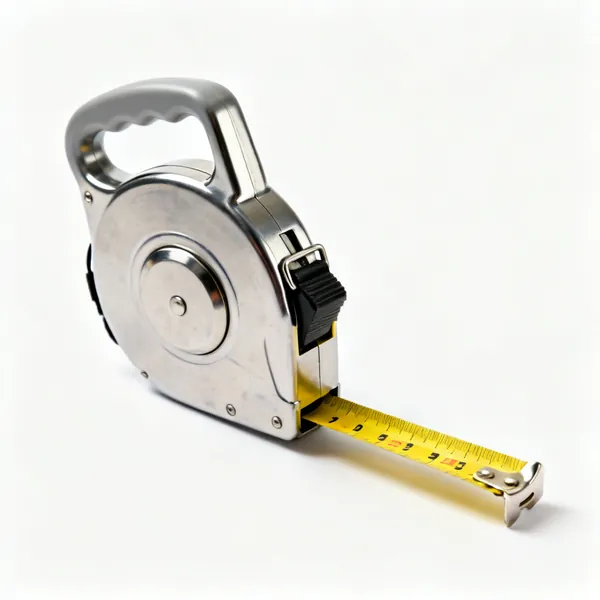
  • A retractable steel tape measure with a yellow blade and a belt clipEssential

    Tape measure

    Sets bracket positions and pipe centres. A replacement radiator rarely has its tails at the same spacing, and finding that out after the old one is off is the usual surprise.

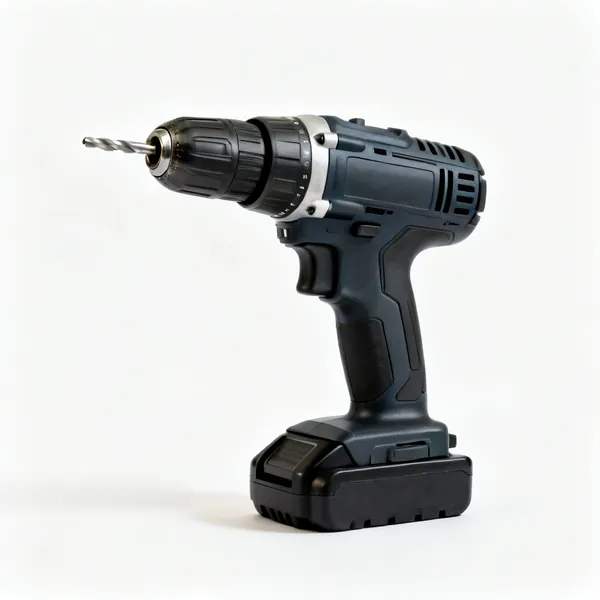
  • A cordless drill driver with a battery, chuck and pistol gripEssential

    Cordless drill

    Fits brackets into masonry or timber. A radiator full of water is heavy enough that bracket fixings matter, and plasterboard alone will not hold one.

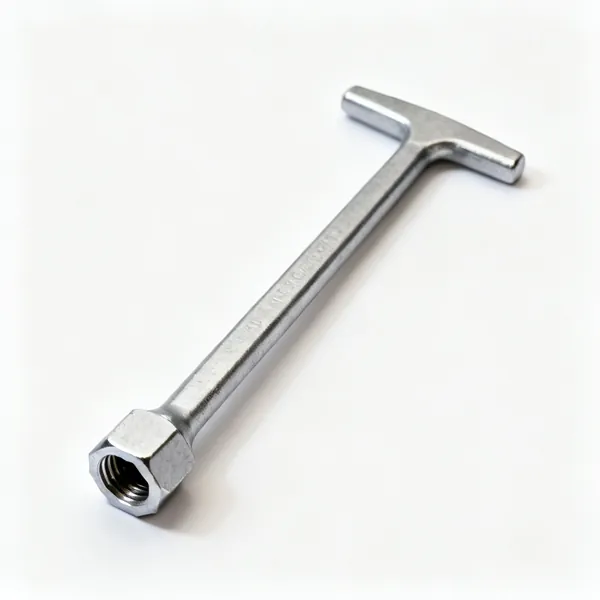
  • Radiator tail key: A steel radiator tail fitting key with a hexagonal end and a T handleEssential

    Radiator tail key

    A hex or square key that screws the threaded tail into the radiator bush. An adjustable spanner on a tail distorts the thread, and the tail then never seals properly.

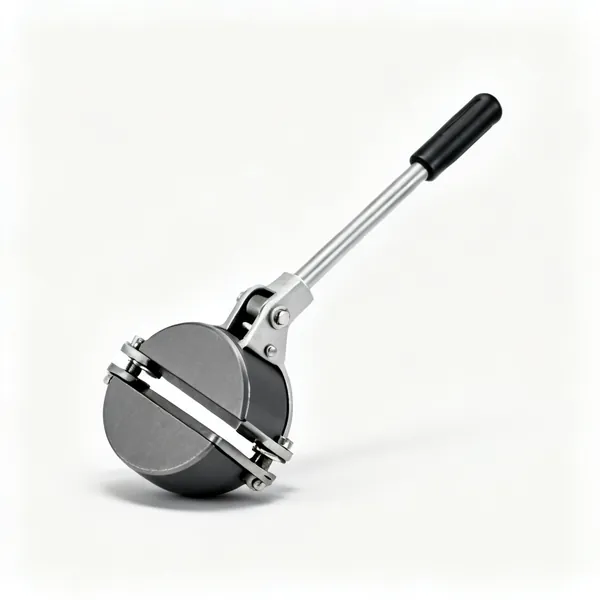
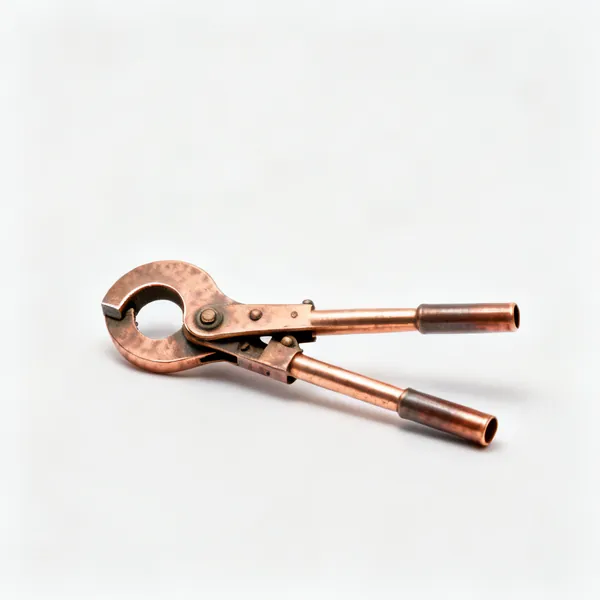
  • A lever type copper pipe bender with two handles and a curved former

    Pipe bender

    Adjusts the tail pipes where a new radiator's connections do not line up with the existing ones. A bend is neater and more reliable than a pair of offset couplings.

  • A copper pipe cutter with a cutting wheel, rollers and adjusting knobEssential

    Pipe cutter

    Shortens or alters tail pipes squarely with no swarf inside. A hacksaw drops filings into the pipe, and they end up in the pump or the new valve.

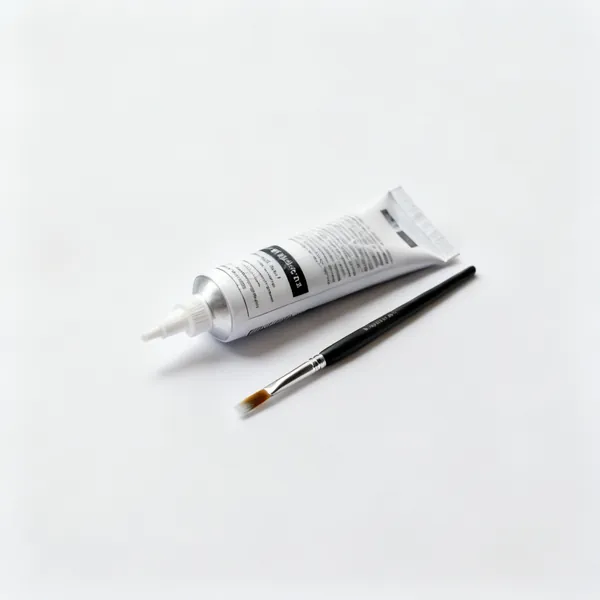
  • Filler and touch up: A tube of decorators filler with a nozzle beside a small paint brush

    Filler and touch up

    For the old bracket holes when a replacement radiator does not use them. It is the difference between a finished job and one that obviously replaced something.

Diagnosing and fixing a radiator

Where it is cold tells you what is wrong. That one observation picks the tool and saves taking anything apart.

Where it is cold tells you what is wrong

Cold at the top and warm at the bottom is trapped air, and a bleed key fixes it in a minute. Cold at the bottom and warm at the top is sludge settled in the base, which needs the radiator flushed or the system power flushed.

Cold all over while the pipe feeding it is hot means the valve is not opening, usually a seized pin under a thermostatic head. Cold all over with a cold pipe means the flow is not reaching it, which is a balancing or a circulation problem rather than a radiator fault.

Cold top, warm bottom
Air. Bleed it. If it fills with air again within days, there is a leak drawing air in somewhere.
Cold bottom, warm top
Sludge. Flushing the radiator or the system, not a valve or a bleed.
Cold all over, hot pipe
The valve is not opening. Usually a stuck pin under the thermostatic head.
Cold all over, cold pipe
Not a radiator fault. Balancing, circulation or a closed valve further back.

Bleeding, and why it keeps needing doing

Bleeding releases air trapped at the top of a radiator. Open the valve a quarter turn with a key, wait for the hiss to become water, then close it. A cloth and a cup underneath, because what comes out is black and it stains.

A radiator that needs bleeding once a year is normal. One that needs it every few weeks is drawing air in, either through a weeping joint, an open vent on a feed and expansion tank, or corrosion producing hydrogen. That is a system problem and bleeding only treats the symptom.

Quarter turn only
Enough to release air. Fully out and the spindle comes with it, followed by the system contents.
Cloth and cup
The water is black with iron oxide and it marks carpet and paint permanently.
Heating off, then on
Bleed with the system off and cooled so air has collected at the top rather than circulating.
Repeat air means a leak
Weekly bleeding is a diagnosis, not a chore. Something is letting air in or generating it.

Stuck valves and seized pins

A thermostatic valve works by a head pressing a pin down against a spring. Over a summer of being fully open, the pin corrodes in place, and in autumn the radiator stays cold or stays hot depending which way it stuck.

Take the head off and the pin is visible. Free it with pliers, working it up and down and adding penetrating oil, and it usually recovers. If not, the valve body can be replaced without draining the whole system by fitting the new one with the radiator isolated at both ends.

Take the head off first
The fault is nearly always the pin under it rather than the head itself.
Work it, do not force it
Up and down with pliers and a little oil. Levering hard snaps the pin off inside the body.
Exercise valves in summer
Turning every thermostatic head fully closed and open once in the summer prevents most of these.
Lockshield is not a control
The plain valve at the other end sets balance. Opening it fully to make a radiator hotter unbalances the system.

Leaks and what each one means

A weep at the union nut is usually the olive or the nut, and both are repairable with the radiator isolated. A weep from the valve spindle is the gland, which some valves allow to be repacked. A drip from the bleed valve means the spindle seat is damaged, and a whole new bleed plug is pennies.

A wet patch on the panel itself is different. That is a corrosion pinhole from the inside, there is nothing to tighten, and sealant products are a temporary measure at best. That radiator is due for replacement.

At the nut
Olive or nut. Isolate both valves, undo, replace the olive, refit. A small job.
At the spindle
The gland. Some valves repack with PTFE, others need a new valve body.
At the bleed plug
A damaged seat. Replace the whole plug, which costs almost nothing.
On the panel
Corrosion from inside. Nothing to tighten, and the radiator needs replacing rather than patching.

Draining and refilling properly

Most radiator work does not need the system drained, because both valves can be closed to isolate that radiator alone. Count and note the turns on the lockshield before closing it, so balance can be restored exactly afterwards.

Where the system does have to be drained, refill it slowly with the highest bleed valve open, then bleed every radiator from the lowest floor up. Add inhibitor before you finish, because a system refilled with plain water starts corroding immediately.

Isolate rather than drain
Both valves closed and the radiator alone comes off. Note the lockshield turns first.
Refill slowly
Air out through the highest vent. A fast fill traps air in every horizontal run.
Bleed lowest floor first
Working upward pushes air ahead of the water rather than trapping it behind.
Inhibitor every time
Fresh water plus steel plus air makes sludge. Inhibitor is the difference between ten years and three.

Frequently asked questions

What tools do I need to fix a radiator?
A bleed key, a radiator spanner, two adjustable spanners, water pump pliers, PTFE tape, a cloth and a cup, and a hose for draining. That covers bleeding, freeing a valve, and taking a radiator off to deal with a leaking union or to flush it.
Why is my radiator cold at the top but hot at the bottom?
Trapped air, which collects at the highest point. Turn the heating off, let it cool, then open the bleed valve a quarter turn with a key until the hiss becomes water and close it. If it needs doing again within weeks, air is getting in and that needs finding.
Why is my radiator cold at the bottom but hot at the top?
Sludge, which is iron oxide that has settled in the base and blocked the flow through the lower channels. Bleeding will not help. The radiator needs taking off and flushing out, or the whole system needs power flushing and fresh inhibitor.
How do I fix a radiator valve that is stuck?
Take the thermostatic head off and look at the pin underneath. It corrodes in place over the summer. Work it up and down with pliers with a little penetrating oil and it usually frees. Do not lever hard, because the pin snaps off inside the valve body.
Can I take a radiator off without draining the system?
Yes, in most cases. Close the thermostatic valve and the lockshield at the other end, counting and noting the lockshield turns first so balance can be restored. Then undo the unions with a bowl underneath. Only a small amount of water comes out.
What is a lockshield valve for?
It balances the system by restricting flow, so radiators near the pump do not take all the heat and leave distant ones cold. It is set once and left. Opening it fully to make one radiator hotter takes flow away from the rest of the house.
My radiator is leaking from the panel, can it be repaired?
Not properly. A wet patch on the panel itself is a corrosion pinhole from the inside, so there is nothing to tighten and no gasket to replace. Sealant additives may slow it briefly. The radiator needs replacing, and its presence suggests the system water needs attention.
Do I need to add inhibitor after draining a radiator?
Yes, if you have drained any real volume. Fresh water with steel and oxygen produces the iron oxide sludge that blocks radiators and wears pumps. Inhibitor is inexpensive and it is the single biggest factor in how long a system lasts.