Disclosure

Tools for clamping

Clamping has two separate jobs, and most people only think about one. Holding work still while you cut it needs grip and quick release. Closing a glue joint needs even pressure in the right direction, and too much of it starves the joint rather than strengthening it. All 32 here are grouped by which of the two you are doing, plus the pads and cauls that keep the clamp from marking the work.

13 are marked essential, and the honest answer on quantity is more than you think.

Part of the full hand tools list, 73 tools in 11 groups.

General purpose clamps 9

For holding work while you cut, drill or route it. Grip and speed matter more than fine pressure control.

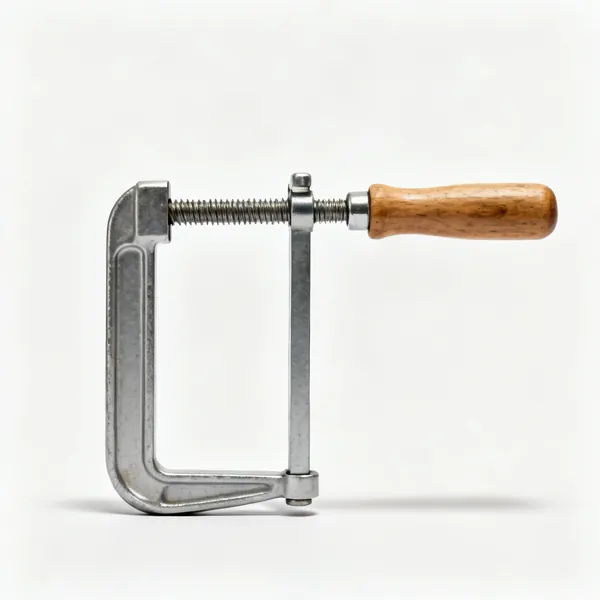
  • An F clamp with a steel bar, a sliding jaw and a wooden handle screwEssential

    F clamp

    A sliding jaw on a flat bar with a screw. The workshop default: cheap, strong, and available in every length, so most benches have half a dozen.

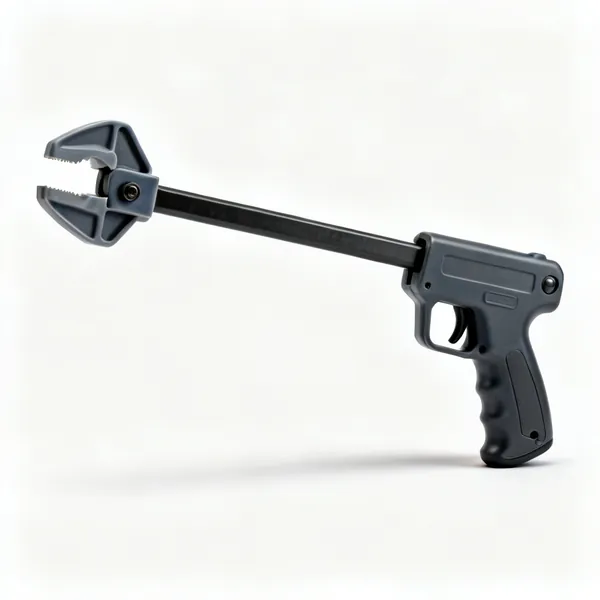
  • Quick release clamp: A one handed trigger bar clamp with a pistol grip and plastic jawsEssential

    Quick release clamp

    A pistol trigger tightens it one handed, which is what you want when the other hand is holding the workpiece in position. Less force than a screw clamp.

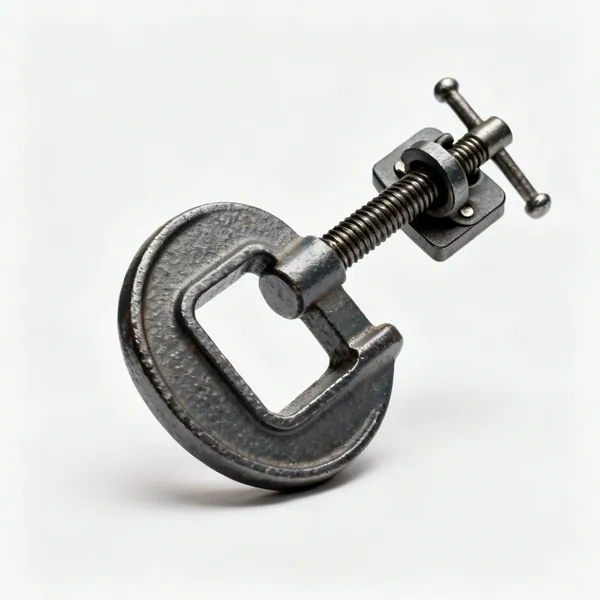
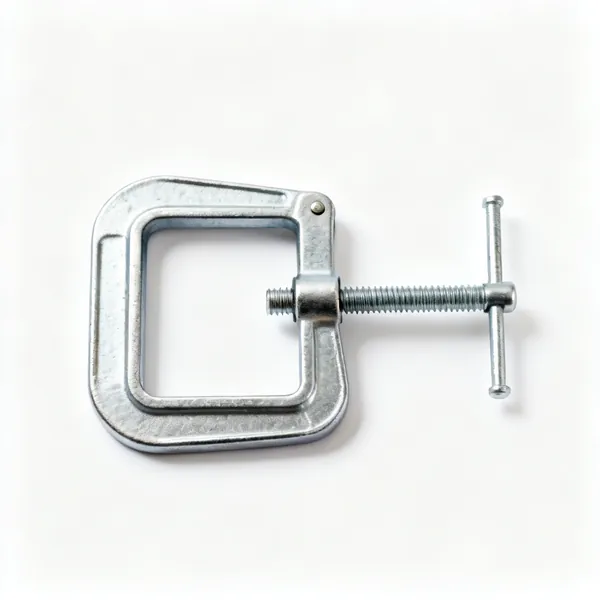
  • A cast iron G clamp with a threaded screw and a swivel padEssential

    G clamp

    A solid cast frame and a screw, so it flexes less than an F clamp at the same size. Limited reach, and the strongest clamp for its cost.

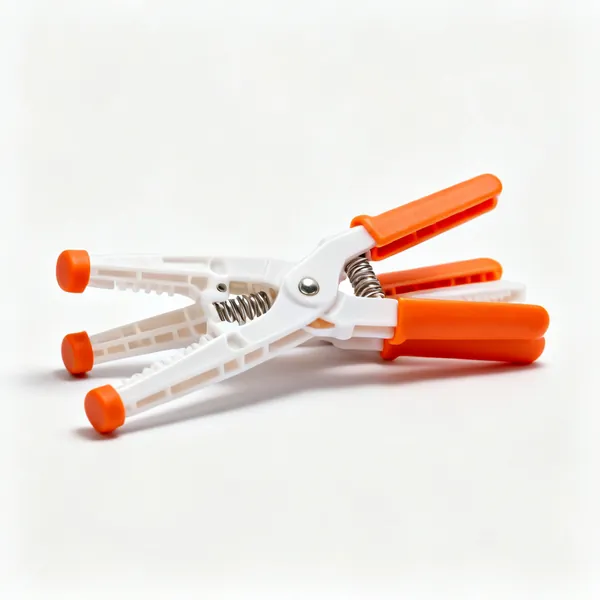
  • Several plastic spring clamps with orange handles and rubber tipsEssential

    Spring clamps

    Squeeze and let go, holding light work with no adjustment. For holding a pattern, a jig or a piece of trim while something else happens.

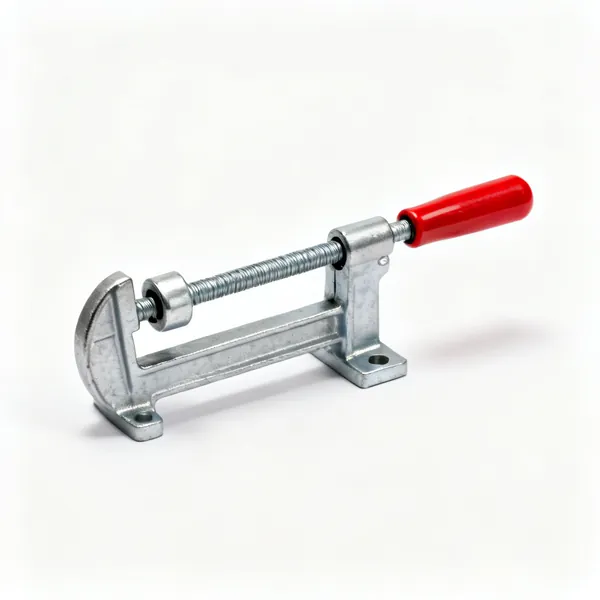
  • Toggle clamps: A metal horizontal toggle clamp with a red handle and a mounting base

    Toggle clamps

    Mounted to a jig, clamping and releasing with a lever at a fixed setting. Repeatable in a second, which is what makes production jigs worth building.

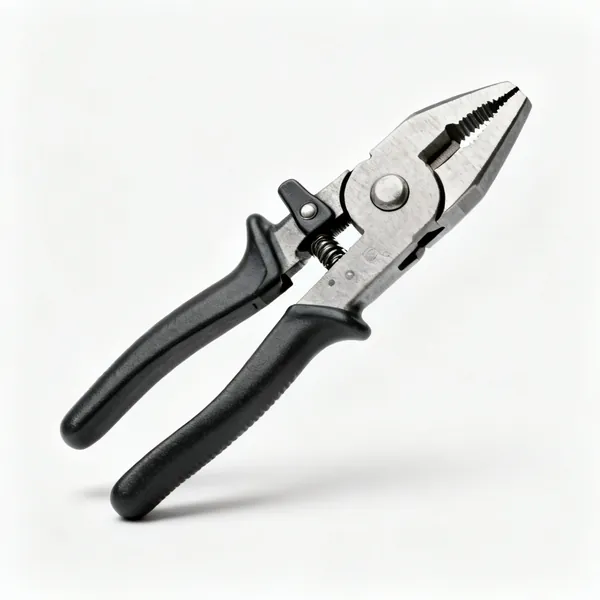
  • A pair of locking pliers with an adjustment screw and a release lever

    Locking pliers

    A clamp you can carry in a pocket, with jaws that grip irregular shapes. Sheet metal and welding versions have wide flat jaws for exactly this.

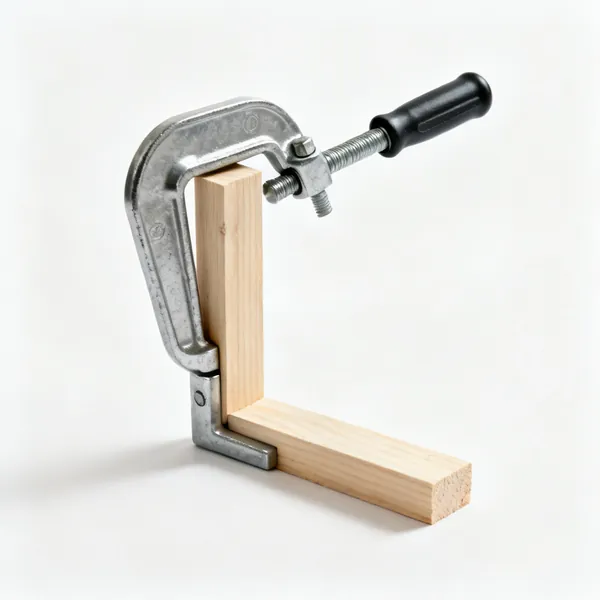
  • Corner clamp

    Corner clamp

    Holds two pieces at ninety degrees while they are screwed or glued. For a mitred frame or a box corner, where holding square by hand is not possible.

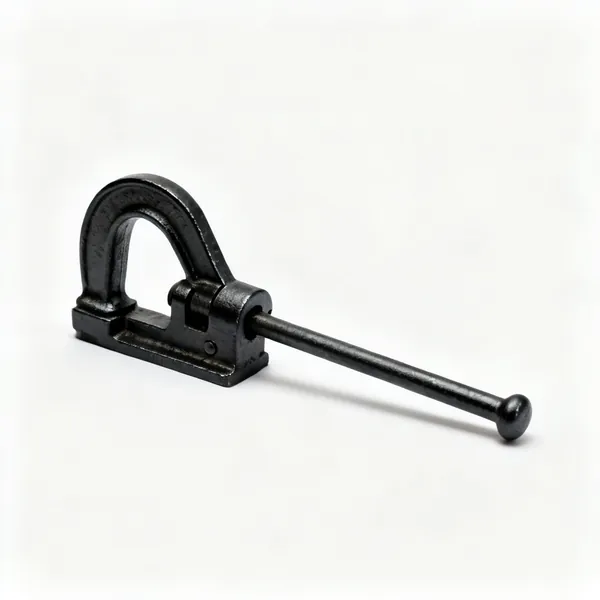
  • Bench hold down: A black iron bench holdfast with a curved arm and a long shaft

    Bench hold down

    Drops into a bench dog hole and grips with a tap, releases with a tap. Nothing above the work surface, which is why carvers and routers prefer them.

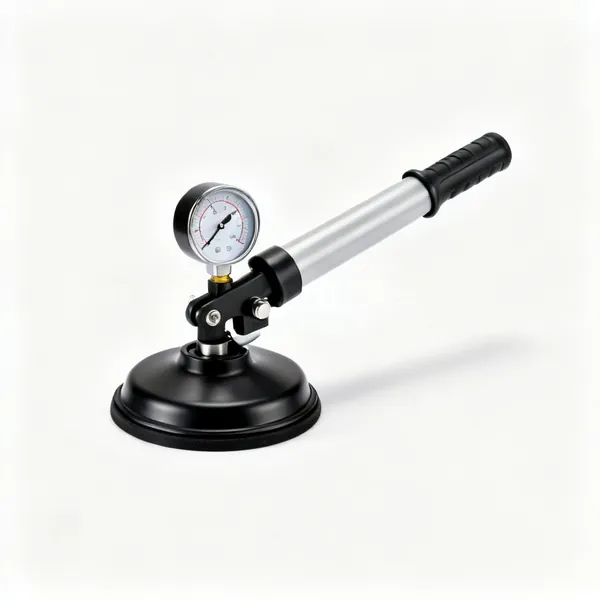
  • Vacuum clamp: A vacuum suction clamp pad with a hand pump and a gauge

    Vacuum clamp

    Holds by suction against a flat face, leaving every edge free. For routing and sanding a panel where any mechanical clamp would be in the way.

Glue up clamps 8

Even pressure along a joint line over a long span. This is where the money goes in a workshop.

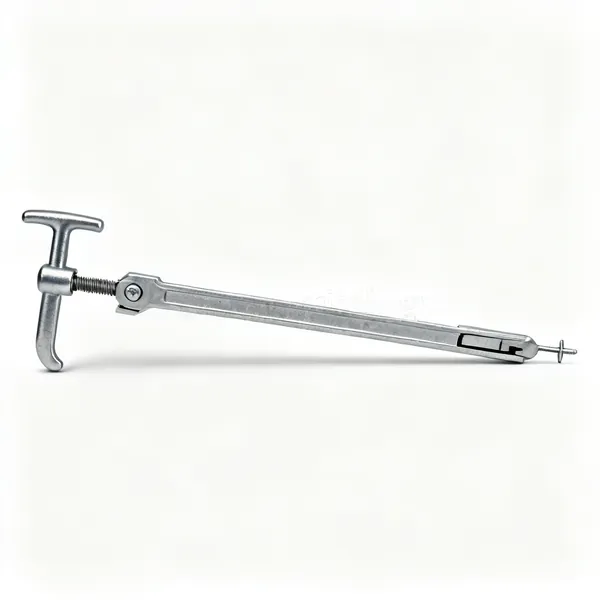
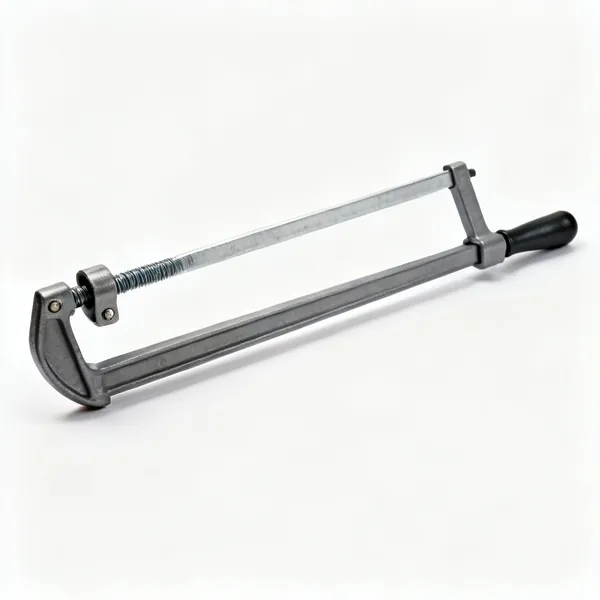
  • A long steel sash cramp with a T bar, a screw head and a pinned sliding tailEssential

    Sash cramp

    A long steel bar with a fixed head and a pinned tail, for panels and frames. The traditional glue up clamp, and the cheapest way to get real length.

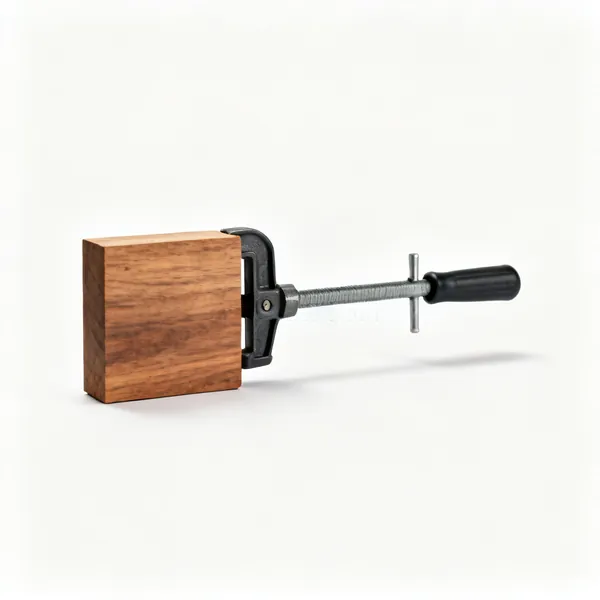
  • Parallel clamp: A parallel jaw bar clamp with large square wooden faced jaws

    Parallel clamp

    Jaws that stay square to the bar under load rather than tilting, so pressure is perpendicular to the joint. Expensive, and it stops a panel bowing.

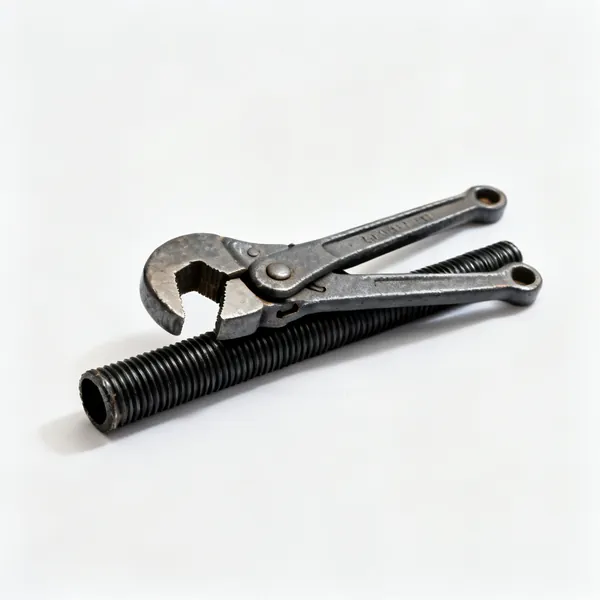
  • A pair of cast pipe clamp fittings on a short stub of black threaded pipe, laid diagonally with clear space at every edge

    Pipe clamp

    Two castings on a length of threaded pipe, so the length is whatever pipe you buy. Far cheaper than a sash cramp of the same reach.

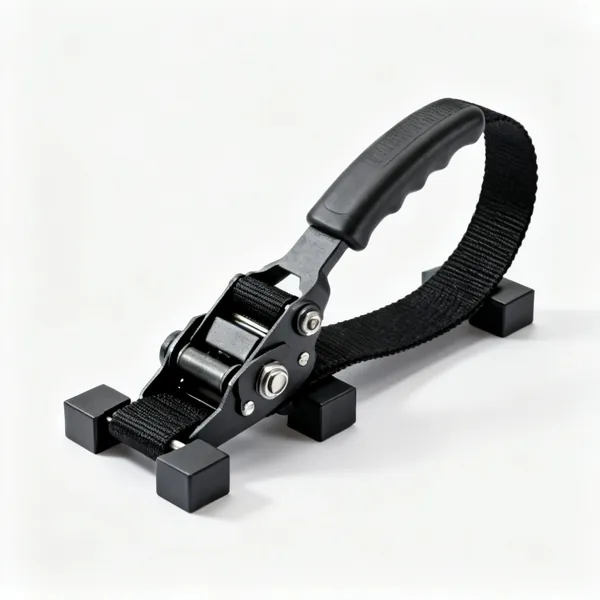
  • A nylon band clamp strap with a ratchet tensioner and four corner blocks

    Band clamp

    A strap tensioned around an assembly, pulling all sides in together. The only practical way to clamp a mitred frame or anything not rectangular.

  • Edge clamp

    Edge clamp

    A G clamp with a third screw pressing sideways, so edging can be held onto the edge of a panel. Nothing else applies pressure in that direction.

  • Deep throat clamp

    Deep throat clamp

    A long reach from the bar to the screw, so it grips well in from an edge. For gluing a batten to the middle of a panel, where a normal clamp cannot reach.

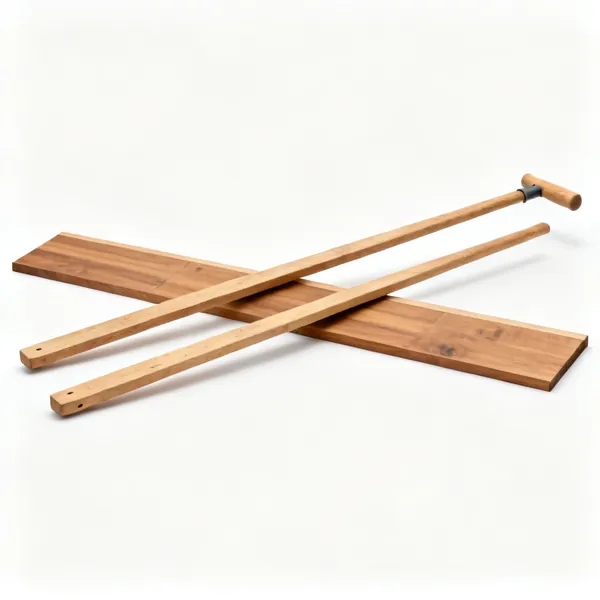
  • Two long wooden cauls battens lying across a wooden panelEssential

    Cauls

    Stiff battens laid across the work so one clamp's pressure spreads along their length. Slightly curved ones press the middle of a joint that edge clamps miss.

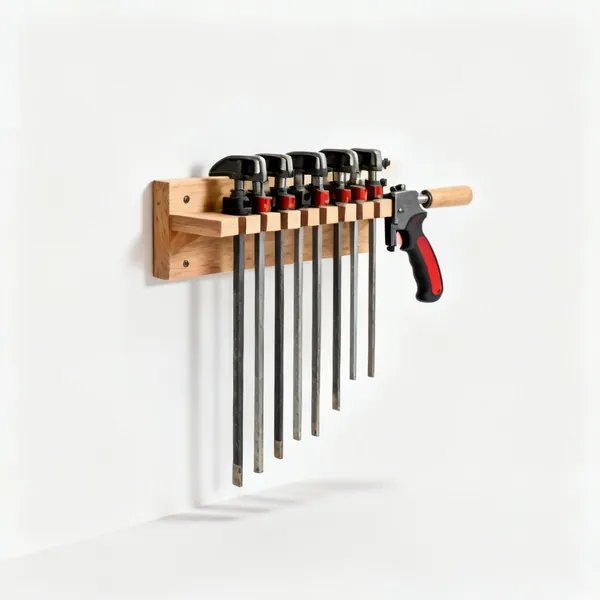
  • Clamp rack: A wall mounted wooden clamp storage rack holding several bar clamps

    Clamp rack

    Because clamps in a pile take longer to sort than the glue open time allows. Sorted by type and length, so you grab six of the same in one movement.

Vices 7

A clamp fixed to a bench, so it is already there and needs one hand rather than two.

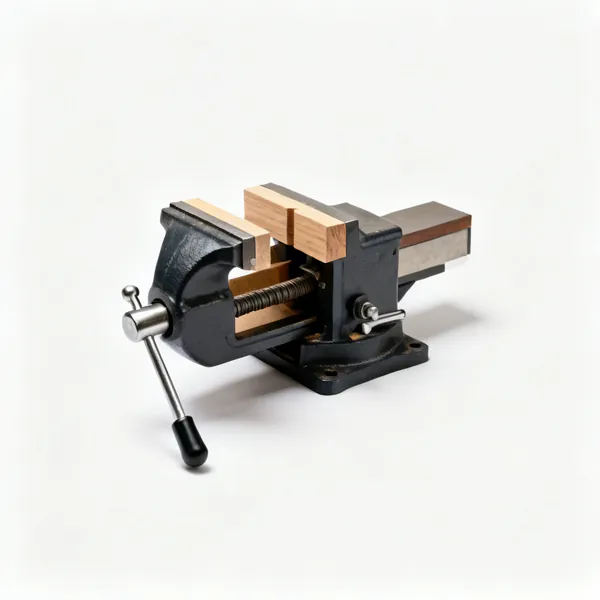
  • Woodworking vice: A woodworking bench vice with wooden jaw liners mounted flush under a bench topEssential

    Woodworking vice

    Wide jaws mounted flush with the bench top, with wooden liners so a board is held without a mark. A quick release lever, because it is opened constantly.

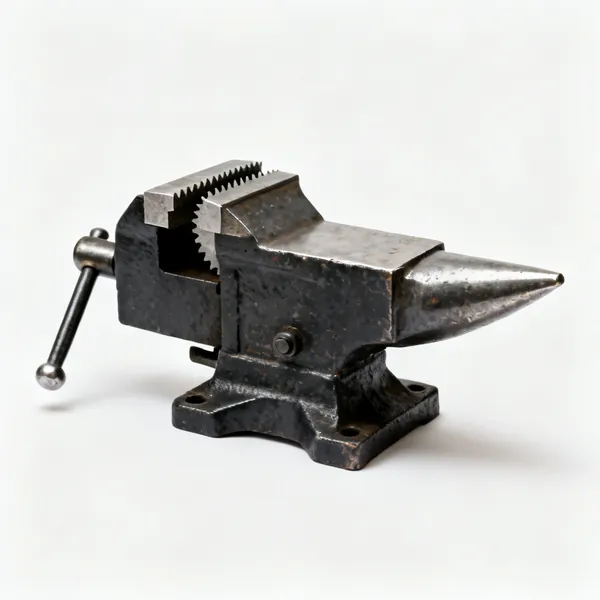
  • Engineer's vice: A cast iron engineer's bench vice with serrated steel jaws and an anvilEssential

    Engineer's vice

    Cast iron with hardened serrated jaws and an anvil behind. It marks anything softer than steel, which is why soft jaw liners exist for it.

  • Soft jaws: A pair of magnetic aluminium soft jaw vice linersEssential

    Soft jaws

    Aluminium, fibre or magnetic liners that let a hardened vice hold a finished part. Cheap enough that there is no reason to mark a workpiece.

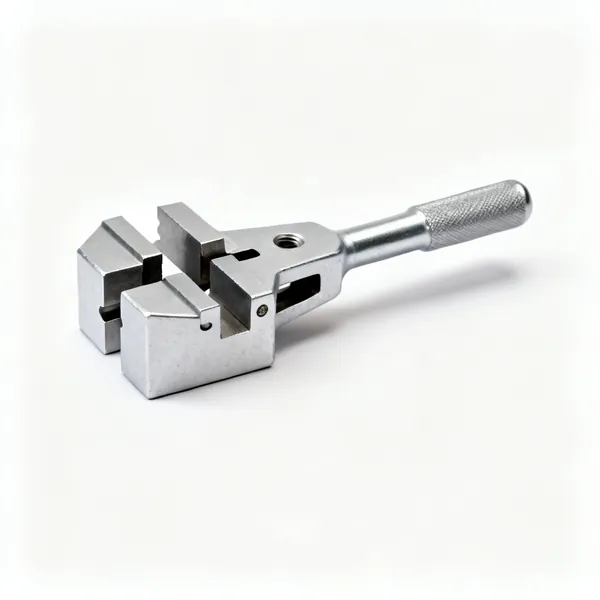
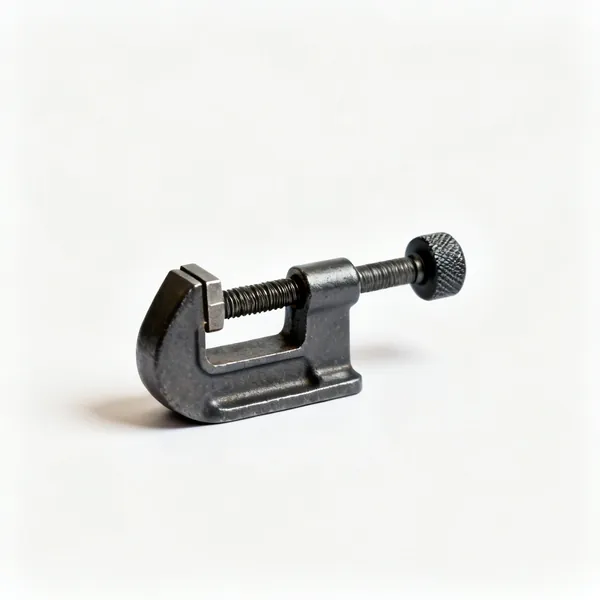
  • A small hand vice with a screw clamp and a knurled handle

    Hand vice

    A small screw vice held in the palm, for filing and drilling a part too small for fingers. What holds the thing you would otherwise be burning your hand on.

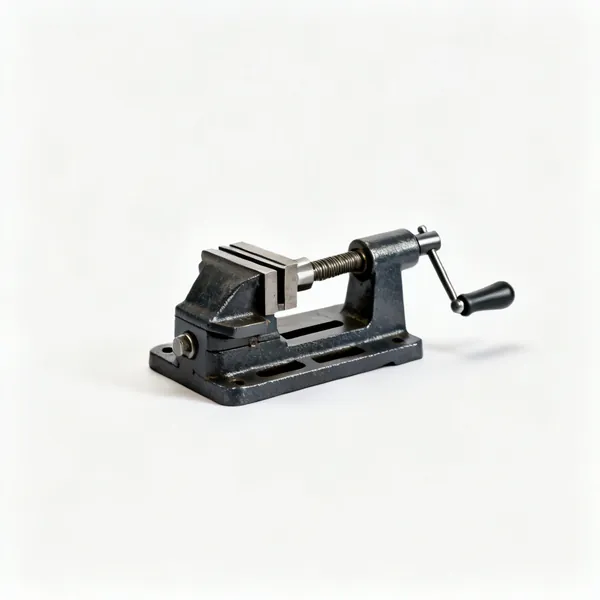
  • A small cast iron drill press machine vice with a flat base and slots

    Machine vice

    Bolts to a drill press table, so the work cannot spin when a bit bites. That spin is how drill press injuries happen and a machine vice is the answer.

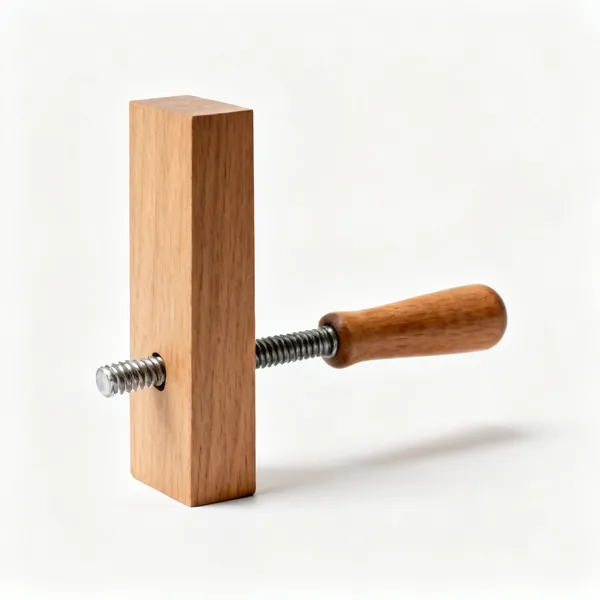
  • A wooden leg vice screw with its tall flat wooden jaw

    Leg vice

    A tall wooden jaw reaching to the floor, gripping the whole edge of a board evenly. Old design, and still the best thing for dovetailing a wide board.

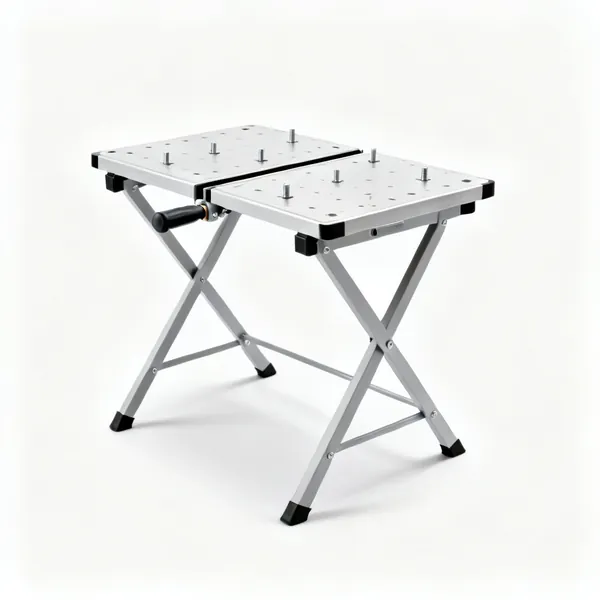
  • A folding portable workbench with a split clamping top and pegs

    Portable workbench

    The top itself is the vice, closing on whatever is between the two halves. Awkward for fine work and the reason site carpentry is possible at all.

Pads, protection and checking 8

Everything that stops a clamp marking, staining or racking the work.

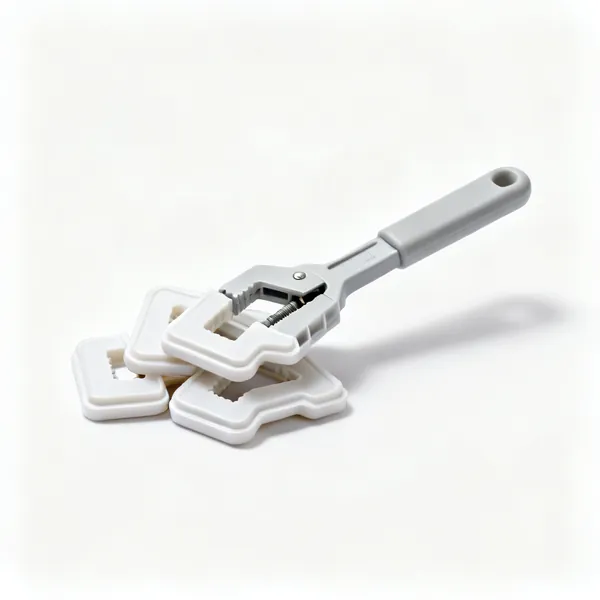
  • Clamp pads: Several plastic clamp jaw protection pads in a small pileEssential

    Clamp pads

    Plastic caps that clip onto a jaw, spreading the load and preventing a dent. A dent in softwood shows through paint and through every clear finish.

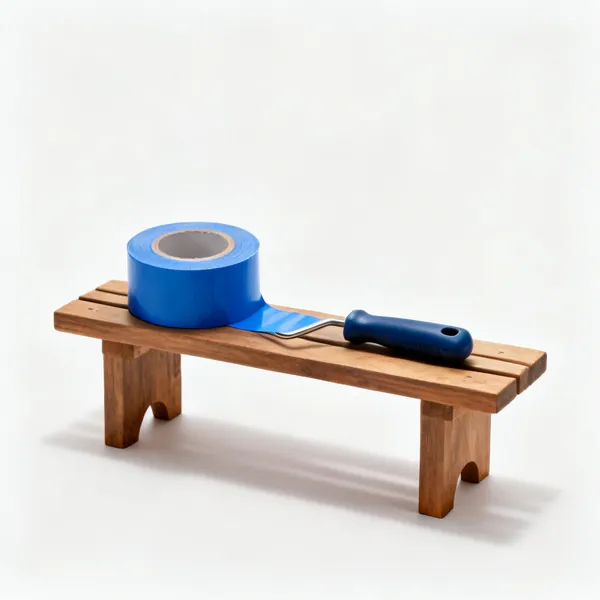
  • A roll of blue masking tape on a wooden benchEssential

    Masking tape

    Along the clamp bar, so glue and steel never meet oak. Also on either side of a joint line, so squeeze out lands on tape rather than on the timber.

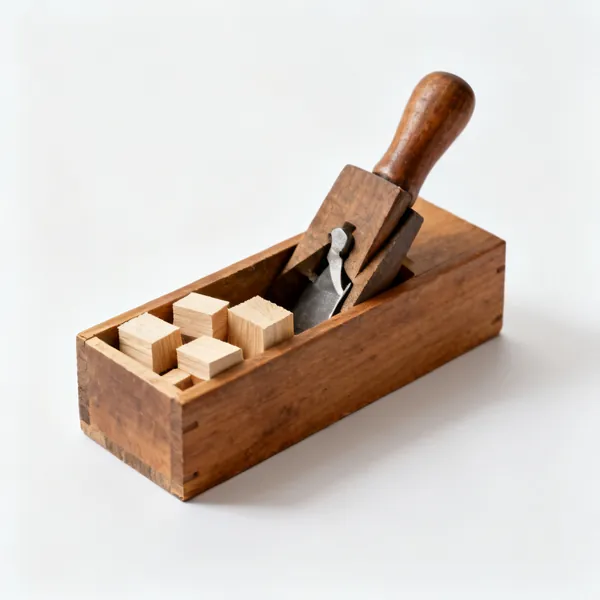
  • Softwood offcuts: Several small softwood offcut blocks in a wooden boxEssential

    Softwood offcuts

    The free version of clamp pads, and often better because you can cut them to shape. Kept in a box by the bench so they are there when needed.

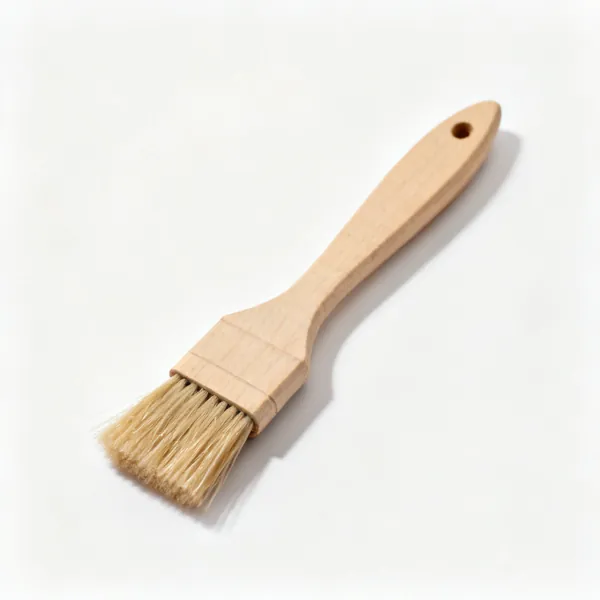
  • A small stiff bristled glue brush with a wooden handle

    Glue brush

    Spreads a thin even film, which is what a strong joint needs. A thick puddle is what produces the flood of squeeze out people mistake for enough pressure.

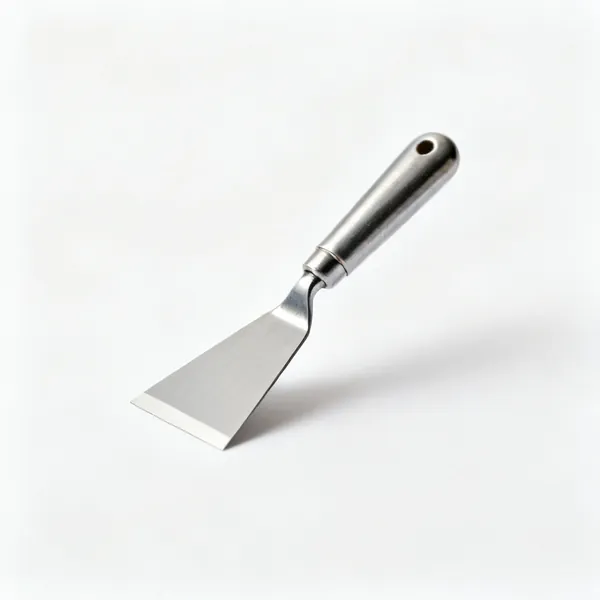
  • Glue scraper

    Glue scraper

    Takes squeeze out off once it is rubbery but not hard, which is the easiest moment. Dried glue has to be cut off and it will not take a finish.

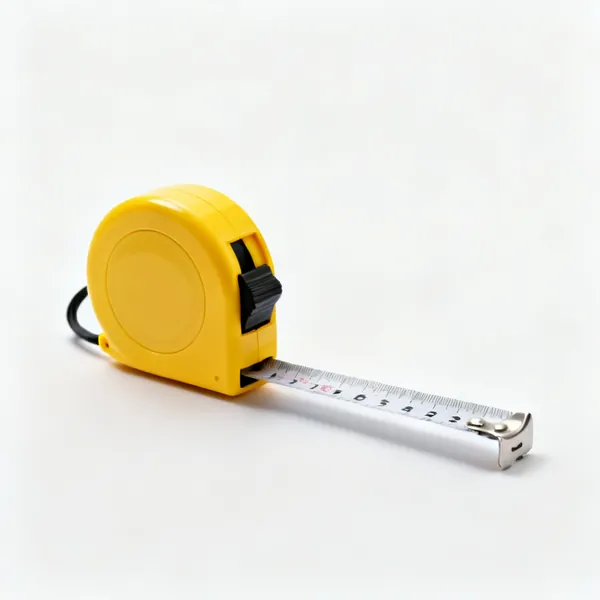
  • A retractable steel tape measure with a yellow case, partly extendedEssential

    Tape measure

    For the diagonals, which is the check that decides whether an assembly is square. Equal diagonals, or one clamp gets angled before the glue sets.

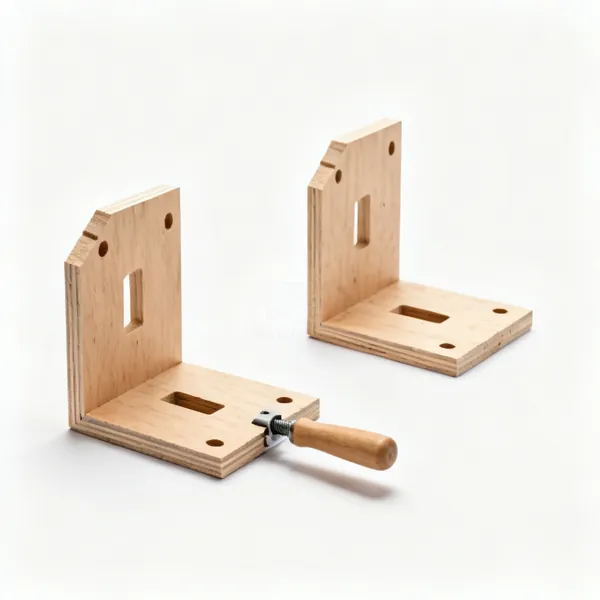
  • Two L shaped plywood clamping squares with cut out corners

    Clamping squares

    Right angled blocks clamped inside a carcase corner, holding it square while the glue sets. Cheaper to make than to buy, and used on every box after that.

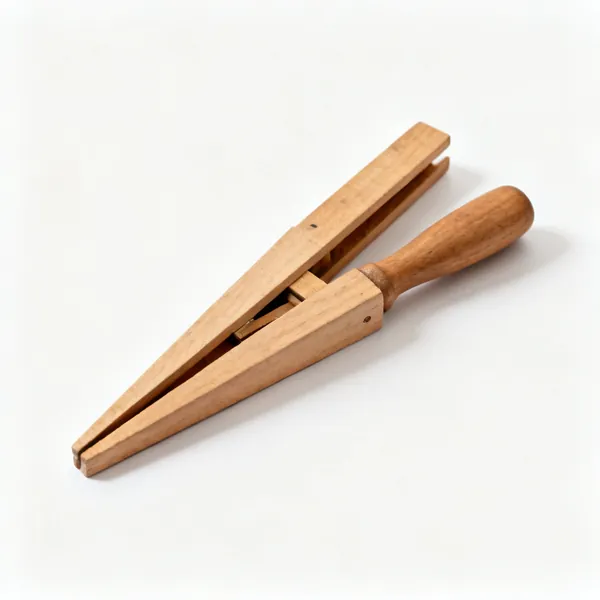
  • Two tapered wooden folding wedges lying against each other

    Folding wedges

    Two tapered offcuts driven against each other apply real pressure with no clamp at all. Ancient, free, and still how a tenon gets pulled home.

Choosing clamping tools

The list above is what exists. This is how to decide which of it you actually need, what separates a tool worth keeping from one that ends up at the back of a drawer.

Holding still and closing a joint are different

Holding a workpiece for sawing, routing or drilling wants as much grip as the tool will apply, fast on and fast off. Nothing is harmed by over tightening a scrap board to a bench.

A glue joint is the opposite. It wants enough pressure to close the gap and squeeze out a thin even bead, and no more. Over clamping forces glue out of the joint and leaves it starved, so a joint clamped brutally can be weaker than one clamped moderately.

Holding: grip hard
Nothing is harmed. Fast on and fast off matters more than fine control.
Glue up: even and moderate
Enough to close the gap and show a thin bead. More than that starves the joint.
A thin even bead
That is the target. No squeeze out means not enough, a flood means too much glue.
Pressure direction
Along the joint line, not across it. A clamp pulling at an angle racks the assembly.

How many clamps you need

More than you have. The common rule is a clamp every 150 to 200mm along a glue joint, alternating above and below the panel so the pressure does not bow it. A three board panel a metre long therefore wants six or seven clamps.

The practical version of that rule is to dry fit and count before mixing glue. Glue has an open time measured in minutes, and discovering you are two clamps short halfway through a glue up means the joint sets while you improvise.

One every 150 to 200mm
Along the joint. Fewer than that and the pressure between them drops off.
Alternate above and below
All on one face bows the panel into a curve. Alternating cancels it out.
Dry fit and count first
Glue open time is minutes. Finding you are short mid glue up cannot be recovered.
Buy pairs
Clamps work in opposing pairs. A single odd clamp is the one that never gets used.

Stopping clamps marking the work

A steel clamp jaw on softwood leaves a dent that shows through a finish, and glue squeeze out reacting with a steel bar leaves a black stain on oak and other tannin rich timber. Both are avoidable and both are noticed only after the finish goes on.

The answers are pads on the jaws, offcuts under them, and tape or paper between the bar and the joint. A caul is the other half of this: a stiff batten across the work that spreads one clamp's pressure over a much longer span.

Pads or offcuts
Between jaw and work. A dent in softwood shows through paint and every clear finish.
Tape the bar
Glue and steel stain oak black. Masking tape on the bar prevents it entirely.
Cauls spread pressure
A stiff batten across the work turns one clamp into pressure along a whole edge.
Wipe squeeze out
While wet with a damp cloth, or scrape it once rubbery. Dried glue will not take a finish.

Clamped tight and out of square

Clamping pressure pulls an assembly toward whatever is easiest, which is rarely square. A carcase can be clamped hard, look right, and be a few millimetres out across the diagonal, which is impossible to correct once the glue sets.

So measure the diagonals rather than trusting a square in a corner. If they differ, angling one clamp slightly across the long diagonal pulls it back. Check while the glue is still open, because that check is the last chance.

Measure both diagonals
Equal means square. A square in one corner tells you about that corner only.
Angle a clamp to correct
Skewing one clamp along the long diagonal pulls the assembly back into square.
Check before it sets
Once the glue goes off nothing can be done. That window is the whole opportunity.
Flat as well as square
Clamp on a flat surface, or a twisted assembly sets twisted.

Vices, and where a clamp cannot go

A vice is a clamp fixed to a bench, which is what makes it usable one handed while both hands work the tool. That is the real difference: a clamp has to be positioned and tightened, a vice is already there.

The two common types are the woodworking vice, wide and flush to the bench with soft jaw liners, and the engineer's vice, narrow, hardened and with an anvil. Using an engineer's vice on finished timber marks it every time.

Always there
That is a vice's advantage over a clamp. No positioning, no second hand needed.
Woodworking vice
Wide, flush to the bench top, wooden liners. Holds a board without marking it.
Engineer's vice
Narrow, hardened serrated jaws, an anvil behind. It marks anything softer than steel.
Soft jaws
Aluminium or fibre liners that let an engineer's vice hold a finished part.

Frequently asked questions

How many clamps do I need for a glue up?
One every 150 to 200mm along the joint, alternating above and below the panel so the pressure does not bow it. A metre long panel therefore wants six or seven. Dry fit and count before mixing glue, since glue open time is measured in minutes.
How tight should clamps be for gluing?
Enough to close the joint and squeeze out a thin even bead, and no more. Over clamping forces glue out and leaves the joint starved, so a brutally clamped joint can be weaker than a moderately clamped one. A flood of squeeze out means too much glue, not enough pressure.
What is the difference between a clamp and a cramp?
Nothing, other than British woodworking tradition using cramp for the large bar types like sash cramps. The tools are identical, and most manufacturers now use clamp for everything, so the two words appear interchangeably in the same catalogue.
Why do my clamps leave black marks on oak?
Tannin in the oak reacting with iron from the clamp bar in the presence of wet glue or moisture. It stains deep enough that sanding often will not remove it. Masking tape along the bar, or paper between bar and work, prevents it completely.
What clamps should I buy first?
Four F clamps around 300mm for general holding, and a pair of long sash cramps or parallel clamps if you are gluing panels. Add quick release clamps for one handed work and a bench vice. Buy in pairs, since clamps work in opposition and an odd one rarely gets used.
What is a caul used for?
A stiff batten laid across the work so one clamp's pressure spreads along its whole length. It turns four clamps into even pressure across a wide panel, and a slightly curved caul presses the middle of a joint that clamps at the edges cannot reach.
How do I keep an assembly square while clamping?
Measure both diagonals rather than trusting a square in one corner. Equal diagonals means square. If they differ, angle one clamp slightly along the longer diagonal to pull it back, and do it while the glue is still open, since afterwards nothing can be corrected.
Are parallel clamps worth the money?
For panel glue ups, yes. The jaws stay parallel under load instead of tilting, so the pressure is square to the joint and the panel does not want to bow or slip. For general holding an F clamp at a third of the price does the same job.